Home>diy>Architecture & Design>How To Make A Blueprint For A House
Architecture & Design
How To Make A Blueprint For A House
Modified: October 29, 2024
Learn the step-by-step process of creating a detailed architectural blueprint for your dream house with our expert tips and guidance in architecture design.
(Many of the links in this article redirect to a specific reviewed product. Your purchase of these products through affiliate links helps to generate commission for Storables.com, at no extra cost. Learn more)
Introduction
Designing the blueprint for a house is an exciting and complex process that requires careful planning and attention to detail. A blueprint serves as the roadmap for the construction of a house, outlining its layout, dimensions, and architectural elements. Whether you are designing your dream home or working on a project for a client, creating a well-crafted blueprint is essential for a successful construction process.
In this article, we will take you through the step-by-step process of making a blueprint for a house. We will explore how to determine the purpose of the house, research building codes and regulations, decide on the layout and size, consider various architectural and structural elements, and plan for essential systems like electrical, plumbing, and HVAC. By the end of this guide, you will have a solid understanding of the process and be well equipped to create a blueprint that is both functional and aesthetically pleasing.
So let’s dive in and discover how to make a blueprint that will bring your dream house to life!
Key Takeaways:
- Designing a blueprint for a house involves determining the purpose, researching building codes, deciding on layout and size, and including necessary rooms and spaces. It’s a complex yet rewarding process that requires careful planning and attention to detail.
- Seeking professional advice and consultations, reviewing and revising the blueprint, and finalizing and presenting it are crucial steps to ensure accuracy, clarity, and effective communication of the design intent. By following these steps, you will have a well-crafted blueprint that can serve as a reliable guide for the construction phase.
Read more: What Is A Blueprint Of A House
Step 1: Determine the Purpose of the House
Before you start creating a blueprint, it’s crucial to determine the purpose of the house. Begin by asking yourself or your client a few key questions:
- What will the house be used for? Is it a single-family dwelling, a vacation home, or a rental property?
- How many people will be living in the house? Will it be designed to accommodate a large family, a couple, or an individual?
- What are the specific needs and preferences of the inhabitants? Consider factors such as the number of bedrooms, bathrooms, and living spaces required, as well as any specific features or functionalities desired, such as a home office, a gym, or an entertainment area.
Understanding the purpose of the house will help you make informed decisions when it comes to the layout, size, and design elements. For example, if the house is intended for a family with children, you may want to include a playroom or a backyard space for outdoor activities. On the other hand, if it’s a retirement home, you might prioritize accessibility features and a more low-maintenance design.
Additionally, consider the location and surroundings of the house. If it’s situated in a scenic area, you may want to incorporate large windows and outdoor living spaces that take advantage of the views. If it’s in a busy urban setting, you might focus on soundproofing and creating a more private and tranquil interior.
By taking the time to clearly define the purpose of the house, you will be setting a solid foundation for the rest of the blueprinting process. It will guide your decision-making and ensure that the final design meets the needs and expectations of the inhabitants.
Step 2: Research Building Codes and Regulations
Before you start designing your blueprint, it is essential to familiarize yourself with the building codes and regulations that govern construction in your area. Building codes are standards that dictate the minimum requirements for safety, structural stability, and energy efficiency in a building. These codes vary from location to location, so it’s important to research and understand the specific requirements applicable to your project.
Here are a few key steps to follow when researching building codes and regulations:
- Identify the governing authorities: Determine the relevant government agencies or departments responsible for overseeing building regulations in your area. This could be the local building department or a regional planning commission. Contact them to obtain the necessary information and documentation.
- Obtain the building code documents: Request a copy or access the building code documents that outline the specific requirements for residential construction. These documents will provide detailed instructions on various aspects, including structural design, fire safety, electrical wiring, plumbing systems, and more.
- Review the code requirements: Carefully read and analyze the code requirements to understand how they apply to your design. Pay attention to important factors such as minimum room dimensions, ceiling heights, doorway widths, ventilation, and insulation requirements.
- Consider sustainability guidelines: Many building codes now include provisions for sustainable building practices. Look for requirements related to energy efficiency, water conservation, waste management, and renewable energy systems. Incorporating these sustainability guidelines into your blueprint can enhance the environmental performance and long-term value of the house.
- Consult with professionals: If you’re unsure about any aspect of the building codes or regulations, consider consulting with architects, engineers, or construction professionals who have experience in your area. They can provide valuable insights and ensure that your design meets all the necessary requirements.
By thoroughly researching and understanding the building codes and regulations, you will be able to design a blueprint that complies with all the legal and safety standards. Failing to adhere to these requirements can lead to costly delays, penalties, or even the rejection of your construction permits. So, take the time to do your due diligence and ensure that your blueprint is in full compliance with the applicable building codes.
Step 3: Decide on the Layout and Size of the House
Once you have determined the purpose of the house and familiarized yourself with the building codes and regulations, it’s time to decide on the layout and size of the house. This step is crucial as it sets the foundation for the entire blueprint and determines how functional and comfortable the living spaces will be.
Consider the following factors when deciding on the layout and size:
- Functionality: Think about how the various rooms and spaces will be used and how they will flow together. Consider the different activities that will take place in the house and ensure that the layout allows for efficient movement and convenient access between rooms.
- Flexibility: Anticipate potential future needs and changes. Design the house in a way that allows for flexibility and adaptability. For example, consider creating multipurpose spaces or incorporating options for room conversions to accommodate changing lifestyles or family dynamics.
- Aesthetics: Balance functionality with aesthetic appeal. Consider the architectural style and design elements that best suit the purpose and desired aesthetics of the house. Incorporate features such as windows, natural light, open floor plans, and any specific architectural details that enhance the overall look and feel of the house.
- Size: Determine the ideal size of the house based on the number of bedrooms, bathrooms, and living spaces required, as well as the available land and budget constraints. Ensure that the size is appropriate for the purpose of the house and the needs of the inhabitants.
- Outdoor Spaces: Don’t forget to consider the outdoor areas. Plan for outdoor living spaces like patios, decks, or gardens that complement the indoor spaces and provide opportunities for relaxation and enjoyment.
It’s important to strike a balance between creating functional spaces and optimizing the available area. Remember that bigger is not always better; rather, it’s about maximizing the use of space and designing a layout that aligns with the intended purpose of the house.
Sketch out different layout options and experiment with various room arrangements before settling on a final design. This will help you visualize how the house will flow and identify any potential issues or improvements that need to be made.
By carefully deciding on the layout and size of the house, you will create a blueprint that meets the functional needs, aesthetic preferences, and budgetary considerations of the project. This step sets the stage for the rest of the blueprinting process, allowing you to move forward with confidence and clarity.
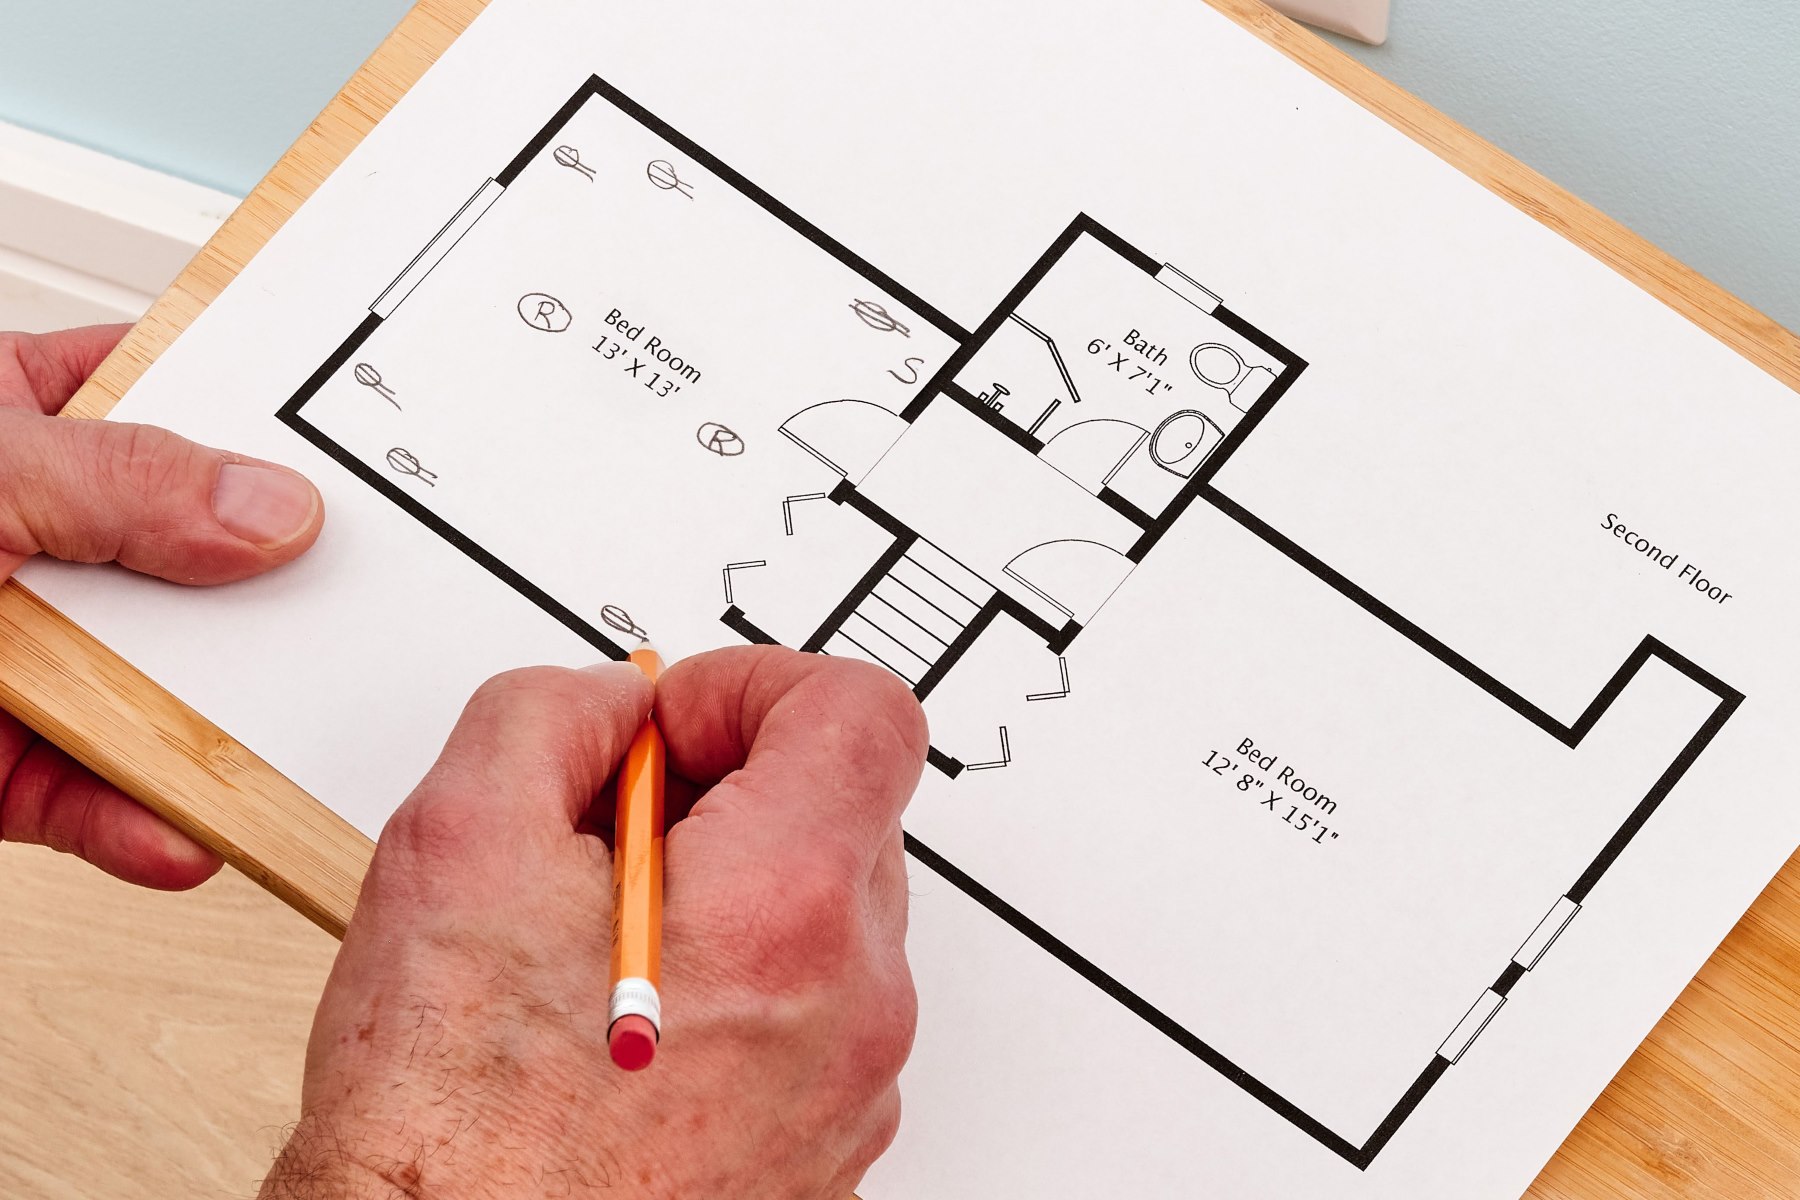
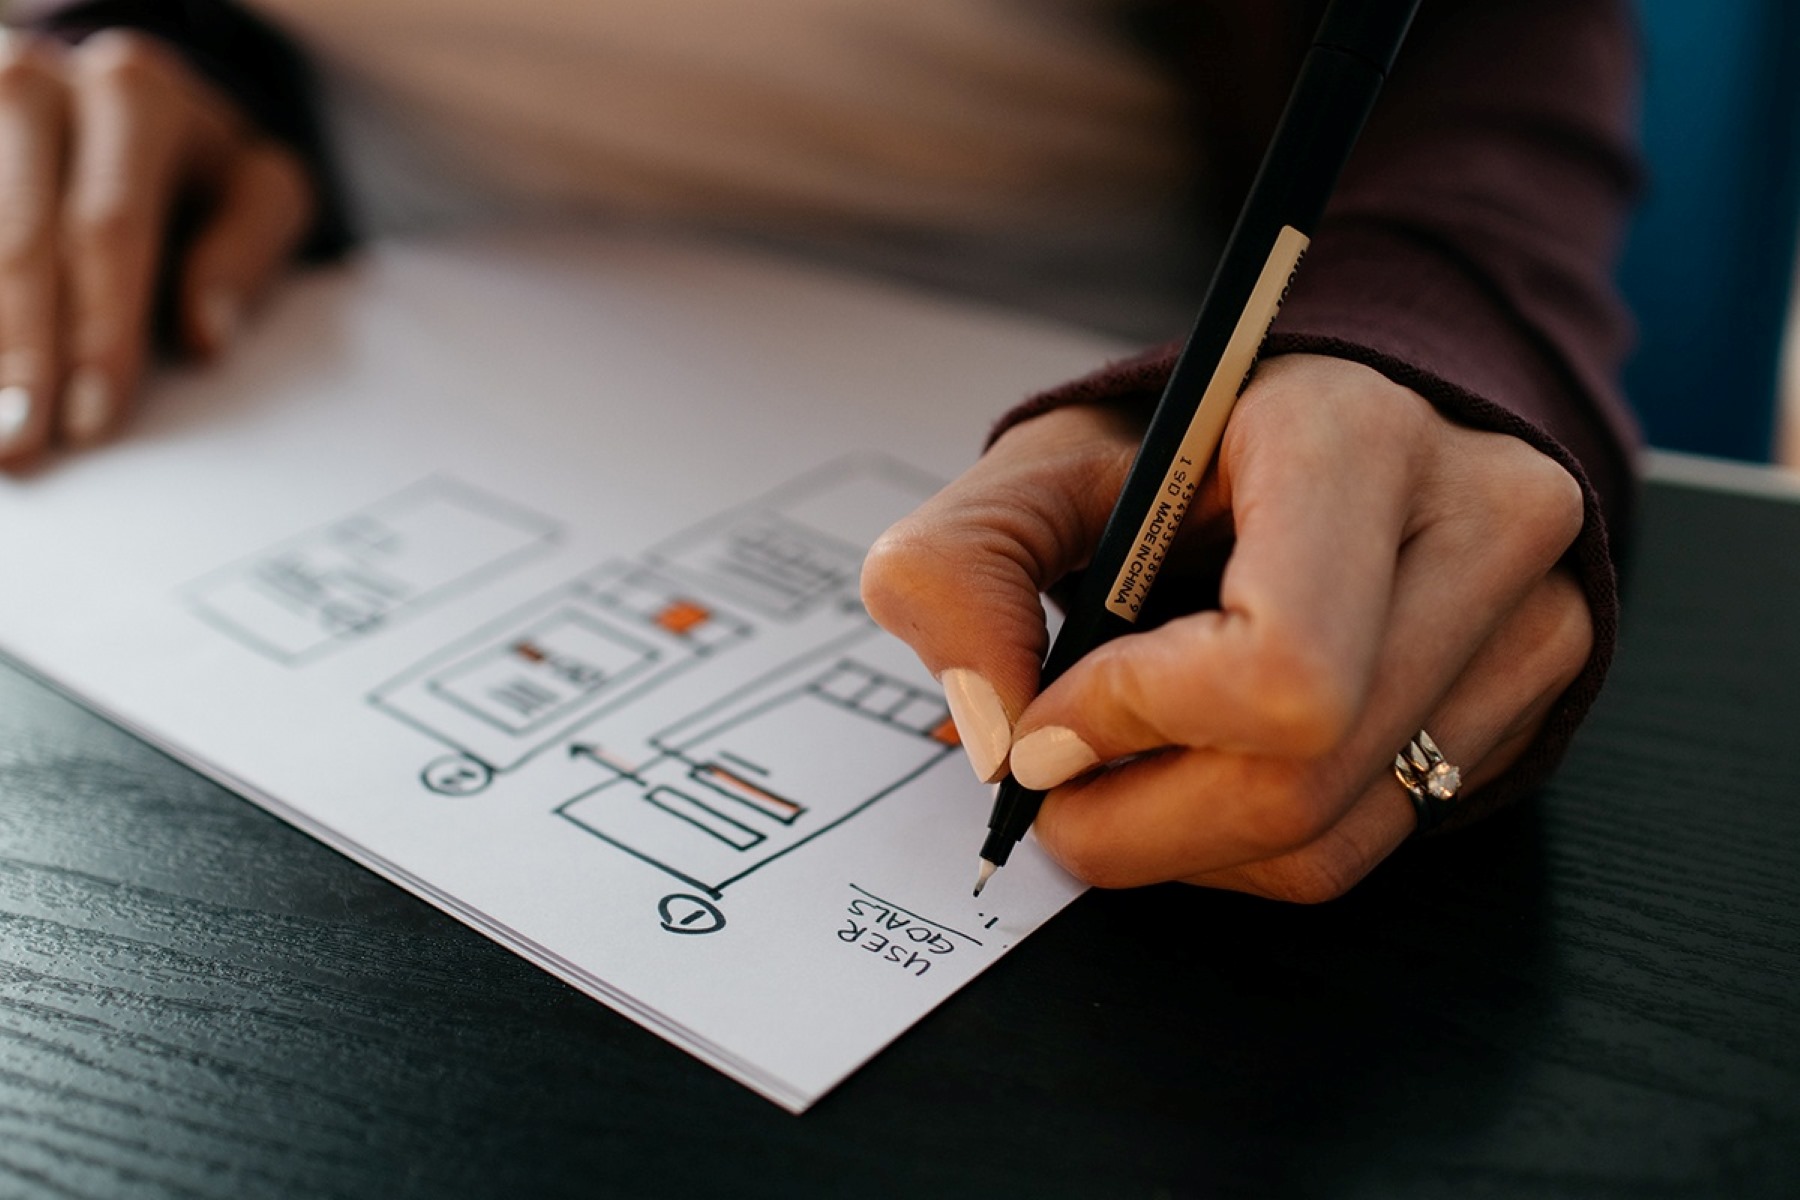
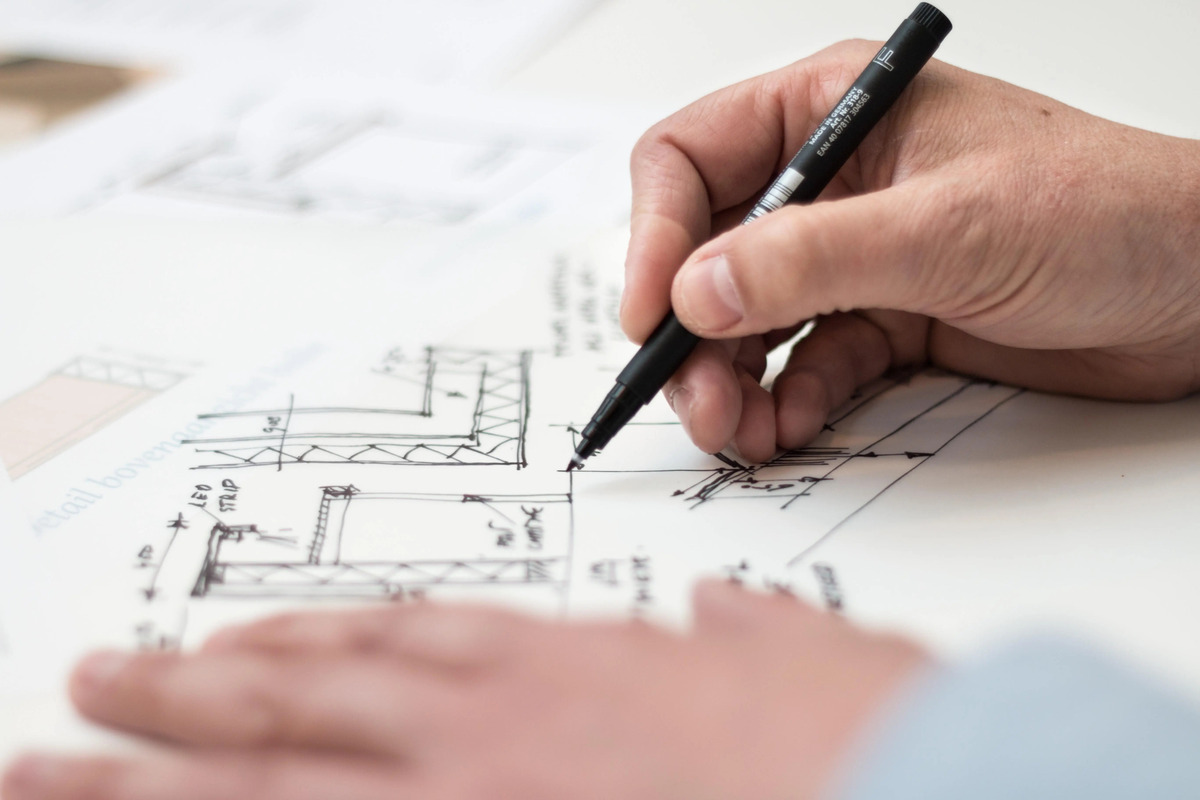
Step 4: Create Rough Sketches and Floor Plans
Now that you have determined the layout and size of the house, it’s time to put your ideas onto paper by creating rough sketches and floor plans. This step is crucial as it helps to visualize the spatial relationships and arrangement of the different rooms and areas within the house.
Here are some tips to guide you in creating rough sketches and floor plans:
- Start with pencil and paper: Begin by sketching out rough ideas and concepts on paper. This allows for easy brainstorming and exploration of different possibilities without the constraints of technical software.
- Consider functionality: Keep in mind the functionality and purpose of each room when designing the floor plan. Ensure that there is a logical flow between spaces and that essential areas, such as the kitchen, bathrooms, and bedrooms, are conveniently located.
- Think about natural light and views: Take advantage of natural light and views in your design. Orient rooms and windows to maximize sunlight exposure and capture scenic views, if applicable.
- Balance public and private spaces: Consider the balance between public and private spaces in the house. Separate bedrooms and bathrooms from living areas to ensure privacy and create a peaceful atmosphere.
- Focus on practicality: Design rooms and spaces that are practical and comfortable. Consider factors such as storage needs, furniture arrangements, and ease of movement throughout the house.
- Consult with professionals: If you’re unsure about the technical aspects or need assistance with creating detailed floor plans, consider seeking help from architects, interior designers, or draftsmen. They can provide professional insights and help bring your vision to life.
Keep in mind that this stage may involve multiple iterations and revisions. Don’t be afraid to experiment and refine your ideas until you are satisfied with the final layout.
Once the rough sketches are complete, you can move on to creating more detailed and accurate floor plans using computer-aided design (CAD) software or architectural software. These tools allow you to precisely measure dimensions, add symbols for doors and windows, and generate professional-looking floor plans.
By creating rough sketches and floor plans, you will have a clearer visual representation of your design. This step acts as a bridge between your initial ideas and the final blueprint, helping you to refine and finalize the layout of the house.
Read more: How To Make A Blueprint
Step 5: Include Necessary Rooms and Spaces
Now that you have the rough layout and floor plans, it’s time to think about the specific rooms and spaces that need to be included in your house blueprint. This step involves identifying and allocating areas for essential rooms and considering the functionality and flow of each space.
Consider the following rooms and spaces that are commonly included in house blueprints:
- Living Room: This is the central gathering space for family and friends. Consider the size, layout, and placement of furniture in this area.
- Kitchen and Dining Area: Design an efficient and functional kitchen layout with ample counter space, storage, and consideration of appliances. Establish a seamless connection between the kitchen and dining area for convenience and sociability.
- Bedrooms: Determine the number and size of bedrooms based on the needs of the inhabitants. Design each bedroom with privacy, comfort, and storage solutions in mind.
- Bathrooms: Allocate space for bathrooms that are easily accessible, functional, and aesthetically pleasing. Consider the number of bathrooms required and their convenient placement in relation to bedrooms and common areas.
- Home Office: If a home office is necessary, designate an area that provides privacy, adequate workspace, and access to natural light.
- Storage Areas: Plan for ample storage space throughout the house, including closets, cabinets, and dedicated storage rooms.
- Laundry Room: Allocate a designated area for the laundry room that is convenient and easily accessible.
- Outdoor Spaces: Consider the inclusion of outdoor spaces such as a patio, deck, or garden area for relaxation and entertainment.
When determining the size and placement of rooms, keep in mind factors like natural light, privacy, noise control, and ease of access. Think about how the different rooms and spaces connect and interact with each other to create a harmonious flow throughout the house.
Additionally, consider any specific needs or preferences that the inhabitants may have. For example, if there are individuals with mobility challenges, ensure that the blueprint includes accessible features like wider doorways and ramps.
By including necessary rooms and spaces in your blueprint, you will create a functional and well-designed house that meets the specific needs and lifestyle of the inhabitants.
When making a blueprint for a house, be sure to carefully consider the placement of rooms, windows, and doors to maximize natural light and airflow. This will help create a more comfortable and energy-efficient living space.
Step 6: Consider Structural and Architectural Elements
When creating a blueprint for a house, it’s essential to consider the structural and architectural elements that will contribute to the overall design and functionality of the building. These elements not only provide support and stability but also enhance the aesthetics and appeal of the house.
Here are some key aspects to consider when incorporating structural and architectural elements into your blueprint:
- Foundation: Determine the type of foundation that best suits the soil conditions and building requirements. Options include a concrete slab, crawl space, or full basement. The foundation provides the structural support for the house and should be designed to withstand the load and potential ground movement.
- Walls: Choose the type of walls that will be used in the construction, such as wood frame, concrete, or steel. Consider factors like insulation, soundproofing, and durability when selecting the materials for the walls.
- Roofing: Decide on the type of roofing system that is suitable for the climate and architectural style of the house. Options include gable, hip, or flat roofs. Consider factors like durability, energy efficiency, and maintenance requirements.
- Doors and Windows: Plan for the placement and size of doors and windows to maximize natural light, views, and ventilation. Consider the architectural style and design of the house when selecting the door and window styles.
- Stairs and Railings: Determine the design and placement of stairs and railings, ensuring they meet safety standards and are aesthetically pleasing. Consider factors like ease of access, handrail height, and baluster spacing.
- Floors: Choose the flooring materials that align with the functionality, aesthetics, and durability of each room. Consider options like hardwood, tile, laminate, or carpet.
- Exterior Finishes: Consider the exterior finishes that will give the house its unique appearance and protection. Options include brick, stone, siding, or stucco. Select finishes that complement the architectural style and overall design vision.
When incorporating these elements, it’s crucial to consider both the structural requirements and the visual impact they will have on the overall design. Strive for a balance between form and function, ensuring that the structural elements support the desired architectural style and meet the necessary safety standards.
Consulting with professionals, such as architects or structural engineers, can provide valuable guidance and expertise in ensuring that the structural and architectural elements work harmoniously in your blueprint.
By carefully considering these elements, you will create a blueprint that not only showcases the architectural vision but also provides a safe and stable structure for the house.
Step 7: Plan for Electrical, Plumbing, and HVAC Systems
When creating a blueprint for a house, it’s important to carefully plan for the integration of electrical, plumbing, and HVAC (heating, ventilation, and air conditioning) systems. These essential systems ensure the comfort, functionality, and safety of the house’s occupants. Integrating them into your blueprint requires thoughtful consideration and attention to detail.
Here are some key considerations for planning these systems:
- Electrical System: Determine the electrical requirements of the house, including the number and placement of outlets, light fixtures, and switches in each room. Consider the need for dedicated circuits for high-powered appliances or specific areas like a home office or media room. Ensure the electrical system is designed to handle the anticipated electricity load and meets local building codes and safety regulations.
- Plumbing System: Plan the plumbing layout, including the placement of sinks, toilets, showers, and bathtubs in the house. Consider the size and location of water supply and drainage pipes to ensure proper flow and functionality. Take into account the need for adequate water pressure and consider any specific plumbing requirements, such as water filtration systems or energy-efficient fixtures.
- HVAC System: Determine the heating and cooling needs of the house based on the climate and size of the space. Consider the placement of HVAC equipment, such as furnaces, air conditioning units, and ventilation ducts. Plan for proper airflow, temperature control, and energy efficiency. Consult with HVAC professionals to ensure that the system design meets the specific requirements of the house.
- Safety Measures: Incorporate safety measures into the design of these systems. For electrical systems, consider the placement of smoke detectors, carbon monoxide detectors, and ground fault circuit interrupters (GFCIs) in appropriate locations. For plumbing systems, include shut-off valves for emergencies and proper ventilation to prevent moisture-related issues. Ensure that HVAC systems are designed to maintain a comfortable and healthy indoor environment.
- Accessibility: Consider any accessibility requirements for electrical, plumbing, and HVAC systems. Ensure that switches, outlets, and controls are placed at appropriate heights and reachable by individuals with mobility challenges. Incorporate features like lever handles and shower grab bars for ease of use.
It’s important to work with licensed professionals, such as electricians, plumbers, and HVAC technicians, to ensure that the systems are designed and installed correctly. They can provide valuable insights, expertise, and guidance throughout the planning process.
By carefully planning and integrating these systems into your blueprint, you will create a house that is safe, comfortable, and functional for its occupants, while also adhering to building codes and standards.
Step 8: Review and Revise the Blueprint
After completing the initial design and planning of your house blueprint, it’s important to take the time to review and revise it. This step ensures that the blueprint is accurate, cohesive, and aligns with your vision for the project. Reviewing and revising allows you to catch any potential errors, make necessary adjustments, and enhance the overall quality of the blueprint.
Here are some key steps to follow when reviewing and revising your blueprint:
- Thoroughly inspect the design: Carefully examine each aspect of the blueprint, including the layout, room dimensions, placement of doors and windows, and integration of systems. Look for any inconsistencies, potential conflicts, or areas that need improvement.
- Seek feedback: Share the blueprint with trusted individuals, such as architects, contractors, or experienced professionals in the field. Their input and expertise can help identify any flaws or suggest improvements that may have been overlooked.
- Consider functionality and flow: Evaluate the usability and flow of the spaces. Ensure that the layout makes sense, promotes ease of movement, and meets the needs of the inhabitants. Pay attention to the placement of essential amenities, such as bathrooms and kitchen appliances.
- Ensure compliance with building codes: Double-check that your blueprint aligns with local building codes, zoning regulations, and any specific requirements of the area. Ensure that the structural, electrical, plumbing, and HVAC designs meet the necessary standards.
- Check for accessibility: Review the blueprint to ensure that it incorporates accessibility features for individuals with disabilities or mobility challenges. Verify that there is proper circulation space, wide doorways, and any necessary accommodations in place.
- Make necessary revisions: Based on your review and feedback received, make revisions to your blueprint as needed. This may involve adjusting room sizes, relocating doors or windows, or refining the layout to enhance the overall design and functionality.
- Finalize the blueprint: Once you are satisfied with the revised blueprint, finalize the design. Ensure that all the changes are accurately reflected in the updated version.
This reviewing and revising process ensures that your blueprint is a comprehensive and accurate representation of your vision for the house. It allows you to catch any potential issues or oversights before construction begins, saving time and resources in the long run.
Remember to keep an open mind during this step and be willing to make necessary changes to improve the overall quality and functionality of your blueprint.
Read more: Why Is Blueprint Called Blueprint
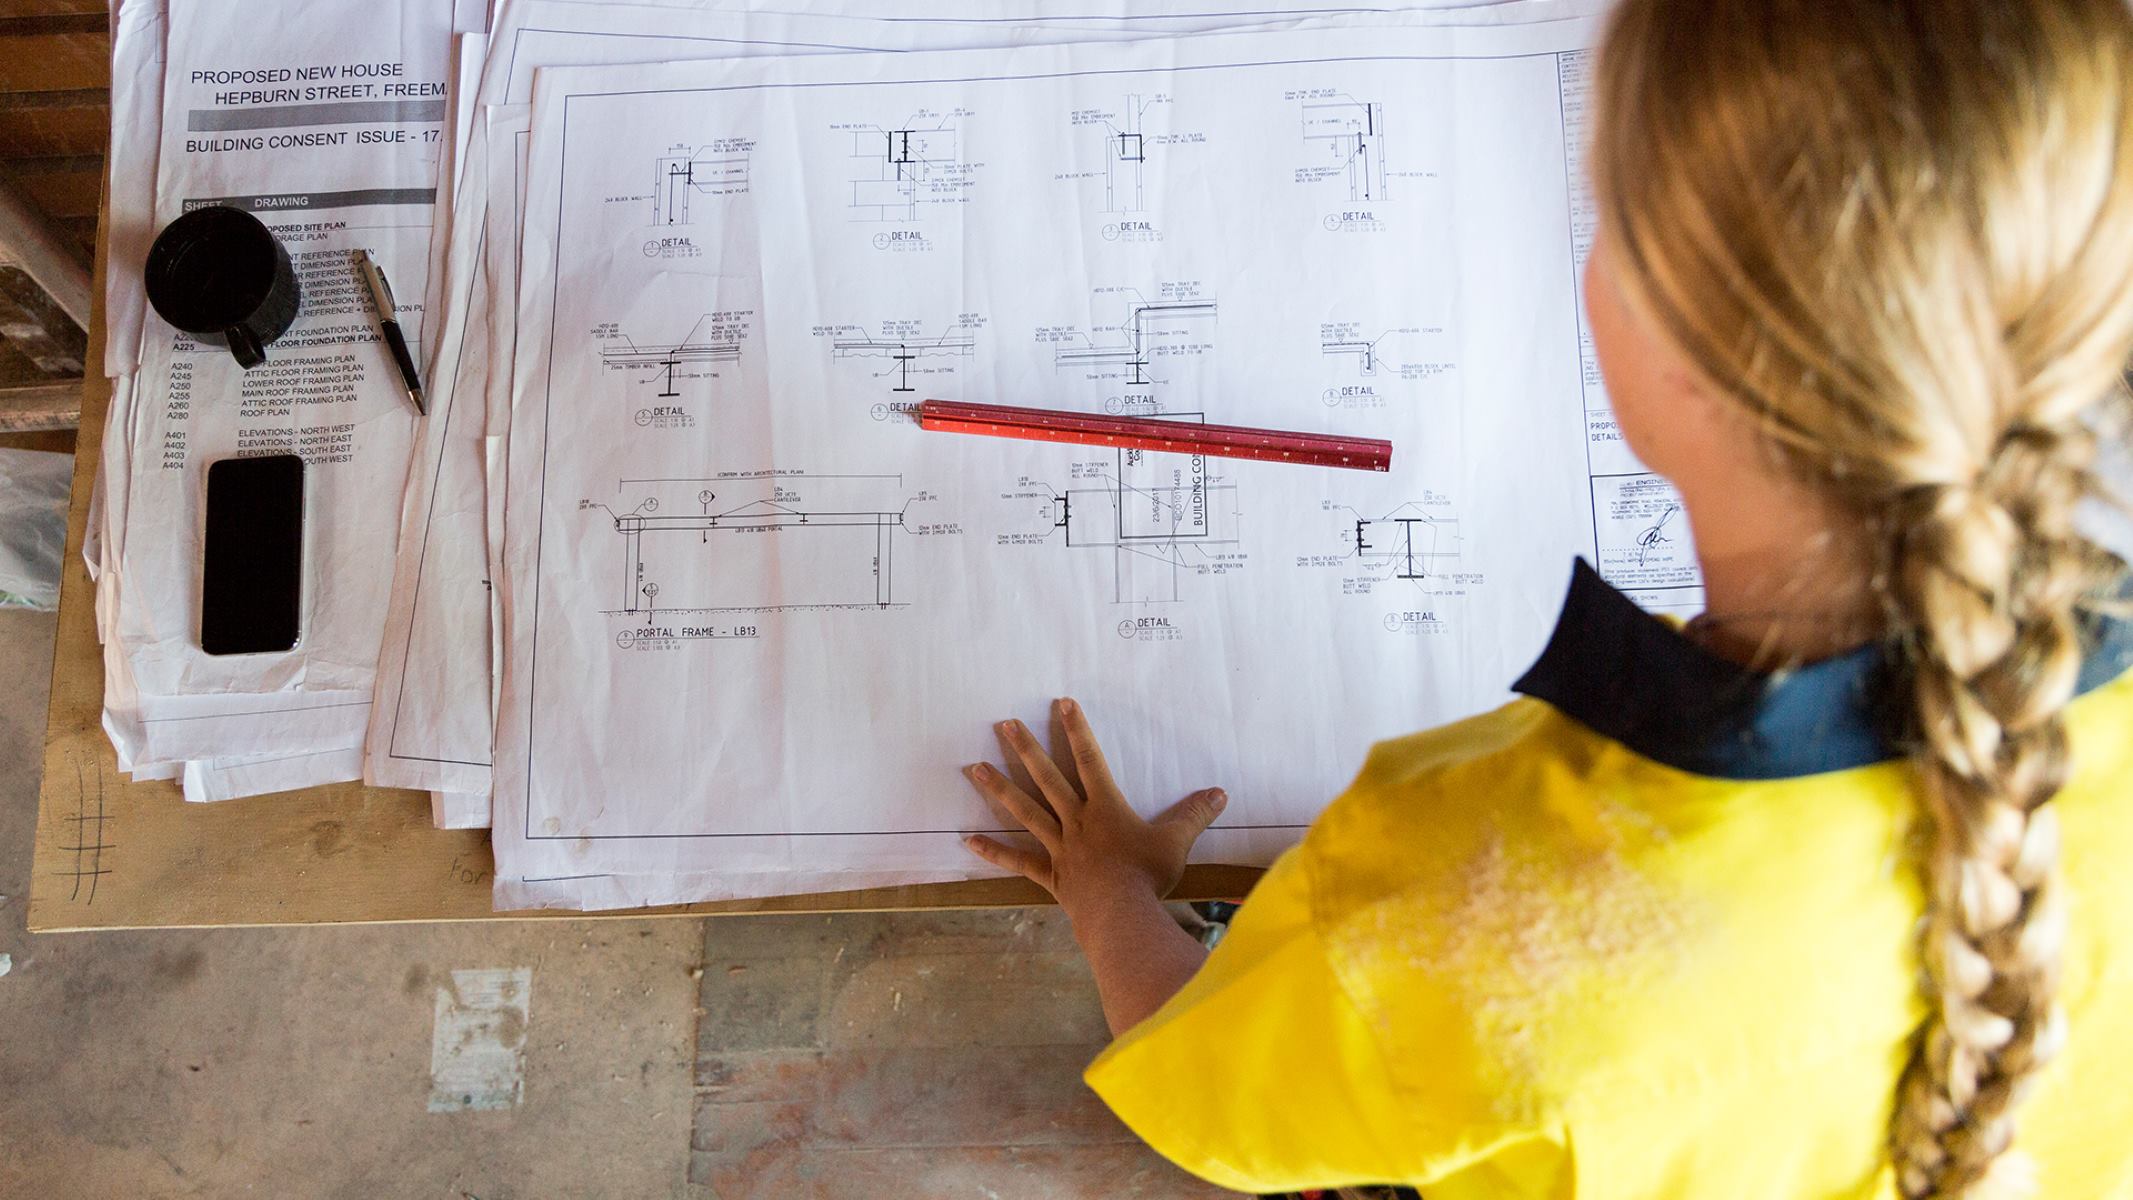
Step 9: Seek Professional Advice and Consultations
As you near the completion of your house blueprint, it’s highly recommended to seek professional advice and consultations from experts in the field. These professionals, such as architects, engineers, and contractors, can provide valuable insights, expertise, and guidance to ensure that your blueprint is well-designed and meets all the necessary requirements.
Here’s why seeking professional advice and consultations is crucial:
- Expertise and Knowledge: Professionals bring a wealth of knowledge and experience in architecture, engineering, and construction. They have expertise in design principles, building materials, structural integrity, and local regulations. Their insights can help you optimize your blueprint and avoid potential pitfalls.
- Guidance on Code Compliance: Building codes and regulations can be complex and vary depending on the location. Professionals can help you navigate through the intricate details of these codes, ensuring that your blueprint complies with all the necessary standards and requirements.
- Cost Efficiency: By consulting with professionals, you can identify cost-saving measures and avoid costly mistakes. They can provide recommendations on materials, construction techniques, and energy-efficient solutions that align with your budget and long-term goals.
- Constructability Analysis: Professionals can assess the constructability of your blueprint, evaluating the feasibility and practicality of the design. They can identify any potential challenges or conflicts that may arise during the construction process, allowing you to make necessary modifications or improvements.
- Structural Integrity and Safety: Architects and structural engineers can review your blueprint to ensure that the structural elements are sound and capable of supporting the weight and load requirements. They can identify any weak points or vulnerabilities in the design and provide solutions for a safe and durable structure.
- Value Engineering: Professionals have a keen eye for value engineering, which involves finding cost-effective alternatives without compromising quality or functionality. They can suggest ways to optimize your blueprint and maximize the value of your investment.
When seeking professional advice and consultations, be sure to choose reputable and experienced individuals or firms. Check their credentials, review their past projects, and ask for references if necessary. Collaborating with professionals will help you refine your blueprint and ensure that it meets the highest standards of quality and design.
Remember, the goal is to create a blueprint that not only reflects your vision but also adheres to best practices and industry standards.
Step 10: Finalize and Present the Blueprint
Congratulations! You’ve reached the final step of creating a house blueprint. It’s time to finalize your design and prepare it for presentation to clients, contractors, or relevant authorities. This step involves ensuring that all the necessary details are incorporated, making any final adjustments, and organizing the blueprint for clear and effective communication.
Follow these steps to finalize and present your blueprint:
- Double-check all the details: Review your blueprint one last time to ensure that all the necessary information is included, such as room dimensions, labels, symbols, and notes. Verify that all the revisions and updates have been accurately incorporated.
- Ensure clarity and readability: Make sure that the blueprint is clear and easy to understand. Use consistent labeling and notation throughout the design. Ensure that the text, dimensions, and symbols are legible and properly scaled.
- Create a cover sheet: Include a cover sheet that provides an overview of the blueprint, including project name, address, key contact information, and a brief description of the design. This helps to set the context and provide a snapshot of the project.
- Organize the pages: Arrange the blueprint in a logical order, grouping related sections together. Start with the cover sheet, followed by the floor plans, elevations, sections, and any additional sheets for electrical or plumbing layouts.
- Create a legend: Include a legend that explains the symbols, colors, and notations used in the blueprint. This helps to clarify any technical details and ensures that everyone involved in the project can understand the design intent.
- Consider additional visuals: In addition to the blueprint, consider including 3D renderings, artist’s impressions, or virtual walkthroughs to help stakeholders visualize the final result. These visuals can significantly enhance the understanding and appreciation of the design.
- Prepare digital and hard copies: Ensure that you have digital copies of the blueprint that can be easily shared with stakeholders via email or file-sharing platforms. It’s also a good idea to print hard copies to present during meetings or consultations.
- Present and communicate effectively: When presenting the blueprint, clearly explain the design intent, key features, and any specific considerations. Encourage questions and feedback from the audience and be prepared to address any concerns or suggestions.
Remember that the blueprint is a living document and may require updates or revisions as the project progresses. Stay open to feedback and be ready to adapt the design if necessary.
By finalizing and presenting your blueprint in a professional and concise manner, you will effectively communicate your design vision and set the stage for the construction phase of the project.
Conclusion
Designing a blueprint for a house is a complex yet rewarding process that requires careful planning, creativity, and attention to detail. It serves as the foundation for the construction of a home, guiding every step of the building process. By following the ten steps outlined in this article, you can create a blueprint that is not only functional and well-designed but also meets the necessary building codes and regulations.
Starting with a clear understanding of the purpose of the house, conducting thorough research on building codes and regulations, and deciding on the layout and size are essential initial steps. Creating rough sketches and floor plans helps visualize the spatial relationships within the house and allows for further refinement of the design. Including necessary rooms and spaces ensures that the blueprint aligns with the functional requirements and lifestyle of the inhabitants.
Considering the structural and architectural elements helps create a blueprint that is not only aesthetically pleasing but also structurally sound. Planning for electrical, plumbing, and HVAC systems ensures the comfort and functionality of the house. Seeking professional advice and consultations provides valuable insights and expertise, helping to optimize the blueprint and ensure compliance with standards and regulations.
Finally, reviewing and revising the blueprint, and then finalizing and presenting it, are crucial steps to ensure accuracy, clarity, and effective communication of the design intent. By following these steps, you will have a well-crafted blueprint that can serve as a reliable guide for the construction phase.
Remember that every house is unique, and the blueprint should reflect the specific needs, preferences, and vision of the project. Continuously consult with professionals, adapt to feedback, and remain open to making necessary adjustments. With careful planning and attention to detail, your blueprint will pave the way for the creation of a beautiful, functional, and well-constructed home.
Frequently Asked Questions about How To Make A Blueprint For A House
Was this page helpful?
At Storables.com, we guarantee accurate and reliable information. Our content, validated by Expert Board Contributors, is crafted following stringent Editorial Policies. We're committed to providing you with well-researched, expert-backed insights for all your informational needs.


0 thoughts on “How To Make A Blueprint For A House”