Home>diy>Architecture & Design>How To Make A Blueprint
Architecture & Design
How To Make A Blueprint
Modified: December 7, 2023
Learn how to make a blueprint in architecture design with our step-by-step guide. Create detailed plans and bring your ideas to life.
(Many of the links in this article redirect to a specific reviewed product. Your purchase of these products through affiliate links helps to generate commission for Storables.com, at no extra cost. Learn more)
Introduction
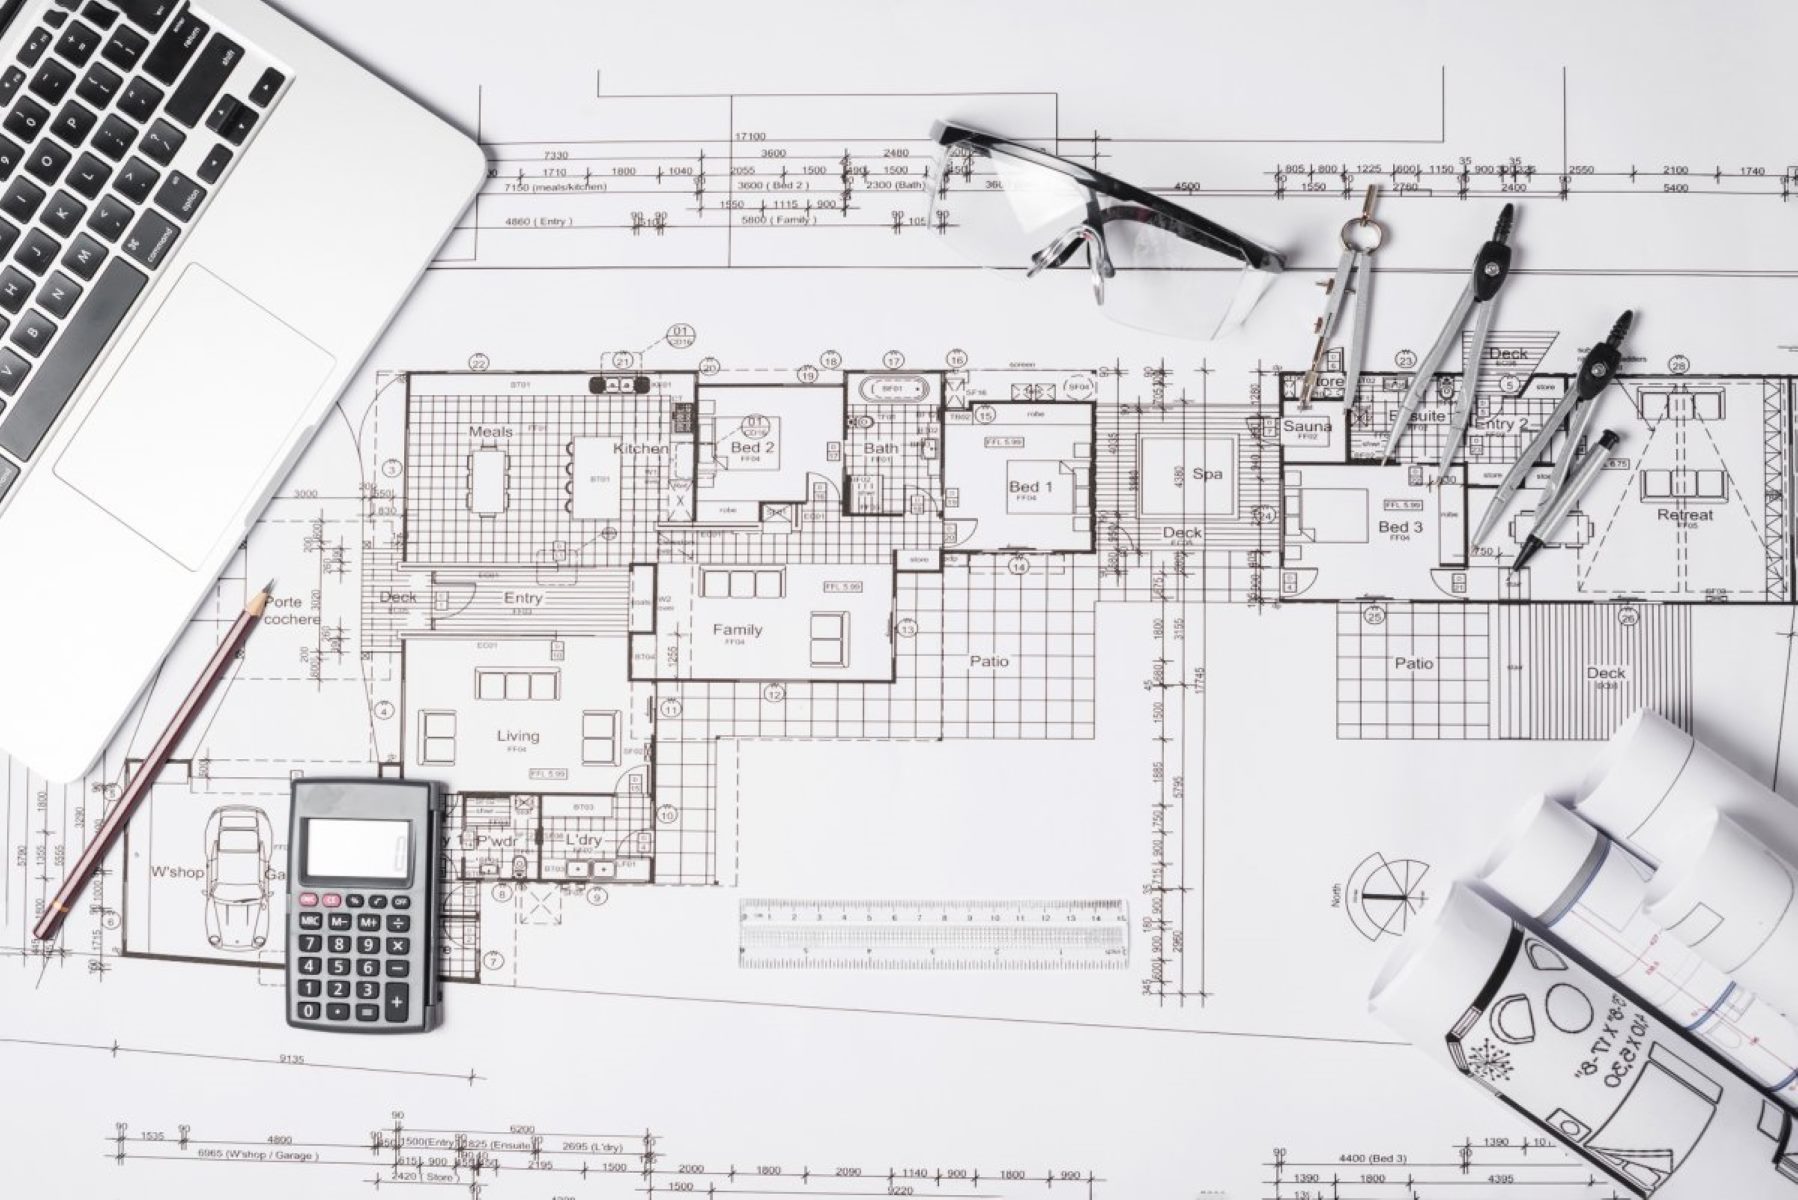
Designing and creating blueprints is an essential step in the architectural and design process. A blueprint serves as a detailed plan and guide for construction or renovation projects, providing a visual representation of the final product.
Whether you’re an architect, engineer, or a DIY enthusiast looking to tackle a home improvement project, understanding how to create a blueprint is crucial. A well-executed blueprint ensures accurate measurements, precise layouts, and clear instructions for the construction team.
In this article, we will guide you through the process of creating a blueprint from start to finish. We will cover everything from gathering materials and taking measurements to creating a layout and finalizing the blueprint with detailed annotations.
So, let’s jump right in and discover the steps involved in making a blueprint that will bring your design ideas to life!
Key Takeaways:
- Creating a blueprint involves meticulous steps from gathering materials to finalizing the plan. Attention to detail, precision in measurements, and clear annotations are crucial for effective communication with the construction team.
- A well-executed blueprint not only guides construction but also fosters collaboration among professionals. By following industry standards and incorporating clear annotations, you can ensure that your design vision is accurately communicated.
Read more: How To Make A Blueprint For A House
Understanding Blueprints
Before diving into the process of creating a blueprint, it’s important to understand what exactly a blueprint is and its purpose in the architectural and design world.
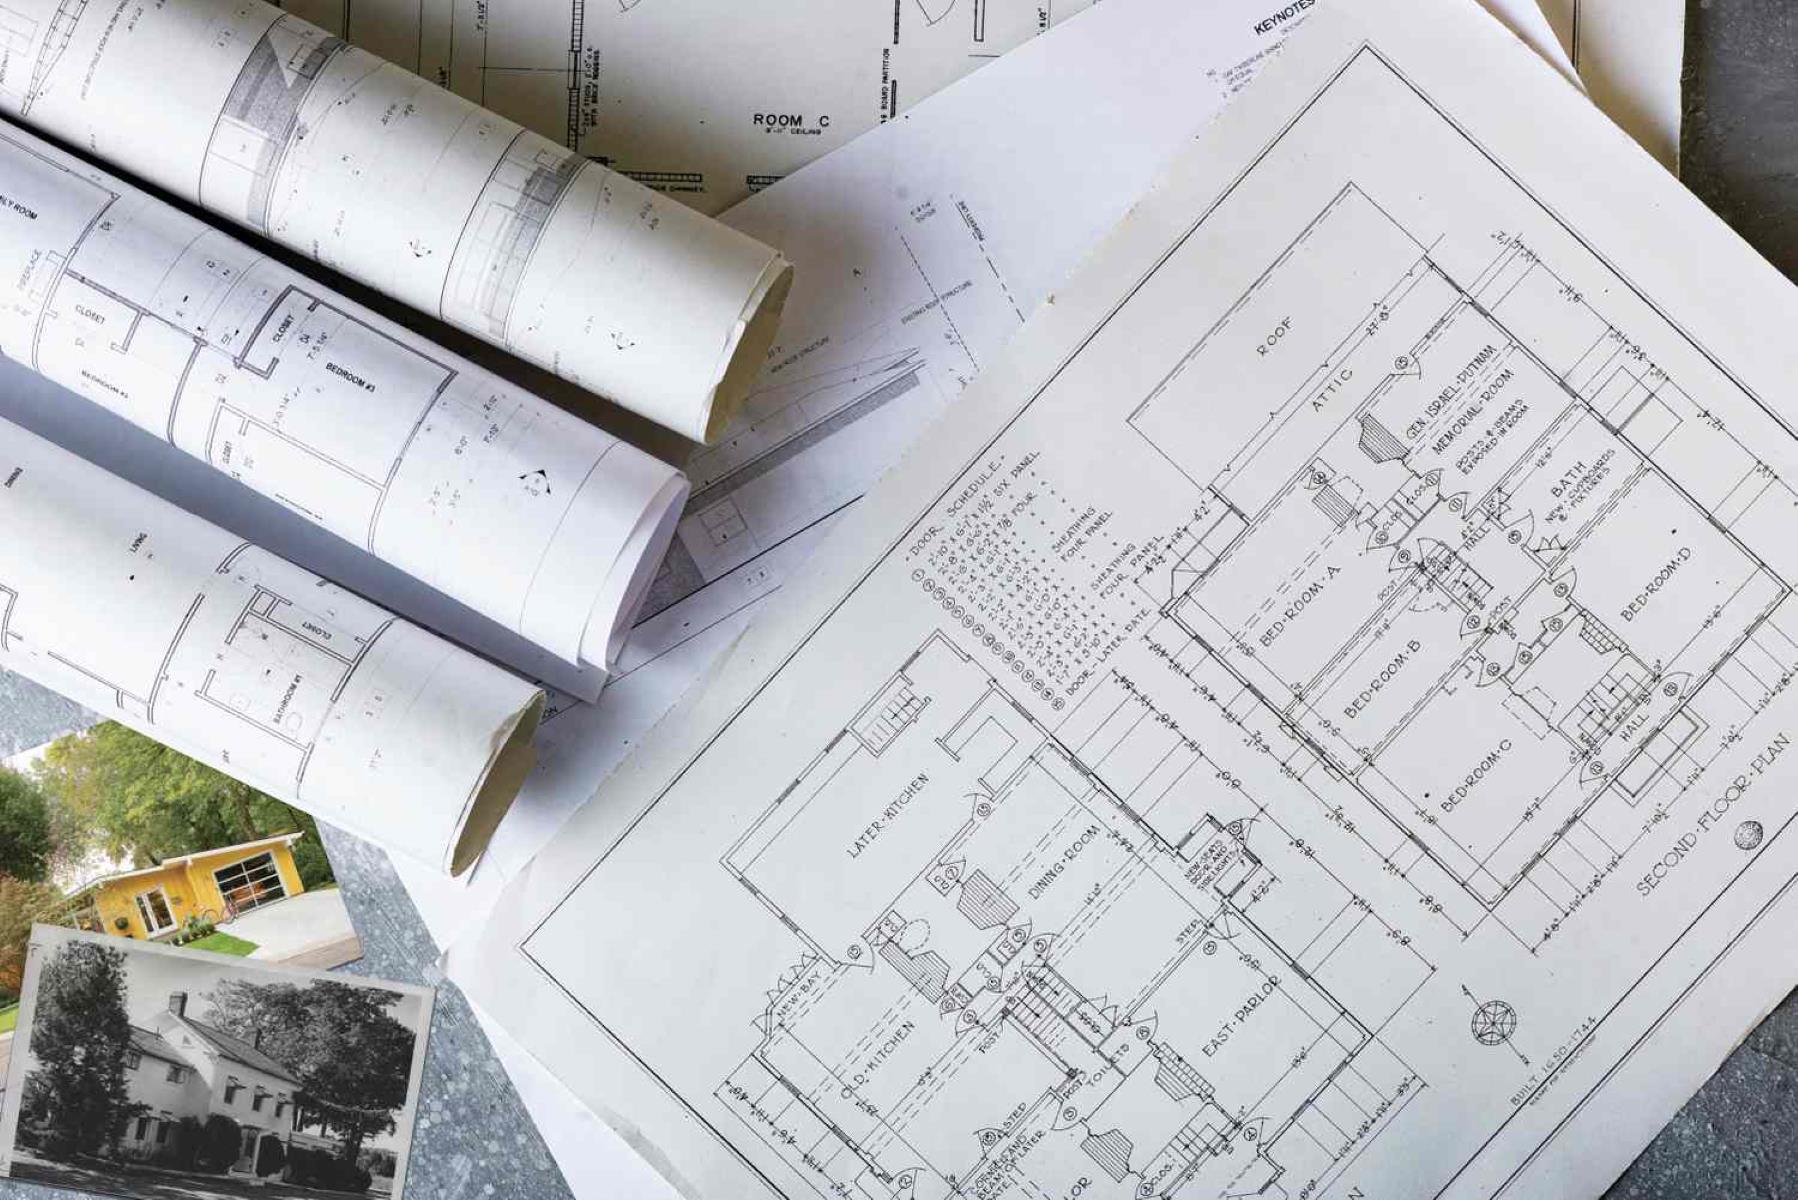
A blueprint is a detailed technical drawing that outlines the specifications, dimensions, and construction details of a project. It serves as a visual representation of the design concept and acts as a roadmap for builders and contractors to follow.
A typical blueprint includes various elements, such as:
- Architectural drawings: These depict the overall design and layout of the structure, including floor plans, elevations, and sections.
- Structural drawings: These focus on the structural integrity of the building, including foundation plans, beam layouts, and roof trusses.
- Electrical and plumbing drawings: These show the placement of electrical wiring, outlets, switches, and plumbing fixtures such as pipes, drains, and faucets.
- Interior design specifications: These outline the materials, finishes, and colors to be used in each room.
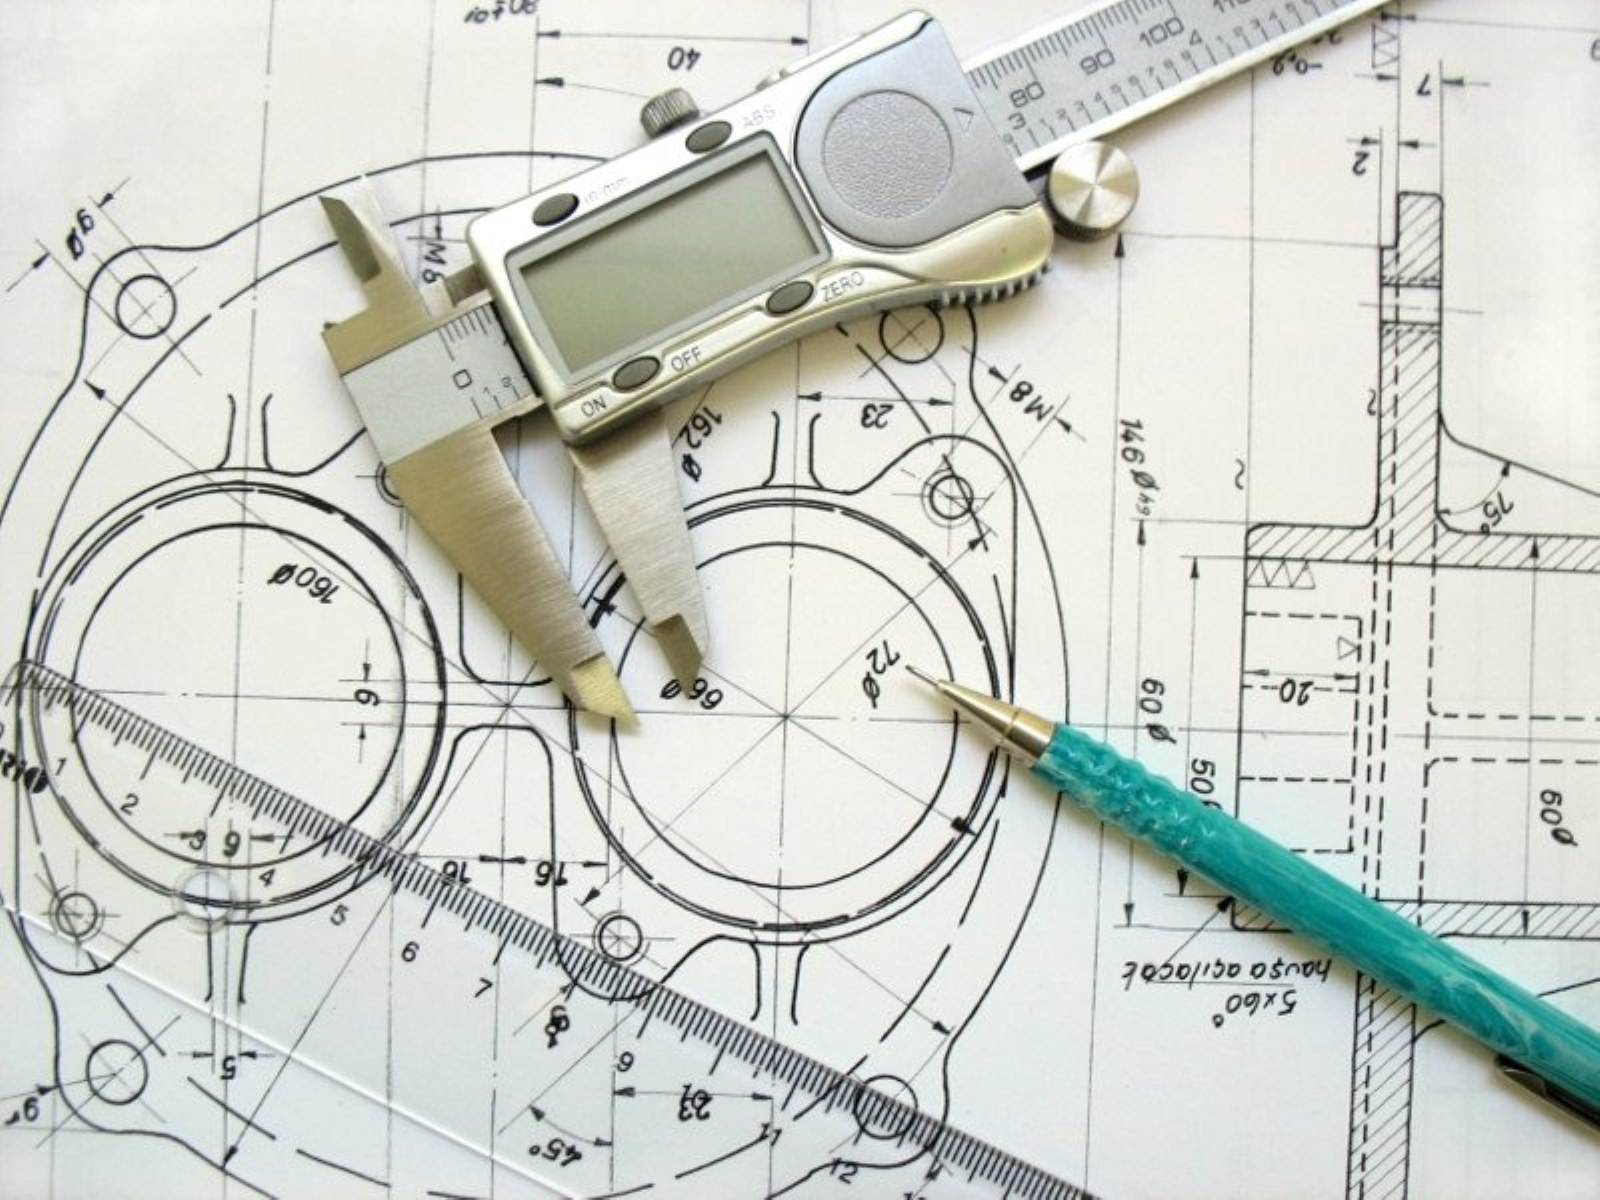
Blueprints are typically created using drafting software or computer-aided design (CAD) programs. These tools allow for precise measurements, scaling, and visualization of the project. In addition to digital formats, blueprints can also be hand-drawn by skilled draftsmen or architects.
The importance of a well-executed blueprint cannot be overstated. It acts as a communication tool, ensuring that all parties involved in the construction project have a clear understanding of the design intent. Builders can refer to the blueprint to accurately construct the structure, minimizing errors and ensuring adherence to building codes and regulations.
Furthermore, blueprints provide a platform for collaboration between different professionals involved in the design and construction process. Architects, engineers, electricians, plumbers, and contractors can all refer to the blueprint to coordinate their efforts and ensure a smooth and efficient workflow.
Now that we have a solid understanding of what blueprints are and their significance, let’s move on to the practical steps of creating your own blueprint.
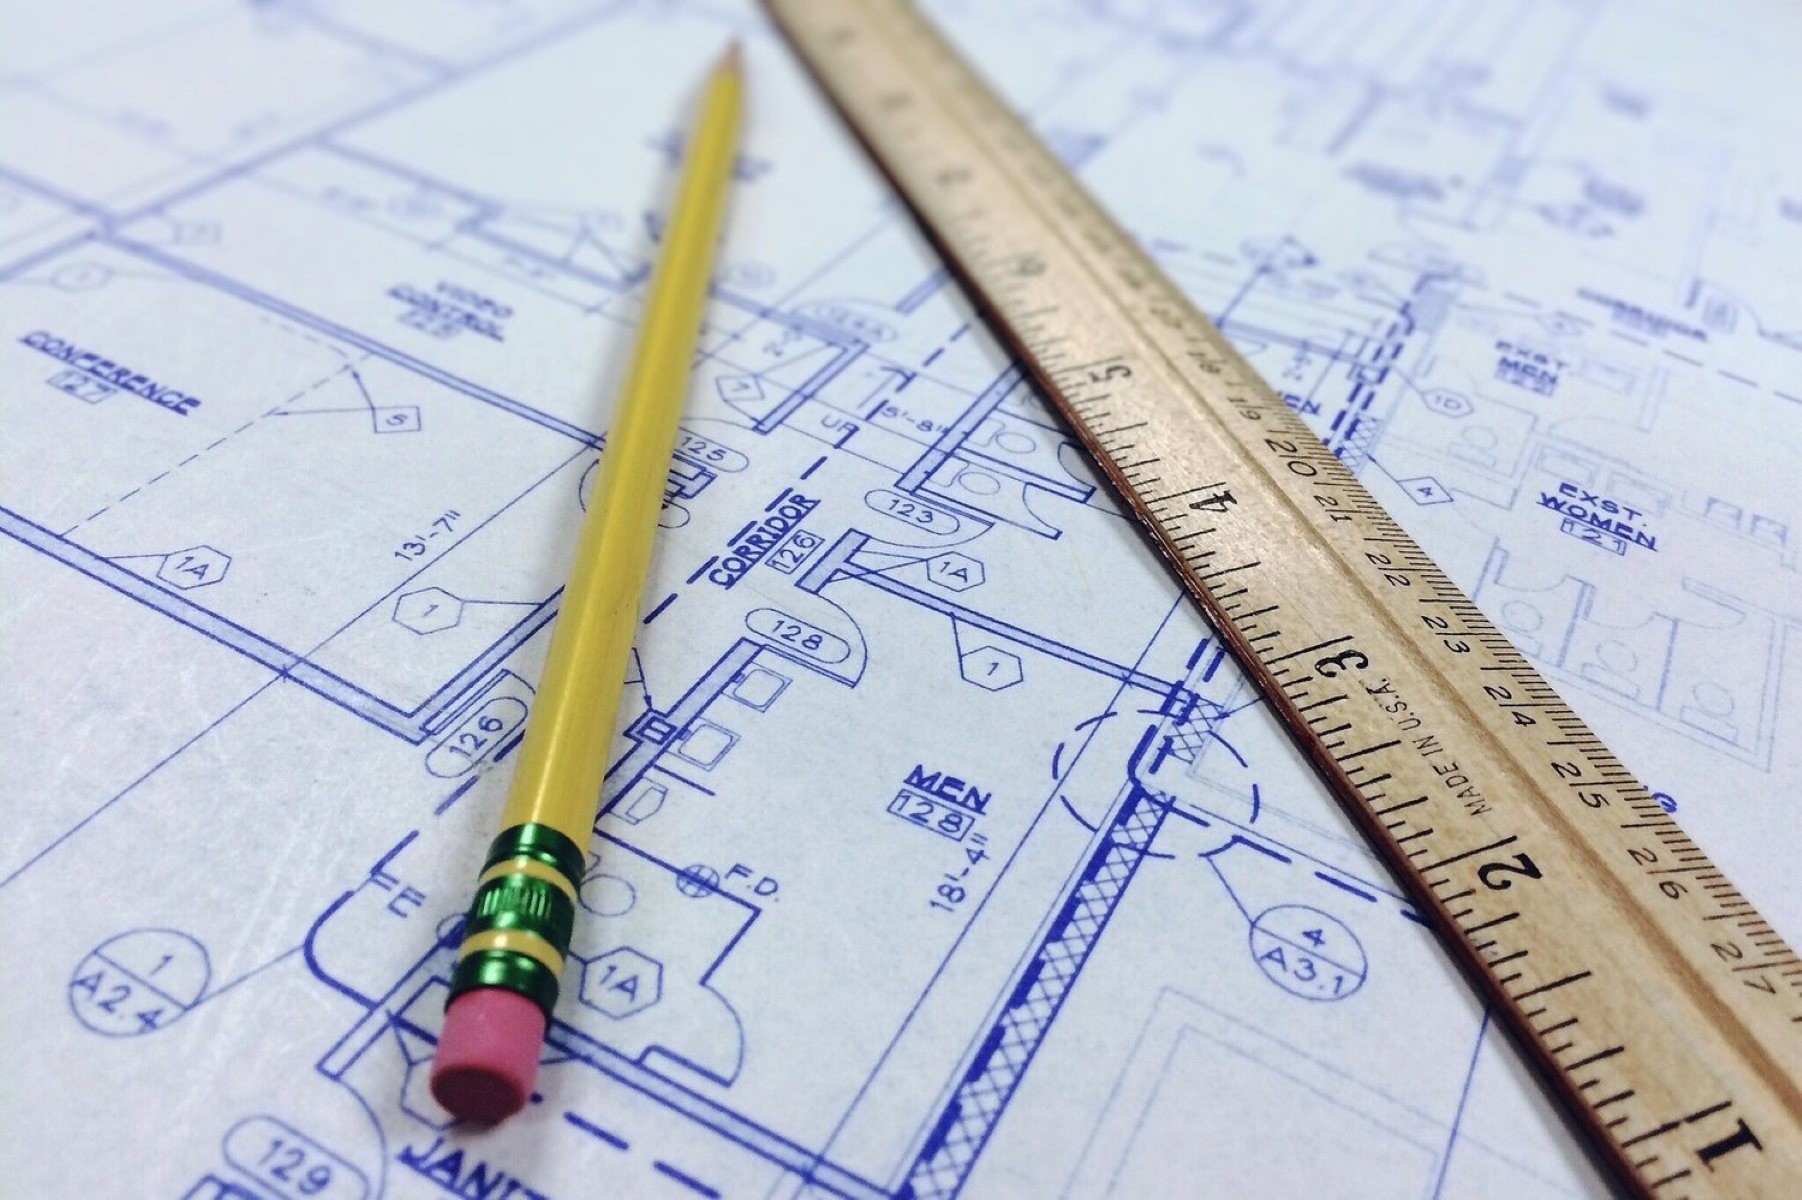
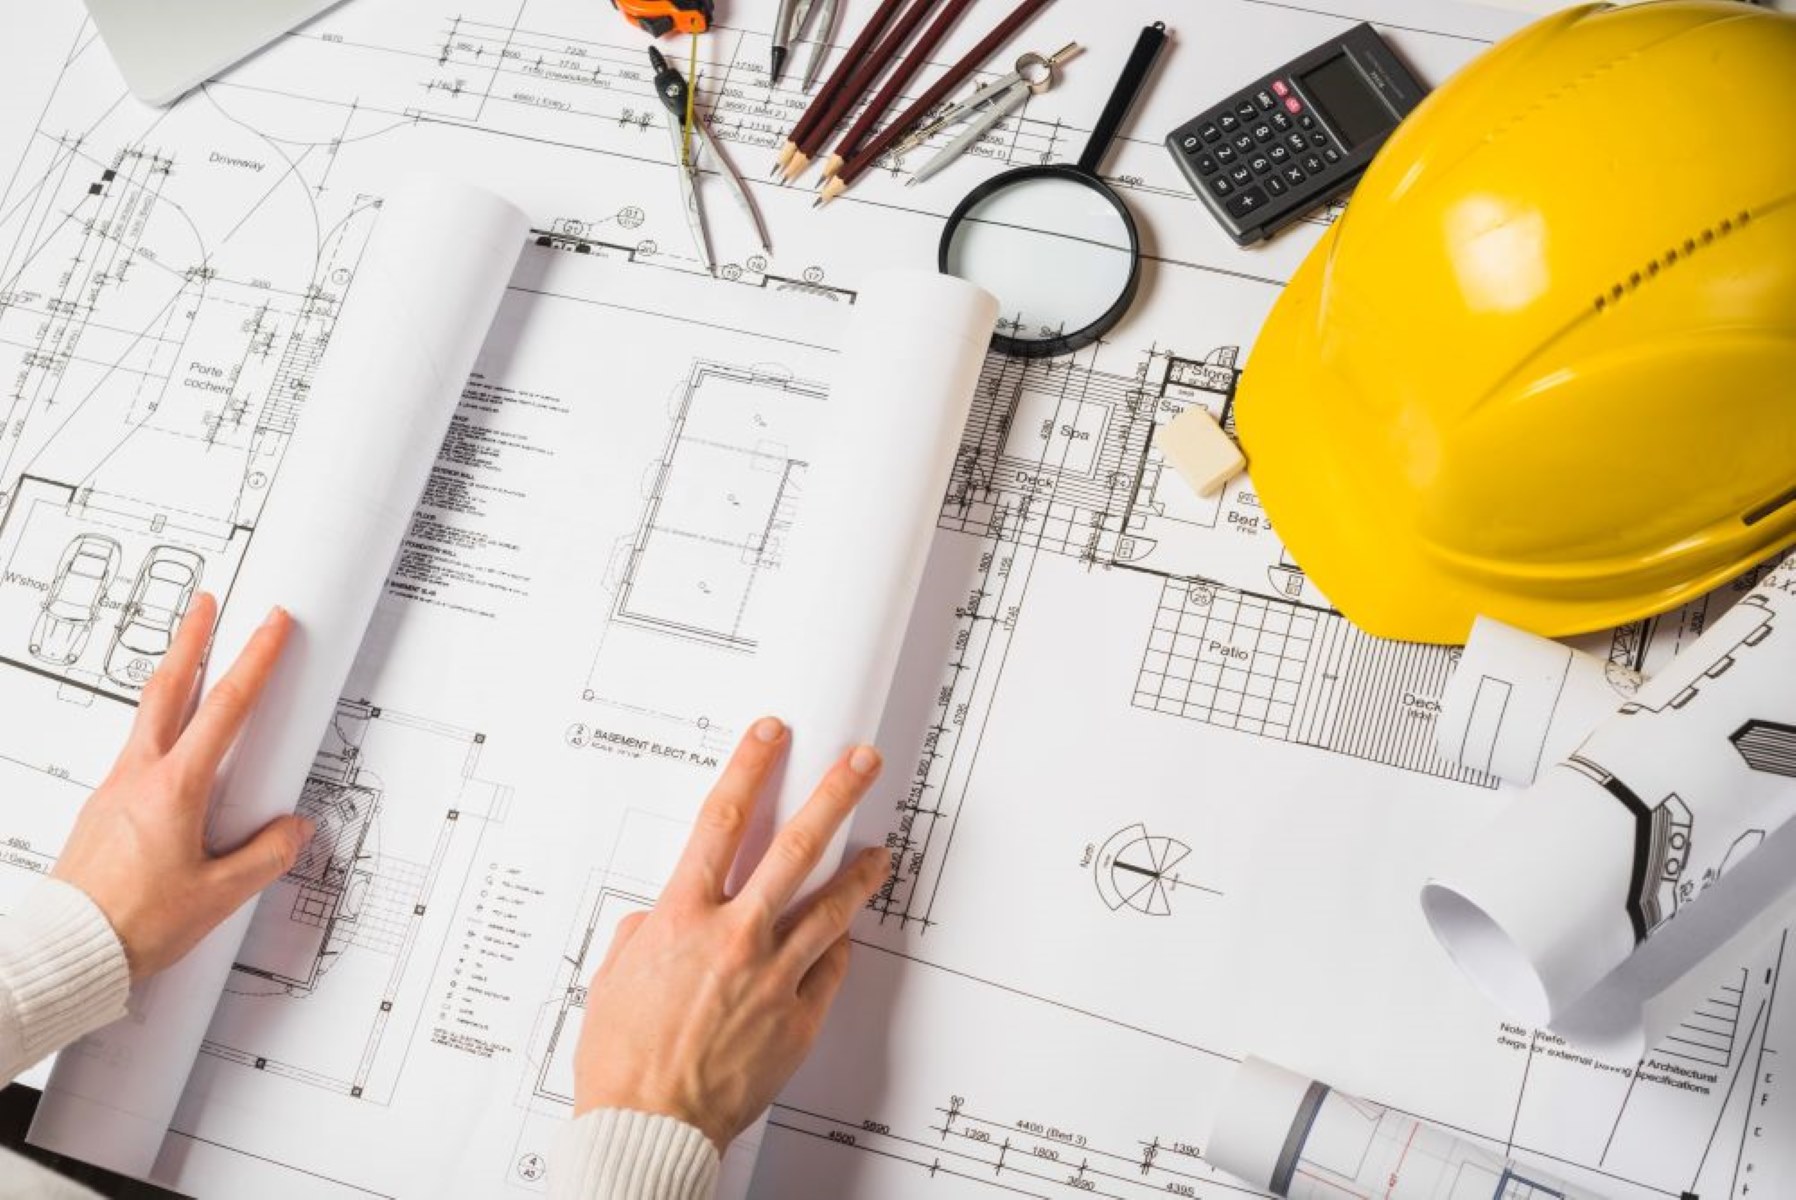
Step 1: Gathering Materials
The first step in creating a blueprint is to gather all the necessary materials and tools. Having the right supplies on hand will ensure a smooth and efficient blueprinting process. Here’s a list of the essential items you’ll need:
- Drawing paper or blueprint paper: Start with high-quality, heavyweight paper specifically designed for drawing architectural plans. This paper is typically available in various sizes, so choose one that suits your project requirements.
- Straightedge ruler: A ruler with a straight edge is essential for drawing straight lines and measuring precise distances.
- T-square: This tool is used to draw horizontal and vertical lines at perfect right angles. It helps maintain accurate alignment throughout the blueprint.
- Architectural scale: An architectural scale is a specialized ruler that allows you to accurately measure and scale down dimensions. It helps ensure that your blueprint is proportional and to-scale.
- Pencils and erasers: Use a selection of high-quality pencils with different lead thicknesses, such as HB, 2B, and 4B. An eraser is essential for correcting mistakes or making adjustments.
- Pens and markers: Fine-tipped pens are useful for adding details and annotations to your blueprint. Markers can be used to emphasize specific features or highlight important elements.
- Compass: A compass is handy for drawing circles or arcs of different sizes.
- Measuring tools: Have a variety of measuring tools on hand, such as a tape measure or a laser measuring device for accurately taking measurements of the space you are blueprinting.
- Reference materials: Gather any reference materials you may need, such as architectural plans, design sketches, or photographs that will assist you in creating an accurate and detailed blueprint.
Once you have gathered all the necessary materials, make sure you have a clean and organized workspace. Having a clutter-free area will help you stay focused and ensure that your blueprinting process goes smoothly.
With your materials and tools in hand, you are now ready to move on to the next step: taking accurate measurements.
Step 2: Taking Measurements
Accurate measurements are crucial when creating a blueprint, as they dictate the overall dimensions and layout of the project. To ensure precision and consistency, follow these steps when taking measurements:
- Prepare the space: Before taking measurements, ensure that the area you are blueprinting is clean and free of any obstructions. Remove furniture or objects that might hinder your access to walls, corners, and other key areas.
- Use a laser measuring device or tape measure: Utilize a laser measuring device or a tape measure to measure the length, width, and height of the space. Measure from wall to wall, floor to ceiling, and between key features such as windows and doors. Record these measurements accurately.
- Note architectural features: Pay close attention to architectural features such as columns, beams, and alcoves. Measure and record their dimensions and locations relative to the walls and other key reference points.
- Check for irregularities and variations: Keep an eye out for any irregularities or variations in the space, such as angled walls or uneven floors. These elements need to be accurately measured and noted on your blueprint to ensure an accurate representation of the space.
- Document all measurements: To maintain clarity and avoid confusion, create a labeled sketch or diagram of the space and note down all the measurements you have taken. This will be your reference point when transferring the measurements onto the blueprint paper.
Remember, precision is key when taking measurements for a blueprint. Double-check your measurements and take them from multiple angles to ensure accuracy.
Once you have gathered all the necessary measurements, it’s time to move on to the next step: creating the layout of your blueprint.
When making a blueprint, ensure accurate measurements and clear labeling to avoid confusion during the construction process. Use a scale that is appropriate for the size of the project to ensure accuracy.
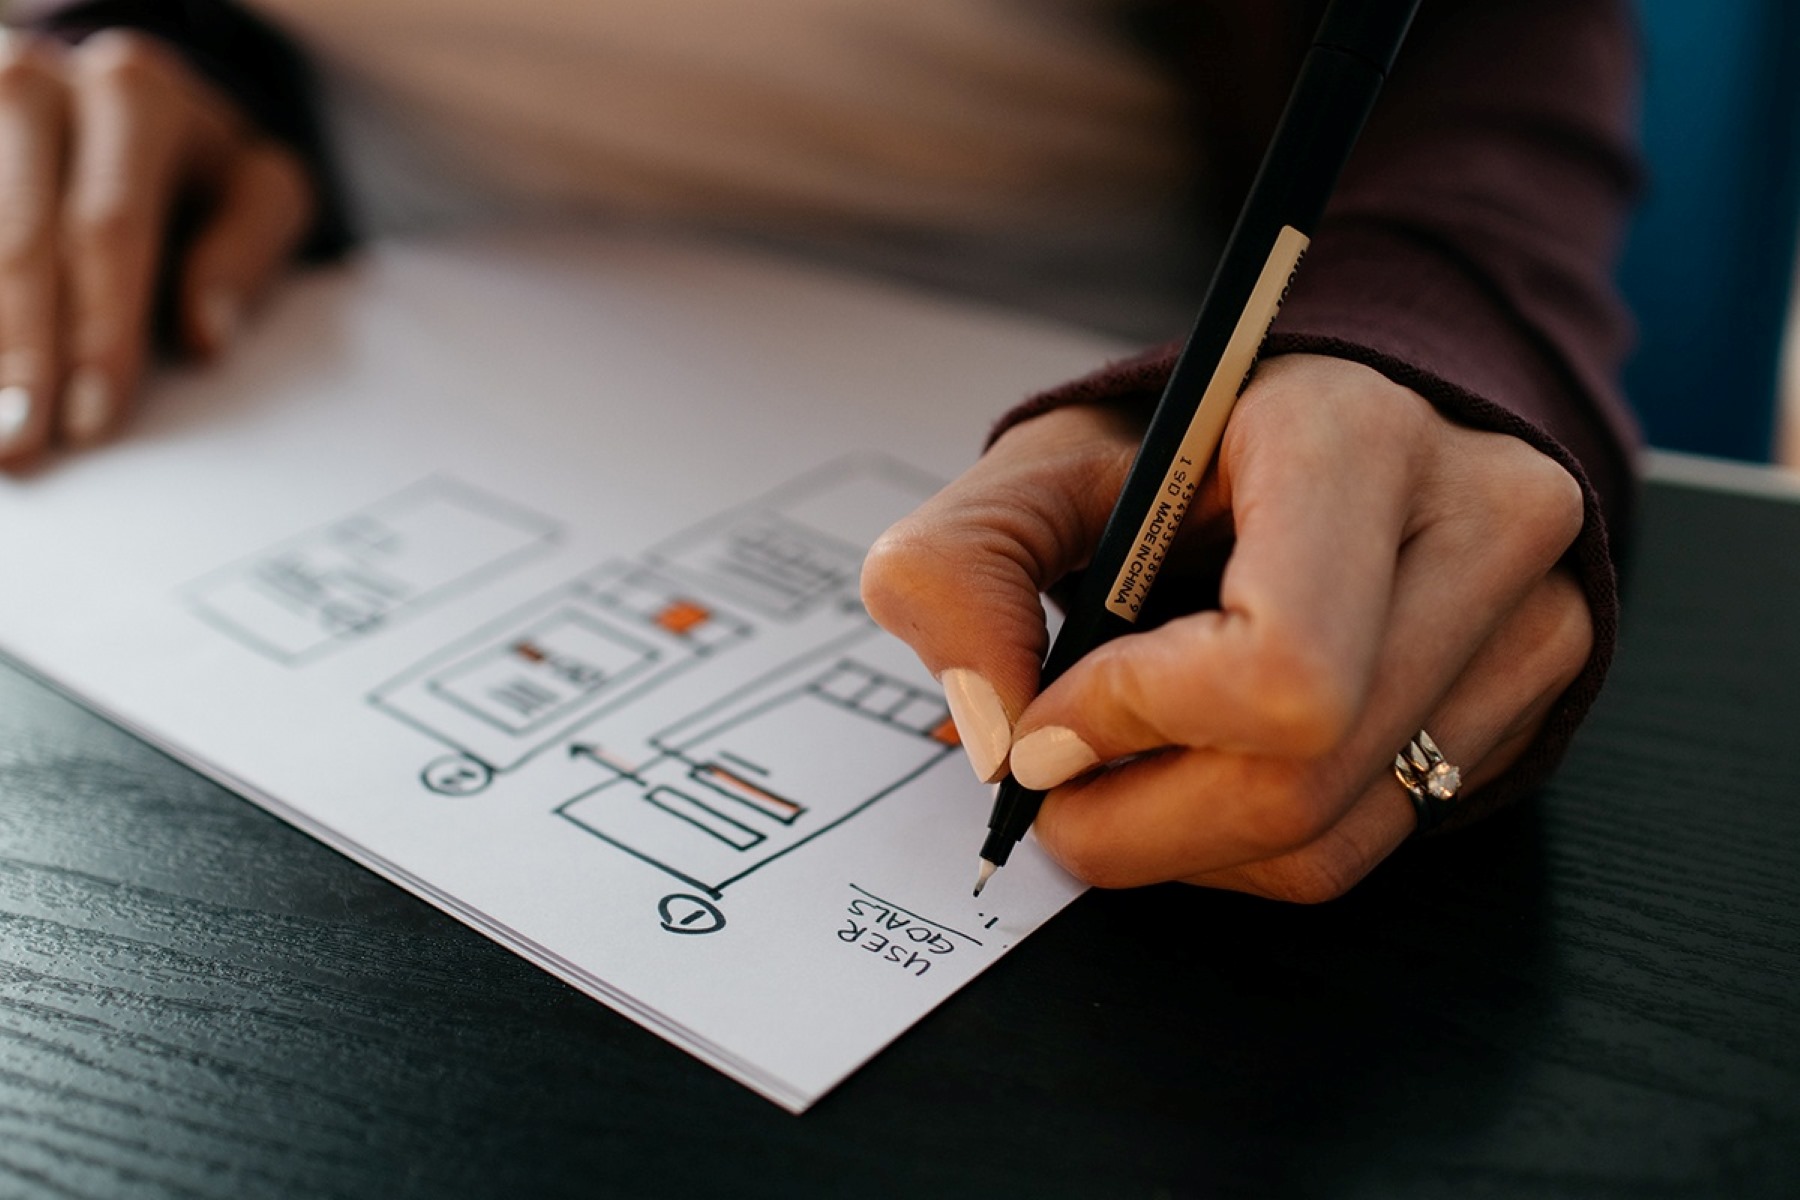
Step 3: Creating the Layout
With accurate measurements in hand, it’s time to start creating the layout of your blueprint. The layout serves as the foundation for your design and determines the placement of walls, doors, windows, and other key elements. Follow these steps to create an effective layout:
- Start with a rough sketch: Begin by sketching a rough outline of the floor plan on a separate sheet of paper. This initial sketch will help you visualize the overall layout and ensure that all the necessary elements are included.
- Transfer the sketch to the blueprint paper: Once you are satisfied with the rough sketch, transfer it to the blueprint paper using a light pencil. Start with the walls, marking their positions and lengths accurately according to your measurements. Use a straightedge ruler and a T-square to create straight lines and right angles.
- Add doors and windows: Using the measurements you took earlier, add door and window openings to the walls. Remember to take into account the swing of the doors and the placement of windows relative to walls and corners.
- Incorporate other architectural features: If your space has additional architectural features such as columns, stairs, or built-in shelving, include them in your layout. Ensure that they are accurately positioned and proportionate to the overall design.
- Consider flow and functionality: As you create the layout, think about the flow and functionality of the space. Visualize how people will move through the rooms and consider factors such as natural light, ventilation, and accessibility.
- Make adjustments as needed: Throughout the layout creation process, don’t be afraid to make adjustments and refine your design. It’s common to iterate and make changes to ensure that the blueprint accurately reflects your vision.
Remember, the layout sets the foundation for the rest of the blueprint, so take your time to get it right. Once you are satisfied with the layout, you can move on to the next step: adding detailed annotations.
Read more: Why Is Blueprint Called Blueprint
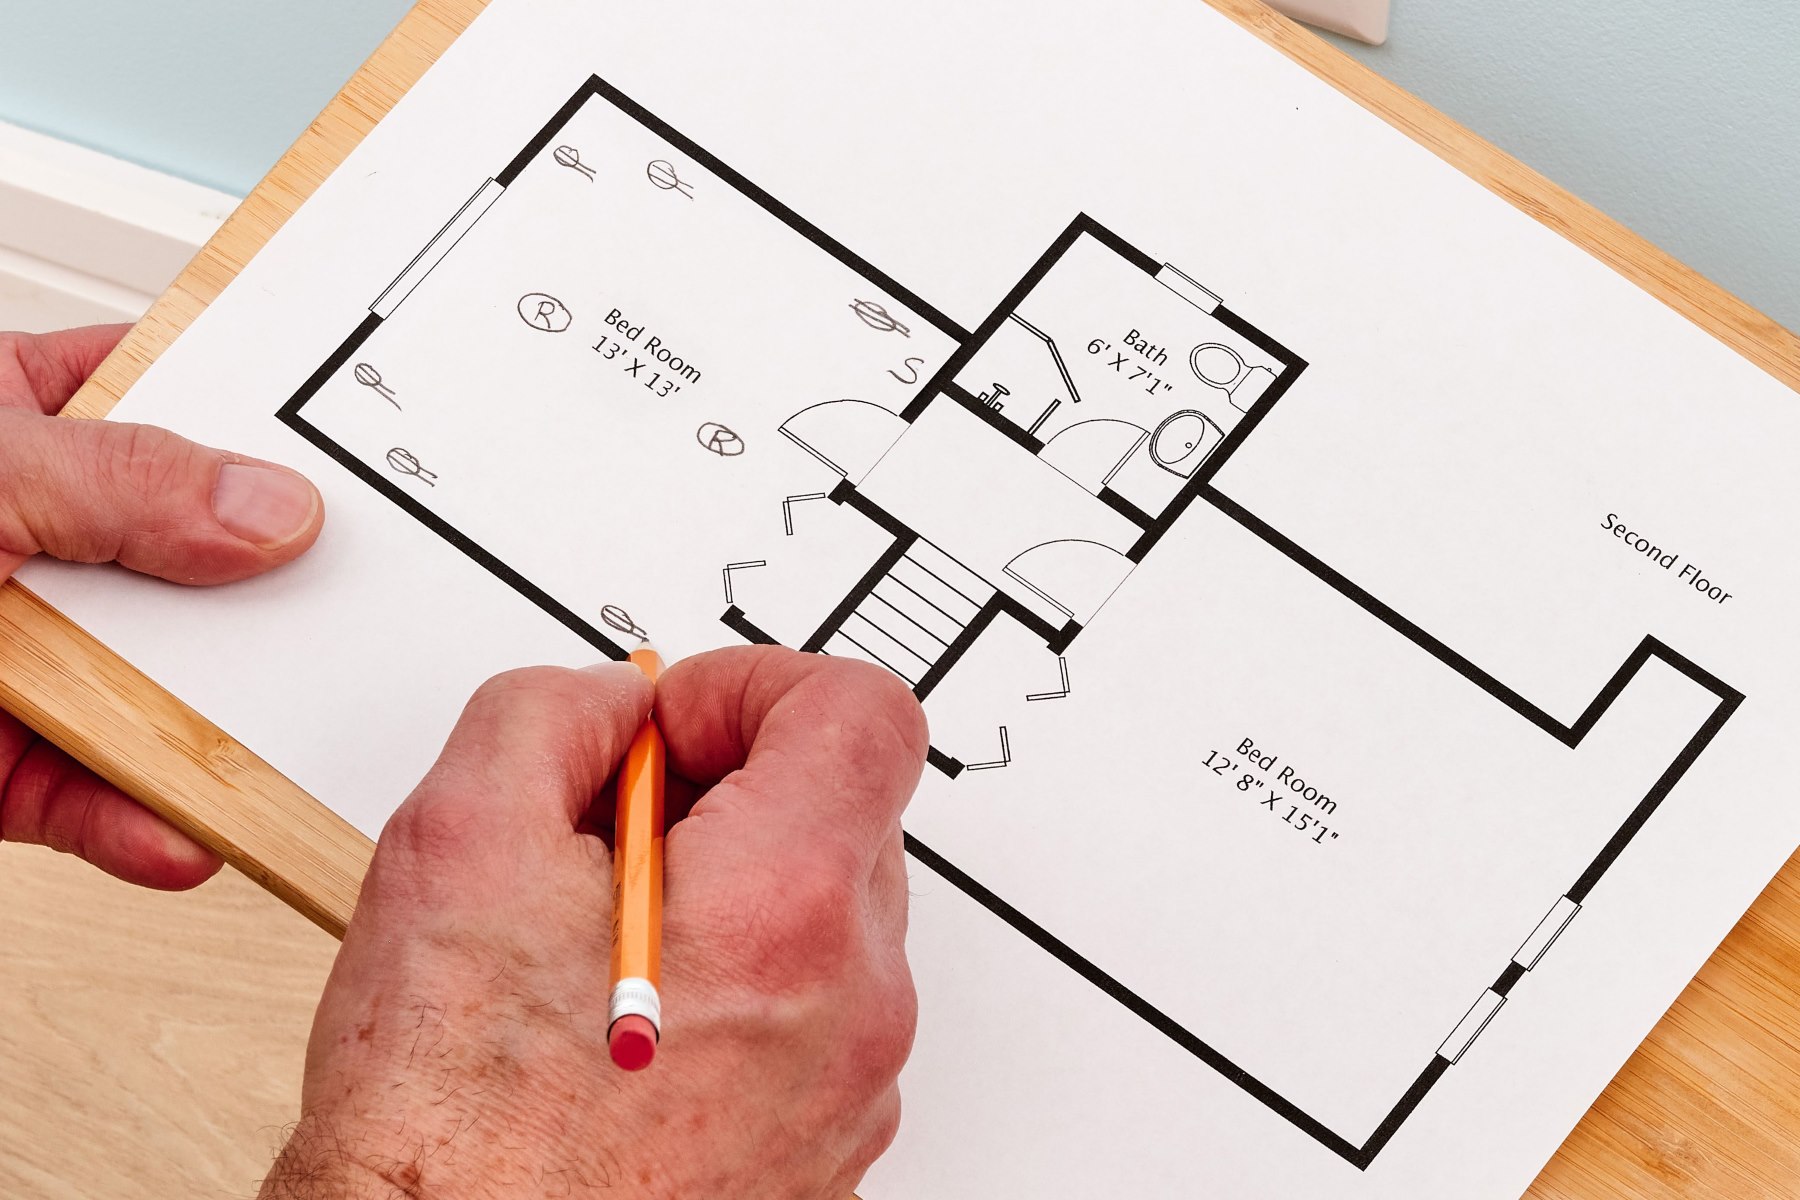
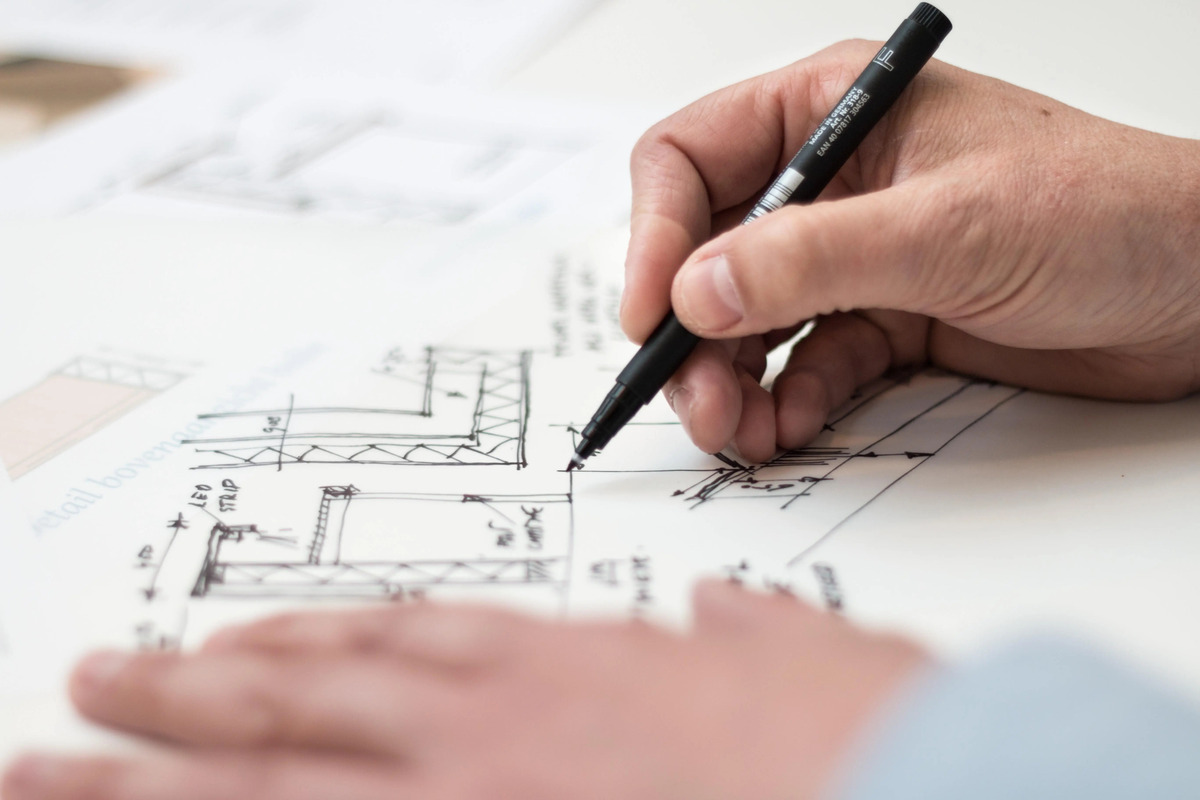
Step 4: Adding Detailed Annotations
Adding detailed annotations to your blueprint is an essential step to provide clarity and instructions for the construction team. These annotations include labels, dimensions, symbols, and notes that convey important information about the design. Follow these guidelines to effectively annotate your blueprint:
- Label rooms and spaces: Use clear and concise labels to identify each room or space in the blueprint. This will help the construction team easily understand the purpose of each area.
- Add dimensions: Include precise dimensions for walls, doors, windows, and other elements in your blueprint. Use an architectural scale to ensure accuracy and consistency. Dimension lines should be drawn with arrows pointing towards the features they represent.
- Include symbols and legends: Utilize standardized symbols and legends to represent various elements in your blueprint. This can include electrical outlets, lighting fixtures, plumbing connections, and more. Refer to industry standards and guidelines to select the appropriate symbols for your design.
- Note material specifications: If you have specific material requirements for certain areas, indicate them in the blueprint. This can include flooring materials, wall finishes, or cabinetry details. These annotations help ensure that the design intent is clearly communicated to the construction team.
- Add notes and callouts: Use notes and callouts strategically to provide additional instructions or highlight important details in your blueprint. These annotations can clarify design decisions, indicate special considerations, or specify specific construction techniques.
- Organize and align annotations: Arrange your annotations in a clean and organized manner to avoid clutter and confusion. Align dimensions and labels properly, and use consistent text sizes and styles throughout the blueprint.
Remember, clear and concise annotations are crucial for effective communication with the construction team. Take the time to review your blueprint and ensure that all necessary information is included and accurately conveyed.
Once you have added all the detailed annotations, you are ready for the final step: finalizing the blueprint.
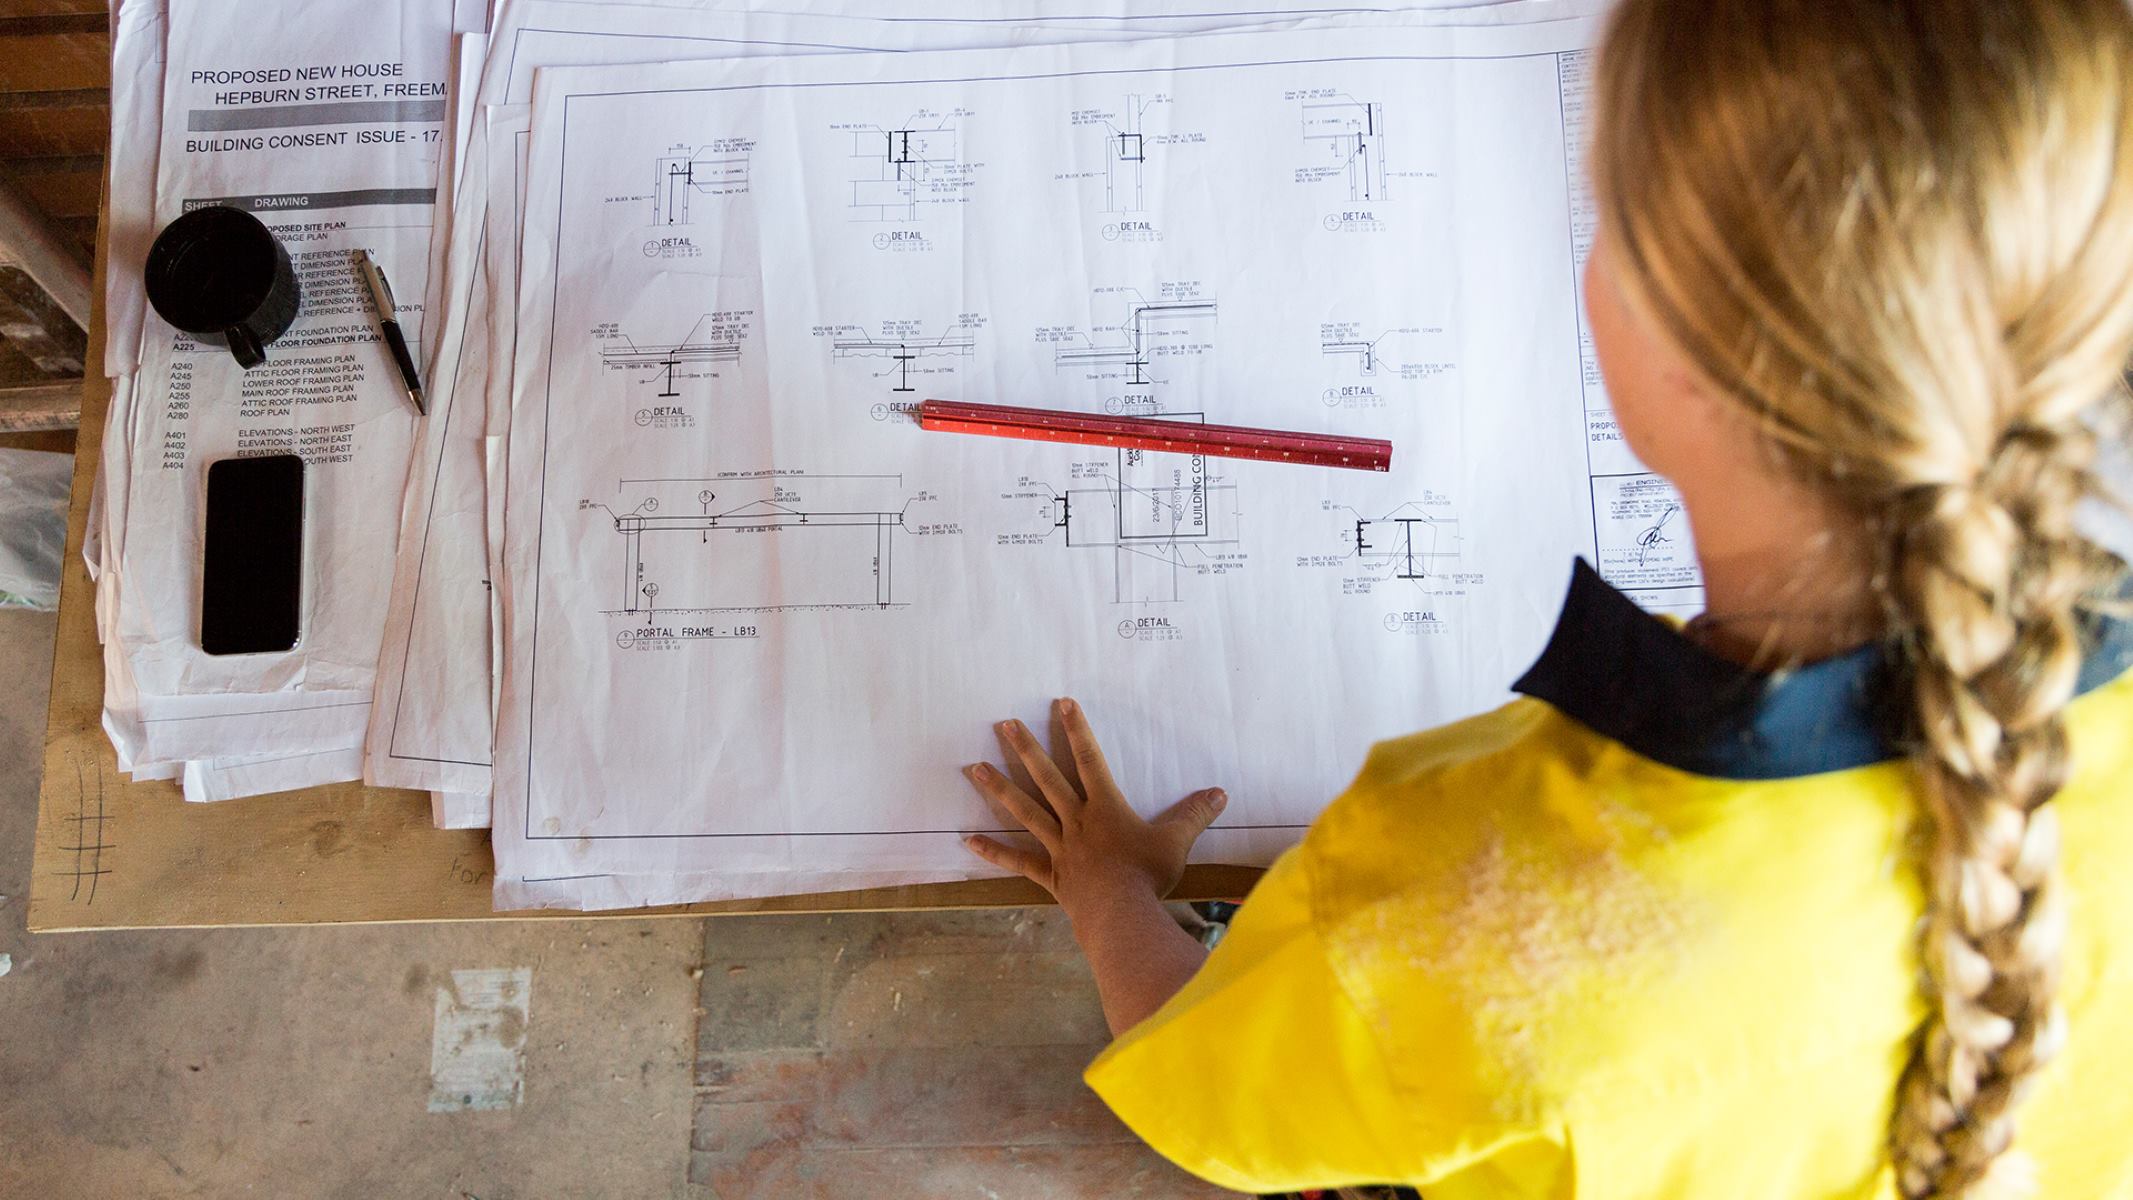
Step 5: Finalizing the Blueprint
Finalizing the blueprint is the last step in the process of creating a comprehensive and accurate plan for your construction or renovation project. This step involves reviewing the entire blueprint, making necessary adjustments, and ensuring that it is ready for use by the construction team. Follow these steps to finalize your blueprint:
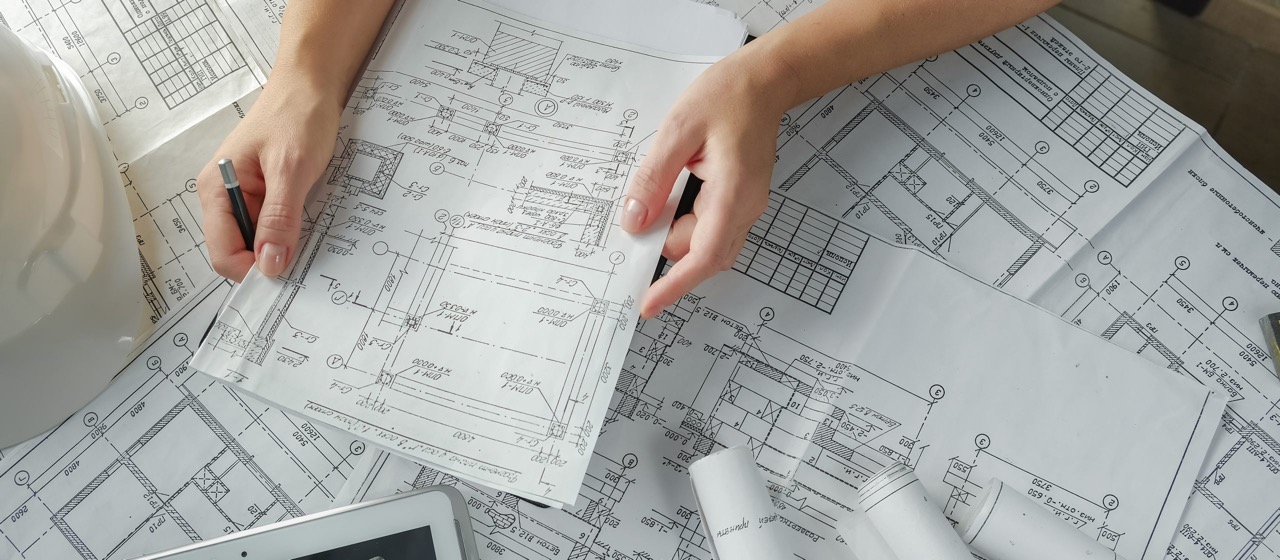
- Review and check for errors: Carefully scrutinize the entire blueprint for any errors, inconsistencies, or omissions. Double-check all measurements, annotations, and labels to ensure accuracy.
- Seek feedback and input: If possible, share your blueprint with others, such as architects, engineers, or experienced builders, to gain additional insights and feedback. They may be able to identify any potential issues or suggest improvements.
- Make necessary revisions: Based on the feedback received and your own observations, make any necessary revisions to the blueprint. This could include adjusting dimensions, refining annotations, or addressing any design concerns.
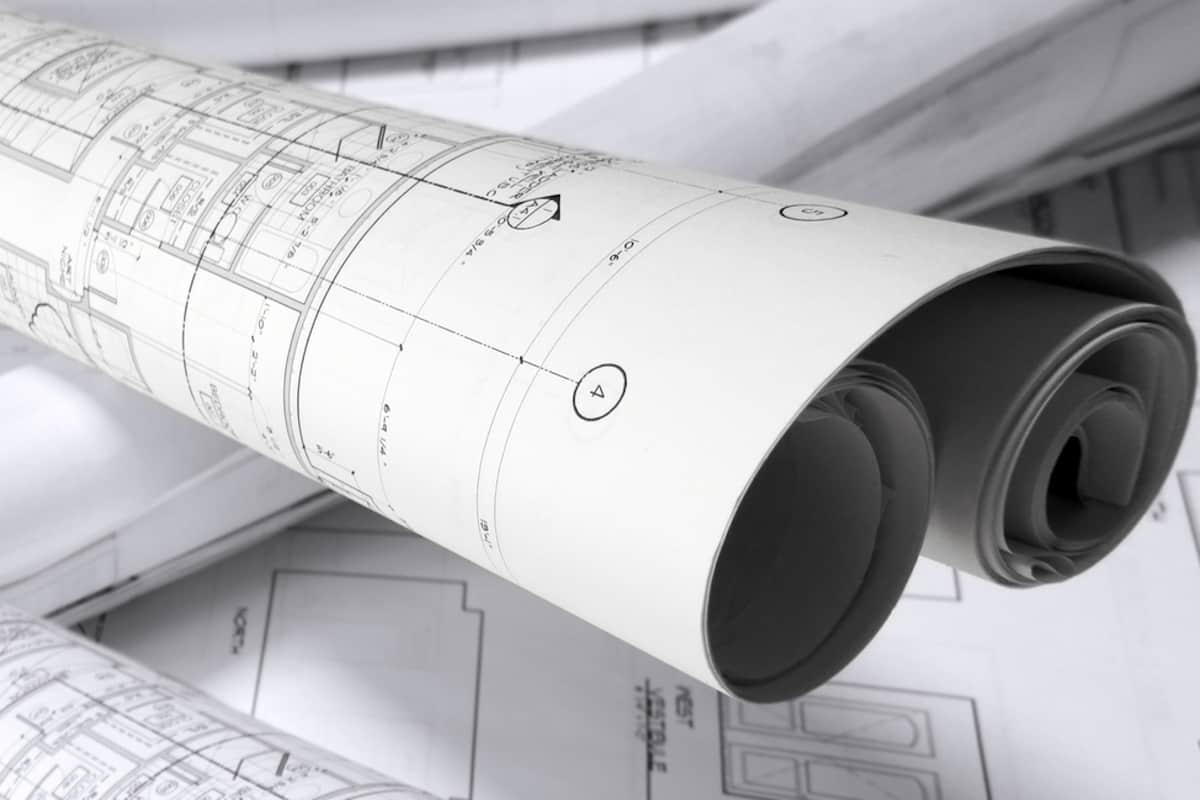
- Create multiple copies: Once you are satisfied with the final version of your blueprint, make several copies of it. This will ensure that you have backups and that you can easily distribute the blueprint to the necessary parties involved in the construction project.
- Store the blueprint securely: Store the blueprint in a safe and protected location to prevent damage or loss. Consider digitizing the blueprint as well, so it can be easily accessed and shared digitally if needed.
- Communicate the blueprint to the construction team: Share the finalized blueprint with the construction team that will be responsible for executing the project. Provide them with clear instructions, and answer any questions they may have to ensure a smooth transition from blueprint to construction.
By following these steps and taking the time to finalize your blueprint, you can ensure that the design intent is accurately conveyed, minimizing errors and facilitating a successful construction process.
With the blueprint finalized, you can proceed with confidence, knowing that your design vision is well-documented and ready to be transformed into reality.
Conclusion
Creating a blueprint is a crucial step in the architectural and design process, providing a visual representation of your design concept and serving as a roadmap for construction or renovation projects. By following the steps we’ve outlined in this article, you can successfully create a comprehensive and accurate blueprint.
From gathering the necessary materials and taking precise measurements to creating the layout, adding detailed annotations, and finalizing the blueprint, each step plays a vital role in ensuring that your design vision is communicated effectively to the construction team.
Accuracy and attention to detail are key throughout the blueprinting process. Take the time to double-check measurements, align annotations properly, and review the blueprint for any errors or inconsistencies before finalizing it.
Remember, a well-executed blueprint not only guides the construction process but also fosters collaboration among different professionals involved in the project. It serves as a communication tool, enabling architects, engineers, electricians, plumbers, and contractors to work together seamlessly and bring your design to life.
By following industry standards and incorporating clear and concise annotations, you can ensure that your blueprint effectively communicates your design intent, minimizing the possibility of errors and misunderstandings during construction.
Creating a blueprint may seem like a complex task, but with the right tools, materials, and knowledge, you can confidently tackle this critical step in the architectural process. So, roll up your sleeves, gather your supplies, and start creating a blueprint that will transform your design ideas into reality.
Frequently Asked Questions about How To Make A Blueprint
Was this page helpful?
At Storables.com, we guarantee accurate and reliable information. Our content, validated by Expert Board Contributors, is crafted following stringent Editorial Policies. We're committed to providing you with well-researched, expert-backed insights for all your informational needs.


0 thoughts on “How To Make A Blueprint”