Home>diy>Architecture & Design>How To Make A 2D Floor Plan In Sketchup
Architecture & Design
How To Make A 2D Floor Plan In Sketchup
Modified: May 6, 2024
Learn how to create a detailed 2D floor plan using Sketchup, a powerful architecture design tool. Start designing your dream space today!
(Many of the links in this article redirect to a specific reviewed product. Your purchase of these products through affiliate links helps to generate commission for Storables.com, at no extra cost. Learn more)
Introduction
Welcome to the world of architecture and design! Creating a 2D floor plan is an essential step in the architectural process, allowing you to visualize and plan the layout of a space. With the help of SketchUp, a popular 3D modeling software, you can easily create detailed and accurate floor plans. Whether you are an aspiring architect, an interior designer, or simply someone who enjoys creating beautiful spaces, this guide will walk you through the process of making a 2D floor plan in SketchUp.
SketchUp is a powerful tool that offers a user-friendly interface and a wide range of features to help you bring your ideas to life. From creating the walls to adding furniture and textures, SketchUp provides all the tools you need to design a stunning floor plan. So, let’s dive in and get started!
Before we begin, it’s important to note that SketchUp has a few different versions, including SketchUp Make (free) and SketchUp Pro (paid). While the basic functionality is similar in both versions, SketchUp Pro offers additional features that may be beneficial for professional use. For the purpose of this guide, we will focus on SketchUp Make.
Now, let’s move on to the first step: setting up the workspace.
Key Takeaways:
- SketchUp offers a user-friendly interface and powerful features to create detailed 2D floor plans, allowing aspiring architects and designers to unleash their creativity with precision and accuracy.
- Attention to detail, accuracy, and creativity are key to successful 2D floor plans in SketchUp. Leverage annotations to enhance understanding and share designs with stakeholders using SketchUp’s exporting capabilities.
Step 1: Setting up the workspace
Before you start creating your 2D floor plan, it’s important to set up your workspace in SketchUp. This will help you organize your project and make the design process more efficient. Here are a few key steps to get started:
- Create a new project: Open SketchUp and create a new project by selecting “File” > “New.”
- Choose the appropriate template: When creating a new project, SketchUp provides several templates to choose from. Select the one that best fits your needs. For a 2D floor plan, you can select the “Architectural Design” template.
- Set the measurement units: SketchUp allows you to work with different units of measurement. To set the units for your floor plan, go to “Window” > “Model Info” and select the “Units” tab. Here, you can choose the desired unit of measurement, such as feet or meters.
- Customize the toolbar: SketchUp provides a toolbar with various tools and commands. To customize the toolbar to your liking, go to “View” > “Toolbars” and select the tools you frequently use.
- Enable guidelines and grid: Guidelines and the grid are valuable tools for creating precise and accurate floor plans. To enable guidelines, go to “View” > “Guides” and make sure “Show Guides” is checked. To enable the grid, go to “View” > “Axes” and make sure “Show Grid” is checked.
Once you have set up your workspace according to your preferences, you are ready to start creating your 2D floor plan! In the next step, we will learn how to create the walls.
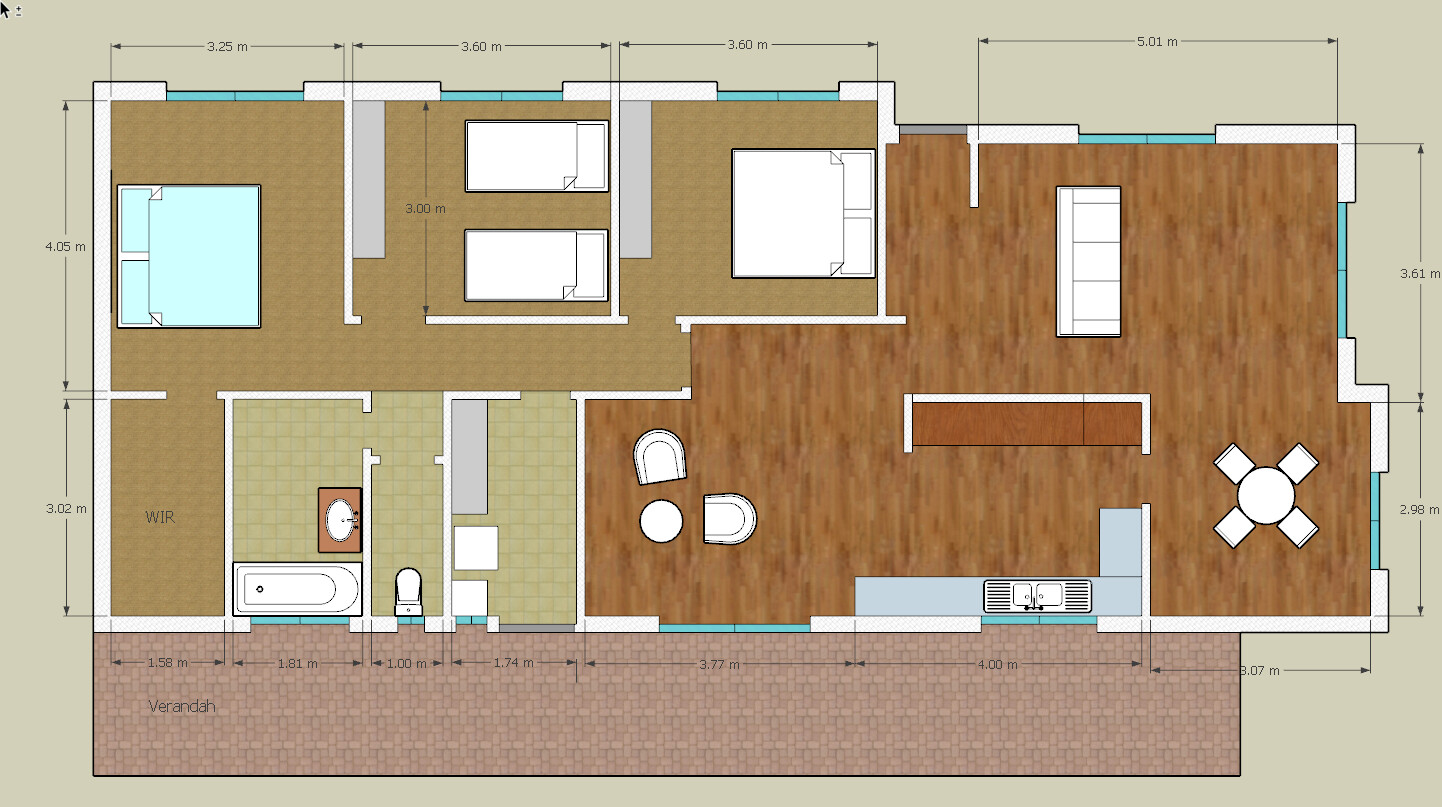
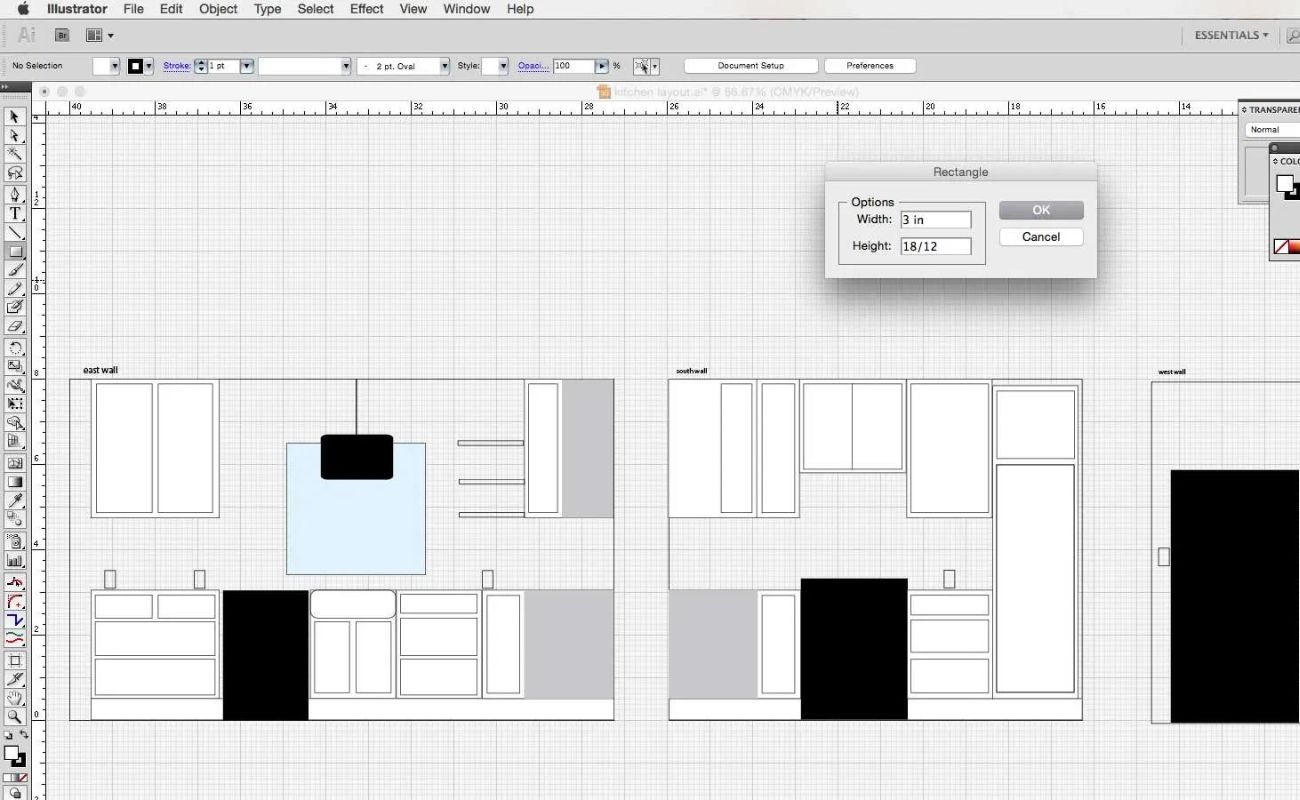
Step 2: Creating the walls
Now that you have set up your workspace, it’s time to start creating the walls of your 2D floor plan. Walls form the structure and boundaries of a space, so it’s crucial to accurately depict them in your design. Here’s how you can create walls in SketchUp:
- Select the Rectangle tool: To create walls, you will use the Rectangle tool. You can find it in the toolbar or by going to “Draw” > “Rectangle.”
- Draw the first wall: Click once on the drawing area to determine the starting point of your wall. Then, move your cursor to the desired direction and click again to determine the length of the wall. SketchUp will automatically create a rectangle shape as your first wall.
- Continue drawing walls: To create additional walls, repeat the same process. Click once on the ending point of the previous wall and click again to determine the length of the new wall. SketchUp will create a rectangle shape connecting the two points.
- Adjust the wall dimensions: If you need to adjust the dimensions of the walls, you can use the Move tool. Simply select the wall, click on the Move tool in the toolbar or go to “Edit” > “Move,” and then drag the selected wall to the desired position.
- Close the walls: To close the walls and form a complete room, draw the final wall that connects to the starting point of the first wall. SketchUp will automatically fill in the area and close the shape.
Remember to pay attention to the dimensions and proportions of the walls to ensure accuracy in your floor plan. Additionally, you can use the Push/Pull tool to give the walls thickness and create a more realistic representation.
Once you have created the walls, you can move on to the next step: adding doors and windows. This will help to bring your floor plan to life and make it more functional. Let’s explore this in the next step!
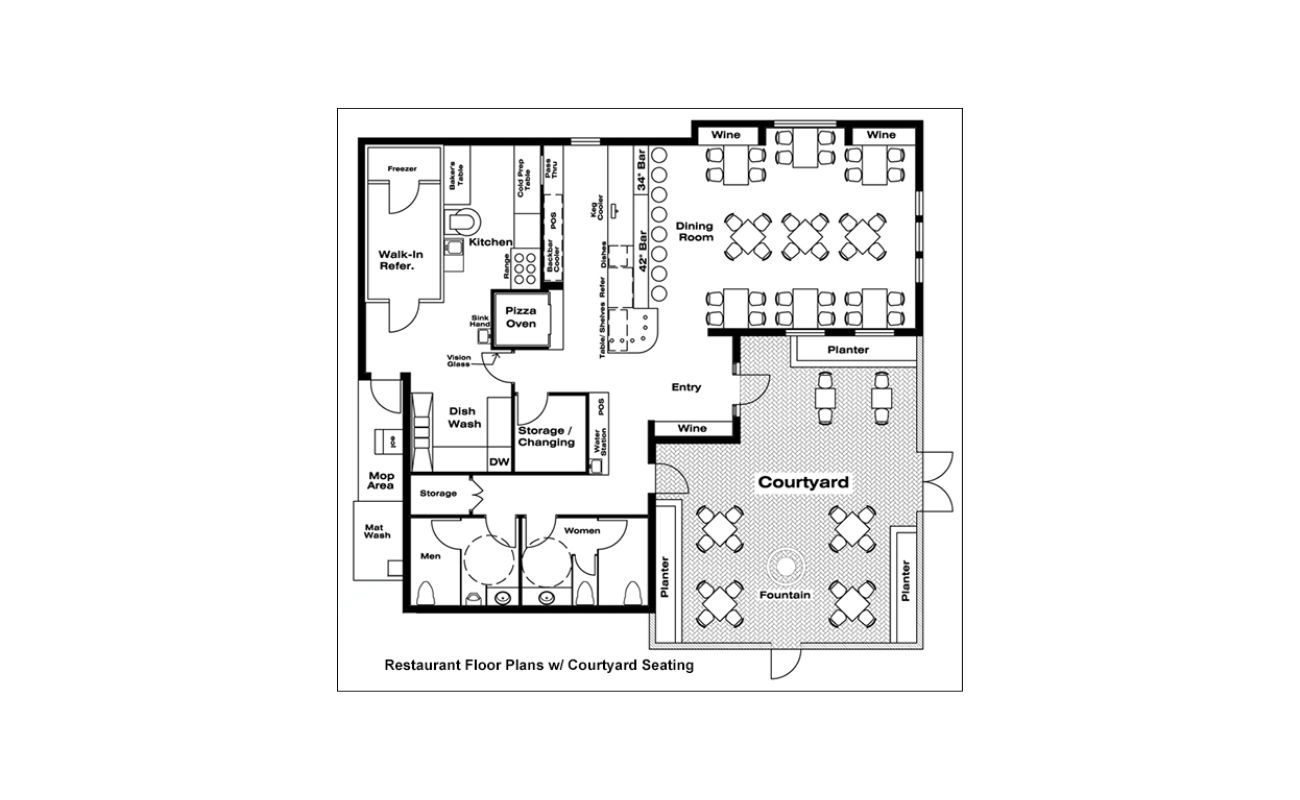
Step 3: Adding doors and windows
Now that you have created the walls of your 2D floor plan, it’s time to add doors and windows. Doors and windows play a crucial role in the functionality and aesthetics of a space, so it’s essential to incorporate them accurately into your design. Here’s how you can add doors and windows in SketchUp:
- Select the Rectangle tool: To create a door or window opening, you will use the Rectangle tool. You can find it in the toolbar or by going to “Draw” > “Rectangle.”
- Choose the starting point: Determine the starting point of the door or window opening by clicking once on the desired location of the wall.
- Specify the dimensions: Click again to determine the length and width of the opening. SketchUp will create a rectangular shape representing the door or window opening.
- Use the Offset tool: To create the frame around the door or window opening, select the Offset tool from the toolbar or go to “Draw” > “Offset.” Click on the edge of the opening and specify the offset distance for the frame.
- Adjust the dimensions: If needed, you can adjust the dimensions of the door or window using the Move and Scale tools. Simply select the door or window entity, click on the respective tool in the toolbar or go to “Edit” > “Move” or “Scale,” and then drag or resize the selected entity to the desired dimensions.
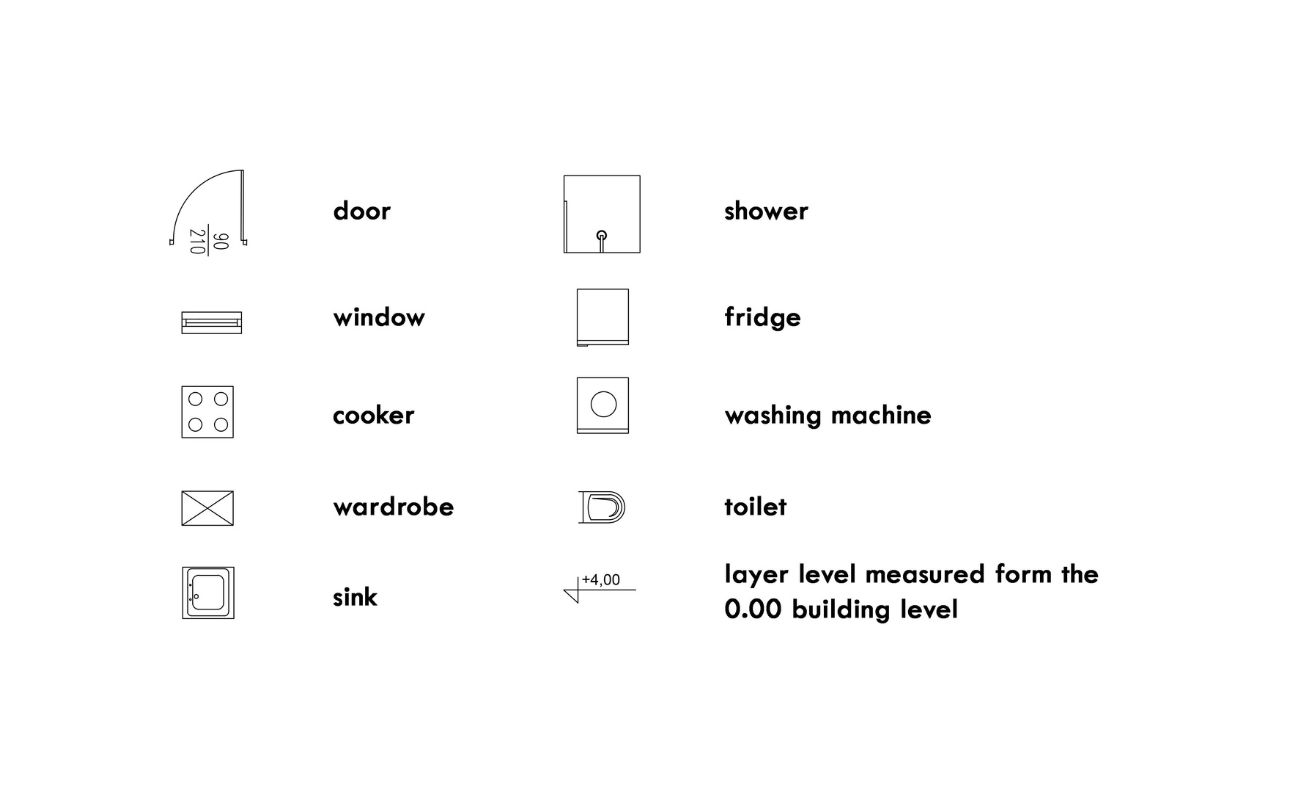
It’s important to note that SketchUp provides a variety of pre-made door and window components that you can easily insert into your floor plan. To access these components, go to the “Components” window, search for “door” or “window,” and choose the one that suits your design. Simply click and place the component on the wall to add it to your floor plan.
By adding doors and windows, you will enhance the functionality and realism of your 2D floor plan. In the next step, we will learn how to add furniture and fixtures to further bring your design to life. Let’s continue!
When creating a 2D floor plan in Sketchup, use the Line tool to draw the walls and the Rectangle tool to create rooms. Make sure to use the Tape Measure tool to set accurate dimensions for your floor plan.
Step 4: Adding furniture and fixtures
Now that you have created the walls and added doors and windows to your 2D floor plan, it’s time to furnish and decorate the space by adding furniture and fixtures. Furniture and fixtures not only enhance the aesthetics of a room but also provide a sense of scale and functionality. Here’s how you can add furniture and fixtures in SketchUp:
- Select the Component tool: To add furniture and fixtures, you will use the Component tool. You can find it in the toolbar or by going to “Draw” > “Component.”
- Choose the desired component: SketchUp provides a wide range of pre-made furniture and fixture components that you can choose from. To access these components, go to the “Components” window and search for the specific item you want to add, such as a sofa, table, or lamp.
- Place the component in the floor plan: Once you have chosen the desired component, simply click on the location in the floor plan where you want to place the item. SketchUp will insert the component into your design.
- Adjust the position and size: If needed, you can adjust the position and size of the component using the Move and Scale tools. Simply select the component, click on the respective tool in the toolbar or go to “Edit” > “Move” or “Scale,” and then drag or resize the selected component to the desired position and dimensions.
Remember to consider the scale and proportion of the furniture and fixtures to ensure that they fit harmoniously within the space. Additionally, you can use the Rotate tool to adjust the orientation of the components as needed.
By adding furniture and fixtures, you will give your 2D floor plan a realistic and lived-in feel. In the next step, we will learn how to add textures and materials to further enhance the visual appeal of your design. Let’s continue!
Read more: How To Make A 3D Floor Plan In Photoshop
Step 5: Adding textures and materials
Now that you have furnished your 2D floor plan with furniture and fixtures, it’s time to add textures and materials to bring your design to life. Textures and materials play a crucial role in creating a realistic representation of different surfaces, such as walls, floors, and countertops. Here’s how you can add textures and materials in SketchUp:
- Select the Paint Bucket tool: To apply textures and materials, you will use the Paint Bucket tool. You can find it in the toolbar or by going to “Tools” > “Paint Bucket.”
- Choose a material from the library: SketchUp provides a wide range of predefined materials that you can choose from. To access the material library, click on the “Materials” window. Here, you can browse through various categories and select the desired material.
- Apply the material to a surface: Once you have chosen the material, click on the surface in your floor plan where you want to apply it. SketchUp will automatically cover the selected surface with the chosen material.
- Adjust the scale and orientation: If needed, you can adjust the scale and orientation of the material using the Move and Rotate tools. Simply select the surface with the applied material, click on the respective tool in the toolbar or go to “Edit” > “Move” or “Rotate,” and then adjust the selected surface to the desired scale and orientation.
SketchUp also allows you to create custom materials by importing images or editing the existing materials. You can experiment with various textures and materials to achieve the desired look and feel for your floor plan.
Adding textures and materials will enhance the visual appeal and realism of your 2D floor plan. In the next step, we will learn how to add dimensions and annotations to provide important information about the design. Let’s move on!
Step 6: Adding dimensions and annotations
As you near the completion of your 2D floor plan in SketchUp, it’s important to add dimensions and annotations to provide important information about the design. Dimensions help convey the size and proportions of different elements within the floor plan, while annotations offer additional details or notes that can be useful for understanding the design intent. Here’s how you can add dimensions and annotations in SketchUp:
- Select the Dimension tool: To add dimensions, you will use the Dimension tool. You can find it in the toolbar or by going to “Tools” > “Dimension.”
- Measure the distance: Click on a starting point and then click on an ending point to measure the distance between two elements. SketchUp will automatically display the dimension value.
- Adjust the dimension style: You can customize the style and format of the dimensions by going to “Window” > “Model Info” and selecting the “Dimensions” tab. Here, you can adjust the unit format, precision, font style, and other settings.
- Add annotations: To add annotations, you can use the Text tool. Select the Text tool from the toolbar or go to “Tools” > “Text,” then click on the desired location in the floor plan, and type the annotation or note you want to add. You can also customize the font style, size, and alignment of the text.
- Position and align the dimensions and annotations: You can move and align the dimensions and annotations by selecting them and using the Move tool. Simply click on the Move tool in the toolbar or go to “Edit” > “Move,” and then drag the selected dimensions or annotations to the desired position.
Adding dimensions and annotations will provide valuable information and context to your 2D floor plan. It can help viewers understand the layout, dimensions, and other important details of the design.
With the addition of dimensions and annotations, your 2D floor plan in SketchUp is now complete. You have successfully navigated through the steps of setting up the workspace, creating walls, adding doors and windows, furnishing the space, applying textures and materials, and providing dimensions and annotations. Congratulations on creating a detailed and visually appealing floor plan!
Remember, SketchUp offers numerous additional features and tools to further enhance your floor plan or explore 3D modeling. Feel free to continue exploring and experimenting with different techniques to take your design skills to the next level.
Now, it’s time to present your floor plan and share it with others. You can export your design as an image or PDF file, or even explore the possibility of visualizing it in 3D. The choice is yours!
Thank you for following this guide on creating a 2D floor plan in SketchUp. We hope you found it helpful and inspiring. Happy designing!
Conclusion
Creating a 2D floor plan in SketchUp is an exciting and creative process that allows you to bring your architectural and design ideas to life. Throughout this guide, we have explored the step-by-step process of setting up the workspace, creating walls, adding doors and windows, furnishing the space, applying textures and materials, and providing dimensions and annotations. By following these steps, you can create detailed and visually appealing floor plans that convey the design intent effectively.
SketchUp, with its user-friendly interface and powerful features, provides all the necessary tools to create professional-quality floor plans. Whether you are an aspiring architect, interior designer, or simply someone with a passion for design, SketchUp gives you the opportunity to unleash your creativity and visualize your ideas with precision.
Remember, the key to a successful 2D floor plan in SketchUp lies in attention to detail, accuracy, and creativity. Take the time to carefully plan and execute each step, ensuring that your dimensions, furniture, and textures align with your design concept. Use annotations to provide important details and notes that enhance the understanding of your floor plan.
Once your floor plan is complete, you can share it with stakeholders, clients, or use it as a visual reference for your design projects. With SketchUp’s exporting capabilities, you can save your floor plan as an image, PDF, or even explore the possibility of creating a 3D visualization.
By following this guide and leveraging the power of SketchUp’s tools and features, you have the ability to create stunning 2D floor plans that accurately represent your design ideas. Whether you’re designing a residential space, commercial building, or any other architectural project, SketchUp’s versatility and ease of use make it an invaluable resource for your workflow.
Thank you for joining us on this journey of creating a 2D floor plan in SketchUp. May your design endeavors be filled with inspiration, innovation, and success. Happy designing!
Now that you've mastered creating a 2D floor plan in SketchUp, why not deepen your understanding of the very concept you've been working with? Our next article delves into the essentials of floor plans, clarifying their purpose and importance in both architecture and everyday home design. Whether you're planning a remodel or just curious about architectural drawings, this piece demystifies what floor plans are and why they're foundational to any design process. Don't miss out on this engaging read that complements your new SketchUp skills perfectly!
Frequently Asked Questions about How To Make A 2D Floor Plan In Sketchup
Was this page helpful?
At Storables.com, we guarantee accurate and reliable information. Our content, validated by Expert Board Contributors, is crafted following stringent Editorial Policies. We're committed to providing you with well-researched, expert-backed insights for all your informational needs.


0 thoughts on “How To Make A 2D Floor Plan In Sketchup”