Home>Furniture & Design>Bathroom Fixtures>How To Seal A Shower Tile And Grout
Bathroom Fixtures
How To Seal A Shower Tile And Grout
Modified: January 24, 2024
Learn how to effectively seal shower tile and grout to protect your bathroom fixtures and prevent water damage. Follow our step-by-step guide for a water-tight seal.
(Many of the links in this article redirect to a specific reviewed product. Your purchase of these products through affiliate links helps to generate commission for Storables.com, at no extra cost. Learn more)
Introduction
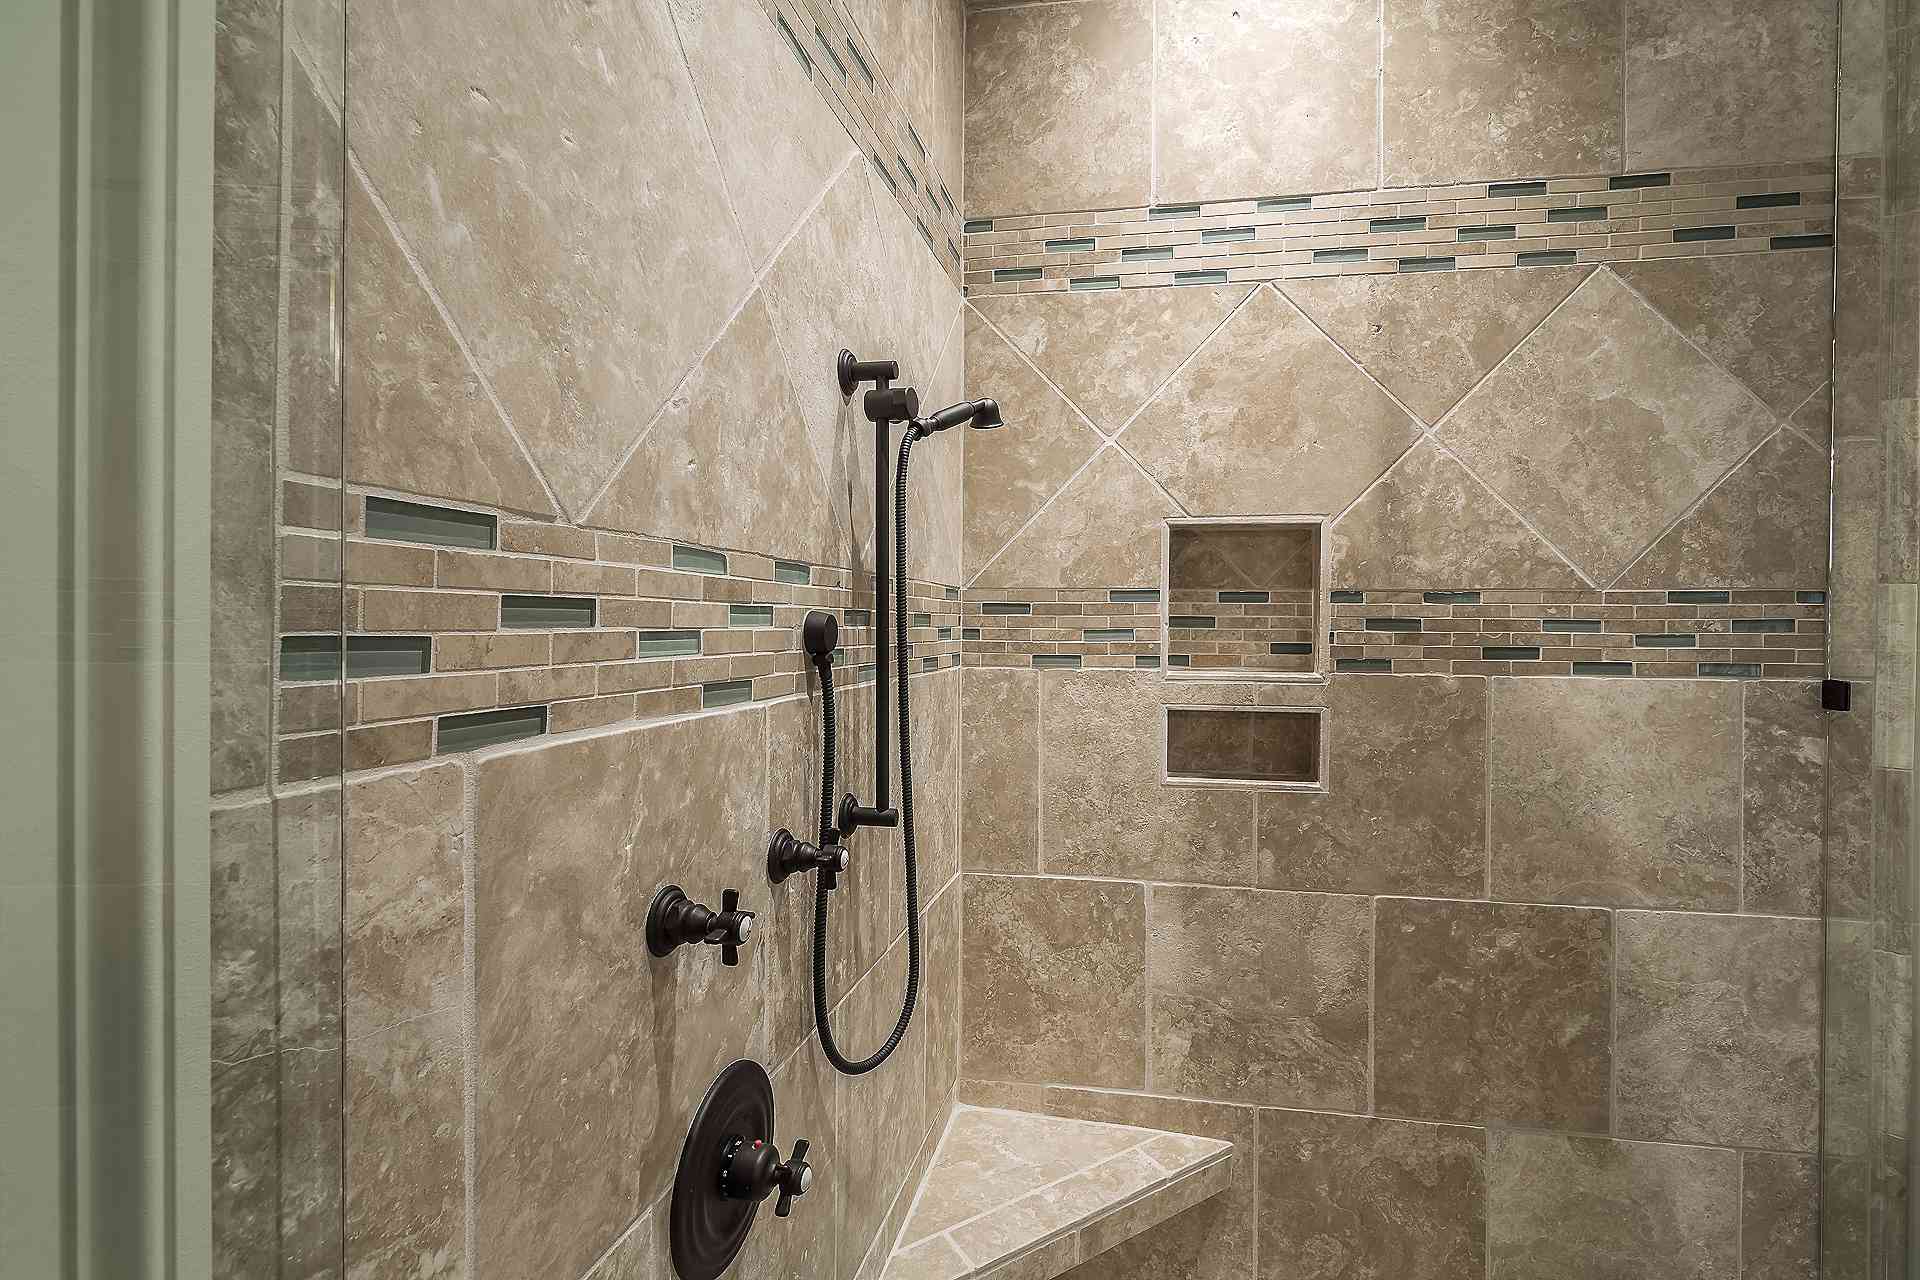
Sealing shower tile and grout is a crucial step in maintaining the beauty and functionality of your bathroom. Whether you're renovating your bathroom or simply looking to preserve its pristine condition, understanding the importance of sealing shower tile and grout is essential. This comprehensive guide will walk you through the process of sealing your shower tile and grout, from preparation to application and maintenance, ensuring that your bathroom remains a luxurious and inviting space for years to come.
Properly sealed shower tile and grout not only enhance the aesthetic appeal of your bathroom but also provide protection against moisture, mold, and mildew. By creating a barrier that repels water and stains, sealing helps prolong the lifespan of your shower tile and grout, saving you time and money on costly repairs and replacements in the long run.
In this guide, we'll delve into the intricacies of preparing the shower tile and grout for sealing, selecting the right sealer for your specific needs, and executing the application process with precision. Additionally, we'll explore the best practices for maintaining sealed shower tile and grout, ensuring that your investment continues to shine for years to come.
Whether you're a seasoned DIY enthusiast or a first-time homeowner, mastering the art of sealing shower tile and grout is a valuable skill that will elevate the overall appeal and longevity of your bathroom. So, roll up your sleeves and let's embark on this transformative journey to safeguard and beautify your shower space.
Key Takeaways:
- Sealing shower tile and grout is essential for protecting your bathroom from water damage, mold, and stains. It also makes cleaning easier and can increase the value of your home.
- Before sealing, clean and repair the tile and grout, choose the right sealer, and apply it carefully. Then, maintain the sealed surfaces with regular cleaning and mindful usage to keep your bathroom looking fresh and well-protected.
Read more: How To Grout A Shower Tile
Understanding the Importance of Sealing Shower Tile and Grout
Shower tile and grout are exposed to constant moisture and humidity, creating an ideal environment for mold, mildew, and stains to thrive. Without proper sealing, these porous materials can quickly succumb to water damage, leading to unsightly discoloration, deterioration, and potentially costly repairs. Understanding the significance of sealing shower tile and grout is paramount in preserving the integrity and aesthetics of your bathroom.
One of the primary benefits of sealing shower tile and grout is the creation of a protective barrier that repels water, preventing it from seeping into the porous surfaces. This barrier not only safeguards the structural integrity of the tile and grout but also inhibits the growth of mold and mildew, which can pose health risks and compromise the cleanliness of your bathroom.
Furthermore, sealed shower tile and grout are more resistant to stains, discoloration, and erosion caused by daily use and exposure to shampoos, soaps, and cleaning agents. By minimizing the absorption of these substances, sealing helps maintain the original appearance of the tile and grout, prolonging their lifespan and reducing the frequency of deep cleaning and restoration efforts.
From a maintenance perspective, sealed shower tile and grout are significantly easier to clean and upkeep. The protective barrier created by the sealer prevents dirt, grime, and soap scum from penetrating the porous surfaces, allowing for effortless maintenance and preserving the pristine look of your bathroom.
Moreover, by investing in the proper sealing of shower tile and grout, homeowners can potentially increase the value of their property. A well-maintained and aesthetically pleasing bathroom, free from the perils of water damage and mold, is an attractive feature that can positively impact the overall appeal and marketability of a home.
Ultimately, understanding the importance of sealing shower tile and grout empowers homeowners to proactively protect their investment, promote a healthy living environment, and elevate the visual allure of their bathrooms. In the following sections, we will explore the step-by-step process of preparing, choosing, and applying the right sealer to ensure optimal results for your shower tile and grout.
Preparing the Shower Tile and Grout for Sealing
Before embarking on the sealing process, it is essential to thoroughly prepare the shower tile and grout to ensure optimal adhesion and effectiveness of the sealer. Proper preparation sets the stage for a successful sealing application and contributes to the long-term protection and aesthetics of the surfaces.
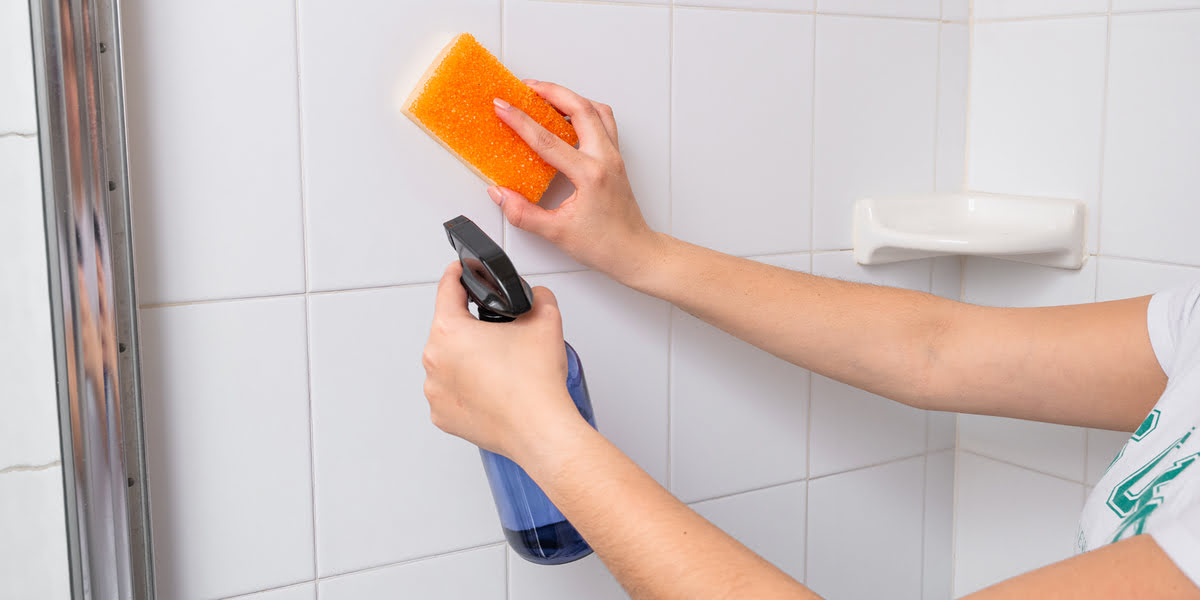
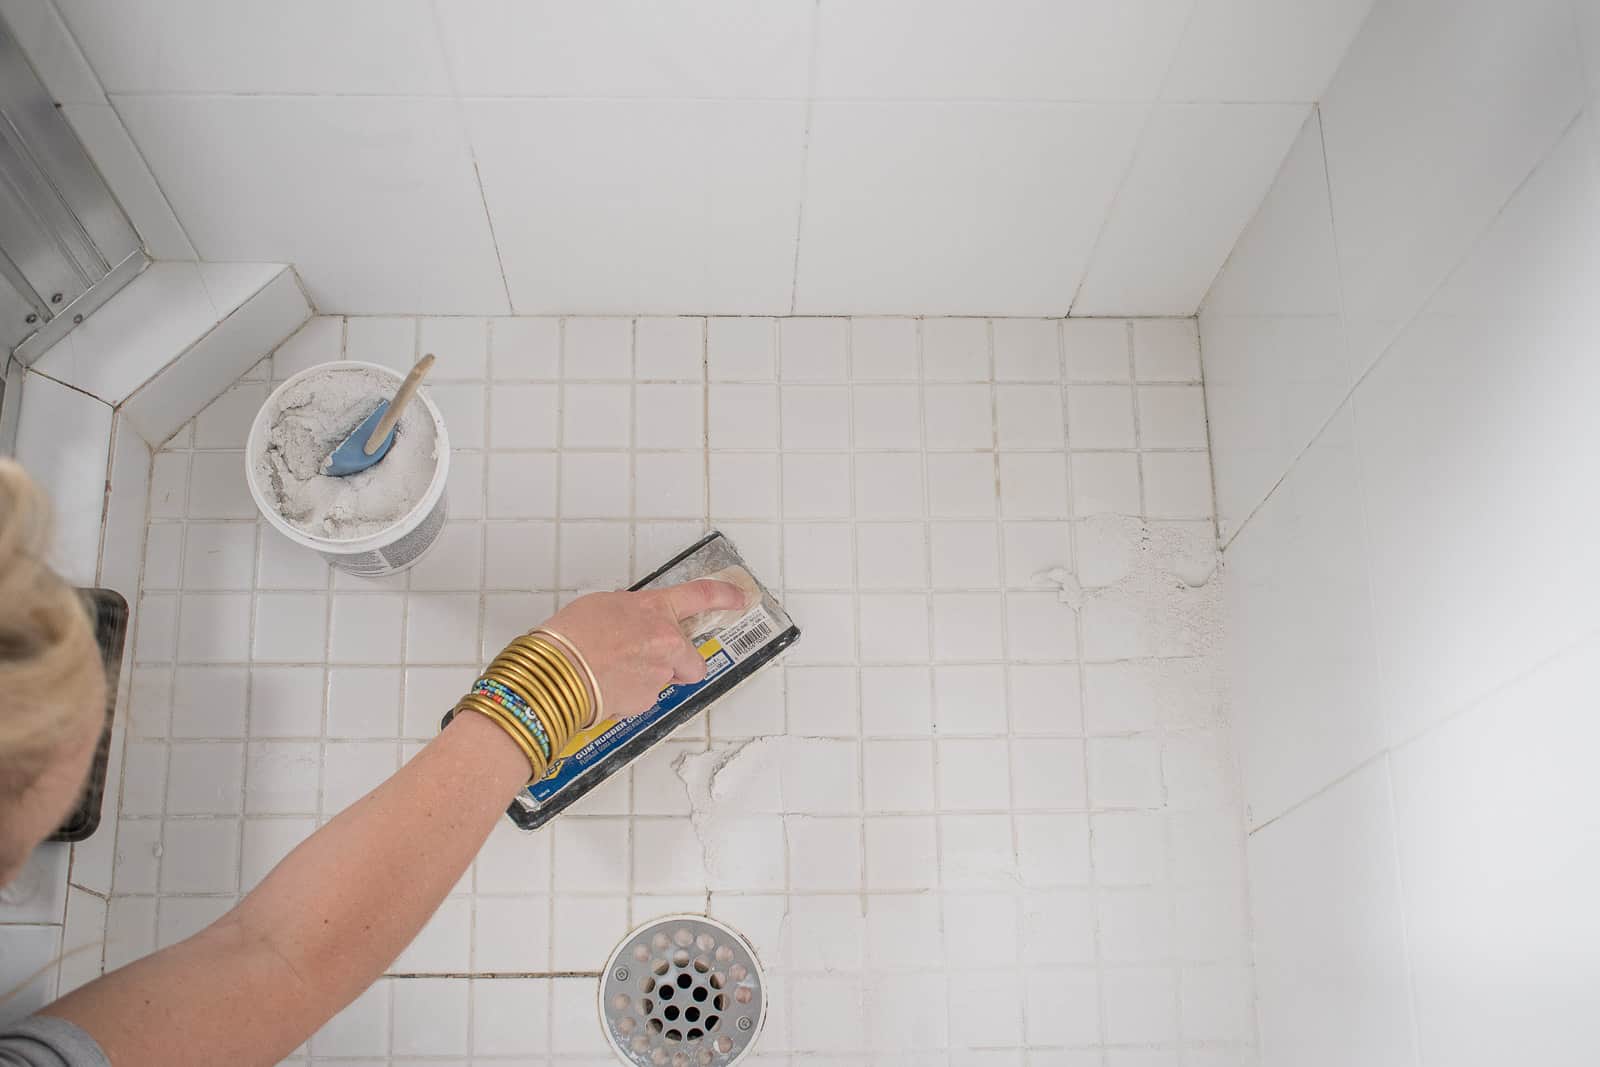
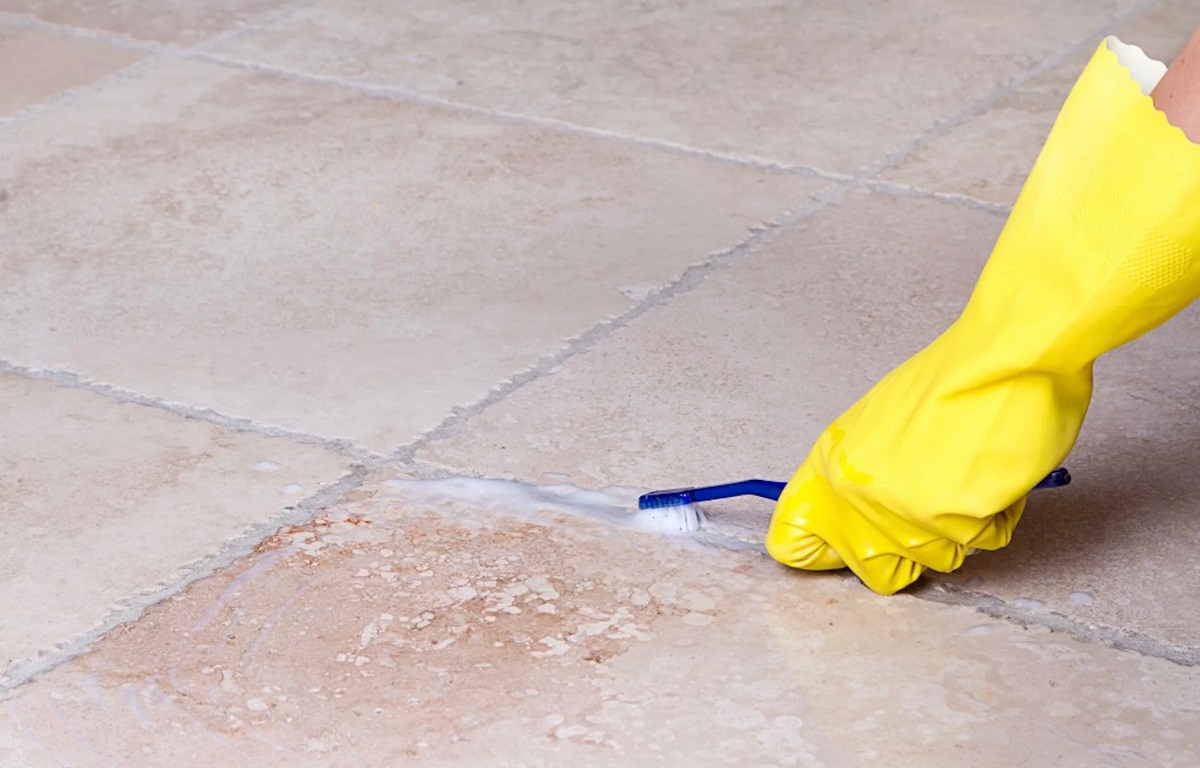
The first step in preparing the shower tile and grout is to clean them meticulously. Use a suitable tile and grout cleaner to remove any dirt, soap scum, and mildew that may have accumulated. A scrub brush or sponge can be employed to agitate the cleaner and dislodge stubborn buildup. Rinse the surfaces thoroughly with water and allow them to dry completely before proceeding.
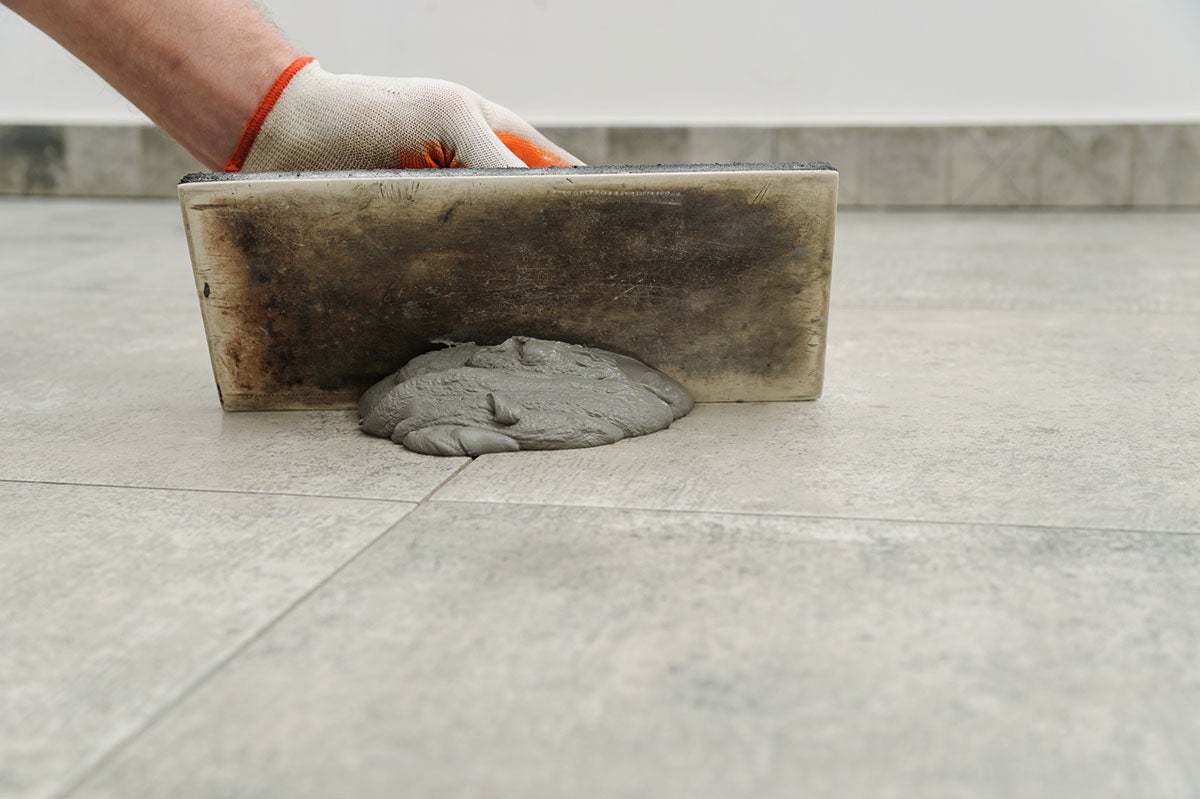
Next, inspect the grout lines for any signs of damage, such as cracks or crumbling. Repair any deteriorated grout using a high-quality grout repair product. Ensure that the repaired grout is fully cured before proceeding with the sealing process.
Prior to applying the sealer, it is imperative to verify that the shower tile and grout are completely dry. Any residual moisture can hinder the sealer’s ability to penetrate and adhere to the surfaces effectively. To confirm the absence of moisture, conduct a simple moisture test by placing a few drops of water on the tile and grout. If the water beads up and does not readily absorb, the surfaces are likely dry and ready for sealing.
Additionally, it is advisable to ventilate the bathroom during the preparation phase to expedite the drying process and create a conducive environment for the subsequent sealing application.
Once the shower tile and grout have been thoroughly cleaned, repaired, and dried, they are primed for the application of the sealer. By investing time and effort in meticulous preparation, homeowners can maximize the efficacy of the sealing process, ensuring long-lasting protection and enhancement of their shower tile and grout.
Choosing the Right Sealer for Shower Tile and Grout
When it comes to selecting a sealer for shower tile and grout, it is imperative to consider the specific characteristics and requirements of the surfaces, as well as the desired outcome of the sealing process. With a myriad of sealers available on the market, each with unique formulations and properties, making an informed choice is essential to achieve optimal results.
The two primary types of sealers for shower tile and grout are penetrating sealers and surface sealers. Penetrating sealers, also known as impregnating sealers, are designed to penetrate the pores of the tile and grout, creating a protective barrier beneath the surface. These sealers are ideal for natural stone tiles and unglazed tiles, as they provide comprehensive protection without altering the natural appearance of the surfaces.
Surface sealers, on the other hand, form a protective layer on the surface of the tile and grout, effectively repelling water and stains. These sealers are suitable for glazed tiles and porcelain tiles, offering enhanced resistance to moisture and facilitating easier maintenance.
Additionally, it is essential to consider whether the sealer provides protection against mold, mildew, and bacteria, especially in a high-moisture environment such as a shower. Opting for a sealer with antimicrobial properties can contribute to a healthier and more hygienic shower space.
Another crucial factor to contemplate is the breathability of the sealer. In a shower environment, where moisture is prevalent, choosing a breathable sealer allows any trapped moisture to escape, preventing issues such as efflorescence and trapped moisture beneath the sealed surfaces.
Furthermore, the ease of application and maintenance should be taken into account when selecting a sealer. A user-friendly sealer that can be applied with minimal effort and offers long-term durability can significantly enhance the overall sealing experience.
Lastly, it is advisable to consult the manufacturer’s recommendations and technical data sheets to ensure that the chosen sealer aligns with the specific requirements and composition of the shower tile and grout. By carefully evaluating these considerations, homeowners can make an informed decision and choose a sealer that best suits their shower surfaces, ultimately enhancing their longevity, aesthetics, and functionality.
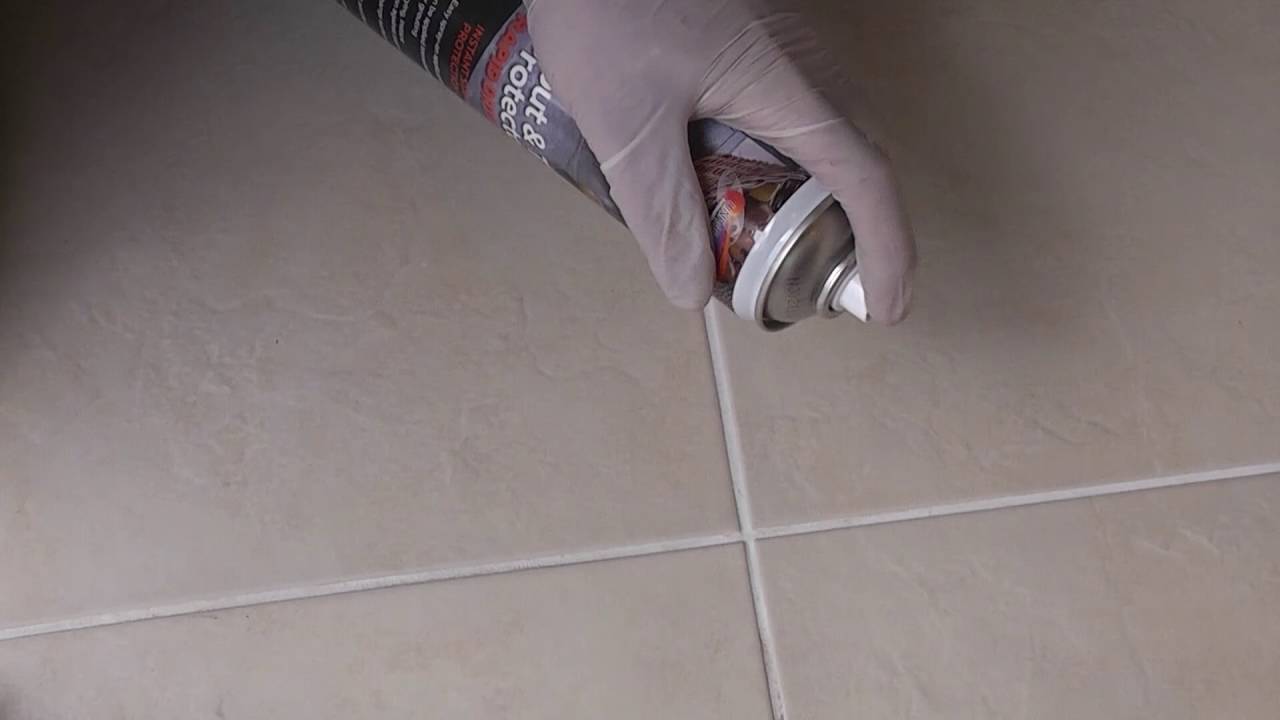
Use a high-quality penetrating sealer for both the shower tile and grout. Apply the sealer with a brush or roller, making sure to cover all surfaces evenly. Allow the sealer to dry completely before using the shower. Repeat the sealing process every 1-2 years for best results.
Applying the Sealer to Shower Tile and Grout
Once the shower tile and grout are meticulously prepared and the appropriate sealer is selected, the next crucial step is the application process. Applying the sealer correctly is paramount in ensuring thorough coverage, optimal protection, and long-lasting results for the shower surfaces.
Prior to application, carefully read and adhere to the manufacturer’s instructions and recommendations provided with the chosen sealer. It is essential to wear appropriate protective gear, such as gloves and a mask, and ensure adequate ventilation in the bathroom during the application process.
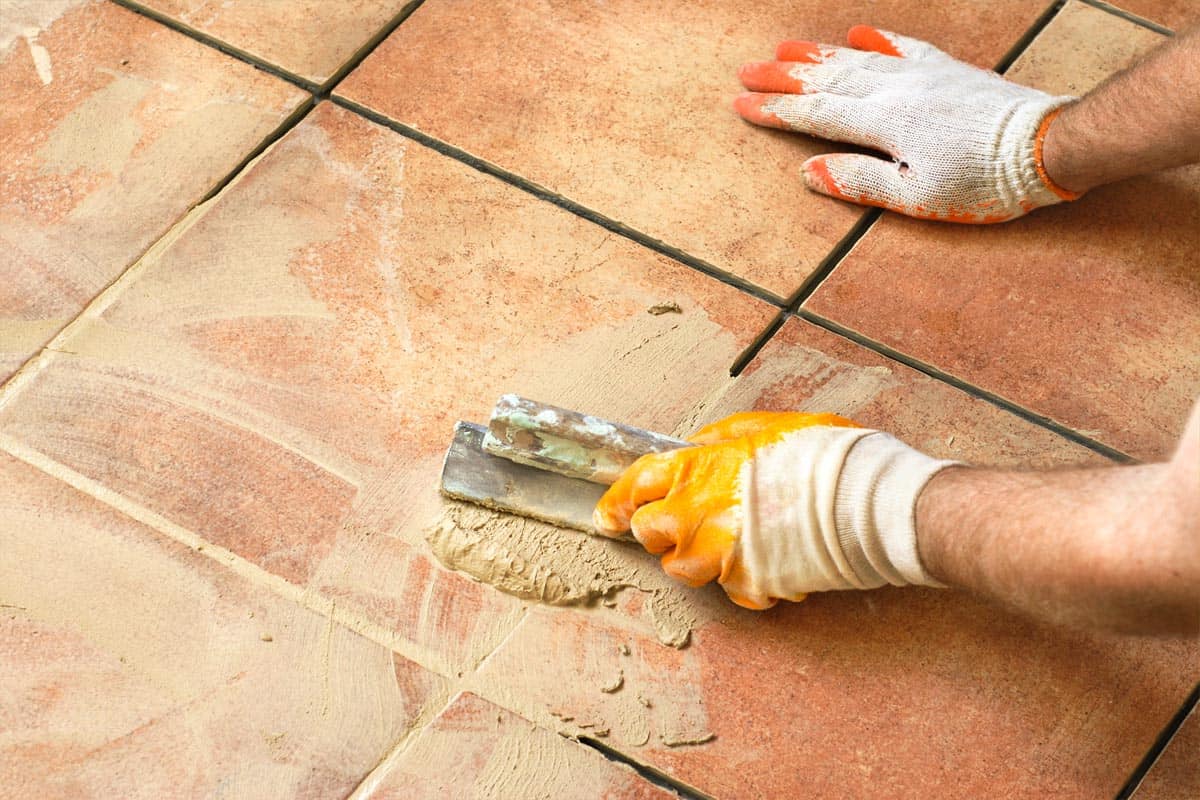
Begin by pouring a small amount of the sealer into a clean, dry container. Use a high-quality, natural bristle or foam brush to apply the sealer to the grout lines. The bristles of the brush should be flexible enough to reach into the grout joints, ensuring comprehensive coverage without damaging the tile surfaces.
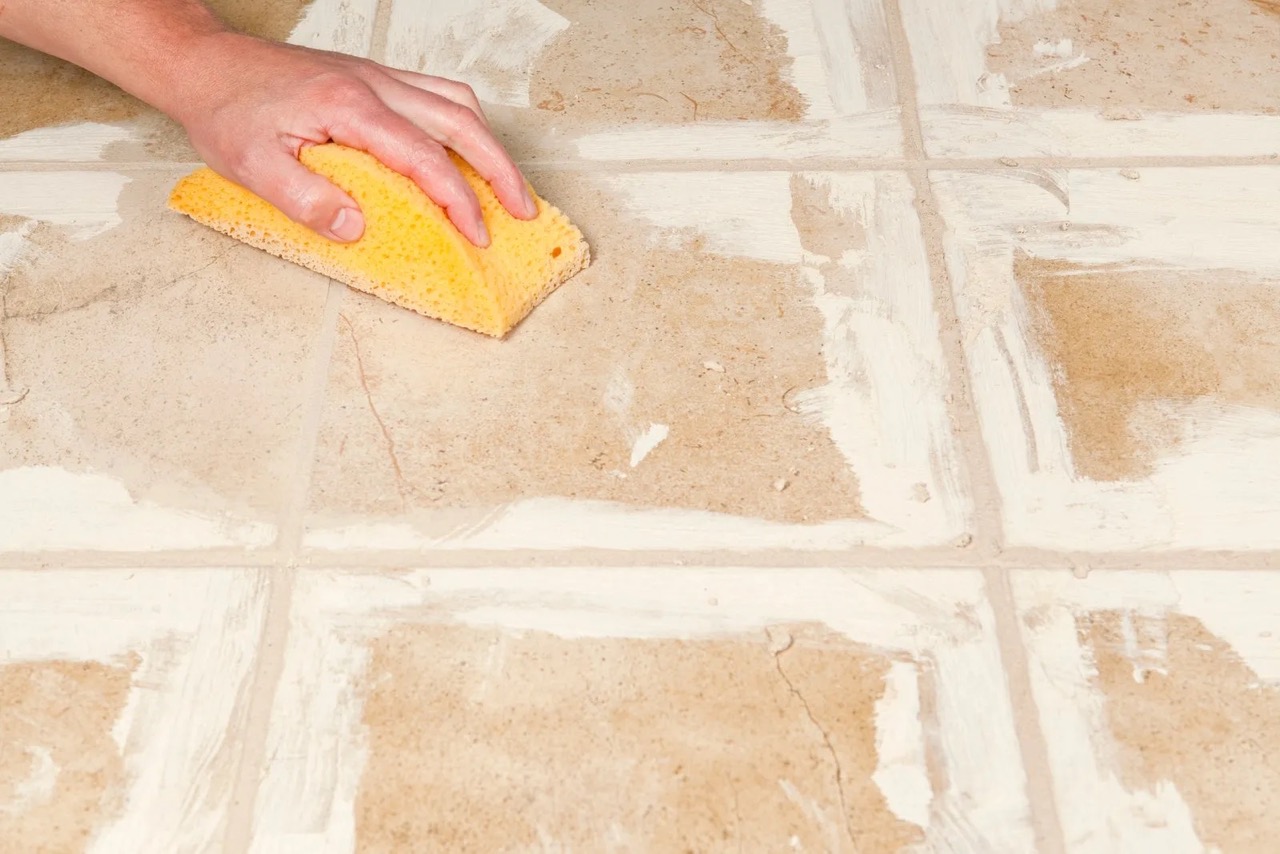
When applying the sealer to the tile, use a clean, lint-free cloth or applicator pad to spread the sealer evenly across the surface. Work in manageable sections to prevent the sealer from drying before it can be evenly distributed and absorbed into the tile and grout.
Allow the sealer to penetrate the surfaces for the duration recommended by the manufacturer, typically around 5 to 15 minutes. During this time, periodically inspect the application area to ensure that the sealer remains evenly distributed and does not puddle or pool on the surfaces.
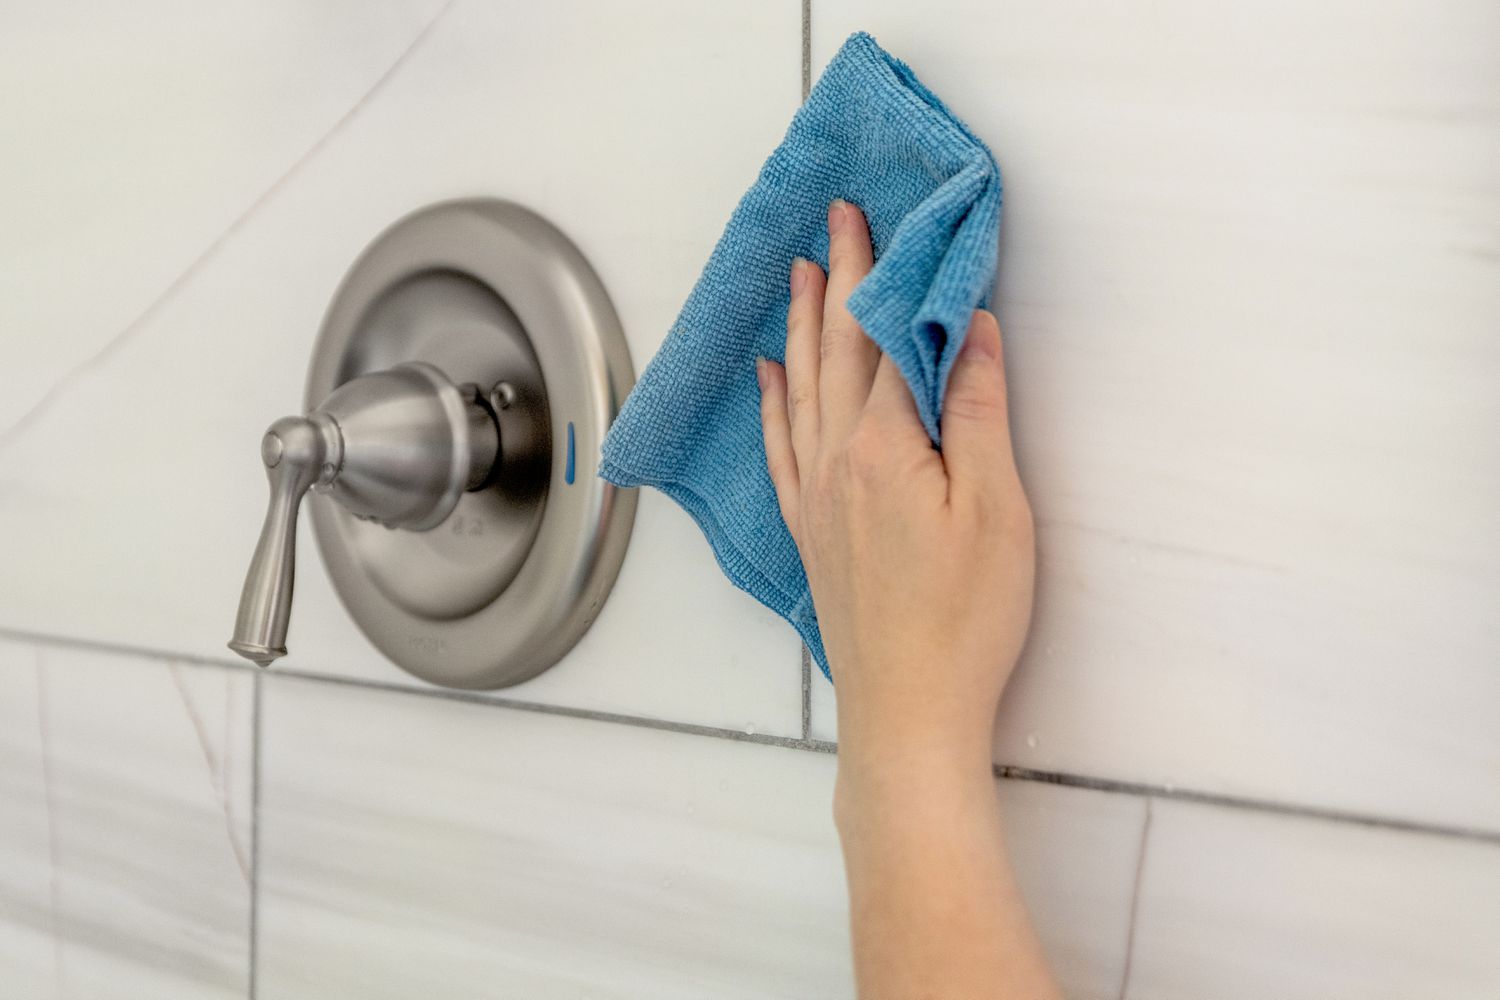
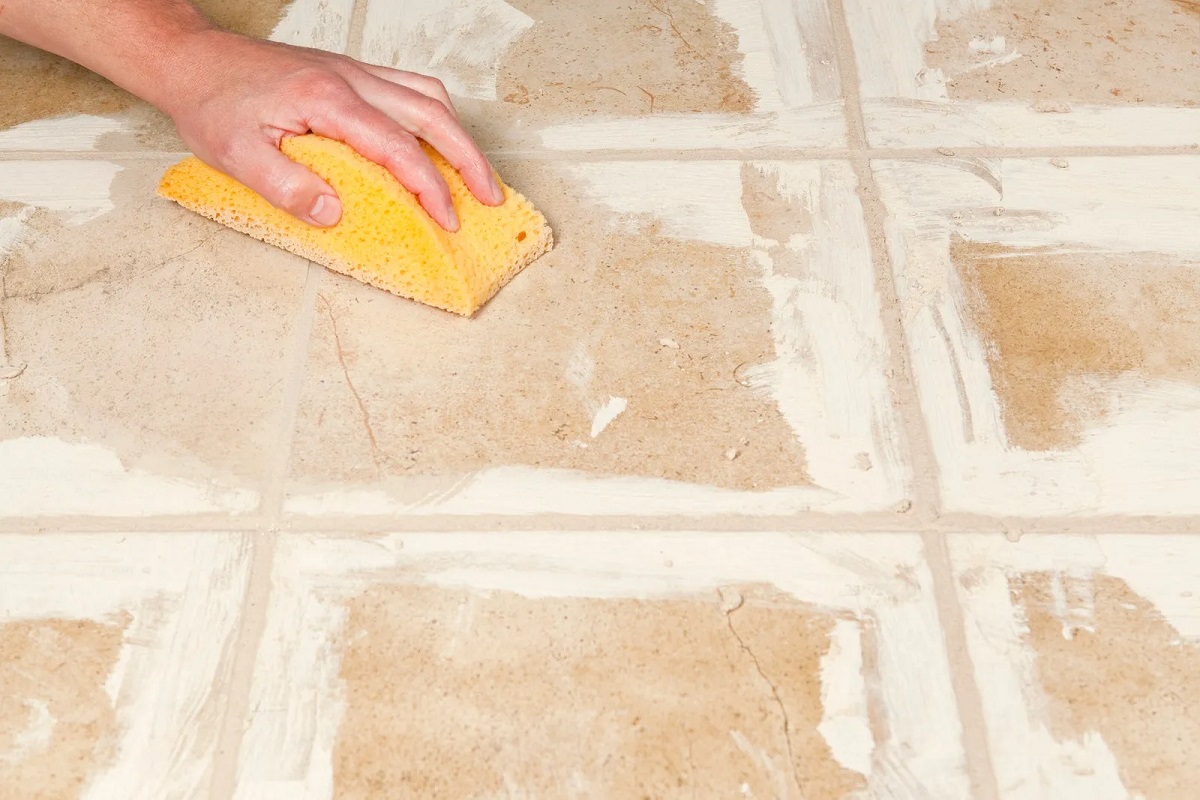
Once the designated dwell time has elapsed, use a clean, dry cloth to buff the tile and grout, removing any excess sealer from the surfaces. Thoroughly inspect the entire area to ensure that no residue or streaks are left behind, as these can compromise the appearance and functionality of the sealed surfaces.
After completing the initial application, allow the sealed shower tile and grout to dry for the recommended curing period before exposing them to moisture. This curing period is essential for the sealer to fully bond with the surfaces and achieve its maximum protective capabilities.
By following these meticulous steps and exercising patience during the application and curing process, homeowners can ensure that their shower tile and grout are effectively sealed, fortified against moisture and stains, and poised to maintain their pristine appearance for an extended period.
Read more: How To Repair A Shower Tile Grout
Maintaining Sealed Shower Tile and Grout
After successfully sealing the shower tile and grout, it is essential to implement a proactive maintenance regimen to preserve the integrity and aesthetics of the surfaces. Proper maintenance not only prolongs the effectiveness of the sealer but also contributes to a clean, inviting, and hygienic shower environment.
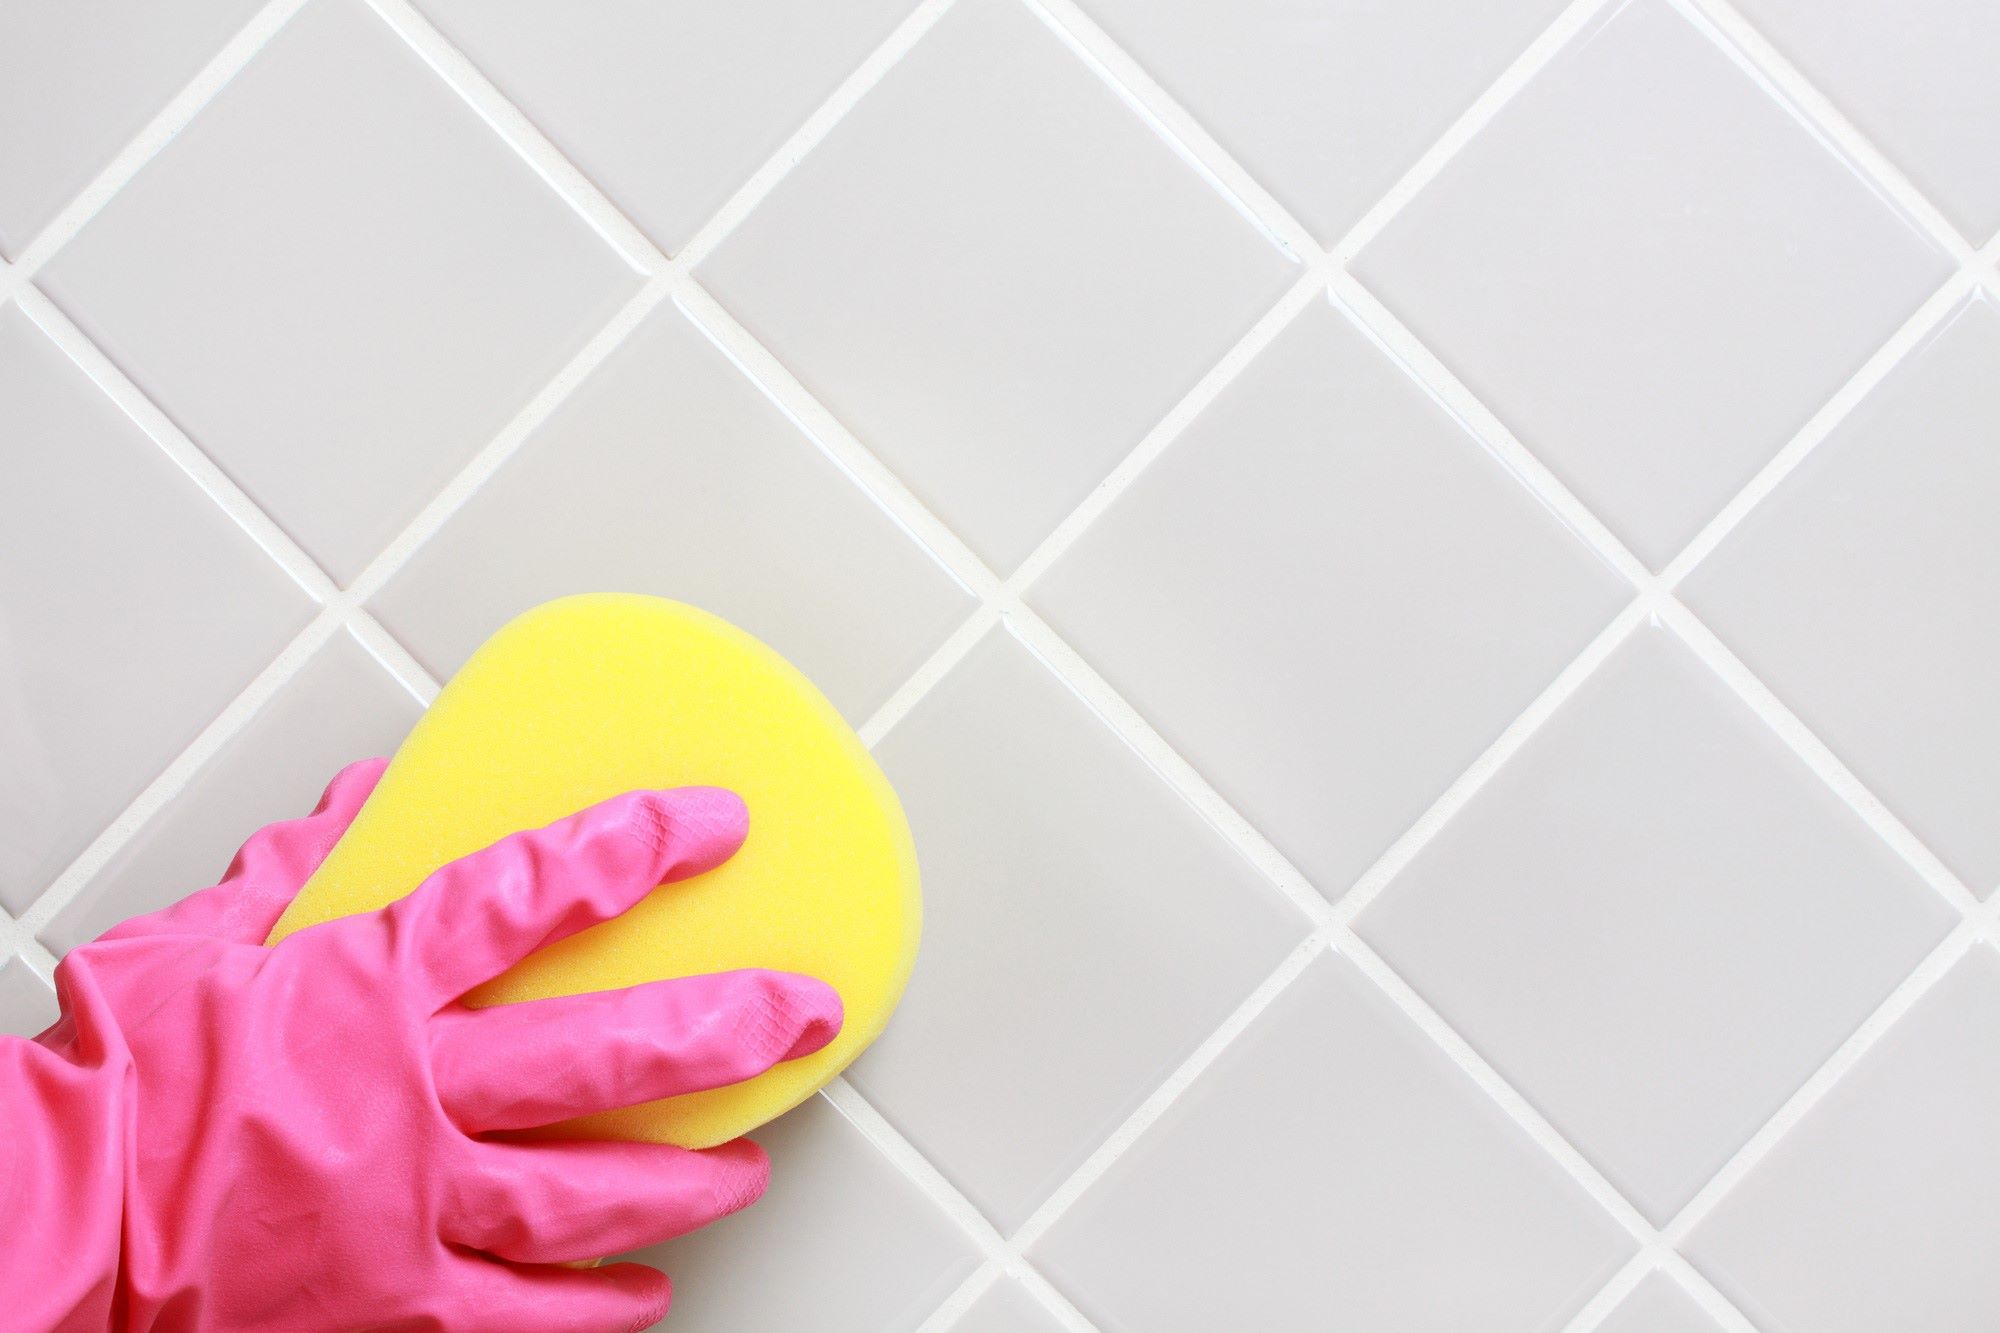
Regular cleaning is paramount in maintaining sealed shower tile and grout. Use a mild, pH-neutral cleaner specifically formulated for use on sealed surfaces. Avoid harsh or abrasive cleaners, as these can compromise the sealer and diminish its protective properties over time. A soft-bristled brush or non-abrasive sponge can be used to gently scrub the surfaces, ensuring thorough cleanliness without causing damage.
When cleaning the shower tile and grout, pay particular attention to areas that are frequently exposed to water and soap residue, such as the lower sections of the walls and the floor. By consistently removing these residues, homeowners can prevent the buildup of grime and mineral deposits, preserving the pristine appearance of the sealed surfaces.
Periodically inspect the grout lines for any signs of wear, discoloration, or damage. In the event of minor issues, such as surface stains or mildew spots, promptly address them with targeted cleaning and maintenance. For more extensive grout concerns, such as cracking or crumbling, consider resealing the affected areas to reinforce their protection and prevent further deterioration.
Additionally, it is advisable to squeegee the shower walls and door after each use to minimize the accumulation of water and prevent moisture-related issues. This simple practice not only aids in maintaining the cleanliness of the surfaces but also reduces the frequency of deep cleaning and maintenance efforts.
Furthermore, homeowners should be mindful of the products and substances that come into contact with the sealed shower tile and grout. Avoid using harsh chemicals, acidic cleaners, or abrasive tools that can compromise the integrity of the sealer and diminish its protective capabilities. By exercising caution and using gentle, sealer-friendly cleaning agents, homeowners can uphold the longevity and effectiveness of the sealing application.
By integrating these maintenance practices into their routine, homeowners can ensure that their sealed shower tile and grout continue to exude a fresh, vibrant, and well-protected appearance, enhancing the overall allure and functionality of their bathroom space for years to come.
Conclusion
Sealing shower tile and grout is a fundamental aspect of preserving the beauty, functionality, and longevity of your bathroom. By understanding the significance of sealing, meticulously preparing the surfaces, choosing the right sealer, executing the application process with precision, and implementing a proactive maintenance routine, homeowners can safeguard their investment and elevate the appeal of their shower space.
Properly sealed shower tile and grout offer a multitude of benefits, including protection against moisture, mold, and stains, as well as enhanced resistance to daily wear and tear. The creation of a protective barrier through sealing not only fortifies the structural integrity of the surfaces but also contributes to a healthier, more hygienic shower environment.
By investing time and effort in the meticulous preparation of the shower tile and grout, homeowners set the stage for a successful sealing application, ensuring optimal adhesion and effectiveness of the sealer. Careful consideration in choosing the right sealer, whether penetrating or surface, breathable, and with antimicrobial properties, is crucial in achieving the desired protection and aesthetic enhancement.
When applying the sealer, following the manufacturer’s instructions and exercising patience during the curing process are essential for ensuring thorough coverage and long-lasting results. The meticulous application of the sealer sets the foundation for sustained protection and visual appeal of the shower tile and grout.
Implementing a proactive maintenance regimen, including regular cleaning, inspection, and mindful usage, is key to preserving the effectiveness of the sealer and upholding the cleanliness and allure of the sealed surfaces. By integrating these maintenance practices into their routine, homeowners can ensure that their shower tile and grout continue to exude a fresh, vibrant, and well-protected appearance.
In conclusion, mastering the art of sealing shower tile and grout empowers homeowners to proactively protect their investment, promote a healthy living environment, and elevate the visual allure of their bathrooms. By adhering to the comprehensive guidelines outlined in this guide, homeowners can embark on a transformative journey to safeguard and beautify their shower space, ensuring that it remains a luxurious and inviting sanctuary for years to come.
Frequently Asked Questions about How To Seal A Shower Tile And Grout
Was this page helpful?
At Storables.com, we guarantee accurate and reliable information. Our content, validated by Expert Board Contributors, is crafted following stringent Editorial Policies. We're committed to providing you with well-researched, expert-backed insights for all your informational needs.


0 thoughts on “How To Seal A Shower Tile And Grout”