Home>Furniture & Design>Outdoor Furniture>How To Change Bulb In Outdoor Flood Light
Outdoor Furniture
How To Change Bulb In Outdoor Flood Light
Modified: March 1, 2024
Learn how to easily change the bulb in your outdoor flood light with our step-by-step guide. Keep your outdoor furniture well-lit and functional. Expert tips for outdoor-furniture-furniture-and-design enthusiasts.
(Many of the links in this article redirect to a specific reviewed product. Your purchase of these products through affiliate links helps to generate commission for Storables.com, at no extra cost. Learn more)
Introduction
Welcome to the world of outdoor lighting! Outdoor flood lights not only enhance the aesthetics of your outdoor space but also provide an added layer of security. These powerful fixtures illuminate large areas, making them perfect for lighting up driveways, yards, and gardens. However, like any other light fixture, outdoor flood lights require maintenance, including changing the bulbs when they burn out.
In this guide, we will walk you through the process of changing a bulb in an outdoor flood light. Whether you are a seasoned DIY enthusiast or a novice looking to tackle your first home improvement project, this step-by-step tutorial will equip you with the knowledge and confidence to successfully replace the bulb in your outdoor flood light.
So, grab your tools and let's shed some light on the process of changing a bulb in an outdoor flood light!
Key Takeaways:
- Changing the bulb in your outdoor flood light is a DIY project that requires safety precautions, the right tools, and careful handling of the new bulb.
- By following the step-by-step process, you can revitalize your outdoor space with a new bulb, enhancing security and creating a welcoming ambiance for gatherings.
Read more: How To Change A Flood Light Bulb
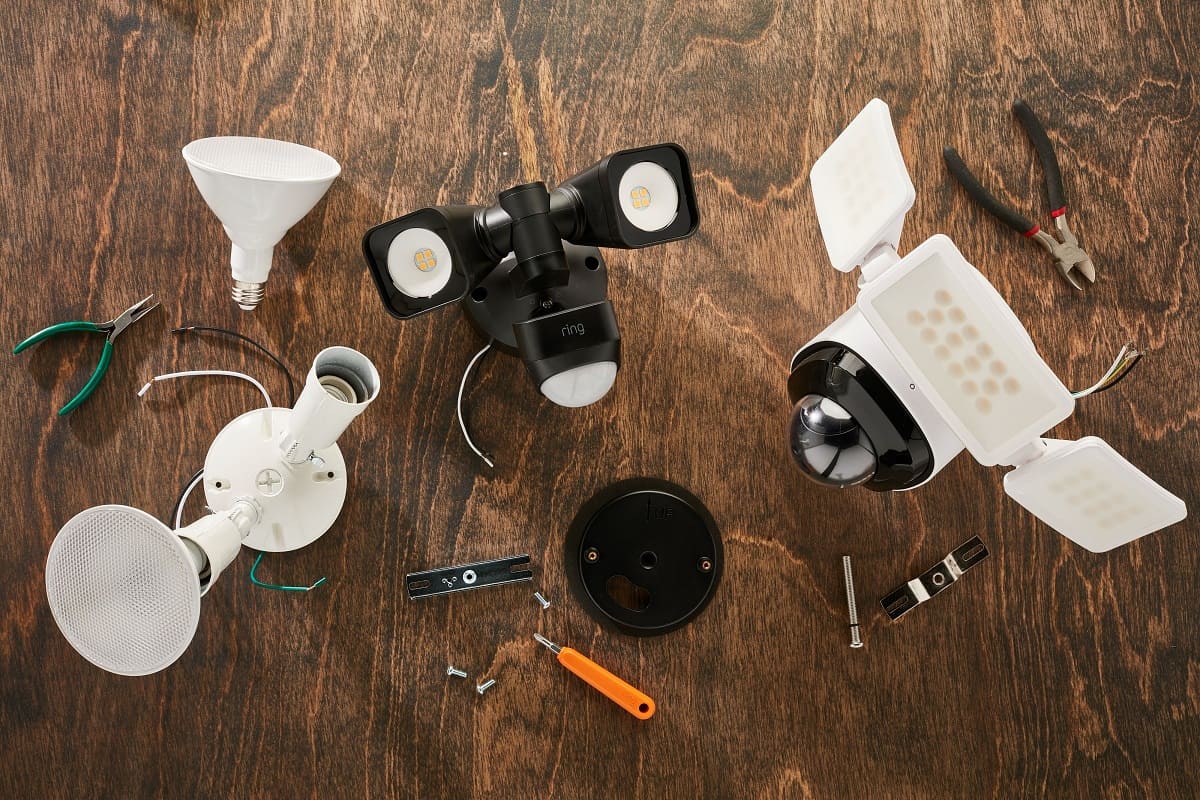
Step 1: Gather necessary tools and materials
Before diving into the task of changing the bulb in your outdoor flood light, it’s essential to gather the required tools and materials. By ensuring you have everything at your disposal, you can streamline the process and minimize interruptions. Here’s a list of items you’ll need:
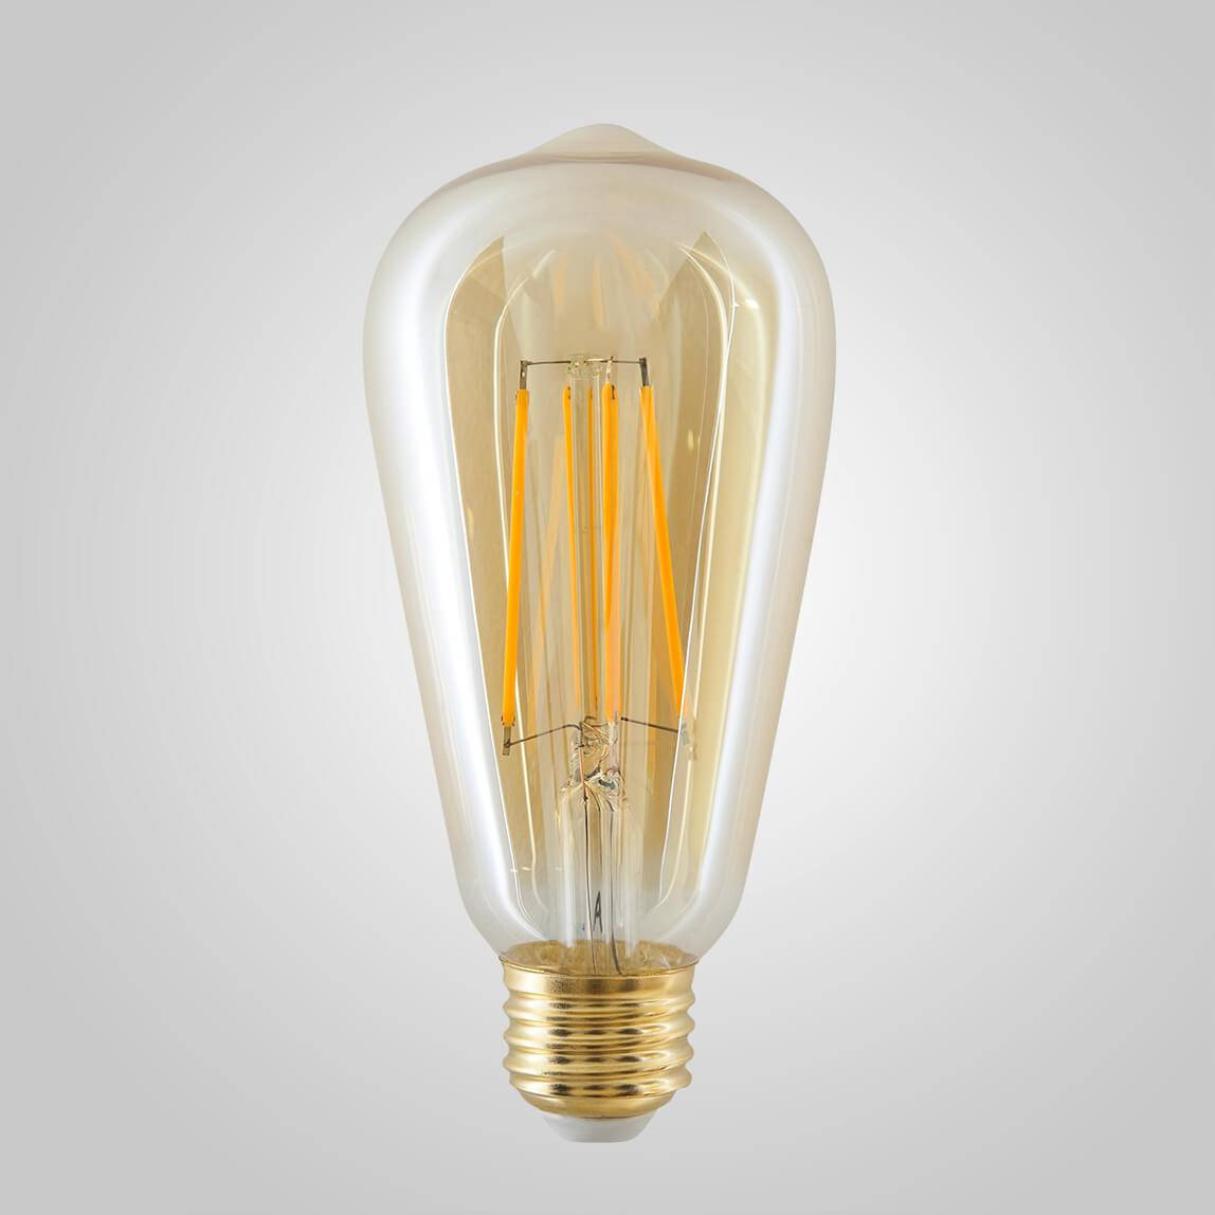
- Replacement Bulb: The first and most crucial item on your list is the replacement bulb. Ensure that you purchase a bulb that is compatible with your specific outdoor flood light fixture. Check the wattage and type of bulb recommended for your fixture to ensure optimal performance.
- Ladder or Step Stool: Depending on the height of your outdoor flood light, you may need a stable ladder or step stool to reach the fixture safely. Safety should always be a top priority when working at elevated heights.
- Gloves: It’s a good practice to wear gloves to protect your hands from any debris or sharp edges around the light fixture.
- Safety Glasses: To safeguard your eyes from dust or any small particles that may be dislodged during the bulb replacement process, safety glasses are recommended.
- Electrical Tester: Before starting the procedure, it’s essential to ensure that the power to the outdoor flood light is turned off. An electrical tester will help you verify that the circuit is de-energized, providing an extra layer of safety.
- Screwdriver or Allen Wrench: Depending on the type of fasteners securing the light fixture, you may need a screwdriver or an Allen wrench to remove the cover or access panel.
By assembling these tools and materials, you’ll be well-prepared to proceed with the subsequent steps of changing the bulb in your outdoor flood light. With safety precautions in place and the necessary items at hand, you’re ready to embark on this illuminating endeavor!
Step 2: Turn off the power
Before undertaking any work on your outdoor flood light, it is crucial to ensure that the power supply to the fixture is completely shut off. This is a critical safety measure that minimizes the risk of electrical shock or other potential hazards. Follow these steps to safely deactivate the power:
- Locate the Circuit Breaker: Identify the circuit breaker in your electrical panel that controls the outdoor flood light. If the circuit breaker is labeled, look for the corresponding switch. If it is not labeled, you may need assistance in determining the correct breaker. It’s advisable to have a family member or friend assist you during this process for added safety.
- Switch Off the Circuit Breaker: Once you’ve located the correct circuit breaker, switch it to the “off” position. To ensure that the power is truly disconnected, attempt to turn on the outdoor flood light from the switch. If the light does not turn on, you have successfully cut off the power supply.
- Test the Fixture: After turning off the circuit breaker, use an electrical tester to verify that there is no electrical current running to the outdoor flood light. This extra precaution provides peace of mind and ensures a safe working environment.
By following these steps to deactivate the power, you can proceed with the confidence that the outdoor flood light is completely disconnected from the electrical supply. Remember, safety should always be the top priority when working with electrical fixtures, and taking the time to ensure the power is off is a crucial step in the process of changing the bulb in your outdoor flood light.
Step 3: Remove the old bulb
With the power to the outdoor flood light safely turned off, you can now proceed to remove the old bulb. This step requires precision and care to avoid damaging the fixture or injuring yourself. Follow these guidelines to effectively remove the old bulb:
- Allow the Bulb to Cool: If the outdoor flood light has been in use, give the old bulb sufficient time to cool down. Handling a hot bulb can result in burns or injuries, so exercising patience is essential.
- Access the Bulb Housing: Depending on the design of your outdoor flood light, you may need to remove a cover or access panel to reach the bulb. Use a screwdriver or an Allen wrench, as necessary, to detach the cover and expose the bulb housing.
- Remove the Bulb: Once the bulb housing is accessible, carefully unscrew or unclip the old bulb from its socket. Take note of the specific method required for your fixture, as some bulbs may twist out, while others may have spring-loaded clips that need to be released.
- Dispose of the Old Bulb: Properly dispose of the old bulb in accordance with local regulations. If the old bulb is still functional, consider recycling it if facilities are available in your area. Otherwise, ensure that it is disposed of responsibly to minimize environmental impact.
By following these steps, you can safely remove the old bulb from your outdoor flood light, paving the way for the installation of a new, radiant bulb. Taking the time to execute this phase meticulously sets the stage for a successful bulb replacement process and ensures that the fixture remains in optimal condition.
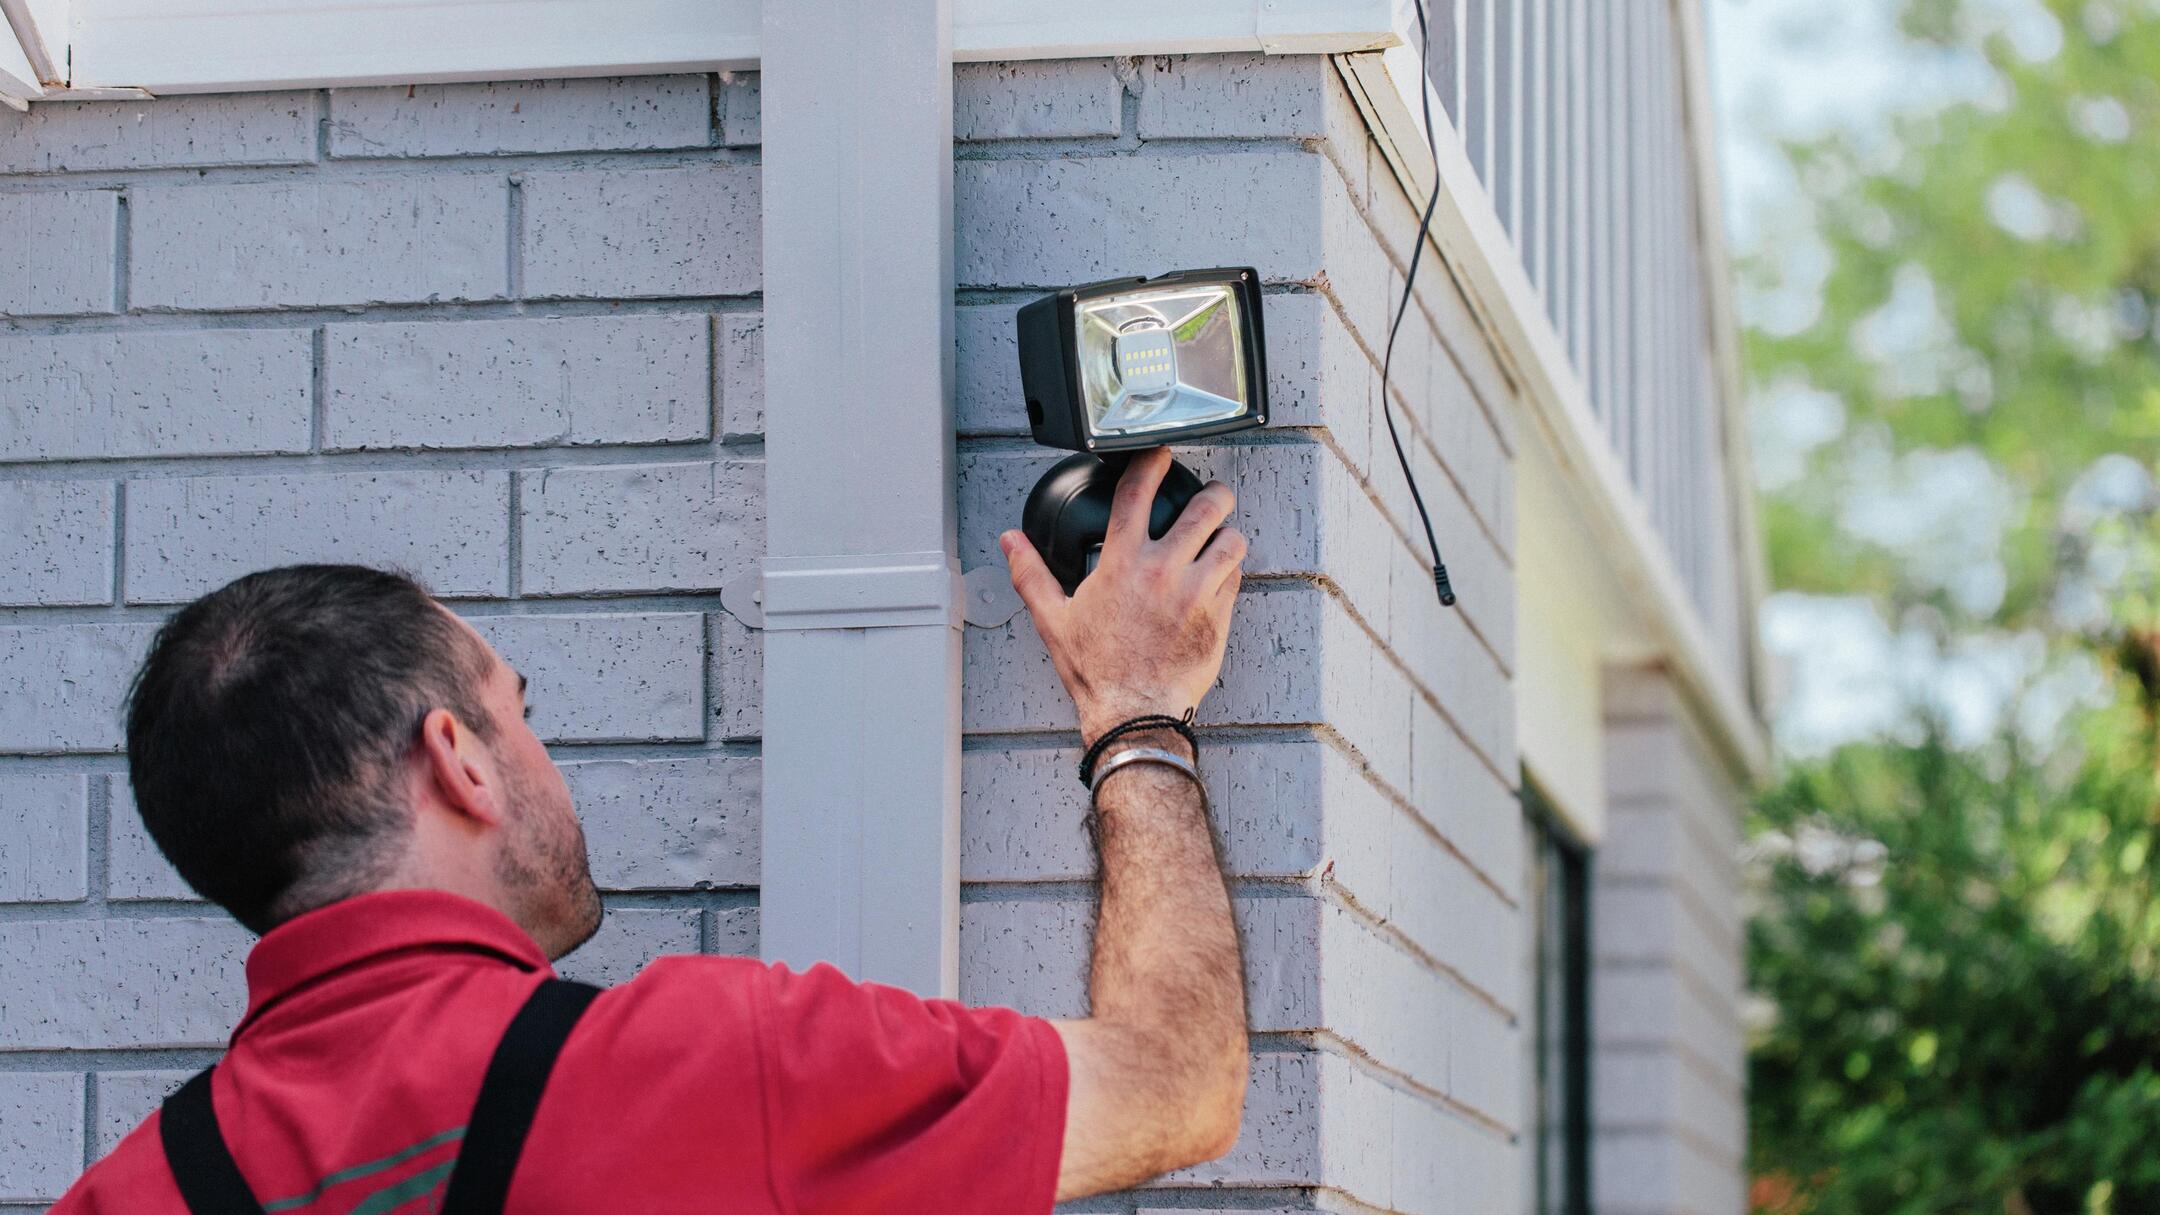
Make sure the power is off before changing the bulb in an outdoor flood light. Use a ladder if needed, and wear gloves to protect your hands from any broken glass. Unscrew the old bulb and replace it with a new one of the same wattage.
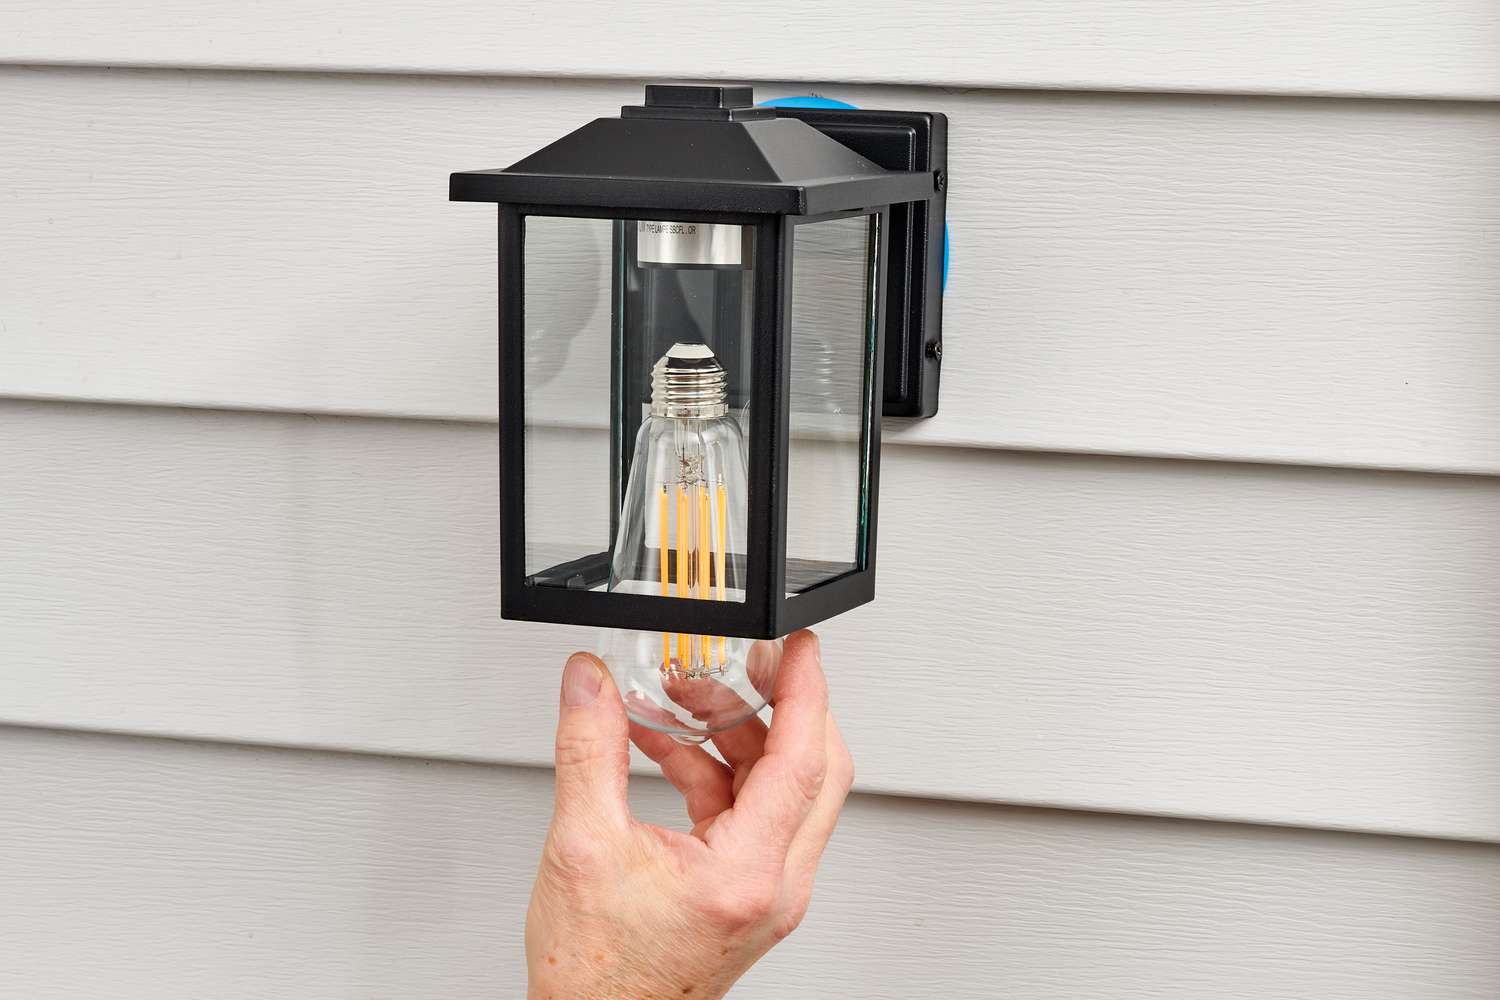
Step 4: Install the new bulb
With the old bulb safely removed, it’s time to usher in a new era of brilliance by installing the replacement bulb in your outdoor flood light. This step requires precision and attention to detail to ensure a seamless transition to the new bulb. Follow these steps to effectively install the new bulb:
- Inspect the Socket: Before installing the new bulb, inspect the socket in the fixture to ensure that it is clean and free of any debris. Any accumulation of dirt or foreign objects can hinder the performance of the new bulb.
- Handle the New Bulb Carefully: When handling the new bulb, avoid touching the glass surface with your bare hands. The natural oils on your skin can leave residue on the bulb, which may lead to uneven heating and potential failure. If necessary, use gloves or a clean cloth to hold the bulb.
- Align and Insert the Bulb: Align the new bulb with the socket in the fixture, taking care to match the prongs or contacts correctly. Once aligned, gently insert the bulb into the socket, ensuring a snug fit without forcing it into place.
- Secure the Bulb: Depending on the design of your outdoor flood light, the new bulb may need to be twisted into place or secured with clips. Follow the manufacturer’s guidelines to secure the bulb in position, ensuring that it is firmly seated and properly aligned.
- Replace the Cover or Access Panel: After the new bulb is securely installed, replace the cover or access panel that provides protection to the bulb and internal components. Fasten the cover using the appropriate tools, ensuring a secure fit.
By meticulously executing these steps, you can successfully install the new bulb in your outdoor flood light, ushering in a renewed radiance to illuminate your outdoor space. Taking the time to handle the new bulb with care and ensuring proper alignment and installation sets the stage for optimal performance and longevity of the fixture.
Read more: What Is A Flood Light Bulb?
Step 5: Turn the power back on
With the new bulb securely installed in your outdoor flood light, the final step is to restore power to the fixture, bringing the brilliance of the new bulb to life. Follow these guidelines to safely reactivate the power supply:
- Replace the Circuit Breaker: Return to the electrical panel and locate the circuit breaker that controls the outdoor flood light. Switch the circuit breaker to the “on” position to restore power to the fixture.
- Test the Light: Once the power is restored, test the outdoor flood light to ensure that the new bulb illuminates as expected. Stand at a safe distance from the fixture and activate the light using the switch or control mechanism. Verify that the light functions properly and emits a steady, consistent glow.
- Adjust as Needed: If the light does not turn on or exhibits any irregularities, double-check the installation of the new bulb and the integrity of the electrical connections. If adjustments are required, repeat the necessary steps to address any issues.
By following these steps, you can safely and effectively restore power to your outdoor flood light, allowing the new bulb to shine brightly and fulfill its purpose of illuminating your outdoor space. Taking the time to test the light after reactivating the power ensures that the installation process was successful and that the fixture is ready to deliver radiant illumination.
Conclusion
Congratulations on successfully changing the bulb in your outdoor flood light! By following the step-by-step process outlined in this guide, you have not only revitalized the illumination of your outdoor space but also demonstrated your ability to undertake a practical home maintenance task with confidence and precision.
As you bask in the radiant glow of your newly installed bulb, take a moment to appreciate the impact of a well-lit outdoor environment. Whether you’re enhancing the security of your property, creating a welcoming ambiance for gatherings, or simply brightening your outdoor activities, the proper functioning of your outdoor flood light is essential.
Remember, the key to a successful bulb replacement lies in meticulous preparation, a focus on safety, and attention to detail throughout the process. By gathering the necessary tools and materials, ensuring the power is safely turned off, delicately removing the old bulb, installing the new bulb with care, and finally restoring power to the fixture, you have effectively maintained and rejuvenated your outdoor flood light.
As you enjoy the renewed radiance of your outdoor space, consider sharing your newfound expertise with friends, family, or neighbors who may benefit from similar guidance. Empowering others to tackle home improvement projects fosters a sense of community and contributes to the collective well-being of your surroundings.
With your outdoor flood light now shining brightly, you can relish in the enhanced aesthetics, functionality, and security it provides. Whether it’s illuminating pathways, accentuating landscaping features, or ensuring visibility during evening hours, your outdoor flood light plays a pivotal role in enriching your outdoor living experience.
Thank you for embarking on this enlightening journey of bulb replacement with us. May your outdoor space continue to radiate warmth and brilliance, creating cherished moments and memories under the luminous glow of your newly installed bulb.
Frequently Asked Questions about How To Change Bulb In Outdoor Flood Light
Was this page helpful?
At Storables.com, we guarantee accurate and reliable information. Our content, validated by Expert Board Contributors, is crafted following stringent Editorial Policies. We're committed to providing you with well-researched, expert-backed insights for all your informational needs.


0 thoughts on “How To Change Bulb In Outdoor Flood Light”