Home>Furniture & Design>Outdoor Furniture>How To Install Outdoor Led Strip Lights
Outdoor Furniture
How To Install Outdoor Led Strip Lights
Modified: February 18, 2024
Learn how to easily install outdoor LED strip lights to enhance your outdoor furniture and design. Discover step-by-step instructions and tips for a seamless installation.
(Many of the links in this article redirect to a specific reviewed product. Your purchase of these products through affiliate links helps to generate commission for Storables.com, at no extra cost. Learn more)
Introduction
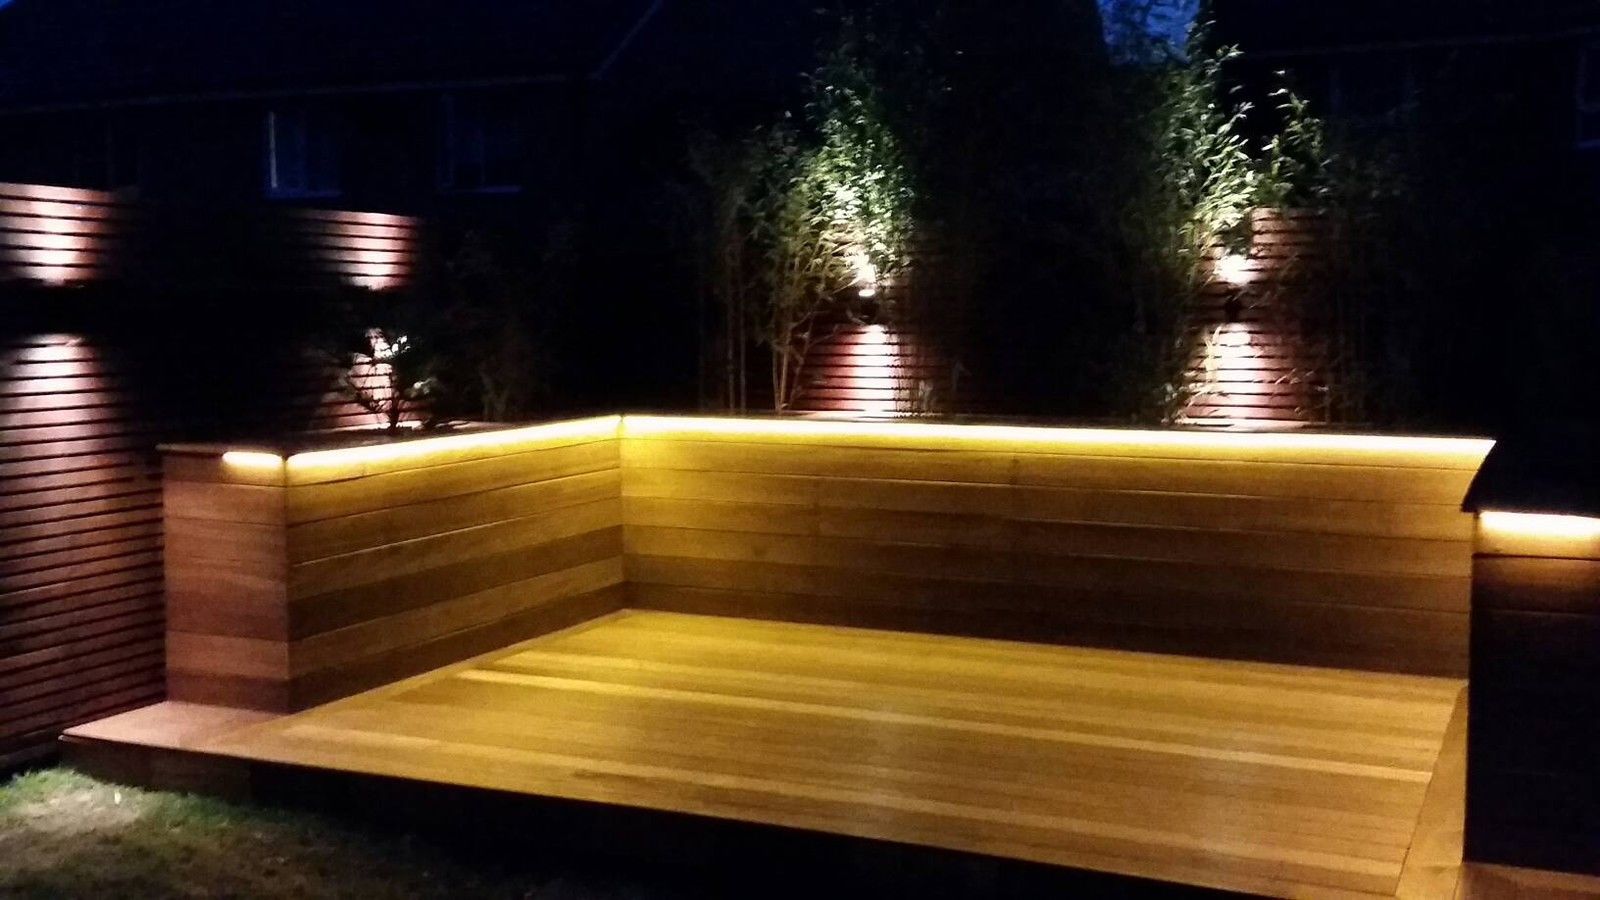
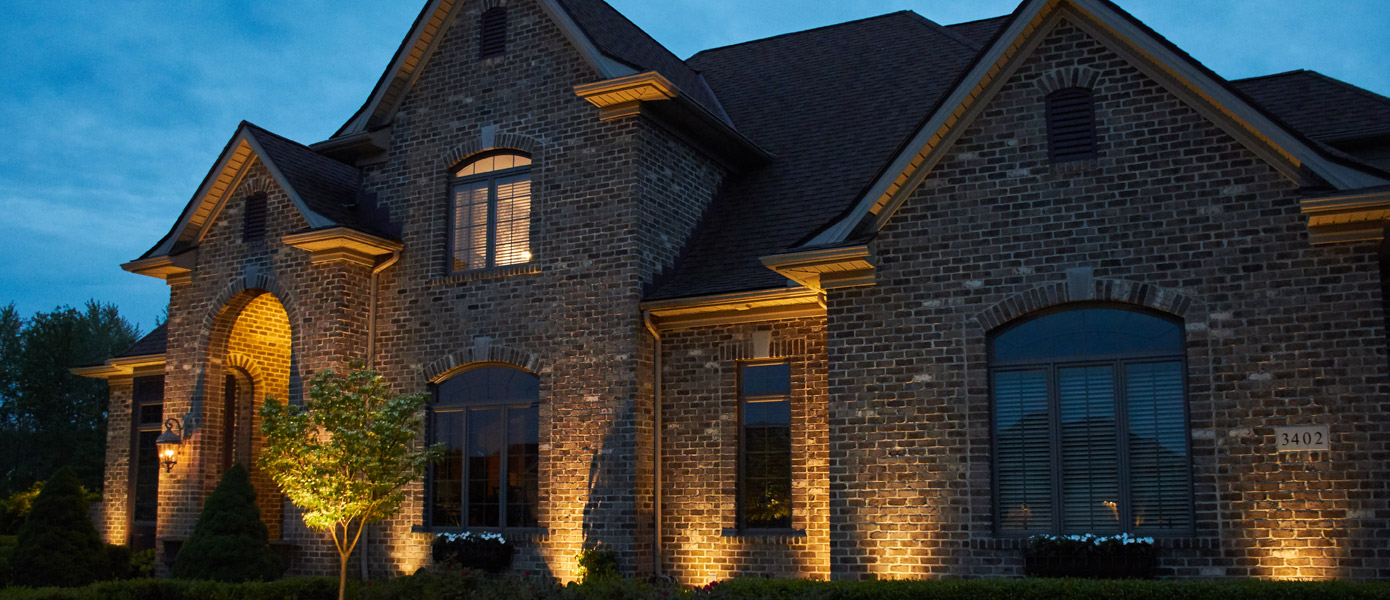
Outdoor LED strip lights are a fantastic way to enhance the ambiance of your outdoor living space. Whether you want to add a touch of warmth to your patio, illuminate a garden pathway, or create a mesmerizing outdoor entertainment area, LED strip lights can bring your vision to life. These versatile and energy-efficient lights offer a multitude of possibilities for transforming your outdoor environment into a captivating oasis.
In this comprehensive guide, we will walk you through the step-by-step process of installing outdoor LED strip lights. From gathering the necessary supplies to testing the lights, you will gain valuable insights and practical tips to ensure a successful installation. Whether you are a seasoned DIY enthusiast or a novice looking to embark on your first outdoor lighting project, this guide will equip you with the knowledge and confidence to illuminate your outdoor space with stunning LED strip lights.
So, roll up your sleeves, unleash your creativity, and get ready to embark on an illuminating journey as we delve into the art of installing outdoor LED strip lights. Let's illuminate your outdoor space and create an inviting ambiance that will leave your guests in awe.
Key Takeaways:
- Illuminate your outdoor space with captivating LED strip lights by carefully planning the layout, preparing the surface, and testing the lights for optimal functionality and visual appeal.
- Enjoy the mesmerizing glow of your outdoor LED strip lights by hosting gatherings, customizing the ambiance, and admiring the enhanced visual interest they bring to your outdoor environment.
Read more: How To Install LED Strips
Step 1: Gather the Necessary Supplies
Before diving into the installation process, it’s essential to gather all the required supplies. Having the right tools and materials at your disposal will streamline the installation and ensure a seamless experience. Here’s a comprehensive list of supplies you will need:
- Outdoor LED Strip Lights: Select high-quality, weatherproof LED strip lights suitable for outdoor use. Consider the desired length and color options to complement your outdoor decor.
- Power Supply: Ensure you have a suitable power supply that matches the voltage and requirements of your LED strip lights. Opt for a waterproof power supply designed for outdoor applications.
- Wire Connectors: Invest in reliable wire connectors to establish secure and weather-resistant connections between the LED strips and the power supply.
- Mounting Clips or Adhesive Tape: Depending on your installation surface, gather mounting clips or strong adhesive tape to securely affix the LED strip lights in place.
- Waterproofing Materials: If your installation area is exposed to the elements, consider waterproofing materials such as silicone sealant or waterproof enclosures to protect connections and components.
- Measuring Tape and Scissors: Equip yourself with a measuring tape to accurately determine the required length of LED strips and a pair of scissors suitable for cutting the strips to size.
- Cleaning Supplies: Prepare cleaning supplies to ensure the installation surface is free from dust, debris, and moisture, promoting optimal adhesion and longevity of the LED strip lights.
- Protective Gear: Prioritize safety by wearing appropriate protective gear, including gloves and safety glasses, especially when working with electrical components.
- Extension Cables (if needed): If your installation requires extended reach, have extension cables on hand to bridge the distance between the LED strips and the power supply.
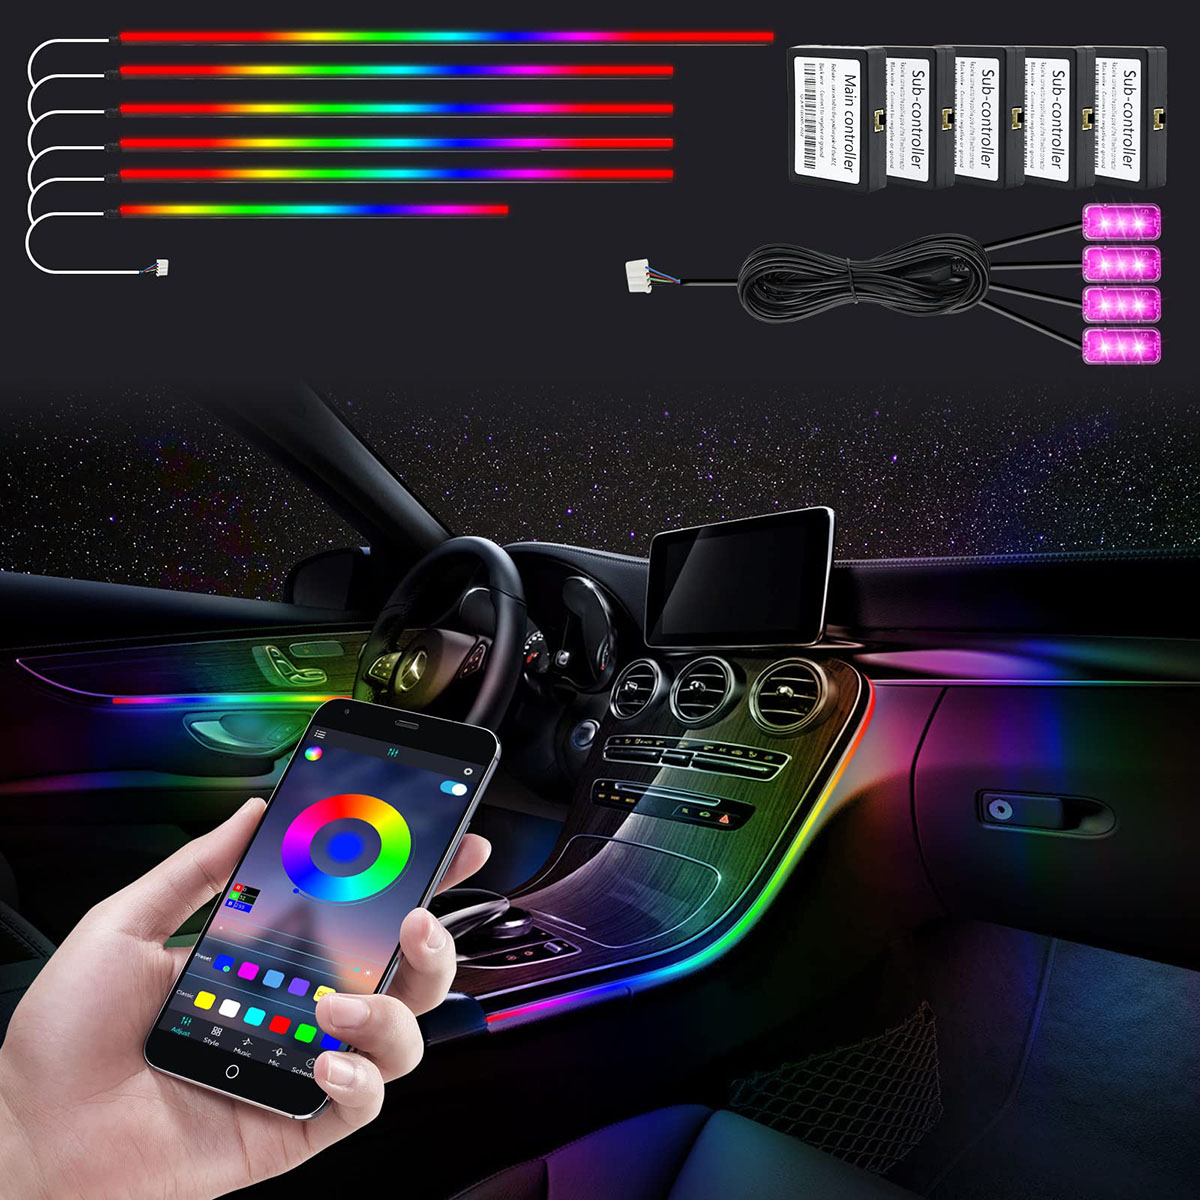
- Remote Control or Dimmer (optional): For added convenience and customization, consider incorporating a remote control or dimmer to adjust the brightness and color settings of your LED strip lights.
By ensuring you have all the necessary supplies upfront, you can embark on the installation process with confidence, knowing that you are well-prepared to bring your outdoor lighting vision to fruition.
Step 2: Plan the Layout
Before installing your outdoor LED strip lights, it’s crucial to plan the layout to achieve the desired aesthetic and functional outcome. Careful consideration of the placement, design, and lighting requirements will set the stage for a captivating outdoor lighting display. Here are the essential steps to effectively plan the layout of your LED strip lights:
- Assess the Installation Area: Survey the outdoor space where you intend to install the LED strip lights. Take note of architectural features, landscaping elements, and focal points that can benefit from accent lighting.
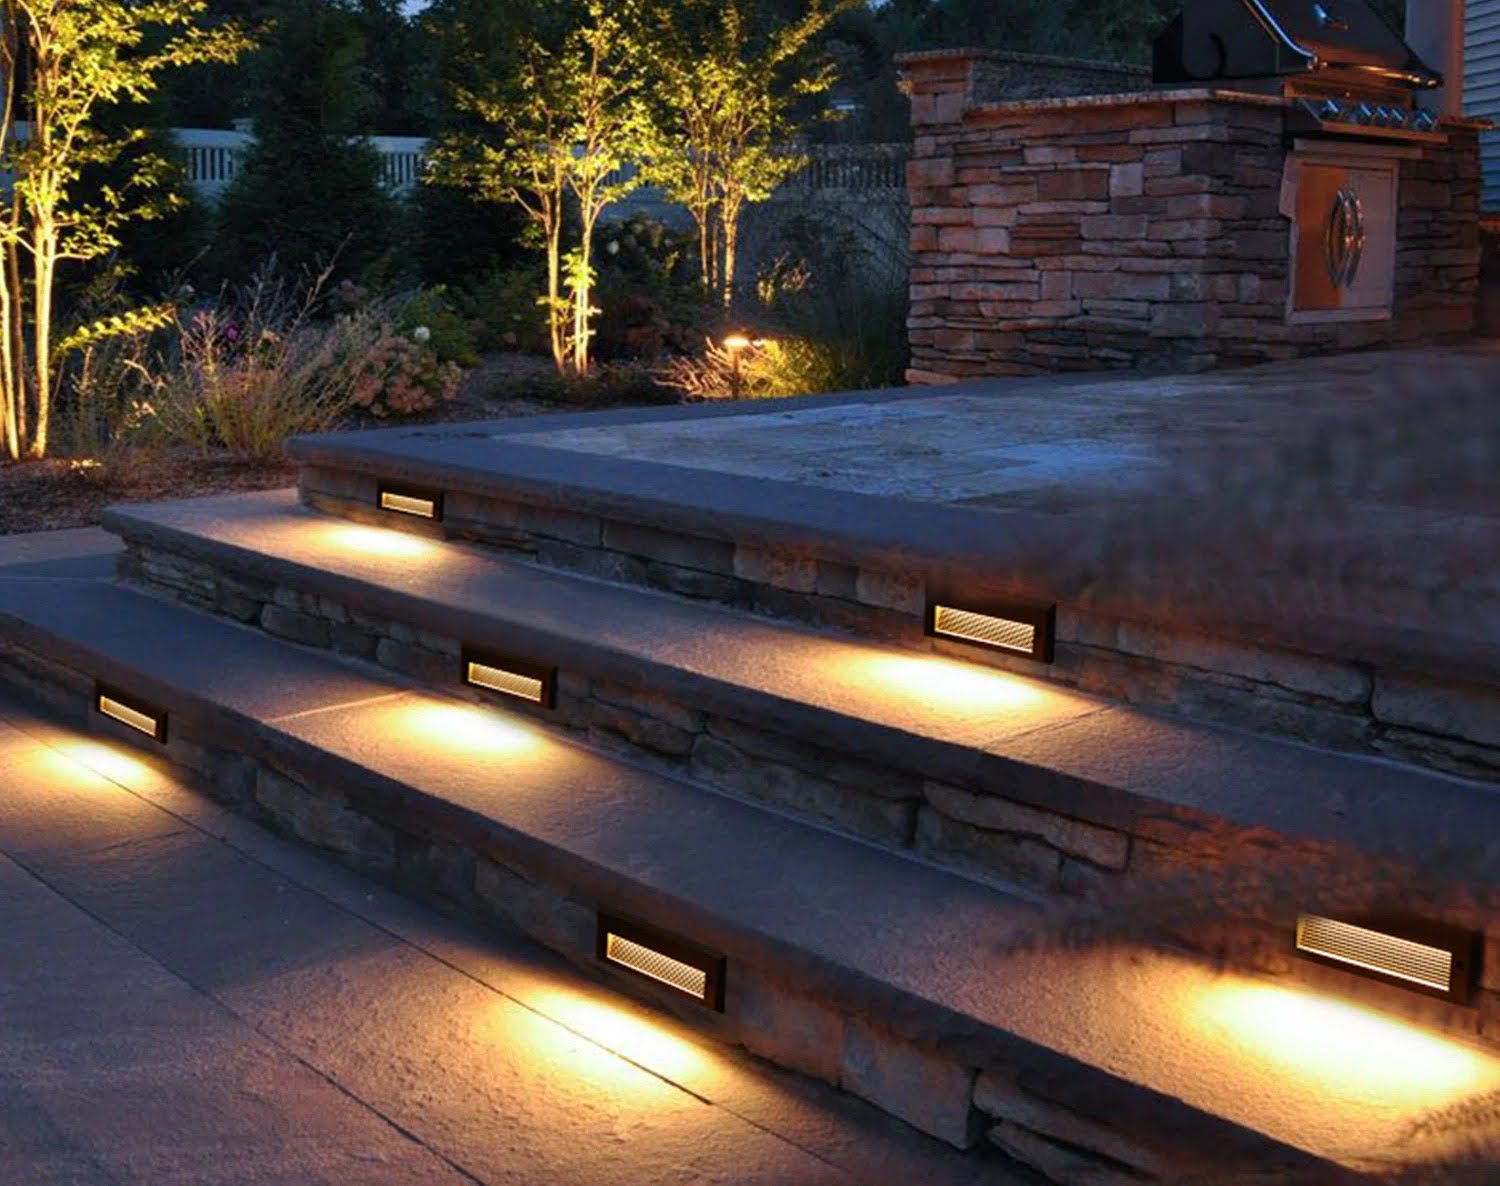
- Define the Purpose: Determine the primary purpose of the lighting installation. Are you aiming to create ambient lighting for entertaining guests, accentuate specific outdoor elements, or provide functional illumination for pathways and walkways?
- Consider Power Source Accessibility: Identify the availability of power sources near the intended installation areas. Ensure that the power supply for the LED strip lights can be conveniently and safely connected to an electrical outlet or power socket.
- Explore Creative Placement Options: Embrace creativity by exploring different placement options for the LED strip lights. Whether you envision outlining architectural features, highlighting landscaping elements, or integrating the lights into outdoor furniture, consider unique placement opportunities.
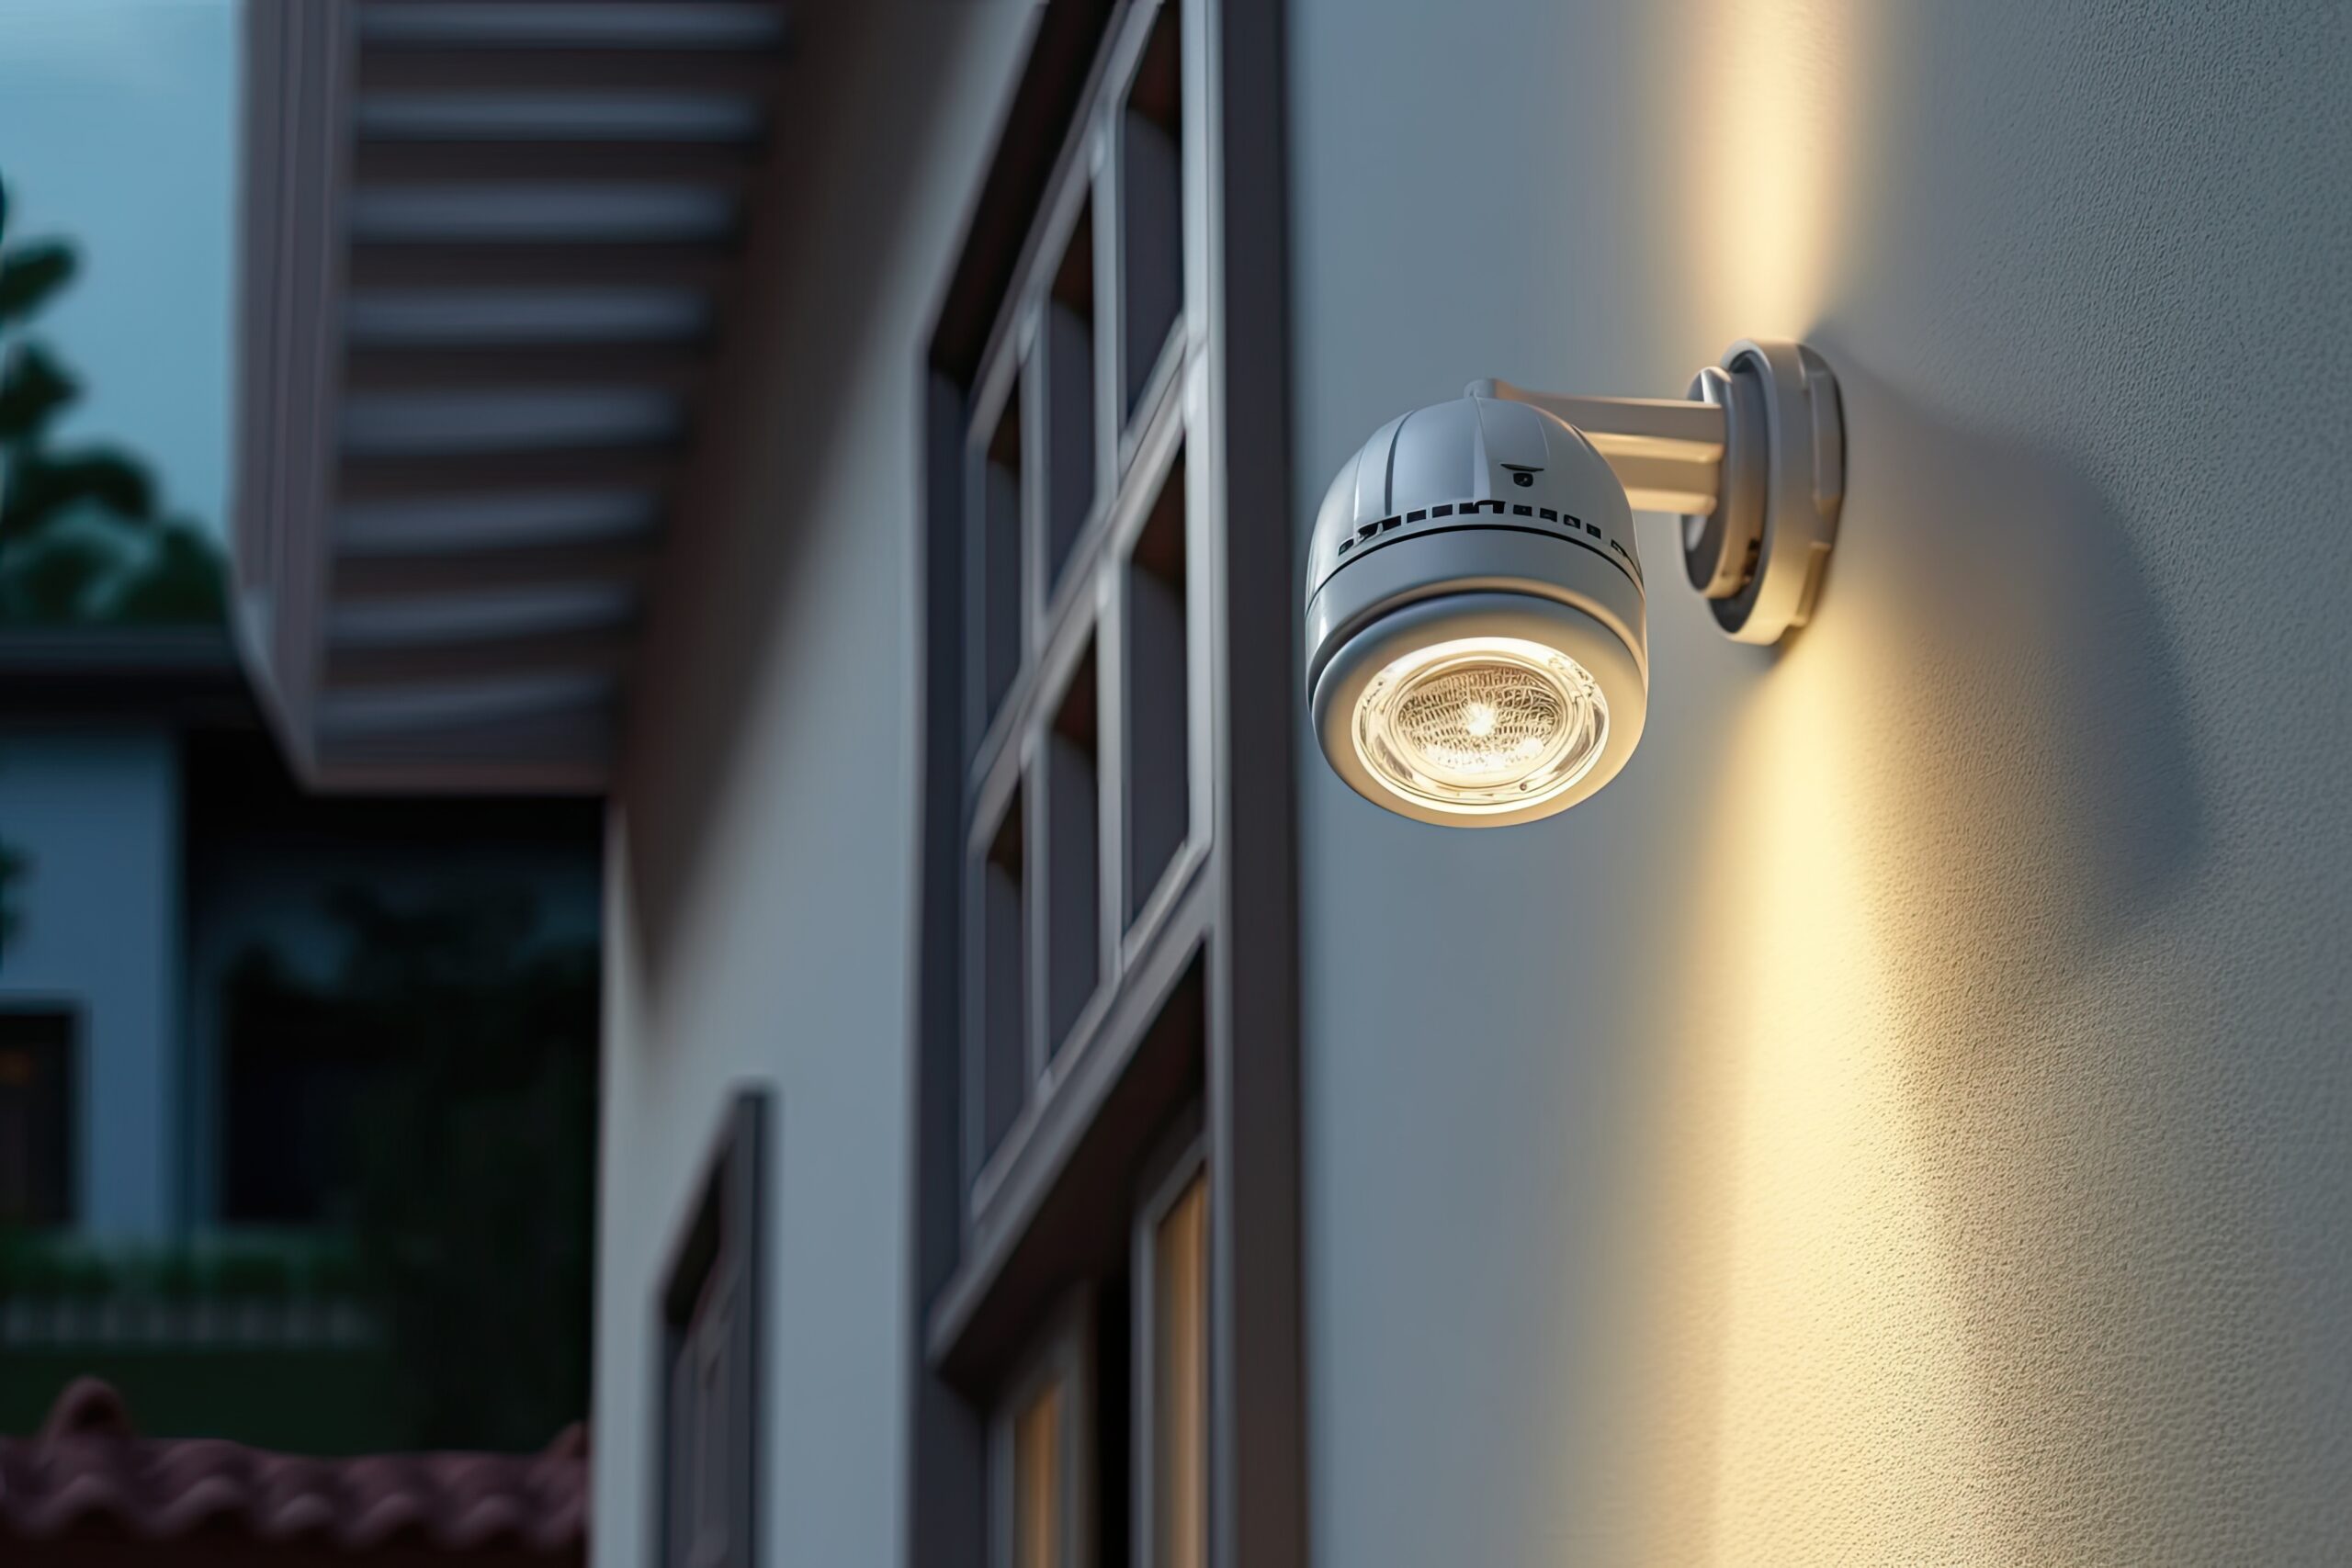
- Account for Weather Resistance: If the installation area is exposed to the elements, factor in weather resistance when planning the layout. Choose mounting locations and installation methods that offer protection against moisture, UV exposure, and outdoor conditions.
- Balance Light Distribution: Strive for balanced light distribution across the installation area. Avoid concentrated bright spots or excessively dim areas by strategically positioning the LED strip lights to achieve uniform illumination.
- Customize Color and Effects: If your LED strip lights offer color-changing capabilities or dynamic lighting effects, consider how to incorporate these features into the layout. Plan for zones of different colors or dynamic patterns to create a captivating visual impact.
By meticulously planning the layout of your outdoor LED strip lights, you can optimize their visual impact, functionality, and longevity. This thoughtful approach sets the stage for a seamless installation process and ensures that the end result aligns with your outdoor lighting aspirations.
Step 3: Prepare the Surface
Proper surface preparation is a crucial precursor to the successful installation of outdoor LED strip lights. By ensuring that the installation surface is clean, dry, and conducive to adhesion, you can maximize the effectiveness and longevity of the lighting display. Follow these essential steps to prepare the surface for the installation of LED strip lights:
- Clean the Surface: Thoroughly clean the installation surface using a mild detergent, water, and a clean cloth. Remove any dirt, dust, grime, or residue that may hinder the adhesion of the LED strip lights and mounting accessories.
- Dry the Surface: Allow the cleaned surface to dry completely before proceeding with the installation. Moisture can compromise the adhesive properties and waterproofing of the LED strip lights, so ensure that the surface is entirely dry.
- Inspect for Damage: Conduct a visual inspection of the installation surface to identify any signs of damage, deterioration, or irregularities. Address any structural issues or surface damage that may impact the stability and longevity of the LED strip lights.
- Test Adhesion: If you plan to use adhesive mounting options, perform a test of the adhesion by applying a small section of the LED strip lights to the surface. Assess the bond and ensure that the adhesive provides a secure and reliable attachment.
- Apply Primer (if necessary): In cases where the surface material may not facilitate strong adhesion, consider applying a suitable primer designed to enhance the bonding capabilities of the adhesive for the LED strip lights.
- Mark Mounting Locations: Use a pencil or removable marker to mark the precise locations where the LED strip lights will be installed. This step helps in aligning the lights accurately and ensures a uniform and visually appealing installation.
- Consider Waterproofing: If the installation area is susceptible to moisture or water exposure, consider implementing additional waterproofing measures to safeguard the connections, mounting accessories, and vulnerable components of the LED strip lights.
By meticulously preparing the surface for the installation of outdoor LED strip lights, you can lay the foundation for a secure, reliable, and visually pleasing lighting display. Attention to detail during this phase significantly contributes to the overall success and longevity of the LED lighting installation.
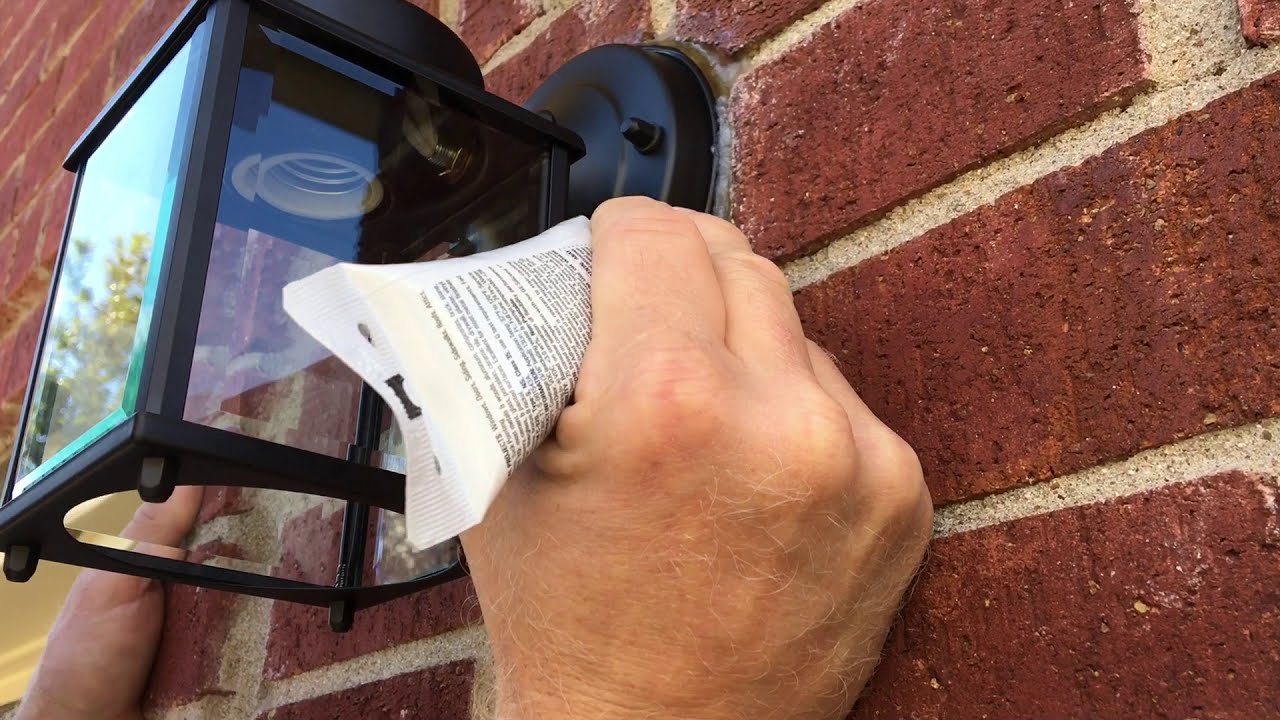
Make sure to clean the surface where you will be installing the LED strip lights to ensure good adhesion. Use a silicone sealant to protect the connections from moisture and ensure a longer lifespan for the lights.
Step 4: Install the LED Strip Lights
With the surface prepared and the layout planned, it’s time to embark on the exciting phase of installing the outdoor LED strip lights. This step involves carefully affixing the lights according to the predetermined layout, ensuring secure mounting and optimal positioning. Follow these comprehensive guidelines to execute a successful installation of the LED strip lights:
- Cut the LED Strips to Size: Using a pair of scissors, carefully cut the LED strip lights to the required length based on the pre-determined layout. Most LED strips feature designated cut points, allowing for precise customization.
- Affix Mounting Accessories: If using mounting clips or brackets, securely attach them to the installation surface at the marked locations. Ensure that the mounting accessories are aligned and positioned to accommodate the LED strip lights.
- Apply Adhesive Tape: For adhesive-backed LED strip lights, carefully peel off the protective backing to expose the adhesive surface. Gently press the adhesive side of the LED strips onto the cleaned and prepared surface, following the marked layout.
- Secure Waterproofing: If the LED strip lights are installed in areas prone to moisture exposure, apply waterproofing materials such as silicone sealant around the connections and vulnerable areas to create a protective barrier.
- Connect LED Strips: If your layout involves multiple segments of LED strip lights, use reliable wire connectors to establish secure connections between the strips. Follow the manufacturer’s instructions for proper connection methods.
- Align and Straighten: Ensure that the LED strip lights are aligned and straightened according to the planned layout. Take care to maintain uniform spacing and alignment for a visually appealing and professional installation.
- Test Illumination: Prior to finalizing the installation, briefly power on the LED strip lights to confirm proper illumination and color consistency. This step allows for immediate detection and rectification of any connectivity or performance issues.
- Adjust Placement (if needed): If adjustments are required to achieve the desired lighting effect, make necessary repositioning or realignment of the LED strip lights. Pay attention to the overall visual impact and lighting distribution.
By following these meticulous steps, you can effectively install outdoor LED strip lights with precision, ensuring a visually stunning and robust lighting display. Attention to detail and adherence to best practices contribute to the longevity and performance of the LED strip lights in your outdoor environment.
Read more: How To Install LED Strips Around Corners
Step 5: Connect the Power Supply
With the outdoor LED strip lights securely installed, the next crucial step is to connect the power supply, enabling the illumination of your captivating outdoor lighting display. Properly establishing the connection between the LED strip lights and the power supply is essential for ensuring reliable operation and optimal performance. Follow these comprehensive guidelines to seamlessly connect the power supply to the LED strip lights:
- Identify Power Supply Requirements: Refer to the manufacturer’s specifications and guidelines to understand the voltage, current, and connection requirements of the LED strip lights. Ensure that the power supply aligns with the designated specifications for safe and efficient operation.
- Position the Power Supply: Select a suitable location for the power supply, considering accessibility, protection from the elements, and proximity to electrical outlets. If the power supply is not waterproof, position it in a sheltered area or utilize a waterproof enclosure.
- Measure and Cut Power Supply Cable: If necessary, measure and cut the power supply cable to the appropriate length, allowing for a secure and tidy connection to the LED strip lights. Exercise caution and use appropriate tools for cable cutting.
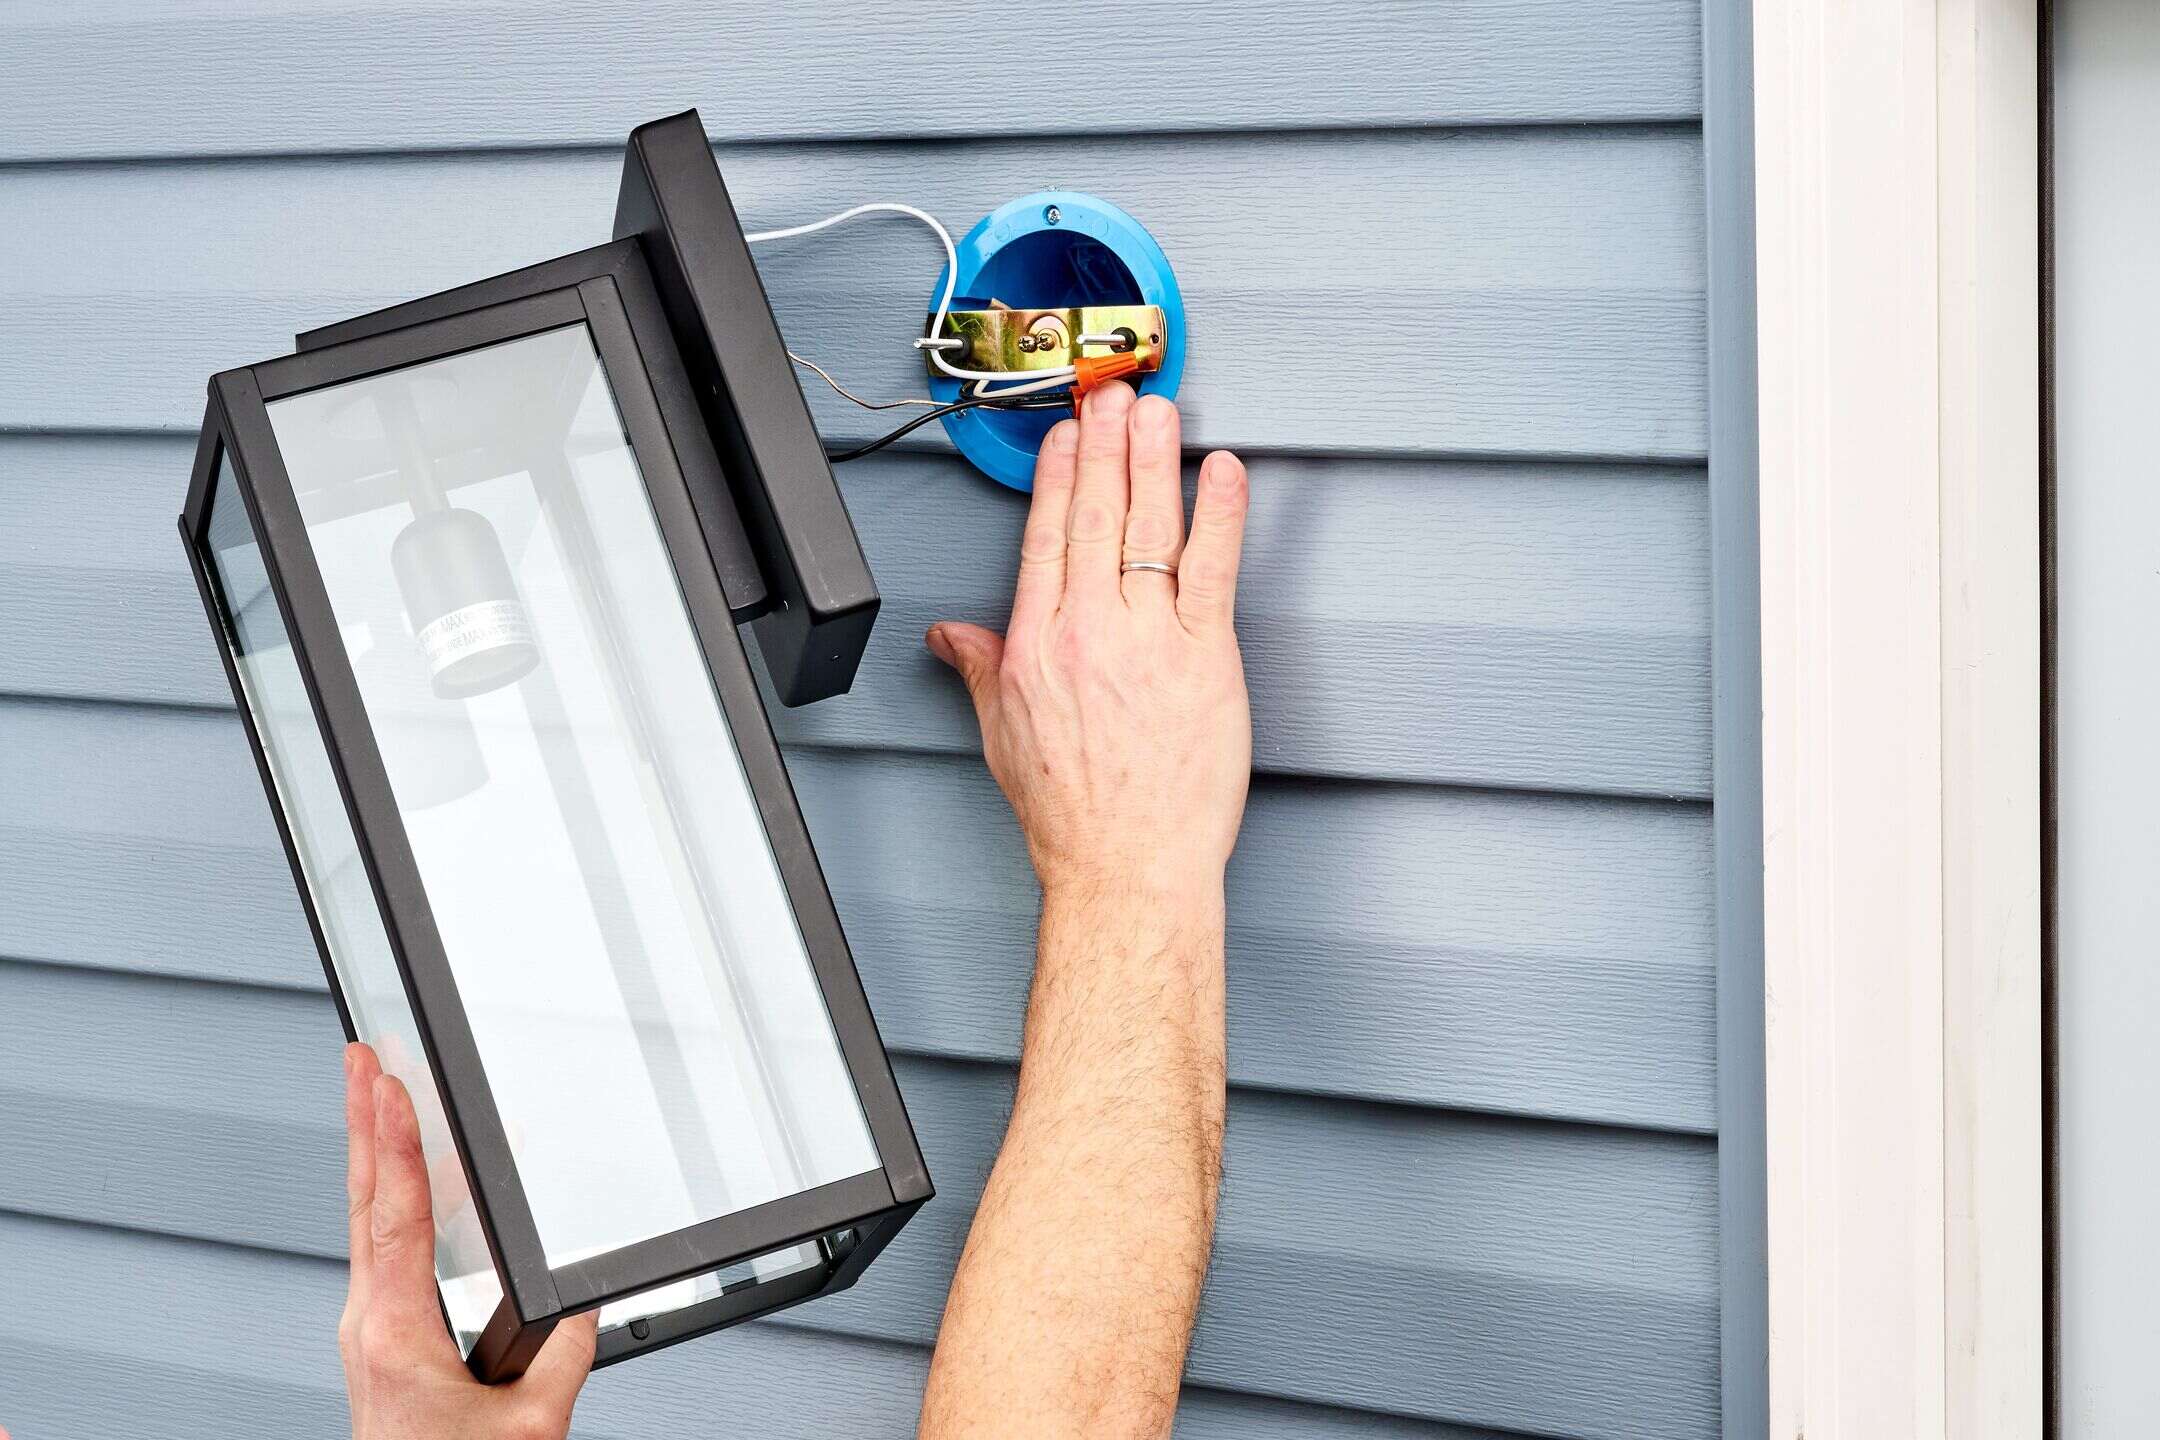
- Establish Electrical Connection: Safely and meticulously connect the power supply to the input terminals of the LED strip lights, ensuring proper polarity and secure attachment. Follow the manufacturer’s instructions for the specific connection method and wiring details.
- Utilize Waterproof Connectors (if applicable): If the connection area is exposed to moisture or outdoor elements, utilize waterproof connectors or enclosures to safeguard the electrical connections and prevent water ingress.
- Test Power Connection: Prior to finalizing the power supply connection, perform a thorough test to ensure that the LED strip lights receive power and illuminate as intended. Verify the stability of the electrical connection and address any issues promptly.
- Secure Cable Routing: Secure and route the power supply cable in a discreet and secure manner, minimizing trip hazards and exposure to potential damage. Utilize cable clips or channels to organize and protect the cable along its route.
- Conceal and Protect Wiring: If feasible, consider concealing and protecting the wiring and cable connections within weatherproof conduits or channels to enhance the aesthetic appeal and safeguard the electrical components.
By meticulously connecting the power supply to the outdoor LED strip lights, you ensure a reliable and safe power delivery, enabling the mesmerizing illumination of your outdoor space. Attention to detail and adherence to electrical safety practices are paramount during this essential phase of the installation process.
Step 6: Test the Lights
Before basking in the enchanting glow of your outdoor LED strip lights, it’s crucial to conduct a comprehensive testing phase to ensure optimal functionality, performance, and visual appeal. Testing the lights allows for immediate detection and resolution of any potential issues, ensuring that your outdoor lighting display operates flawlessly. Follow these essential steps to thoroughly test the LED strip lights:
- Power On the Lights: Activate the power supply to illuminate the LED strip lights, allowing them to emit their captivating glow. Observe the initial illumination to assess the brightness, color consistency, and overall functionality of the lights.
- Verify Color Settings (if applicable): If your LED strip lights offer color-changing capabilities, cycle through the available color options to confirm that the color settings align with your desired ambiance and visual preferences.
- Inspect Lighting Uniformity: Evaluate the uniformity of the lighting across the installation area. Ensure that the LED strip lights provide consistent illumination without noticeable variations in brightness or color intensity.
- Assess Weather Resistance: If the LED strip lights are exposed to outdoor elements, verify their weather resistance by conducting the test under simulated environmental conditions, such as light rain or mist, ensuring that the lights remain operational and unaffected.
- Check Connectivity and Stability: Confirm the stability of the electrical connections and mounting of the LED strip lights. Ensure that the lights remain securely affixed and that the electrical connections exhibit reliability and resilience during the testing phase.
- Observe Dimming and Control (if applicable): If your LED strip lights feature dimming or control capabilities, test these functionalities to ascertain their responsiveness and precision, allowing for customization of the lighting intensity.
- Address Any Issues Promptly: If any irregularities, performance issues, or visual discrepancies are detected during the testing phase, promptly address and rectify them. Troubleshoot connectivity, power supply, or lighting performance concerns to ensure a seamless lighting experience.
- Document Test Results: Record the outcomes of the testing phase, noting any observations, adjustments, or corrective measures undertaken to optimize the performance and visual impact of the LED strip lights.
By rigorously testing the outdoor LED strip lights, you can confidently unveil a captivating and reliable lighting display in your outdoor space. Thorough testing ensures that the lights meet your expectations, operate flawlessly, and contribute to the ambiance and allure of your outdoor environment.
Step 7: Enjoy Your Outdoor LED Strip Lights
Congratulations! You’ve successfully navigated the installation process, meticulously planned the layout, and meticulously tested your outdoor LED strip lights. Now, it’s time to revel in the mesmerizing glow and transformative ambiance they bring to your outdoor space. As you embark on this final step, consider the following key aspects to fully embrace and enjoy your outdoor LED strip lights:
- Embrace the Illuminated Atmosphere: Step into your outdoor oasis and immerse yourself in the captivating ambiance created by the LED strip lights. Appreciate the enhanced visual appeal and the inviting atmosphere they contribute to your outdoor environment.
- Entertain and Host Gatherings: Utilize the enchanting lighting to host outdoor gatherings, dinner parties, or social events. The warm and welcoming glow of the LED strip lights sets the stage for memorable moments and delightful conversations.
- Customize and Personalize: Explore the versatility of your LED strip lights by experimenting with different color settings, dynamic lighting effects, and intensity adjustments. Tailor the lighting to suit various occasions and moods, infusing your outdoor space with personalized charm.
- Extend Outdoor Activities: Extend your outdoor activities well into the evening with the aid of the LED strip lights. Whether it’s reading a book on the patio, enjoying a late-night barbecue, or simply unwinding under the starry sky, the illumination enhances the allure of outdoor living.
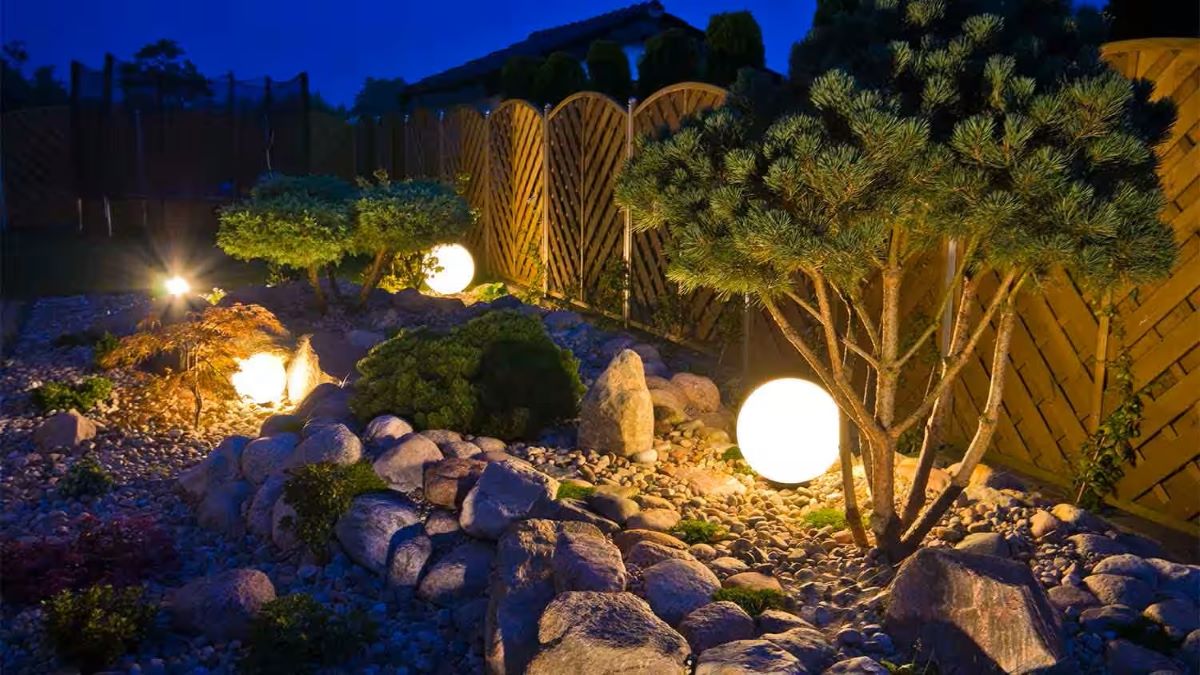
- Admire Architectural and Landscape Features: Allow the LED strip lights to accentuate the architectural elements, landscaping features, and outdoor decor within your surroundings. Revel in the enhanced visual interest and dramatic highlights they bestow upon your outdoor space.
- Share the Experience: Share the enchanting experience with family and friends, inviting them to relish the captivating ambiance and visual spectacle created by the outdoor LED strip lights. Create cherished memories and delightful moments in the illuminated outdoor setting.
- Maintain and Preserve: Commit to regular maintenance and care to preserve the longevity and performance of your LED strip lights. Keep the installation area clean, inspect the connections periodically, and address any maintenance needs promptly to ensure enduring enjoyment.
As you revel in the captivating allure of your outdoor LED strip lights, take pride in the transformative impact they have on your outdoor living space. Embrace the enchanting atmosphere, create cherished memories, and savor the delightful moments illuminated by the mesmerizing glow of your outdoor LED strip lights.
Frequently Asked Questions about How To Install Outdoor Led Strip Lights
Was this page helpful?
At Storables.com, we guarantee accurate and reliable information. Our content, validated by Expert Board Contributors, is crafted following stringent Editorial Policies. We're committed to providing you with well-researched, expert-backed insights for all your informational needs.


0 thoughts on “How To Install Outdoor Led Strip Lights”