Articles
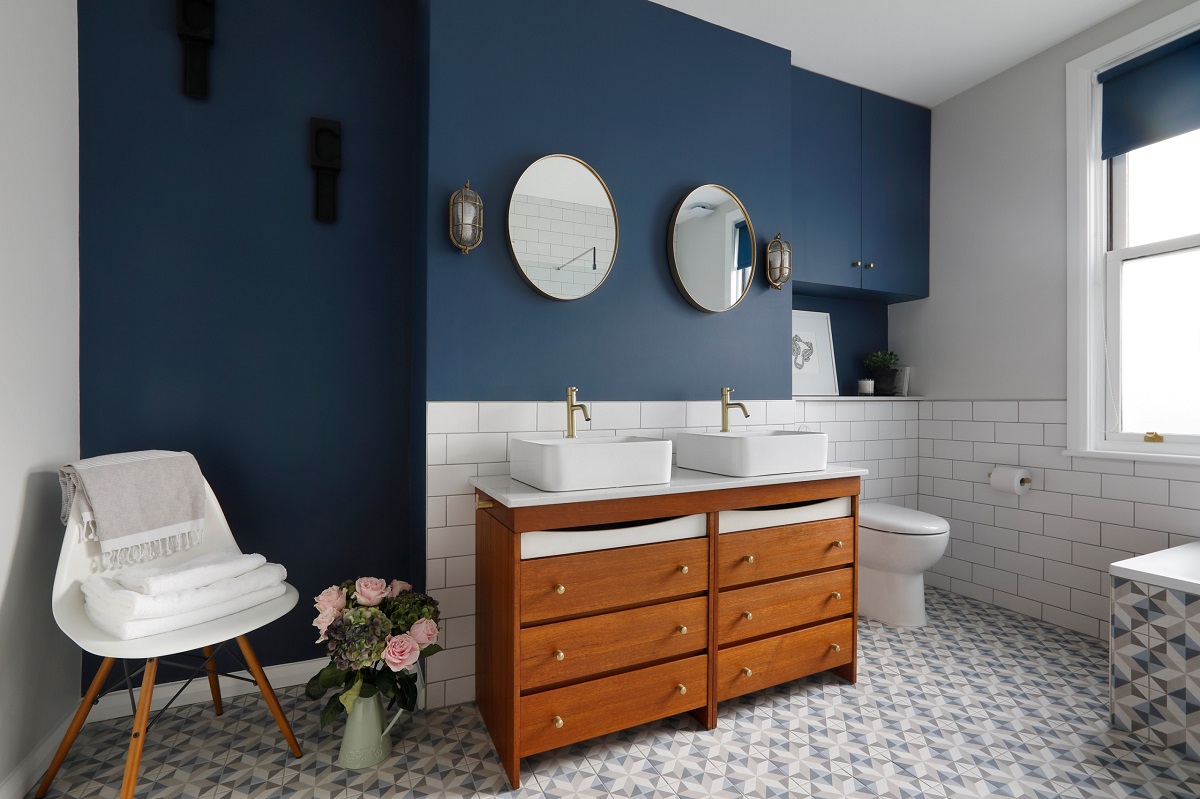
How To Make A Dresser Into A Bathroom Vanity
Modified: January 9, 2024
Learn how to transform a dresser into a stylish and functional bathroom vanity with these informative articles. Upgrade your bathroom decor now!
(Many of the links in this article redirect to a specific reviewed product. Your purchase of these products through affiliate links helps to generate commission for Storables.com, at no extra cost. Learn more)
Introduction
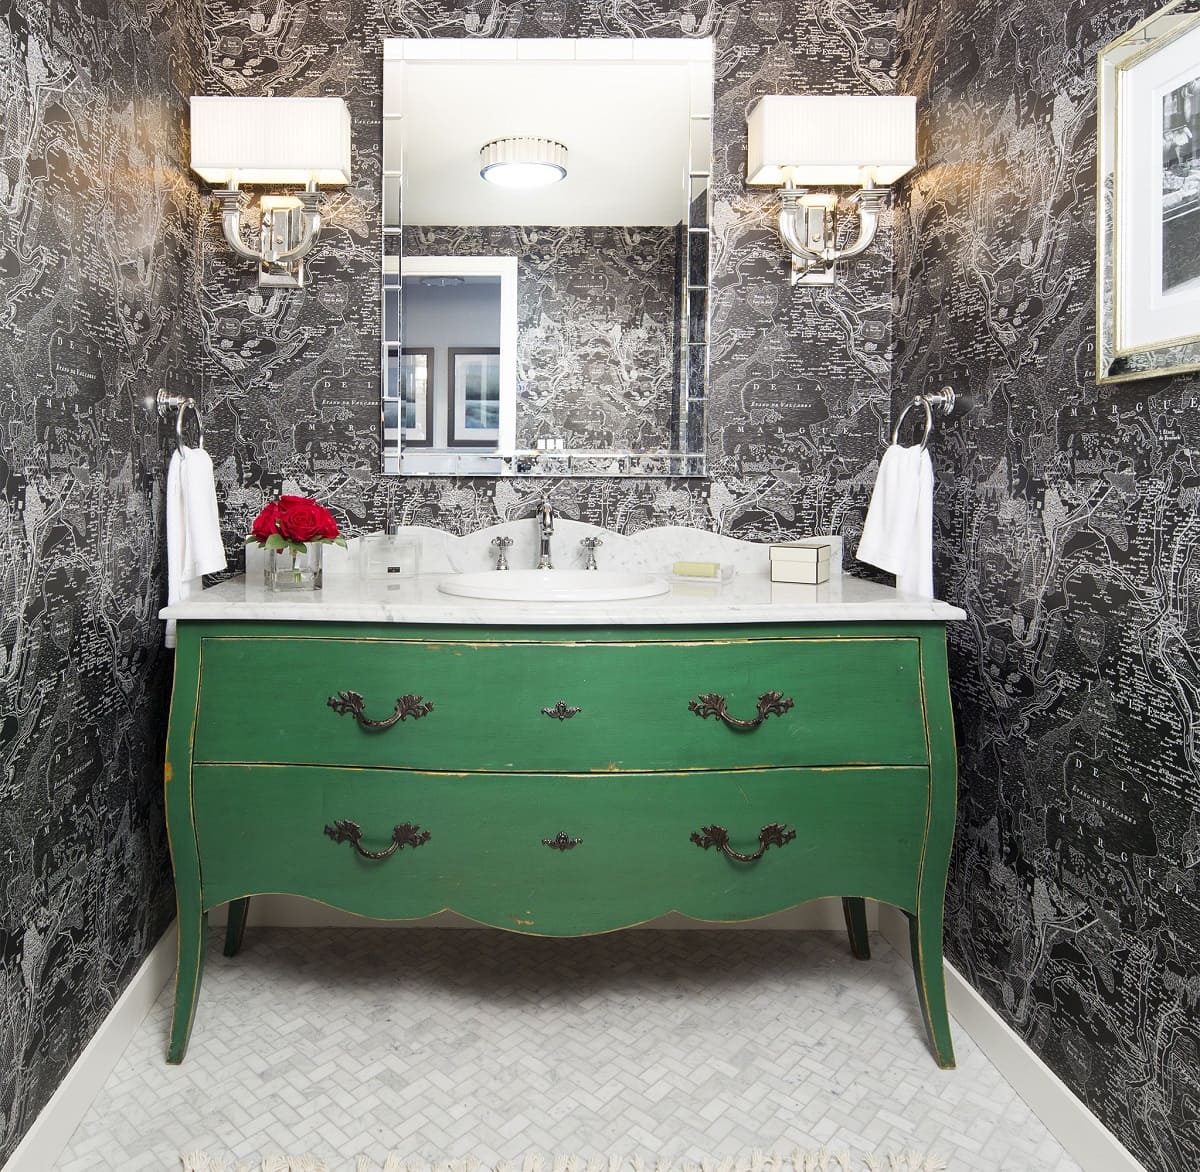
Transforming a dresser into a bathroom vanity is a fantastic way to add character and style to your bathroom. Not only does it provide a unique and personalized touch, but it can also be a cost-effective solution compared to purchasing a traditional bathroom vanity. Whether you prefer a modern, rustic, or vintage look, repurposing a dresser allows you to customize your bathroom and create a one-of-a-kind statement piece.
In this article, we will guide you through the process of turning a dresser into a bathroom vanity. From choosing the right dresser to adding the finishing touches, we will provide you with step-by-step instructions to create a functional and beautiful vanity that truly reflects your personal style.
Before we begin, it’s important to note that this project may require some handyman skills and tools. If you’re not confident in your DIY abilities, it’s always a good idea to consult with a professional or enlist the help of an experienced friend or family member.
Now, let’s dive into the exciting world of transforming a dresser into a stunning bathroom vanity!
Key Takeaways:
- Transforming a dresser into a bathroom vanity allows for a unique, cost-effective, and personalized addition to your bathroom, reflecting your style and creativity while balancing practicality with aesthetic appeal.
- From choosing the right dresser to adding finishing touches, repurposing a dresser into a bathroom vanity requires careful preparation, precise execution, and attention to detail, resulting in a stunning and functional focal point for your bathroom.
Read more: How To Make Floating Vanity
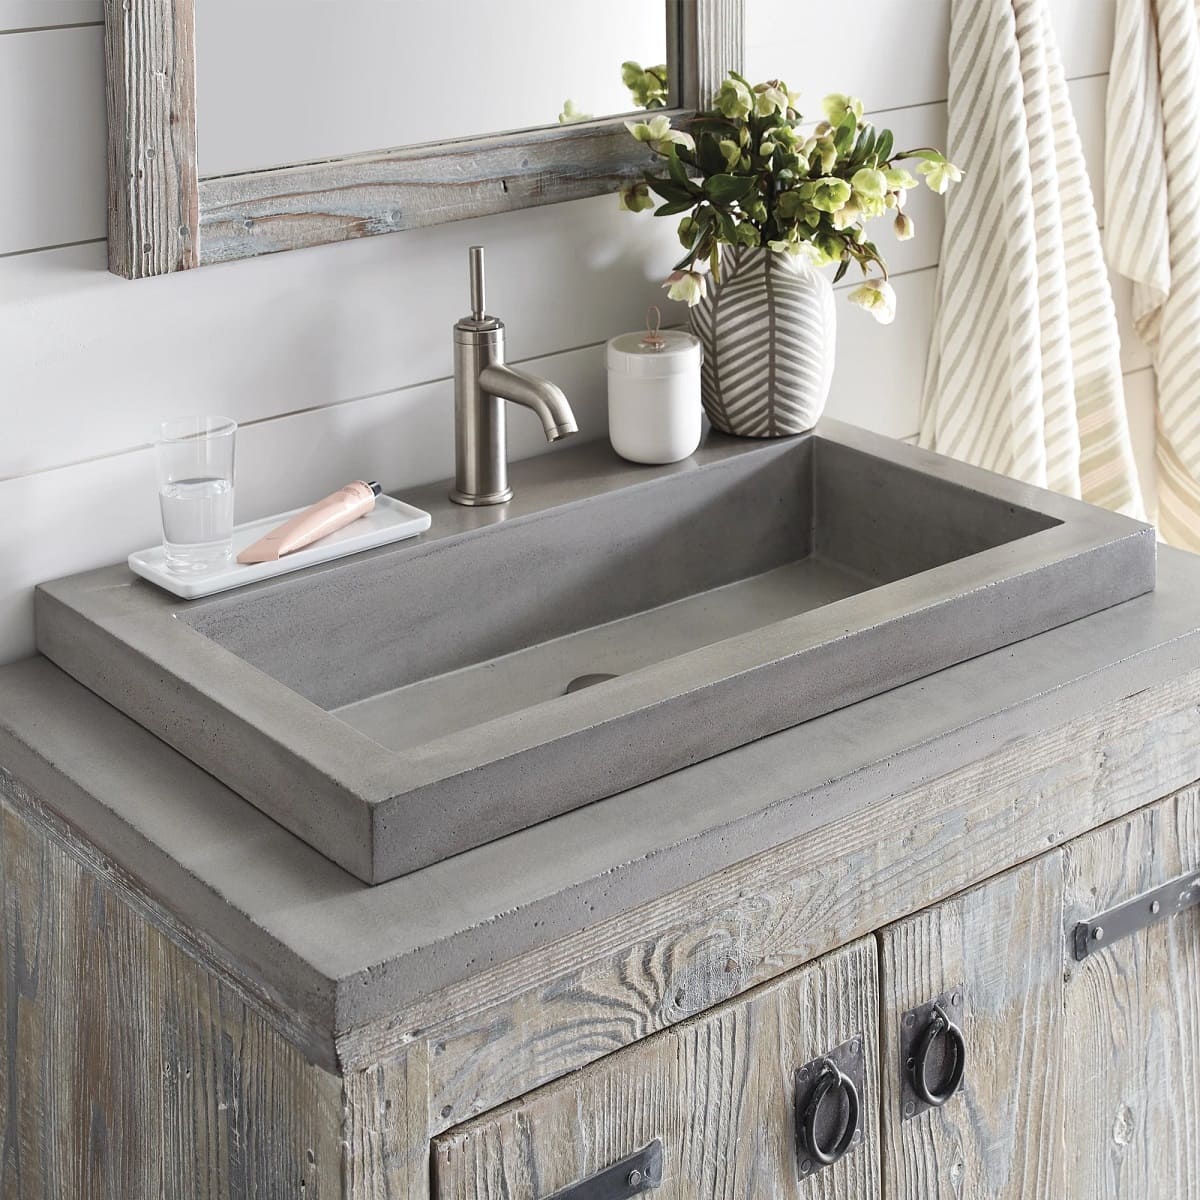
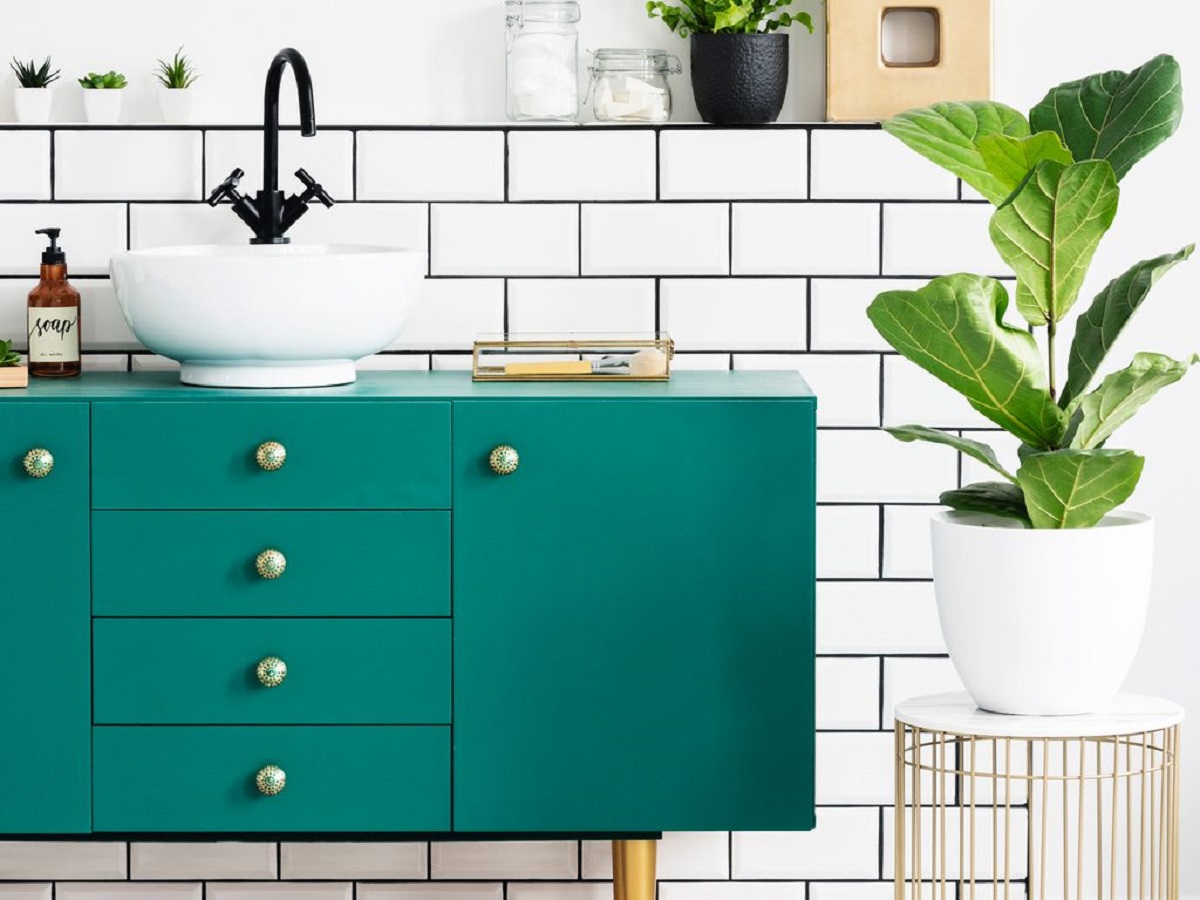
Choosing the Right Dresser
The first step in transforming a dresser into a bathroom vanity is to select the right dresser. When choosing a dresser, there are a few key factors to consider:
- Size: Measure the available space in your bathroom to determine the appropriate size for your vanity. Keep in mind that you will need enough room for the dresser and a countertop.
- Style: Consider the overall style and aesthetic of your bathroom. Do you prefer a modern, rustic, or vintage look? Choose a dresser that complements the existing decor.
- Material: Opt for a dresser made of a durable material, such as solid wood or plywood, that can withstand the moisture and humidity of the bathroom environment.
- Storage: Determine how much storage space you need. Dressers with drawers or cabinets are ideal for storing bathroom essentials like towels, toiletries, and cleaning supplies.
- Condition: Inspect the dresser for any structural damage or signs of wear and tear. While some imperfections can be fixed with a little DIY work, it’s important to choose a dresser that is in good condition to ensure long-lasting durability.
Once you have selected a suitable dresser, make sure to clean it thoroughly and remove any hardware or accessories that may interfere with the transformation process. Sand the surface to create a smooth and clean canvas for painting or staining.
Remember, the dresser will serve as the foundation for your bathroom vanity, so take your time and choose a dresser that meets both your functional and aesthetic requirements. With the right dresser, you’ll be well on your way to creating a stunning bathroom vanity that stands out.
Preparing the Dresser
Once you have selected the perfect dresser for your bathroom vanity project, it’s time to prepare it for its new role. Follow these steps to ensure that your dresser is ready for the transformation:
- Remove Drawers and Hardware: Take out all the drawers from the dresser and set them aside. Next, remove any hardware such as knobs or pulls from both the drawers and the main structure of the dresser. This will make it easier to work on the dresser and provide a clean surface for the next steps.
- Repair Damages: Inspect the dresser for any damages or imperfections such as cracks, loose joints, or scratches. If you find any issues, repair them using wood glue, clamps, or any other suitable materials. Sand down any rough spots or uneven surfaces to create a smooth and even base for painting or staining.
- Prime the Surface: Before applying paint or stain, it’s essential to prime the dresser’s surface. This will help the paint or stain adhere better and provide a more even finish. Choose a high-quality primer suitable for the material of your dresser, and apply it according to the manufacturer’s instructions. Allow the primer to dry completely before moving on to the next step.
- Paint or Stain: Now comes the fun part – adding color to your dresser! Decide if you want to paint the dresser or stain it to enhance its natural wood grain. Choose a paint or stain that is specifically designed for furniture and is suitable for bathroom use. Apply the paint or stain evenly, following the grain of the wood, and allow it to dry completely between coats. Remember to apply multiple coats for a more durable and professional-looking finish.
- Protect the Surface: Once the paint or stain has dried, protect the surface of the dresser by applying a clear coat finish. This will provide an extra layer of protection against moisture and stains. Again, choose a clear coat that is designed for furniture and suitable for bathroom use. Apply the clear coat according to the manufacturer’s instructions and ensure that it dries thoroughly.
By following these steps, you will have a beautifully prepared dresser that is ready to be transformed into a stunning bathroom vanity. The preparation process may take some time and effort, but it is essential for ensuring the longevity and durability of your vanity.
Creating Space for Plumbing
One of the most crucial steps in turning a dresser into a bathroom vanity is creating space for the plumbing. Here’s how you can tackle this step:
- Measure and Mark: Start by measuring the dimensions of your sink and faucet. Use these measurements to determine where you need to cut out holes in the dresser to accommodate the plumbing fixtures. Mark the spots on both the top surface of the dresser and the back panel where the plumbing will pass through.
- Cut Out Holes: Use a jigsaw or a hole saw to carefully cut out the marked areas on the dresser. Make sure to follow your markings precisely to ensure that the holes are the right size and in the correct locations.
- Sand and Seal: After cutting out the holes, sand the edges of the openings to smooth them out. This will prevent any rough edges from damaging the plumbing components. Apply a sealant, such as silicone, around the edges of the holes to create a watertight seal and further protect the wood from moisture.
- Position the Sink and Faucet: With the holes prepared, position the sink and faucet in their designated places on the dresser. Ensure that they fit securely and align with the plumbing openings. Use the provided hardware or brackets to secure the sink to the countertop of the dresser.
- Connect the Plumbing: Connect the plumbing components, such as the drain and water supply lines, to the sink and faucet according to the manufacturer’s instructions. Make sure to tighten all connections properly to prevent leaks.
- Test for Leaks: Once the plumbing is connected, turn on the water supply and check for any leaks. Run water in the sink and inspect the connections for any signs of dripping or leakage. Address any issues promptly to ensure that your vanity is functioning properly.
By creating the necessary space for plumbing, you can ensure that your dresser-turned-vanity is not only visually appealing but also practical and functional. This step requires precision and care, so take your time to ensure that everything fits properly and is properly sealed. Once you’ve successfully completed this step, you’re one step closer to having a fully operational bathroom vanity.
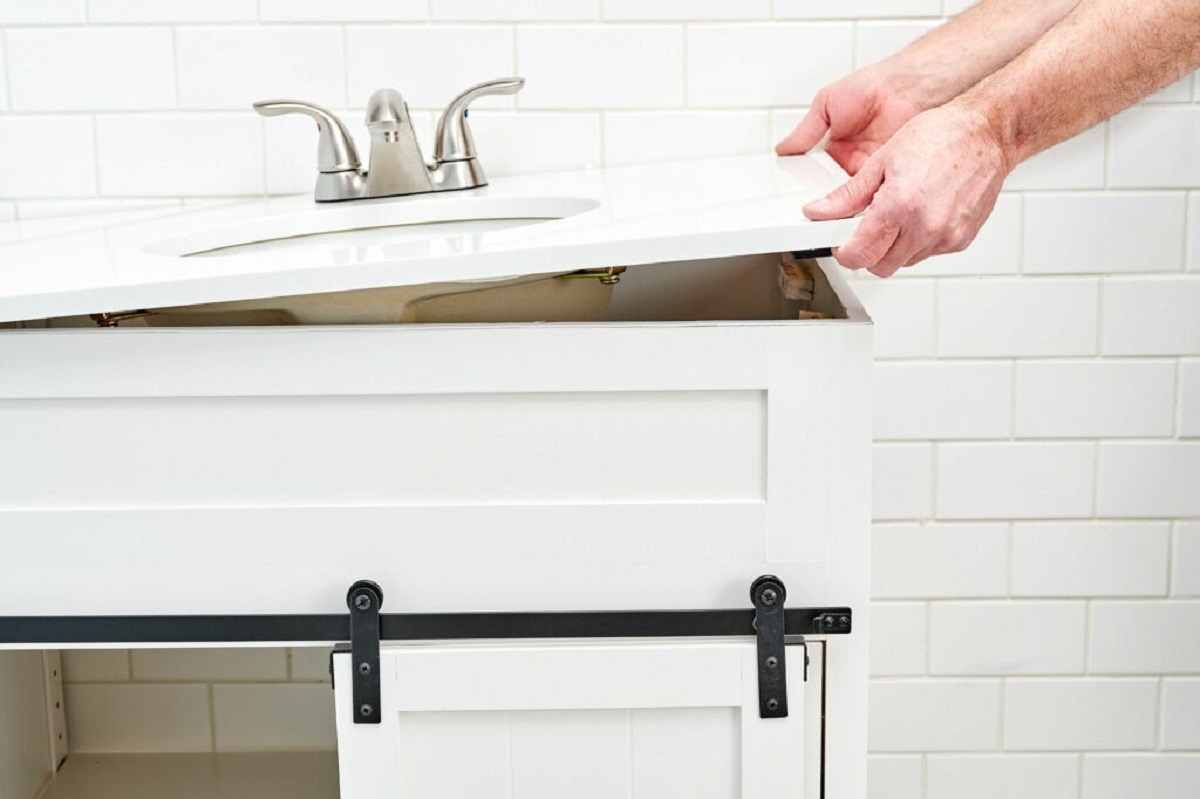
Installing the Sink and Faucet
With the dresser prepared and the plumbing space created, it’s time to install the sink and faucet onto your newly transformed bathroom vanity. Follow these steps to ensure a successful installation:
- Position the Sink: Place the sink into the opening on the countertop of the dresser. Ensure that it fits properly and sits level. If the sink is top-mounted, use a waterproof silicone adhesive to secure it to the countertop. If it is an undermount sink, use the provided clips or brackets to securely attach it from beneath.
- Attach the Drain: Install the drain assembly onto the sink according to the manufacturer’s instructions. Apply plumber’s putty or silicone sealant to create a watertight seal. Tighten the drain nut to secure it in place, making sure not to overtighten.
- Connect the Water Supply Lines: Attach the water supply lines to the faucet according to the manufacturer’s instructions. Use an adjustable wrench to tighten the connections, being careful not to damage the fittings. Turn on the water supply to check for any leaks. If you notice any leaks, tighten the connections further or add thread seal tape as needed.
- Secure the Faucet: Position the faucet onto the sink and secure it by tightening the mounting nuts from underneath. Follow the manufacturer’s instructions for the specific installation method of your faucet. Ensure that the faucet is properly aligned and positioned.
- Test for Leaks: Turn on the water supply and run water through the faucet. Check for any leaks around the sink, drain, and faucet connections. Adjust or tighten any connections if needed until the plumbing is leak-free.
- Make Adjustments: Once the sink and faucet are securely installed, check for any alignment or stability issues. Make any necessary adjustments to ensure that the sink sits evenly on the countertop and that the faucet is properly aligned and functional.
By following these steps, you can confidently install the sink and faucet onto your dresser-turned-bathroom vanity. Remember to double-check all connections and test for leaks to ensure that your vanity is fully operational. Once the installation is complete, you can move on to the next steps of securing the dresser to the wall and adding a backsplash.
When converting a dresser into a bathroom vanity, make sure to properly seal the wood to protect it from moisture. Use a waterproof sealant to prevent warping and damage.
Read more: How To Make Bathroom Vanity
Securing the Dresser to the Wall
Securing the dresser to the wall is an essential step to ensure stability and safety for your bathroom vanity. Follow these steps to properly secure the dresser:
- Locate Wall Studs: Use a stud finder to locate the wall studs behind the area where the dresser will be placed. Wall studs provide the necessary support for anchoring the dresser securely.
- Mark the Position: Mark the vertical position of each stud on the back of the dresser. This will help you align and attach the necessary hardware in the right spots.
- Attach L-Brackets: Use L-brackets or corner braces to secure the back of the dresser to the wall studs. Place the brackets at the marked positions and attach them using appropriate screws. Make sure to use screws that are long enough to securely fasten the brackets to the dresser and the wall stud.
- Check for Level: Use a level to ensure that the dresser is level both horizontally and vertically. Adjust the position of the L-brackets as needed to achieve a level vanity.
- Tighten the Screws: Once the dresser is positioned correctly and level, tighten the screws on the L-brackets to secure the dresser to the wall. Make sure the screws are tightened firmly but do not over-tighten, as it may damage the furniture or the wall.
Securing the dresser to the wall is crucial to prevent any accidents or instability. It provides stability and ensures that the vanity remains securely in place during regular use. By following these steps, you can have peace of mind knowing that your dresser-turned-bathroom vanity is securely fastened to the wall.
Adding a Backsplash
Adding a backsplash to your dresser-turned-bathroom vanity is not only a decorative element but also a practical one. It helps protect the wall behind the vanity from water damage and adds a finishing touch to the overall look. Here’s how you can add a backsplash:
- Measure and Cut: Begin by measuring the width and height of the back of your vanity countertop. Use these measurements to determine the size of your backsplash. Mark the measurements on your chosen backsplash material, whether it’s tile, glass, or another suitable option.
- Prepare the Surface: Clean the wall surface behind the vanity to ensure that it’s free of any dust or debris. If necessary, sand the wall lightly to create a smooth and even surface for applying the backsplash.
- Apply Adhesive: Depending on the type of backsplash material you’re using, apply an appropriate adhesive to the back of the backsplash. Follow the manufacturer’s instructions regarding the type of adhesive and the method of application.
- Position the Backsplash: Carefully position the backsplash onto the wall, aligning it with the edges of the countertop. Press it firmly against the wall to ensure good adhesion. Use a level to make sure the backsplash is straight and level.
- Allow for Cure Time: Give the adhesive enough time to cure according to the manufacturer’s instructions. This will ensure that the backsplash is securely attached to the wall and will not come loose over time.
- Grout and Seal: If you’re using tile backsplash, once the adhesive has cured, apply grout between the tiles using a grout float. Wipe off any excess grout and allow it to dry. Finish the process by sealing the grout to protect it from staining or water damage.
Adding a backsplash to your dresser-turned-bathroom vanity can elevate its aesthetic appeal and provide functional benefits. Choose a backsplash material that complements the overall style of your vanity and bathroom. Whether you opt for a bold patterned tile or a simple and sleek glass backsplash, this finishing touch will complete the transformation of your vanity into a beautiful focal point in your bathroom.
Finishing Touches
Now that your dresser has been transformed into a stunning bathroom vanity, it’s time to add the finishing touches that will truly bring it to life. Pay attention to the details to create a cohesive and polished look. Here are some ideas for those final touches:
- Hardware: Select new hardware, such as knobs or pulls, that complements the style of your bathroom vanity. Whether you prefer sleek and modern or ornate and vintage, the right hardware can elevate the overall appearance of your vanity.
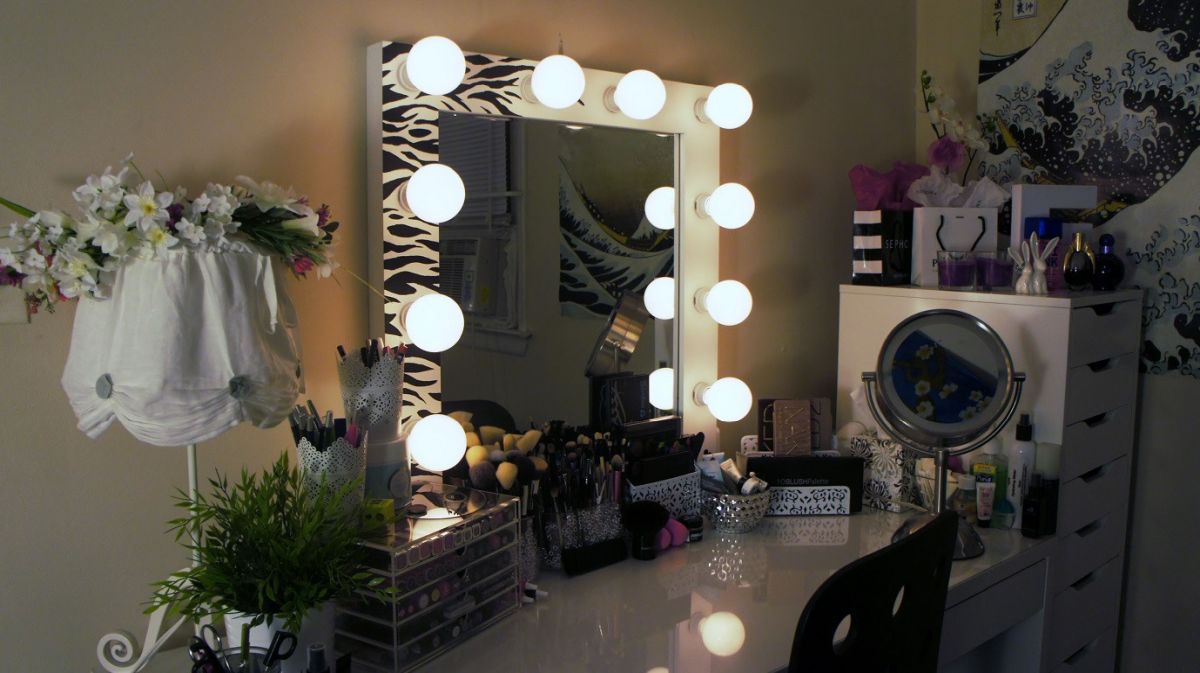
- Lighting: Consider adding adequate lighting above your vanity to enhance functionality and create a visually pleasing atmosphere. Install wall sconces, pendant lights, or a stylish vanity light fixture that complements the aesthetic of your bathroom.
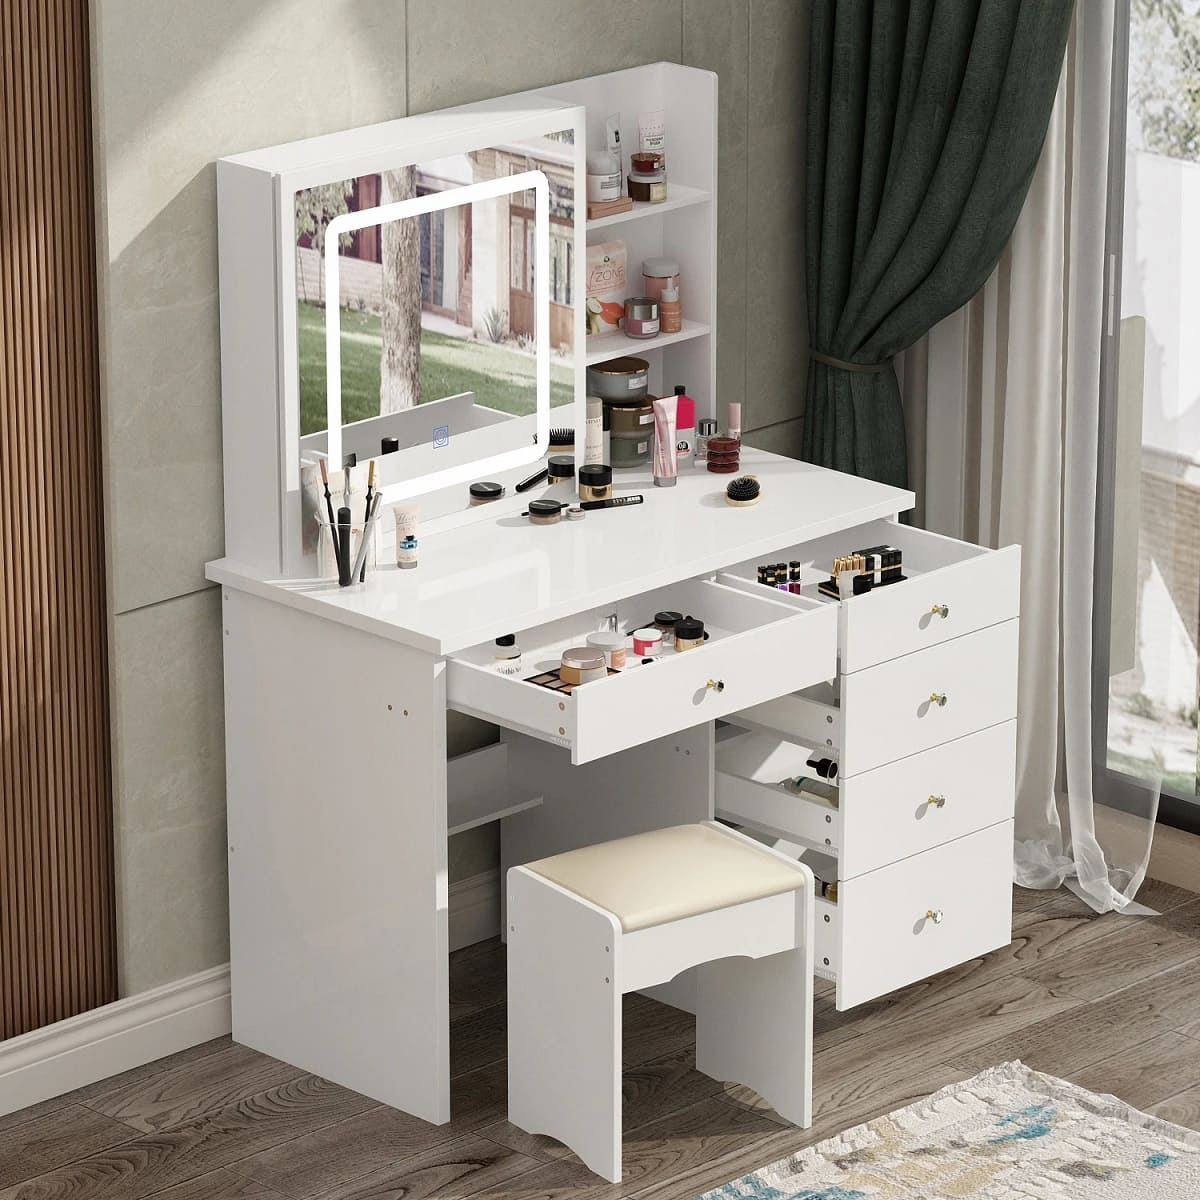
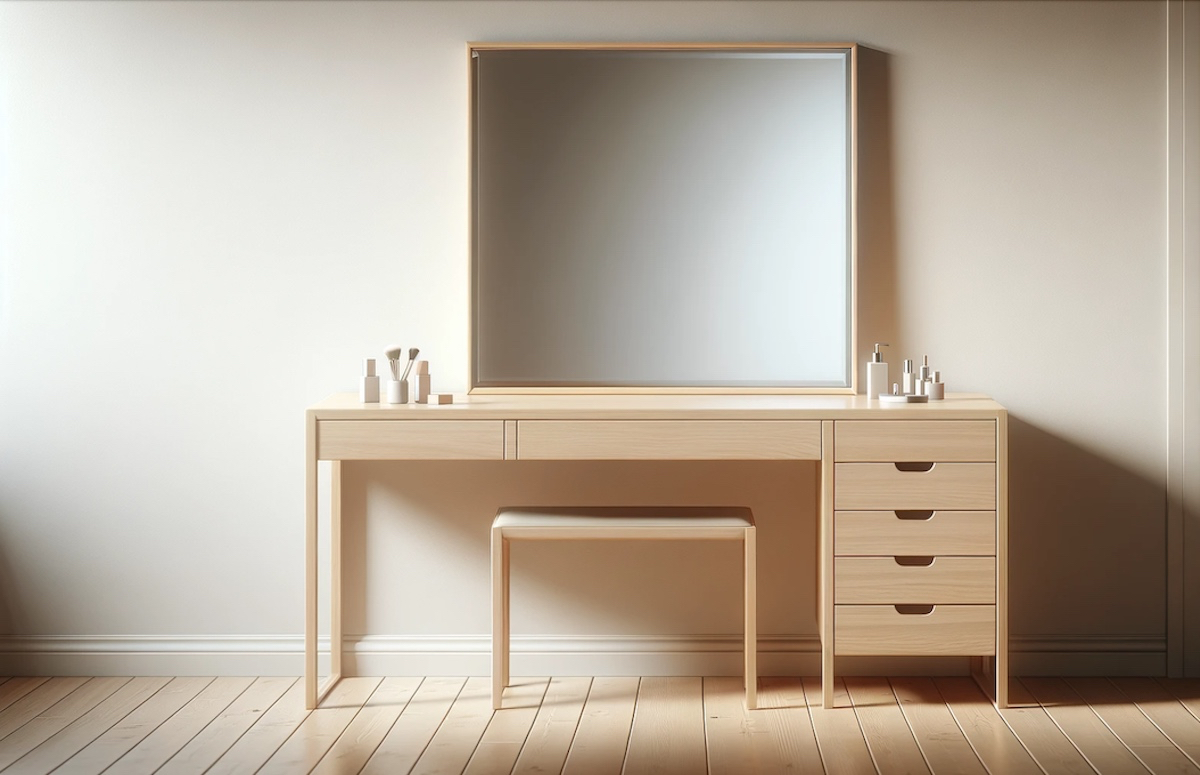
- Mirror: Choose a mirror that fits well with the style and size of your vanity. Whether it’s a decorative framed mirror or a sleek and minimalistic design, the mirror will not only serve its practical purpose but also add an element of style to the space.
- Storage and Organization: Incorporate organizers, such as drawer dividers or baskets, to maximize storage space and keep bathroom essentials neatly organized. Consider adding shelves or a cabinet to the surrounding area to provide additional storage options.
- Decorative Accents: Add personal touches to your vanity area to make it feel welcoming and inviting. Display a few decorative accents, such as plants, candles, or artwork, that reflect your style and taste.
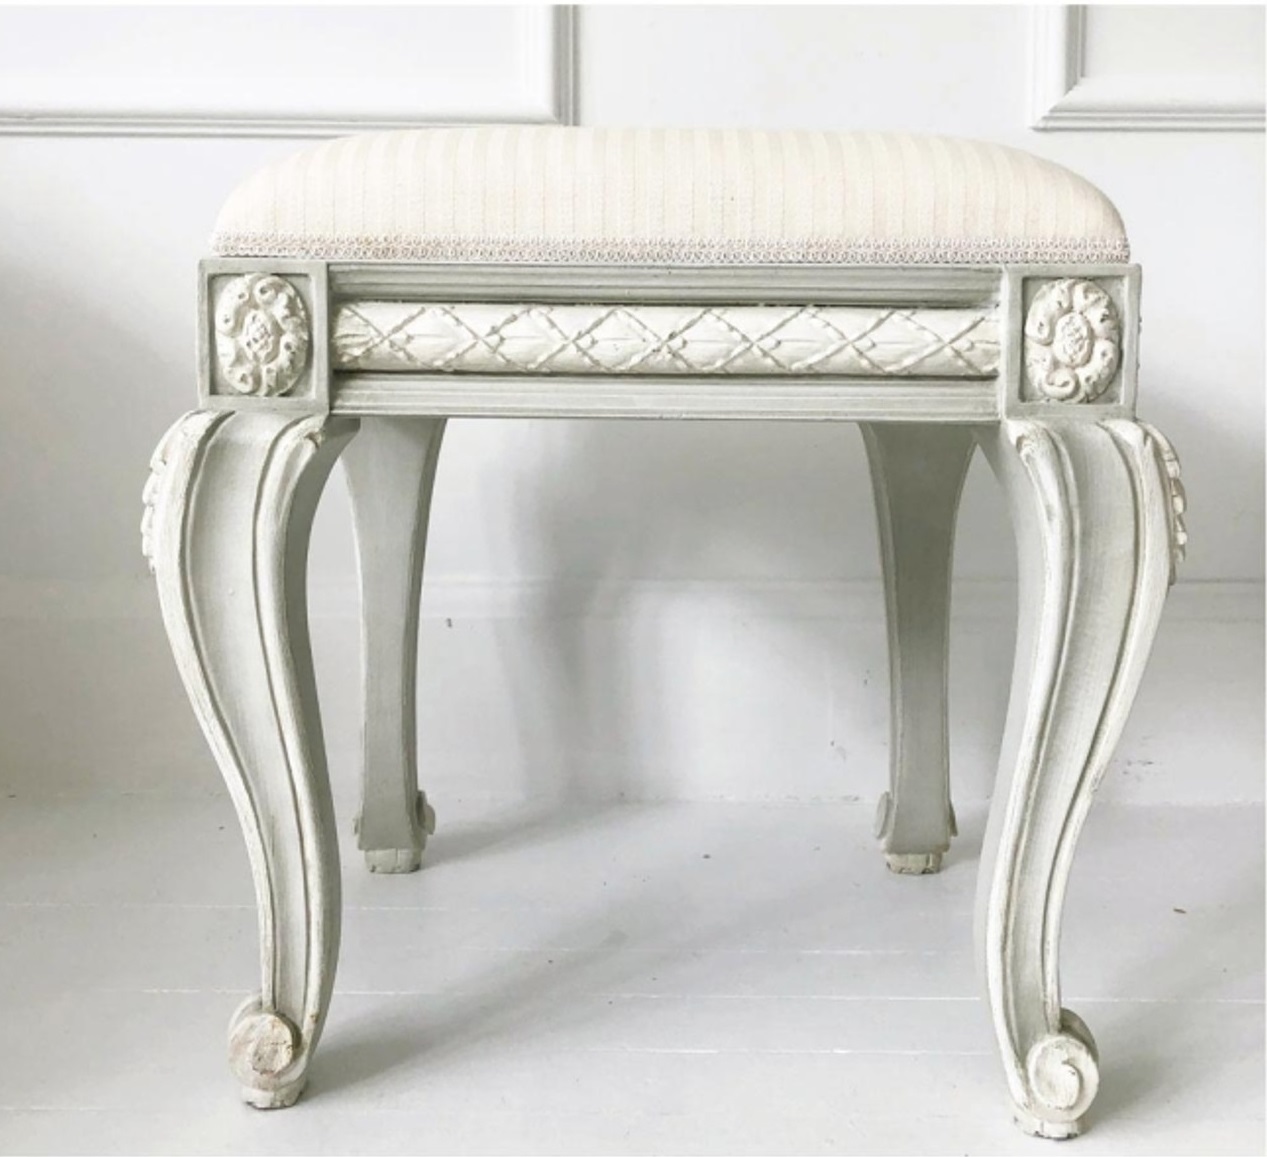
- Soft Furnishings: To add comfort and warmth to your vanity area, consider incorporating soft furnishings. Add a plush rug in front of the vanity or install a cushioned seat for added comfort while you get ready.
By paying attention to these finishing touches, you can create a truly personalized and stylish bathroom vanity. Don’t be afraid to express your creativity and incorporate elements that reflect your unique personality and taste. The finishing touches will tie the entire space together and make your dresser-turned-vanity a standout feature in your bathroom.
Conclusion
Transforming a dresser into a bathroom vanity is a rewarding project that allows you to create a personalized and stylish focal point in your bathroom. From choosing the right dresser to adding the finishing touches, each step of the process contributes to the overall transformation.
By carefully selecting a dresser that fits your style and meets your functional needs, you lay the foundation for a unique and custom vanity. Preparing the dresser through cleaning, repairing, and painting or staining ensures a durable and aesthetically pleasing surface.
Creating space for plumbing and installing the sink and faucet require careful measurements and precise execution to ensure proper functionality and prevent leaks. Securing the dresser to the wall provides stability and safety, while adding a backsplash both protects the wall and adds visual interest.
Lastly, the finishing touches complete the transformation and add your personal touch to the vanity. Choosing the right hardware, lighting, mirror, and decorative accents enhances the overall aesthetic and creates a cohesive look.
Through each step of this process, it’s important to balance practicality with style, incorporating elements that reflect your personal taste and the overall design of your bathroom.
So, if you’re ready to embark on a creative DIY journey and want to add charm and character to your bathroom, consider repurposing a dresser into a beautiful bathroom vanity. With a little patience, effort, and some handyman skills, you’ll have a stunning vanity that is sure to become a conversation piece in your home.
Now, go ahead and unleash your creativity to turn that old dresser into a functional and stylish bathroom vanity that you’ll be proud of!
Frequently Asked Questions about How To Make A Dresser Into A Bathroom Vanity
Was this page helpful?
At Storables.com, we guarantee accurate and reliable information. Our content, validated by Expert Board Contributors, is crafted following stringent Editorial Policies. We're committed to providing you with well-researched, expert-backed insights for all your informational needs.


0 thoughts on “How To Make A Dresser Into A Bathroom Vanity”