Furniture
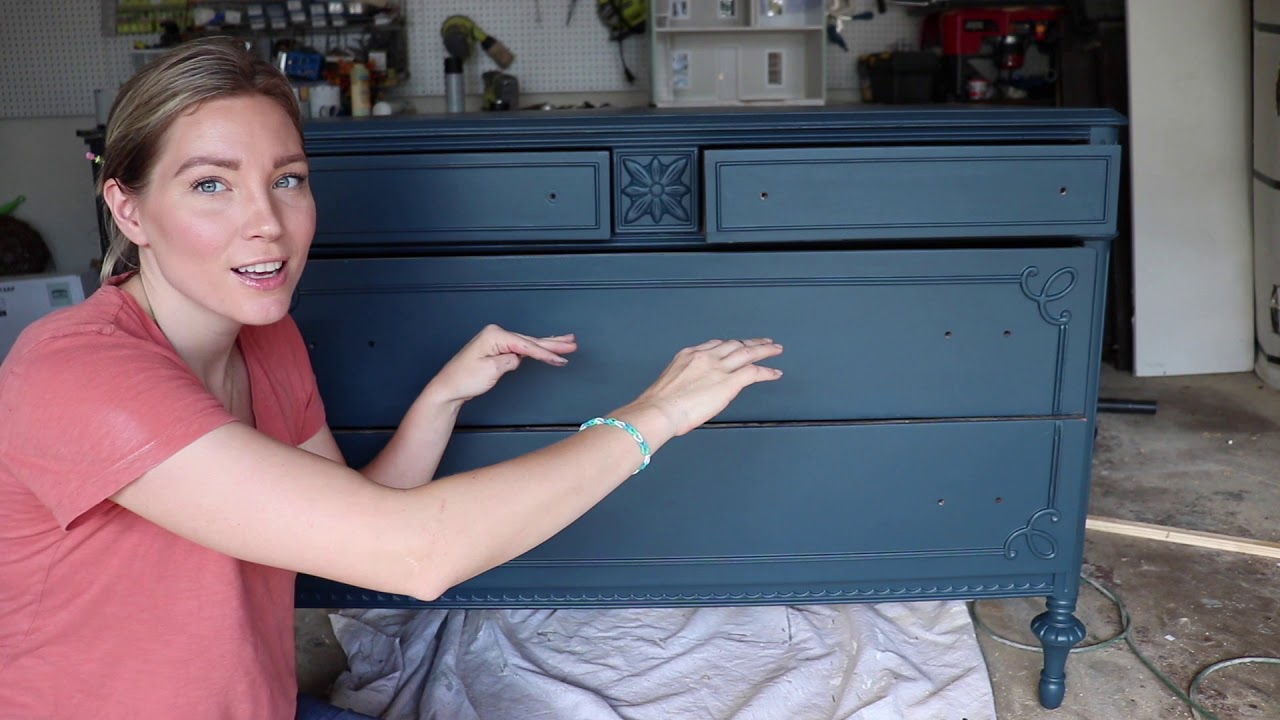
How To Paint A White Wooden Dresser
Modified: December 7, 2023
Learn how to paint a white wooden dresser and transform it into a stunning piece with our step-by-step guide. Perfect for anyone looking to update their furniture.
(Many of the links in this article redirect to a specific reviewed product. Your purchase of these products through affiliate links helps to generate commission for Storables.com, at no extra cost. Learn more)
Introduction
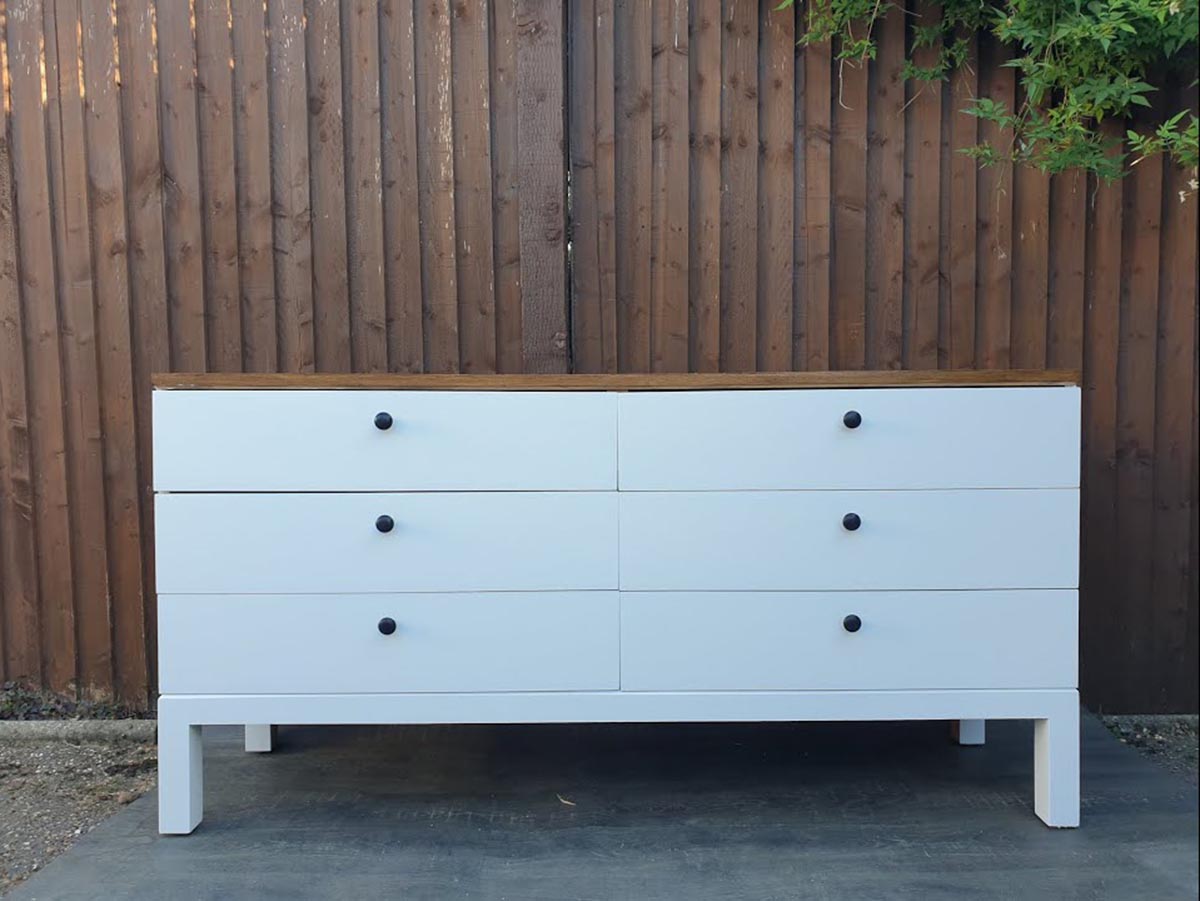
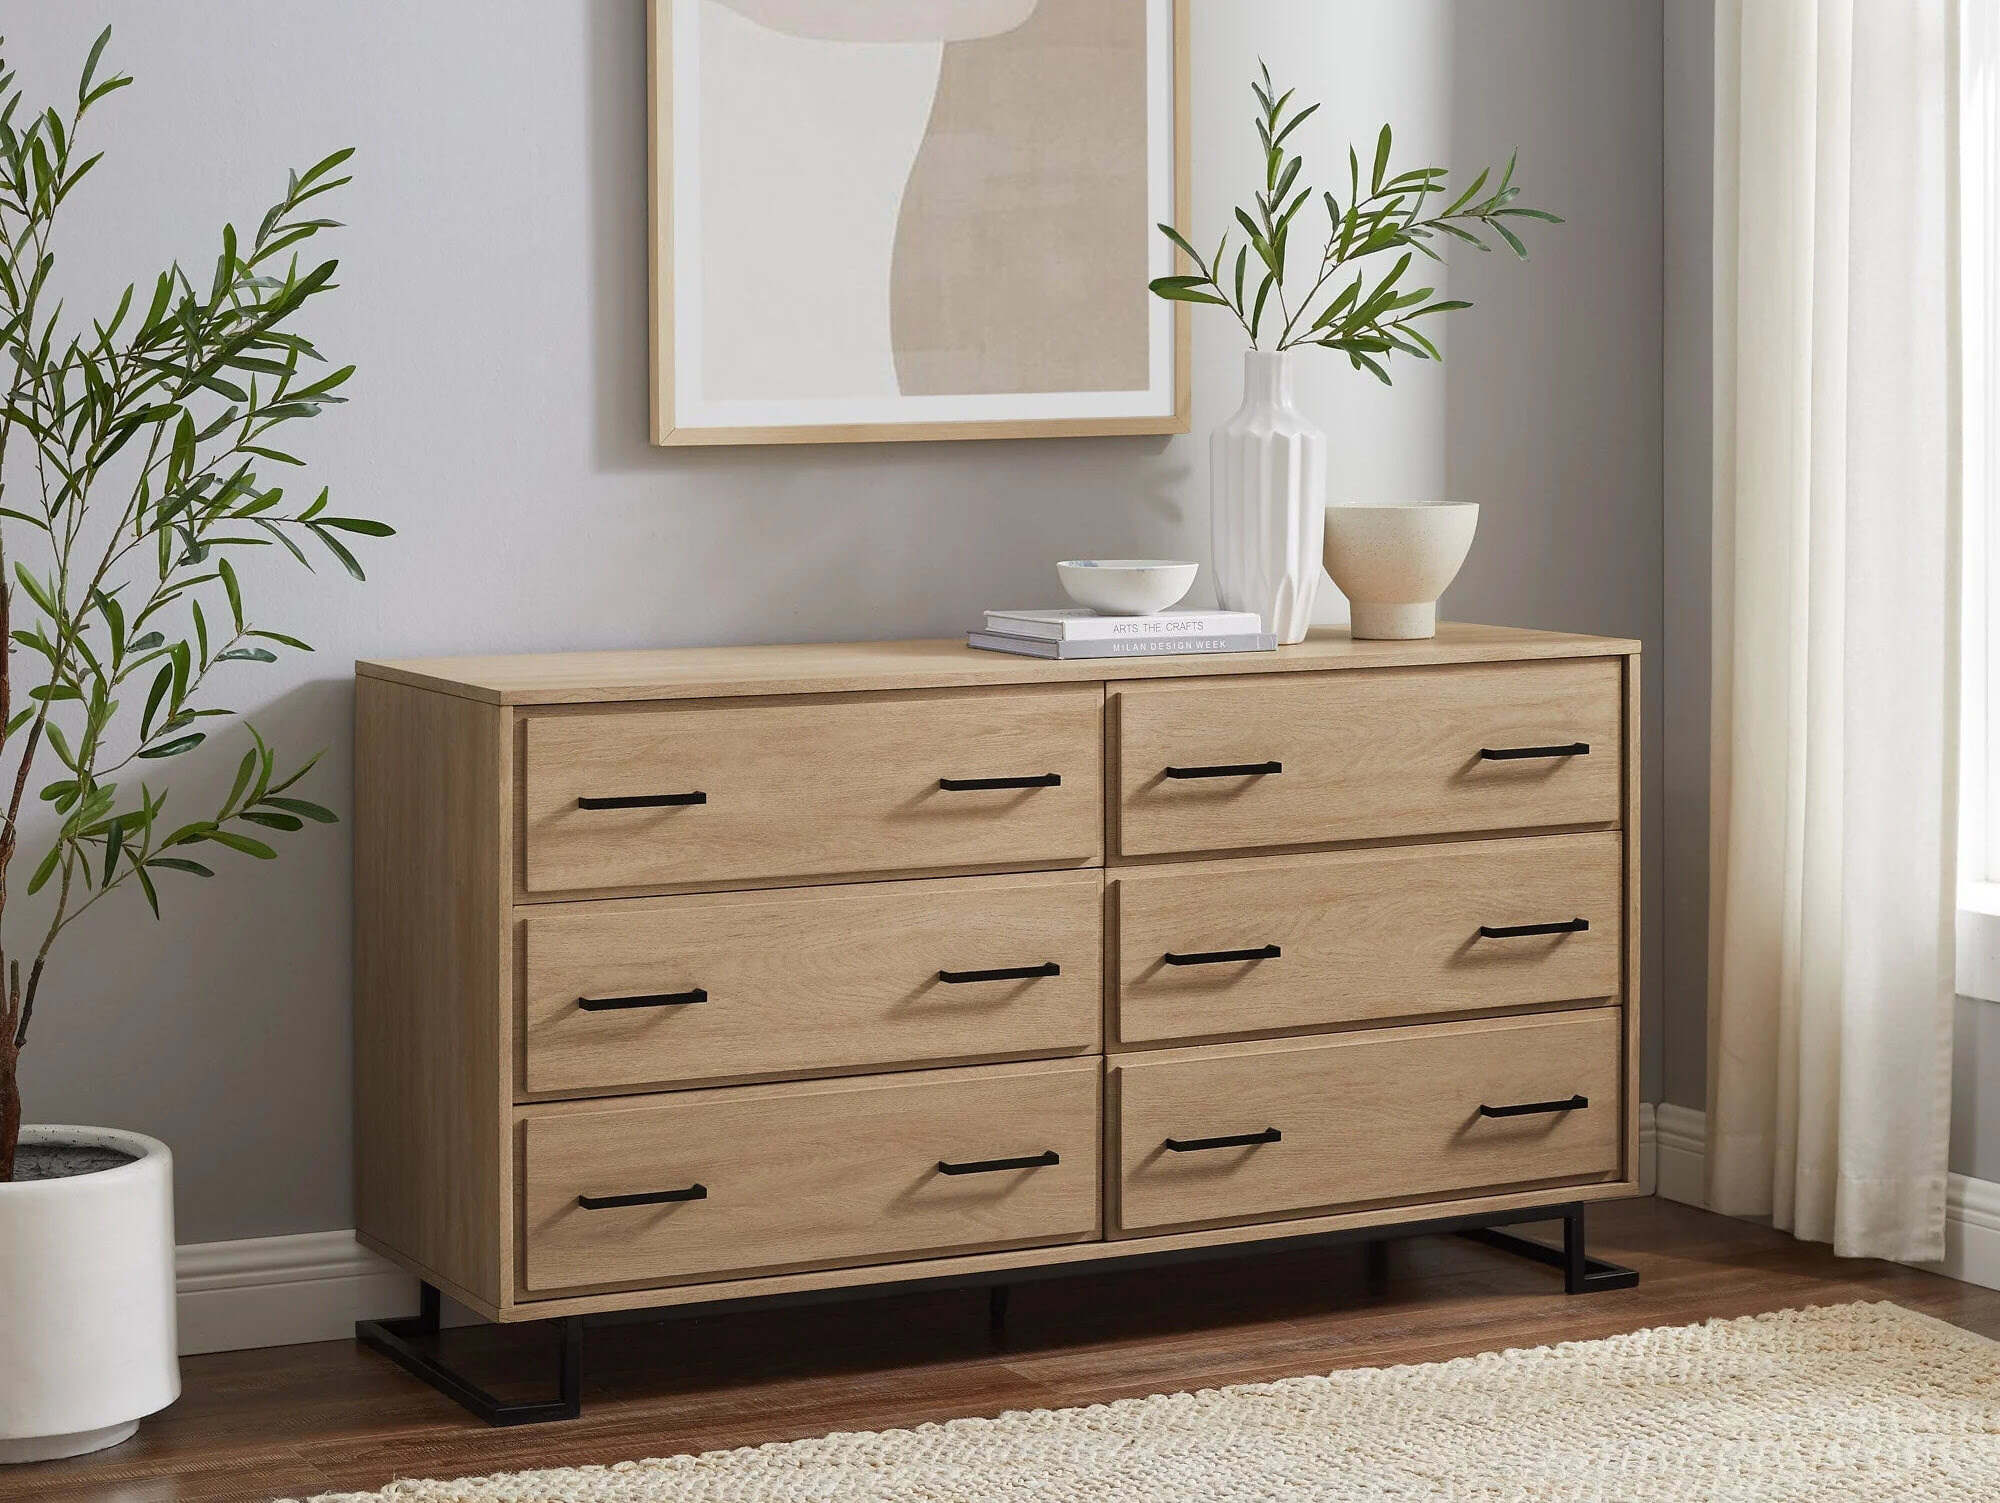
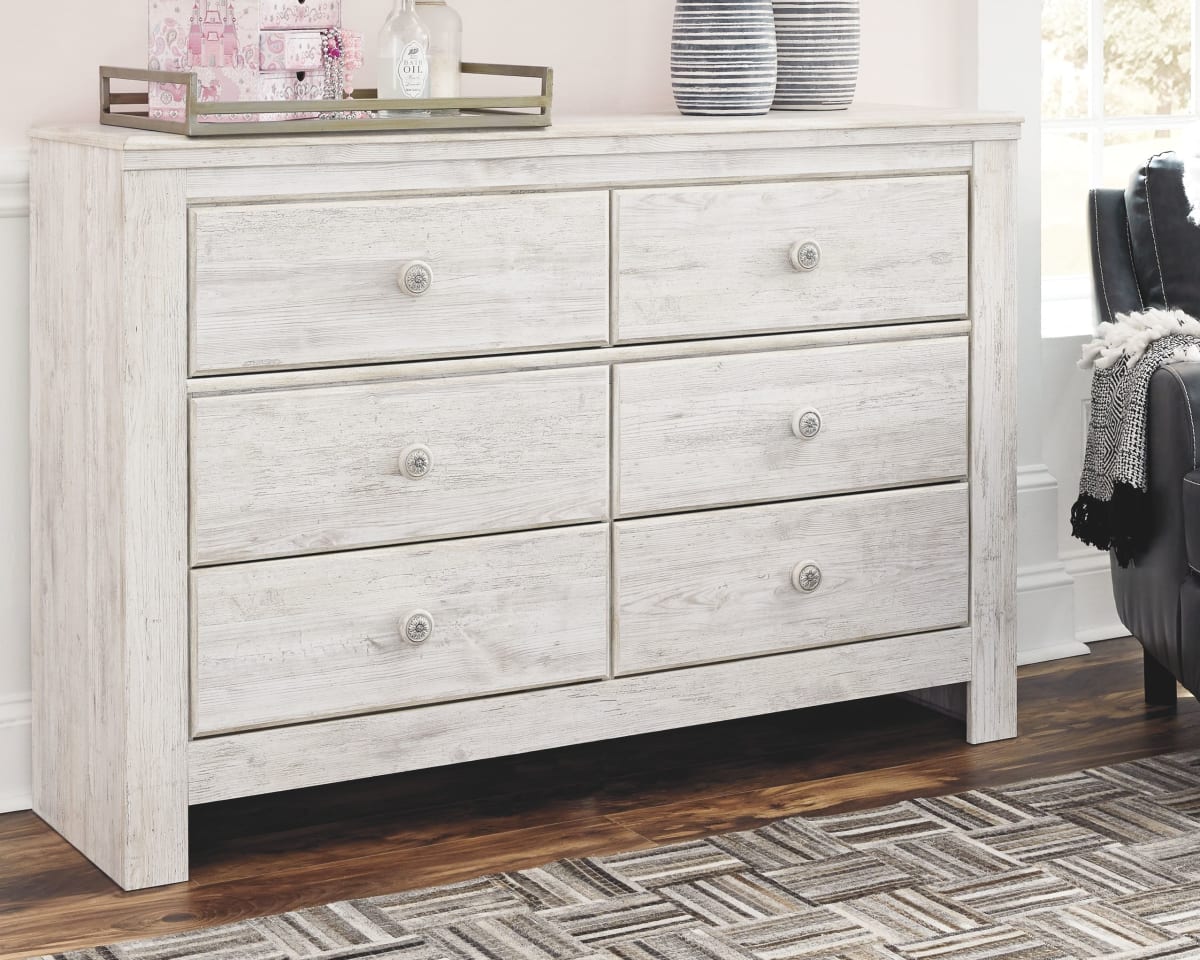
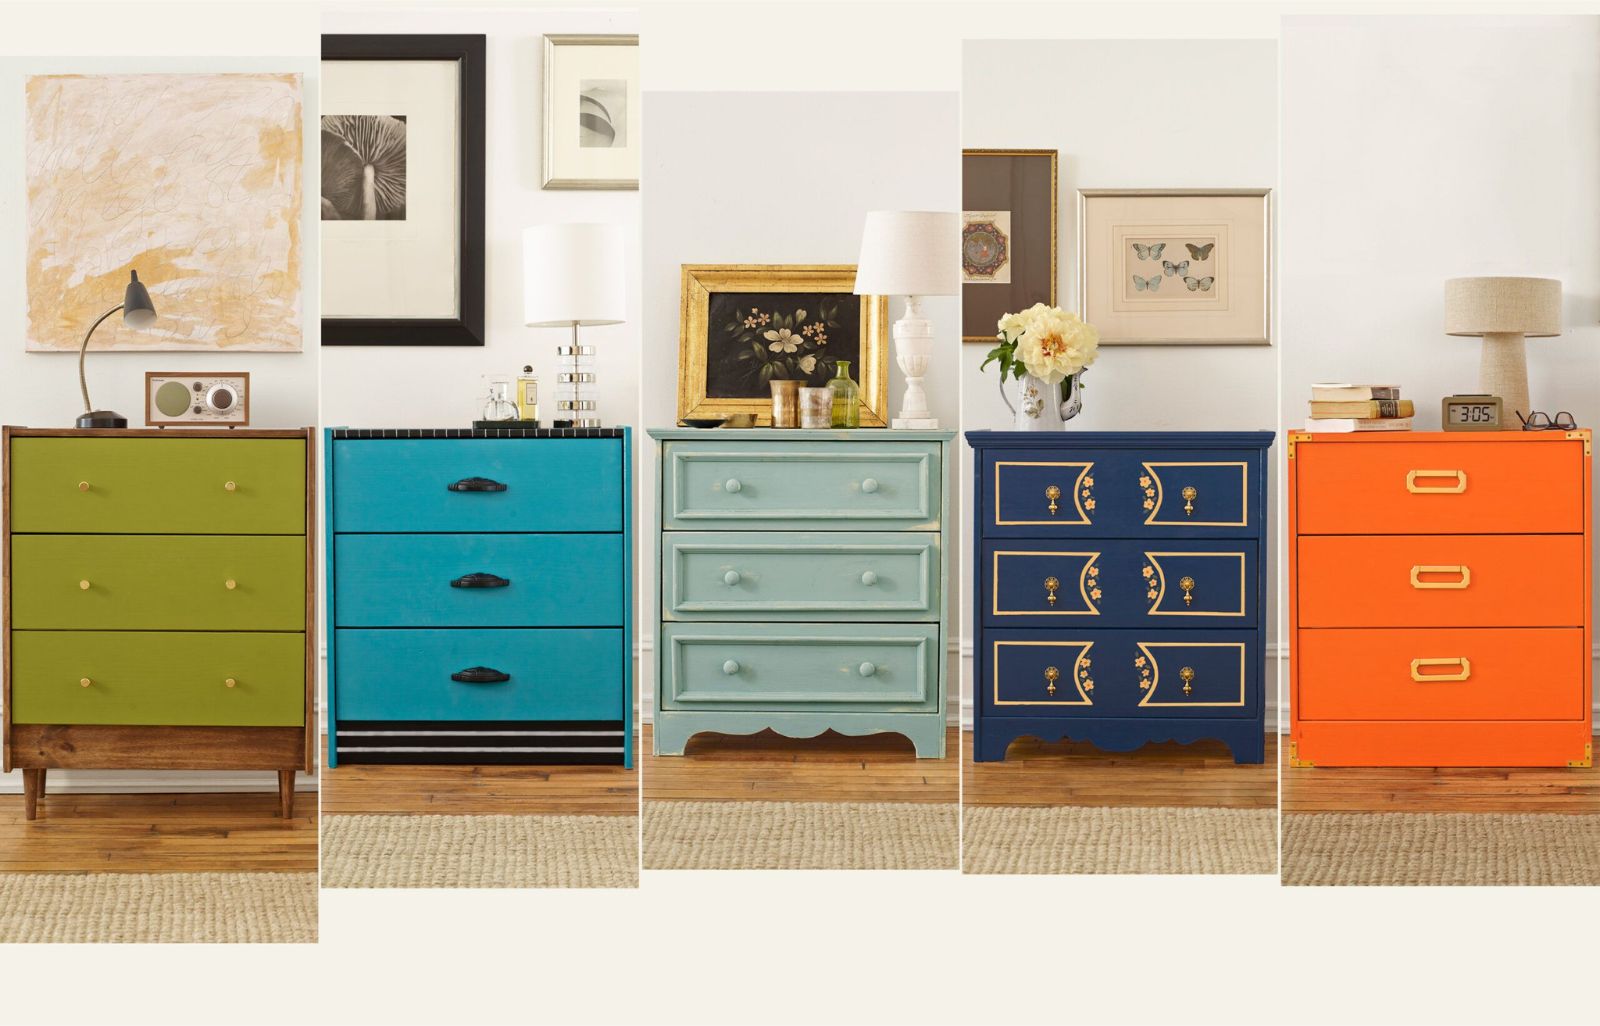
Welcome to the world of furniture transformation! If you have a white wooden dresser that is in need of a fresh new look, painting it can be a great way to give it a personalized touch and revive its appearance. Not only does painting a dresser offer a cost-effective alternative to buying a brand new one, but it also allows you to unleash your creativity and create a unique piece that perfectly matches your style and decor.
In this step-by-step guide, we will walk you through the process of painting a white wooden dresser, from prepping the surface to the final finishing touches. Whether you are a seasoned DIY enthusiast or a beginner looking to embark on your first furniture project, we have got you covered. So, gather your materials and let’s get started on transforming your white wooden dresser into a stunning focal point for your room!
Key Takeaways:
- Transform your white wooden dresser into a personalized masterpiece by following a step-by-step painting guide. Unleash your creativity, add decorative details, and seal the finish for a durable and vibrant furniture piece.
- With proper preparation, sanding, priming, and painting techniques, you can revitalize your dresser with a professional-looking finish. Add your personal touch, protect the paint, and enjoy the satisfaction of a DIY furniture transformation.
Read more: How To Paint A Wooden Dresser
Materials Needed
Before diving into the painting process, it is essential to gather all the necessary materials. Here is a list of items you will need:
- Sandpaper or sanding block
- Primer (specifically designed for wood)
- Paint (choose a high-quality paint suitable for wooden surfaces)
- Paintbrushes (a larger one for the main areas and a smaller one for details)
- Painter’s tape (to protect any areas you don’t want to be painted)
- Drop cloth or old sheets (to protect your work area from paint spills)
- Sealer or topcoat (to protect the paint and give it a durable finish)
- Clean cloth or sponge
- Paint tray or palette
- Screwdriver (if you need to remove any hardware)
- Optional: decorative finishes (such as stencils or glaze)
Make sure to have all these materials ready before starting the project. Investing in quality materials will result in a smoother painting process and a longer-lasting finish on your dresser.
Step 1: Prep the Dresser
The first step in painting your white wooden dresser is to properly prepare the surface. This ensures that the paint adheres well and gives you a smooth and professional-looking finish.
Start by removing any hardware, such as knobs or handles, from the dresser. Use a screwdriver to carefully unscrew them and set them aside in a safe place.
Next, give the dresser a thorough cleaning. Use a clean cloth or sponge and a mild detergent to wipe away any dust, dirt, or grime. Pay special attention to the corners, edges, and crevices of the dresser.
If there are any visible scratches or imperfections on the surface, you may consider filling them with wood putty. Simply apply a small amount of putty to the affected areas and use a putty knife to smooth it out. Allow the putty to dry completely before moving on to the next step.
Lastly, use painter’s tape to cover any areas you don’t want to be painted, such as the edges of drawers or the back of the dresser. This will help you achieve clean and precise lines.
By prepping your dresser properly, you will ensure that the paint adheres smoothly and that you have a clean canvas to work with.
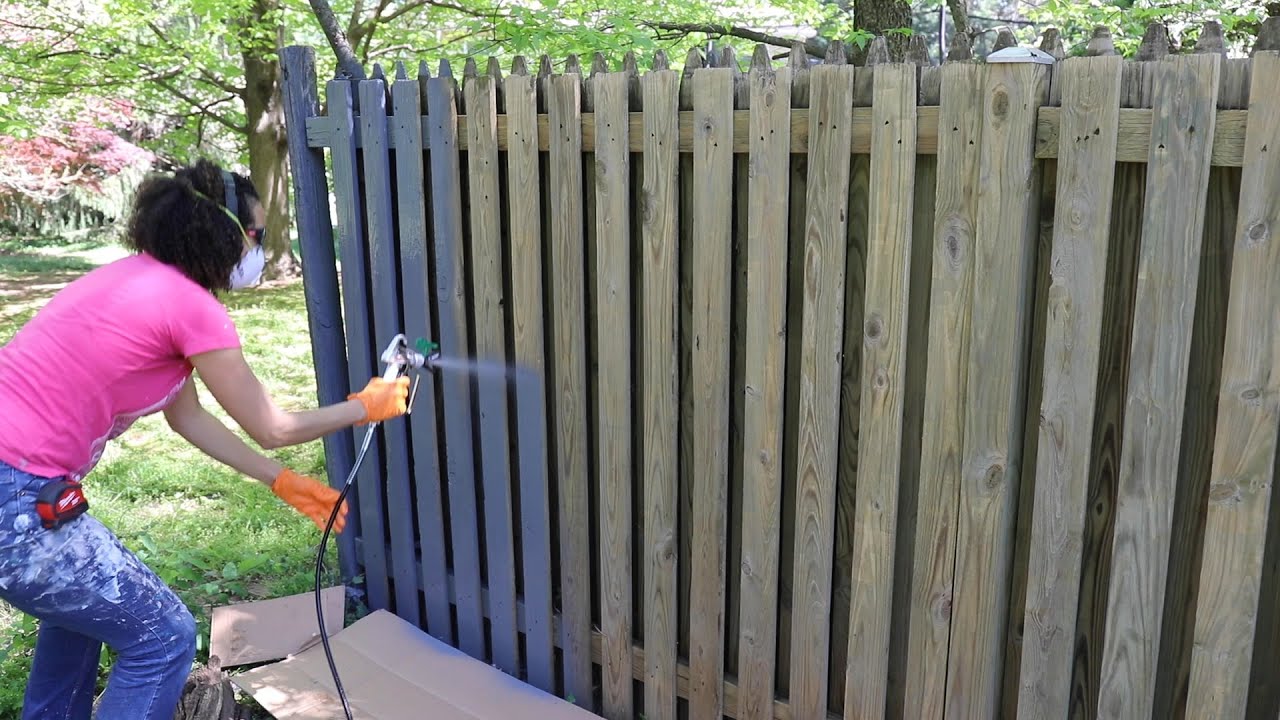
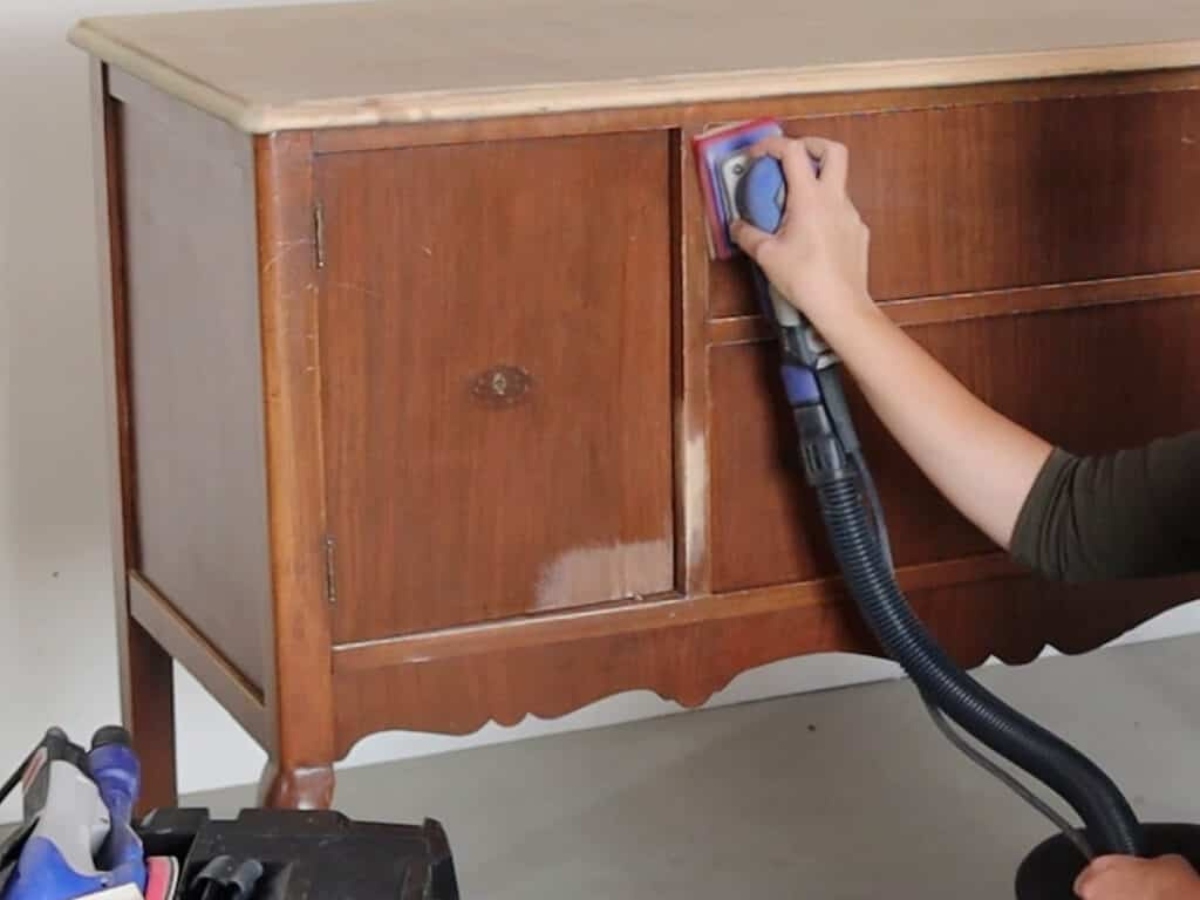
Step 2: Sand the Surface
Once you have prepped the dresser, the next step is to sand the surface. Sanding helps to create a smooth and even texture on the wood, which allows the paint to adhere better and provides a professional-looking finish.
Start by using a medium-grit sandpaper or sanding block to gently sand the entire surface of the dresser. Sand in the direction of the wood grain, working in smooth and even motions. This will help to remove any rough patches, imperfections, or old paint that may be present on the surface.
Pay extra attention to areas where the existing paint may be chipped or peeling. Smooth out these areas, making sure they are even with the rest of the surface.
Once you have sanded the entire dresser, use a clean cloth or brush to remove any dust or debris. It is important to have a clean surface before moving on to the next step.
If your dresser has intricate or hard-to-reach areas, you may need to use a finer-grit sandpaper or sanding sponge to ensure that those areas are properly sanded.
Sanding the surface of your dresser not only improves the adherence of the paint, but it also helps to create a smooth and professional-looking finish. Take your time with this step to ensure that you achieve the desired result.
Step 3: Prime the Dresser
Priming your dresser is an important step as it helps to create a strong bond between the wood and the paint, ensuring better durability and a smoother finish. The primer also helps to prevent stains and discoloration from bleeding through the paint.
Before applying the primer, make sure the surface of the dresser is clean and dry. If there are still traces of dust or debris from the sanding process, use a clean cloth or brush to remove them.
Choose a high-quality primer specifically designed for use on wooden surfaces. Pour a small amount of primer into a paint tray or palette. Using a paintbrush, apply a thin and even coat of primer to the entire surface of the dresser, following the grain of the wood.
Allow the primer to dry completely according to the instructions on the product. This usually takes a few hours, but it may vary depending on the specific primer you are using.
If needed, you can apply a second coat of primer for better coverage. However, make sure to allow each coat to dry completely before applying another layer.
Once the primer has fully dried, lightly sand the surface with a fine-grit sandpaper. This will help to smoothen any rough areas and create a better surface for the paint to adhere to. Be sure to remove any sanding dust before proceeding to the next step.
Priming your dresser provides a solid foundation for the paint and improves the overall finish of your painted dresser. It is an essential step in achieving a professional and long-lasting result.
Read more: How To Clean A Wooden Dresser
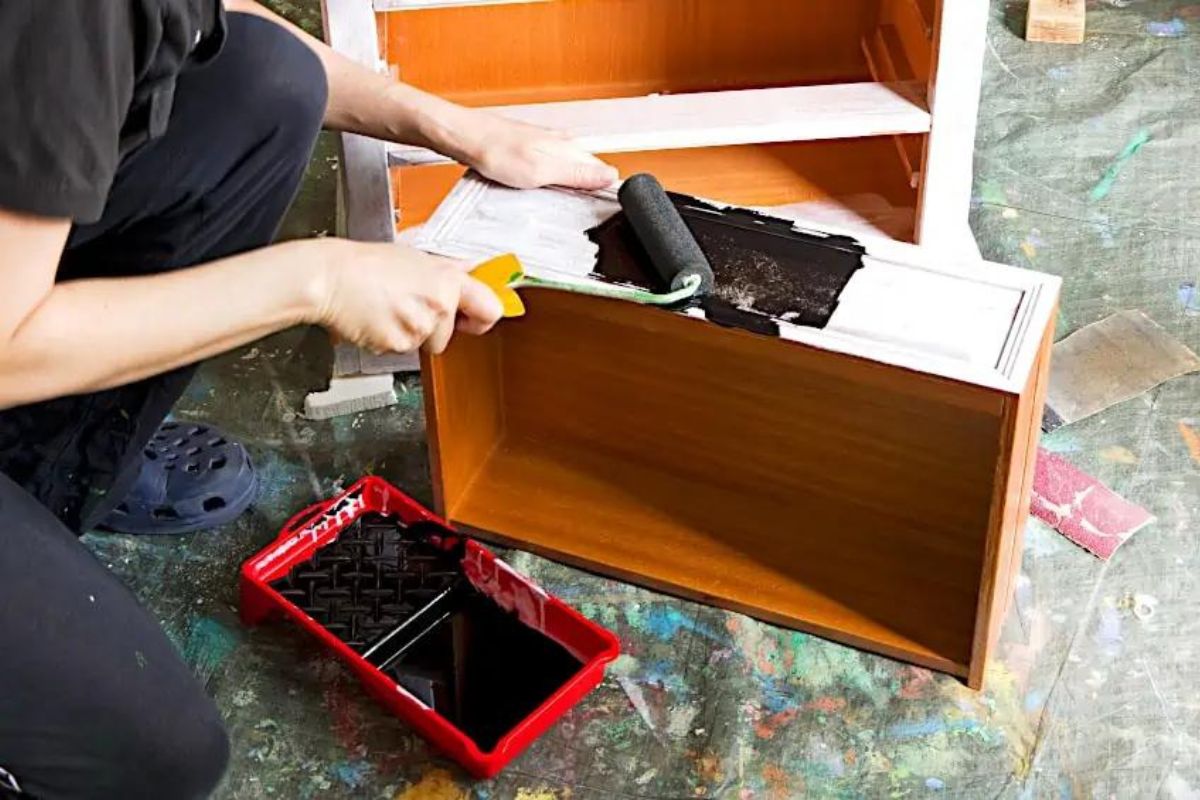
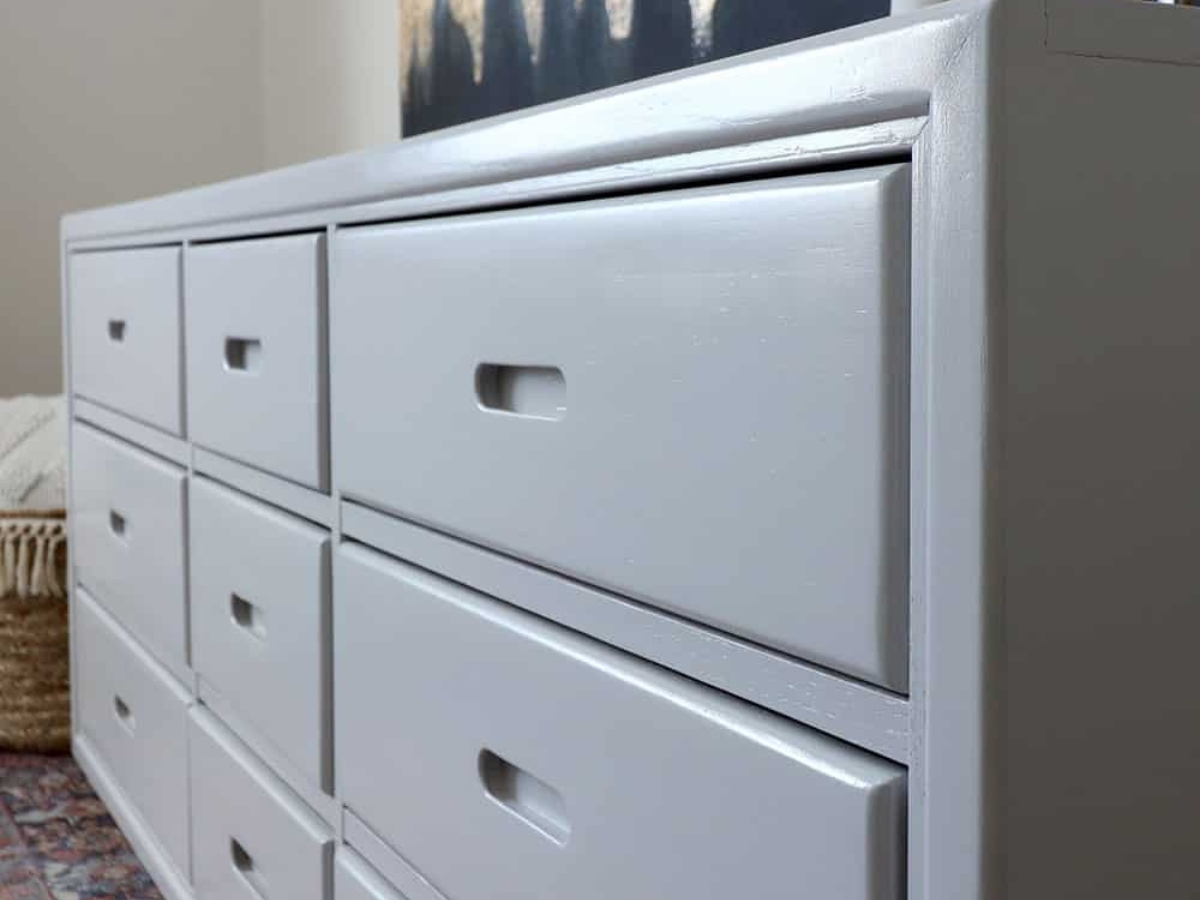
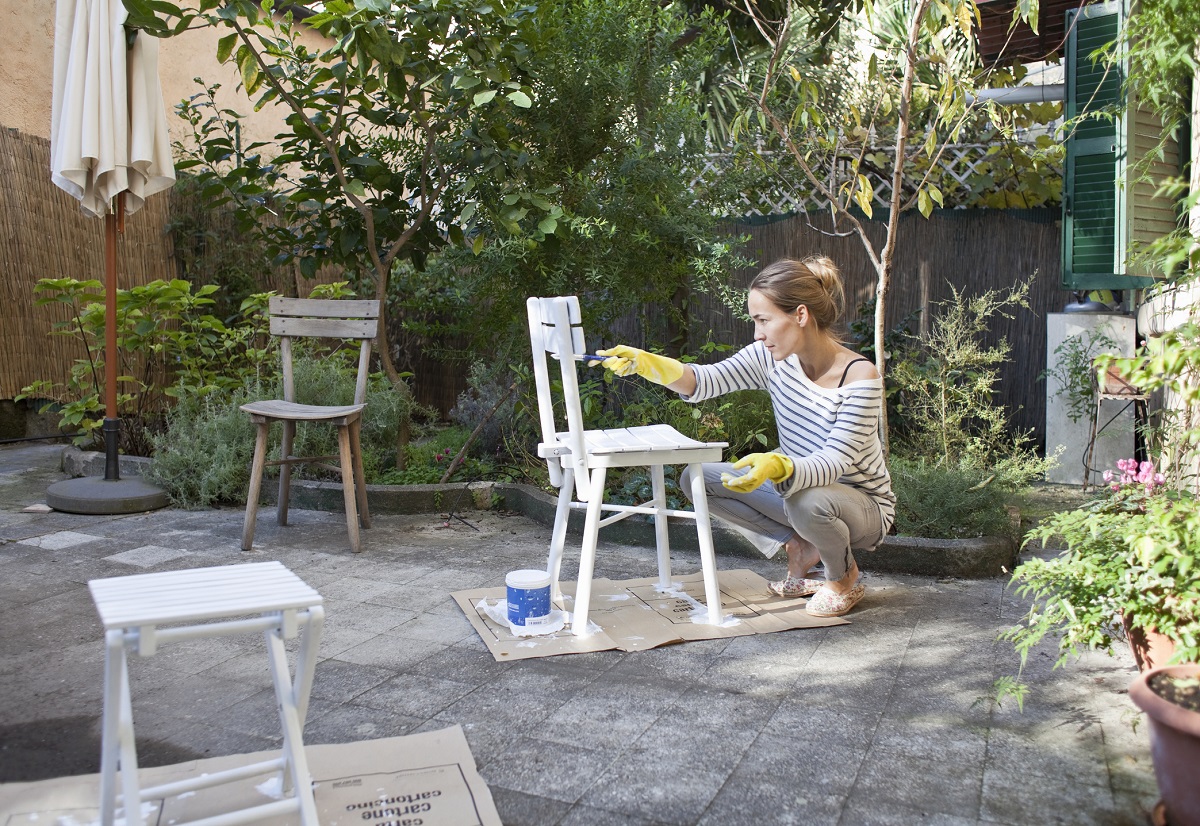
Step 4: Apply the Base Coat
Now that you have prepped the dresser and applied the primer, it’s time to apply the base coat of paint. The base coat serves as the foundation for the color you choose and will give your dresser its primary hue.
Before starting to paint, ensure that the primer is completely dry. If needed, lightly sand the surface with a fine-grit sandpaper to create a smooth surface for the paint.
Next, stir the paint thoroughly to ensure it is well mixed. Pour a small amount of paint into a paint tray or palette. Using a larger paintbrush, start applying the base coat to the dresser, working in long and smooth strokes. Be mindful of the wood grain and continue to follow its direction.
Work in small sections at a time, applying a thin and even layer of paint. This helps to prevent the paint from pooling and ensures a more uniform finish. If you notice any brush strokes, you can lightly go over them with the brush in a vertical or horizontal direction to create a smoother appearance.
Allow the first coat to dry completely before deciding if an additional coat is needed. Some paints may require multiple coats for full coverage, while others may achieve the desired result with just one. If you find that the base coat is patchy or uneven, apply a second coat following the same techniques as before.
Once you have finished applying the base coat(s), allow the paint to dry completely before moving on to any additional steps or details.
Applying the base coat is a crucial step in the process of painting your dresser. It sets the tone for the final color and provides a solid foundation for any additional paint or decorative touches you may choose to add later.
Before painting a white wooden dresser, make sure to sand the surface to create a smooth base for the paint. Use a high-quality primer to ensure the paint adheres well and lasts longer.
Step 5: Apply Additional Coats (if needed)
After applying the base coat and allowing it to dry, it’s time to assess the coverage and determine if any additional coats of paint are necessary. Depending on the color and type of paint you are using, you may need to apply multiple coats to achieve the desired result.
Start by examining the dresser and looking for any areas where the paint appears thin or uneven. These areas may require an additional coat of paint to ensure a consistent and smooth finish.
If you decide that another coat of paint is needed, make sure the previous coat is completely dry before applying the next one. Lightly sand the surface with a fine-grit sandpaper to create a smooth texture for the new coat of paint to adhere to.
Using the same technique as before, apply the additional coat of paint. Use long and even strokes, following the direction of the wood grain. Be mindful of any drips or pooling and spread the paint as evenly as possible.
Allow the additional coat of paint to dry completely before assessing the coverage again. Repeat this process until you are satisfied with the color and coverage of your dresser. Remember to allow sufficient drying time between each coat.
Properly assessing the coverage and applying additional coats of paint as needed will result in a beautifully finished dresser. Take your time during this step to ensure a professional and uniform appearance.
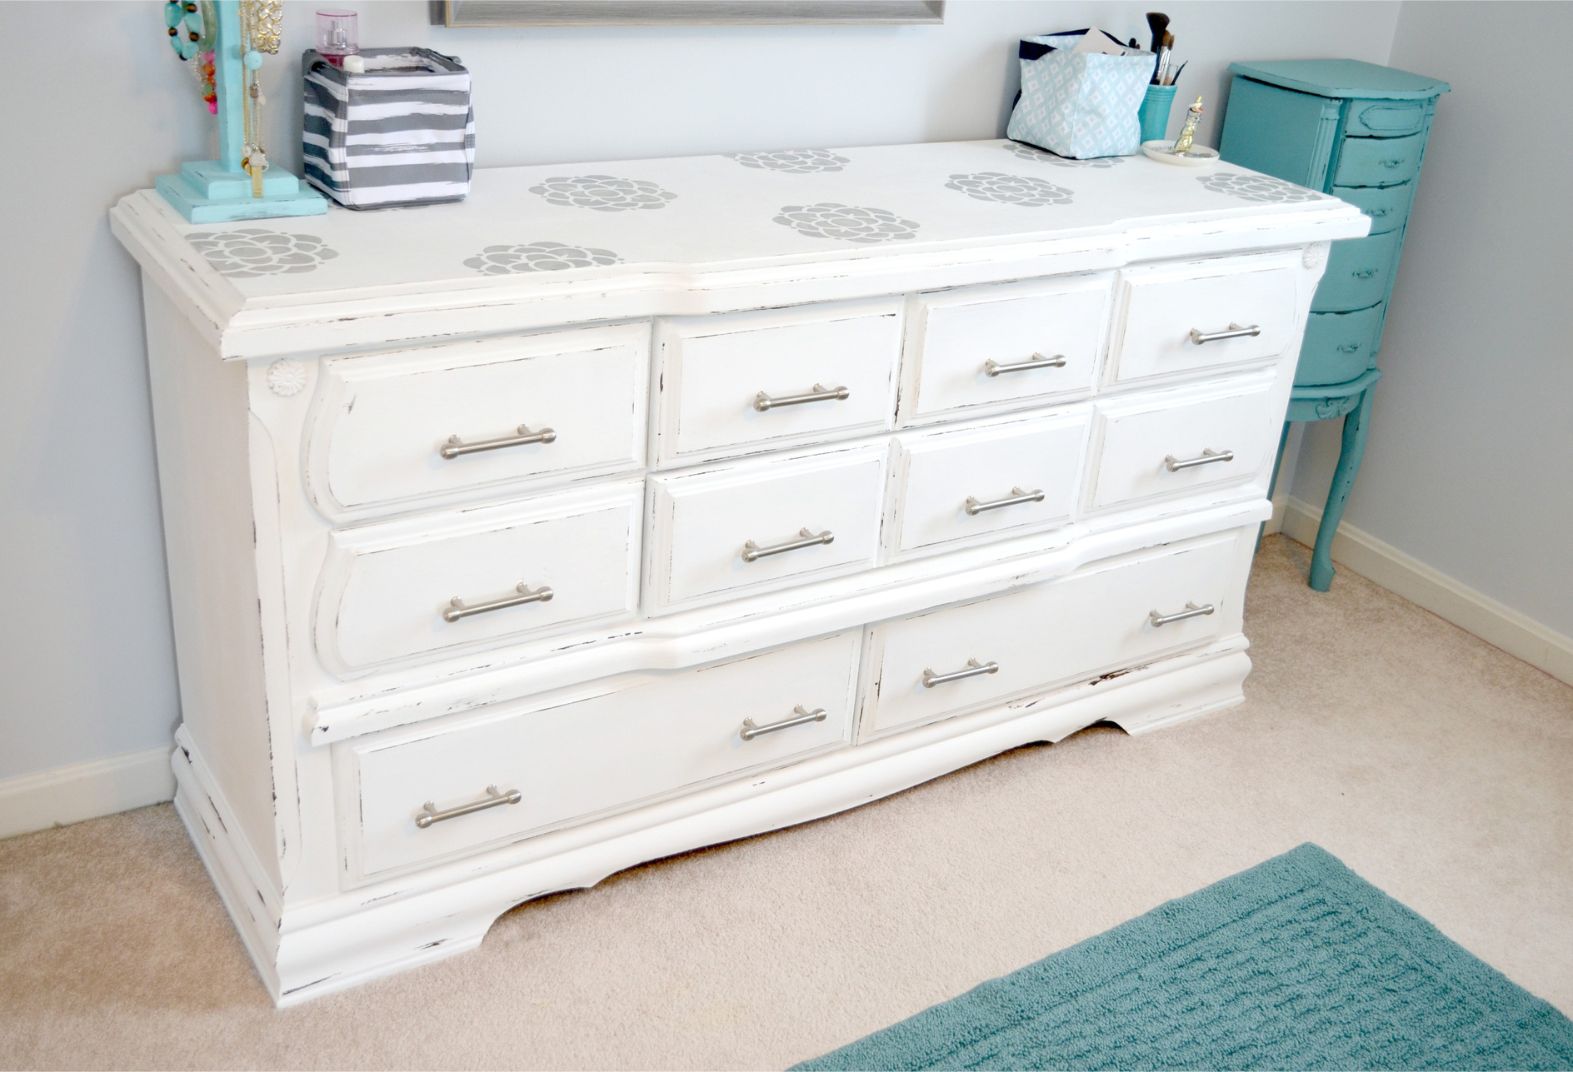
Step 6: Paint the Details (optional)
Once you have achieved the desired base color and coverage on your dresser, you have the option to add some decorative details to enhance its visual appeal. This step allows you to get creative and personalize your dresser even further.
If you choose to paint the details, such as drawer fronts, edges, or other design elements, you will need a smaller paintbrush or even a fine-tipped brush for precision.
Before starting, determine the areas you want to accentuate with a different color or design. You can select a contrasting color that complements the base color, or you can opt for a different finish, such as metallic or glossy.
Using the chosen paint or finish, carefully apply it to the designated areas, following the original lines and contours of the dresser. Take your time and be precise to achieve clean and well-defined details.
If you have an artistic flair, you can also use stencils or create your own patterns for a more intricate and personalized touch. Just make sure to secure the stencil tightly against the surface and use a light touch when applying the paint.
Allow the painted details to dry completely before moving on to the next step. This will ensure that the colors do not bleed into each other and maintain their crisp appearance.
Adding details to your painted dresser is an optional step that allows you to showcase your creativity and make it truly one-of-a-kind. Feel free to experiment with various colors and designs to achieve the desired look for your piece.
Step 7: Seal the Paint
Sealing the paint is an important step in protecting the finish of your dresser and ensuring its durability over time. A sealant or topcoat creates a protective layer that helps to guard against scratches, stains, and fading.
There are several types of sealants available, including polycrylic, polyurethane, and wax. Choose the one that is recommended for the type of paint you used and the level of durability you desire.
Before applying the sealant, make sure the paint is fully dry and wait for the recommended time specified by the paint manufacturer. This usually takes a few hours, but it may vary depending on the specific paint you used.
Using a clean brush or sponge, apply a thin and even layer of the sealant to the entire surface of the dresser. Make sure to follow the manufacturer’s instructions for application techniques and drying time.
It is important to apply the sealant in an area with good ventilation to allow for proper drying. The number of coats needed may vary depending on the specific sealant, so refer to the product instructions for the recommended number of coats.
Allow the sealant to dry completely before reassembling the dresser or placing any objects on its surface. This will ensure that the protective layer has fully cured and can provide the desired level of protection.
Sealing the paint not only protects your finished dresser from everyday wear and tear, but it also adds a professional touch to your project. It extends the lifespan of the paint and keeps your dresser looking fresh and vibrant for years to come.
Read more: How To Clean Wooden Dresser Drawers
Step 8: Reassemble the Dresser
Now that your painted dresser has dried and the sealant has cured, it’s time to reassemble the dresser and get it ready to be part of your living space once again.
If you previously removed any hardware, such as knobs or handles, carefully reattach them to the drawers or doors. Use a screwdriver to secure them in place, ensuring they are straight and tight.
Take a moment to inspect the dresser for any touch-ups or areas that may need additional attention. If you notice any imperfections or areas where the paint may have chipped or smeared, use a small brush to carefully touch up those spots.
Once you are satisfied with the final result, gently clean the dresser with a soft cloth or a mild cleaning solution to remove any fingerprints or dust that may have accumulated during the painting process.
Finally, find an ideal position for your newly transformed dresser in your desired room. Take the time to rearrange and style the dresser as per your preference, ensuring it becomes a stunning focal point of your space.
Congratulations! You have successfully painted and revitalized your white wooden dresser. Enjoy the satisfaction of completing a DIY project and the beauty of your newly transformed furniture piece.
Remember to take proper care of your painted dresser by using coasters, avoiding harsh cleaning chemicals, and gently wiping spills or stains immediately. This will help to maintain its appearance and protect the finish for years to come.
Conclusion
Painting a white wooden dresser can be a rewarding and creative project that allows you to bring new life to your furniture and express your personal style. By following the step-by-step guide provided, you can achieve a professional-looking finish that will make your dresser stand out in any room.
Starting with proper preparation and prepping the surface, you set the foundation for a successful paint job. Sanding the dresser smooths out imperfections and ensures better adhesion of the paint and primer.
Applying a primer coat helps create a strong bond between the wood and the paint, providing better coverage and protection. Choosing a high-quality paint in the desired color adds vibrancy and transforms your dresser into a beautiful focal point.
If you want to personalize your dresser, painting details or adding decorative touches can take your project to the next level. From stencils to intricate designs, there are endless possibilities to make your dresser a unique and eye-catching piece.
Sealing the paint with a protective topcoat or sealant is crucial to safeguard the finish and enhance the dresser’s durability. It adds a layer of protection against scratches, stains, and fading, ensuring your painted dresser maintains its beauty for years to come.
Finally, reassembling the dresser and finding its perfect place in your home completes the project. Take pride in your work and enjoy the transformation you’ve achieved.
Remember, patience and attention to detail are key throughout the process. Take your time to ensure each step is completed thoroughly for the best results.
So, unleash your creativity and let your personality shine through as you embark on your journey of painting a white wooden dresser. The possibilities are endless, and the end result will be a stunning piece that adds charm and style to your living space.
Frequently Asked Questions about How To Paint A White Wooden Dresser
Was this page helpful?
At Storables.com, we guarantee accurate and reliable information. Our content, validated by Expert Board Contributors, is crafted following stringent Editorial Policies. We're committed to providing you with well-researched, expert-backed insights for all your informational needs.


0 thoughts on “How To Paint A White Wooden Dresser”