Home>Furniture>Living Room Furniture>How To Build A Trunk Coffee Table
Living Room Furniture
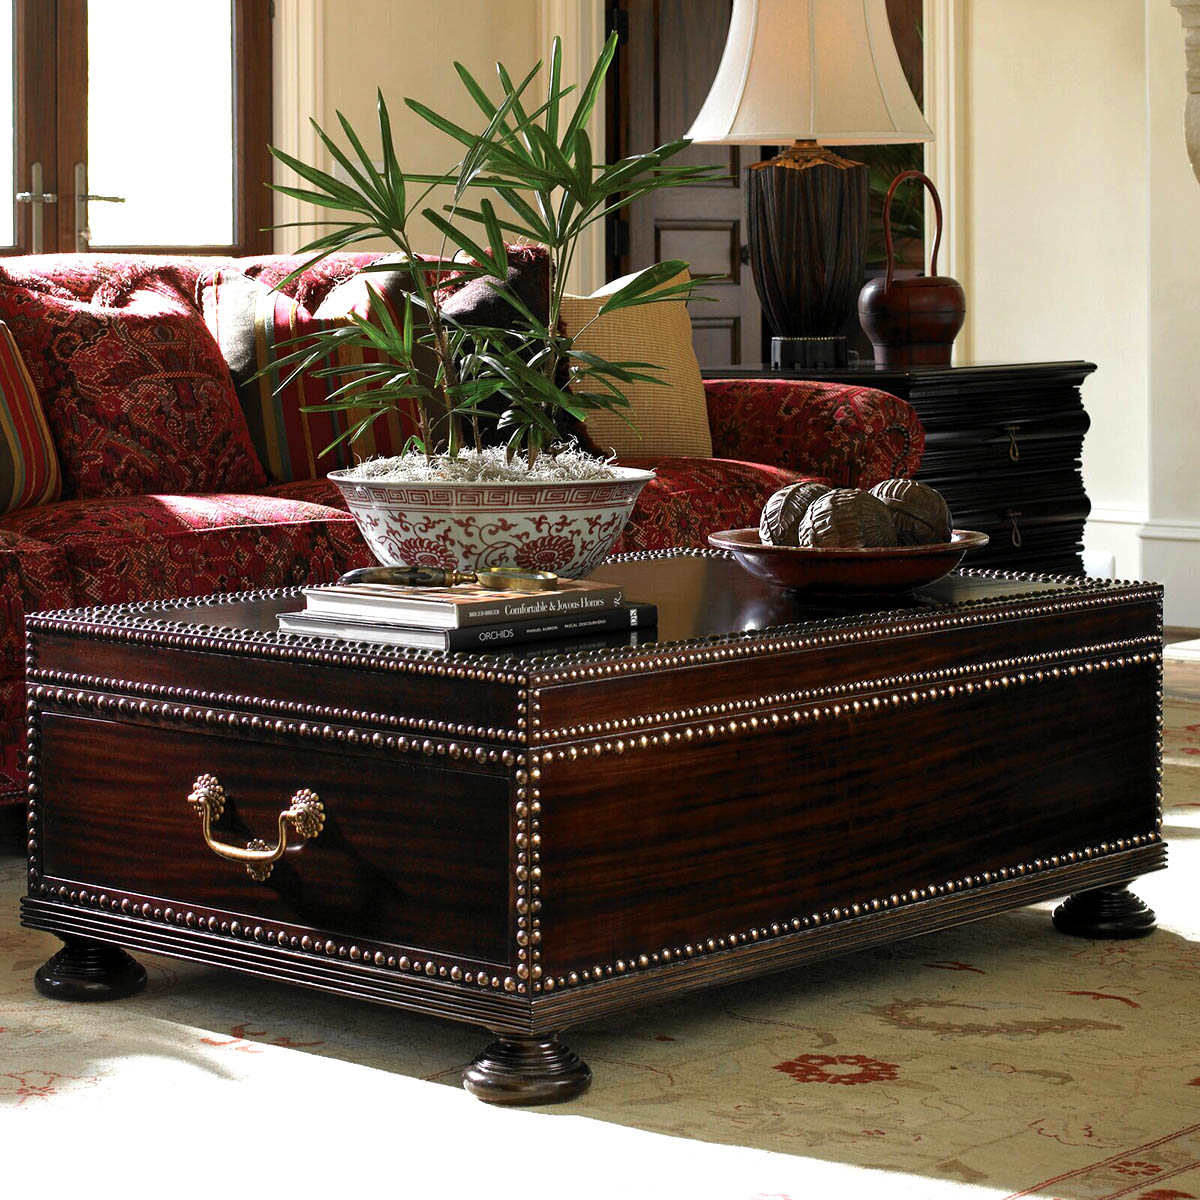
How To Build A Trunk Coffee Table
Modified: March 16, 2024
Discover how to build a stunning trunk coffee table for your living room with our step-by-step guide. Upgrade your living room furniture today!
(Many of the links in this article redirect to a specific reviewed product. Your purchase of these products through affiliate links helps to generate commission for Storables.com, at no extra cost. Learn more)
Introduction
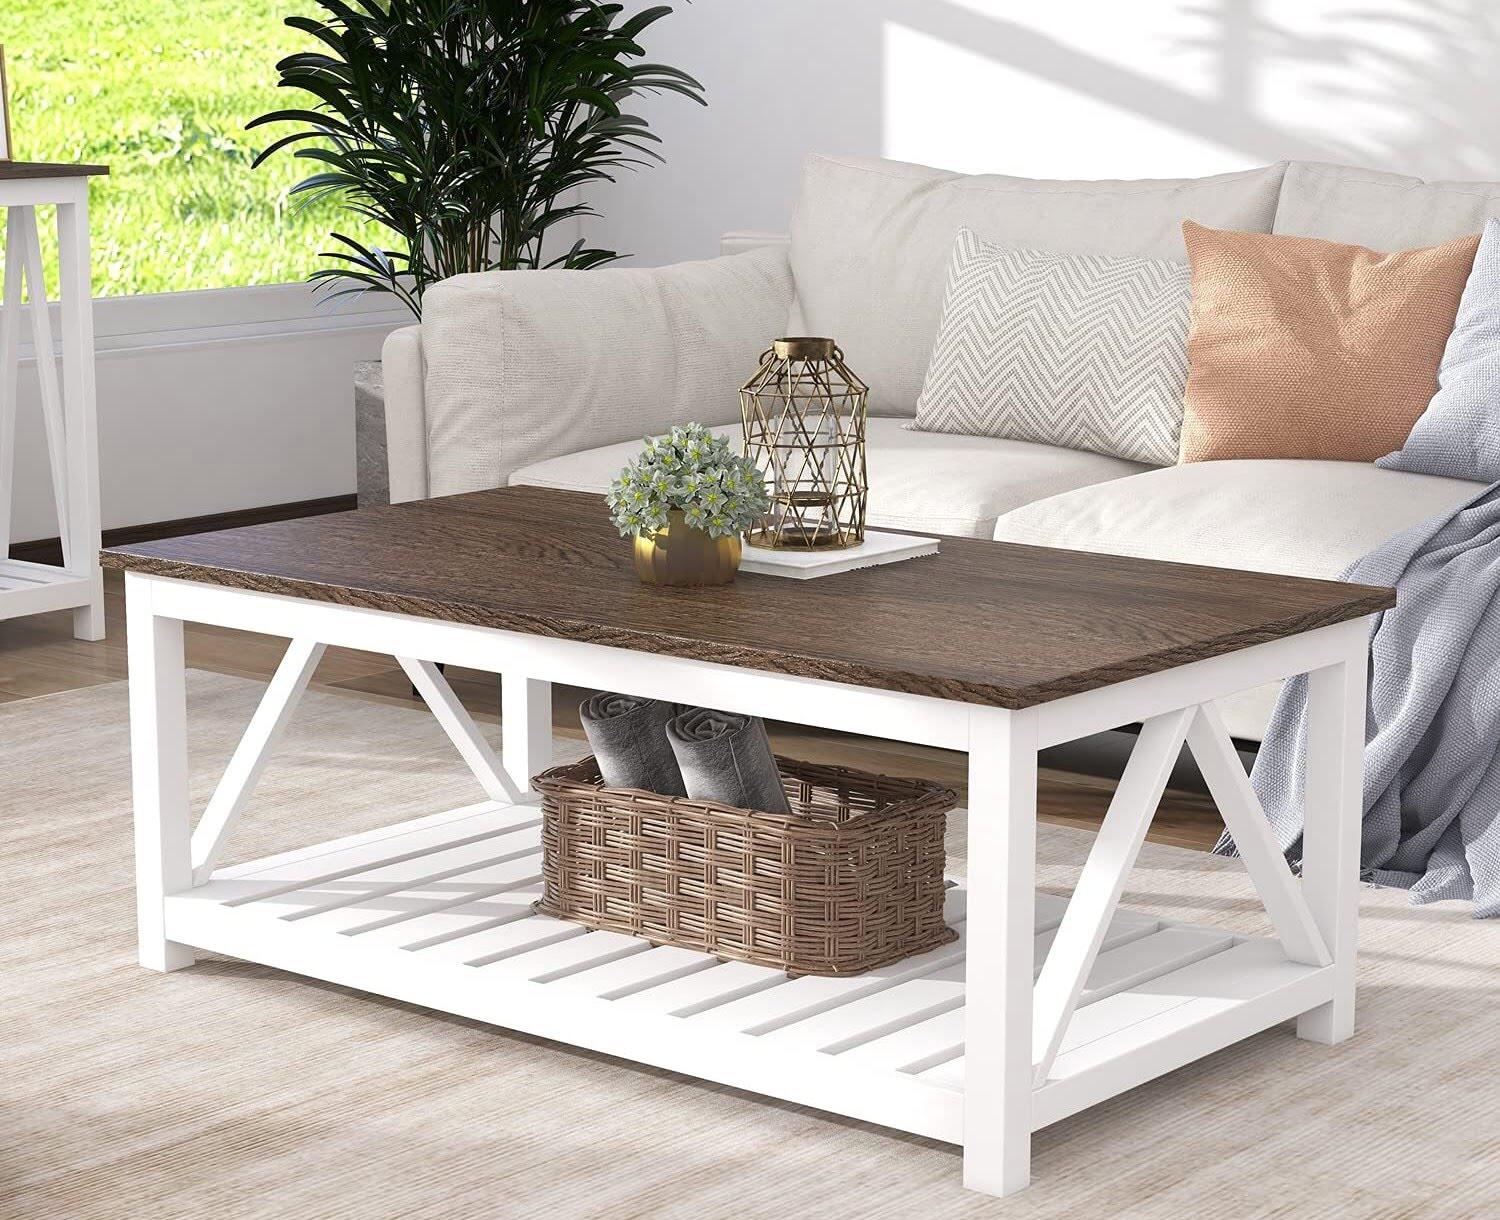
Welcome to the world of DIY furniture! If you’re looking to add a unique and charming piece to your living room, a trunk coffee table may be just what you need. With its vintage appeal and functional design, a trunk coffee table can elevate the style and functionality of any space.
Building your own trunk coffee table allows you to customize the design to perfectly suit your taste and the aesthetic of your living room. Plus, it can be a rewarding and fulfilling project that showcases your creativity and woodworking skills.
In this article, I’ll guide you through the step-by-step process of building your own trunk coffee table. Whether you’re a seasoned DIY enthusiast or a beginner, you’ll find helpful tips and detailed instructions to make the process smooth and enjoyable.
But before we dive into the construction process, let’s start by gathering the necessary materials and tools. Having everything prepared and organized will ensure a seamless building experience.
Key Takeaways:
- Building a trunk coffee table is a fun DIY project that lets you showcase your creativity and woodworking skills. You can customize the design to match your living room’s style and add a unique piece of furniture to your home.
- By following the step-by-step process outlined in the article, you can create a stylish and functional coffee table that reflects your personal style. It’s a rewarding project that saves money and adds a touch of charm to your living space.
Read more: How To Build A Rustic Coffee Table
Step 1: Gather the necessary materials and tools
Before you begin building your trunk coffee table, it’s important to gather all the materials and tools you’ll need for the project. Here’s a list of what you’ll need:
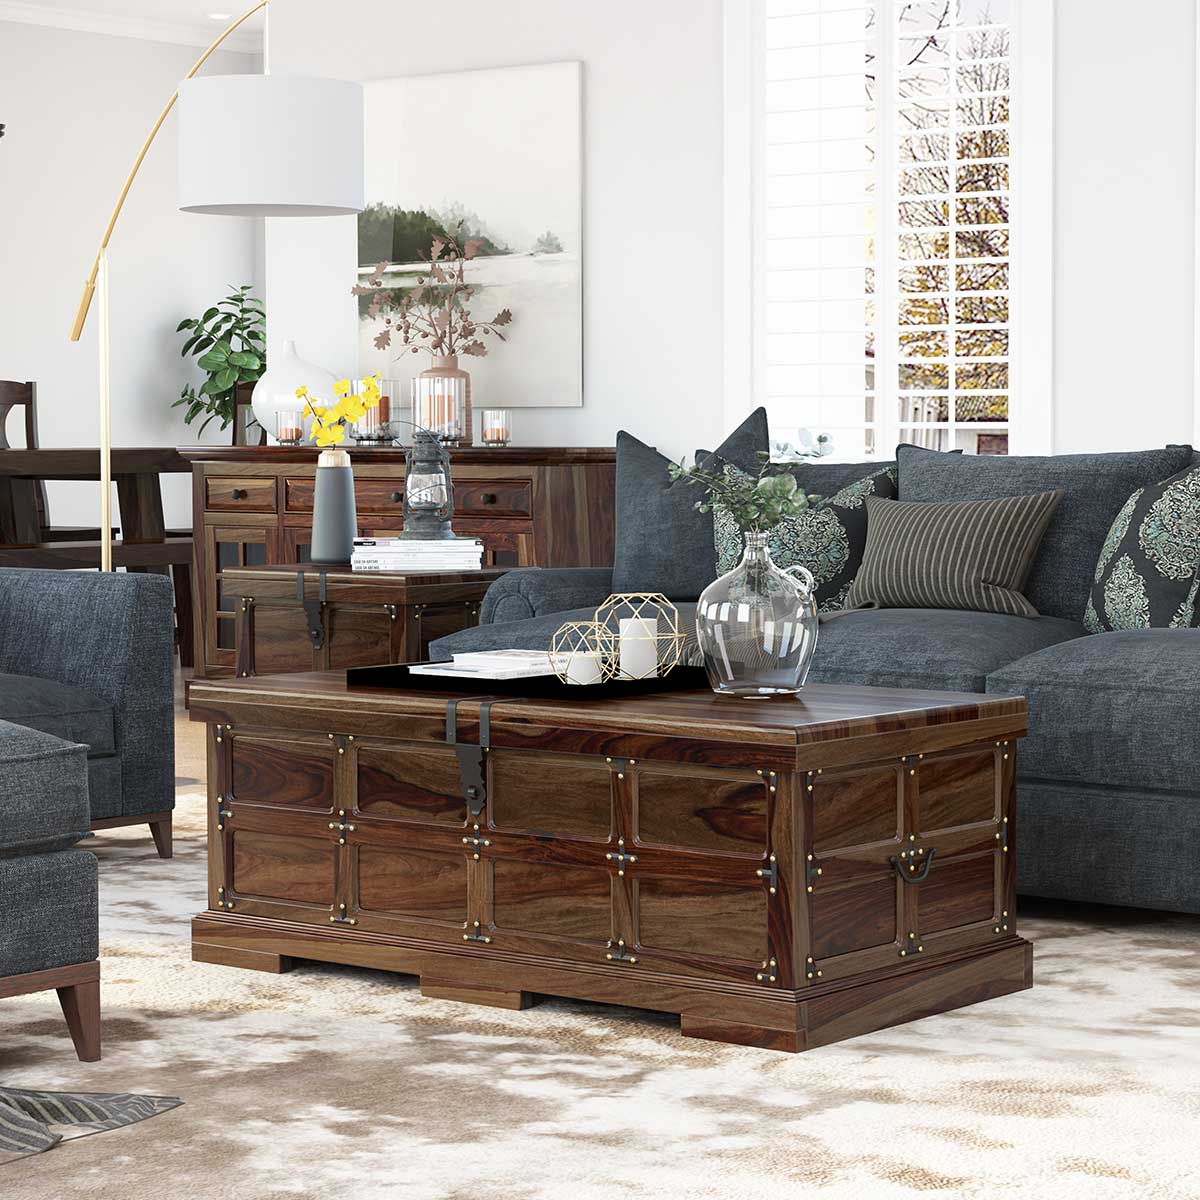
- Trunk or vintage suitcase: Look for a trunk or suitcase that matches your desired style and size requirements. You can find these at antique stores, thrift shops, or even online.
- Four wooden legs: Choose legs that complement the design of your trunk. These can be purchased from a hardware store or online.
- Wood screws: Make sure to get screws that are suitable for attaching the legs to the trunk.
- Power drill: A power drill will be essential for drilling holes and attaching the legs.
- Measuring tape: This will help you ensure accurate measurements throughout the construction process.
- Sandpaper: You’ll need sandpaper to smooth out any rough edges and prepare the trunk for painting or staining.
- Paint or stain: Choose a paint or stain color that complements your living room decor and enhances the overall aesthetic of the table.
- Paintbrush or staining cloth: Depending on your choice of finish, you’ll need either a paintbrush or staining cloth for application.
- Protective gloves and goggles: Safety should always come first, so make sure to wear protective gear when sanding or using paint/stain.
Once you have all the necessary materials and tools, you’ll be ready to move on to the next step: preparing the trunk for transformation into a coffee table.
Step 2: Prepare the trunk
Now that you have all your materials and tools ready, it’s time to prepare the trunk for its transformation into a coffee table. Follow these steps:
- Inspect the trunk: Carefully examine the trunk for any damage, such as broken hinges or loose panels. Repair or reinforce these areas as needed.
- Clean the trunk: Remove any dust, dirt, or debris from the trunk’s surface. You can use a damp cloth or gentle cleaner. Allow the trunk to dry completely before moving on to the next step.
- Sand the trunk: Use sandpaper to smooth out any rough edges or imperfections on the trunk’s surface. This will ensure a clean and even surface for painting or staining.
- Prime the trunk (optional): If you plan to paint the trunk a new color, consider applying a coat of primer. This will help the paint adhere better and provide a more even finish. Allow the primer to dry completely before moving on to the next step.
By preparing the trunk thoroughly, you’ll ensure that your finished coffee table has a professional and polished look. Once you’re satisfied with the trunk’s condition, it’s time to move on to the next step: attaching the legs.
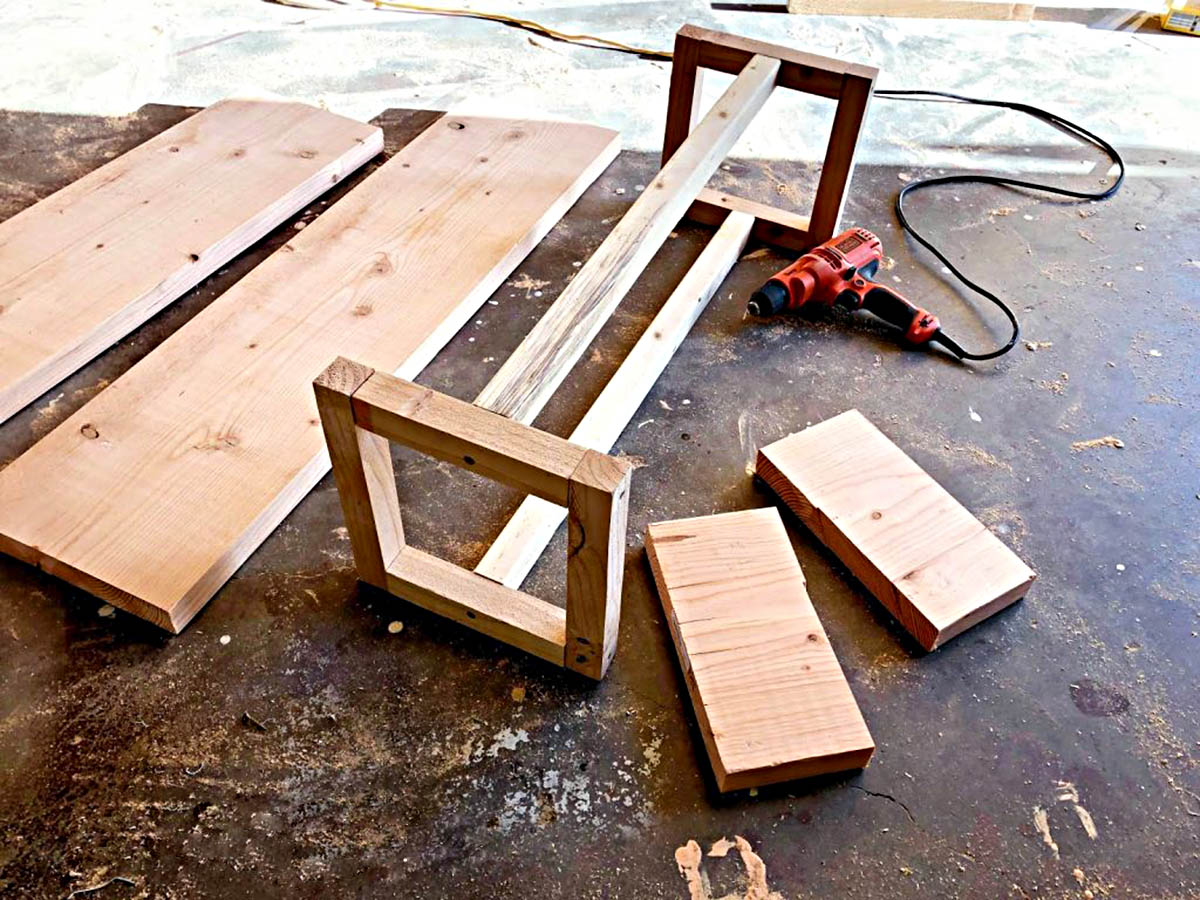
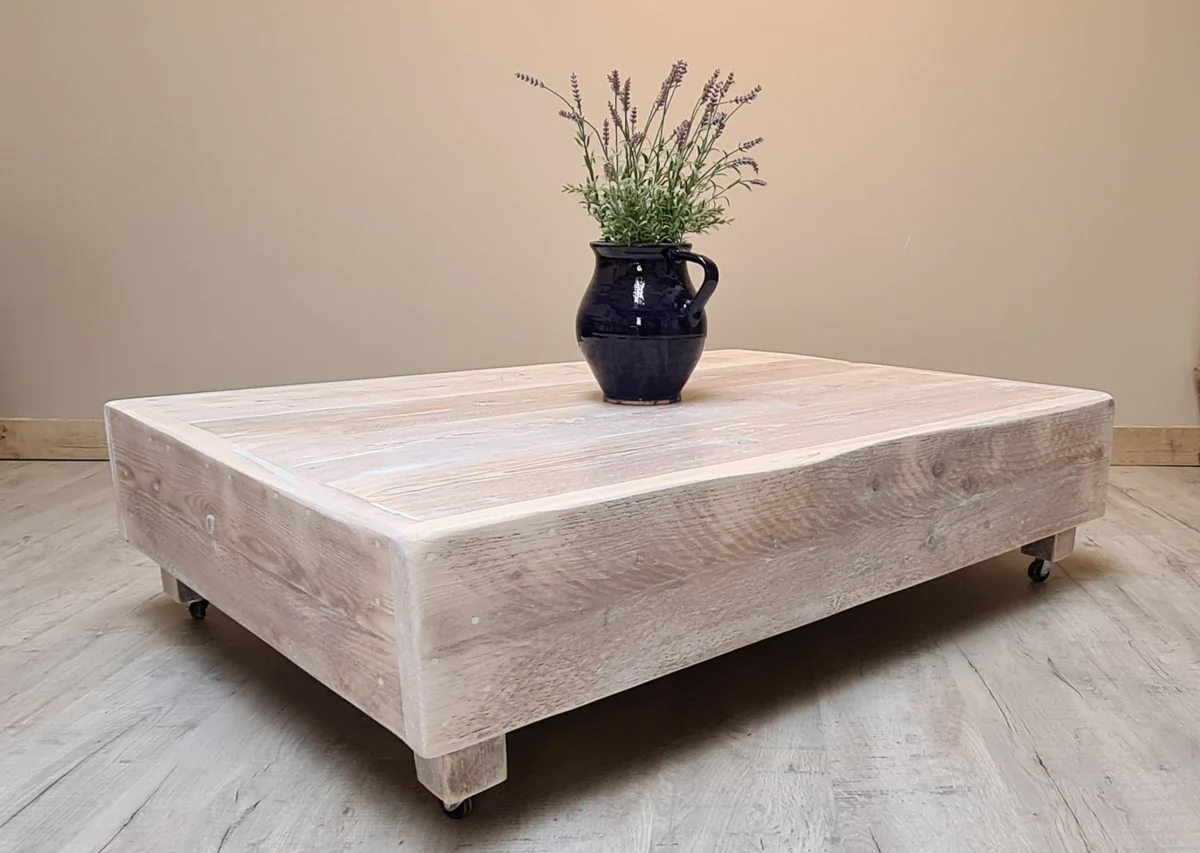
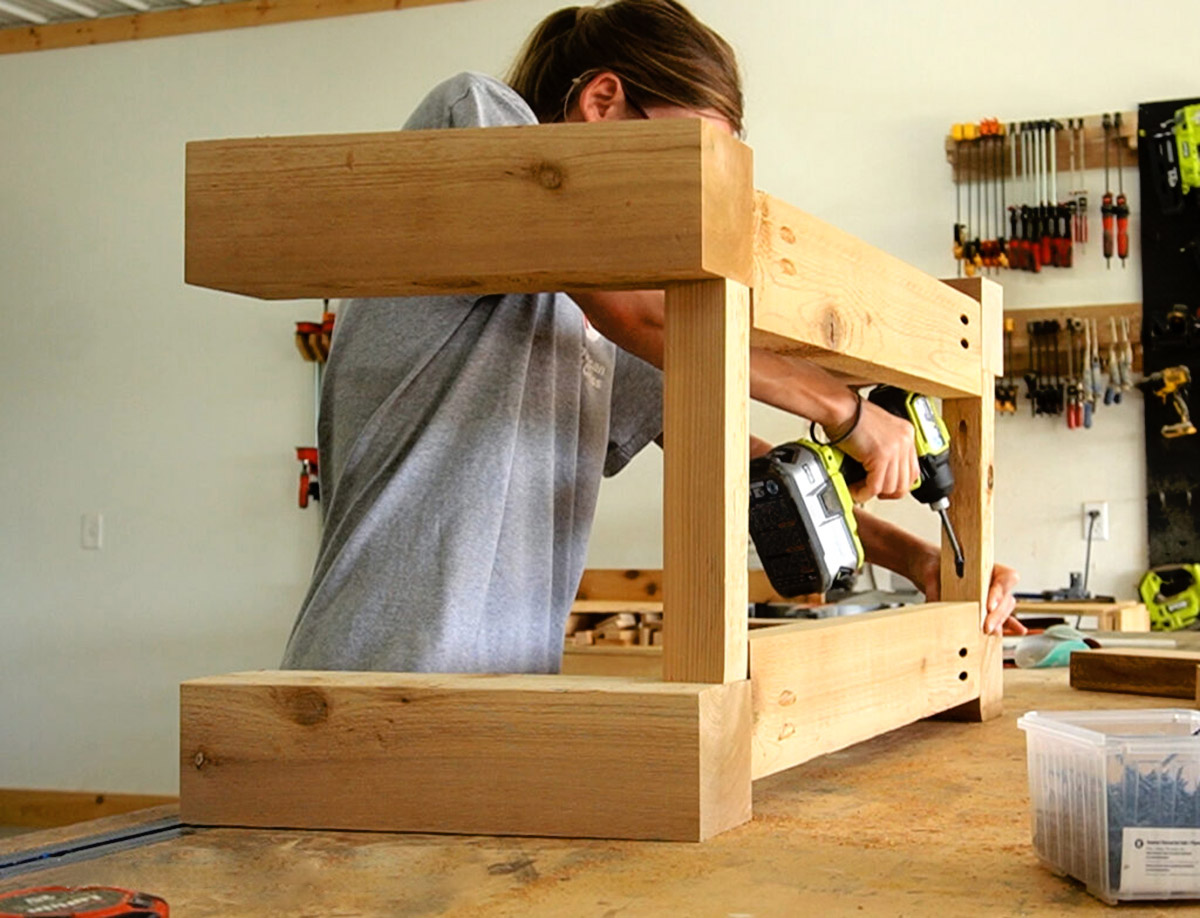
Step 3: Attach the legs
Now that the trunk is ready, it’s time to attach the legs. Follow these steps:
- Measure and mark: Using a measuring tape, determine the placement of the legs on the underside of the trunk. Mark these spots with a pencil to ensure accuracy.
- Pre-drill holes: Before attaching the legs, pre-drill pilot holes at the marked spots. This will prevent the wood from splitting when you insert the screws.
- Attach the legs: Place the first leg on the marked spot and align the screw holes. Insert a wood screw through the leg and into the pre-drilled hole. Use a power drill to securely fasten the screw. Repeat this process for the remaining legs.
- Check stability: Once all the legs are attached, carefully flip the trunk upright and check for stability. If any legs feel wobbly, tighten the screws further to ensure a secure fit.
By properly attaching the legs, you’ll ensure that your trunk coffee table is sturdy and able to withstand everyday use. Now that the legs are securely in place, you can choose to add additional features to enhance the functionality and aesthetic appeal of your table. This step is optional, but it can take your coffee table to the next level of style and practicality.
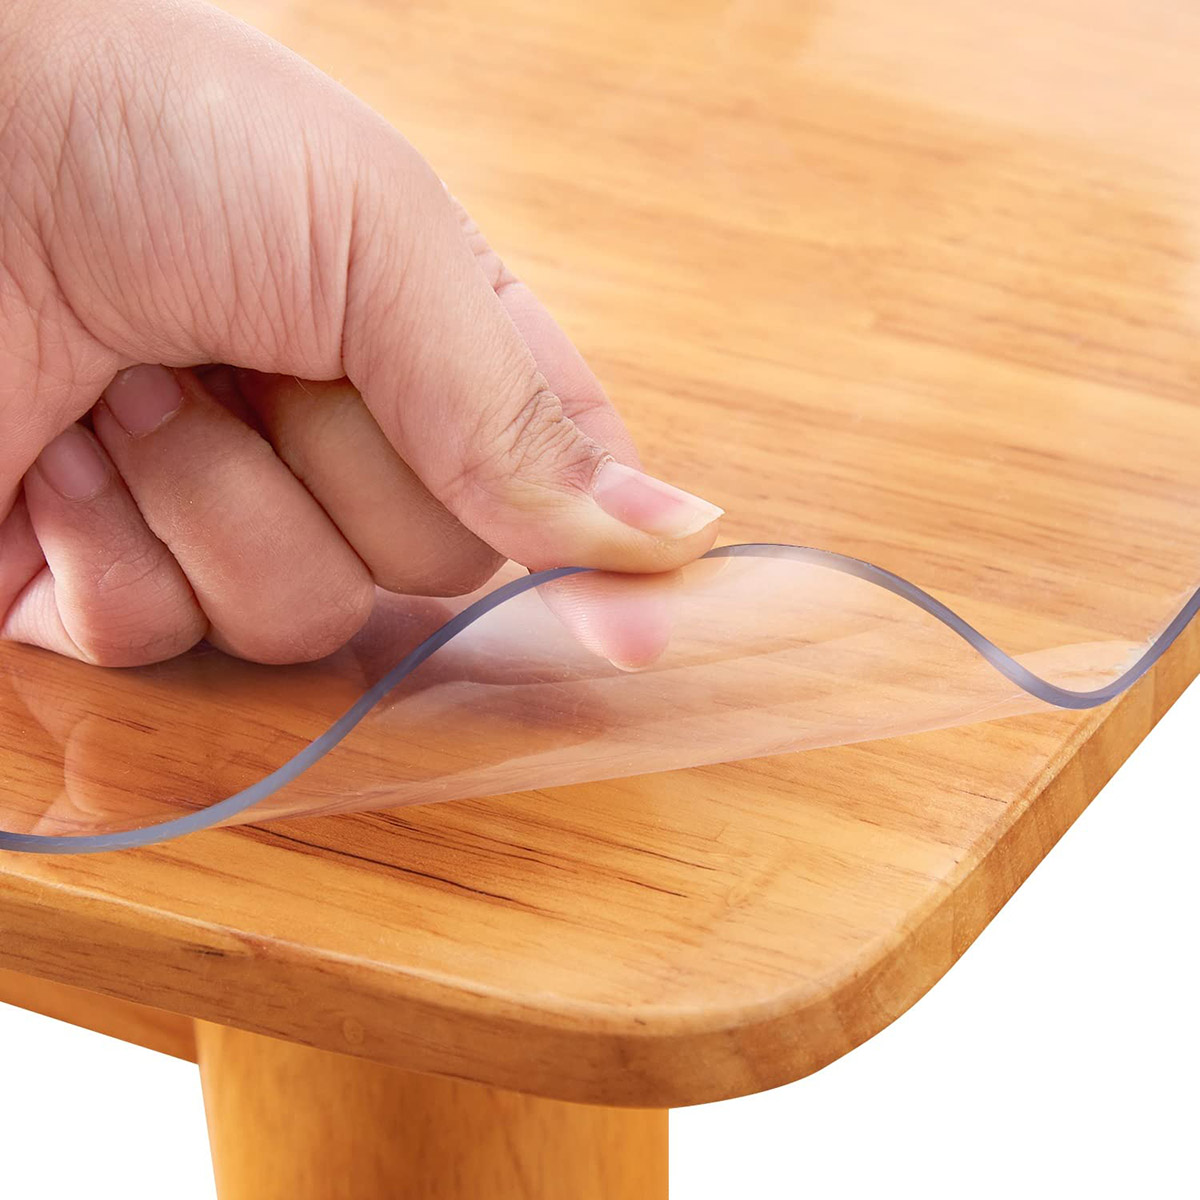
When building a trunk coffee table, make sure to choose a sturdy and durable trunk that can support the weight of the items placed on top. Also, consider adding a protective layer to the top surface to prevent damage from spills and scratches.
Step 4: Add additional features (optional)
If you want to take your trunk coffee table to the next level, you can add some additional features to enhance its functionality and aesthetic appeal. Here are a few ideas:
- Storage compartments: If your trunk has enough space inside, consider adding dividers or compartments to create storage areas. This can be great for keeping small items like remote controls, magazines, or coasters organized.
- Glass top: To protect the surface of your coffee table and add a touch of elegance, you can have a glass top custom-cut to fit the dimensions of the trunk. This will not only showcase the unique design of the trunk but also make it easy to clean and maintain.
- Custom hardware: Replace the existing hardware on your trunk with decorative handles or knobs that match your desired style. This small detail can elevate the overall look of your coffee table and make it truly unique.
- Decorative elements: Get creative and add decorative elements to your trunk coffee table. You can use stencils to create intricate designs, paint patterns, or even decoupage pictures or maps onto the trunk’s surface for a personalized touch.
Remember, these additional features are optional, and you can choose to implement one or more depending on your preferences and the design of your living room. Once you’ve added any desired features, it’s time to move on to the final step: applying the finish.
Read more: How To Build An Acrylic Coffee Table
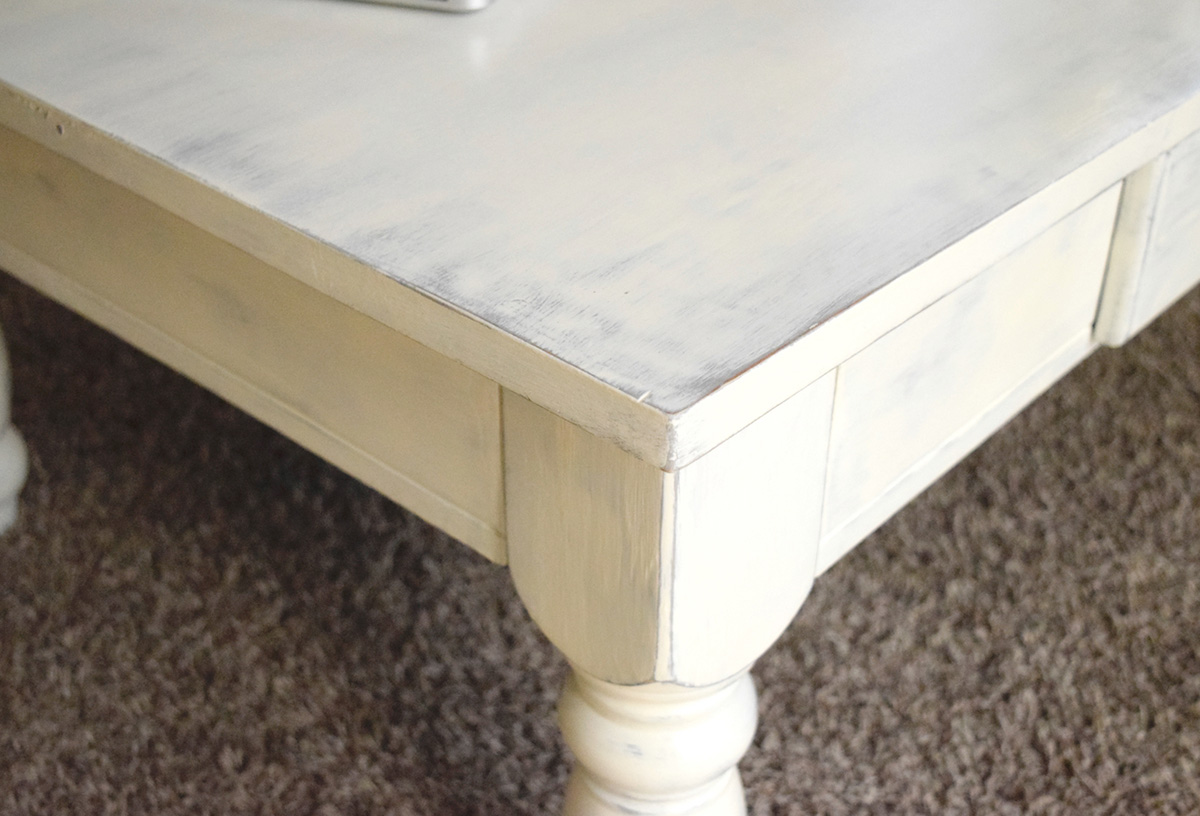
Step 5: Apply the finish
Now that your trunk coffee table is fully assembled, it’s time to apply the finishing touches. The finish you choose will not only protect the wood but also enhance the overall appearance of the table. Here’s how to apply the finish:
- Choose your finish: Decide whether you want to paint or stain your trunk coffee table. Both options have their advantages, so choose the one that best suits your style and preferences.
- Prepare the surface: If you’re staining the trunk, make sure the surface is clean and free of any dust or debris. If you’re painting, apply a coat of primer for better adhesion.
- Apply the finish: Using a paintbrush or staining cloth, apply an even coat of paint or stain to the trunk’s surface. Make sure to follow the manufacturer’s instructions for drying time and subsequent coats.
- Allow for drying time: After applying the first coat, allow the finish to dry completely before applying any additional coats. This will ensure a smooth and even finish.
- Finishing touches: Once the final coat of finish has dried, inspect the coffee table for any areas that may need touch-ups or additional paint/stain. Make any necessary adjustments to achieve your desired look.
By applying the finish with care and attention to detail, you’ll transform your trunk into a stunning coffee table that will be the centerpiece of your living room. Once the finish is fully dry, you can place your new creation in your living room and enjoy its beauty and functionality.
Congratulations! You’ve successfully built your own trunk coffee table. It’s a unique piece of furniture that reflects your personal style and adds character to your living room. Now, sit back, relax, and enjoy the beauty of your handmade creation!
Conclusion
Building a trunk coffee table is a rewarding DIY project that allows you to showcase your creativity and add a unique piece of furniture to your living room. By following the step-by-step process outlined in this article, you can create a stylish and functional coffee table that perfectly matches your taste and decor.
Throughout the construction process, gathering the necessary materials and tools, preparing the trunk, attaching the legs, adding optional features, and applying the finish are crucial steps in creating a professional and polished coffee table. Putting in the time and effort to ensure each step is done carefully and accurately will result in a high-quality piece of furniture that you can be proud of.
Remember, the options for customization are endless. You can choose a trunk with a vintage charm or a sleek modern design, select a paint color or stain that complements your living room’s color scheme, and even add storage compartments or a glass top for added functionality.
By building your own trunk coffee table, you not only save money compared to buying a ready-made one but also have the satisfaction of knowing you created something with your own hands. Plus, it becomes a conversation starter and a unique focal point in your living room.
So, gather your materials and tools, unleash your creativity, and transform a trunk into a coffee table that reflects your personal style and adds a touch of charm to your living space. Embrace the joy of DIY and create a piece of furniture that you’ll cherish for years to come.
Frequently Asked Questions about How To Build A Trunk Coffee Table
Was this page helpful?
At Storables.com, we guarantee accurate and reliable information. Our content, validated by Expert Board Contributors, is crafted following stringent Editorial Policies. We're committed to providing you with well-researched, expert-backed insights for all your informational needs.

0 thoughts on “How To Build A Trunk Coffee Table”