Home>Furniture>Outdoor Furniture>How To Make A Cheap Patio

Outdoor Furniture
How To Make A Cheap Patio
Modified: August 27, 2024
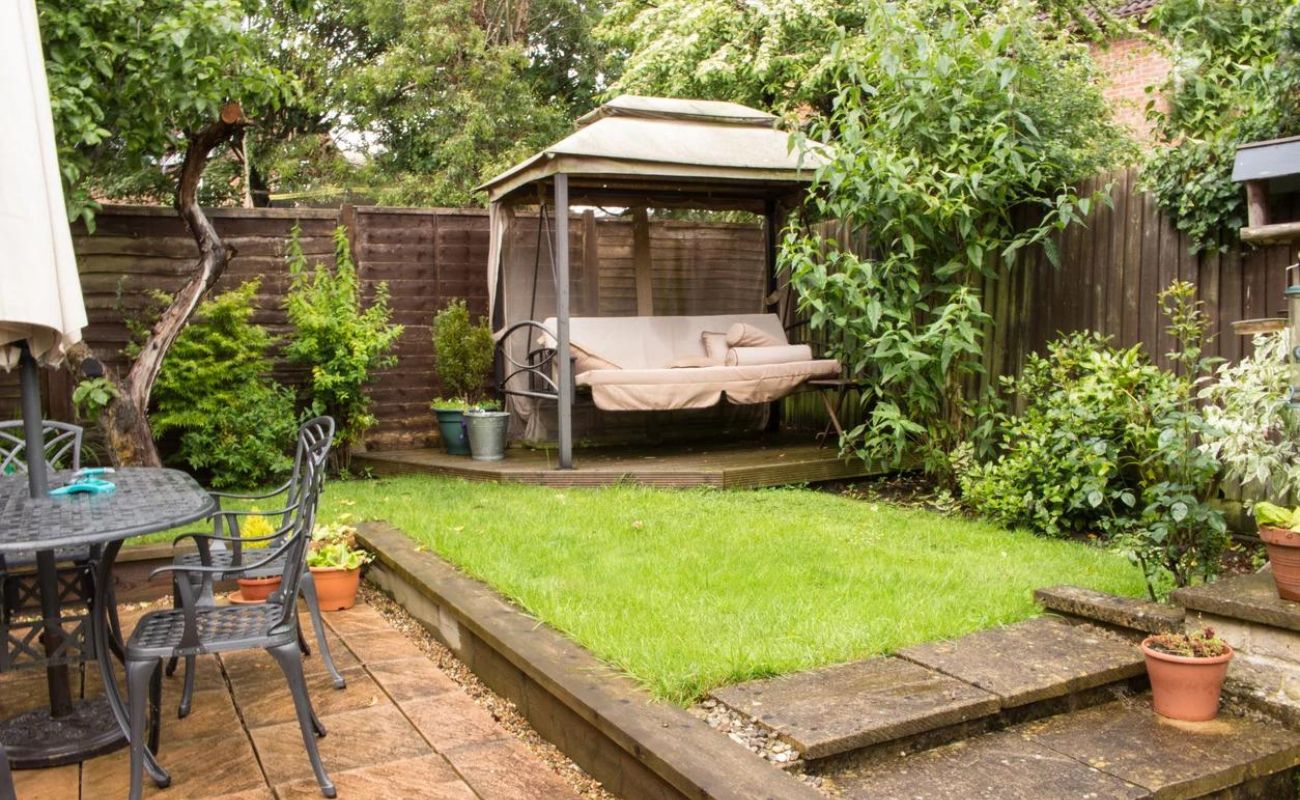
Learn how to create a budget-friendly outdoor patio with stylish and affordable outdoor furniture. Transform your backyard into a cozy and inviting space without breaking the bank.
(Many of the links in this article redirect to a specific reviewed product. Your purchase of these products through affiliate links helps to generate commission for Storables.com, at no extra cost. Learn more)
Introduction
Building a patio can be a transformative addition to your outdoor space, giving you a dedicated area to relax, entertain, and enjoy the beauty of nature. However, the cost of creating a patio can sometimes be prohibitive. But fear not! With a little ingenuity and some budget-friendly materials, you can create a cheap patio that still looks stylish and inviting.
In this article, we will guide you through the process of making a cheap patio, from choosing the location to adding the finishing touches. By following these steps, you’ll be able to create a cozy and affordable outdoor space that you can take pride in.
So, let’s get started and turn your backyard into an oasis without breaking the bank!
Key Takeaways:
- Transform your outdoor space into a cozy oasis on a budget by carefully choosing the location, measuring and marking the area, and selecting affordable yet stylish patio flooring materials.
- Maintain the beauty and functionality of your cheap patio with regular cleaning, weed control, and protective measures, ensuring a durable and inviting outdoor retreat for years to come.
Read more: Cheap Patio Ideas
Choosing the Patio Location
The first step in creating your cheap patio is to choose the perfect location. Consider the purpose of your patio and how you plan to use it. Are you looking for a space to relax and unwind, or do you want to entertain guests and have outdoor parties? Understanding your needs will help you determine the ideal location.
When selecting the spot, take into account the layout of your backyard and any existing features, such as trees, plants, or structures. You want to ensure that the patio blends harmoniously with the surroundings. Additionally, consider factors like sunlight exposure and privacy. If you prefer a shaded area, look for a spot that’s partially covered by trees or install a patio umbrella or pergola for shade.
Another crucial aspect of choosing the patio location is the proximity to your house. If you plan on using the patio frequently, it’s best to have it conveniently connected to your home. This will make it more accessible and encourage you and your guests to use it regularly.
Lastly, think about the views from the patio. If you have a beautiful garden or a stunning landscape, you’ll want to position the patio in a way that allows you to enjoy the scenery. Take advantage of any natural beauty your yard has to offer.
By carefully considering these factors, you can select the perfect location for your cheap patio, ensuring that it meets both your functional and aesthetic needs.
Measuring and Marking the Area
Once you have chosen the location for your cheap patio, it’s time to measure and mark the area where it will be built. Accurate measurements are essential to ensure that you have enough space and materials for your project.
Start by clearing any debris or vegetation from the area. This will give you a clean slate to work with. Next, gather your measuring tools, such as a tape measure or a measuring wheel, and begin measuring the width and length of the desired patio space. Take note of any irregularities in the shape of the area, such as curves or angles.
After you have measured the dimensions, use marking paint or stakes and string to outline the patio area. Double-check your measurements to ensure accuracy. If you are creating a rectangular or square patio, make sure the corners are at right angles by using the 3-4-5 rule. Measure three feet from one corner, four feet from the adjacent corner, and the distance between these two points should be five feet. Adjust the stakes as needed to achieve the correct angles.
If your patio will have curved edges, use a garden hose or flexible rope to shape the outline accordingly. Once you are satisfied with the shape and size of the marked area, step back and visually inspect the layout to ensure it aligns with your vision.
Marking the area accurately is crucial as it will guide you throughout the construction process. It will help you determine the quantity of materials needed and ensure that your cheap patio is built to the desired specifications.
Clearing and Leveling the Ground
With the patio area properly measured and marked, the next step in creating your cheap patio is to clear and level the ground. This process ensures a stable and even foundation for your patio construction.
Begin by removing any obstacles, such as rocks, roots, or plants, from the marked area. Use a shovel, rake, or garden hoe to clear the ground and create a clean surface to work with. If there are any large or stubborn vegetation, you may need to use a weed killer or hire professional help to completely clear the area.
After clearing the ground, check the existing soil for any inconsistencies or unevenness. Use a long level or a straight piece of wood to assess the slope of the ground. Ideally, you want the patio surface to be level or have a slight slope away from the house to prevent water pooling. If there are any significant variations in the ground level, you may need to do some additional work to level it out.
To level the ground, you can add or remove soil as needed. Use a shovel to fill in any low spots and tamp it down firmly. For high spots or uneven areas, remove excess soil and spread it out in lower areas. Repeat this process until the ground is relatively smooth and level.
Once you have cleared and leveled the ground, it’s a good idea to lay down a weed barrier fabric. This will help prevent weeds from growing up through your patio and keep the area looking tidy. Secure the fabric in place by using landscape fabric pins or staples.
By taking the time to properly clear and level the ground, you are setting the foundation for a durable and well-constructed cheap patio.
Materials Needed for a Cheap Patio
Creating a cheap patio doesn’t mean compromising on quality. By carefully selecting the right materials, you can build a beautiful and cost-effective outdoor space. Here are the key materials you will need for your cheap patio:
- Patio Flooring: Choose a budget-friendly flooring option that suits your style and budget. Some affordable options include concrete pavers, gravel, crushed stone, or even recycled materials like reclaimed bricks or pallets.
- If you are using pavers or bricks, you will need sand for the base and filling the gaps between them. Opt for a coarse sand or a sharp sand that allows for proper drainage.
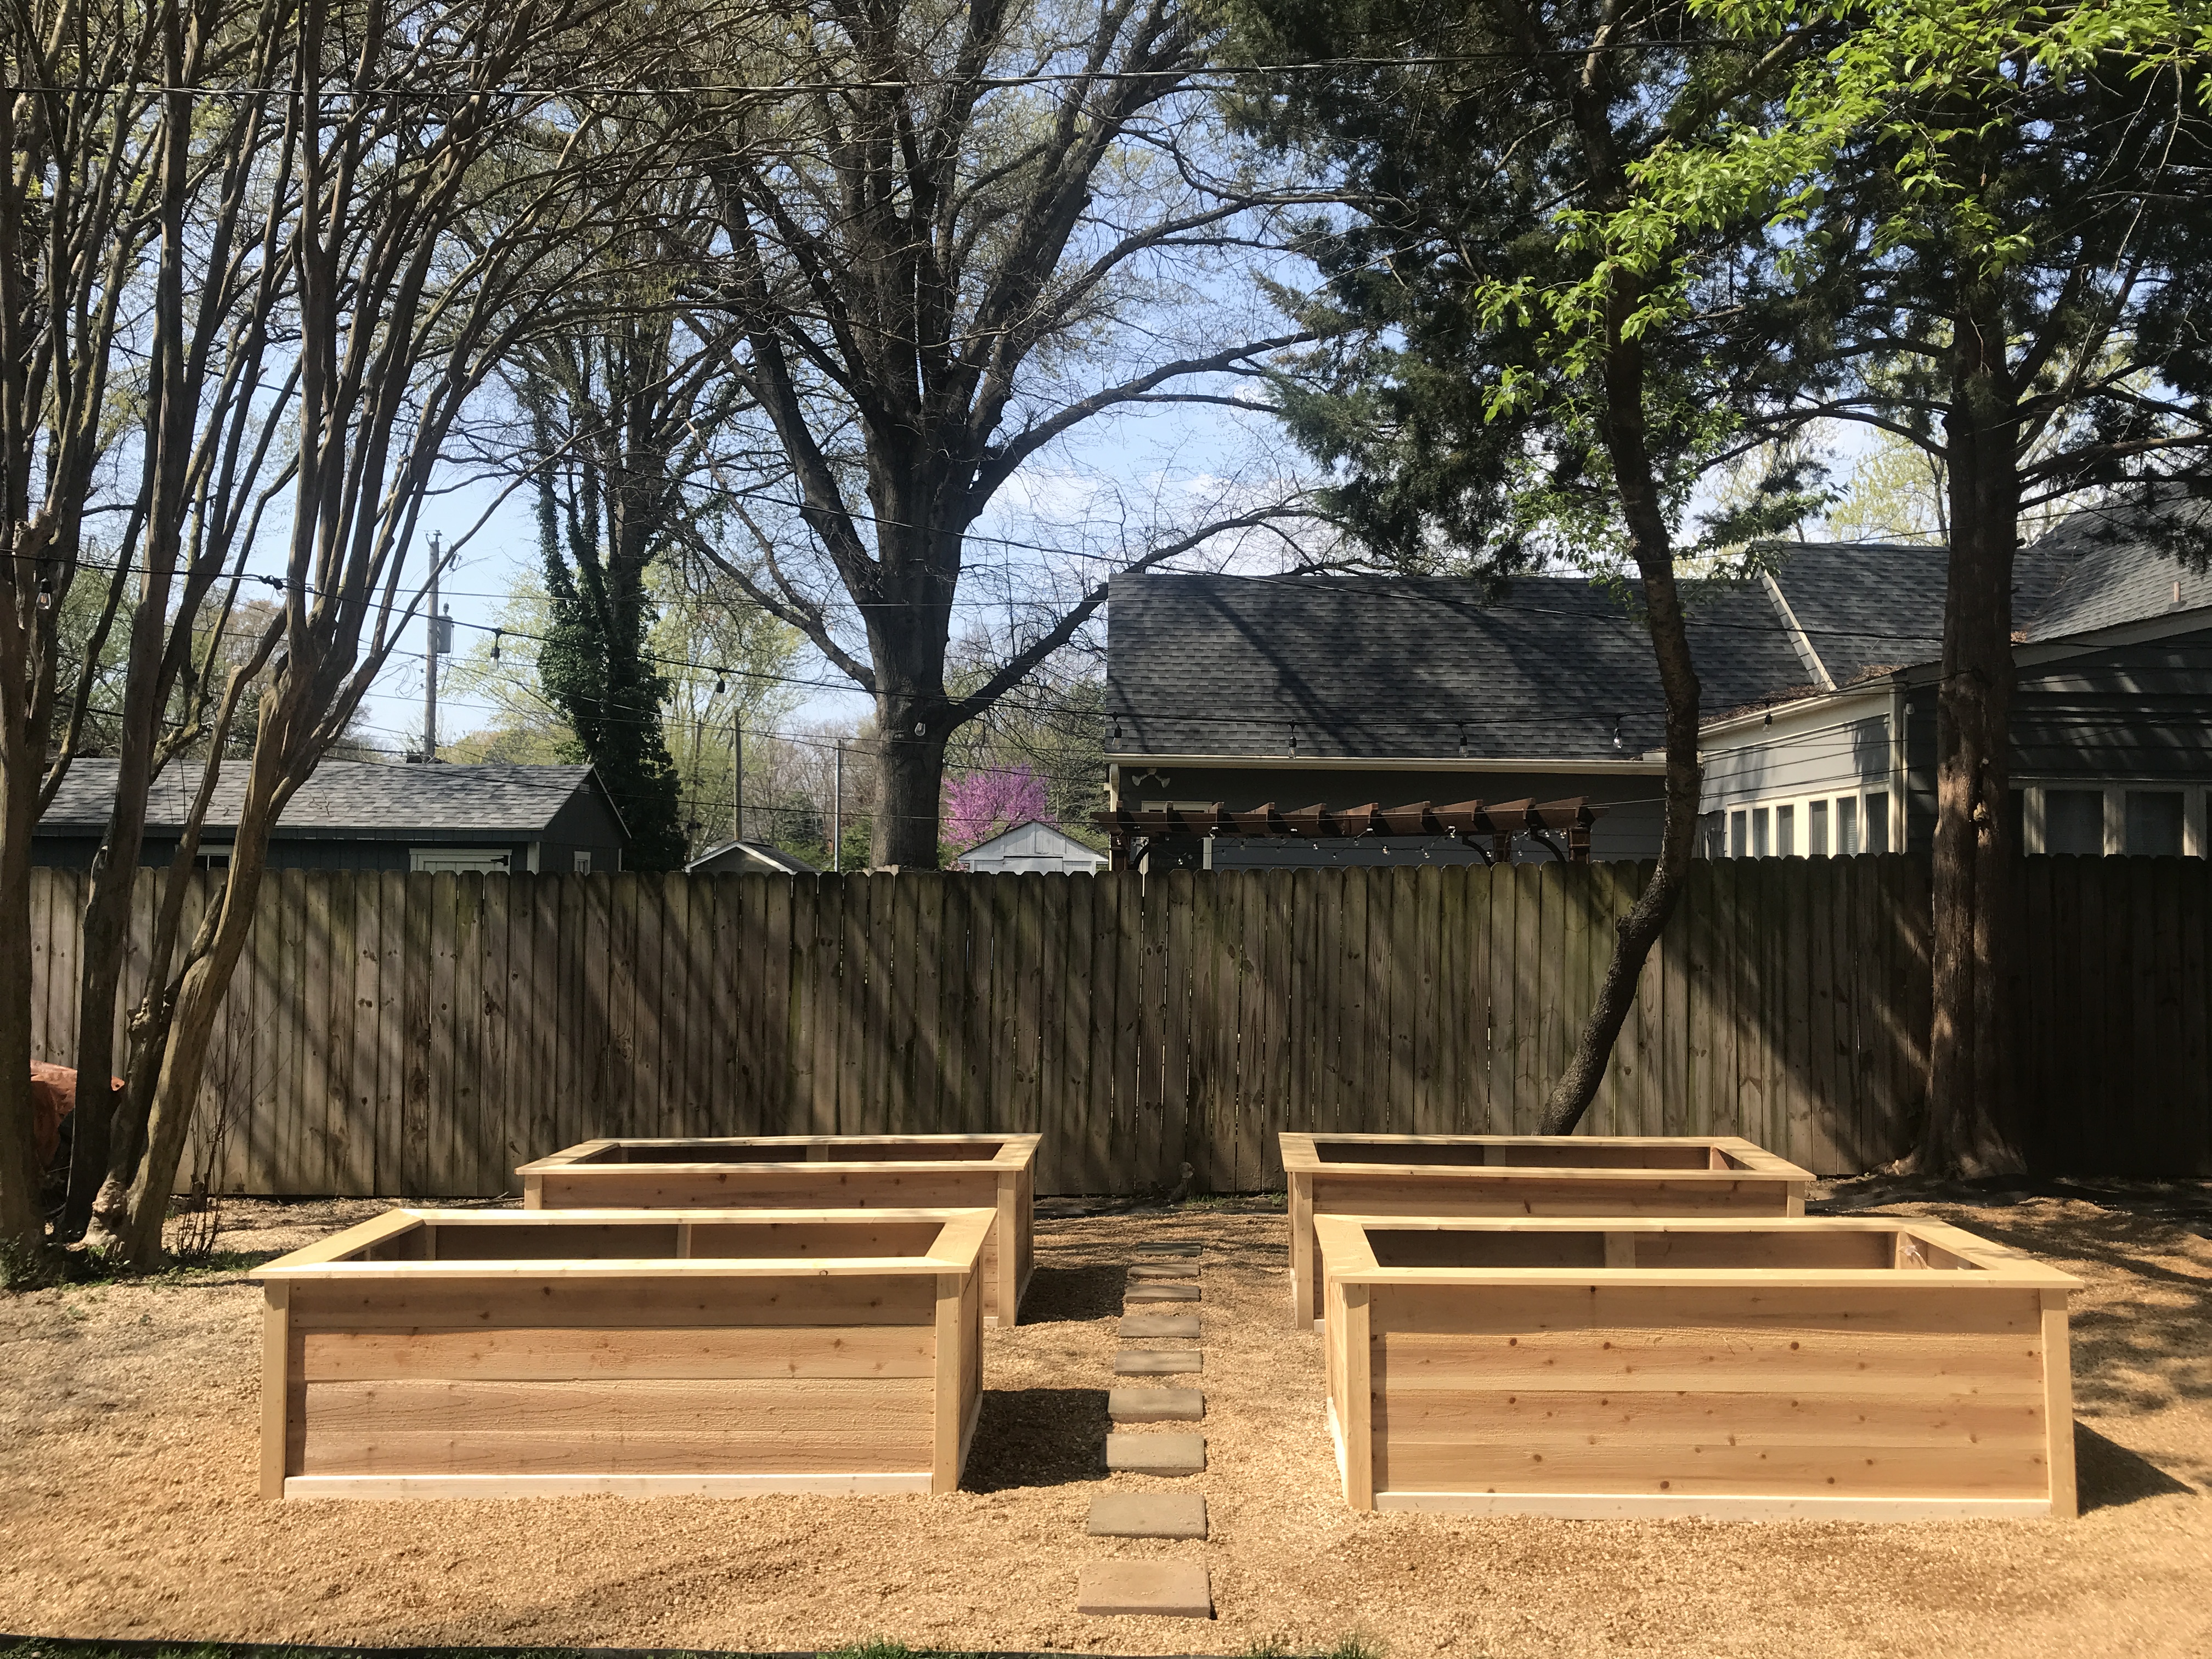
- Gravel: If you prefer a gravel patio, you will need to determine the quantity of gravel needed to cover the desired area. Ensure you choose the appropriate size and type of gravel for stability.
- Wooden Stakes: These are essential for marking and outlining the patio area.
- String: Use string to create a guideline when marking the patio area.
- Marking Paint: This will help you accurately mark the shape and size of the patio area.
- Landscape Fabric: A fabric barrier that prevents weed growth and keeps the area tidy.
- Gravel Stabilizer Grid (optional): If you choose a gravel patio, using a stabilizer grid will help keep the gravel in place and prevent it from shifting.
- Tools: Common tools you may need include a shovel, rake, level, wheelbarrow, hand tamper, and a masonry saw (if working with pavers or bricks).
- Finishing Touches: Depending on your preferences, you may also need additional materials such as outdoor furniture, planters, lighting, or decorative elements to complete your cheap patio.
Make sure to calculate the quantity of materials needed accurately to avoid unnecessary wastage or extra trips to the store. It’s also a good idea to research local suppliers or online sources to compare prices and find the best deals on the required materials for your cheap patio.
Consider using inexpensive materials such as gravel, concrete pavers, or recycled bricks for your patio. These materials are cost-effective and easy to install, making them a great option for creating a cheap patio.
Read more: Cheap Patio Paver Ideas for Your Home
Picking the Right Patio Flooring
The choice of flooring for your cheap patio plays a significant role in its overall aesthetic appeal and functionality. Consider these options to find the perfect flooring that suits your budget and style:
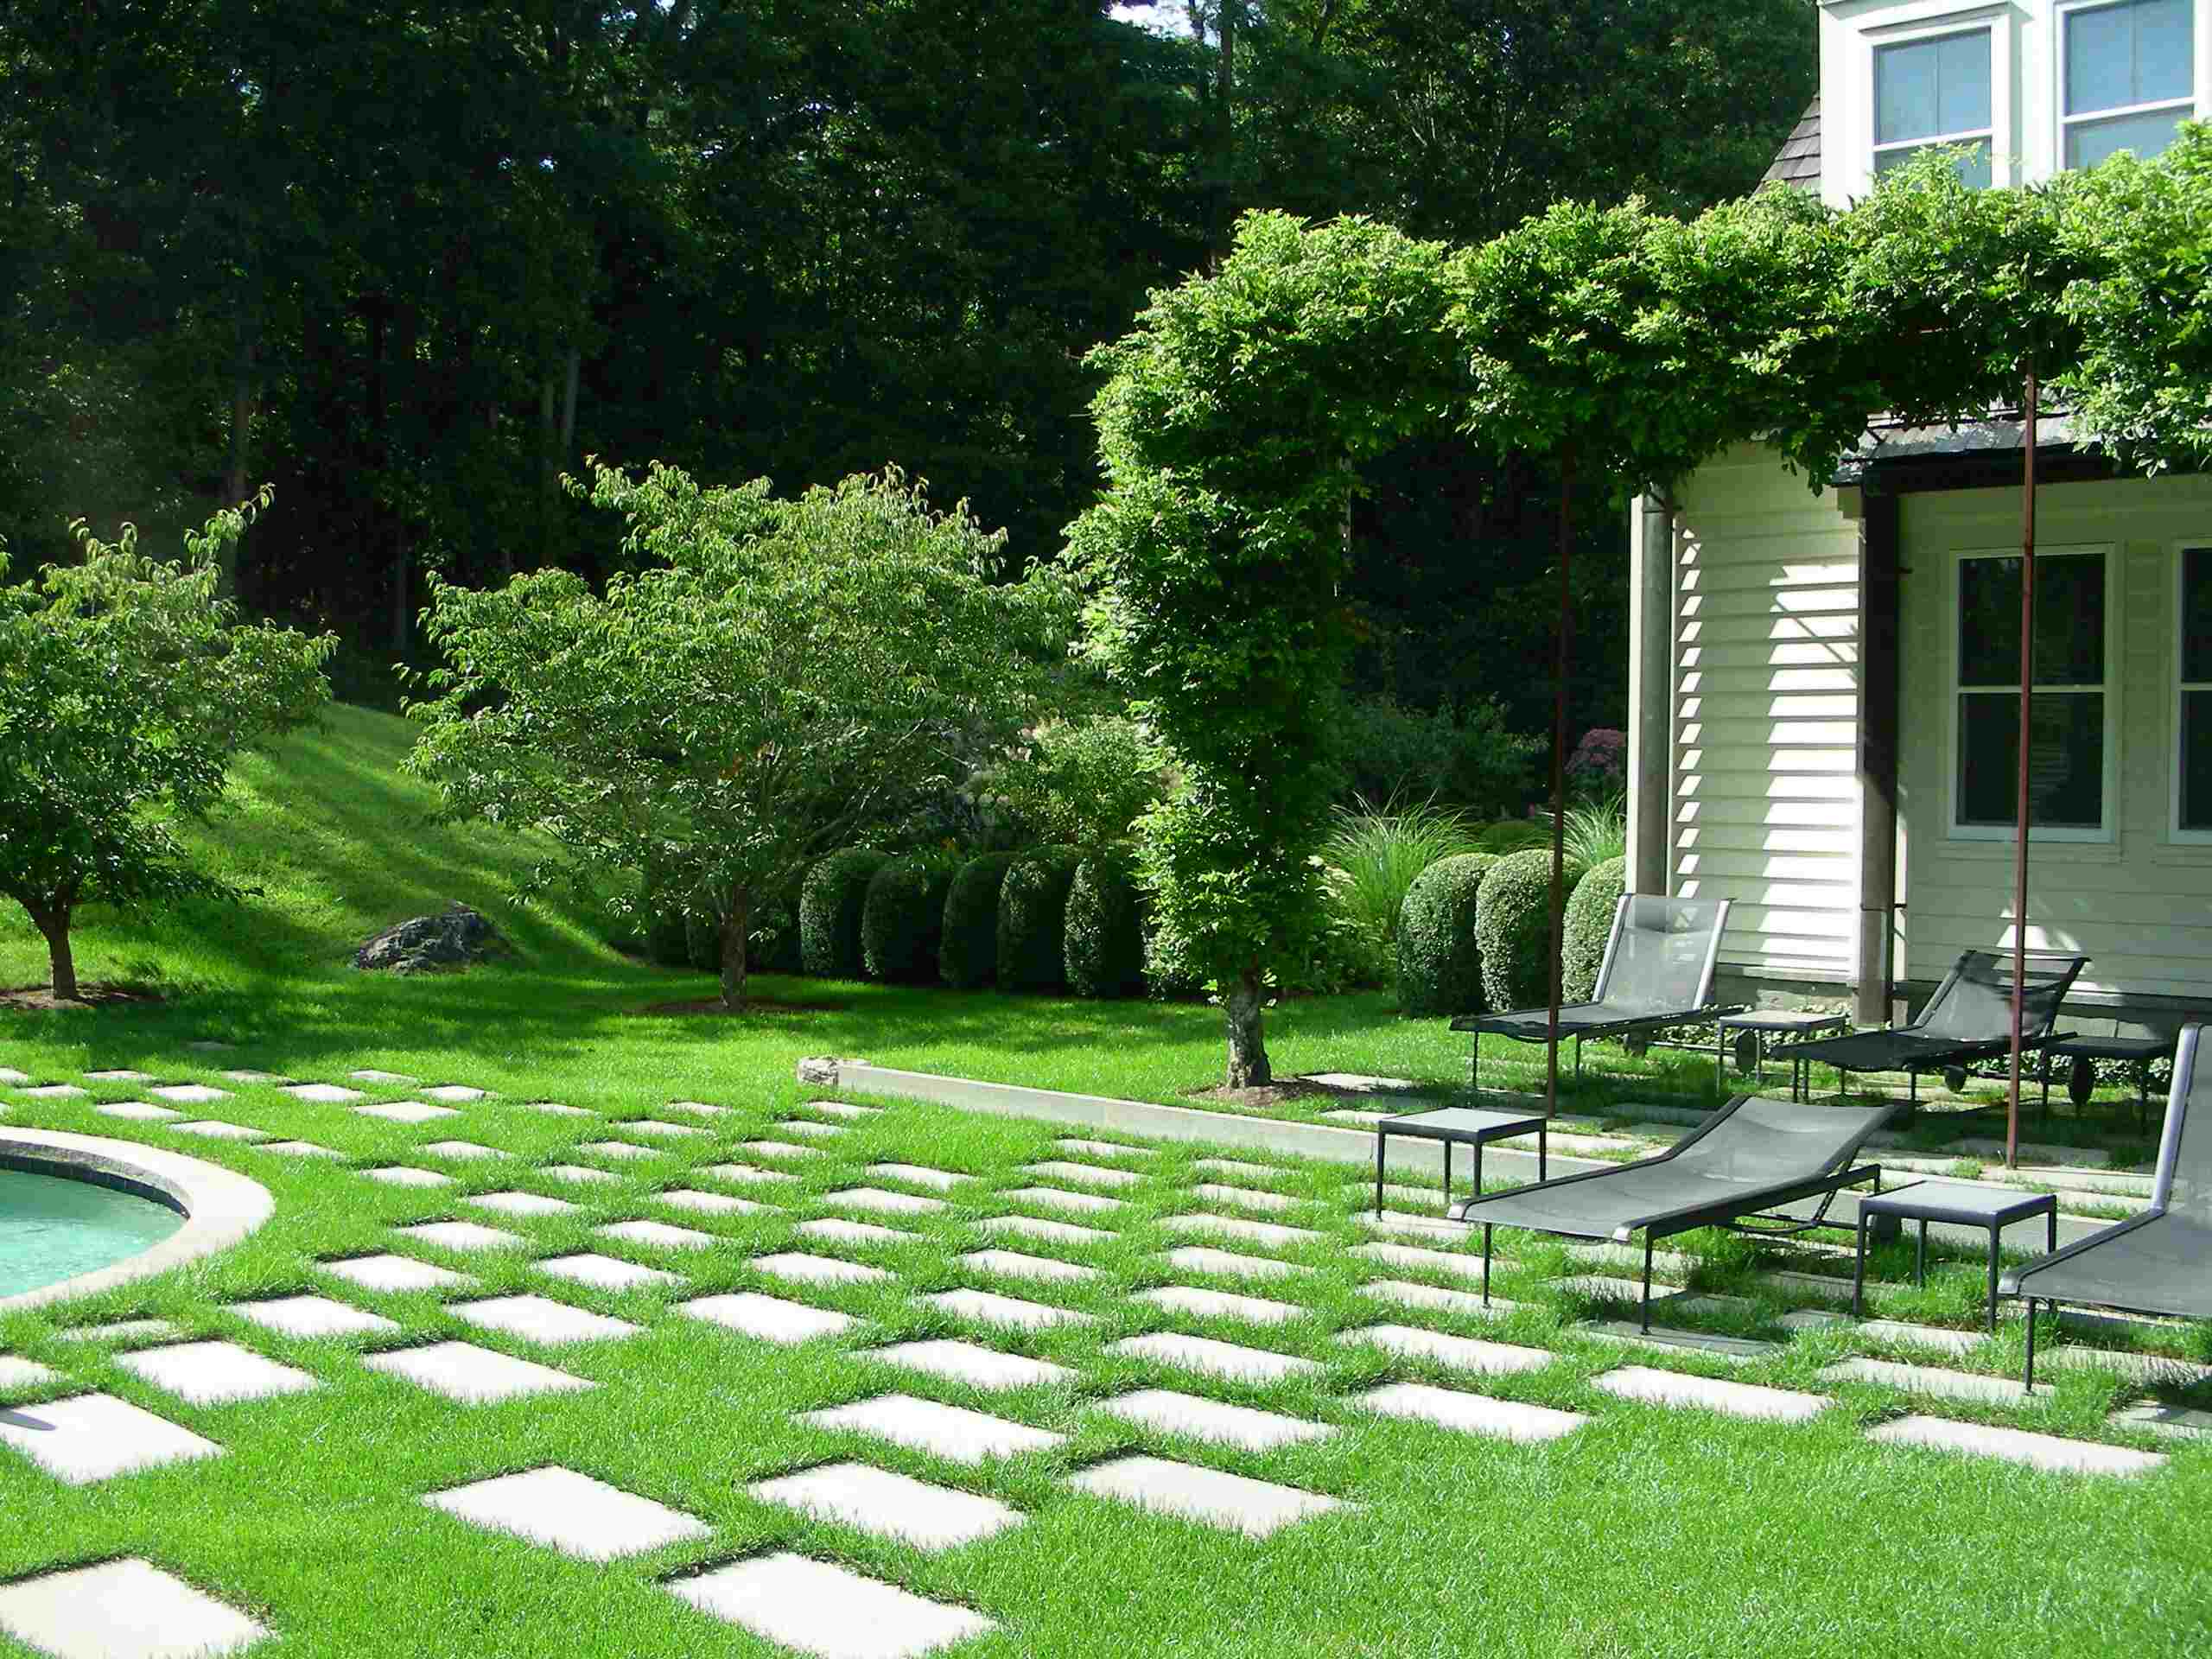
- Concrete Pavers: Concrete pavers are a popular and cost-effective choice for patios. They are available in various shapes, sizes, and colors, allowing for versatile design options. Concrete pavers are durable, low maintenance, and can create a sleek and modern look for your patio.
- Gravel: Gravel is a budget-friendly option that can add a rustic and natural touch to your patio. It’s relatively easy to install and offers excellent drainage. However, keep in mind that gravel may require occasional raking and upkeep to prevent displacement and ensure a level surface.
- Crushed Stone: Similar to gravel, crushed stone provides a casual, natural aesthetic and good drainage. It offers more stability and a firmer surface compared to regular gravel.
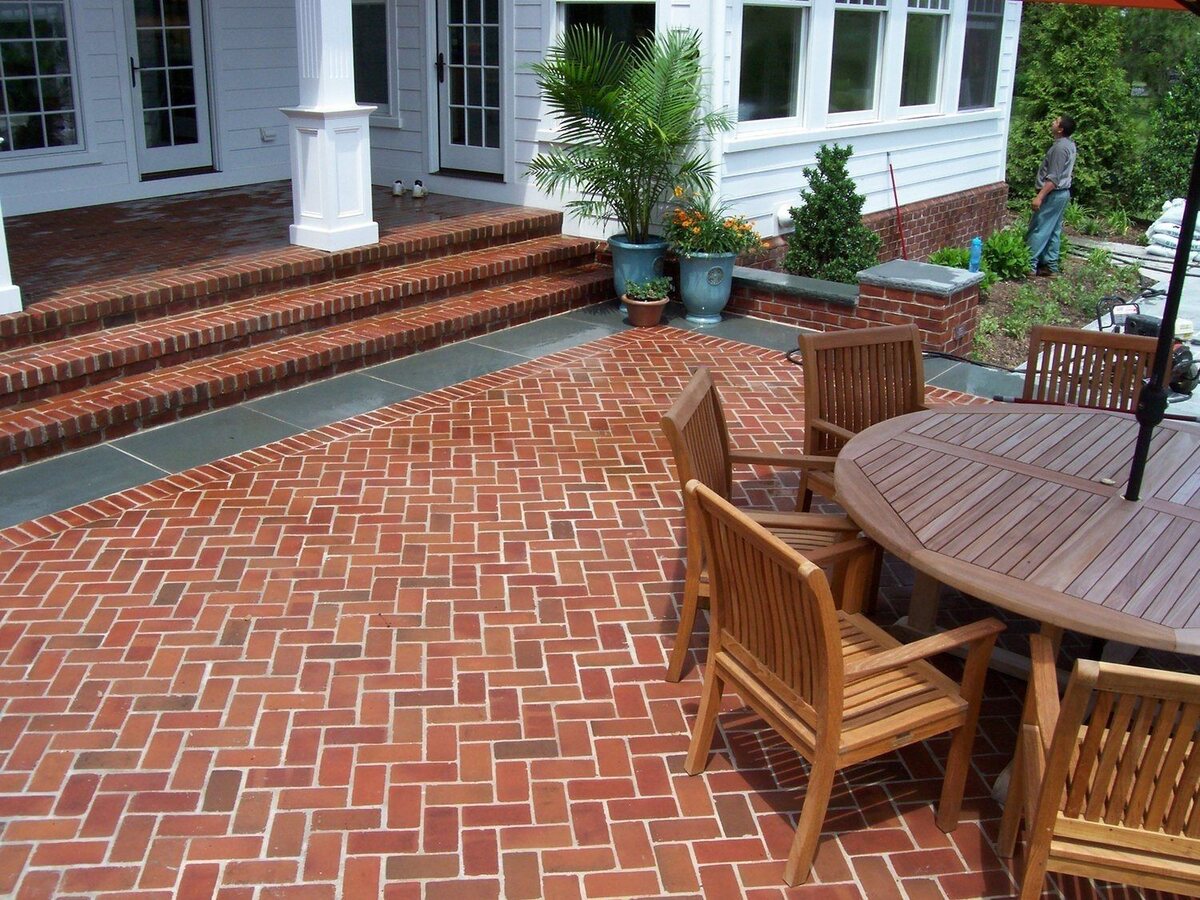
- Reclaimed Bricks: If you’re looking for a charming and vintage look, consider using reclaimed bricks for your patio flooring. These bricks lend a timeless appeal and can often be sourced at a lower cost from salvage yards or construction sites.
- Recycled Materials: You can get creative by repurposing materials such as wooden pallets, cinder blocks, or even old concrete stepping stones. This not only saves money but also reduces waste and adds a unique touch to your patio.
When selecting your patio flooring, consider factors such as durability, maintenance requirements, and how well it complements your overall design vision. It’s also important to take into account the climate and weather conditions in your area, as some materials may be better suited for specific environments.
Don’t be afraid to mix and match different flooring options to create a custom look. For example, you can use concrete pavers for the main patio area and incorporate gravel or crushed stone for pathways or decorative borders. This allows you to add visual interest and variation to your cheap patio.
Ultimately, the right patio flooring choice will depend on your personal preferences, budget, and the desired ambiance you want to create in your outdoor space.
Installing the Patio Flooring
Now that you have chosen the perfect flooring material for your cheap patio, it’s time to start the installation process. Follow these steps to lay down the patio flooring:
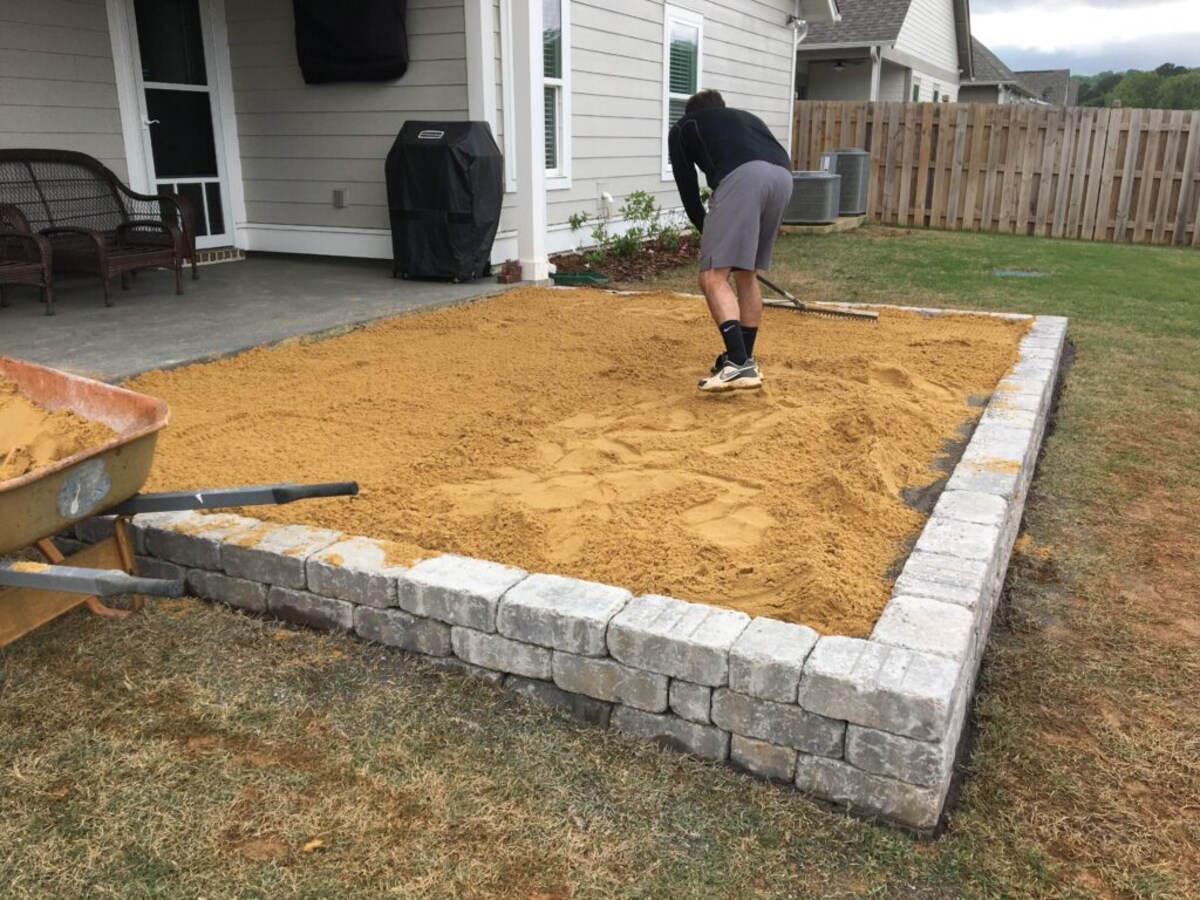
- Prepare the Base: Before laying down any flooring material, ensure that the ground is properly cleared and leveled. If necessary, add a layer of compacted gravel or sand to create a firm base for your patio.
- Layout the Flooring: Start by positioning the first piece of flooring in one corner of the patio area. If using concrete pavers or bricks, leave a small gap between each piece for stability and expansion. If using gravel or crushed stone, spread a layer of material evenly across the entire patio area.
- Level the Flooring: Use a level to ensure that each piece of flooring is even and flat. Adjust the height or add/remove material as needed to achieve a uniform surface.
- Secure the Flooring: Depending on the flooring material, you may need to secure it in place. For concrete pavers or bricks, use landscape adhesive or sand to fill the gaps between them and create a stable structure. If using gravel or crushed stone, compact the material with a hand tamper or roller to prevent shifting.
- Finishing Touches: Once the main flooring is installed, consider adding any additional features or elements to enhance the look and functionality of your patio. This could include installing edging or borders, adding decorative accents, or incorporating outdoor furniture and plants.
It’s important to follow any specific instructions or guidelines provided by the manufacturer for your chosen flooring material. This will ensure proper installation and longevity of your patio flooring.
During the installation process, take breaks to step back and assess the progress. Make any necessary adjustments to maintain a consistent and visually pleasing layout. Don’t rush the installation – take your time to ensure each piece of flooring is properly positioned and level.
Remember, the installation of your patio flooring is a crucial step in creating a durable and attractive outdoor space. With careful planning and attention to detail, you’ll soon have a beautiful cheap patio that you can enjoy for years to come.
Adding Finishing Touches
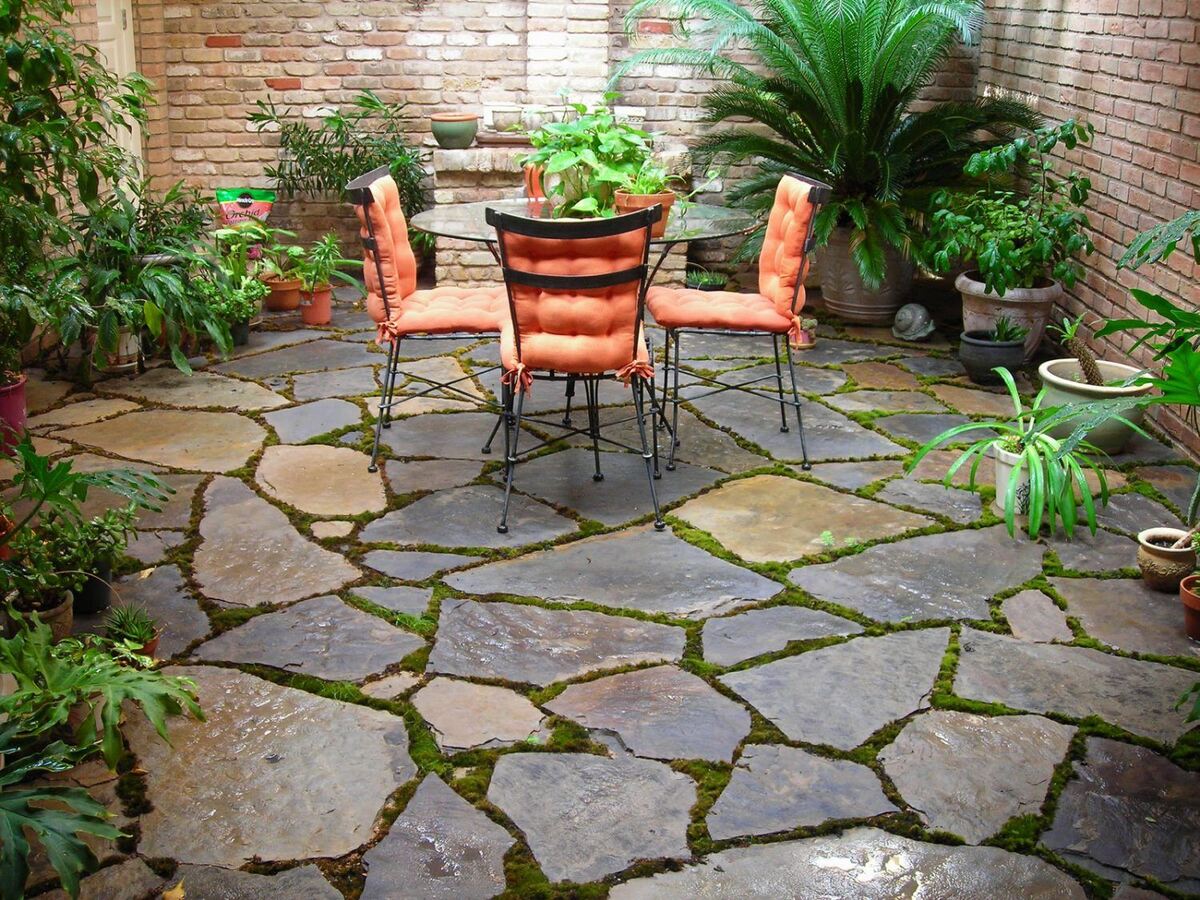
After installing the flooring for your cheap patio, it’s time to add the finishing touches to complete the transformation of your outdoor space. These final details will help elevate the overall look and make your patio more inviting and enjoyable. Here are some ideas to consider:
- Outdoor Furniture: Choose comfortable and weather-resistant furniture that suits your style and accommodates the intended use of your patio. Whether you opt for a cozy seating area, a dining set, or a combination of both, make sure the furniture is durable and properly scaled for the available space.
- Cozy Accessories: Enhance the comfort and ambiance of your cheap patio by adding cushions, throw blankets, and outdoor rugs. These cozy accessories can make your patio feel like an extension of your indoor living space.
- Greenery and Plants: Incorporate plants and greenery to bring life and freshness to your patio. Choose potted plants or plant them directly in the ground if space allows. Consider using a mix of flowering plants, shrubs, and even small trees to add visual interest and create a serene atmosphere.
- Outdoor Lighting: Install outdoor lighting to extend the usability of your cheap patio into the evening hours. Use solar-powered string lights, lanterns, or pathway lights to create a warm and inviting ambiance. Proper lighting will not only enhance the aesthetic appeal of your patio but also provide safety and security.
- Decorative Elements: Personalize your patio by adding decorative elements such as outdoor artwork, sculptures, or wind chimes. Incorporate items that reflect your personal style and create a unique atmosphere.
- Shade Solutions: If your patio lacks natural shade, consider adding a pergola, umbrella, or retractable awning. These structures provide protection from the sun and add a stylish architectural element to your outdoor space.
- Outdoor Cooking Area: If you enjoy grilling and outdoor cooking, consider including a barbecue grill or outdoor kitchen setup. This will allow you to entertain guests and prepare meals conveniently in your cheap patio.
Remember to strike a balance when adding finishing touches to your patio. Avoid overcrowding the space and ensure that the elements you choose complement each other. Keep in mind the overall aesthetics and functionality of your patio to create a cohesive and welcoming environment.
With the right finishing touches, your cheap patio will be transformed into a beautiful and functional outdoor retreat that you can enjoy year-round.
Maintaining Your Cheap Patio
Regular maintenance is key to keeping your cheap patio looking its best and ensuring its longevity. By following these maintenance tips, you can preserve the beauty and functionality of your outdoor space:
- Cleaning: Regularly sweep or use a leaf blower to remove debris, leaves, and dirt from your patio. For harder to remove stains or grime, you can use a mild detergent mixed with water and a scrub brush. Avoid using harsh chemicals or power washers, as they can damage the flooring material.
- Weed Control: Keep an eye out for any weed growth on your patio and promptly remove them before they take root. Pull out the weeds manually or use a weed killer product that is safe for your type of patio flooring.
- Inspect for Damage: Periodically check for any signs of damage or wear and tear on your patio flooring. Look for cracks, loose pavers, or any other issues that may affect the stability or safety of the patio. Address any necessary repairs promptly to prevent further damage.
- Sealing: If you have a patio made of materials such as concrete or natural stone, consider applying a sealant every few years. This will protect the surface from stains and weathering, extending its lifespan and keeping it looking fresh.
- Protective Measures: Use protective measures to prevent damage to your patio. Place furniture glides or rubber pads under the legs of chairs and tables to avoid scratching the flooring. Use coasters or trays under planters to prevent water stains or marks.
- Mind the Climate: Be mindful of the climate in your area and adapt your patio maintenance accordingly. In cold climates, take measures to protect your patio from ice and snow buildup. In hot and dry climates, consider providing shade for your patio to prevent excessive heat and sun damage.
- Regular Inspections: Make it a habit to regularly inspect your patio for any signs of drainage issues, water pooling, or any structural problems. Addressing these issues early on can save you from more extensive repairs down the line.
By implementing these maintenance practices, your cheap patio will remain in top condition and continue to be a delightful outdoor space for you to enjoy and relax in.
Remember, regular care and attention will not only preserve the appearance and functionality of your patio but also extend its lifespan, ensuring that you get the most out of your investment.
Read more: How To Make A Cheap Swimming Pool
Conclusion
Creating a cheap patio doesn’t mean compromising on style, comfort, or functionality. With careful planning, thoughtful choices, and some DIY efforts, you can transform your outdoor space into a beautiful and inviting retreat without breaking the bank.
Throughout this article, we have explored the essential steps and considerations in making a cheap patio. From choosing the perfect location to selecting the right flooring material and adding the finishing touches, each stage plays a vital role in creating your ideal outdoor oasis.
By measuring and marking the area accurately, clearing and leveling the ground, and carefully selecting your patio flooring, you can lay a solid foundation for your inexpensive patio. Adding the finishing touches, such as outdoor furniture, plants, and lighting, will further enhance its appeal and make it a space you can truly enjoy and be proud of.
Remember, maintenance is key to preserving the beauty and longevity of your cheap patio. Regular cleaning, weed control, and inspections will keep your patio looking its best and ensure its durability over time.
So, why wait? Embrace your creativity, take advantage of budget-friendly materials, and start building your dream cheap patio today. Enjoy the benefits of outdoor relaxation, entertainment, and the fresh air right in your own backyard.
Transform your outdoor space into a haven while being mindful of your budget. With a little effort and imagination, your cheap patio can become the perfect escape for spending quality time with family and friends or simply enjoying some peace and tranquility as you soak up the beauty of the outdoors.
Frequently Asked Questions about How To Make A Cheap Patio
Was this page helpful?
At Storables.com, we guarantee accurate and reliable information. Our content, validated by Expert Board Contributors, is crafted following stringent Editorial Policies. We're committed to providing you with well-researched, expert-backed insights for all your informational needs.

0 thoughts on “How To Make A Cheap Patio”