Home>Furniture>Outdoor Furniture>How To Make A Tile Patio Table
Outdoor Furniture
How To Make A Tile Patio Table
Modified: March 7, 2024
Learn how to make a stunning tile patio table for your outdoor furniture. Transform your patio into an inviting space with this DIY project.
(Many of the links in this article redirect to a specific reviewed product. Your purchase of these products through affiliate links helps to generate commission for Storables.com, at no extra cost. Learn more)
Introduction
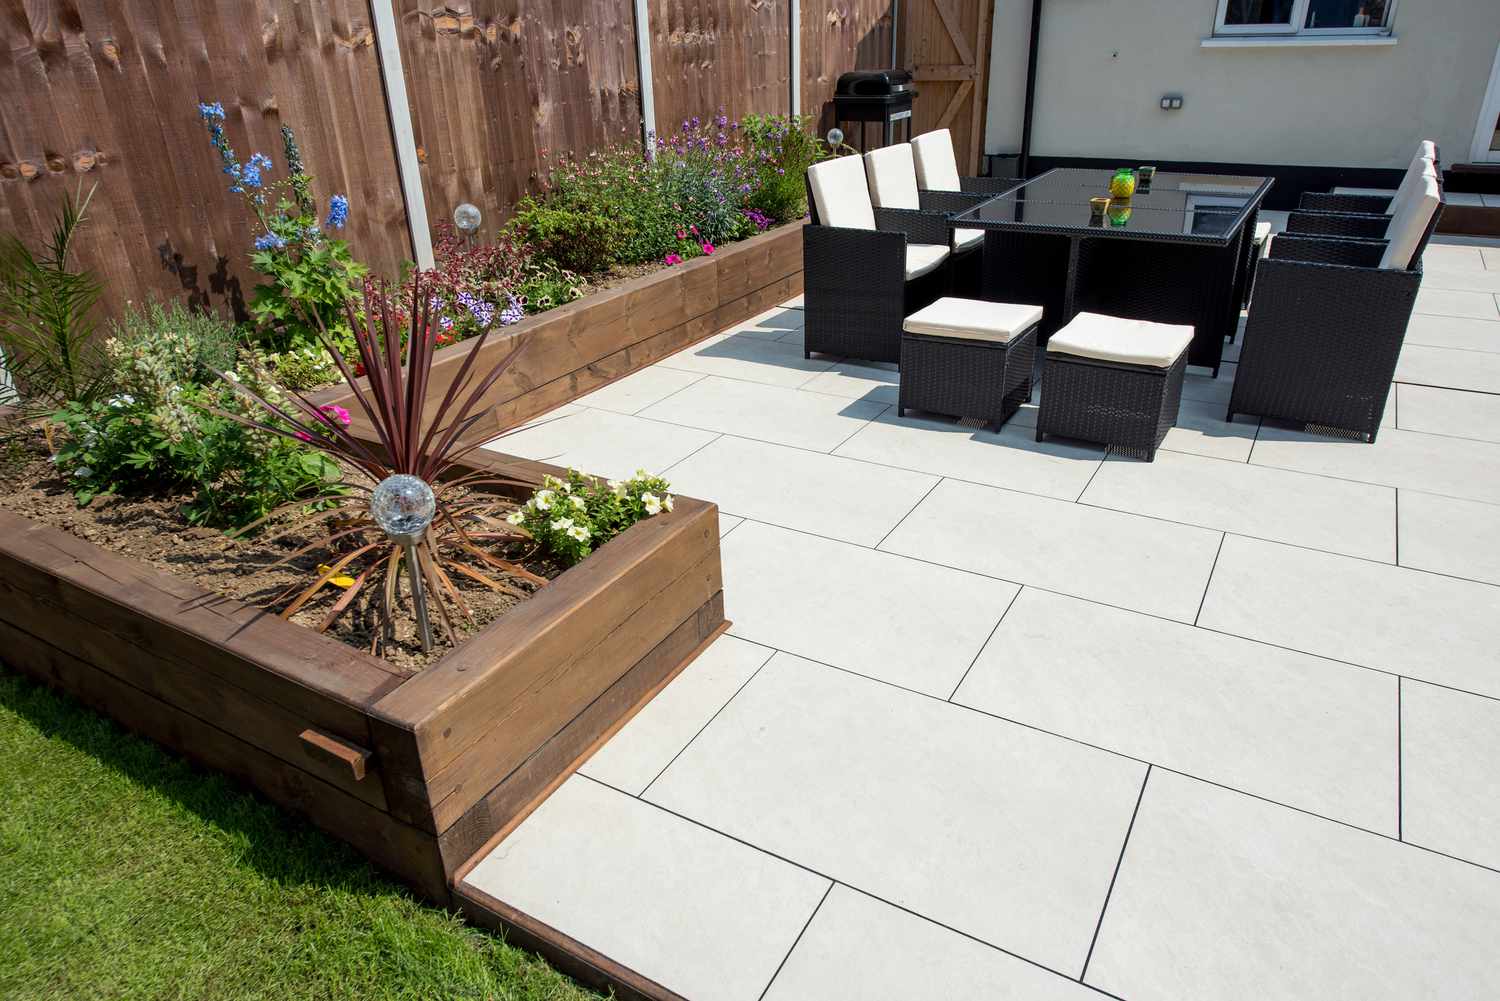
Creating a tile patio table is a fantastic way to add a touch of elegance and functionality to your outdoor space. Whether you want to enjoy a cup of coffee in the morning or host a gathering with friends and family, a tile patio table provides the perfect surface for all your outdoor activities.
Not only does a tile patio table enhance the aesthetics of your outdoor area, but it also offers durability and resilience. With proper care and maintenance, your tile patio table can withstand the harsh elements and last for years to come.
Building your own tile patio table allows you to customize the design to suit your personal style and requirements. From choosing the type of tiles to constructing the table base, each step gives you the opportunity to showcase your creativity and create a unique piece of furniture.
In this comprehensive guide, we will take you through the step-by-step process of creating your very own tile patio table. You’ll learn about the materials needed, the construction process, and important finishing touches to ensure your table is not just functional, but also visually appealing.
So, let’s roll up our sleeves and get ready to embark on this exciting DIY project that will transform your outdoor space into a stylish and inviting haven.
Key Takeaways:
- Create a personalized tile patio table to add elegance and functionality to your outdoor space. Enjoy the DIY process and showcase your creativity with custom tile choices and table base design.
- Protect your tile patio table by sealing the tiles and grout to maintain its beauty and durability. Regular maintenance will ensure your table remains a stylish and functional centerpiece in your outdoor area.
Read more: How To Tile A Patio
Materials Needed
Before we dive into the construction process, let’s gather all the necessary materials you will need to create your tile patio table:
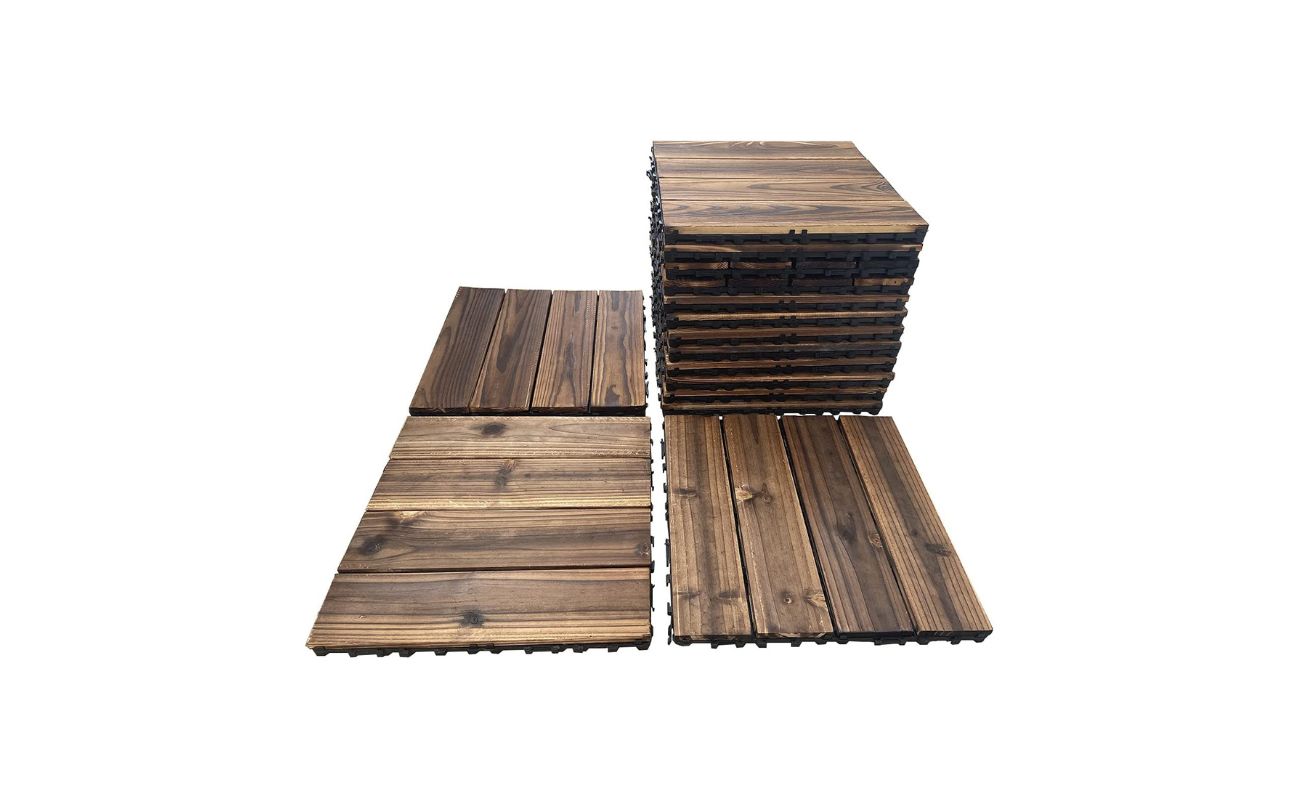
- Table base: This can be made of wood, metal, or any sturdy material of your choice. Ensure it is the appropriate size and height for your desired table dimensions.
- Tile adhesive: Choose a high-quality adhesive suitable for outdoor use. Ensure it is compatible with the type of tiles you have selected.
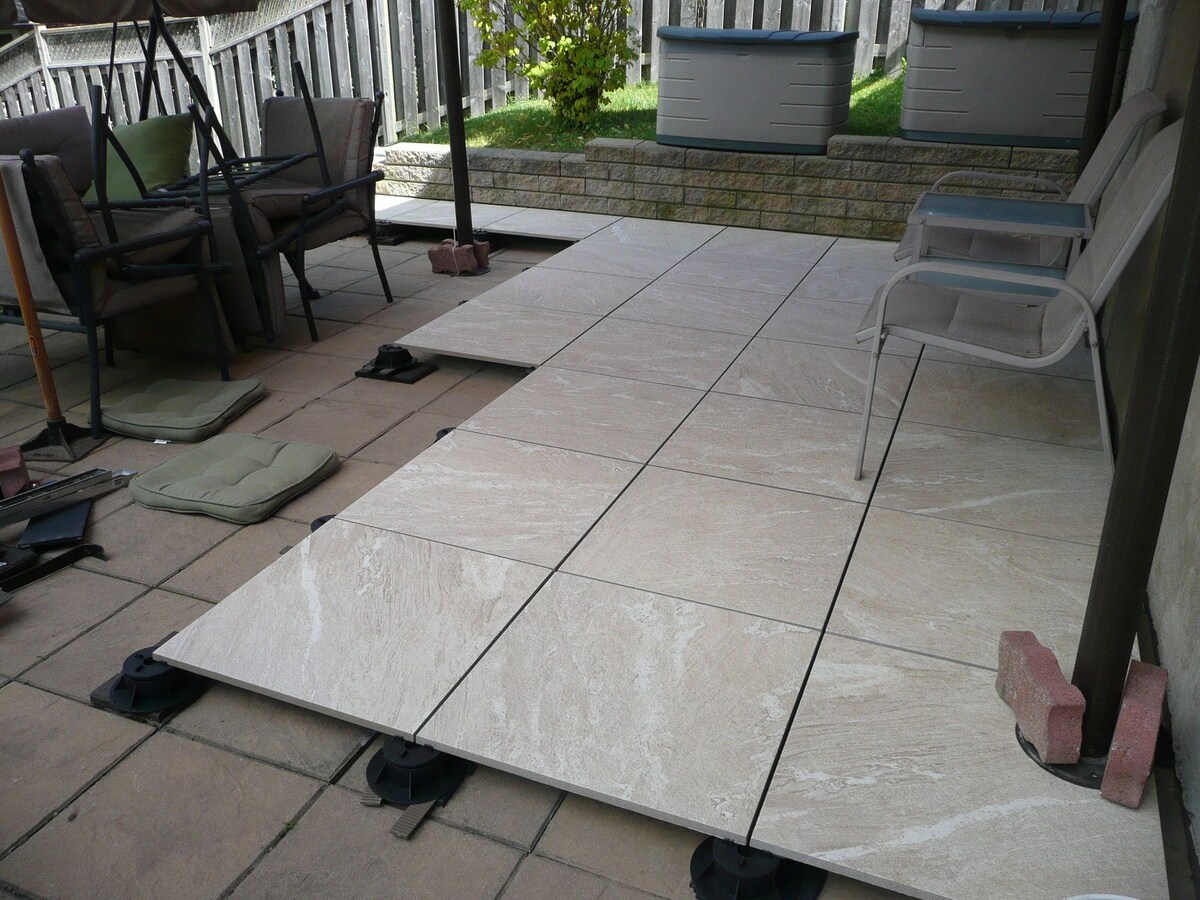
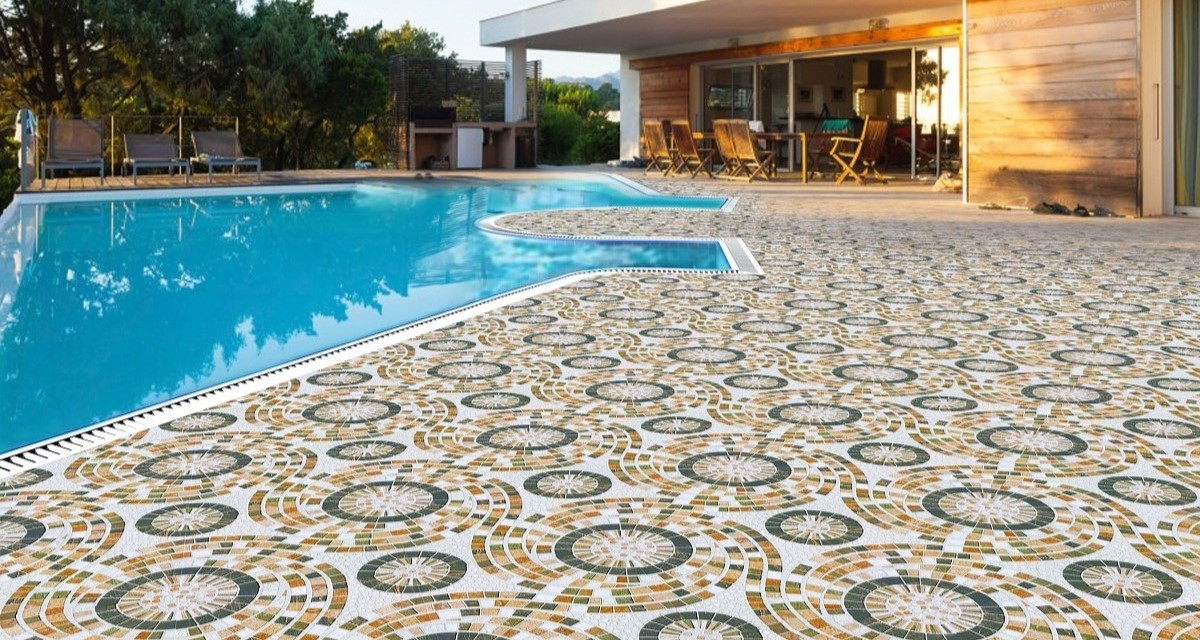
- Outdoor tiles: Opt for tiles specifically designed for outdoor applications. Consider the size, shape, color, and pattern that best complements your outdoor decor.
- Tile spacers: These small plastic pieces help maintain consistent spacing between tiles, ensuring a professional-looking finish.
- Grout: Select a weather-resistant grout that matches or complements the color of your tiles.
- Grout float: This tool is essential for spreading and leveling the grout across the tile surface.
- Grout sponge: Used to wipe away excess grout and clean the tiles after grouting.
- Sealer: To protect the tiles and grout from stains, dirt, and moisture, choose a quality outdoor tile sealer.
- Paint and brushes (if desired): If you wish to paint the table base or add any decorative elements, gather the appropriate paint colors and brushes.
- Measuring tape
- Saw (if necessary)
- Screwdriver or drill
- Sandpaper
- Protective gloves
- Safety glasses
It’s essential to gather all these materials before starting the project to ensure a smooth and uninterrupted construction process. Remember to choose high-quality materials that can withstand outdoor conditions for long-lasting results.
Step 1: Prepare the Tiles
Before you begin assembling the tile patio table, it’s crucial to prepare the tiles properly. This step ensures that the tiles are clean, smooth, and free from any debris or imperfections that could affect their adhesion to the table top.
Here’s how you can prepare the tiles:
- Inspect each tile: Carefully examine each tile for cracks, chips, or other imperfections. Remove any damaged tiles and replace them with new ones.
- Clean the tiles: Use a mild cleaner and a soft cloth or sponge to clean the tiles. Remove any dirt, dust, or grease that may be present on the surface. Allow the tiles to dry completely before proceeding.
- Smooth rough edges: If any edges of the tiles are rough or uneven, gently sand them using fine-grit sandpaper. This will create a smooth and even surface for better adhesion.
By thoroughly inspecting, cleaning, and smoothing the tiles, you’ll ensure a solid foundation for your table top. This step is essential for achieving a professional-looking finish and ensuring the longevity of your tile patio table.
Once your tiles are prepared, you can move on to the next step: building the table base.
Step 2: Build the Table Base
Now that your tiles are prepared, it’s time to focus on building the table base. The base provides the foundation and stability for your tile patio table. The design and construction of the base will depend on your personal preferences and the style of your outdoor space.
Here’s a general guideline on how to build a table base:
- Measure and cut the wood: Start by measuring the dimensions of your desired table top. Cut the wooden boards for the base according to these measurements. Make sure to account for any additional support beams or braces.
- Assemble the table frame: Use screws or brackets to assemble the wooden boards into a sturdy frame. Ensure that the corners are square and the frame is level. Add support beams if needed for added stability.
- Add legs: Attach the legs to the corners of the table base. Legs can be made of wood, metal, or any other sturdy material of your choice. Make sure they are securely fastened to the base.
- Stain or paint (optional): If desired, you can stain or paint the table base to enhance its appearance. Choose a weather-resistant finish to protect the wood from outdoor elements.
- Allow the base to dry and cure: If you have stained or painted the base, allow it to dry and cure completely before proceeding.
When building the table base, it’s important to prioritize stability and durability. This will ensure that your tile patio table is sturdy and can withstand outdoor conditions for years to come.
Once you have completed building the table base, you can move on to the next step: attaching the tiles to the table top.
When making a tile patio table, be sure to use outdoor-rated adhesive and grout to ensure the tiles stay in place and are resistant to weather.
Step 3: Attach the Tiles to the Table Top
With the table base built, it’s time to move on to the exciting part – attaching the tiles to the table top. This step requires careful placement and adherence to ensure a secure and aesthetically pleasing finish.
Follow these steps to attach the tiles to the table top:
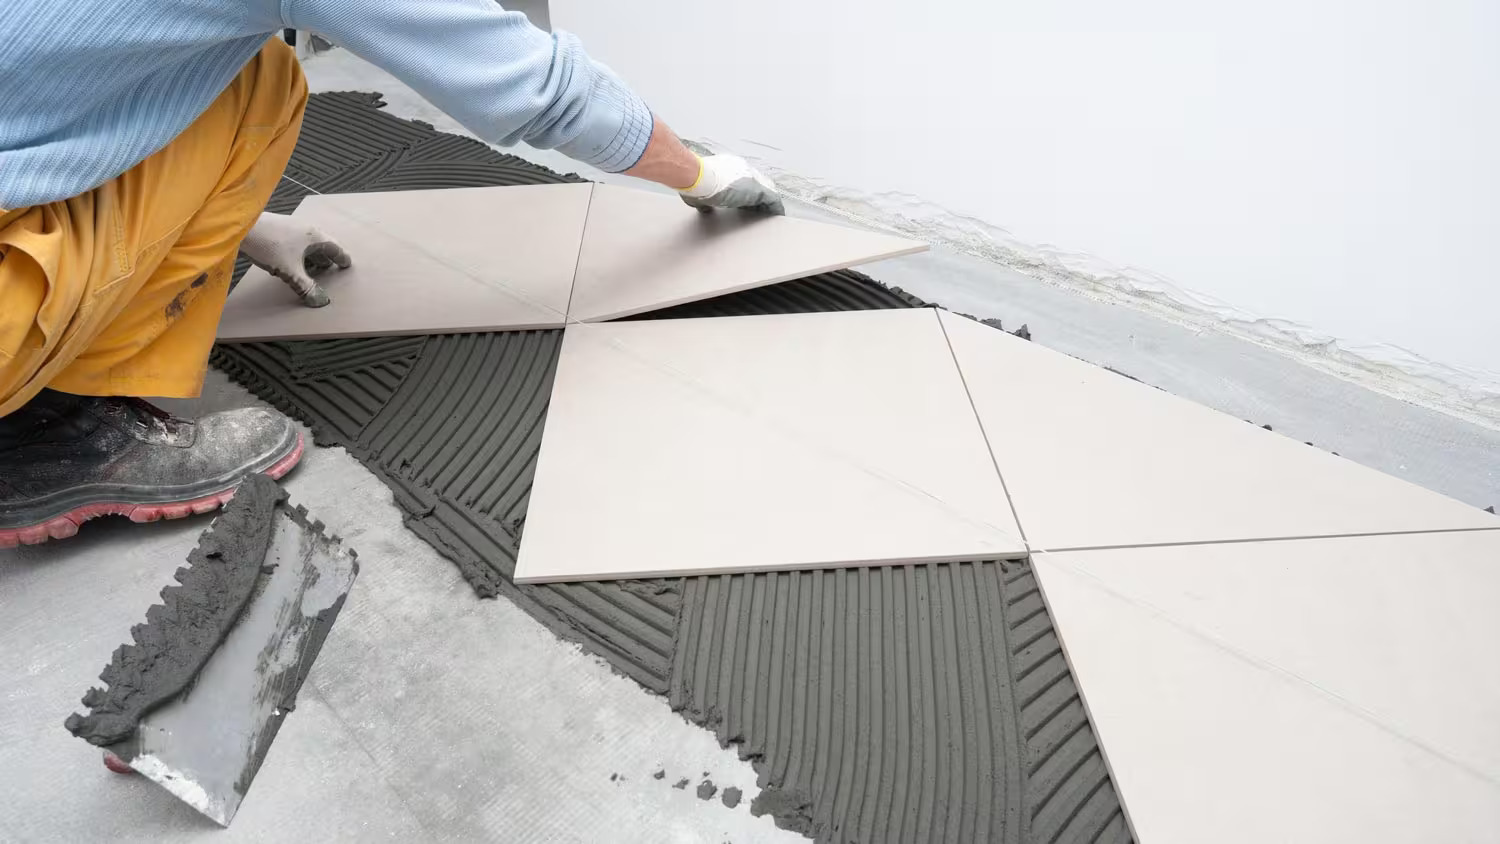
- Apply tile adhesive: Use a trowel to apply a layer of tile adhesive evenly onto the table top. Make sure the adhesive covers the entire surface area where the tiles will be placed.
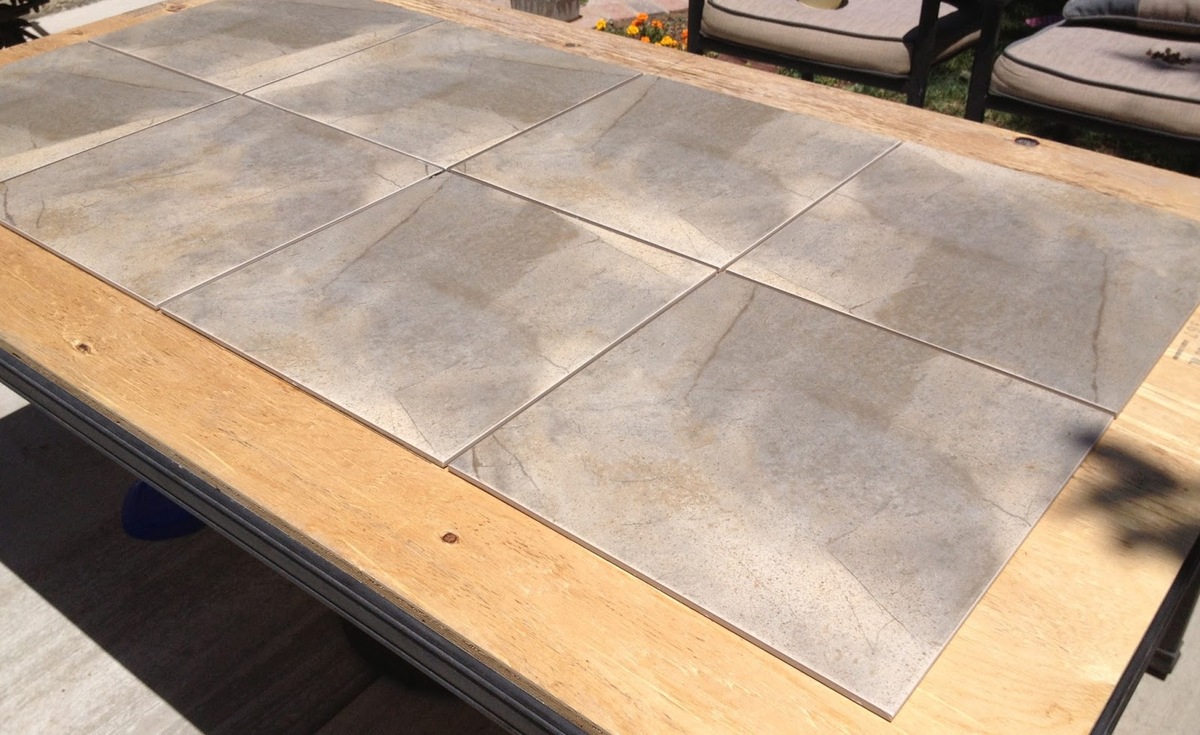
- Place the tiles: Carefully place each tile onto the adhesive, pressing down firmly to ensure proper adhesion. Use tile spacers to maintain consistent gaps between the tiles, allowing for grouting later.
- Check for level and alignment: As you place each tile, use a level to ensure they are flat and aligned with one another. Adjust as necessary to achieve a seamless and even surface.
- Remove excess adhesive: Wipe away any excess adhesive that seeps out from between the tiles using a damp cloth or sponge. This will prevent it from hardening and interfering with the grout application.
- Allow the adhesive to dry: Follow the manufacturer’s instructions regarding the drying time for the adhesive. Allow the tiles to fully adhere to the table top before moving on to the next step.
Attaching the tiles to the table top requires patience and attention to detail. Take your time to ensure each tile is properly placed and aligned for a professional-looking result.
Once the adhesive has dried and the tiles are securely attached, you can proceed to the next step: grouting the tile surface.
Read more: How To Clean Patio Tile
Step 4: Grout the Tile Surface
Now that the tiles are securely attached to the table top, it’s time to grout the surface. Grouting not only fills the gaps between the tiles but also adds strength and stability to the overall structure of the table.
Follow these steps to grout the tile surface:
- Mix the grout: Prepare the grout mixture according to the manufacturer’s instructions. Use a grout float or trowel to achieve a smooth and consistent texture.
- Apply the grout: Spread the grout mixture over the tiles, making sure to push it into the gaps between them. Use the grout float to ensure even distribution and complete coverage.
- Remove excess grout: After applying the grout, use the edge of the grout float or a slightly damp sponge to remove the excess grout from the tile surface.
- Clean the tiles: Once the grout has had time to set, use a damp sponge or cloth to gently clean the tiles. Be careful not to disturb the grout lines while cleaning.
- Allow the grout to cure: Follow the manufacturer’s instructions regarding the curing time for the grout. Avoid placing any objects or applying pressure on the table during this period.
Grouting the tile surface not only enhances the appearance of your tile patio table but also strengthens the bonds between the tiles, providing durability and longevity.
After allowing the grout to fully cure, you’re almost ready to enjoy your finished tile patio table. But before that, there’s one more crucial step to complete: sealing the table to protect it from stains and damage.
Step 5: Seal the Tile Patio Table
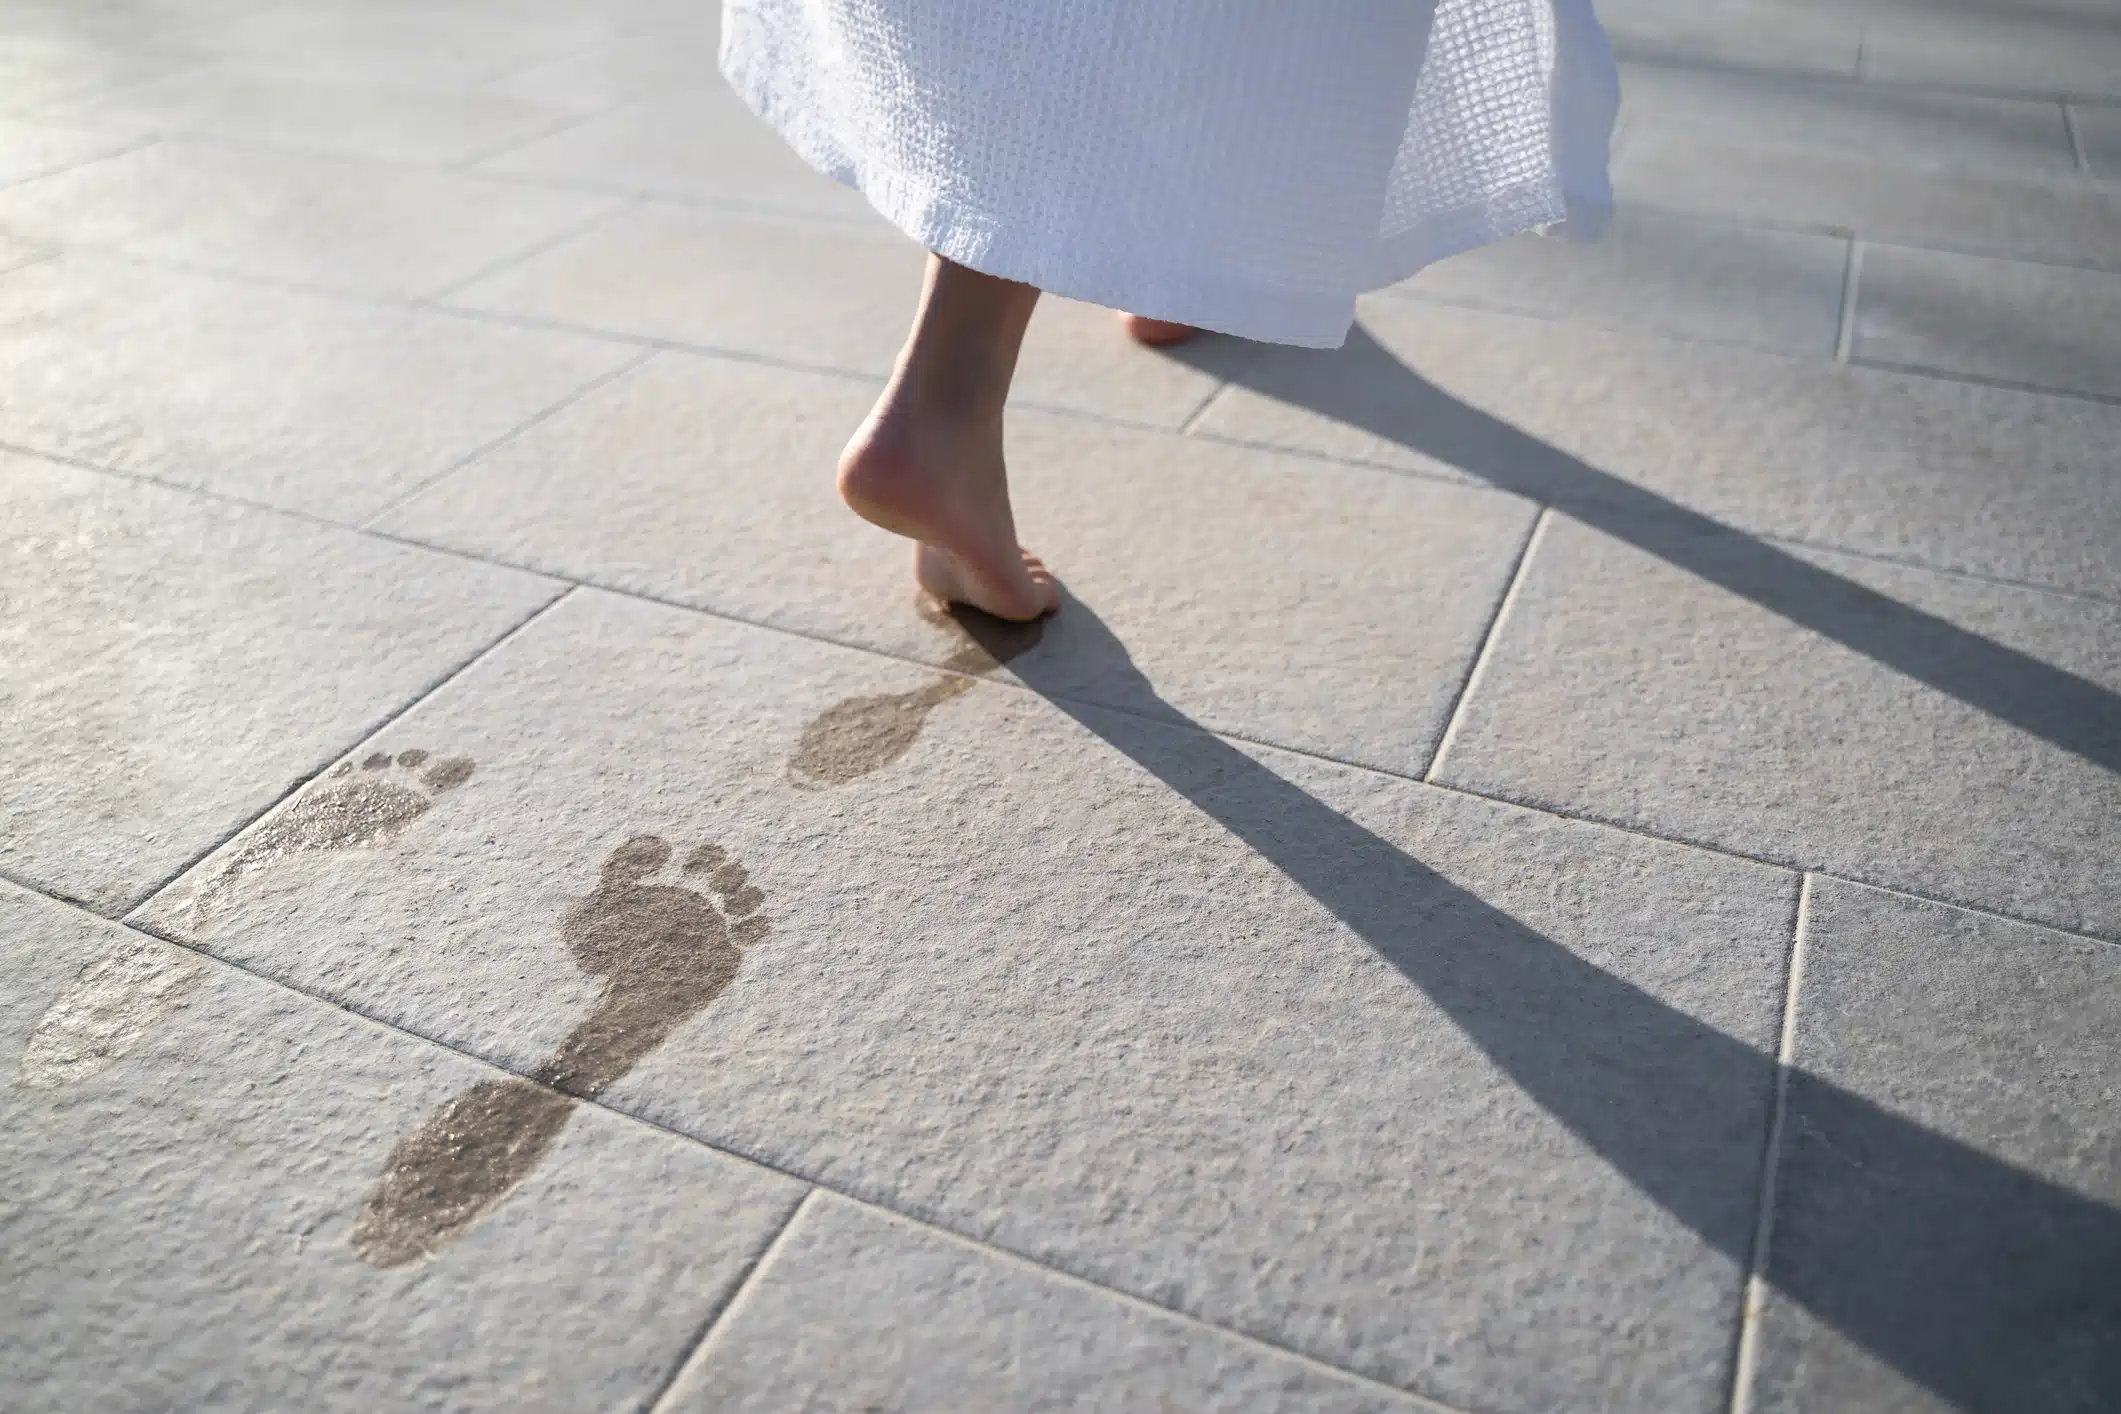
The final step in completing your tile patio table project is to seal the tiles and grout. Sealing helps protect the surface from stains, moisture, and the elements, ensuring your table maintains its beauty and functionality over time.
Here’s how to seal your tile patio table:
- Clean the surface: Before applying the sealer, make sure the tiles and grout are clean and free from any dust or debris. Use a mild cleaner and a soft cloth or sponge to gently clean the surface.
- Choose the right sealer: Select a sealer specifically designed for outdoor use and suitable for the type of tiles and grout you have used. Read the product instructions carefully to ensure proper application.
- Apply the sealer: Use a paintbrush or roller to apply a thin, even coat of sealer to the entire surface of the table, including the tiles and grout. Make sure to cover the surface completely, working in small sections if necessary.
- Allow curing time: Follow the sealer manufacturer’s instructions regarding the curing time. It is essential to allow the sealer to dry and cure properly before using the table.
- Apply additional coats (optional): Depending on the type of sealer used, you may need to apply additional coats for optimal protection. Allow each coat to dry before applying the next.
Sealing your tile patio table provides an extra layer of protection, helping to prevent stains and moisture from penetrating the surface. It also makes cleaning and maintenance easier, as dirt and spills can be wiped away more effortlessly.
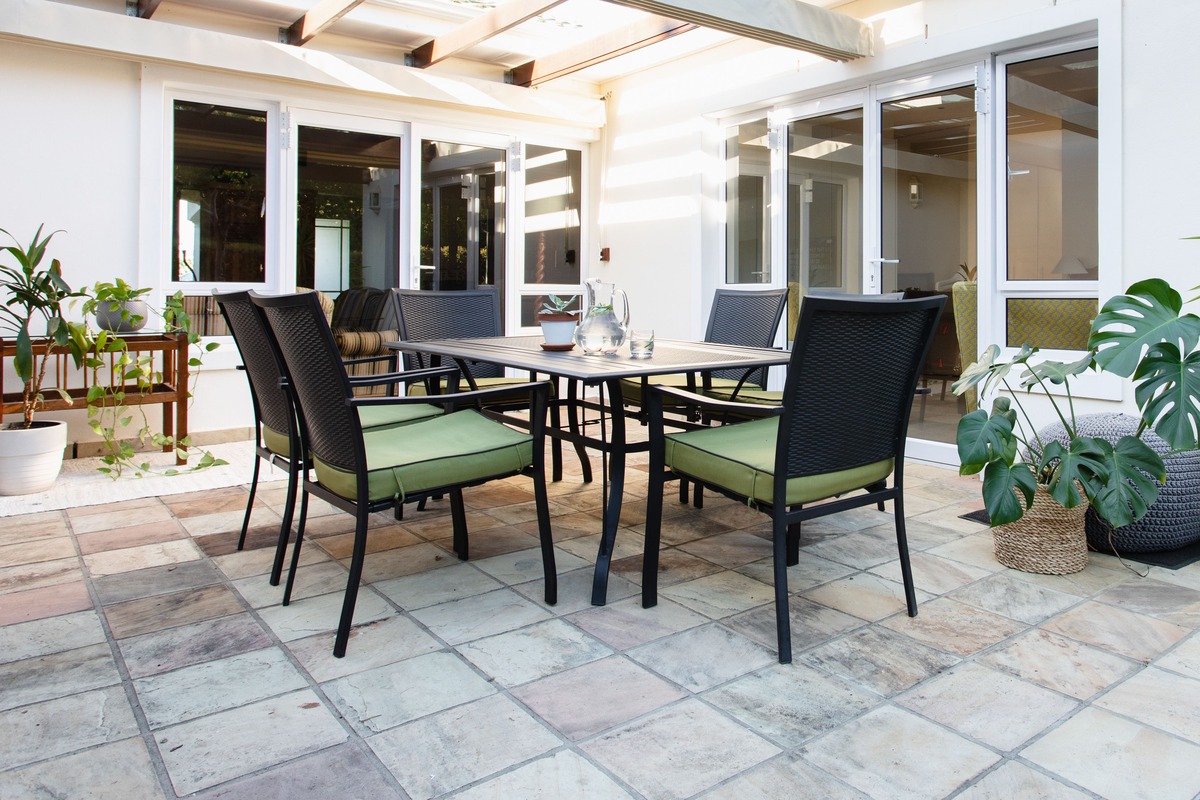
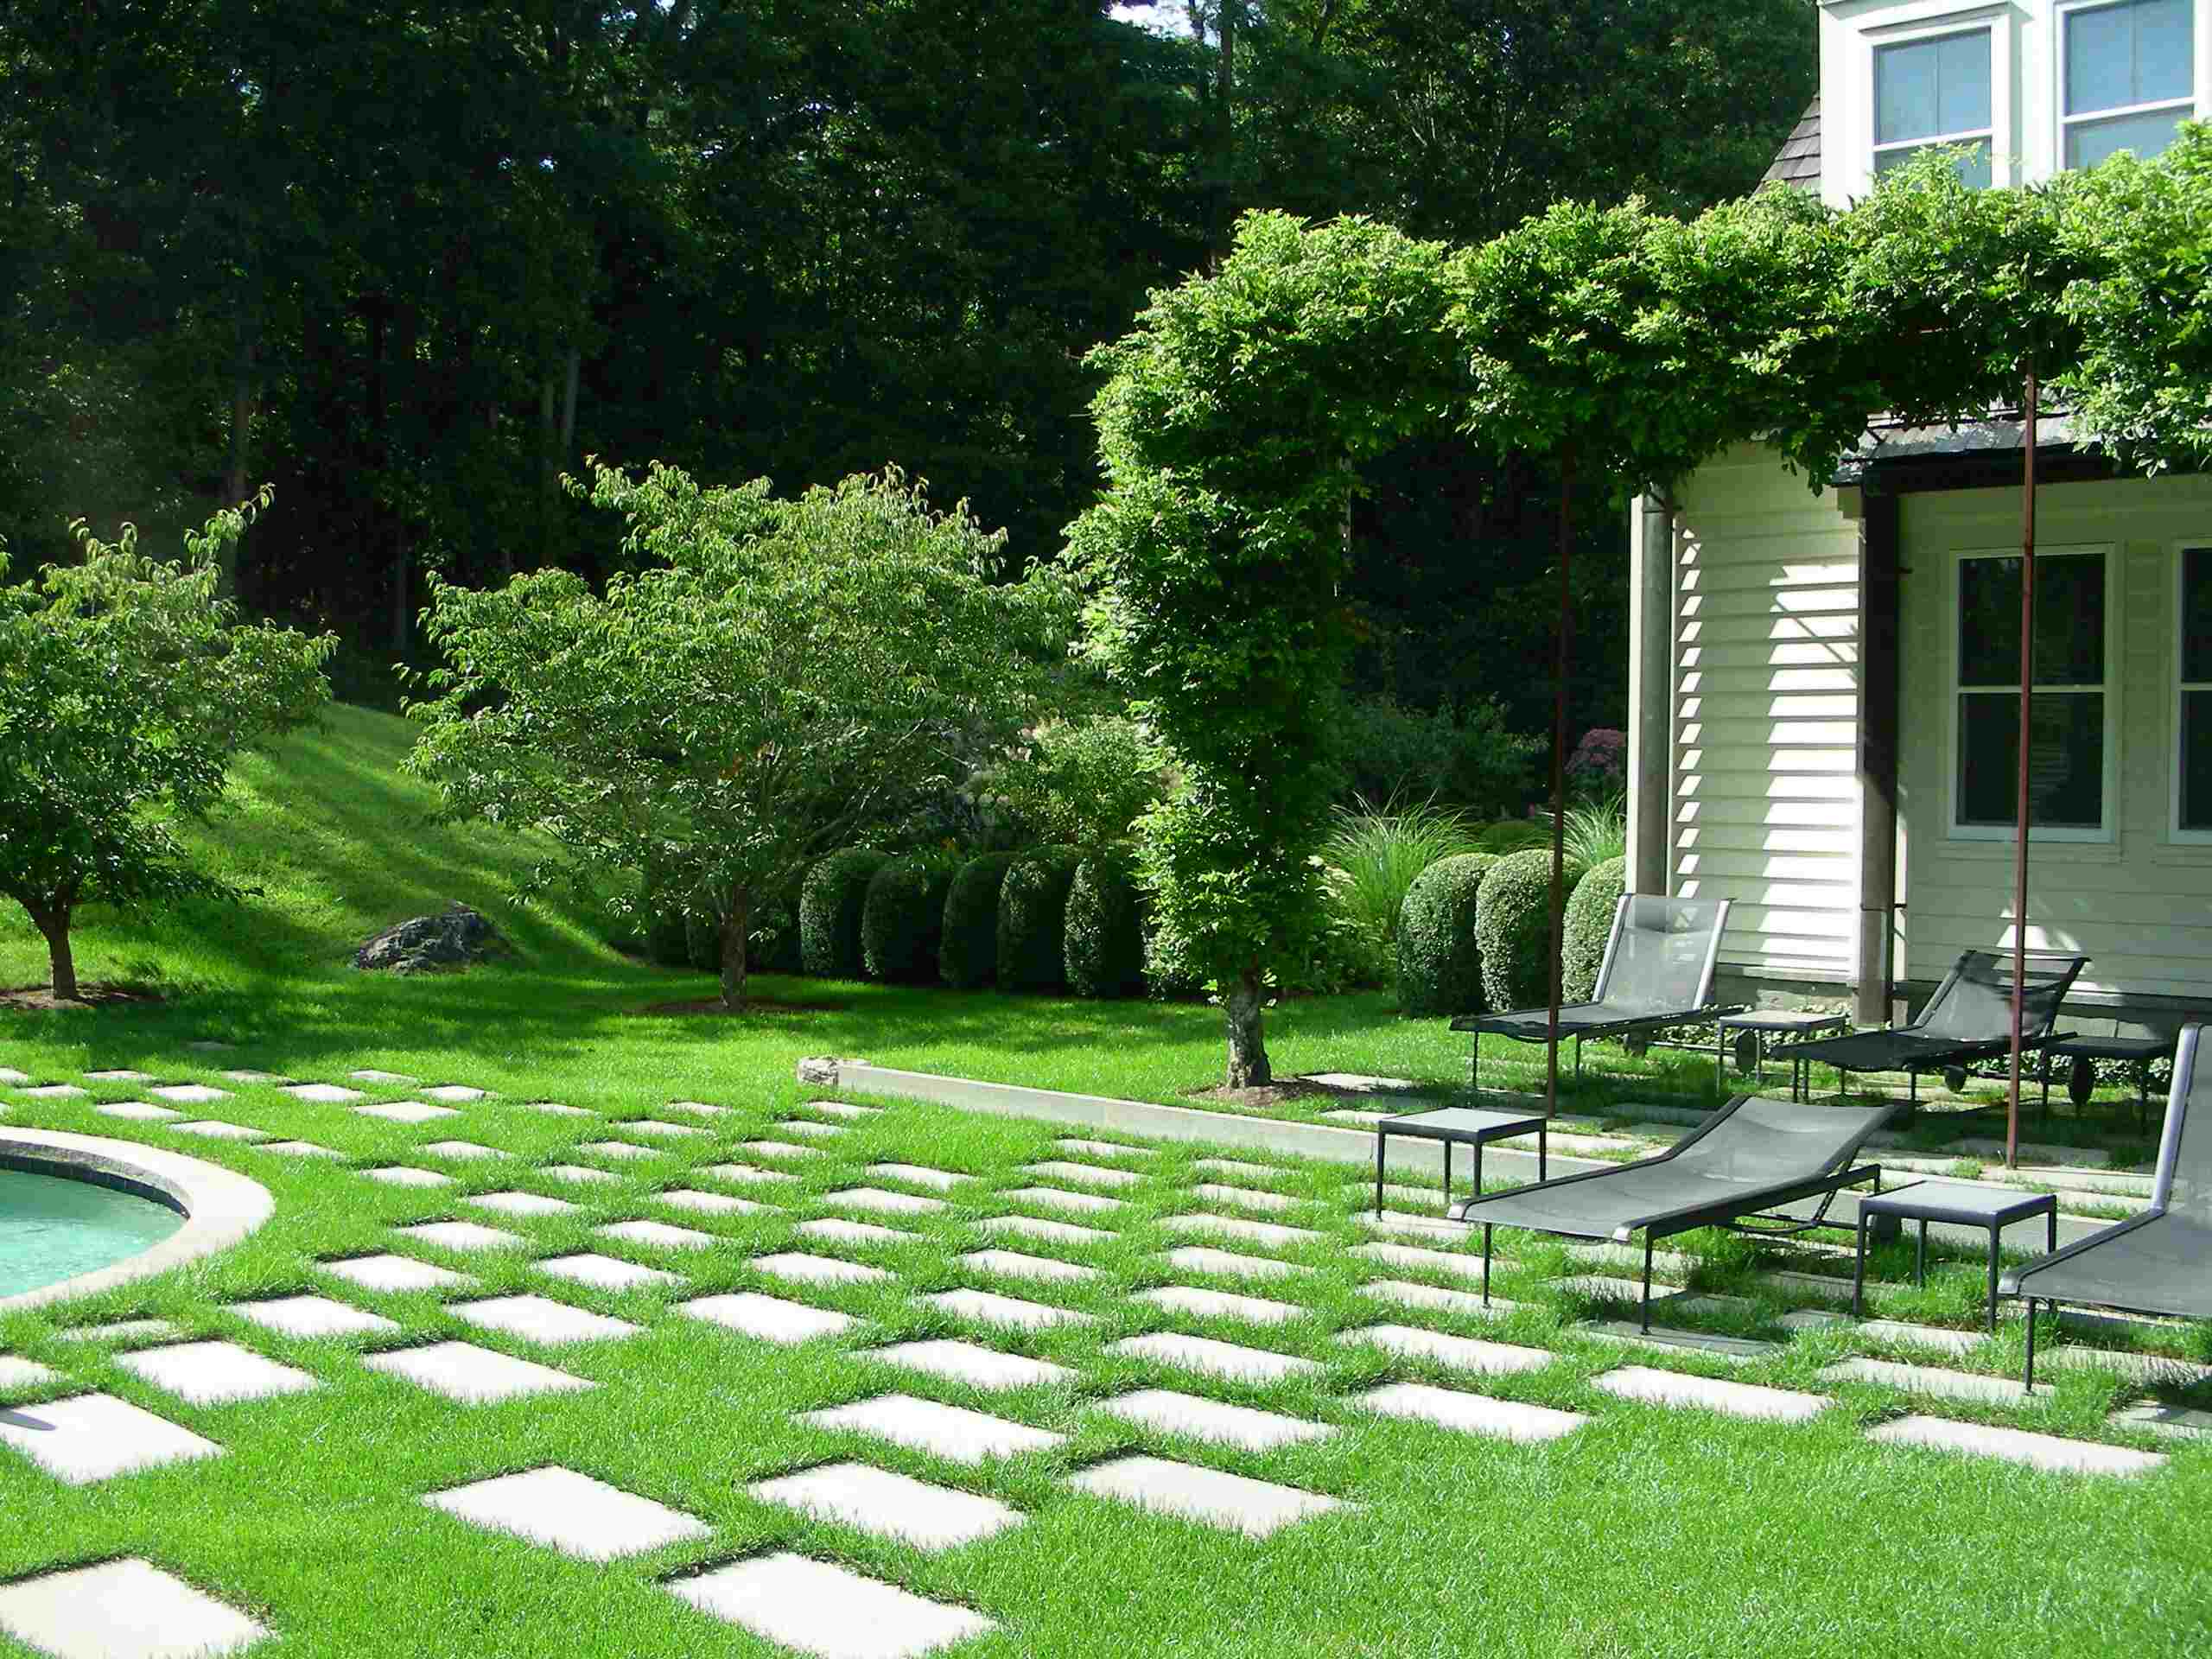
Once the sealer has fully cured, your tile patio table is ready to be enjoyed. Arrange some outdoor chairs around it, add some decorative elements, and start making memories in your beautiful outdoor space.
Congratulations on completing your DIY tile patio table project. The elegant, functional, and durable table you have created will undoubtedly become a centerpiece of your outdoor area for years to come.
Conclusion
Congratulations on successfully creating your very own tile patio table! By following the step-by-step process outlined in this guide, you have transformed ordinary materials into a beautiful and functional piece of outdoor furniture.
Your tile patio table not only adds elegance and style to your outdoor space but also provides a sturdy and durable surface for all your outdoor activities. From enjoying meals with loved ones to hosting gatherings and creating lasting memories, your new table will undoubtedly become a focal point of your outdoor area.
Remember to maintain your tile patio table by regularly cleaning the tiles and reapplying sealer as needed. Taking proper care of your table will ensure its longevity and keep it looking its best for years to come.
Feel free to get creative with your tile choices to truly personalize your table. Whether you opt for vibrant and colorful tiles or prefer a more subdued and neutral palette, the choice is yours. Let your individual style shine through in your choice of materials and design.
Building a tile patio table allows you to unleash your creativity and showcase your DIY skills. The satisfaction and pride that come with creating a unique piece of outdoor furniture are incomparable.
Now, gather your loved ones, invite your friends, and enjoy the fruits of your labor on your beautiful new tile patio table. Cheers to many memorable moments and enjoyable outdoor experiences!
Frequently Asked Questions about How To Make A Tile Patio Table
Was this page helpful?
At Storables.com, we guarantee accurate and reliable information. Our content, validated by Expert Board Contributors, is crafted following stringent Editorial Policies. We're committed to providing you with well-researched, expert-backed insights for all your informational needs.


0 thoughts on “How To Make A Tile Patio Table”