Home>Furniture>Outdoor Furniture>How To Put Decking On Grass
Outdoor Furniture
How To Put Decking On Grass
Modified: August 21, 2024
Learn how to put outdoor furniture on grass with our step-by-step guide. Create a stunning decked area in your garden and enjoy outdoor living.
(Many of the links in this article redirect to a specific reviewed product. Your purchase of these products through affiliate links helps to generate commission for Storables.com, at no extra cost. Learn more)
Introduction
Welcome to our comprehensive guide on how to put decking on grass! If you’re looking to create an outdoor space that’s perfect for entertaining, relaxing, or simply enjoying the great outdoors, decking can be a fantastic option. Not only does it provide a solid and level surface, but it also adds a touch of elegance to your backyard.
While decking is commonly installed on a solid foundation, such as concrete or gravel, you might be wondering if it’s possible to lay decking directly on grass. The answer is yes! With the right materials and a bit of know-how, you can transform your lawn into a stunning decked area.
In this guide, we’ll walk you through the step-by-step process of putting decking on grass. We’ll cover everything from the materials you’ll need to the installation process, ensuring that you’re well-equipped to tackle this project.
Before we dive in, it’s important to note that laying decking on grass requires careful planning and preparation. It’s not as simple as placing boards on top of your lawn. By following our expert tips and instructions, you’ll be able to create a durable and long-lasting deck that will withstand the test of time.
So, grab your tools and let’s get started on this exciting DIY project to transform your outdoor space!
Key Takeaways:
- You can transform your grass into a stunning deck by following the step-by-step process in this guide. From preparing the grass to laying the decking boards, each step contributes to creating a durable and beautiful outdoor space.
- Proper planning, gathering the right materials, and careful attention to detail are essential for creating a sturdy and long-lasting deck. Once completed, your new deck will provide the perfect setting for outdoor activities and relaxation.
Read more: How To Put Up Your Decking
Materials Needed
Before you begin the process of laying decking on grass, it’s crucial to gather all the necessary materials. Here’s a checklist of what you’ll need:
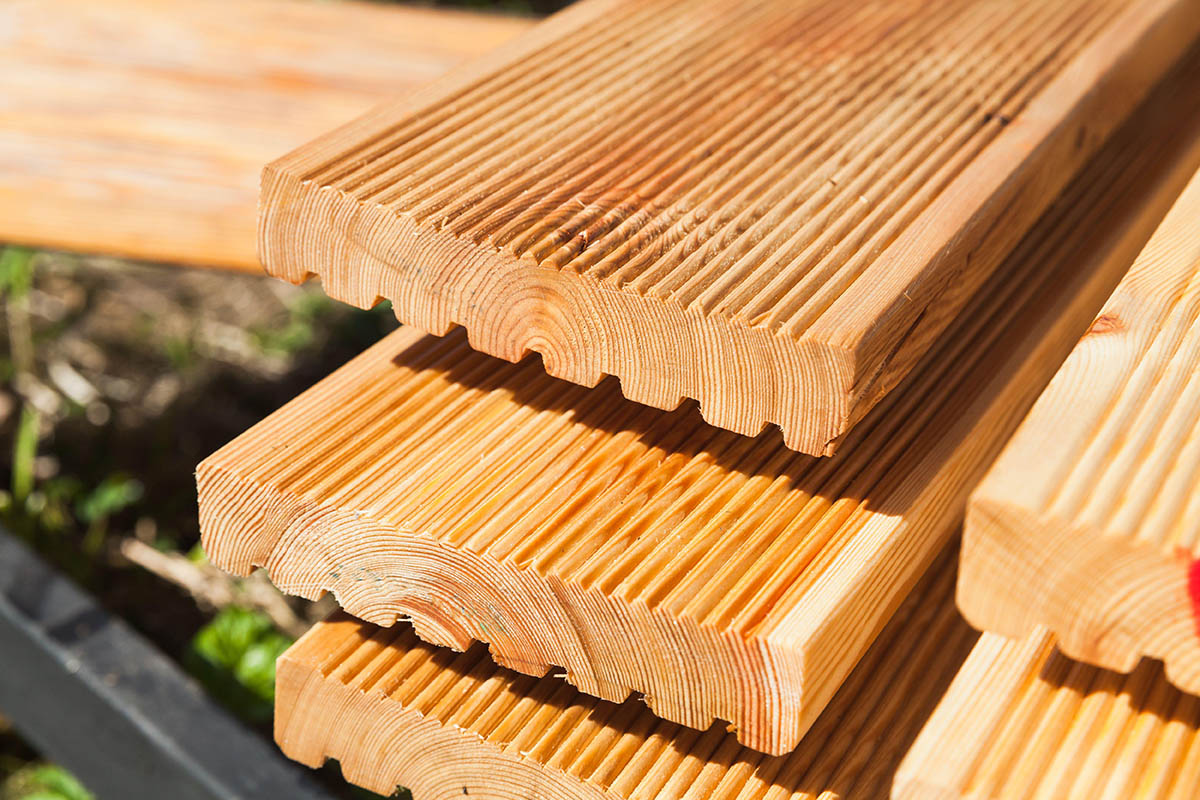
- Decking boards: Choose high-quality pressure-treated lumber or composite boards that are suitable for outdoor use. Ensure that the boards are the right size and thickness for your project.
- Weed barrier fabric: This helps prevent weed growth under the deck and provides a barrier between the grass and the decking boards.
- Support posts: These will be used to create a stable frame for your deck. Opt for pressure-treated wood posts that are sturdy enough to support the weight of the decking boards.
- Concrete mix: You’ll need this to secure the support posts into the ground.
- Gravel: Use gravel as a base to ensure proper drainage under the deck.
- Decking screws: Choose corrosion-resistant screws that are suitable for outdoor use.
- Hand saw or circular saw: This will be used to cut the decking boards to size.
- Tape measure: Essential for accurate measurements during the installation process.
- Level: Use a level to ensure that your deck is perfectly even and level.
- Drill: Required for pre-drilling holes for the screws to prevent splitting the wood.
- Safety equipment: Don’t forget to wear protective gloves, safety glasses, and ear protection when working with power tools.
By gathering all these materials in advance, you’ll be well-prepared to tackle the project without any delays. It’s always better to have everything you need on hand to ensure a smooth and efficient installation.
Now that you have your materials ready, it’s time to move on to the next step: preparing the grass for the decking installation.
Step 1: Prepare the Grass
The first step in installing decking on grass is to properly prepare the area. This involves clearing the grass and ensuring a level surface. Follow these steps to prepare the grass:
- Mow the grass: Start by mowing the grass as short as possible. This will make it easier to work with and provide a more even surface for the decking.
- Remove any obstacles: Clear the area of any obstacles such as rocks, branches, or large debris that could interfere with the installation process.
- Mark the area: Determine the size and shape of your deck and mark it out using string or stakes. This will give you a clear guide for where to lay the decking boards.
- Remove existing grass: Use a shovel or a turf cutter to remove the grass within the marked-out area. Dig down to a depth of around 2-3 inches to ensure sufficient space for the support posts and the decking boards.
- Level the ground: Use a rake or a shovel to level the ground, removing any bumps or uneven areas. Aim for a smooth and flat surface to ensure a stable deck installation.
- Compact the soil: Use a hand tamper or a rented plate compactor to compact the soil. This will create a solid foundation for the decking boards and prevent sinking or shifting over time.
Once you have prepared the grass and have a level surface, you’re ready to move on to the next step: laying down the weed barrier.
Remember, proper preparation is essential for the longevity and stability of your deck. Take the time to thoroughly prepare the grass area before proceeding to the next steps.
Step 2: Lay Down Weed Barrier
After preparing the grass, the next step in the process of laying decking on grass is to lay down a weed barrier. The weed barrier helps prevent weed growth and acts as a barrier between the grass and the decking boards. Here’s how to lay down the weed barrier:
- Measure and cut: Measure the dimensions of the marked-out deck area and cut the weed barrier fabric to fit. Leave a bit of extra fabric on the edges to ensure full coverage.
- Remove excess grass: If any tufts of grass are still present in the deck area, remove them to ensure a clean surface for the weed barrier.
- Unroll the fabric: Start at one end and unroll the weed barrier fabric across the entire deck area. Smooth out any wrinkles or folds and adjust it to fit properly.
- Overlap the edges: If necessary, overlap the edges of the weed barrier fabric to ensure complete coverage. This will help prevent any weed growth from underneath the decking boards.
- Secure the fabric: Use landscape fabric staples or nails to secure the weed barrier fabric to the ground. Space the staples or nails approximately every 12 inches along the edges and in the middle of the fabric.
Once the weed barrier is securely in place, it’s time to move on to creating the frame for your deck. The weed barrier will not only help prevent weeds from growing but also provide a barrier between the grass and the decking, protecting the wood from moisture and other potential damage.
By taking the time to lay down a weed barrier, you’re ensuring the longevity and durability of your deck. It’s a small but essential step in the installation process.
Step 3: Create the Frame
Creating a sturdy frame is a crucial step in the process of laying decking on grass. The frame will provide support and structure for the decking boards. Follow these steps to create the frame for your deck:
- Measure and mark the dimensions: Using a tape measure, carefully measure and mark the dimensions of your deck on the ground. Ensure that the measurements are accurate and the frame aligns with the desired shape and size of your deck.
- Dig post holes: At each corner of the marked-out deck area, dig post holes. The depth of the holes will depend on the height you want for your deck. Generally, the holes should be at least 18 inches deep to ensure stability.
- Install support posts: Place pressure-treated wood posts into each post hole. Use a level to ensure that they are perfectly upright, and adjust as necessary. Backfill the holes with soil and use a hand tamper to compact the soil around the posts.
- Create outer frame: Attach pressure-treated wood joists to the support posts, creating the outer frame of the deck. Use galvanized screws or nails to secure the joists. Make sure the joists are level and square.
- Add additional joists: Depending on the size of your deck, add additional joists within the frame for added support. Space them evenly, leaving no more than 16 inches between each joist.
- Attach joist hangers: Install joist hangers onto the inner sides of the support posts. These hangers will hold the inner joists and further reinforce the structure.
Creating a solid frame is essential for the stability and longevity of your deck. It provides a strong base for the decking boards and ensures that the weight is evenly distributed. Take your time during this step to ensure accuracy and precision in creating the frame.
Once the frame is complete, you’re ready to move on to the next step: installing support posts.
Before laying decking on grass, make sure to clear the area of any debris and level the ground. Use weed control fabric to prevent weeds from growing through the decking. Consider using adjustable decking supports to ensure a level and stable surface.
Read more: What Should You Put Under Decking
Step 4: Install Support Posts
With the frame of your deck in place, the next step is to install the support posts. These posts will provide additional stability and support to ensure a solid foundation for your decking boards. Follow these steps to install the support posts:
- Measure and cut the posts: Measure the desired height for your deck and cut the pressure-treated wood posts to the appropriate length. Ensure that each post is cut to the same height.
- Mark the post locations: Using a tape measure and level, mark the locations on the support posts where they will be attached to the frame. Space the posts evenly, typically no more than 8 feet apart.
- Attach the posts: Position each post at its designated location on the frame and secure it with galvanized screws or nails. Make sure each post is plumb and level. Repeat this step for each post.
- Secure the posts into the ground: To ensure stability, it’s recommended to secure the support posts into the ground. Use a post hole digger to dig holes near the support posts. The depth of the holes should be below the frost line in your area.
- Mix and pour concrete: Mix the concrete according to the manufacturer’s instructions. Pour the concrete into the holes, filling them about two-thirds full. Place each support post into the center of its respective hole, making sure it remains level.
- Finish pouring the concrete: Pour the remaining concrete around the support post until the hole is filled to ground level. Use a trowel or shovel to smooth the concrete surface. Allow the concrete to cure for the recommended time.
Installing support posts is a vital step in ensuring the stability and durability of your deck. Properly securing the posts into the ground with concrete will help prevent any shifting or movement over time.
Once the support posts are installed, you’re ready to move on to the exciting part: laying the decking boards.
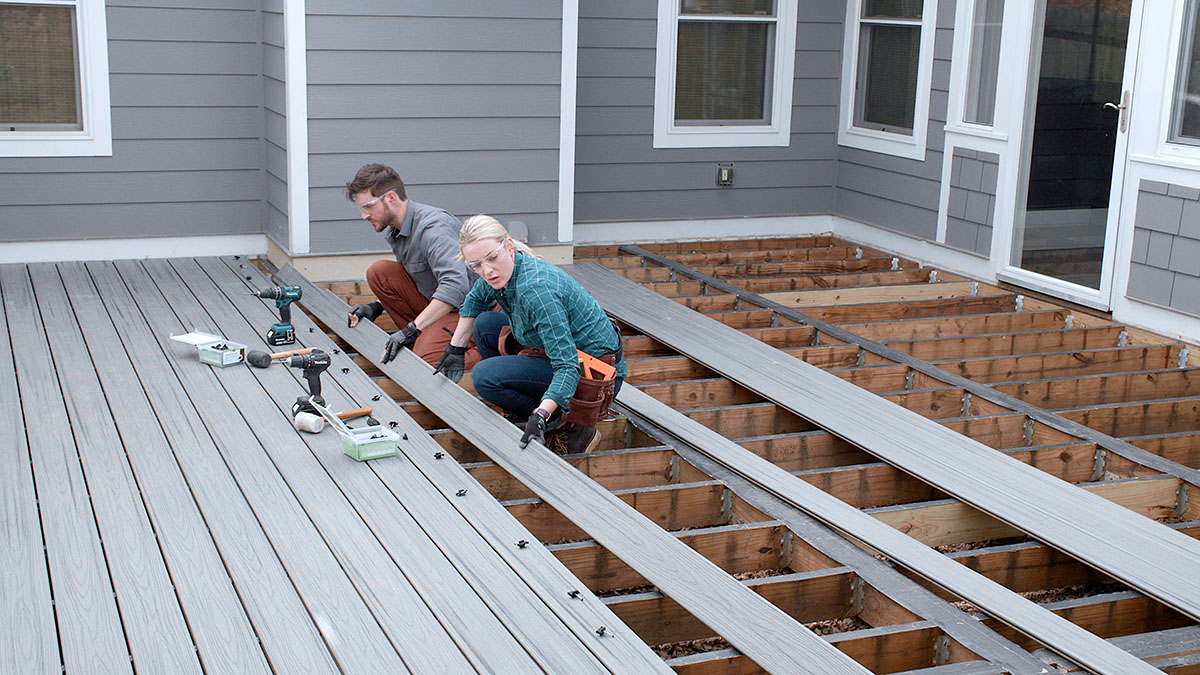
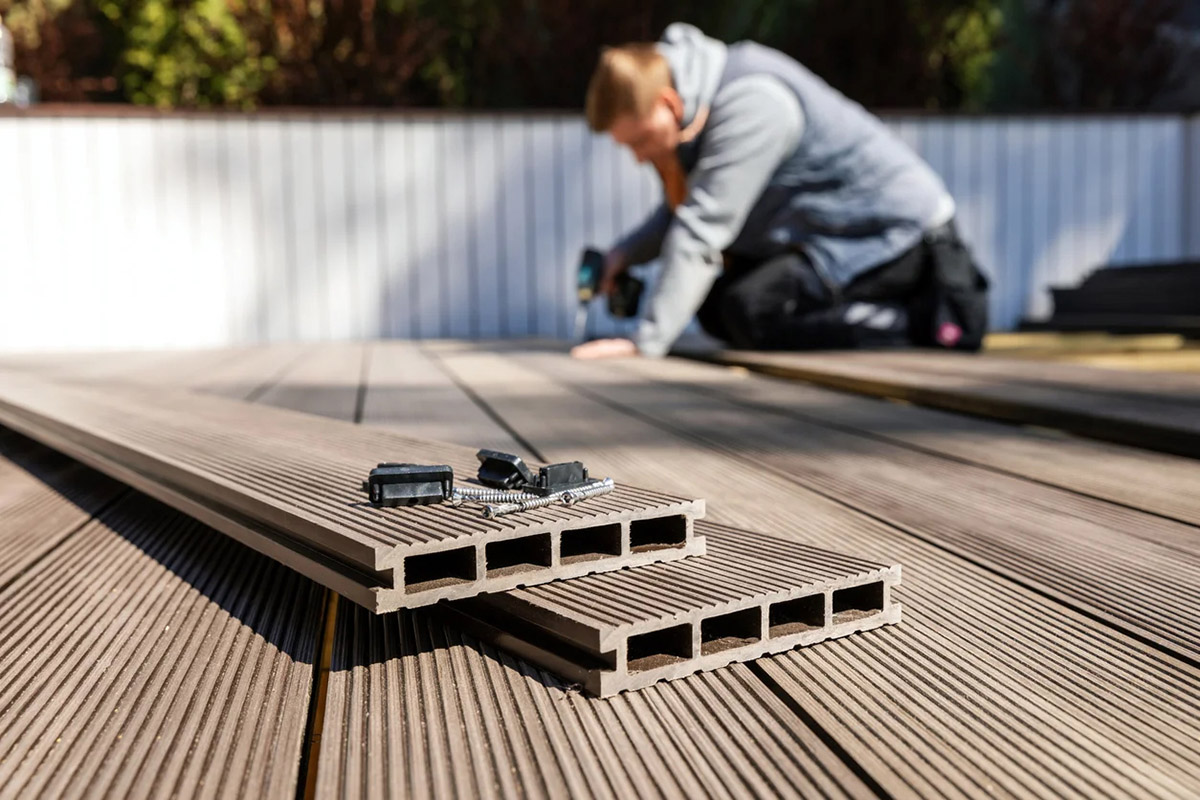
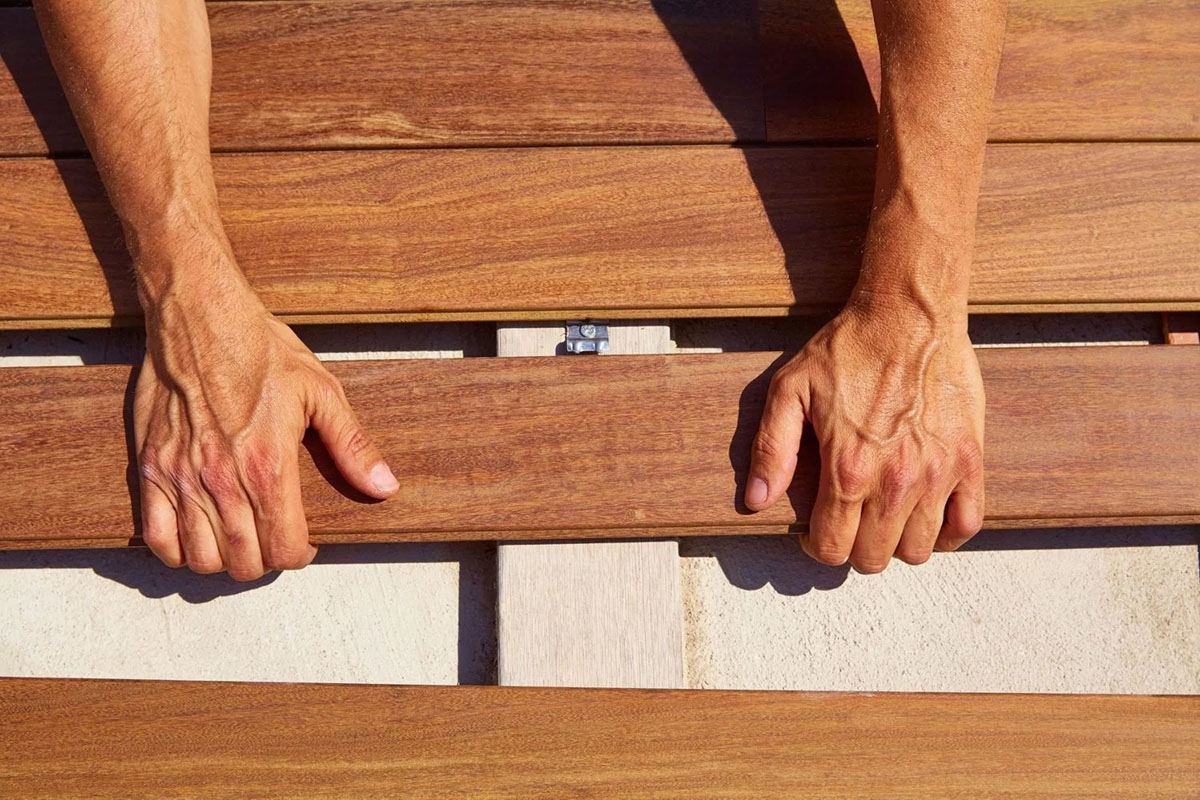
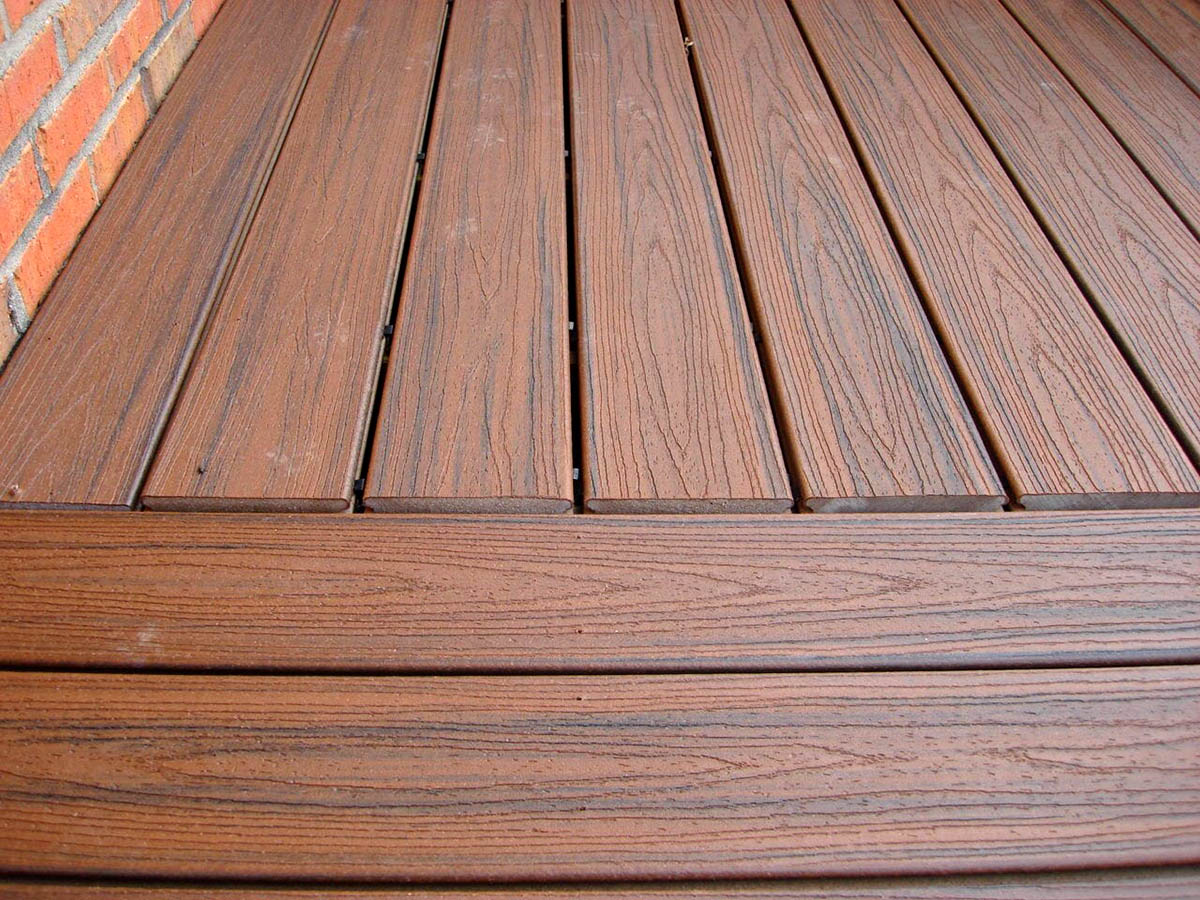
Step 5: Lay the Decking Boards
Now that the frame and support posts are in place, it’s time to lay the decking boards. This step will bring your deck to life and provide the surface for your outdoor activities. Follow these steps to lay the decking boards:
- Start with the first board: Begin by laying the first decking board at one corner of the frame. Ensure that the board is aligned with the outer edge of the frame and flush with the support posts.
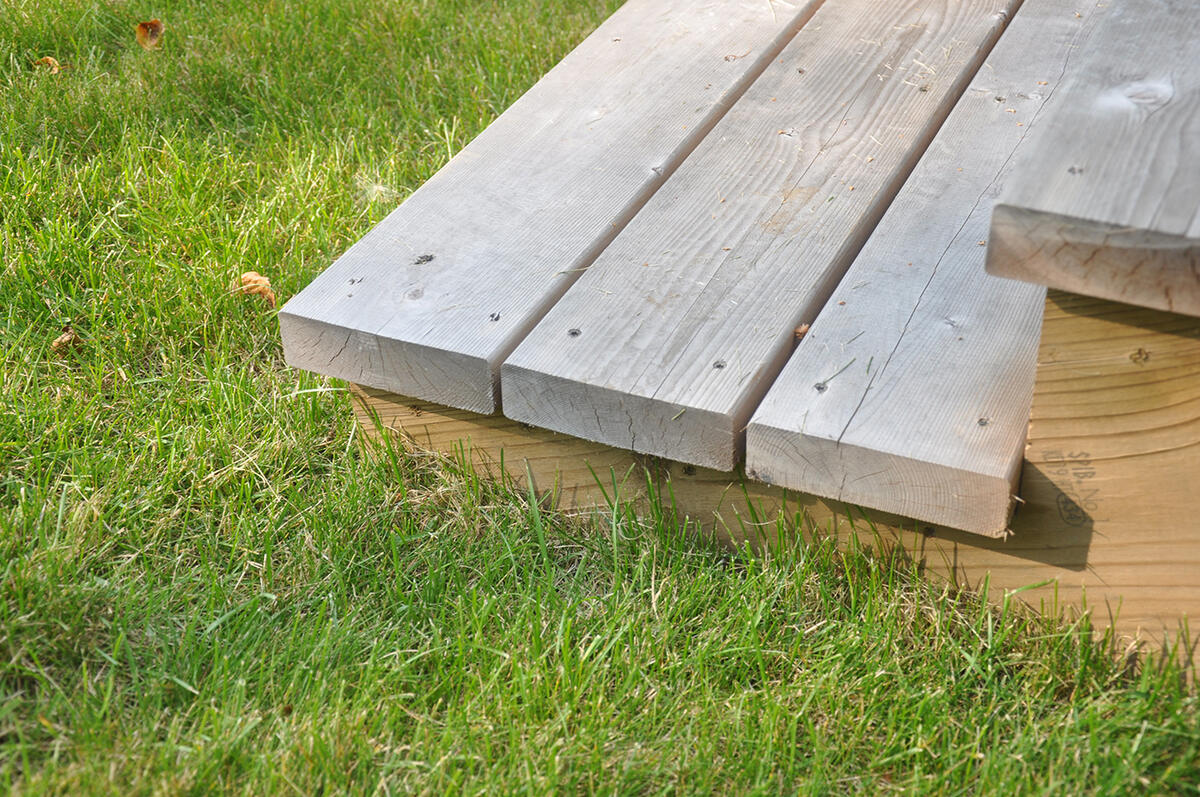
- Space the boards: Leave a small gap, typically around 1/8 inch, between each decking board. This allows for proper water drainage and prevents the boards from warping or buckling.
- Continue laying the boards: Place the next board beside the first one, using spacers to maintain consistent spacing. Secure the board to the frame using decking screws or nails. Repeat this process for each subsequent board.
- Cut the boards when needed: Measure and mark any boards that need to be cut to fit the edges or corners of the deck. Use a hand saw or circular saw to make the necessary cuts.
- Use staggered joints: To create a visually appealing deck, stagger the joints of the decking boards. This means that the joints of adjacent rows of boards should not align. This technique adds strength to the deck and enhances its appearance.
- Work towards the other end: Continue laying the decking boards, working your way towards the other end of the deck. Use a tape measure and level to ensure that each board is straight and level.
Take your time during this step to ensure that the decking boards are properly aligned and spaced. Double-check your measurements and make any necessary adjustments before securing each board to the frame.
Once all the decking boards are in place, you’re ready to move on to the next step: securing the decking.
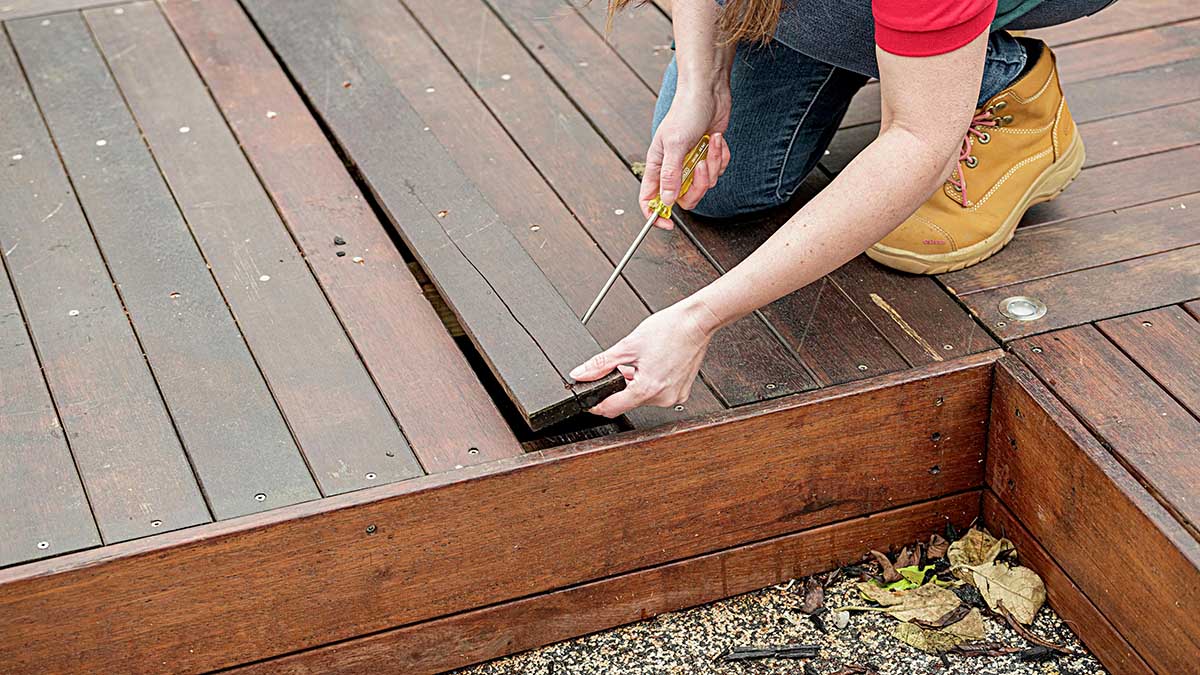
Step 6: Secure the Decking
After laying the decking boards, the next step is to secure them to the frame to ensure a stable and secure deck. This step will prevent any movement or shifting of the boards over time. Follow these steps to securely fasten the decking boards:
- Pre-drill holes: Before attaching the decking boards, pre-drill holes near the ends of each board to prevent splitting. Use a drill bit that is slightly smaller than the diameter of the decking screws you’ll be using.
- Attach the boards: Starting at one end of the deck, use decking screws to secure each board to the frame. Drive the screws through the pre-drilled holes and into the underlying support joists. Space the screws evenly along the length of each board.
- Check for evenness: As you attach each board, periodically use a level to ensure that the deck surface remains even and level. Make any necessary adjustments to keep the boards aligned.
- Continue securing the boards: Work your way across the deck, securing each board to the frame. Use spacers to maintain consistent spacing between the boards as you go.
- Trim excess length: If any decking boards extend beyond the frame, use a saw to trim them to the desired length. Ensure that the ends are flush with the outer edge of the frame.
Securing the decking boards is essential for maintaining the structural integrity of your deck. By properly fastening the boards, you will ensure that they stay in place and provide a safe and sturdy surface for your outdoor activities.
Once all the decking boards are securely attached, it’s time for the final step: adding the finishing touches to your deck.
Step 7: Add Finishing Touches
With the decking boards securely in place, it’s time to add the finishing touches to your deck. These final touches will not only enhance the appearance of your outdoor space but also contribute to its functionality and longevity. Follow these steps to complete your deck:
- Trim and sand the edges: Use a saw to trim any protruding edges of the decking boards to create a clean and neat finish. After trimming, use sandpaper to smooth out any rough edges or splinters.
- Apply a protective finish: To protect the decking boards from the elements and give them a polished look, apply a protective finish. Choose a deck sealant or stain that is suitable for outdoor use and follow the manufacturer’s instructions for application.
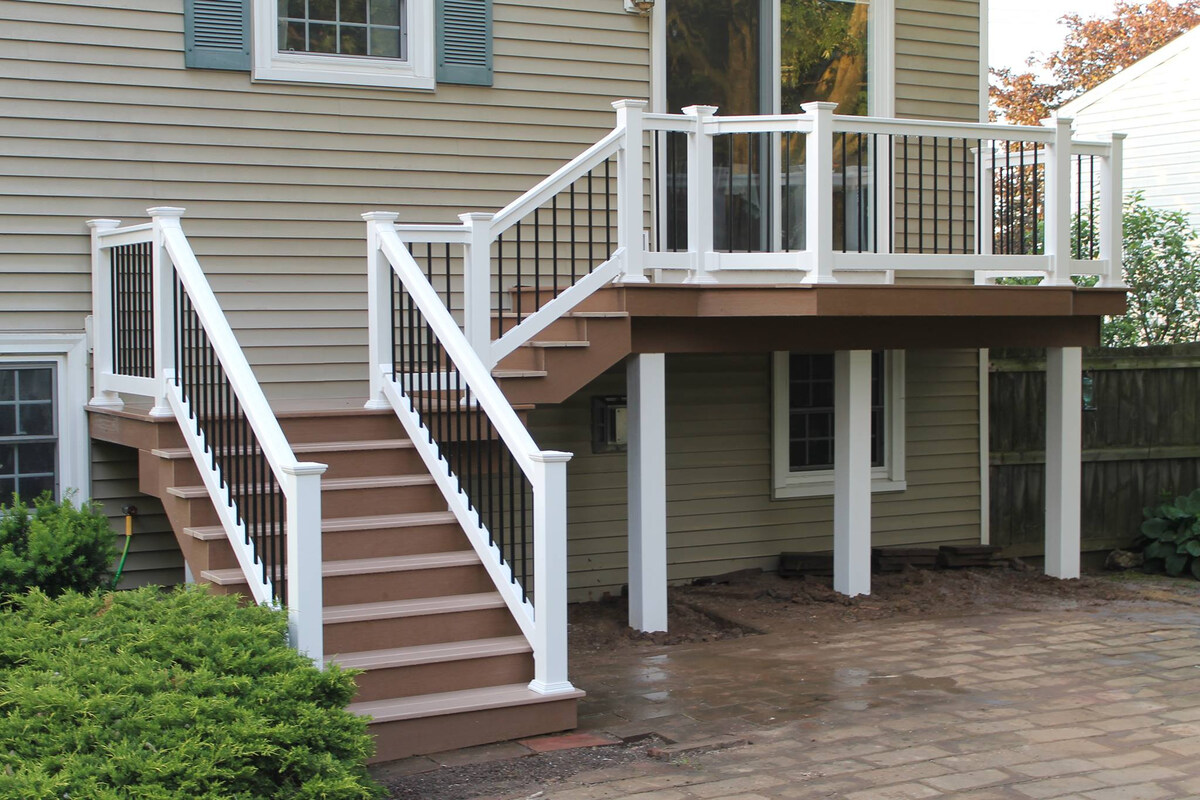
- Add railing and balusters (if desired): If your deck is elevated or you simply prefer the added safety and aesthetics of a railing, install it at this stage. Measure and cut the railing and balusters to the appropriate size, ensuring they are securely attached to the support posts.
- Add stairs (if necessary): If your deck requires access to a lower level, add stairs for convenience and safety. Measure and cut the stair treads and risers, ensuring they are properly attached to the deck frame and support posts.
- Clean up the area: Once your deck is complete, remove any debris, tools, or materials from the work area. Sweep the deck surface to remove any dust or debris that may have accumulated during the installation process.
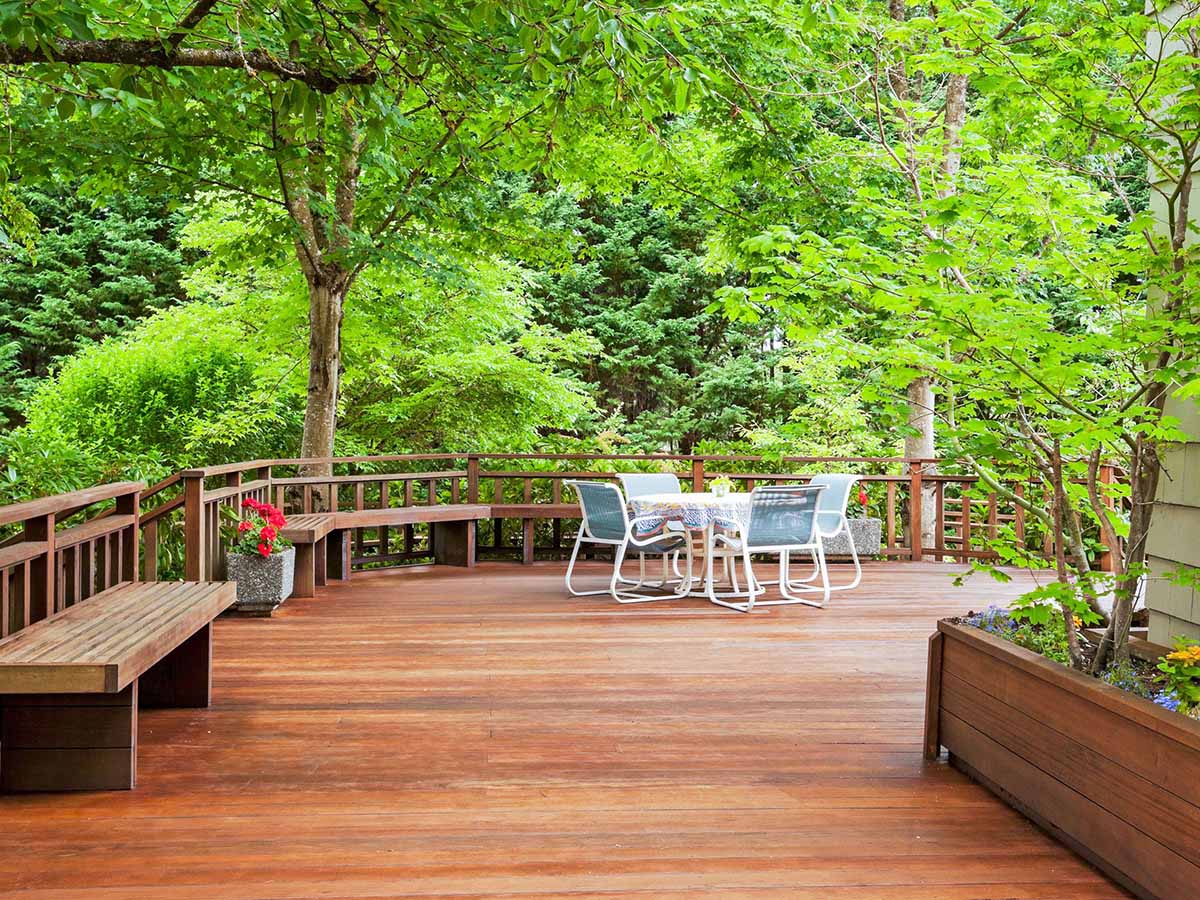
By adding these finishing touches, you’ll complete the transformation of your outdoor space and create a functional and visually appealing deck. The protective finish will help extend the life of your deck by guarding against fading, moisture damage, and UV rays.
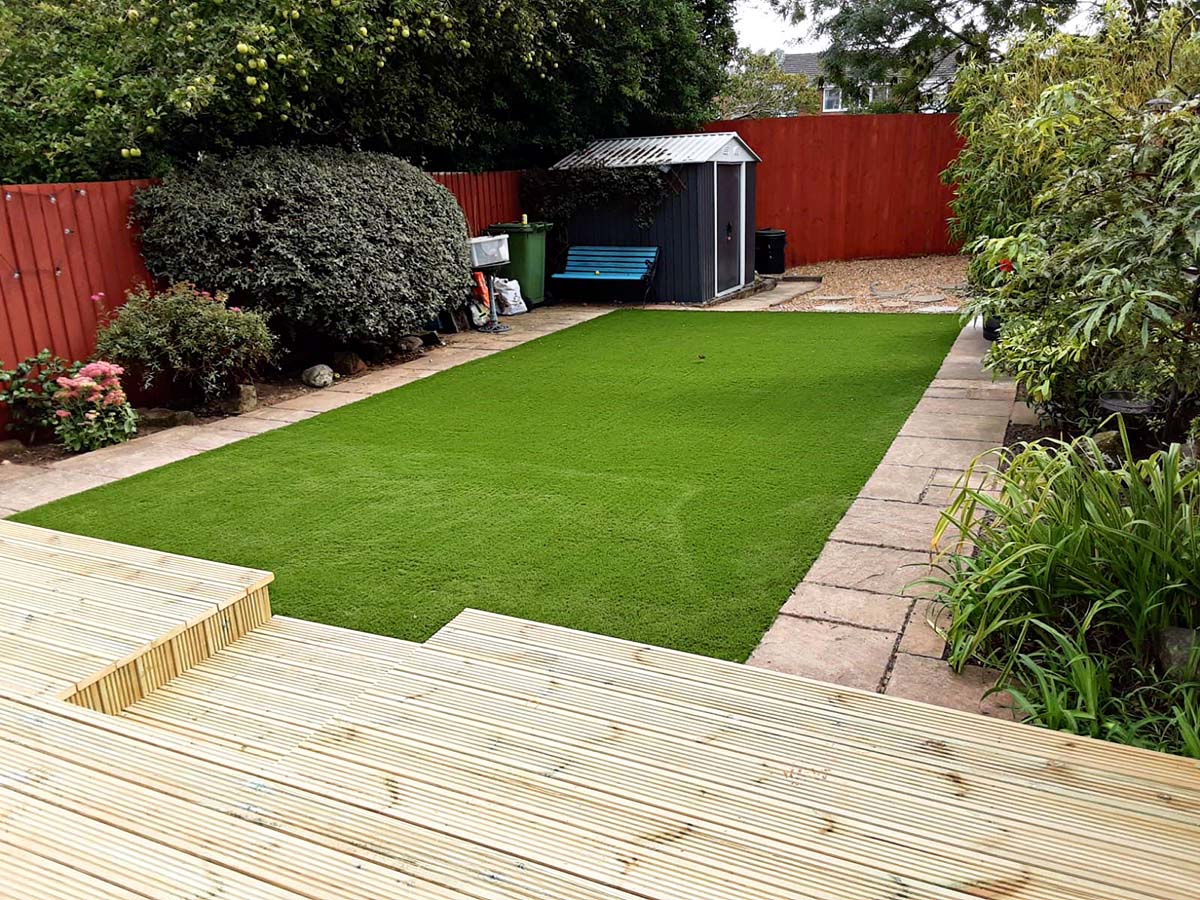
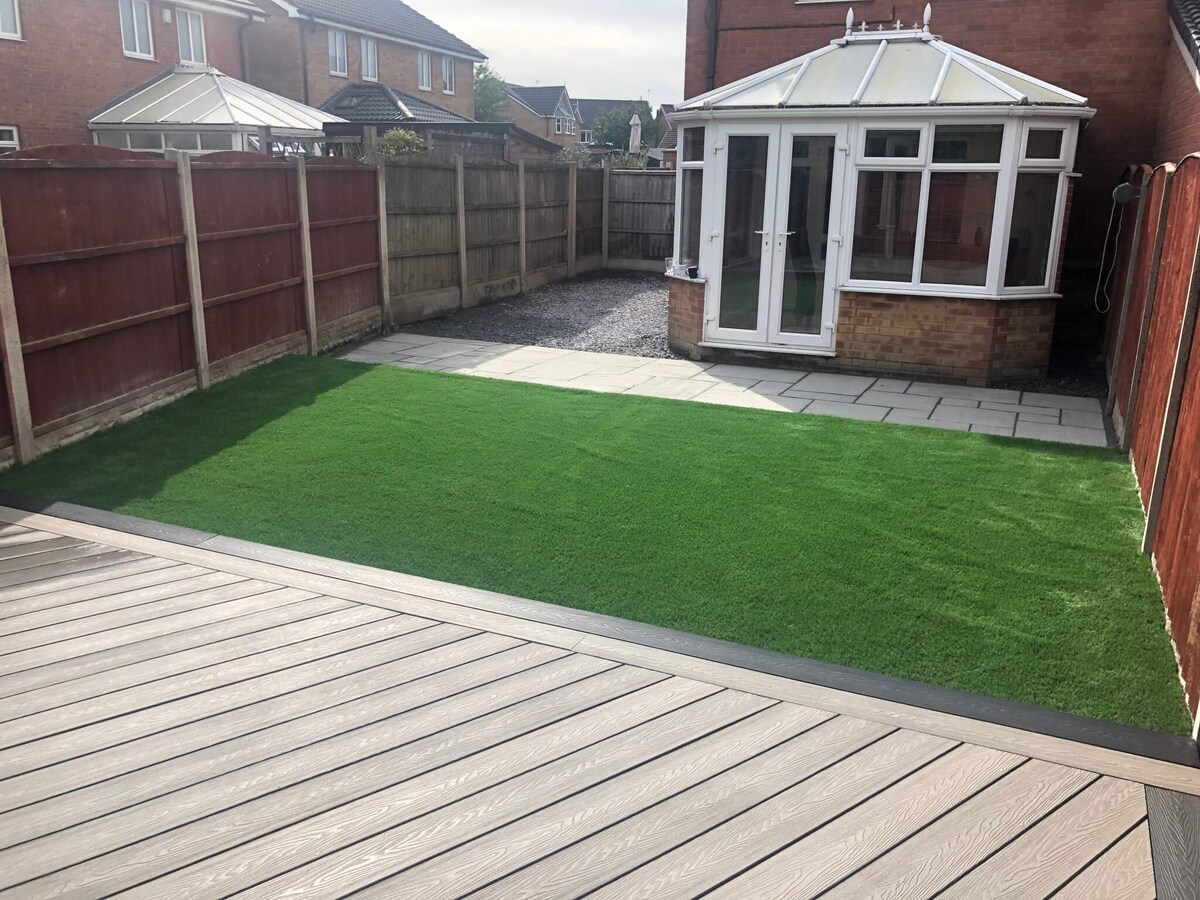
Congratulations! You’ve successfully learned how to put decking on grass and have completed all the necessary steps. Now, it’s time to sit back, relax, and start enjoying your beautiful new deck!
Read more: How To Lay Decking On Grass
Conclusion
Congratulations on successfully completing the process of putting decking on grass! You have transformed your outdoor space into a stunning decked area that is perfect for entertaining, relaxing, and enjoying the great outdoors.
Throughout this comprehensive guide, we have covered everything you need to know to tackle this DIY project with confidence. From preparing the grass and laying down the weed barrier to creating the frame, installing support posts, laying the decking boards, securing the deck, and adding the finishing touches, each step has contributed to the stability, durability, and visual appeal of your deck.
By taking the time to properly plan, gather the necessary materials, and follow the step-by-step instructions, you have created a deck that will stand the test of time. Your careful preparation and attention to detail have ensured a sturdy foundation and a solid structure for your outdoor space.
Remember to continue maintaining your deck by regularly cleaning it, inspecting for any damage, and reapplying protective finishes as needed. This will help preserve its beauty and functionality for years to come.
Now that your deck is complete, it’s time to enjoy the fruits of your labor. Whether you’ll be hosting barbecues, basking in the sun, or simply unwinding with a book, your new deck will provide the perfect setting.
Thank you for joining us on this journey of transforming your grass into a beautiful deck. We hope you find joy and relaxation in your newly created outdoor haven!
Now that you've mastered decking on grass, why not enhance your garden's charm with creative boundaries? Our guide on garden fence ideas provides unique designs that blend style with functionality. Whether you're aiming for privacy or just a touch of landscaping flair, these suggestions will certainly spruce up your outdoor space.
Frequently Asked Questions about How To Put Decking On Grass
Was this page helpful?
At Storables.com, we guarantee accurate and reliable information. Our content, validated by Expert Board Contributors, is crafted following stringent Editorial Policies. We're committed to providing you with well-researched, expert-backed insights for all your informational needs.


0 thoughts on “How To Put Decking On Grass”