Home>Furniture>Outdoor Furniture>How To Tile A Patio


Outdoor Furniture
How To Tile A Patio
Modified: January 9, 2024
Learn how to tile a patio and create a stunning outdoor space with our step-by-step guide. Discover the best outdoor furniture options to complete your patio transformation.
(Many of the links in this article redirect to a specific reviewed product. Your purchase of these products through affiliate links helps to generate commission for Storables.com, at no extra cost. Learn more)
Introduction
Creating a tiled patio is a fantastic way to elevate the aesthetics and functionality of your outdoor space. Whether you're envisioning a cozy spot for morning coffee or a vibrant setting for entertaining guests, a well-tiled patio can transform your backyard into a captivating oasis. Not only does it enhance the visual appeal of your outdoor area, but it also adds a touch of sophistication and durability that can withstand the elements for years to come.
Tiling a patio is a project that requires careful planning, precise execution, and a keen eye for detail. From selecting the right materials to mastering the techniques of laying and grouting tiles, each step plays a crucial role in achieving a stunning and long-lasting result. In this comprehensive guide, we will walk you through the essential steps and considerations involved in tiling a patio, empowering you to embark on this rewarding endeavor with confidence and enthusiasm.
So, roll up your sleeves, gather your supplies, and let's dive into the world of patio tiling. Whether you're a seasoned DIY enthusiast or a novice looking to explore a new skill, this guide will equip you with the knowledge and inspiration to bring your patio tiling vision to life. Let's get started!
Key Takeaways:
- Planning and preparation are crucial for a successful patio tiling project. Evaluate the space, choose the right tiles, create a detailed layout, and prepare the substrate to ensure a polished and enduring result.
- Laying tiles, cutting and fitting, grouting, and sealing are intricate yet rewarding steps in creating a captivating tiled patio. Attention to detail and maintenance ensure long-lasting beauty and functionality.
Read more: How To Tile Over A Concrete Patio
Planning and Preparation
Before diving into the exhilarating task of laying tiles, it’s crucial to start with a well-thought-out plan and thorough preparation. This initial phase sets the foundation for a successful patio tiling project, ensuring that every subsequent step unfolds seamlessly and yields a stunning result.
Evaluate the Space: Begin by assessing the area where you intend to install the patio tiles. Consider the dimensions, existing surface condition, and any potential obstacles or irregularities that may need to be addressed. This evaluation will guide your decisions regarding the quantity of materials needed and the specific challenges you might encounter during the installation process.
Choose the Right Tiles: Selecting the appropriate tiles is a pivotal aspect of the planning stage. Factors such as the climate in your region, the desired aesthetic appeal, and the level of foot traffic the patio will endure should all influence your choice of tiles. Whether you opt for natural stone, porcelain, ceramic, or another material, ensure that the selected tiles are well-suited for outdoor use and can withstand the elements.
Create a Detailed Layout: Mapping out the layout of the tiles is essential for achieving a visually appealing and symmetrical result. Consider various patterns, such as herringbone, basket weave, or running bond, and determine how the tiles will align with the patio’s edges and any existing structures. This meticulous planning will contribute to a polished and professional-looking finish.
Prepare the Substrate: The surface on which the tiles will be laid must be properly prepared to ensure stability and longevity. If the existing patio surface is uneven or damaged, it may require leveling, cleaning, and, in some cases, waterproofing. Adequate preparation of the substrate is vital for preventing future issues such as tile movement or water damage.
By investing time and attention into the planning and preparation phase, you are setting the stage for a successful and gratifying patio tiling project. With a clear vision, a well-considered plan, and a meticulously prepared surface, you are ready to move on to the next steps of gathering materials and tools, and ultimately bringing your patio tiling aspirations to fruition.
Gathering Materials and Tools
With the planning phase completed, it’s time to assemble the essential materials and tools that will bring your patio tiling project to life. Ensuring that you have everything you need at the outset will streamline the installation process and minimize interruptions, allowing you to focus on the artistry and precision of laying the tiles.
Materials:
- Tiles: Depending on your chosen design and the dimensions of your patio, calculate the quantity of tiles needed, allowing for a small surplus to account for cuts and replacements.
- Grout: Select a high-quality grout that complements your chosen tiles and is suitable for outdoor use. Consider the color of the grout and how it will enhance the overall aesthetic of the patio.
- Adhesive: Choose a reliable outdoor adhesive or mortar that provides strong adhesion and is compatible with the selected tiles and the patio’s substrate.
- Sealer: If your tiles require sealing, ensure that you have the appropriate sealant to protect them from moisture, stains, and other environmental factors.
- Waterproofing Membrane: In certain cases, especially for tiled patios in areas prone to moisture, a waterproofing membrane may be necessary to safeguard the patio’s substrate.
- Edge Trim: Consider whether edge trim or transition strips are needed to provide a clean and polished border for the patio.
Tools:
- Trowel: A notched trowel is essential for applying adhesive or mortar to the patio surface before laying the tiles.
- Tile Cutter: Depending on the complexity of your design and the need for precise cuts, a manual or electric tile cutter will be indispensable.
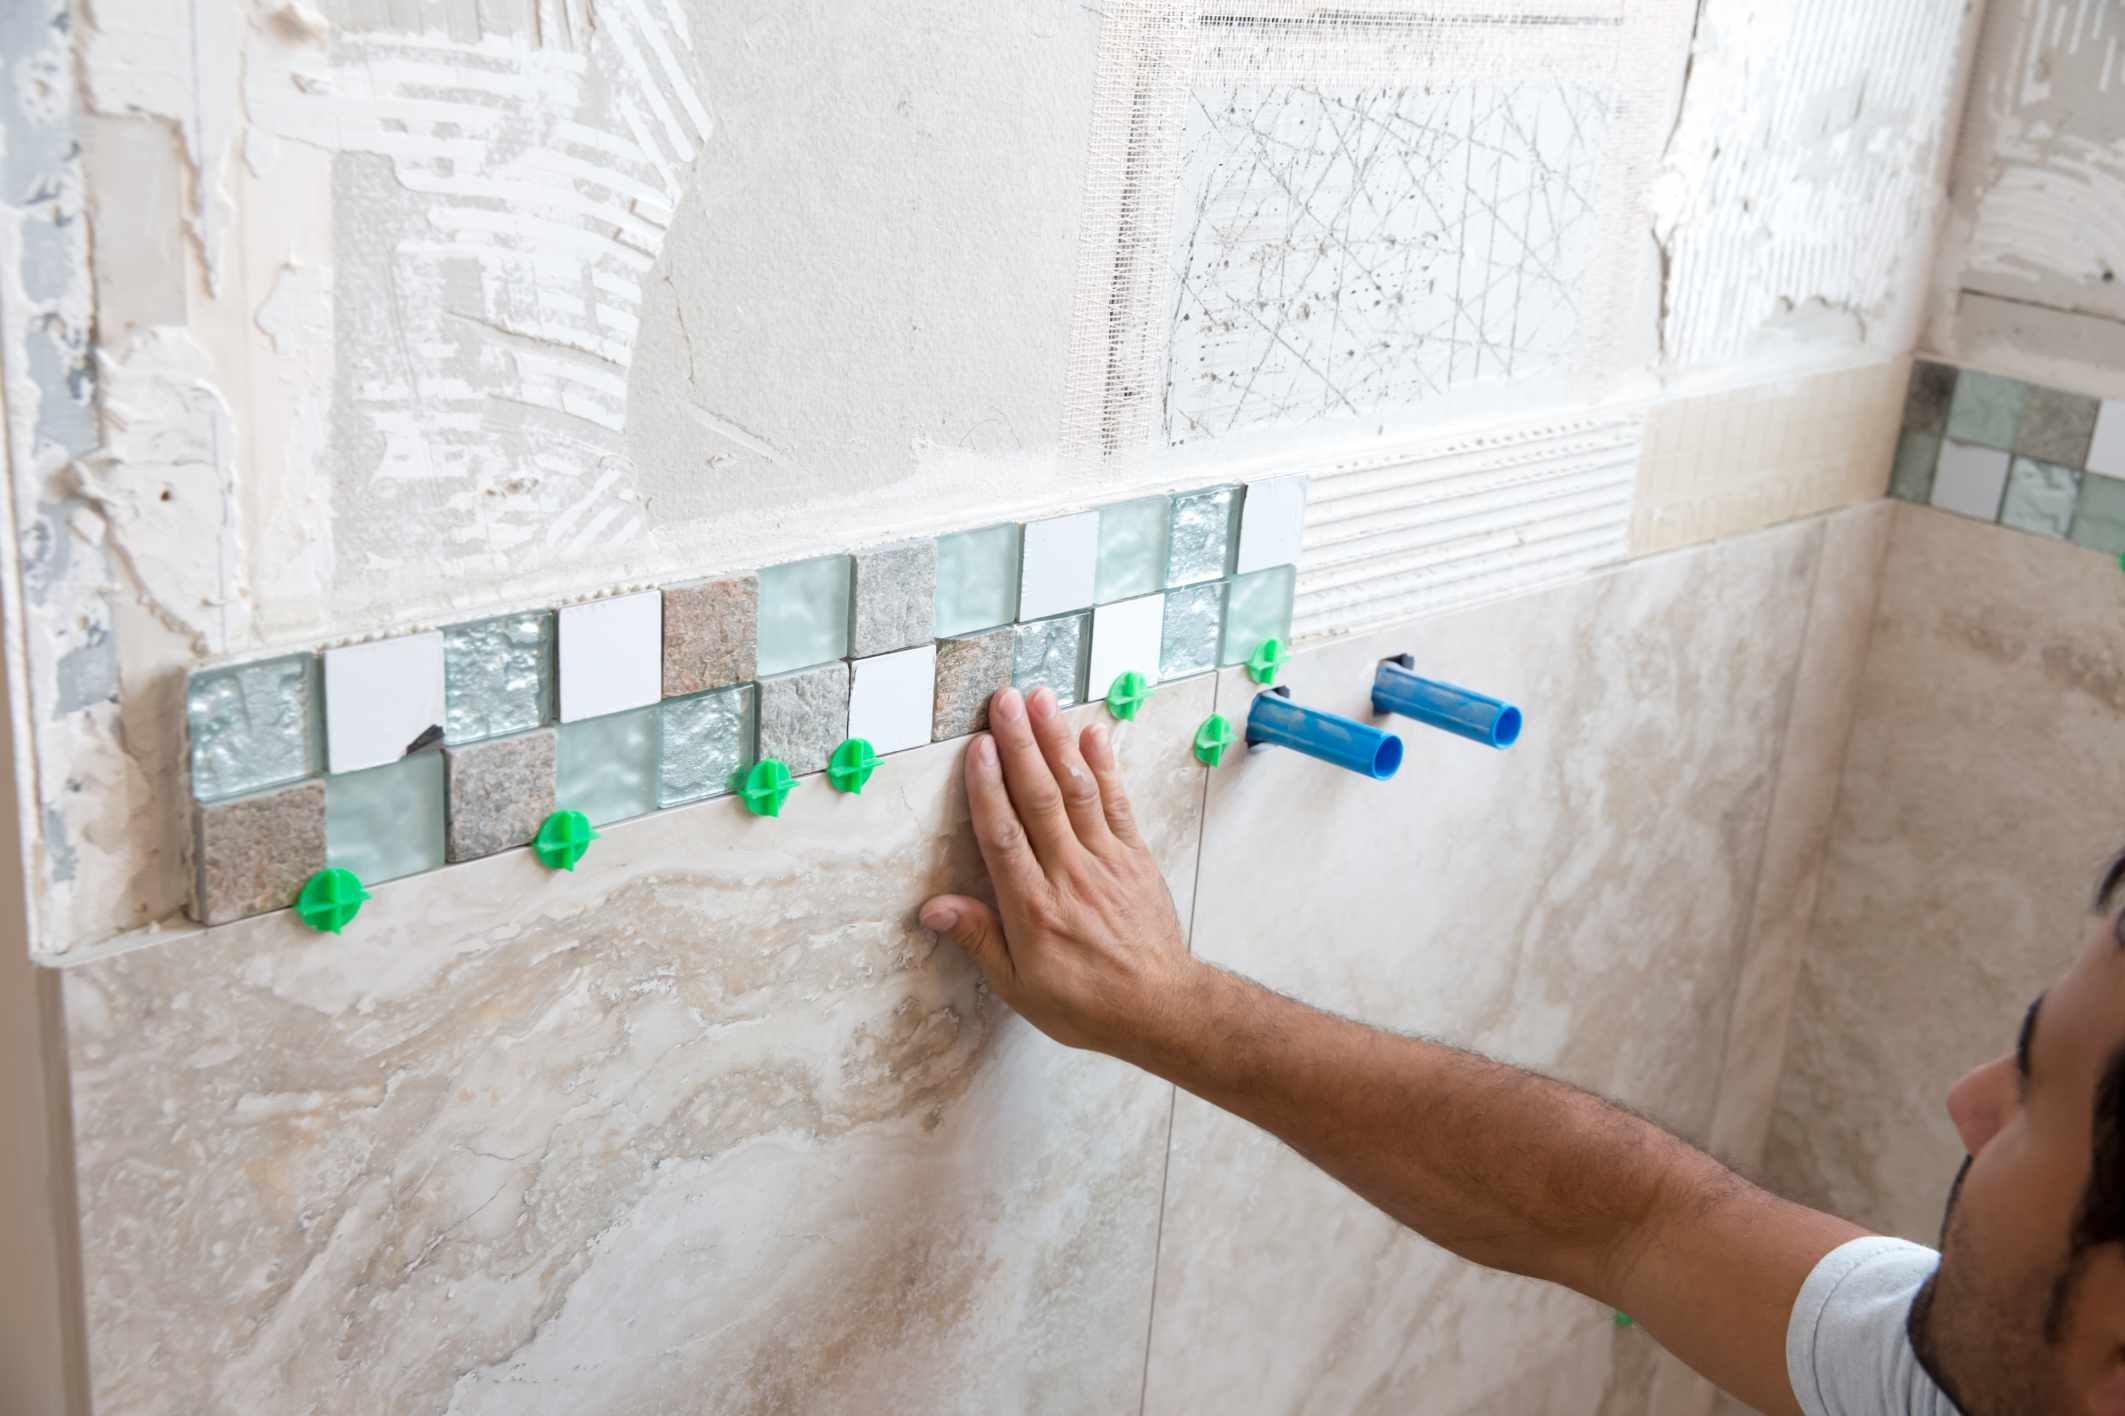
- Spacers: Tile spacers help maintain consistent spacing between tiles, ensuring a professional-looking result.
- Grout Float: This tool is used to apply and pack grout into the joints between tiles, facilitating a smooth and uniform finish.
- Level: Ensuring that the tiles are laid evenly and without uneven edges is crucial, making a level an essential tool for the installation process.
- Protective Gear: Don’t forget safety goggles, gloves, and a dust mask to protect yourself during the installation and cutting of tiles.
By gathering these materials and tools in advance, you are equipping yourself with the necessary resources to bring your patio tiling vision to fruition. With careful planning and the right supplies at your disposal, you are ready to embark on the next steps of preparing the patio surface and laying the tiles with precision and artistry.
Preparing the Patio Surface
Before the tiles can be laid, it is essential to ensure that the patio surface is properly prepared to provide a stable and durable foundation for the installation. This phase involves addressing any existing issues, cleaning the surface, and applying necessary treatments to optimize the conditions for successful tile adhesion and longevity.
Surface Inspection: Begin by thoroughly examining the patio surface for any signs of damage, unevenness, or deterioration. Address any cracks, dips, or protrusions that could affect the stability and appearance of the tiled patio. It is crucial to start with a smooth and structurally sound surface to achieve a professional and long-lasting result.
Cleaning and Clearing: Remove any debris, dirt, or vegetation that may have accumulated on the patio surface. Use a pressure washer or a stiff brush and a suitable cleaning solution to eliminate grime, stains, and any existing sealants or coatings. A clean and clear surface will promote optimal adhesion and prevent potential issues with the tile installation.
Repair and Leveling: Address any structural issues by filling cracks and voids with a suitable patching compound or mortar. Additionally, if the surface is uneven, consider using a self-leveling compound to create a flat and consistent base for the tiles. Properly addressing these imperfections will contribute to the stability and visual appeal of the tiled patio.
Waterproofing (if necessary): Depending on the climate and the patio’s exposure to moisture, consider applying a waterproofing membrane to protect the substrate from water infiltration. This step is particularly important in regions prone to heavy rainfall or where the patio is in close proximity to water sources.
By meticulously preparing the patio surface, you are laying the groundwork for a successful and enduring tile installation. A clean, level, and structurally sound surface will facilitate the adhesion and alignment of the tiles, setting the stage for the next exhilarating phase of laying the tiles and bringing your patio tiling vision to life.
Before tiling a patio, make sure the surface is clean, level, and free of any debris. This will ensure that the tiles adhere properly and the finished patio looks great.
Laying the Tiles
With the patio surface meticulously prepared, it’s time to embark on the captivating process of laying the tiles. This phase demands precision, patience, and a keen eye for detail as you bring your design to life, piece by piece, transforming the patio into a visually stunning and functional space.
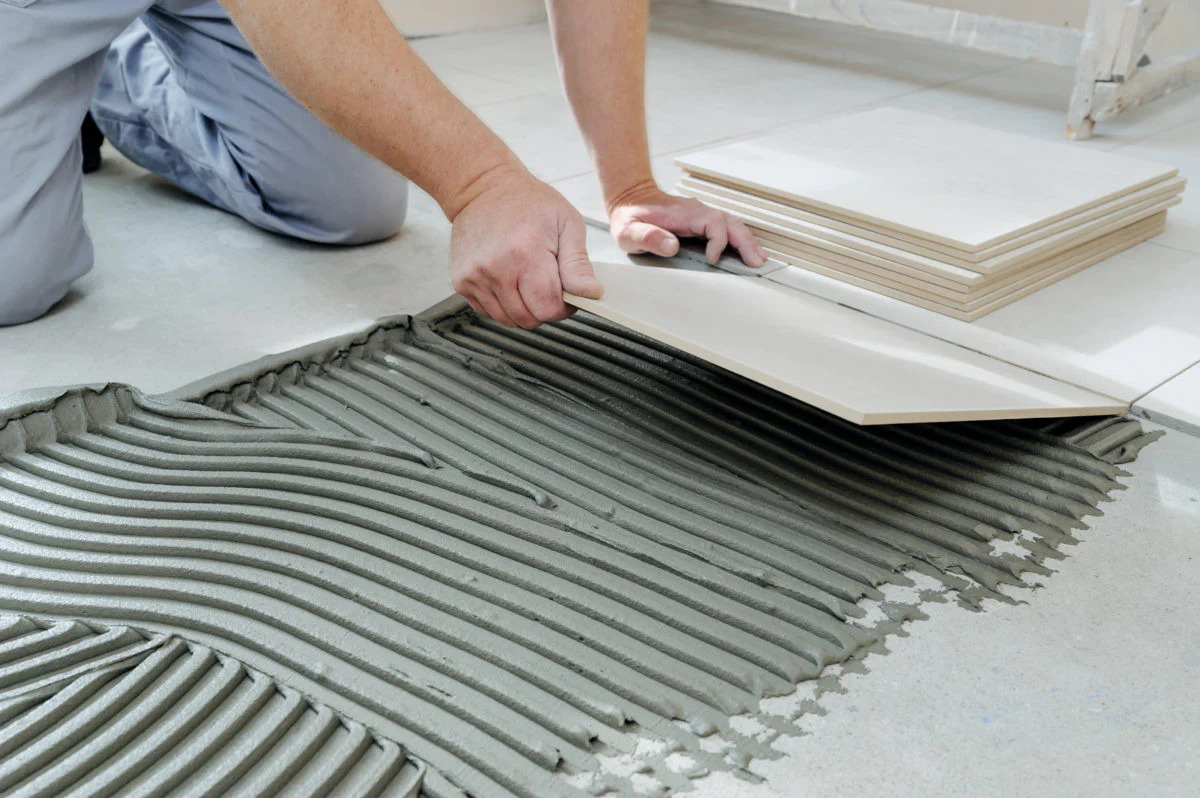
Applying Adhesive: Begin by applying a layer of outdoor adhesive or mortar to a small section of the patio surface using a notched trowel. Ensure that the adhesive is spread evenly and consistently to provide a secure bond for the tiles.
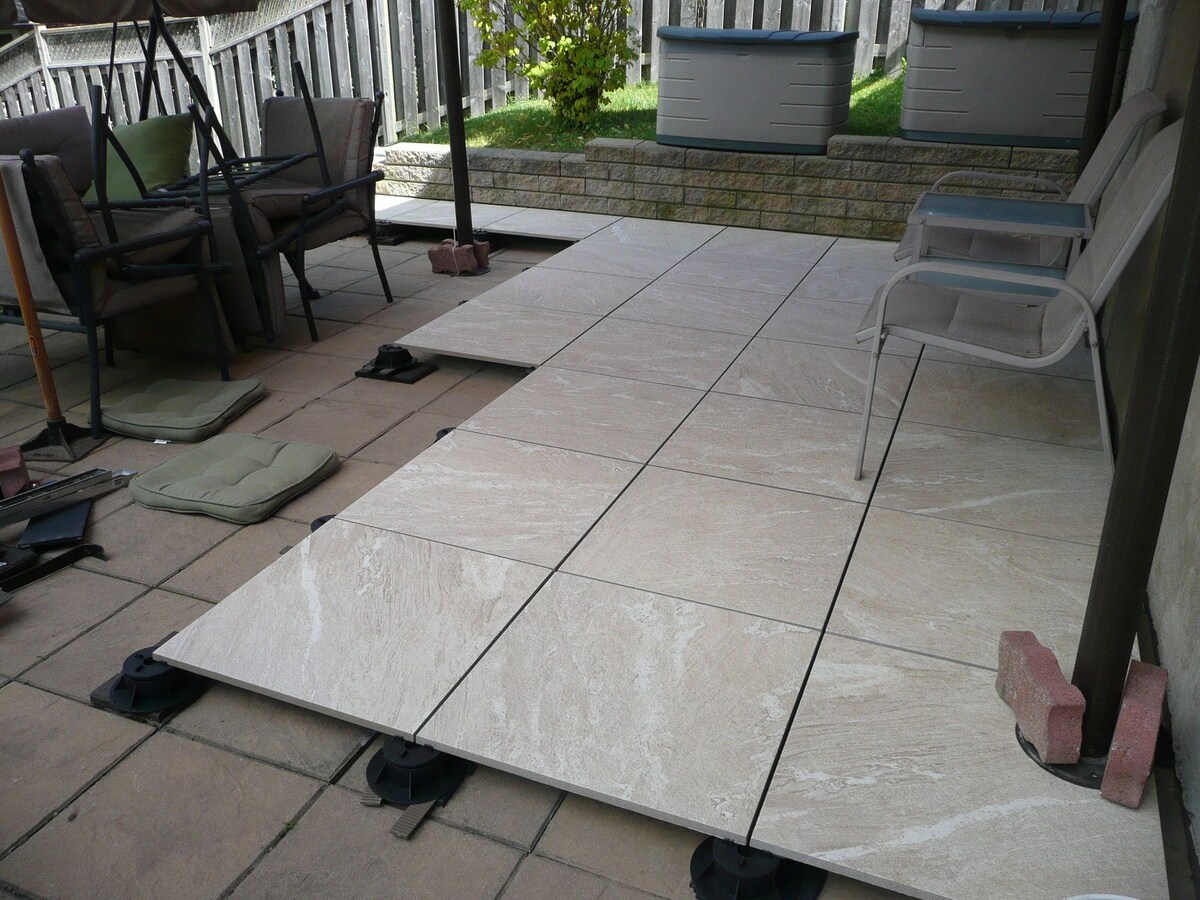
Setting the Tiles: Carefully place each tile onto the adhesive, pressing gently to ensure proper adhesion and a level surface. Use tile spacers to maintain consistent spacing between the tiles, creating uniform grout lines and a professional finish.
Aligning and Adjusting: As you progress, pay close attention to the alignment and spacing of the tiles, making any necessary adjustments to maintain a symmetrical and visually appealing layout. A level can be used to ensure that the tiles are being laid evenly and without uneven edges.
Addressing Cuts and Corners: When reaching the edges and corners of the patio, measure and cut tiles as needed to achieve a seamless fit. A tile cutter is invaluable for achieving precise cuts, ensuring that the tiles align neatly with the patio’s perimeter and any existing structures.
Allowing for Setting Time: Once the tiles are laid, allow the adhesive to set according to the manufacturer’s instructions before proceeding to the next phase. This setting time is crucial for ensuring the stability and longevity of the tiled patio.
As you immerse yourself in the artistry of laying the tiles, envision the transformation taking place with each carefully placed piece. The rhythmic process of setting, aligning, and adjusting the tiles brings your patio tiling vision to life, culminating in a captivating space that reflects your creativity and attention to detail.
Read more: How To Clean Outdoor Patio Tiles
Cutting and Fitting Tiles
As you progress with the tile installation, you may encounter areas where standard-sized tiles do not fit perfectly. This is where the art of cutting and fitting tiles comes into play, allowing you to adapt the tiles to the specific dimensions and intricacies of your patio. Precision and patience are key as you navigate this phase, ensuring that every cut and fit contributes to a seamless and visually appealing result.
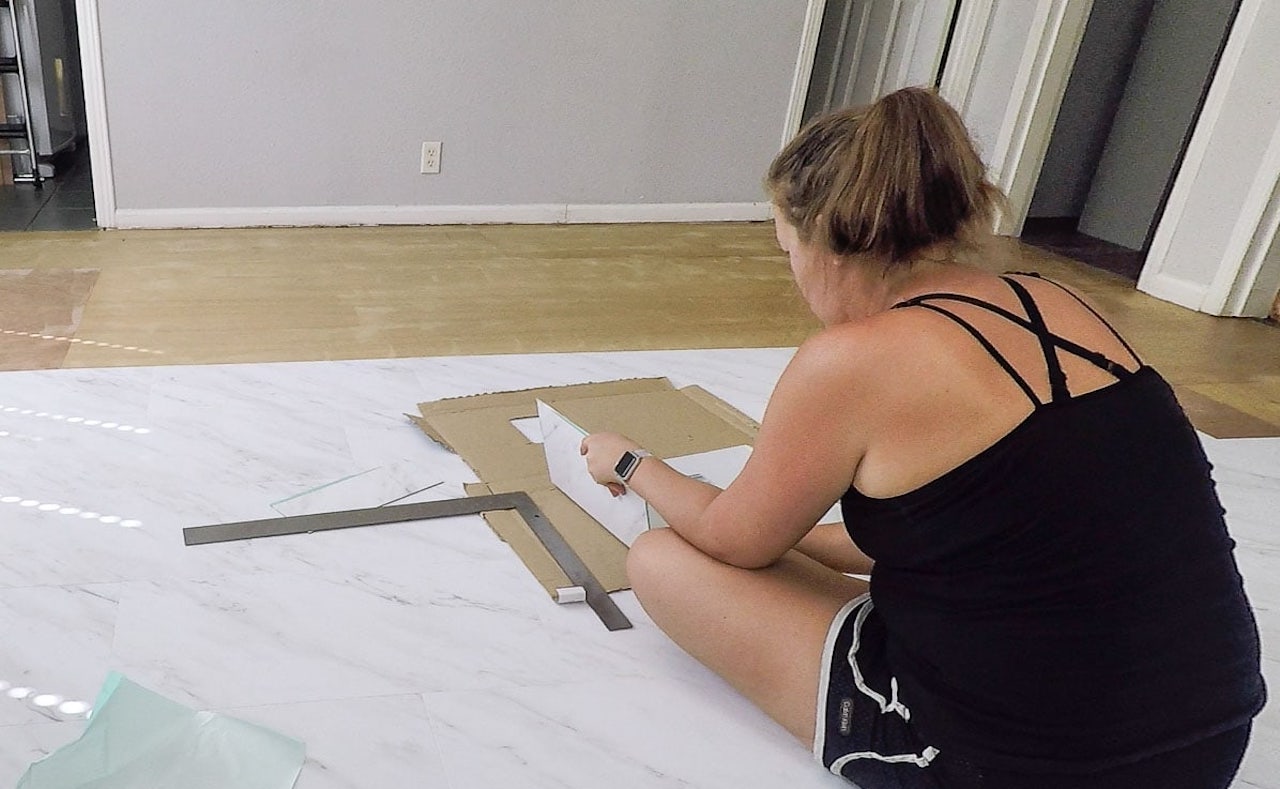
Measuring and Marking: Begin by carefully measuring the areas where tiles need to be cut to fit around obstructions, along edges, or in irregular spaces. Use a pencil or a marker to mark the precise cutting lines on the tiles, accounting for any necessary allowances for grout.
Using a Tile Cutter: A manual or electric tile cutter is an indispensable tool for achieving precise and clean cuts. Follow the marked lines and operate the cutter according to the manufacturer’s instructions, taking care to maintain steady pressure and create smooth edges on the tiles.
Fitting Around Obstacles: When fitting tiles around obstacles such as posts, columns, or built-in features, use a combination of straight cuts and carefully shaped notches to ensure a snug and professional fit. This meticulous approach will contribute to the polished appearance of the tiled patio.
Addressing Curved Edges: In cases where the patio features curved edges or irregular shapes, consider using a tile nipper or a wet saw to achieve custom cuts that conform to the contours of the patio. This technique allows for a tailored and refined finish, harmonizing the tiles with the patio’s unique design.
Test Fitting and Adjustments: After each cut, test-fit the tile to ensure that it aligns seamlessly with the surrounding tiles and the patio’s edges. Make any necessary adjustments to the cuts to achieve a precise and uniform appearance, paying attention to the details that contribute to a professional finish.
Embrace the intricacies of cutting and fitting tiles as an opportunity to showcase your craftsmanship and attention to detail. Each precisely cut and carefully fitted tile contributes to the overall allure and functionality of the patio, bringing your vision to fruition with finesse and artistry.
Grouting and Sealing
With the tiles securely in place, the next crucial phase of the patio tiling project involves grouting the joints between the tiles and, if necessary, applying a sealant to enhance the tiles’ durability and longevity. These steps not only contribute to the visual appeal of the patio but also play a vital role in protecting the tiles and ensuring that they withstand the elements for years to come.
Choosing the Grout: Select a high-quality grout that complements the color and style of your tiles while offering durability and resistance to staining. Consider the width of the grout lines and the desired aesthetic impact when making your selection.
Applying the Grout: Using a grout float, apply the grout to the joints between the tiles, ensuring that they are completely filled and level with the tile surfaces. Work in small sections, and use a diagonal motion to pack the grout firmly into the joints.
Cleaning Excess Grout: After the grout has set for a short period, use a damp sponge to gently clean the excess grout from the tile surfaces. Rinse the sponge frequently and avoid removing grout from the joints. This process will leave the tiles clean and the grout lines neatly defined.
Sealing the Tiles (if necessary): Depending on the type of tiles used, it may be necessary to apply a sealant to protect them from moisture, stains, and other environmental factors. Follow the manufacturer’s instructions to apply the sealant evenly and thoroughly, ensuring comprehensive coverage.
Allowing for Curing Time: After grouting and sealing, allow adequate time for the grout and sealant to cure according to the manufacturer’s recommendations. This curing period is essential for the grout to achieve its full strength and for the sealant to provide optimal protection.
By meticulously grouting the tiles and, if necessary, applying a suitable sealant, you are not only enhancing the visual impact of the patio but also safeguarding the tiles against wear and tear. These final touches elevate the quality and longevity of the tiled patio, ensuring that it remains a captivating and enduring feature of your outdoor space.
Final Touches and Maintenance
As the patio tiling project nears completion, attention to final touches and ongoing maintenance is essential to ensure that your newly tiled outdoor space remains a captivating and functional asset for years to come. By addressing these crucial aspects, you can elevate the overall aesthetics and longevity of the patio while also preparing for its ongoing care and preservation.
Finishing the Edges: To provide a polished and professional appearance, consider installing edge trim or transition strips along the perimeter of the patio. This not only enhances the visual appeal but also protects the tile edges from chipping and damage, contributing to the patio’s overall durability.
Cleaning and Inspection: Once the grout and sealant have fully cured, thoroughly clean the tiled surface to remove any residual grout haze or debris. Inspect the patio for any areas that may require touch-ups or additional sealing, ensuring that the tiles are well-protected and visually pristine.
Maintenance Considerations: Establish a regular maintenance routine for the tiled patio, including sweeping, gentle cleaning with a suitable outdoor cleaner, and periodic resealing as recommended for the specific type of tiles used. This proactive approach will preserve the tiles’ appearance and structural integrity over time.
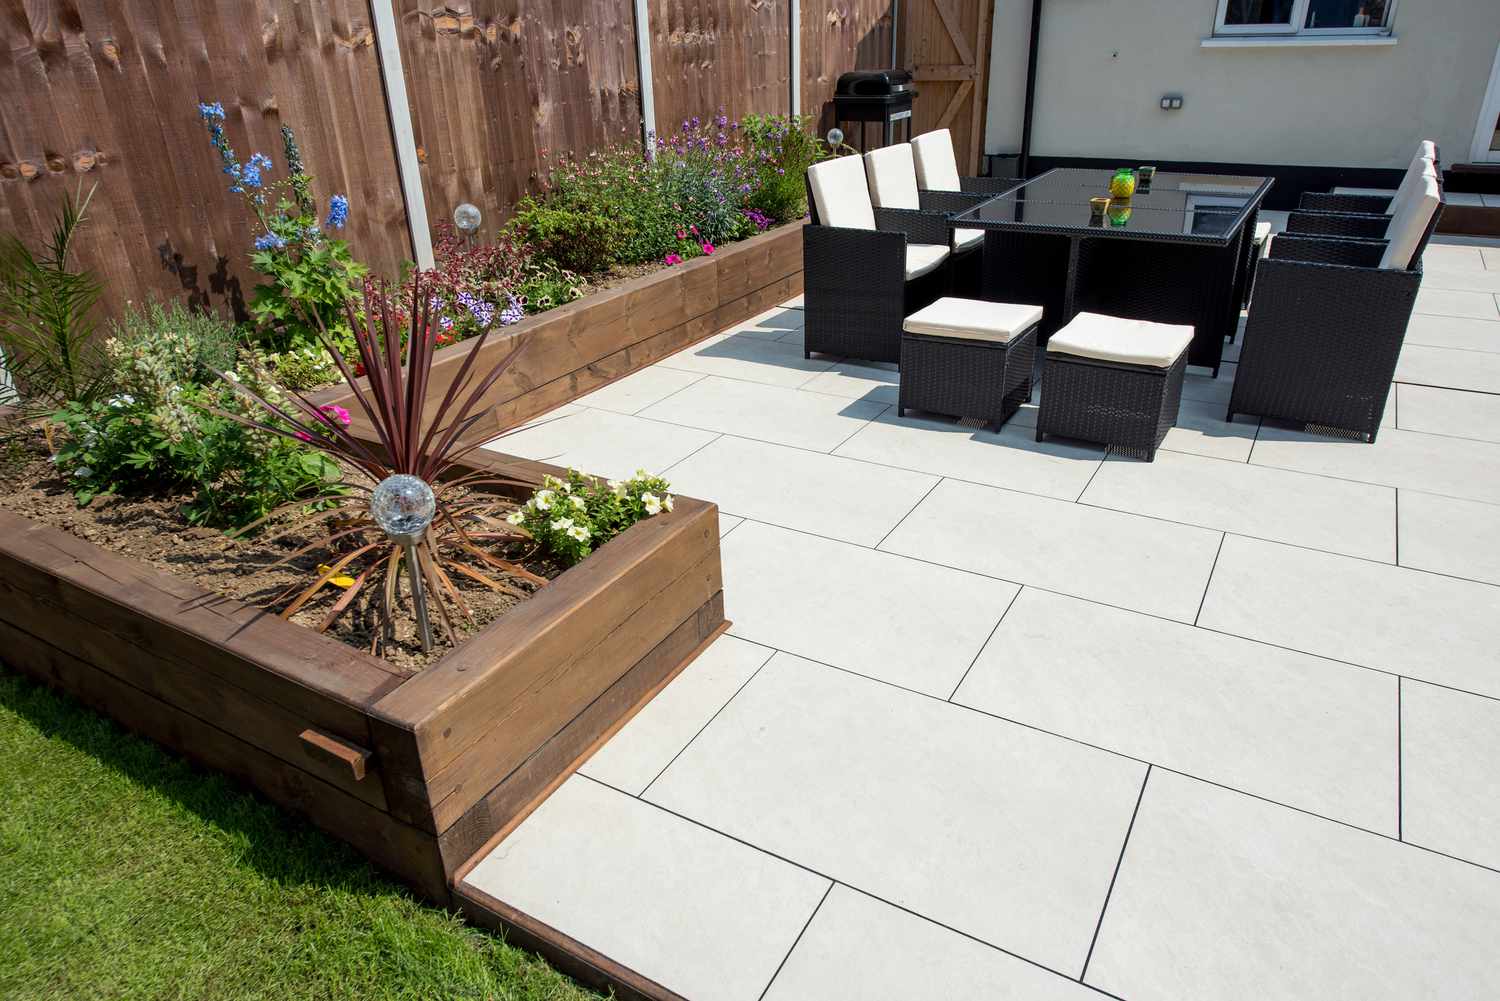
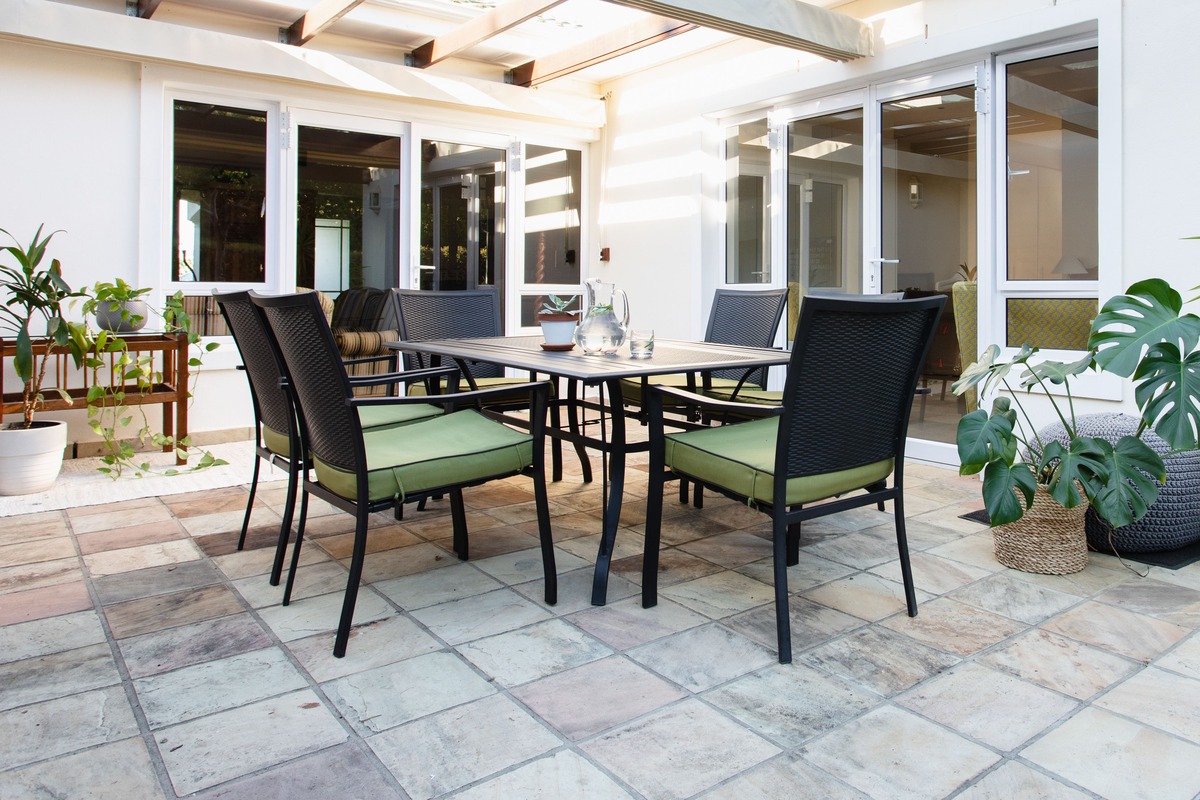
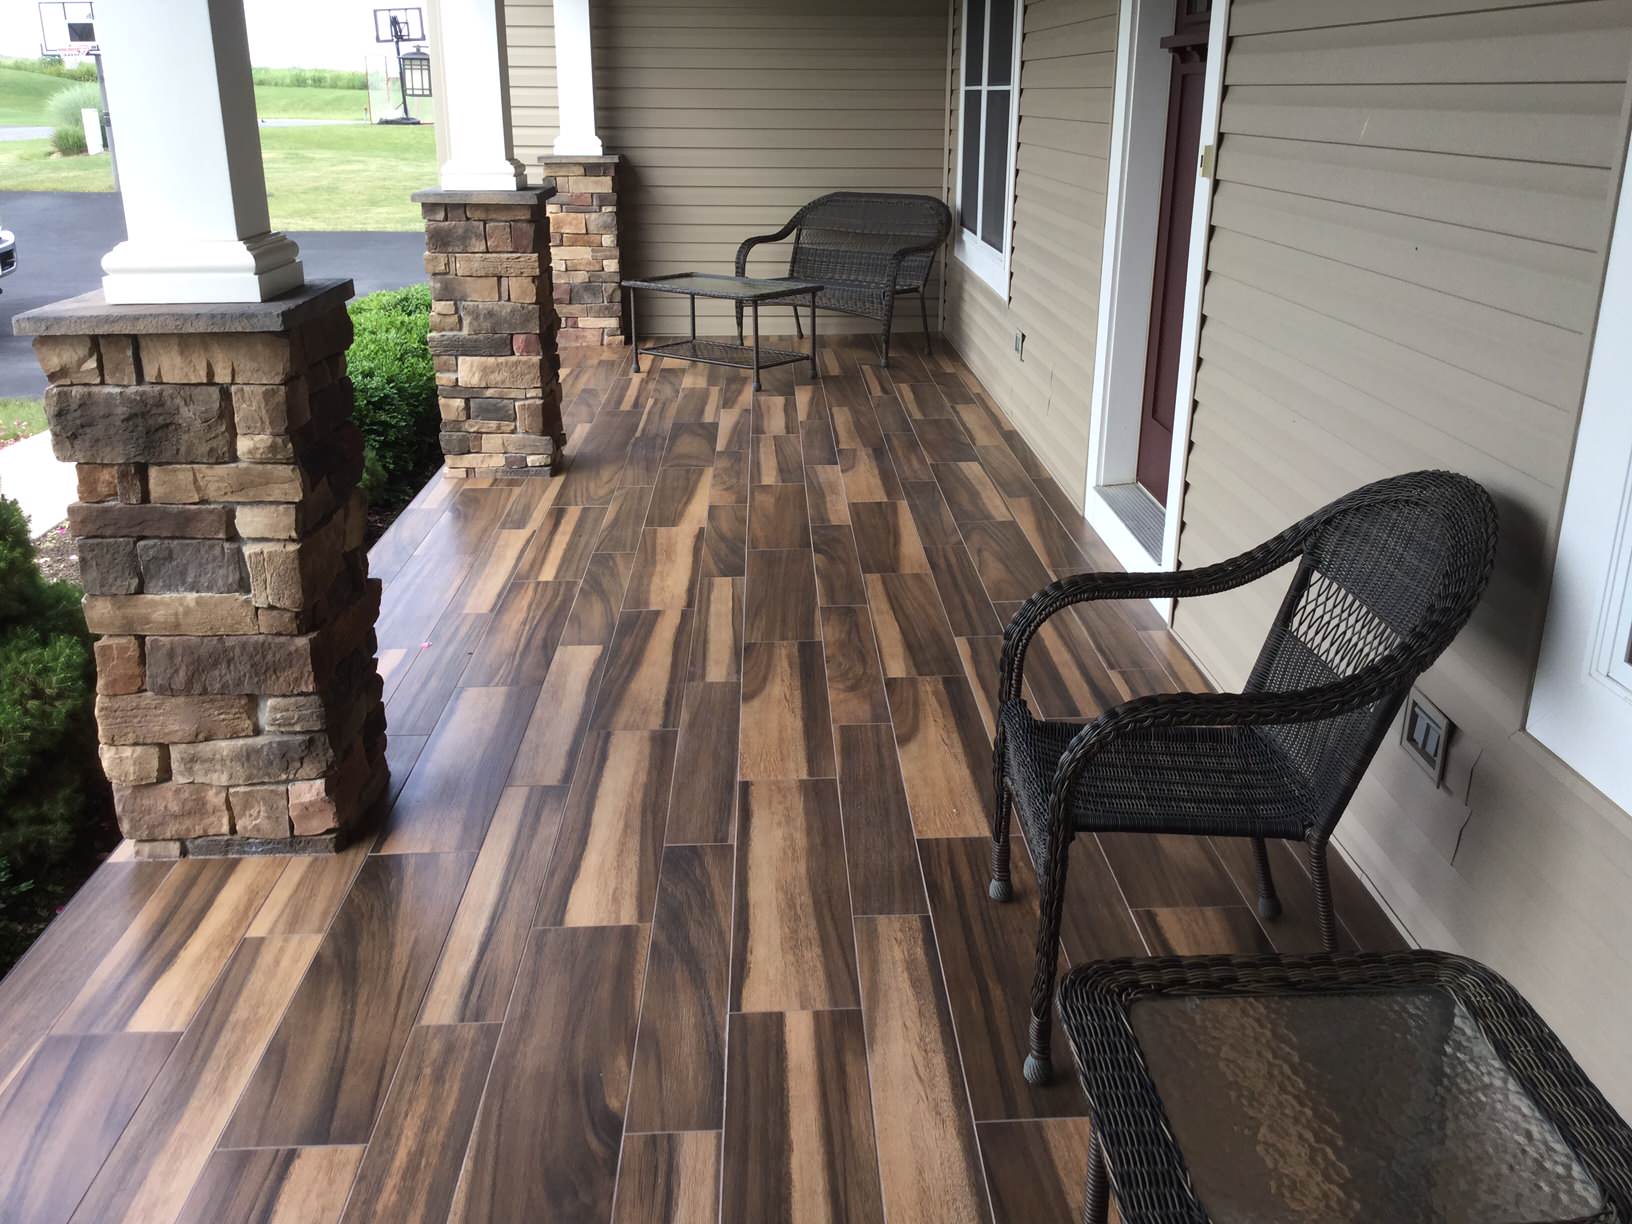
Furniture and Decor: Complete the transformation of the patio by adding furniture, outdoor decor, and potted plants that complement the newly tiled surface. This infusion of personal style and functionality will create an inviting and harmonious outdoor space for relaxation and entertainment.
Enjoying the Results: With the patio now transformed into a captivating tiled oasis, take the time to savor the fruits of your labor. Whether it’s a quiet moment of reflection, a gathering with friends and family, or simply enjoying the beauty of the outdoors, your newly tiled patio is a testament to your vision and dedication.
By attending to these final touches and embracing a proactive approach to maintenance, you are ensuring that your tiled patio remains a cherished and enduring feature of your outdoor living space. With proper care and attention, the patio will continue to inspire and delight, offering a beautiful and functional extension of your home for years to come.
Frequently Asked Questions about How To Tile A Patio
Was this page helpful?
At Storables.com, we guarantee accurate and reliable information. Our content, validated by Expert Board Contributors, is crafted following stringent Editorial Policies. We're committed to providing you with well-researched, expert-backed insights for all your informational needs.







0 thoughts on “How To Tile A Patio”