Home>Gardening & Outdoor>Outdoor Structures>How To Build A Shed Roof Overhang

Outdoor Structures
How To Build A Shed Roof Overhang
Modified: May 6, 2024
Learn how to create a functional and stylish shed roof overhang for your outdoor structures. Discover step-by-step instructions and expert tips.
(Many of the links in this article redirect to a specific reviewed product. Your purchase of these products through affiliate links helps to generate commission for Storables.com, at no extra cost. Learn more)
Introduction
Building a shed roof overhang is a fantastic way to enhance the functionality and aesthetic appeal of your outdoor structure. Whether you're constructing a new shed or looking to upgrade an existing one, a well-designed overhang can provide protection from the elements, create additional outdoor space, and add a touch of architectural elegance.
In this comprehensive guide, we'll explore the essential steps and considerations for constructing a shed roof overhang. From planning and preparation to selecting the right materials and tools, we'll cover everything you need to know to undertake this rewarding project with confidence.
A well-executed roof overhang not only shields the shed from rain, snow, and harsh sunlight but also offers a sheltered area for outdoor activities, storage, or relaxation. Additionally, a carefully crafted overhang can contribute to the overall charm and character of your property, making it a valuable and versatile addition to your outdoor space.
Whether you're a seasoned DIY enthusiast or a novice looking to expand your skills, this guide will equip you with the knowledge and inspiration to create a functional and visually appealing shed roof overhang. So, roll up your sleeves, gather your tools, and let's dive into the exciting world of building a shed roof overhang.
Key Takeaways:
- Planning and preparation are crucial for building a shed roof overhang. Consider shed orientation, local weather, and safety measures to lay a solid foundation for a successful project.
- Choosing the right size, materials, and tools is essential for constructing a functional and visually appealing shed roof overhang. Careful evaluation and selection ensure optimal protection and outdoor space enhancement.
Read more: How To Build A Gable End Roof Overhang
Planning and Preparation
Before embarking on the construction of a shed roof overhang, meticulous planning and thorough preparation are essential for a successful outcome. Begin by evaluating the existing shed structure to determine the most suitable approach for integrating the overhang. Consider the shed’s orientation, size, and architectural style, as these factors will influence the design and dimensions of the overhang.
Next, assess the environmental conditions specific to your location. Take into account the typical weather patterns, such as prevailing wind direction, average precipitation, and sun exposure throughout the day. Understanding these elements will help you position the overhang to provide optimal protection and functionality.
Additionally, check local building codes and regulations to ensure compliance with any relevant restrictions or requirements. Obtain any necessary permits or approvals before commencing the project to avoid potential setbacks or legal issues.
Once you’ve gathered essential information and familiarized yourself with the shed’s characteristics and local building regulations, it’s time to develop a detailed plan for the overhang. Consider the purpose of the overhang—whether it’s primarily for weather protection, outdoor storage, or as a shaded area for leisure activities. This will guide the design and dimensions of the overhang, ensuring it fulfills your specific needs.
Furthermore, create a comprehensive materials list and a step-by-step construction timeline. This will help you estimate the required budget and allocate sufficient time for each phase of the project. Take into account the availability of materials and any external assistance you may need, such as hiring a professional contractor for certain aspects of the construction.
Lastly, safety should always be a top priority. Familiarize yourself with the proper use of tools and equipment, and ensure that the work area is clear of hazards. Consider enlisting the help of a friend or family member to assist with certain tasks, particularly those involving heavy lifting or working at heights.
By meticulously planning and preparing for the construction of the shed roof overhang, you’ll lay a solid foundation for a successful and rewarding project. With careful consideration of the shed’s attributes, local regulations, and safety measures, you’ll be well-equipped to proceed to the next phase of this exciting endeavor.
Choosing the Overhang Size
When determining the size of the overhang for your shed roof, several factors come into play, each influencing the functionality and visual appeal of the structure. The overhang size is a critical consideration that directly impacts the shed’s protection from the elements, as well as the versatility of the outdoor space it creates.
First and foremost, consider the primary purpose of the overhang. If your goal is to provide ample coverage for outdoor activities or storage, a larger overhang may be necessary to offer sufficient shelter and space. On the other hand, if you’re aiming for a more modest extension that adds architectural interest without significantly altering the shed’s footprint, a smaller overhang might be more suitable.
Another key consideration is the shed’s orientation and the direction of prevailing weather patterns. If your shed is often subjected to strong winds or heavy rainfall from a particular direction, a wider overhang on that side can offer enhanced protection, preventing water ingress and minimizing exposure to harsh elements.
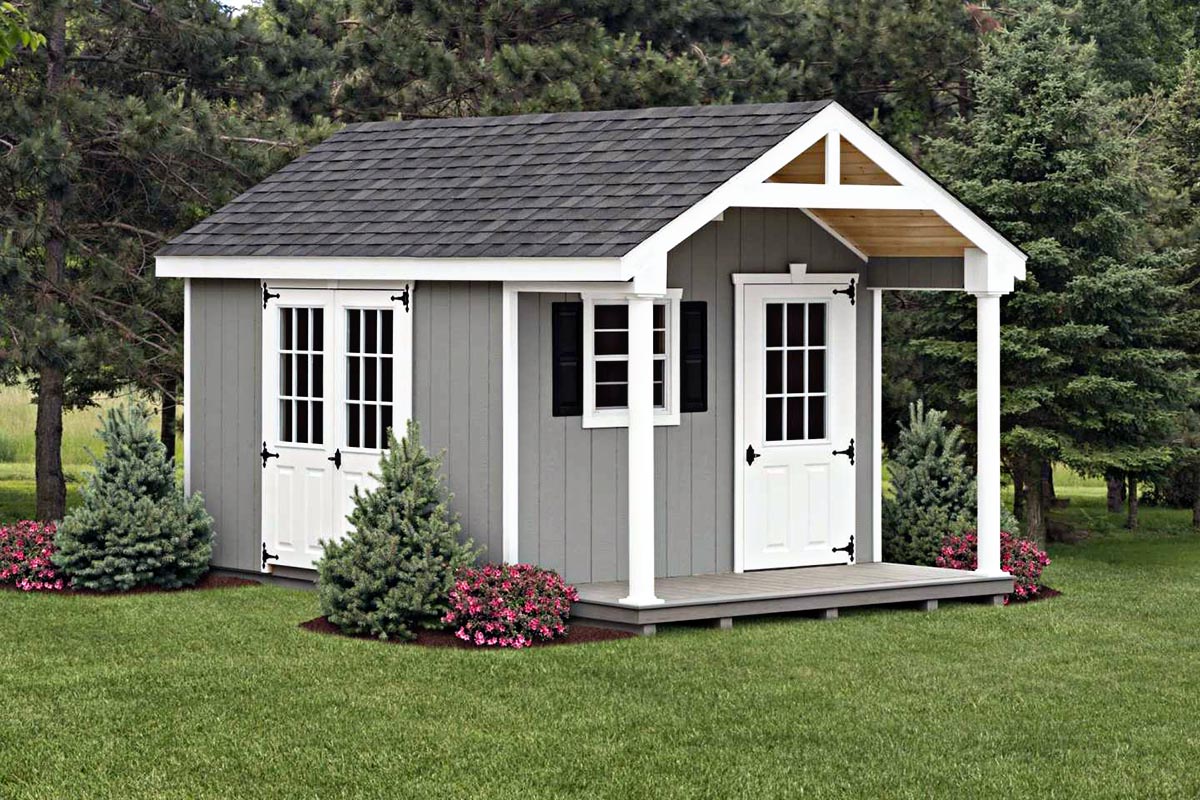
The visual balance and proportion of the overhang in relation to the shed’s overall design should also be taken into account. A well-proportioned overhang can complement the shed’s aesthetic appeal, adding a touch of elegance and character to the structure. Consider the roof pitch and architectural style of the shed when determining the ideal size and shape of the overhang to ensure a harmonious and cohesive appearance.
Furthermore, think about how the overhang will integrate with the surrounding landscape and outdoor activities. If you envision using the sheltered space for seating, outdoor dining, or as a work area, the size of the overhang should accommodate these functions comfortably, allowing for furniture placement and free movement within the covered area.
Lastly, consider the practical aspects of construction and material usage when determining the overhang size. A larger overhang may require additional structural support and increased material quantities, impacting the overall cost and complexity of the project. Evaluate these factors in conjunction with your budget and construction capabilities to arrive at a size that aligns with your preferences and practical considerations.
By carefully evaluating the intended purpose, environmental influences, visual harmony, and practical implications, you can confidently select an overhang size that optimizes the functionality and visual appeal of your shed roof. With a well-considered approach, the overhang will seamlessly integrate with the shed, providing valuable protection and enhancing the outdoor space for years to come.
Materials and Tools
Equipping yourself with the right materials and tools is essential for the successful construction of a shed roof overhang. From sturdy structural components to specialized equipment, each element plays a crucial role in ensuring the durability, functionality, and visual appeal of the overhang.
Materials
The choice of materials for the overhang will significantly impact its performance and longevity. Consider using high-quality, weather-resistant materials that can withstand the elements and complement the overall design of the shed. Here are some key materials commonly used in constructing a shed roof overhang:
- Pressure-treated lumber or cedar for framing and support beams
- Exterior-grade plywood or oriented strand board (OSB) for sheathing
- Roofing materials such as asphalt shingles, metal panels, or corrugated fiberglass panels
- Fascia and soffit materials for finishing the edges and underside of the overhang
- Hardware including nails, screws, and construction adhesives
- Weatherproofing and sealing products to protect the overhang from moisture and UV exposure
Read more: How To Build A Roof For A Shed
Tools
Having the right tools at your disposal will streamline the construction process and ensure precision and safety. While the specific tools required may vary based on the design and complexity of the overhang, a basic set of tools for building a shed roof overhang typically includes:
- Measuring and marking tools such as a tape measure, carpenter’s square, and chalk line
- Power tools including a circular saw, drill/driver, and reciprocating saw
- Hand tools such as a hammer, screwdrivers, and adjustable wrenches
- Ladder or scaffolding for safe access to elevated areas
- Roofing-specific tools like a roofing nail gun, shingle cutter, and roofing hammer
- Protective gear including gloves, safety glasses, and a dust mask
Before commencing the construction, ensure that all tools are in good working condition, and familiarize yourself with their proper usage and safety guidelines. Additionally, consider the need for any specialized equipment or machinery, especially if you plan to tackle more complex overhang designs or larger-scale projects.
By carefully selecting high-quality materials and assembling a comprehensive array of tools, you’ll set the stage for a smooth and efficient construction process. With the right materials and tools at your disposal, you can proceed with confidence, knowing that you’re well-equipped to bring your shed roof overhang vision to life.
Building the Roof Overhang
Constructing a roof overhang for your shed involves a series of methodical steps that culminate in a sturdy, weather-resistant extension. From framing the overhang to installing the roofing materials, each phase requires precision and attention to detail to ensure a structurally sound and visually appealing outcome.
Framing and Support
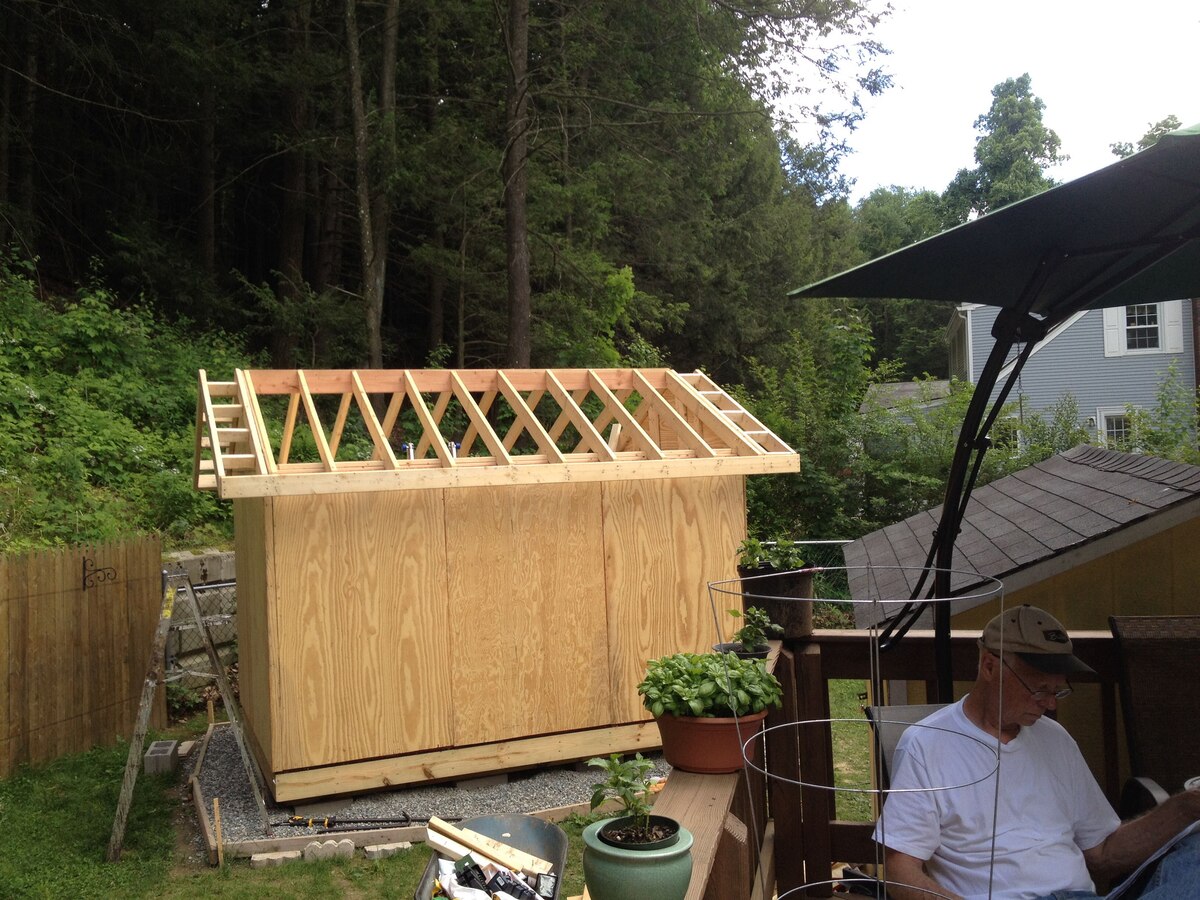
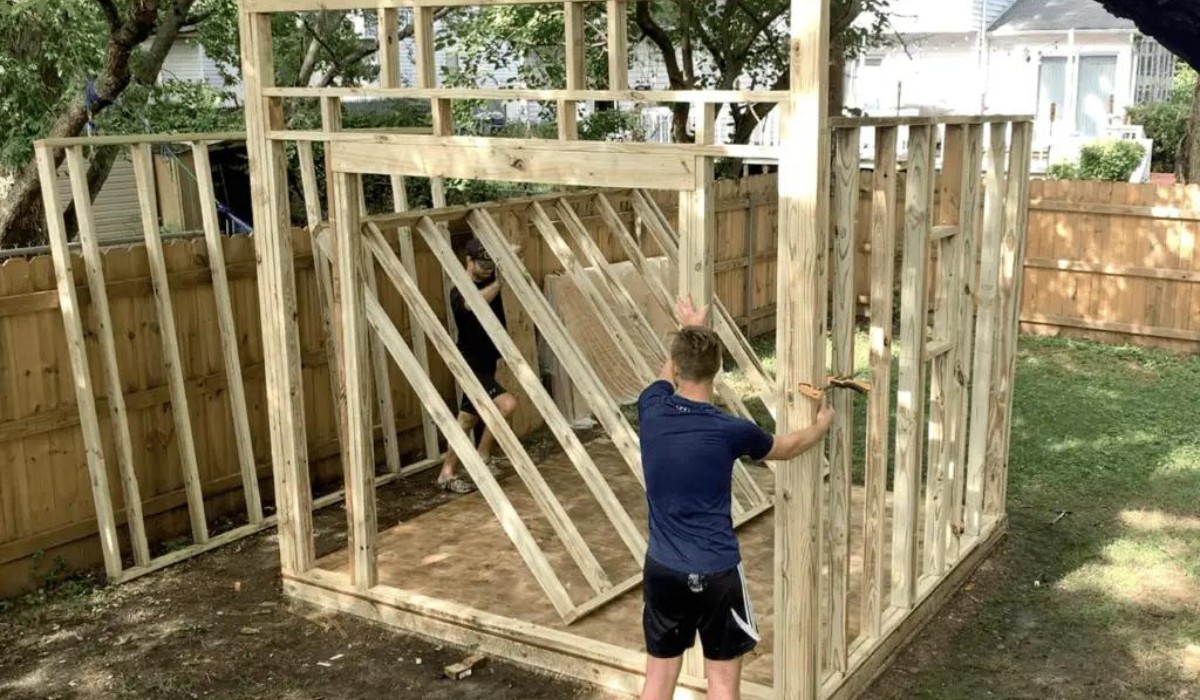
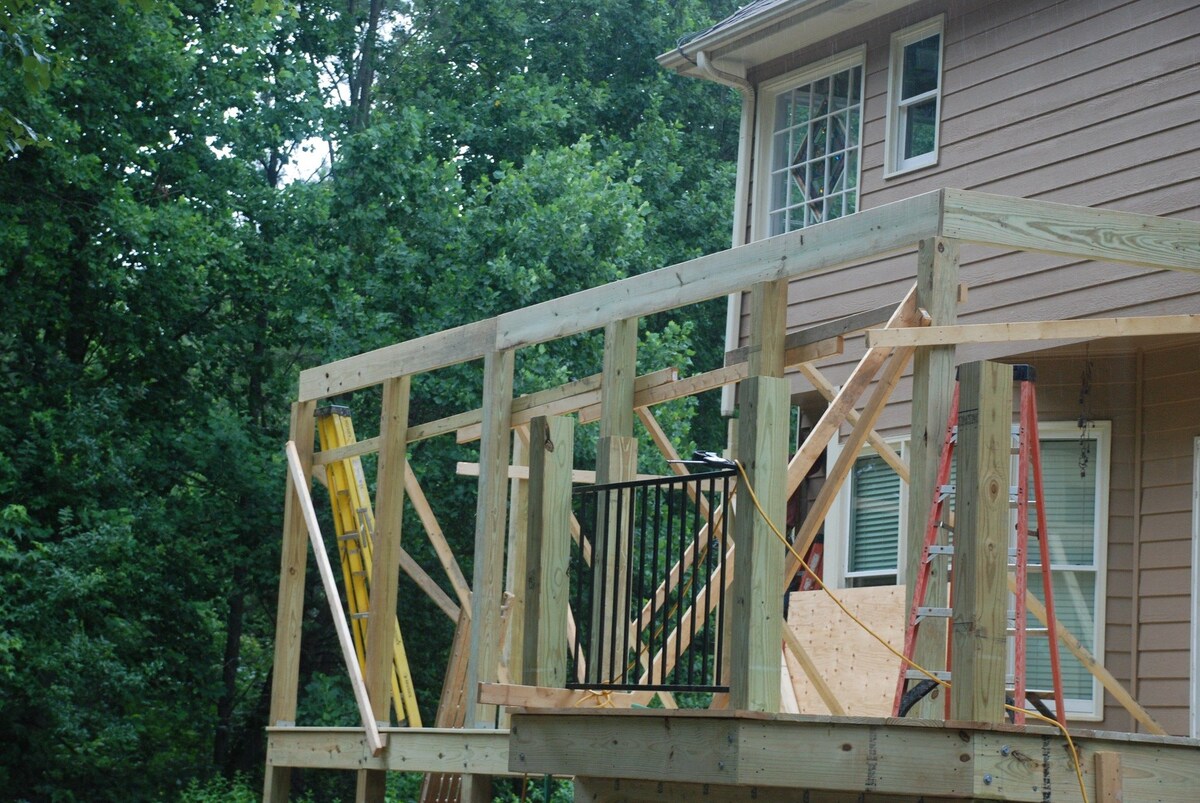
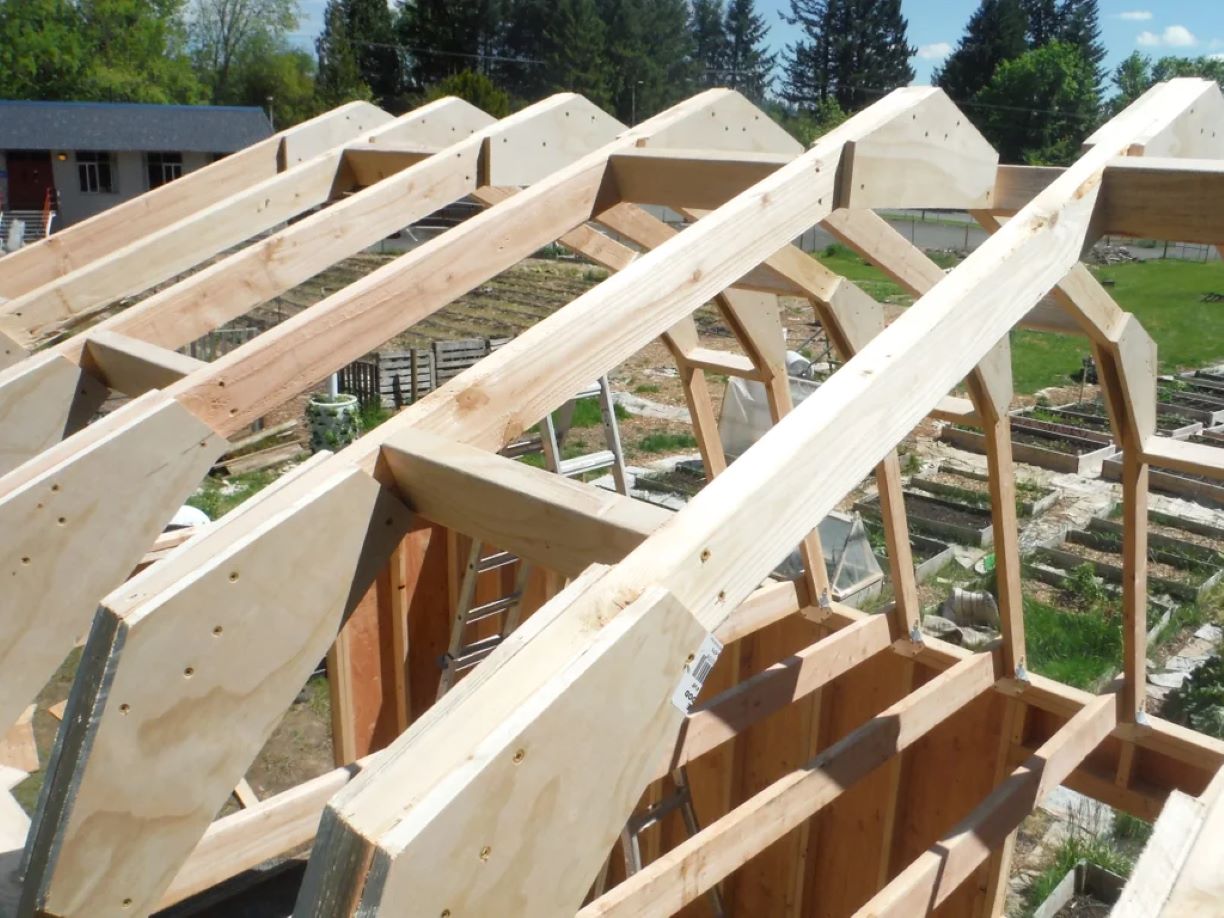
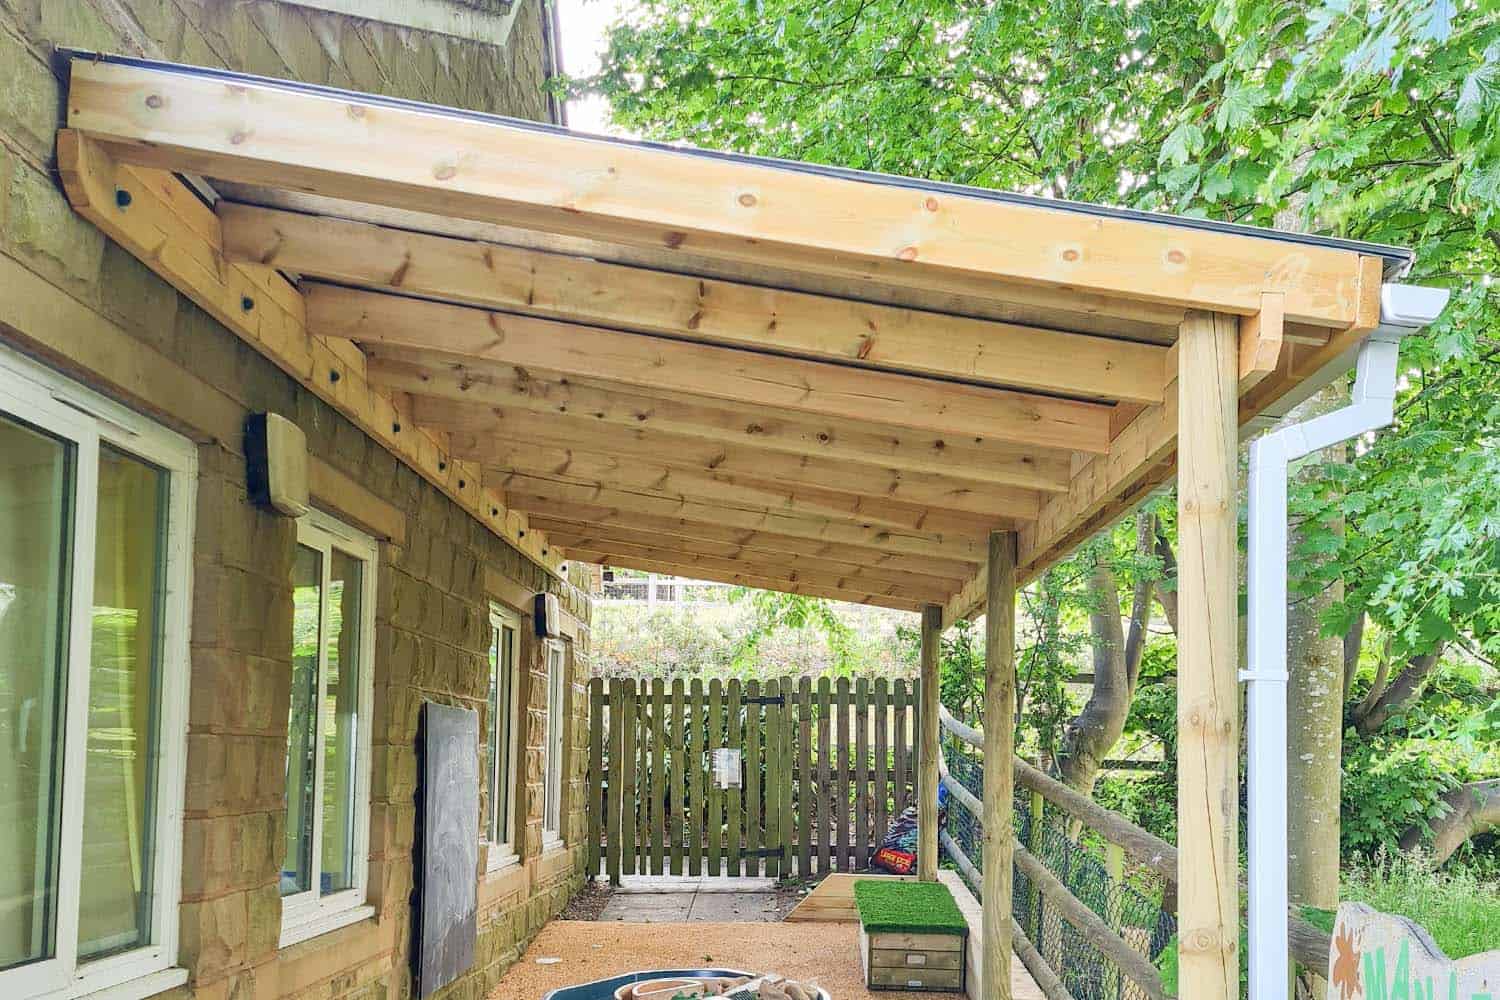
Begin by determining the location and dimensions of the overhang, marking the positions for the support posts or beams. Use pressure-treated lumber or cedar for the framing, ensuring that the materials are resistant to moisture and rot. Secure the support components to the shed structure, ensuring a strong and stable connection that can withstand wind and weather forces.
Next, install the horizontal framing members, such as the ledger board and joists, to create the framework for the overhang. Ensure that these components are precisely aligned and securely fastened to provide a solid base for the overhang structure.
Sheathing and Weatherproofing
Once the framing is in place, apply exterior-grade plywood or oriented strand board (OSB) to sheathe the overhang, providing a sturdy substrate for the roofing materials. Properly seal the seams and edges to prevent water infiltration and enhance the overhang’s weather resistance.
Consider incorporating a layer of weatherproofing material, such as a moisture barrier or roofing underlayment, to further protect the sheathing and underlying structure from moisture and environmental exposure. This additional layer serves as a crucial line of defense against water intrusion and contributes to the overhang’s long-term durability.
Read more: How To Build A Slanted Roof On A Shed
Roofing Installation
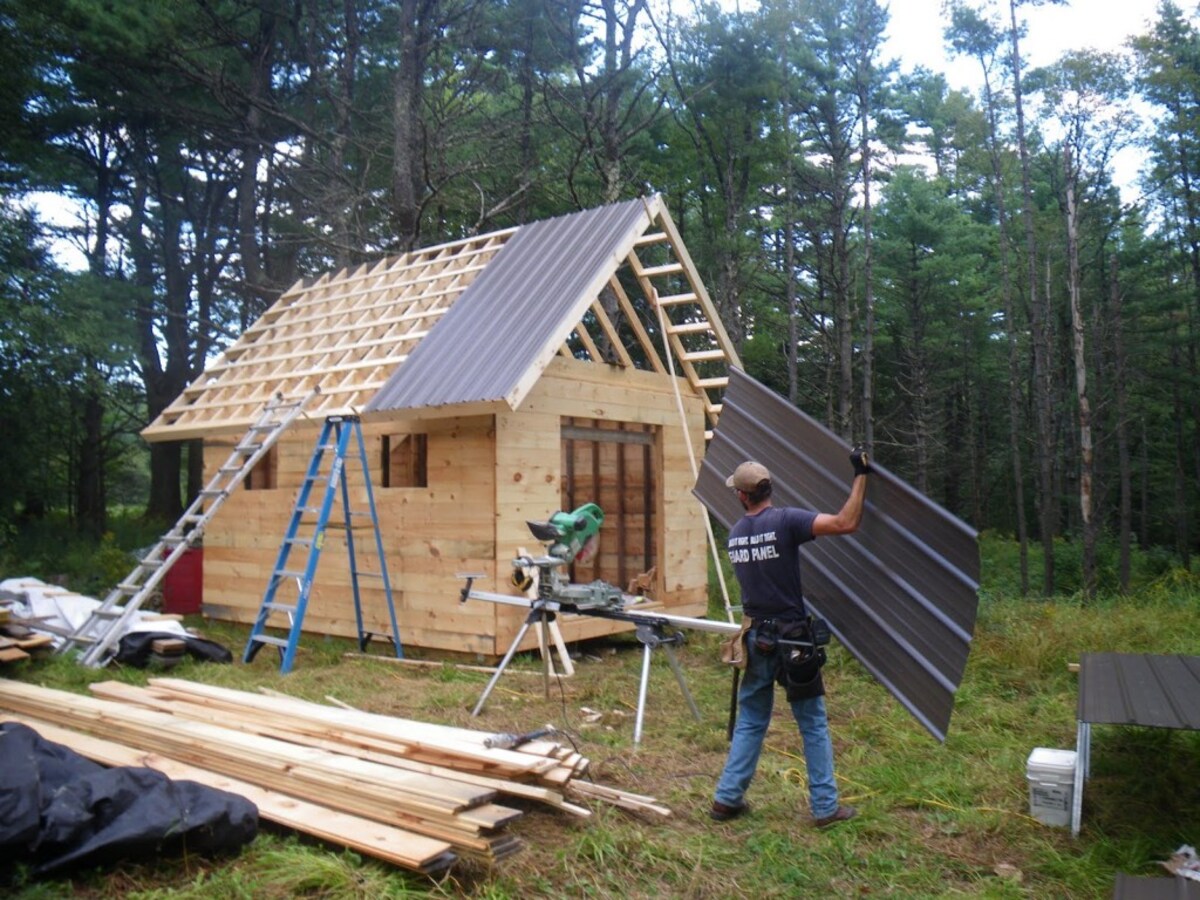
With the sheathing and weatherproofing in place, proceed to install the selected roofing materials according to the manufacturer’s guidelines. Whether you opt for asphalt shingles, metal panels, or another roofing option, ensure that the installation is carried out meticulously to achieve a watertight and visually appealing roof surface.
Pay close attention to the flashing details, ensuring that all intersections, edges, and penetrations are properly sealed to prevent water ingress. Additionally, incorporate appropriate ventilation components to promote airflow and minimize moisture buildup within the overhang structure.
Finishing Touches
Complete the overhang construction by adding finishing touches such as fascia, soffit, and trim elements to enhance the aesthetics and weather resistance of the structure. These components not only contribute to the overhang’s visual appeal but also serve practical functions, such as protecting the exposed edges and creating a cohesive transition between the overhang and the main shed roof.
Throughout the construction process, prioritize safety measures, especially when working at heights or handling heavy materials. Enlist the assistance of a qualified professional if you encounter complexities beyond your expertise, ensuring that the overhang is constructed to meet safety and structural standards.
By following these systematic steps and exercising precision and care, you’ll transform your shed into a versatile and resilient outdoor space with a well-constructed roof overhang. The resulting structure will provide valuable protection, expand your outdoor living area, and enhance the overall appeal of your property for years to come.
Adding Finishing Touches
As you near the completion of the shed roof overhang construction, attention to detail and thoughtful finishing touches will elevate the overall functionality, aesthetics, and durability of the structure. By incorporating essential elements and refining the finer details, you’ll ensure that the overhang not only serves its practical purpose but also enhances the visual appeal and cohesiveness of the shed.
Fascia and Soffit
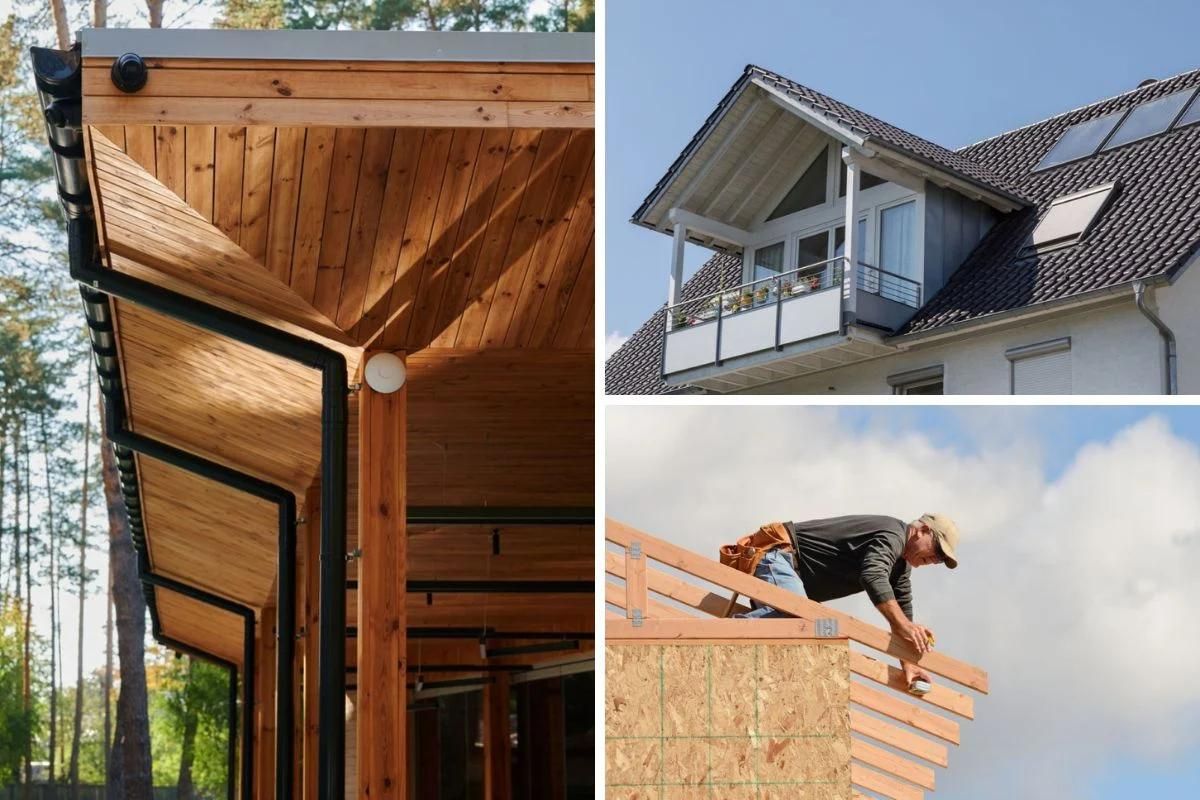
One of the key finishing elements of the overhang is the installation of fascia and soffit components. Fascia boards are typically installed along the exposed edges of the overhang, providing a clean and finished appearance while protecting the underlying structure from moisture and environmental exposure. Soffit panels are then installed underneath the overhang, concealing the rafters and providing ventilation to promote airflow and prevent moisture buildup.
When selecting fascia and soffit materials, opt for weather-resistant options that complement the overall design of the shed. Consider color coordination and architectural harmony to ensure that these finishing elements seamlessly integrate with the existing shed structure, enhancing its visual appeal and cohesiveness.
Read more: How To Build Roof Trusses For A Shed
Trim and Detailing
Incorporating trim elements and detailed accents can significantly enhance the aesthetic charm and character of the overhang. Consider adding decorative trim pieces, corbels, or architectural moldings to accentuate the overhang’s architectural style and create a polished, refined look. These embellishments can contribute to the overhang’s visual appeal, adding a touch of sophistication and individuality to the structure.
Paint or Stain
Applying a protective finish, such as paint or stain, to the overhang and its finishing elements is essential for preserving the wood and enhancing its resistance to weathering. Choose a high-quality exterior-grade paint or stain that complements the shed’s existing color scheme and architectural style. Properly priming and finishing the wood surfaces will not only protect them from moisture and UV exposure but also contribute to the overall aesthetic cohesion of the shed and overhang.
Gutter Installation
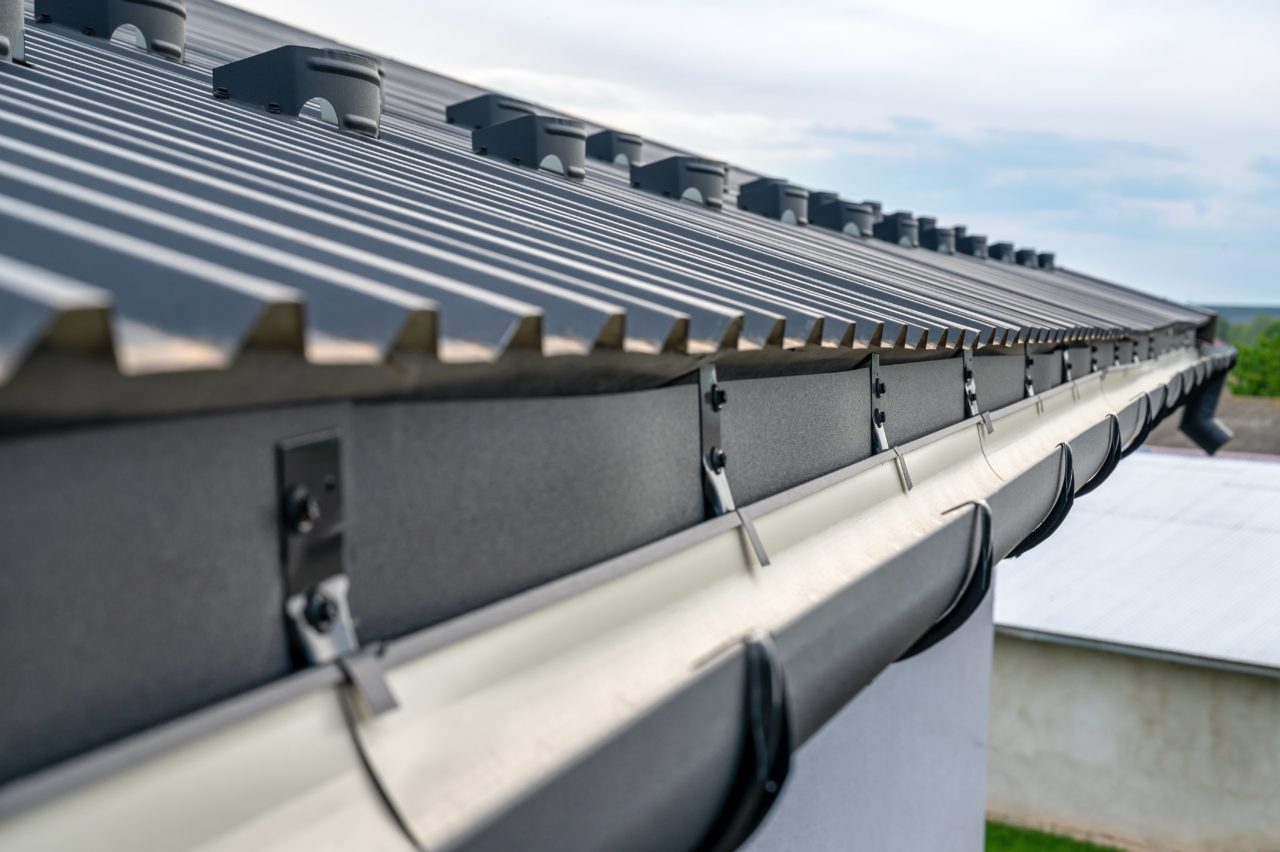
Consider installing gutters and downspouts to efficiently manage rainwater runoff from the overhang. Well-designed gutter systems prevent water from pooling around the shed, minimizing the risk of water damage and erosion. Select gutters that complement the shed’s design and ensure proper installation to effectively channel water away from the structure and surrounding areas.
Lighting and Accessories
Enhance the functionality and ambiance of the overhang by incorporating lighting fixtures and outdoor accessories. Strategically placed outdoor lighting can extend the usability of the overhang into the evening hours while adding a warm, inviting atmosphere. Additionally, consider integrating outdoor furnishings, planters, or decorative elements to personalize the space and create an inviting outdoor retreat.
By attending to these finishing touches, you’ll transform the shed roof overhang into a well-appointed, functional, and visually captivating outdoor feature. The thoughtful integration of fascia, soffit, trim, protective finishes, and additional amenities will elevate the overhang’s appeal and contribute to a cohesive, harmonious outdoor environment.
Read more: How To Extend A Roof Overhang
Conclusion
Embarking on the construction of a shed roof overhang is a gratifying endeavor that not only enhances the functionality and protection of your outdoor space but also adds a distinctive architectural element to your property. By carefully planning, selecting the right materials and tools, and executing the construction with precision and attention to detail, you can create a versatile and visually appealing overhang that complements your shed while enriching your outdoor living experience.
Throughout the construction process, the thoughtful consideration of factors such as overhang size, environmental influences, and finishing touches plays a pivotal role in shaping the overhang’s performance and aesthetics. By aligning the overhang’s dimensions with its intended purpose, integrating weather-resistant materials, and attending to the finer details, you’ll ensure that the overhang serves as a durable, protective extension of your shed.
Furthermore, the incorporation of finishing elements such as fascia, soffit, trim, protective finishes, and additional amenities adds depth and character to the overhang, elevating its visual appeal and contributing to a cohesive outdoor environment. These details not only enhance the overhang’s functionality but also reflect your personal style and attention to craftsmanship.
As you complete the construction of the shed roof overhang and admire the transformation of your outdoor space, take pride in the valuable protection and expanded usability it provides. Whether the overhang shelters outdoor gatherings, serves as a storage extension, or simply adds a touch of architectural elegance to your shed, its impact on your property’s aesthetics and functionality is undeniable.
Ultimately, the successful construction of a shed roof overhang is a testament to your dedication to enhancing your outdoor space. By embracing the challenges and rewards of this project, you’ve not only expanded your DIY skills but also created a lasting and impactful addition to your property. As you enjoy the shelter and charm of the overhang, may it serve as a symbol of your creativity, craftsmanship, and commitment to maximizing the potential of your outdoor living environment.
Ready to take on more DIY projects or consider enhancing your outdoor space with unique designs? Our next guides will surely pique your interest. For hobbyists and hands-on folks, learning about the benefits of DIY projects can offer insights into why taking matters into your own hands might be more rewarding than you think. Meanwhile, if your taste leans towards distinctive aesthetics for gardens or patios, our overview of various outdoor structures could provide the inspiration you need for your next big project.
Frequently Asked Questions about How To Build A Shed Roof Overhang
Was this page helpful?
At Storables.com, we guarantee accurate and reliable information. Our content, validated by Expert Board Contributors, is crafted following stringent Editorial Policies. We're committed to providing you with well-researched, expert-backed insights for all your informational needs.

0 thoughts on “How To Build A Shed Roof Overhang”