Articles
How To Build A Lean To Roof On A Shed
Modified: October 25, 2024
Learn how to build a lean to roof on a shed with our informative articles. Get step-by-step instructions and expert tips for a successful project.
(Many of the links in this article redirect to a specific reviewed product. Your purchase of these products through affiliate links helps to generate commission for Storables.com, at no extra cost. Learn more)
Introduction
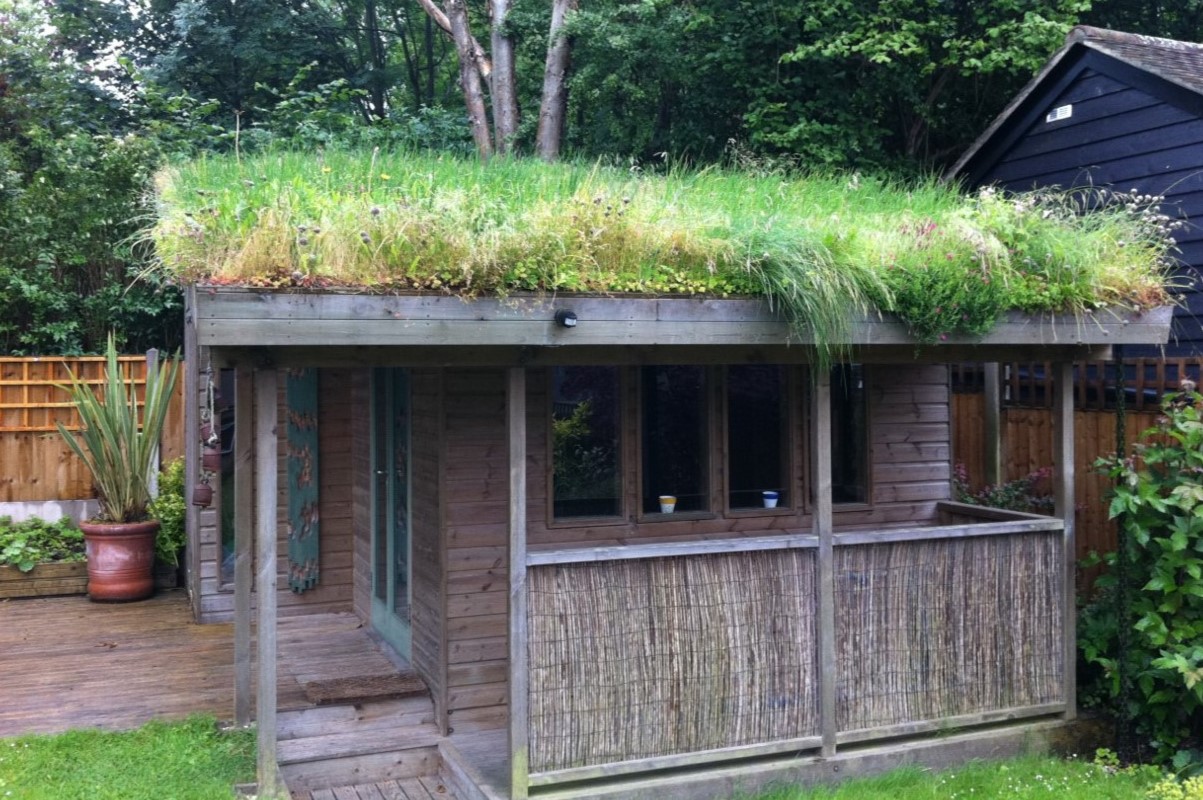
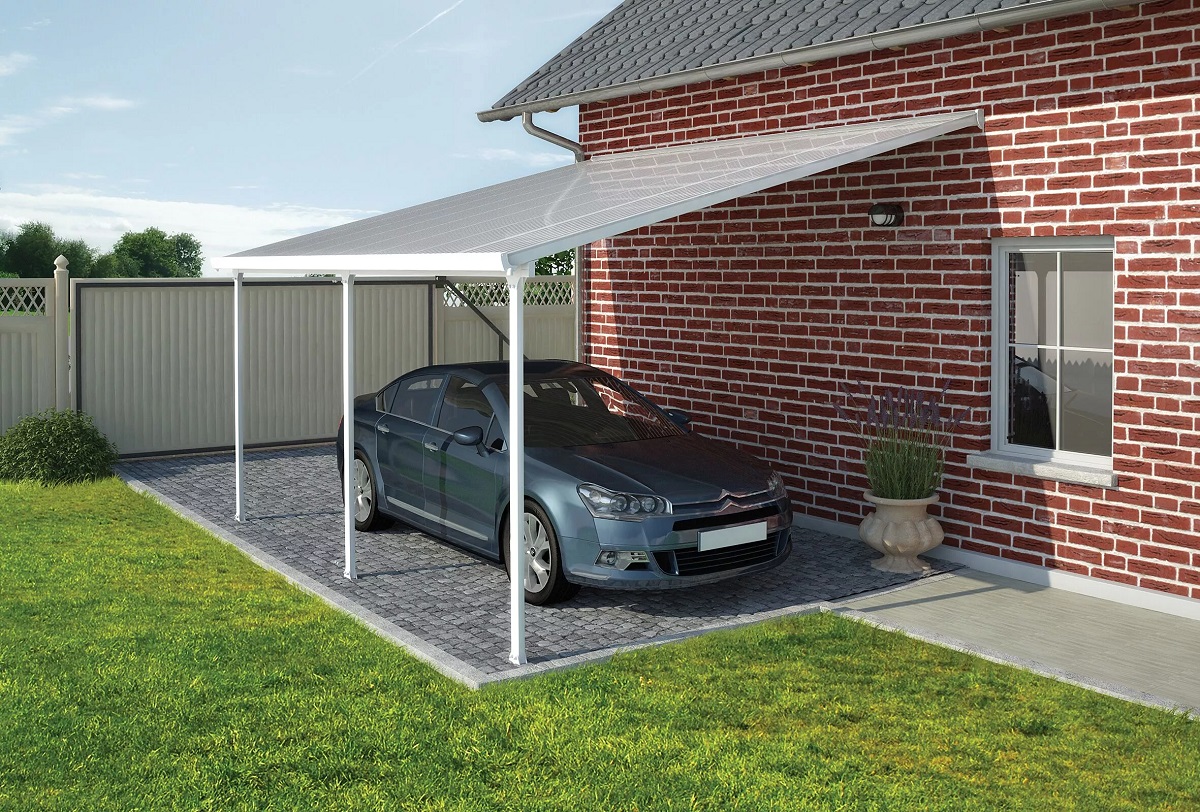
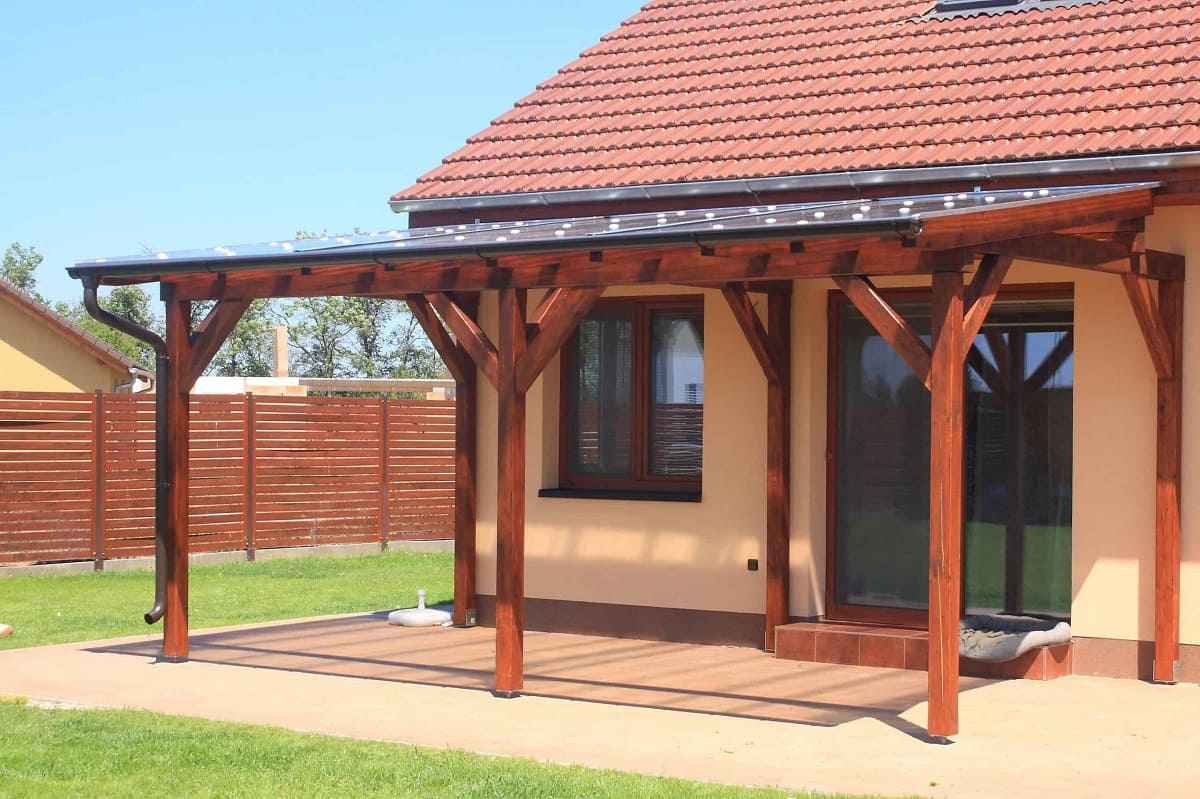
Building a lean-to roof on a shed can provide additional storage space, protect your belongings from the elements, and enhance the overall functionality and aesthetics of your shed. Whether you need a sheltered area to store your gardening tools, park your bicycle, or create a cozy outdoor workspace, a lean-to roof can be a simple and cost-effective solution.
In this article, we will guide you through the step-by-step process of building a lean-to roof on a shed. We will provide you with all the necessary information, tools, and materials you’ll need to successfully complete the project. By following these instructions, even if you have little to no experience in construction, you’ll be able to create a sturdy and functional lean-to roof that will last for years to come.
Please note that while we strive to provide accurate and helpful information, every shed and project may have unique requirements and specifications. It’s always a good idea to consult local building codes, seek professional advice if needed, and adapt our instructions based on your specific situation.
So, let’s get started on creating your lean-to roof and maximizing the potential of your shed!
Key Takeaways:
- Transform your shed into a functional and aesthetically pleasing space by following the step-by-step guide to building a lean-to roof. Enjoy added storage, workspace, and protection for your outdoor belongings.
- Gather materials, prepare the shed, construct the roof frame, and add finishing touches to create a sturdy and durable lean-to roof. Enhance your outdoor space with a cost-effective and practical solution.
Read more: How To Build A Lean Tool Shed
Step 1: Gather Materials and Tools
Before starting any construction project, it’s important to gather all the necessary materials and tools. Here’s a list of what you’ll need for building a lean-to roof on your shed:
- Pressure-treated lumber: This will be used for the frame of the roof and should be resistant to rot and decay.
- Roofing materials: You can choose from options like asphalt shingles, metal roofing, or corrugated plastic panels, depending on your preference and budget.
- Screws and nails: Choose appropriate fasteners based on the materials you’re working with.
- Tape measure: Essential for taking accurate measurements.
- Level: To ensure that the roof frame is properly aligned and straight.
- Saw: Whether it’s a circular saw, miter saw, or handsaw, you’ll need it to cut the lumber to the required lengths.
- Drill: Use a drill with appropriate bits to make pilot holes and secure fasteners.
- Hammer: For hammering nails into place.
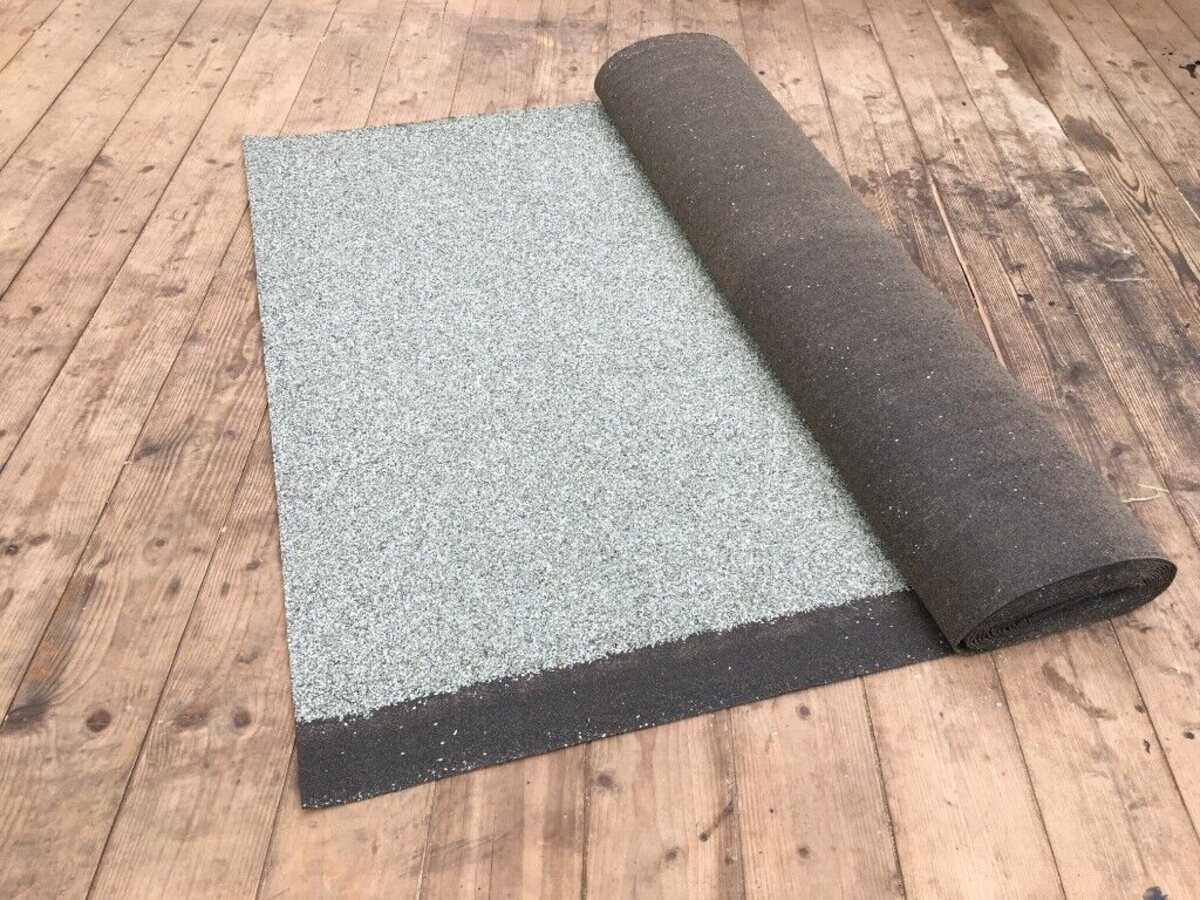
- Roofing underlayment: Provides an additional layer of insulation and protection against water leakage.
- Flashing: Used to seal and protect the joints and edges of the roof.
- Roofing adhesive or sealant: To ensure a water-tight seal between the roofing materials.
- Safety equipment: Don’t forget to have safety goggles, gloves, and a sturdy ladder to work safely at heights.
Once you have all the necessary materials and tools, you’re ready to move on to the next step: preparing the shed for the lean-to roof construction.
Step 2: Prepare the Shed
Before you start constructing the lean-to roof, it’s important to properly prepare the shed to ensure a solid foundation for the new structure. Here’s how you can do it:
- Clear the area: Remove any items or debris from around the shed to provide ample space for the construction process. This will also make it easier to work and maneuver around the shed.
- Clean the roof: Remove any dirt, leaves, or moss from the existing shed roof. Use a broom or a pressure washer to ensure a clean surface.
- Inspect the shed: Check for any damage or weaknesses in the shed structure. Repair any loose boards, damaged shingles, or rotting sections to ensure the shed is structurally sound.
- Measure and mark: Use a tape measure to determine the desired size and location of the lean-to roof. Mark the dimensions on the shed walls, ensuring that they are level and square.
- Prepare the attachment points: Identify the areas on the shed where the lean-to roof will be attached. Depending on your shed’s design, this may involve screwing into the existing framing or attaching additional support beams.
- Apply a waterproof sealant: Before attaching the lean-to roof, apply a waterproof sealant along the edges of the shed roof. This will help prevent water penetration and ensure a watertight connection between the new roof and the shed.
By following these steps, you’ll have a properly prepared shed, ready to support the construction of the lean-to roof. Now it’s time to move on to determining the pitch and size of the roof in Step 3.
Step 3: Determine the Pitch and Size of the Lean-To Roof
When building a lean-to roof, it’s important to determine the pitch (slope) and size of the roof to ensure proper drainage and functionality. Here’s how you can do it:
- Measure the height: Measure the height from the top of the shed wall to the desired height of the lean-to roof. This will determine the pitch of the roof.
- Determine the pitch: The pitch of a roof is usually specified in terms of rise over run. For example, a 1:12 pitch means the roof rises 1 inch for every 12 inches of horizontal run. Decide on the appropriate pitch based on your needs and local weather conditions.
- Calculate the size: Measure the length and width of the area where the lean-to roof will be attached to the shed. This will determine the size of the roof and the amount of materials needed.
- Consider overhang: Decide if you want to include an overhang on the lean-to roof, which can provide additional protection from the elements. The size of the overhang will depend on personal preference and the shed’s design.
Keep in mind that the pitch and size of the lean-to roof should be in proportion to the existing shed and its surroundings. Additionally, check local building codes or regulations to ensure compliance.
Once you have determined the pitch and size of the lean-to roof, you can move on to constructing the roof frame in Step 4.
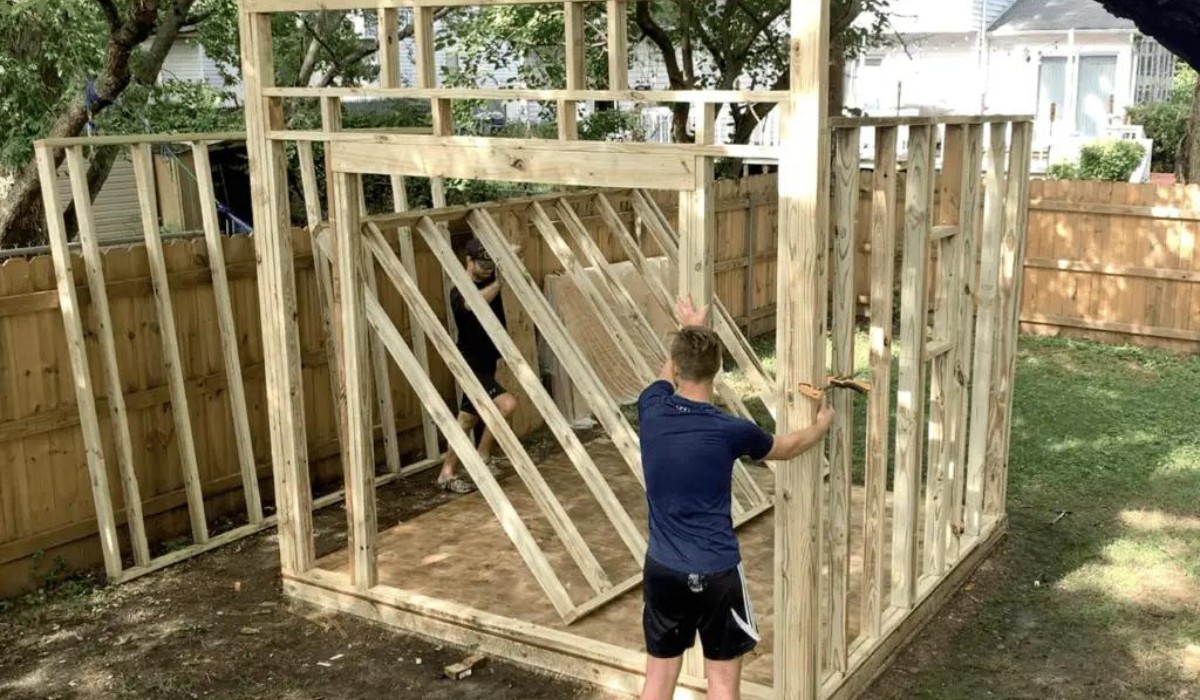
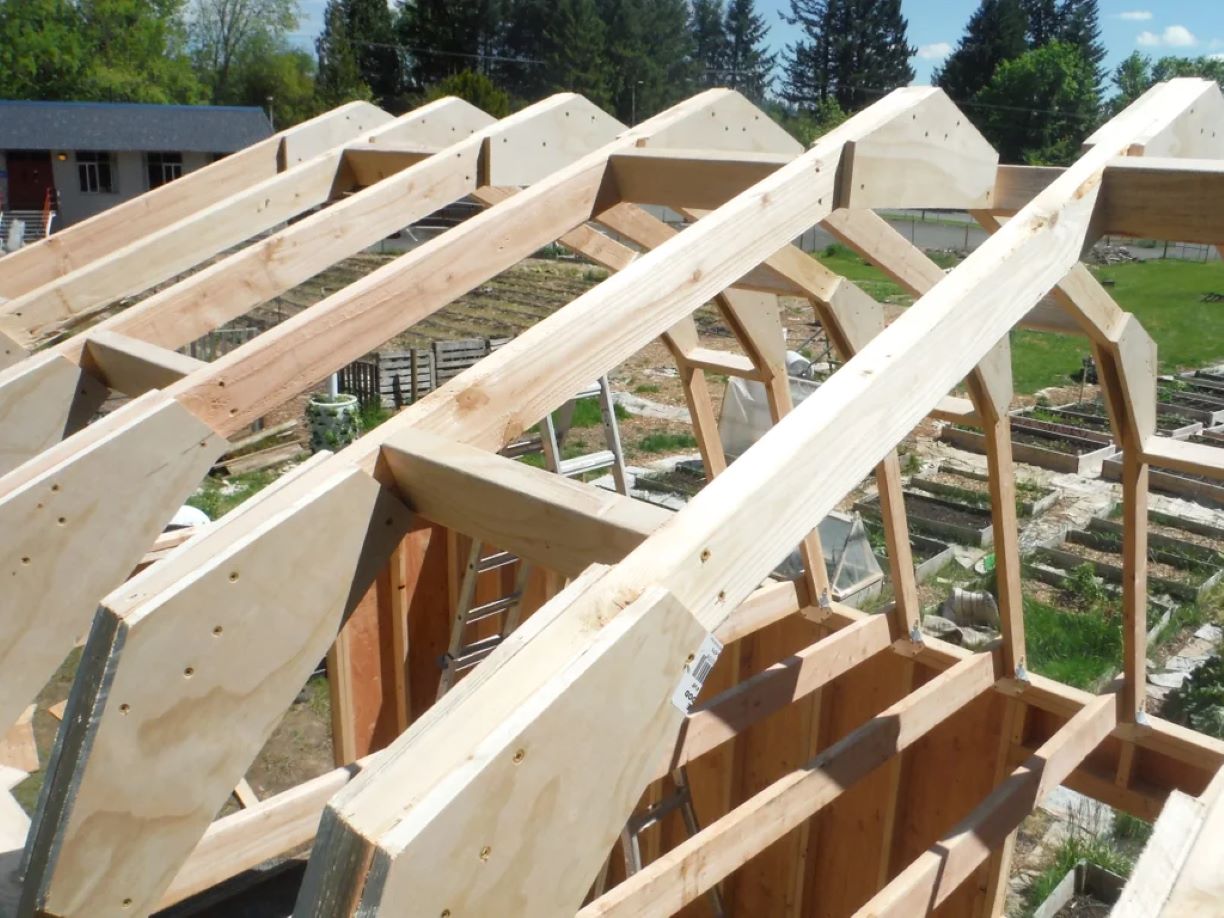
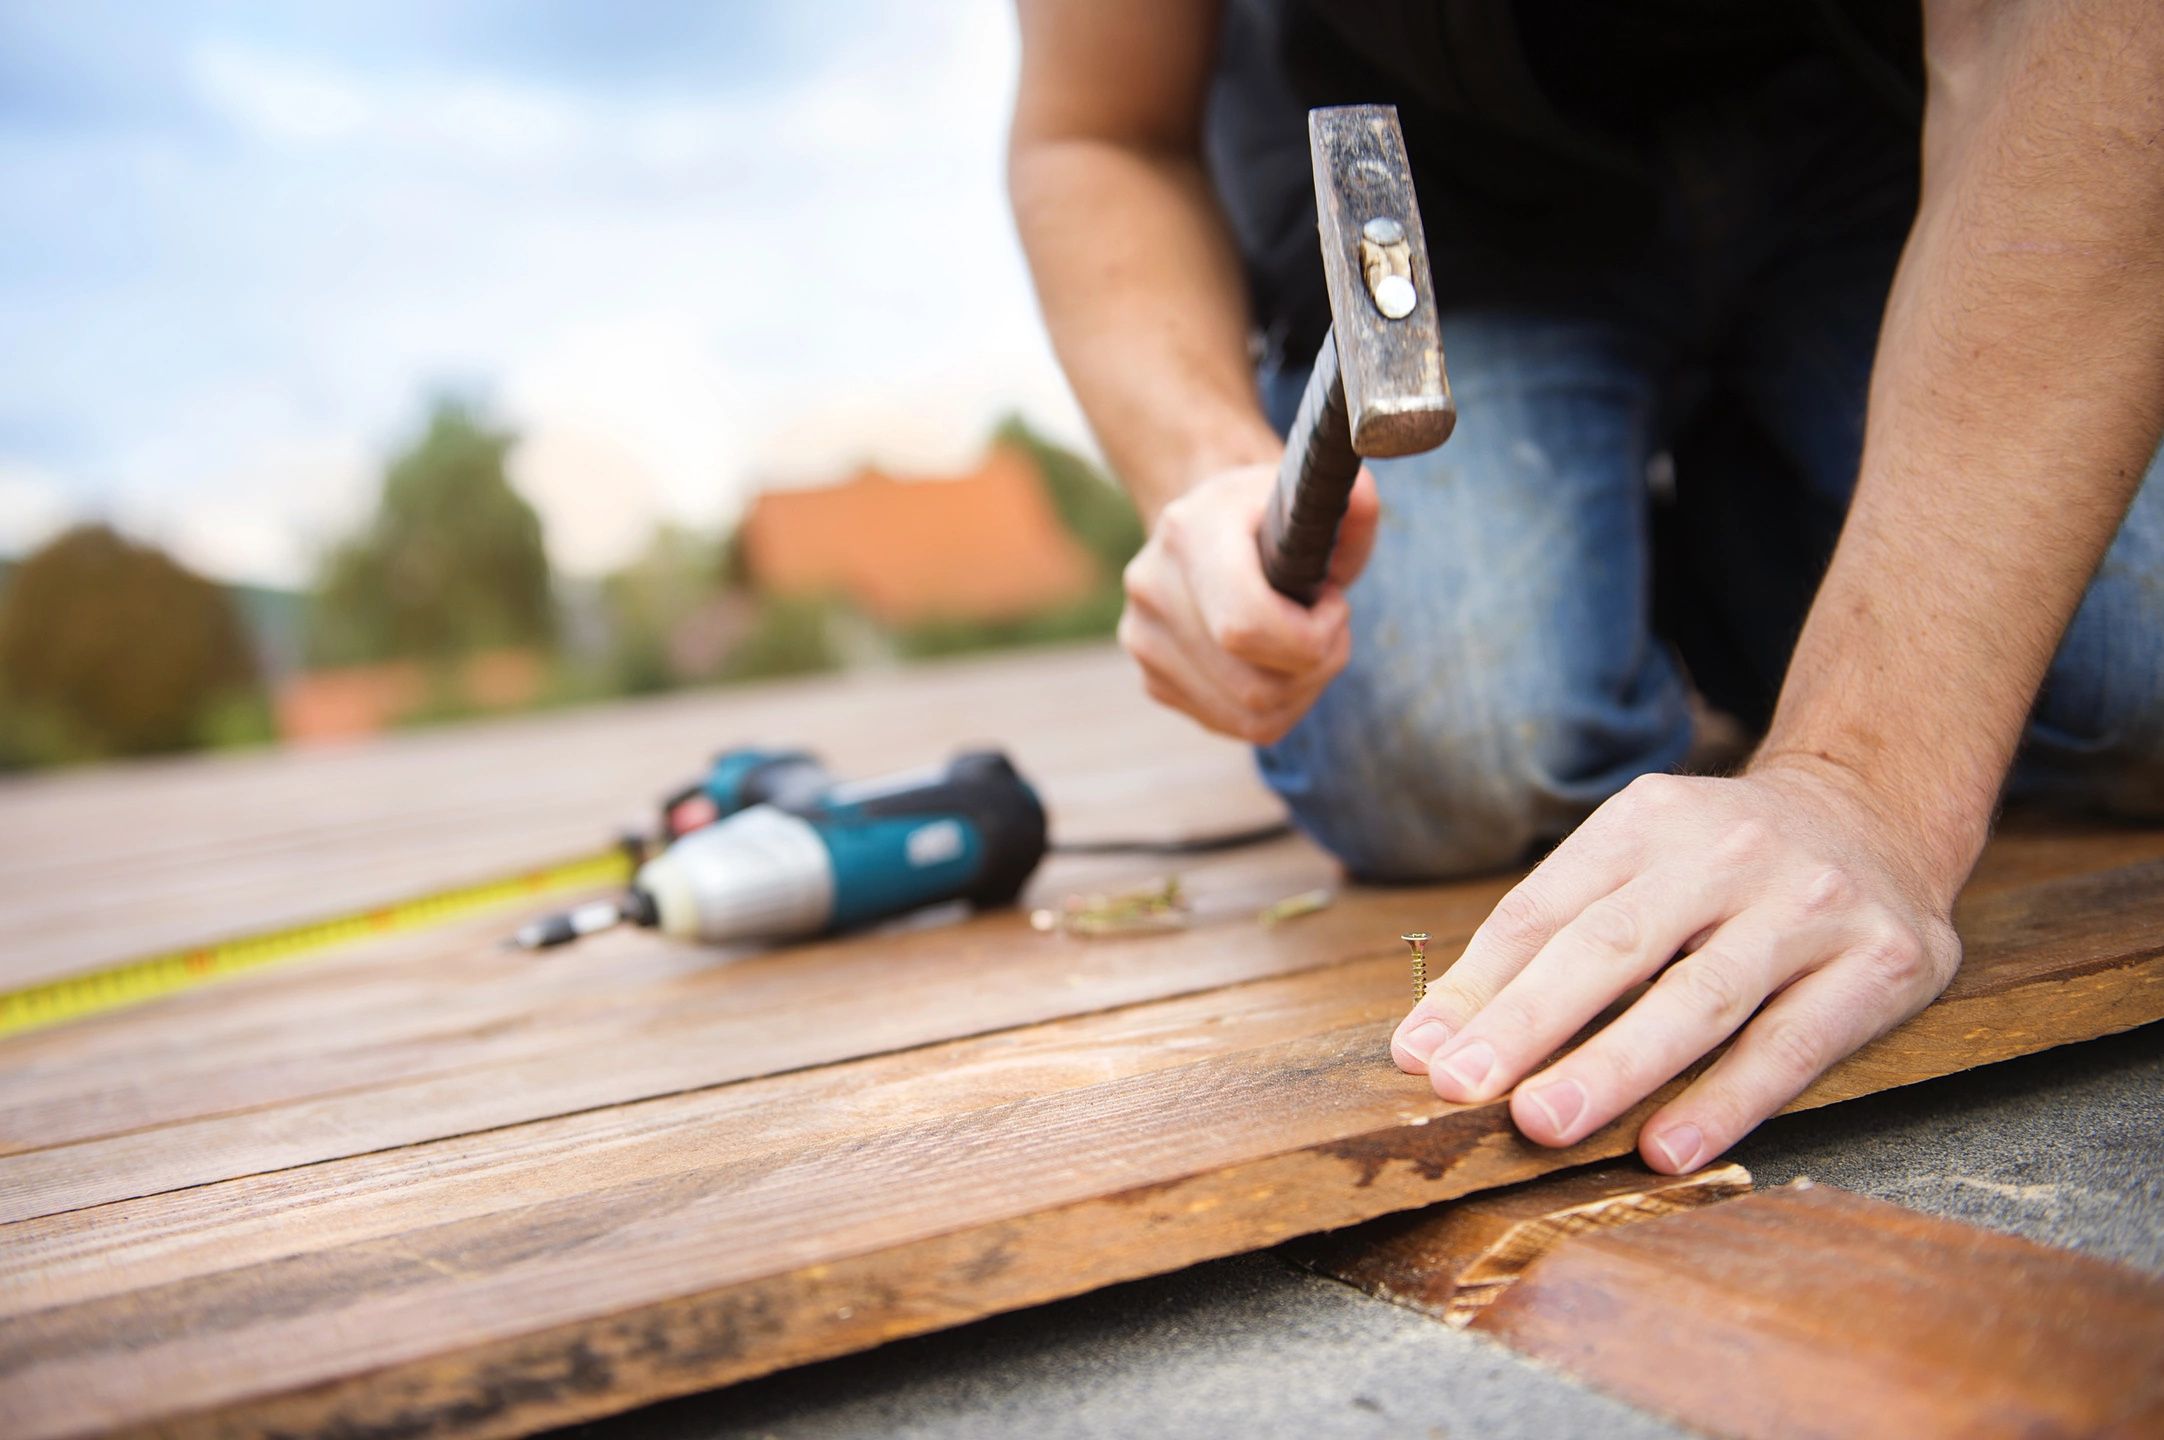
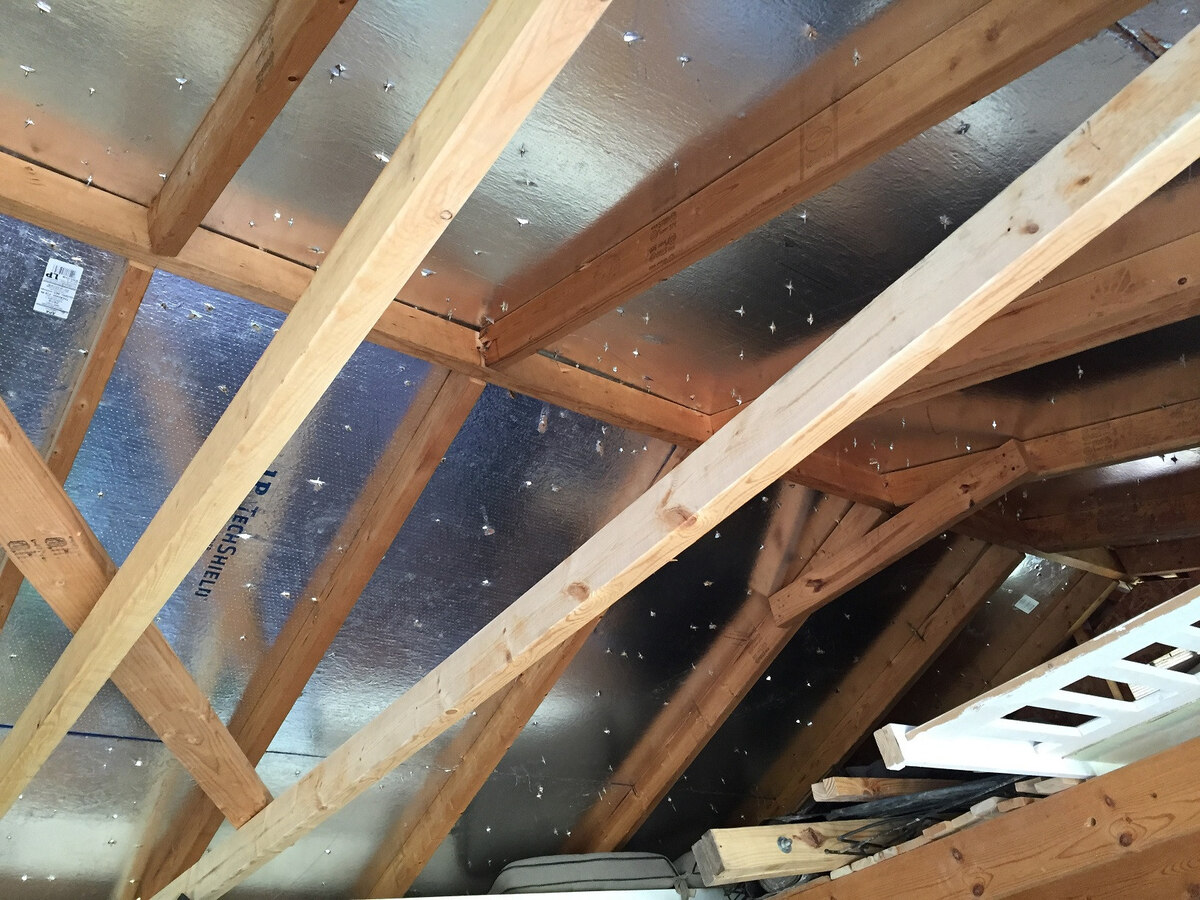
Step 4: Construct the Roof Frame
Now that you have determined the pitch and size of the lean-to roof, it’s time to construct the roof frame. This frame will provide the structural support for the roofing materials. Here’s how you can do it:
- Measure and cut the lumber: Using the measurements from Step 3, measure and cut the pressure-treated lumber to the appropriate lengths. Take into account any angles or slopes required for the roof pitch.
- Assemble the roof trusses: Start by assembling the roof trusses, which are the triangular-shaped frames that make up the roof structure. Attach the cut lumber pieces using screws or nails, ensuring that the joints are secure and strong.
- Add cross-bracing: Install cross-bracing between the roof trusses for additional stability and support. This will prevent any sagging or warping of the roof frame over time.
It’s important to follow the building codes and regulations in your area when constructing the roof frame. If you’re unsure about any aspect of the process, it’s recommended to consult with a professional or seek guidance from local authorities.
With the roof frame in place, it’s time to move on to Step 5 and install the roofing material of your choice.
When building a lean-to roof on a shed, make sure to properly secure the roof rafters to the existing structure to ensure stability and durability. Use the appropriate size and type of fasteners for the job.
Read more: How To Build Lean To Off A Shed
Step 5: Install the Roofing Material
With the roof frame constructed, it’s time to install the roofing material on your lean-to roof. The type of material you choose will depend on your preferences, budget, and desired aesthetic. Here’s how you can install the roofing material:
- Prepare the roof surface: Ensure that the roof frame is clean and free of debris. If necessary, install roofing underlayment to provide an additional layer of protection against water penetration.
- Start from the bottom: Begin installing the roofing material from the bottom edge of the roof, working your way up towards the top. Follow the manufacturer’s instructions for the specific type of material you are using.
- Secure the roofing material: Use appropriate fasteners, such as nails or screws, to secure the roofing material to the roof frame. Place the fasteners in the designated areas of the material to ensure a secure and tight fit.
- Overlap the material: Depending on the roofing material, you may need to overlap each piece to create a watertight seal. Follow the recommended overlap guidelines provided by the manufacturer.
- Cut and trim as needed: Use a saw or appropriate cutting tool to trim the roofing material to fit around any obstacles, such as vents or chimneys. Ensure that any cuts are clean and precise.
- Continue to the top: Repeat the installation process for each row of roofing material until you reach the top of the lean-to roof. Ensure that each row is aligned and level for a professional look.
During the installation process, it’s essential to work carefully and take necessary safety precautions. Use proper safety equipment, such as gloves and goggles, when handling roofing materials and tools.
After installing the roofing material, the lean-to roof will start taking shape. In Step 6, we will guide you on how to attach the lean-to roof securely to the shed.
Step 6: Attach the Lean-To Roof to the Shed
After installing the roofing material, the next step is to securely attach the lean-to roof to the shed. This step is crucial to ensure the stability and durability of the structure. Here’s how you can do it:
- Position the roof: Carefully position the lean-to roof into place against the side of the shed, aligning it with the previously marked attachment points.
- Attach the roof frame: Using screws or nails, secure the roof frame of the lean-to roof to the attachment points on the shed. Make sure to drive the fasteners into the structural framing of the shed for maximum strength and stability.
- Check for levelness: Use a level to ensure that the lean-to roof is level both horizontally and vertically. Make any necessary adjustments to ensure a level and balanced installation.
- Secure the roof to the shed walls: Install additional screws or nails along the interface of the lean-to roof and the shed walls. This will provide extra support and prevent any potential gaps or movement.
- Double-check the attachment: Give the lean-to roof a gentle shake to ensure that it is securely attached to the shed. If there is any wobbling or movement, reinforce the attachment points as necessary.
It’s important to use appropriate fasteners and techniques to ensure a sturdy connection between the lean-to roof and the shed. If you’re unsure about the attachment process, don’t hesitate to seek advice from a professional or consult local building codes.
After attaching the lean-to roof to the shed, it’s time to add flashing and trim in Step 7 to provide a finished and weatherproof look.
Step 7: Add Flashing and Trim
Adding flashing and trim is an important step in the construction of a lean-to roof. Flashing is used to seal the joints and edges of the roof, protecting it from water leakage and ensuring a weatherproof seal. Trim, on the other hand, provides a decorative and finished look to the roof. Here’s how you can add flashing and trim:
- Measure and cut the flashing: Using a tape measure, measure the length and width of the areas that require flashing. Cut the flashing material to the appropriate size, ensuring a proper fit.
- Attach the flashing: Position the flashing along the joints and edges of the lean-to roof. Use roofing adhesive or nails to secure the flashing in place, ensuring that it overlaps the roofing material and provides a tight seal.
- Install the trim: Measure and cut the trim pieces to the desired length and shape. Attach the trim to the eaves, gables, and edges of the lean-to roof using nails or screws. This will give the roof a polished and finished appearance.
- Seal the flashing and trim: Apply roofing sealant or caulk to seal any gaps or openings between the flashing, trim, and roofing materials. This will help prevent water penetration and improve the overall weather resistance of the lean-to roof.
Take the time to ensure that the flashing and trim are installed properly, securely fastened, and provide a seamless transition between the lean-to roof and the shed. This will not only enhance the aesthetics of the roof but also extend its lifespan.
With the flashing and trim in place, your lean-to roof is nearly complete. In Step 8, we will explore some optional finishing touches that you can add to further enhance the functionality and appearance of your lean-to roof.
Step 8: Optional Finishing Touches
While the basic structure of your lean-to roof is complete, there are some optional finishing touches that you can consider adding to enhance its functionality and appearance. Here are a few ideas:
- Add gutters and downspouts: Installing gutters and downspouts along the edge of the lean-to roof can help collect and divert rainwater away from the shed’s foundation. This can prevent water damage and erosion.
- Create a skylight or windows: If you want to bring in natural light or improve ventilation, consider incorporating a skylight or windows into the lean-to roof. This can make the space brighter and more enjoyable to use.
These optional finishing touches can add extra functionality, convenience, and personality to your lean-to roof. Feel free to get creative and customize the space according to your preferences and needs.
With the completion of Step 8, you have successfully built a lean-to roof on your shed. It not only enhances the functionality of your shed but also adds a visually appealing structure to your outdoor space. Enjoy the benefits of your new lean-to roof, whether it’s additional storage, a cozy workspace, or a sheltered area for relaxation.
Remember to regularly inspect and maintain your lean-to roof to ensure its longevity and continued functionality. With proper care, it will serve you well for years to come.
Happy building!
Read more: How To Build A Roof For A Shed
Conclusion
Congratulations on successfully building a lean-to roof on your shed! By following the step-by-step instructions provided in this guide, you have transformed your shed into a more functional and aesthetically pleasing space. The lean-to roof not only provides shelter and protection for your belongings but also enhances the overall value and usability of your outdoor area.
Throughout this process, you have learned how to gather the necessary materials and tools, prepare the shed, determine the pitch and size of the roof, construct the roof frame, install the roofing material, attach the lean-to roof securely to the shed, add flashing and trim, and even explore optional finishing touches.
Remember, safety should always be a priority during any construction project. Ensure you have the appropriate safety equipment, work carefully, and consult local building codes or professionals when needed.
Now that your lean-to roof is complete, you can enjoy the benefits it offers. Whether it’s providing a sheltered workspace, protecting your outdoor equipment, or simply creating an inviting outdoor space, the lean-to roof will serve its purpose for years to come.
Don’t forget to inspect and maintain your lean-to roof regularly, checking for any signs of damage or wear. With proper care, it will continue to provide the functionality and protection you need.
Thank you for following along with this guide. We hope it has been informative and helpful in your journey to build a lean-to roof on your shed. Happy building, and enjoy your newly enhanced outdoor space!
Now that you’ve mastered building a lean-to roof, why not broaden your DIY skills with some exciting outdoor projects? From simple builds to more intricate designs, each guide offers clear, easy-to-follow instructions that'll make any backyard shine. Whether looking to enhance your garden or create a new outdoor hangout spot, these ideas will surely inspire and challenge your crafting abilities. Ready to tackle more projects that beautify and add functionality to your outdoor spaces? Dive into our latest collection and get started today!
Frequently Asked Questions about How To Build A Lean To Roof On A Shed
Was this page helpful?
At Storables.com, we guarantee accurate and reliable information. Our content, validated by Expert Board Contributors, is crafted following stringent Editorial Policies. We're committed to providing you with well-researched, expert-backed insights for all your informational needs.


0 thoughts on “How To Build A Lean To Roof On A Shed”