Home>Gardening & Outdoor>Outdoor Structures>How To Install Corrugated Roof On A Shed

Outdoor Structures
How To Install Corrugated Roof On A Shed
Modified: March 2, 2024
Learn how to properly install a corrugated roof on your shed for durable outdoor structures. Follow our step-by-step guide for a successful installation.
(Many of the links in this article redirect to a specific reviewed product. Your purchase of these products through affiliate links helps to generate commission for Storables.com, at no extra cost. Learn more)
Introduction
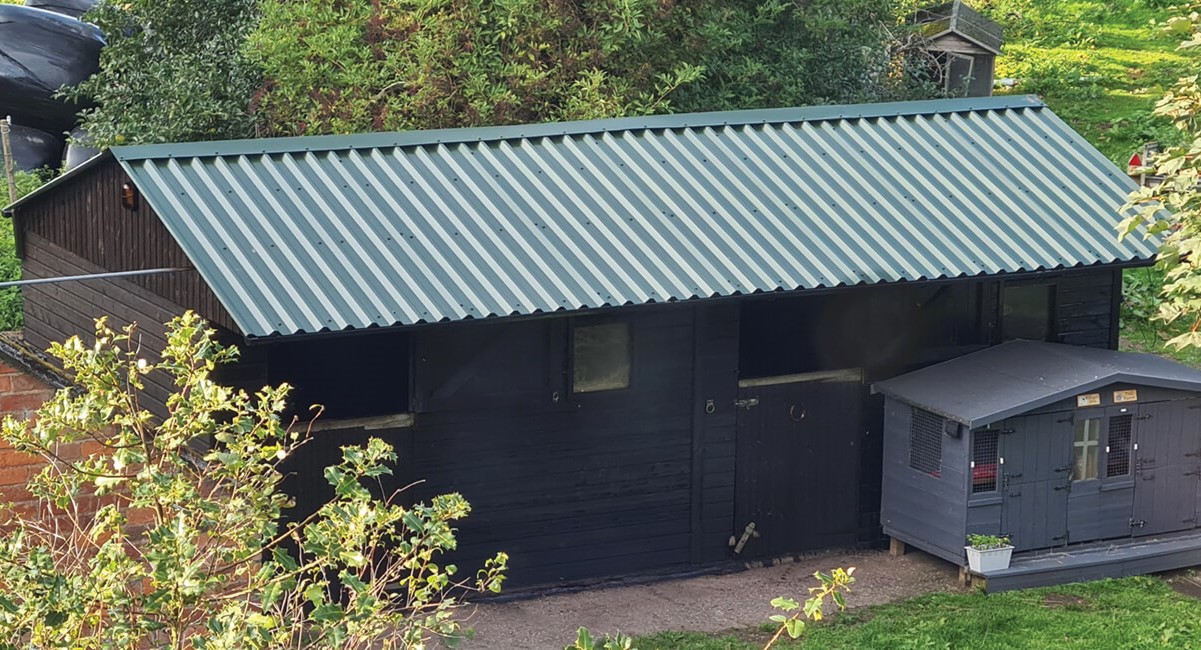
So, you've decided to upgrade your shed with a new corrugated roof. Congratulations on taking this step to enhance both the aesthetics and functionality of your outdoor structure! A corrugated roof not only adds a touch of modernity to your shed but also provides excellent protection against the elements, ensuring that your belongings stay safe and dry.
In this comprehensive guide, we will walk you through the process of installing a corrugated roof on your shed. Whether you're a seasoned DIY enthusiast or a novice looking to embark on your first outdoor project, this step-by-step tutorial will equip you with the knowledge and confidence to tackle this endeavor with ease.
By the end of this article, you will have a clear understanding of the materials and tools required, the preparatory steps for your shed, the process of measuring and cutting the corrugated roof, and the precise installation techniques to ensure a secure and visually appealing result.
Let's dive in and transform your shed into a durable and stylish haven!
Key Takeaways:
- Upgrade your shed with a corrugated roof for modern style and reliable protection against the elements. Follow the step-by-step guide for a successful DIY project.
- Prepare, measure, cut, and install with precision to transform your shed into a durable and visually appealing space. Attention to detail ensures a professional finish.
Read more: How To Install A Shed Roof
Materials and Tools Needed
Before you begin the installation process, it’s essential to gather all the necessary materials and tools. Having everything on hand will streamline the project and prevent unnecessary interruptions. Here’s a comprehensive list of what you’ll need:
Materials:
- Corrugated roofing panels
- Roofing screws with rubber washers
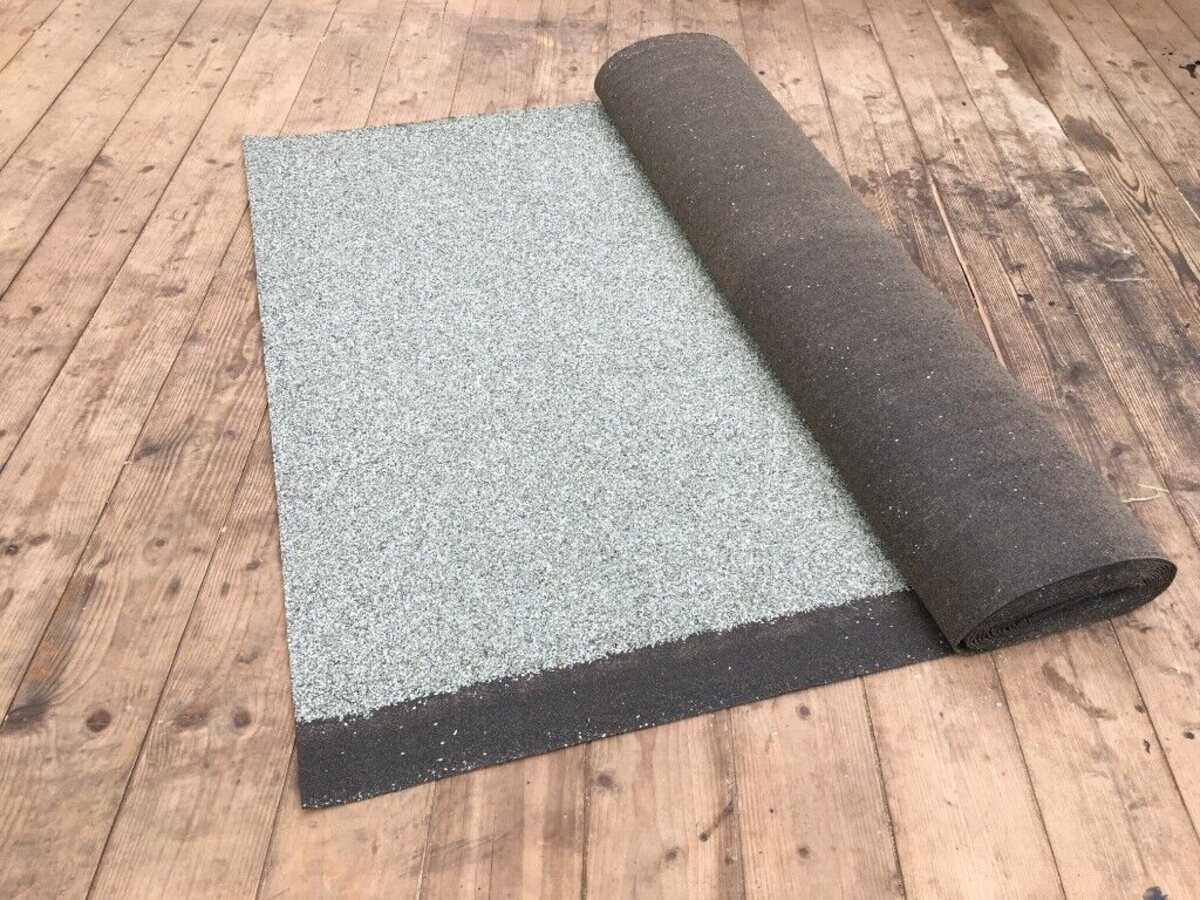
- Roofing felt or underlayment
- Roofing nails
- Ridge cap
- Corrugated foam closure strips
- Metal flashing
- Sealant or roofing caulk
Tools:
- Tape measure
- Chalk line
- Tin snips or a metal-cutting saw
- Electric drill with screwdriver bit
- Hammer
- Roofing nail gun (optional)
- Safety goggles and gloves
- Ladder or scaffolding
Ensuring that you have all the required materials and tools at the outset will set the stage for a smooth and efficient installation process. With these essentials in hand, you’ll be well-prepared to begin transforming your shed with a sturdy and visually appealing corrugated roof.
Preparing the Shed
Before diving into the installation of the corrugated roof, it’s crucial to prepare the shed to ensure a seamless and durable outcome. Here are the essential steps to prepare your shed for the upcoming installation:
Read more: How To Install Rolled Roofing On A Shed
Clearing the Roof:
Start by removing any existing roofing material, such as shingles or old panels, to expose the bare roof structure. Clear away debris and ensure that the surface is clean and free from any protruding nails or screws that could interfere with the new roofing material.
Inspecting the Roof Structure:
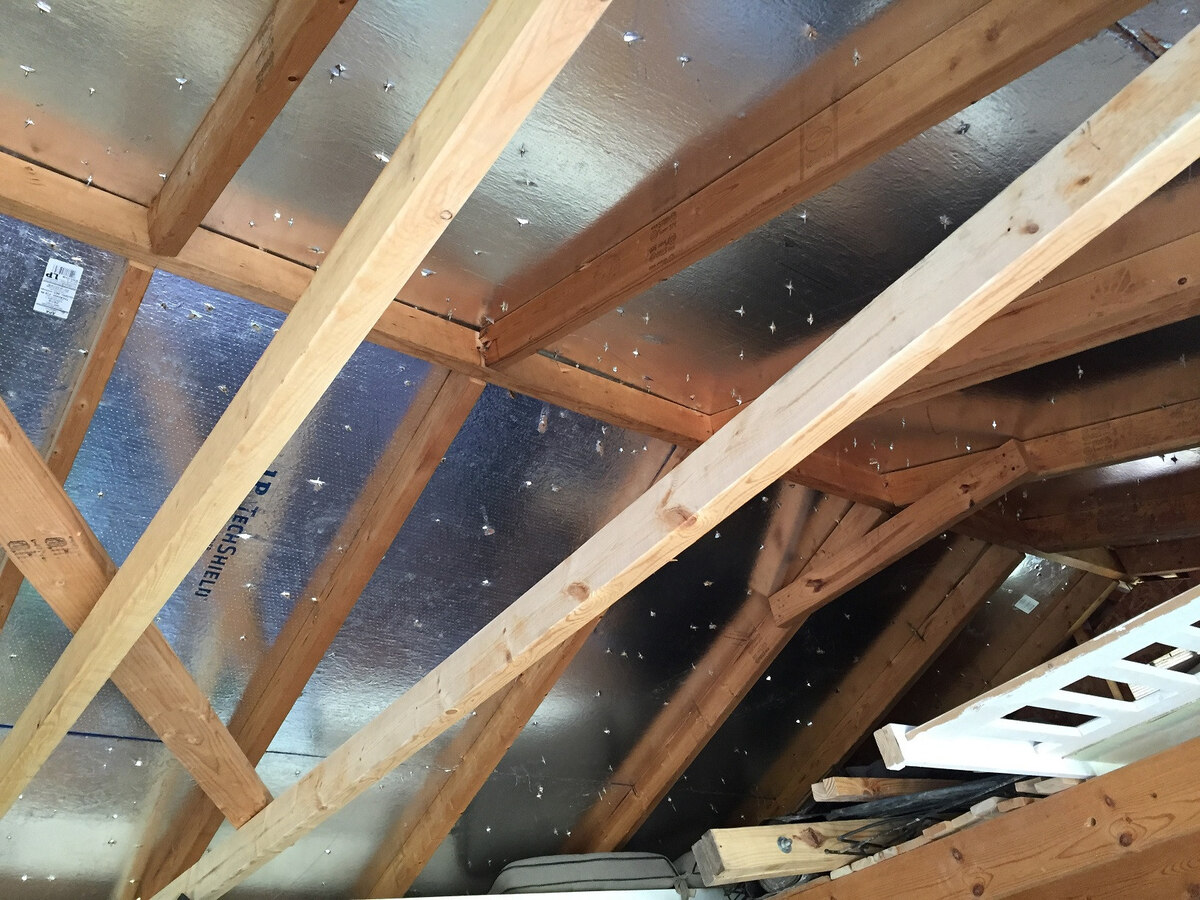
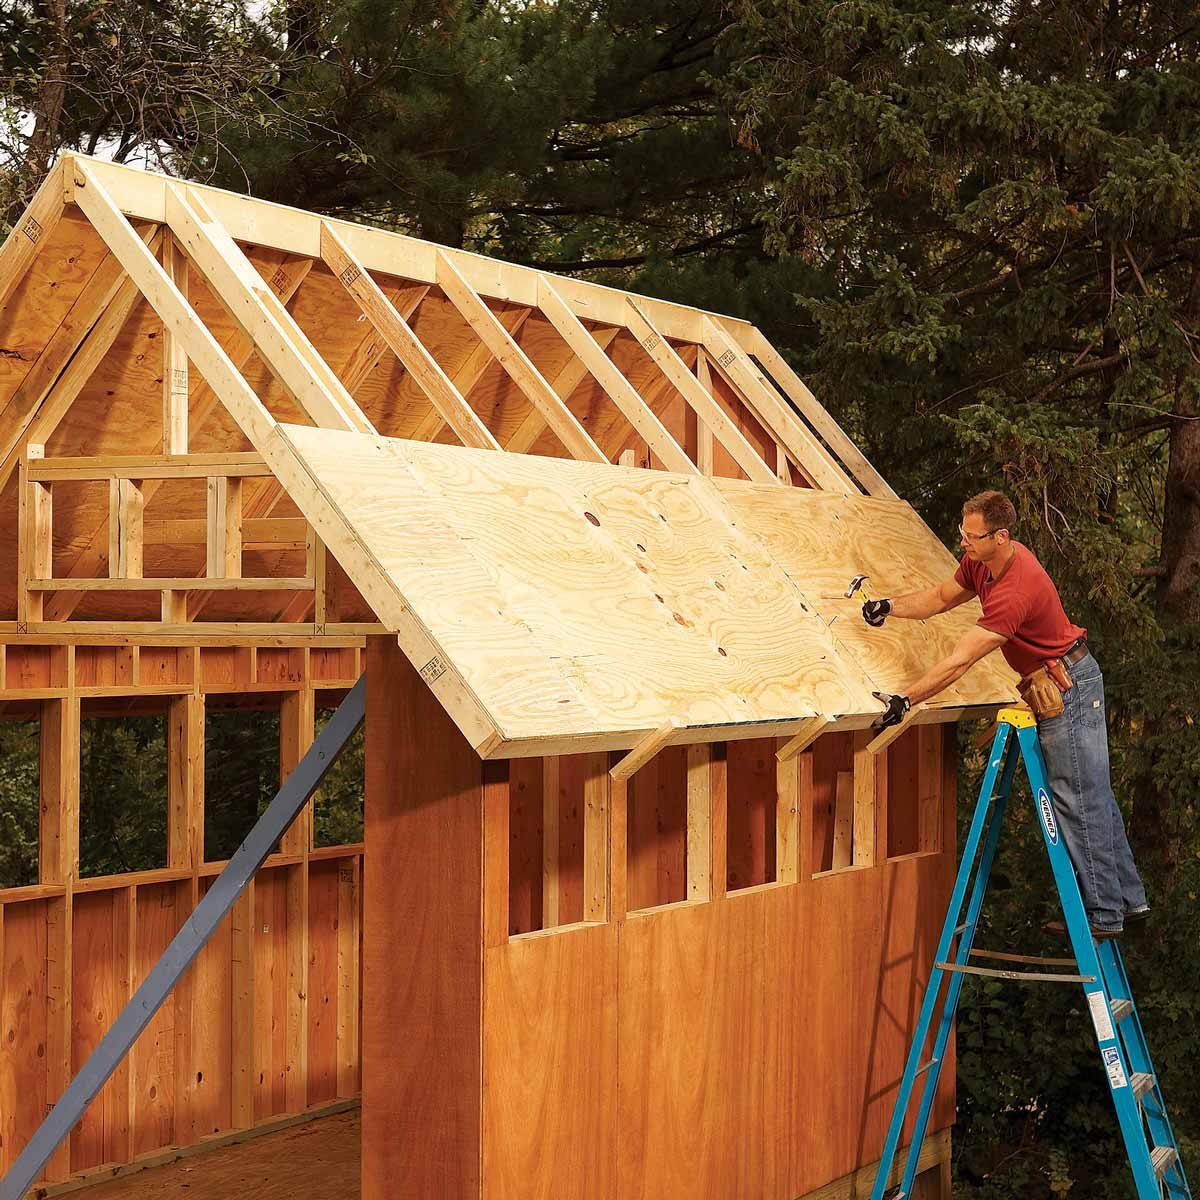
Take this opportunity to inspect the shed’s roof structure for any signs of damage or wear. Look for areas that may need reinforcement or repair, such as rotted wood or weakened support beams. Addressing any structural issues at this stage will contribute to the longevity of the new corrugated roof.
Applying Roofing Underlayment:
To provide an added layer of protection against moisture and ensure a weatherproof seal, consider applying roofing felt or underlayment to the roof surface. This step is especially important if your shed is located in an area prone to heavy rain or snow.
Securing Flashing and Trim:
Inspect and, if necessary, replace or secure the flashing and trim around the edges and corners of the roof. Properly installed flashing and trim will prevent water infiltration and give the finished project a polished appearance.
By thoroughly preparing the shed for the installation of the corrugated roof, you’ll lay the groundwork for a successful and enduring upgrade. Taking the time to address these preparatory steps will contribute to the overall quality and longevity of the new roof, ensuring that it serves its purpose effectively for years to come.
Read more: How To Install A Metal Roof On A Shed
Measuring and Cutting the Corrugated Roof
Accurate measurements and precise cuts are crucial for a seamless and professional-looking installation of the corrugated roof panels. Here’s a step-by-step guide to help you navigate this essential phase of the process:
Measuring the Roof:
Begin by measuring the dimensions of your shed’s roof to determine the amount of corrugated roofing material needed. Measure the length and width of the roof surface, accounting for any overhangs or edges where the panels will be installed.
Calculating Panel Size:
Based on your measurements, calculate the appropriate size for the corrugated roofing panels. Take into account the corrugation pattern and ensure that the panels will overlap correctly to provide adequate coverage and drainage. Mark the panels for cutting, keeping in mind any openings for vents or skylights.
Cutting the Panels:
Use tin snips or a metal-cutting saw to carefully cut the corrugated roofing panels to the required dimensions. Take your time to ensure clean and straight cuts, as accurately sized panels will facilitate a smooth and secure installation process.
Read more: How To Roof A Flat Roof Shed
Creating Ridge Cap and Trim Pieces:
In addition to the main roofing panels, you may need to cut ridge cap pieces to cover the peak of the roof and trim pieces to neatly finish the edges. Measure, mark, and cut these components with precision to ensure a professional and polished final appearance.
Applying Closure Strips:
If your roof design requires closure strips to seal the gaps between the panels and prevent debris or pests from entering, cut the closure strips to fit the dimensions of the roof and install them accordingly.
By meticulously measuring and cutting the corrugated roofing material, you’ll set the stage for a successful and visually appealing installation. Attention to detail during this phase will contribute to the overall quality and longevity of your shed’s new roof, ensuring that it provides reliable protection and enhances the aesthetic appeal of the structure.
Installing the Roof Panels
With the shed prepared and the corrugated roofing material cut to size, it’s time to embark on the installation of the roof panels. This phase of the process requires precision and attention to detail to ensure a secure and visually appealing result. Follow these steps to effectively install the corrugated roof panels:
Starting at the Bottom:
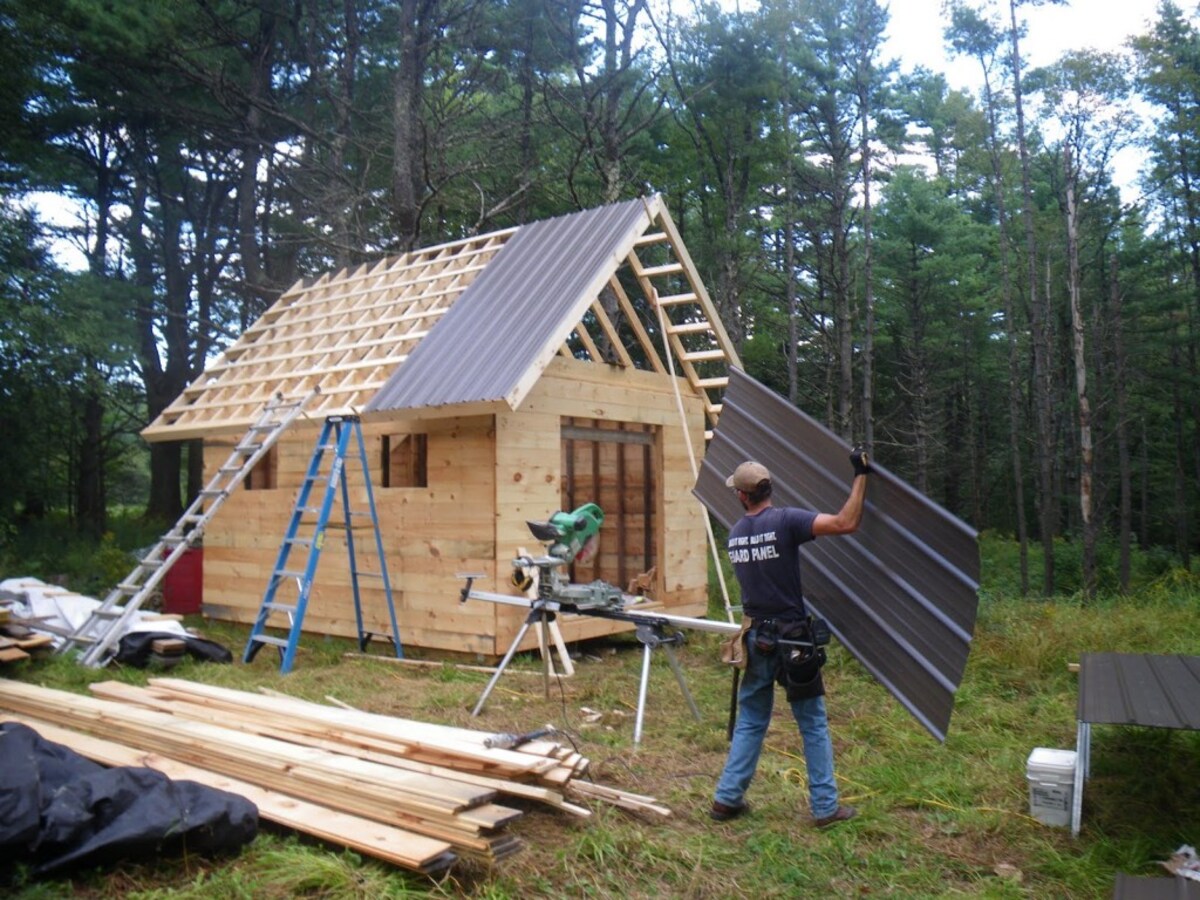
Begin the installation at the lowest edge of the roof, aligning the first panel with the edge and ensuring that it overhangs the roof by the specified amount. Use roofing screws with rubber washers to secure the panel to the roof structure, placing screws at regular intervals along the corrugated ridges.
Overlapping Panels:
Position the next panel so that it overlaps the first panel, following the manufacturer’s guidelines for the correct overlap distance. Secure the second panel in place with screws, taking care to maintain alignment and prevent gaps between the panels.
Continuing Upward:
Repeat the process of aligning, overlapping, and securing panels as you work your way up the roof, ensuring that each panel is securely fastened and that the corrugations line up uniformly. Use a chalk line or other guide to maintain straight and even rows of panels.
Trimming for Obstructions:
If you encounter obstructions such as vents or chimneys, carefully measure and cut the panels to fit around these features, maintaining the appropriate overlap and ensuring a snug and watertight fit.
Completing the Installation:
Once all the main panels are in place, proceed to install the ridge cap at the peak of the roof, securing it with appropriate fasteners. Additionally, install trim pieces along the edges to provide a finished appearance and further secure the panels.
By following these steps and exercising care and precision, you’ll successfully install the corrugated roof panels, transforming your shed with a durable and visually appealing roofing solution. The secure and weather-resistant installation will provide peace of mind, knowing that your shed is well-protected against the elements.
Read more: How To Build A Roof For A Shed
Securing the Roof Edges
Securing the edges of the corrugated roof is a critical step in the installation process, ensuring that the entire roofing system is stable, weather-resistant, and visually cohesive. Paying attention to this aspect will enhance the overall durability and aesthetic appeal of your shed’s new roof. Here’s a guide to effectively secure the roof edges:
Installing Flashing:
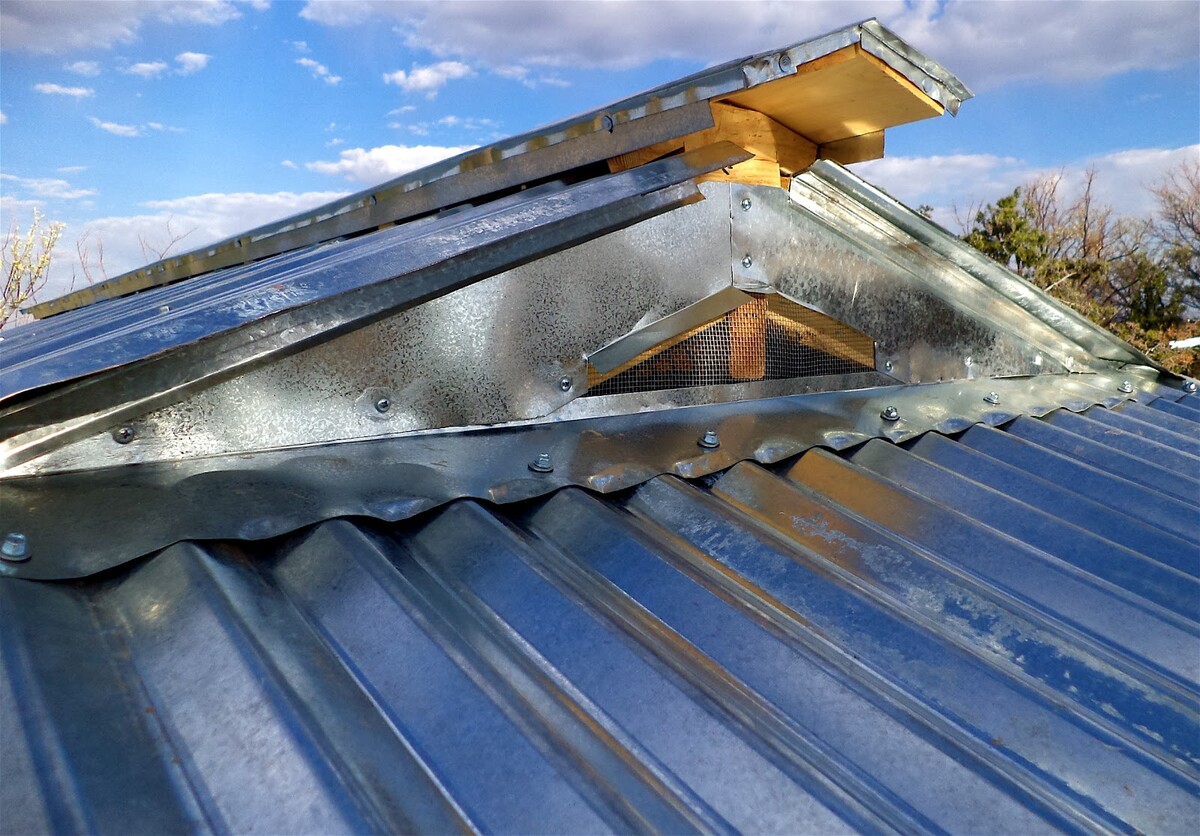
Begin by installing metal flashing along the edges of the roof to provide a protective barrier against water infiltration. Secure the flashing in place using roofing nails, ensuring a snug fit and proper overlap with the corrugated panels.
Sealing with Caulk:
Apply a high-quality roofing caulk or sealant along the edges and seams where the flashing meets the roof and panels. This step is crucial for creating a watertight seal and preventing moisture from seeping underneath the roofing material.
Adding Trim Pieces:
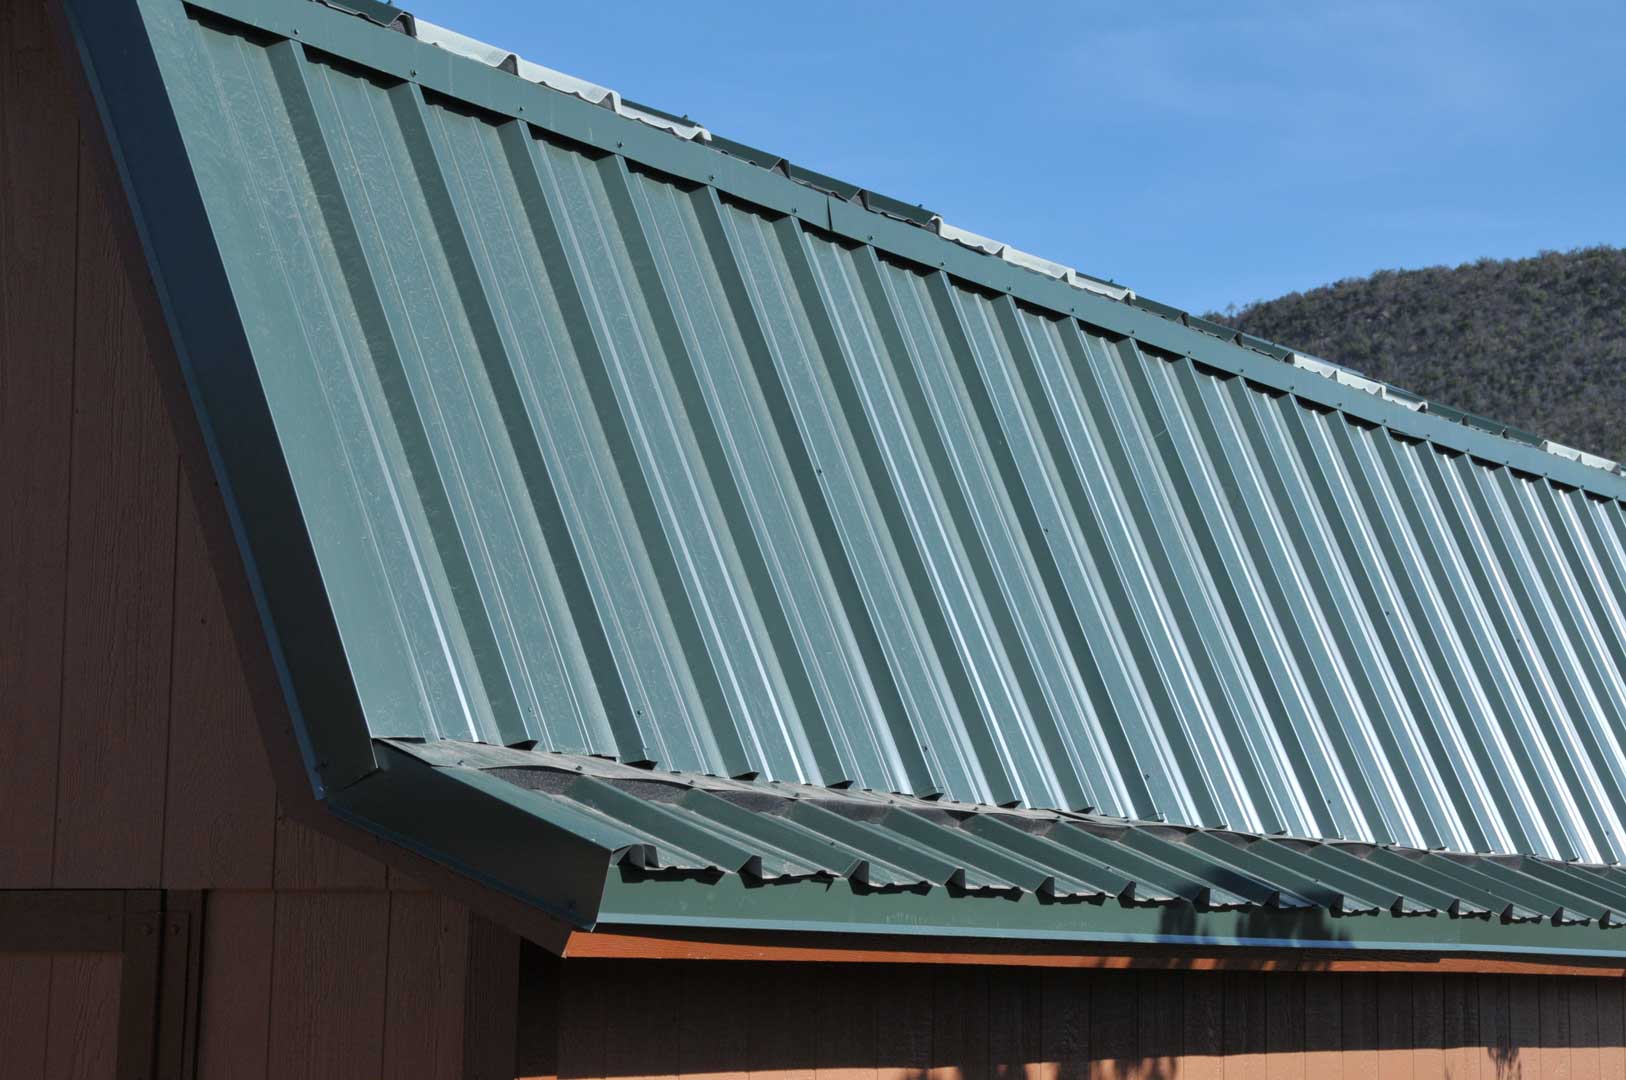
Install trim pieces along the gable ends and eaves of the roof to cover the cut edges of the corrugated panels and provide a clean and finished appearance. Secure the trim pieces with appropriate fasteners, ensuring that they are aligned and securely in place.
Read more: How To Patch A Shed Roof
Addressing Overhangs:
If your shed’s roof features overhangs, ensure that the corrugated panels extend slightly beyond the edges to provide adequate coverage and drainage. Trim any excess material as needed, maintaining a uniform and visually pleasing overhang.
Inspecting and Reinforcing:
Once the edges are secured, conduct a thorough inspection of the entire roofing system, paying particular attention to the edges and corners. Reinforce any areas that may require additional fasteners or sealing to guarantee the structural integrity of the roof.
By meticulously securing the edges of the corrugated roof, you’ll complete the installation with a professional and durable finish. This attention to detail will not only contribute to the weather resistance of the roof but also enhance the overall aesthetics of your shed, elevating its appearance and functionality.
Conclusion
Congratulations on successfully completing the installation of a corrugated roof on your shed! By following this comprehensive guide, you’ve transformed your outdoor structure with a durable, weather-resistant, and visually appealing roofing solution. The effort and attention to detail invested in this project will undoubtedly yield long-lasting benefits for both the functionality and aesthetics of your shed.
With the new corrugated roof in place, your shed is now equipped to withstand the elements, providing reliable protection for your belongings and creating a more inviting outdoor space. The clean lines and modern appeal of the corrugated panels have enhanced the overall look of the shed, adding a touch of contemporary style to the structure.
As you admire the finished result, take pride in the knowledge that you’ve not only improved the functionality of your shed but also honed your DIY skills. The successful completion of this project serves as a testament to your ability to undertake and accomplish significant home improvement tasks.
Looking ahead, remember to perform periodic maintenance to ensure the continued integrity of your corrugated roof. Regular inspections, cleaning, and prompt repairs, if needed, will prolong the lifespan of the roofing system, preserving its effectiveness and visual appeal over time.
Whether you embarked on this project as a DIY enthusiast or a homeowner seeking to enhance your property, the installation of a corrugated roof on your shed marks a significant achievement. Your dedication to improving your outdoor space has resulted in a durable and stylish upgrade that will be enjoyed for years to come.
As you reflect on the journey from preparation to completion, take pride in the transformation you’ve brought about and the enhanced functionality and visual appeal of your shed. Your commitment to quality and attention to detail have culminated in a project that not only serves a practical purpose but also adds value to your property.
As you enjoy the benefits of your newly installed corrugated roof, take a moment to appreciate the sense of accomplishment that comes with successfully completing a significant home improvement project. Your shed now stands as a testament to your dedication, creativity, and ability to enhance your living space through thoughtful and skillful craftsmanship.
Frequently Asked Questions about How To Install Corrugated Roof On A Shed
Was this page helpful?
At Storables.com, we guarantee accurate and reliable information. Our content, validated by Expert Board Contributors, is crafted following stringent Editorial Policies. We're committed to providing you with well-researched, expert-backed insights for all your informational needs.

0 thoughts on “How To Install Corrugated Roof On A Shed”