Home>Gardening & Outdoor>Outdoor Structures>How To Repair An RV Awning
Outdoor Structures
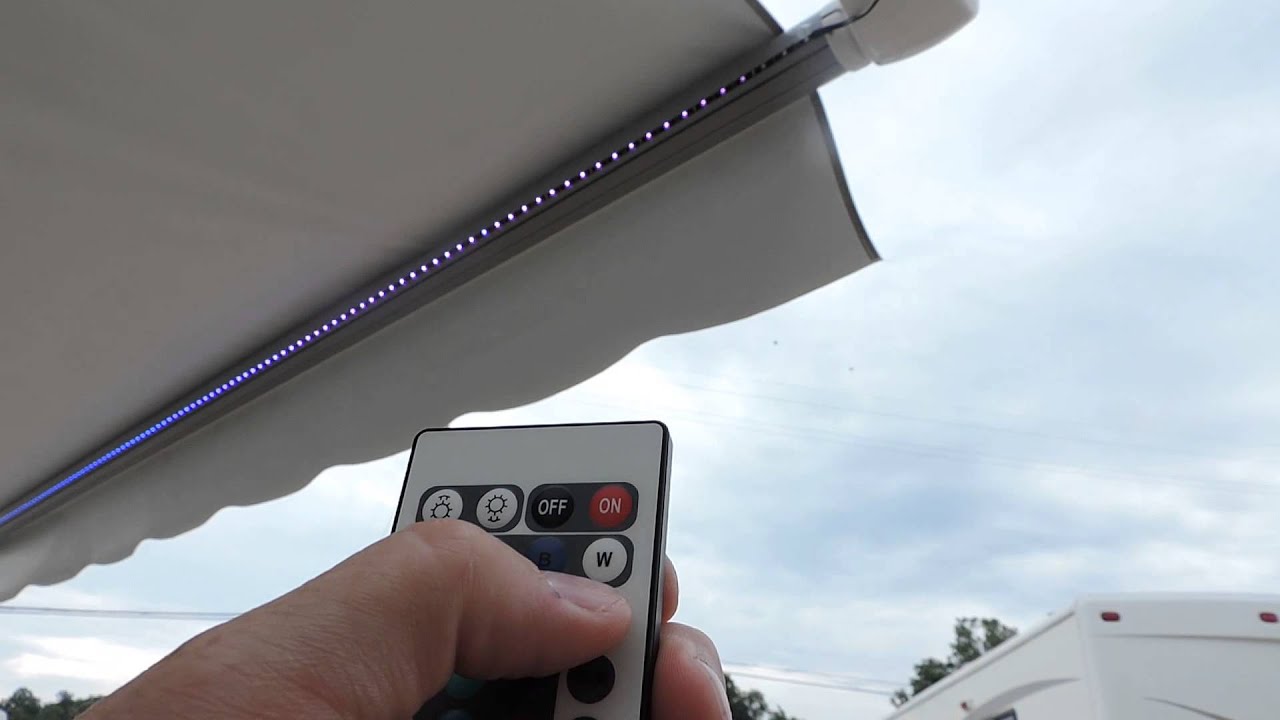
How To Repair An RV Awning
Modified: February 18, 2024
Learn how to repair your RV awning with our expert tips and step-by-step guide. Keep your outdoor structures in top shape with our easy DIY solutions.
(Many of the links in this article redirect to a specific reviewed product. Your purchase of these products through affiliate links helps to generate commission for Storables.com, at no extra cost. Learn more)
Introduction
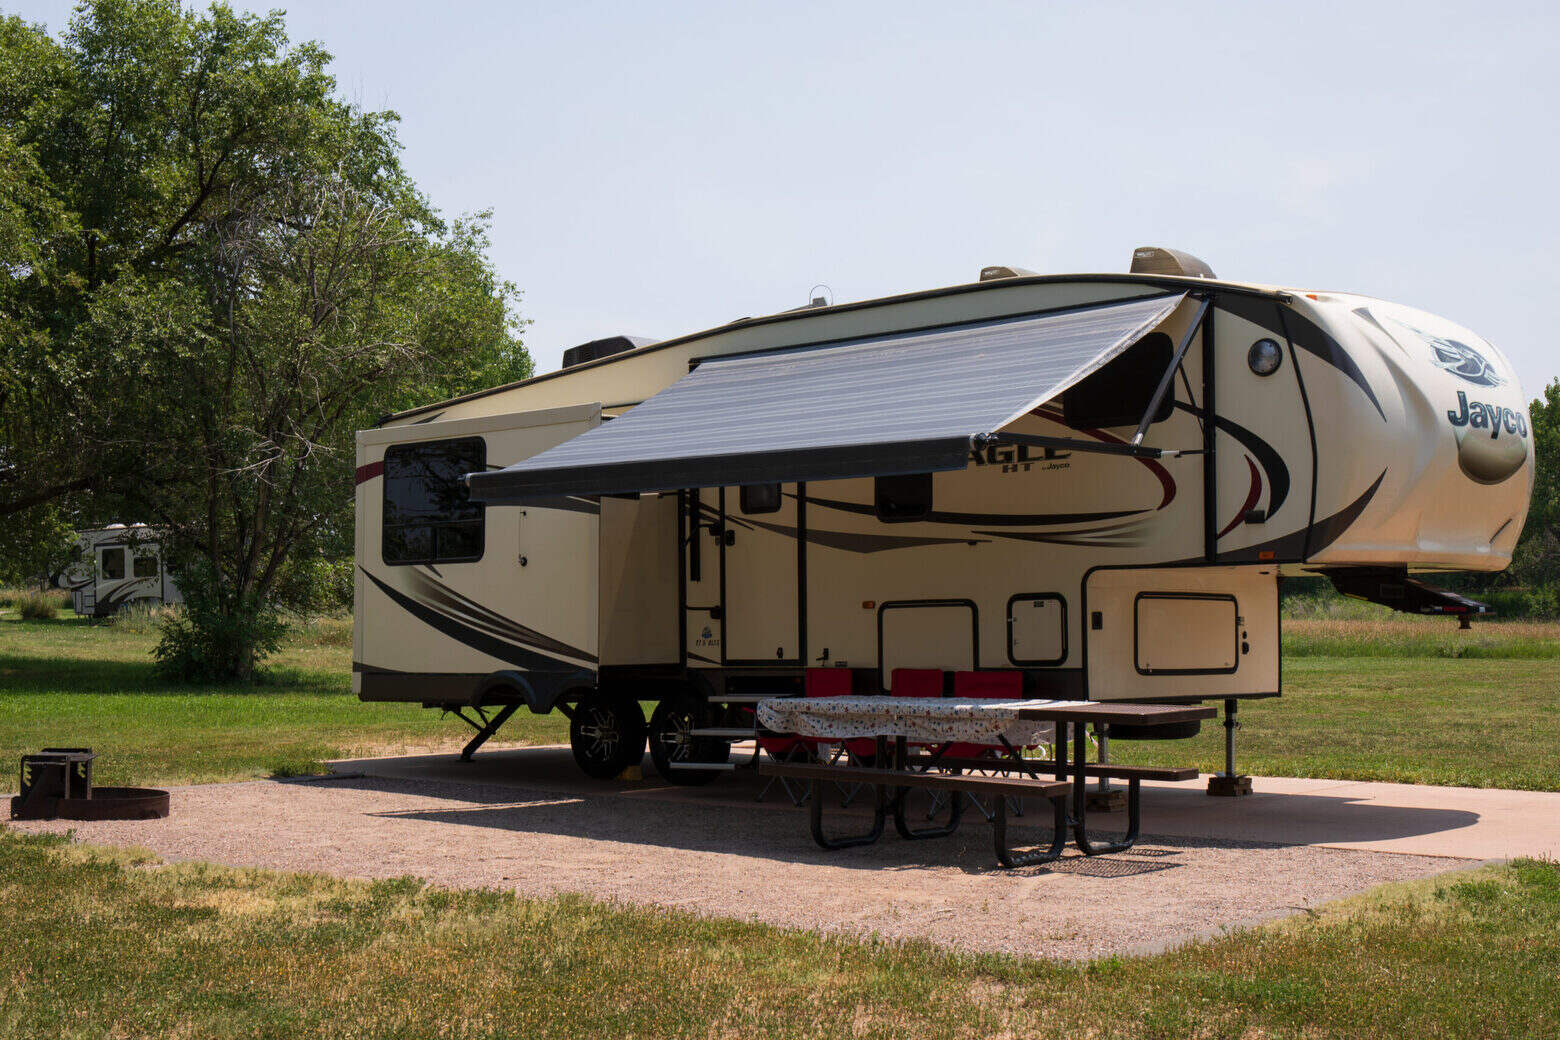
Repairing an RV awning can be a daunting task, but with the right guidance and tools, it's a manageable project that can save you time and money. Whether your awning has suffered tears, holes, or general wear and tear, knowing how to repair it can extend its lifespan and keep your outdoor space comfortable and protected.
In this comprehensive guide, we will walk you through the step-by-step process of repairing an RV awning. From assessing the damage to reattaching the awning to your RV, we'll cover everything you need to know to restore your awning to its former glory.
By the end of this guide, you'll have the knowledge and confidence to tackle this repair project, ensuring that your RV awning provides shade and shelter for many more outdoor adventures to come. So, roll up your sleeves and let's dive into the world of RV awning repair!
Key Takeaways:
- Assessing RV awning damage is crucial for effective repairs. Thoroughly inspect the fabric and mechanical components to understand the extent of the damage and plan the necessary repairs for optimal functionality.
- Gathering the right tools and materials is essential for a smooth repair process. Having the necessary supplies on hand streamlines the repair work, minimizing delays and ensuring a successful restoration of the RV awning.
Read more: How To Fix An RV Awning
Assessing the Damage
Before diving into the repair process, it's crucial to thoroughly assess the extent of the damage to your RV awning. This initial step will help you determine the best course of action and ensure that you have a clear understanding of the repairs needed.
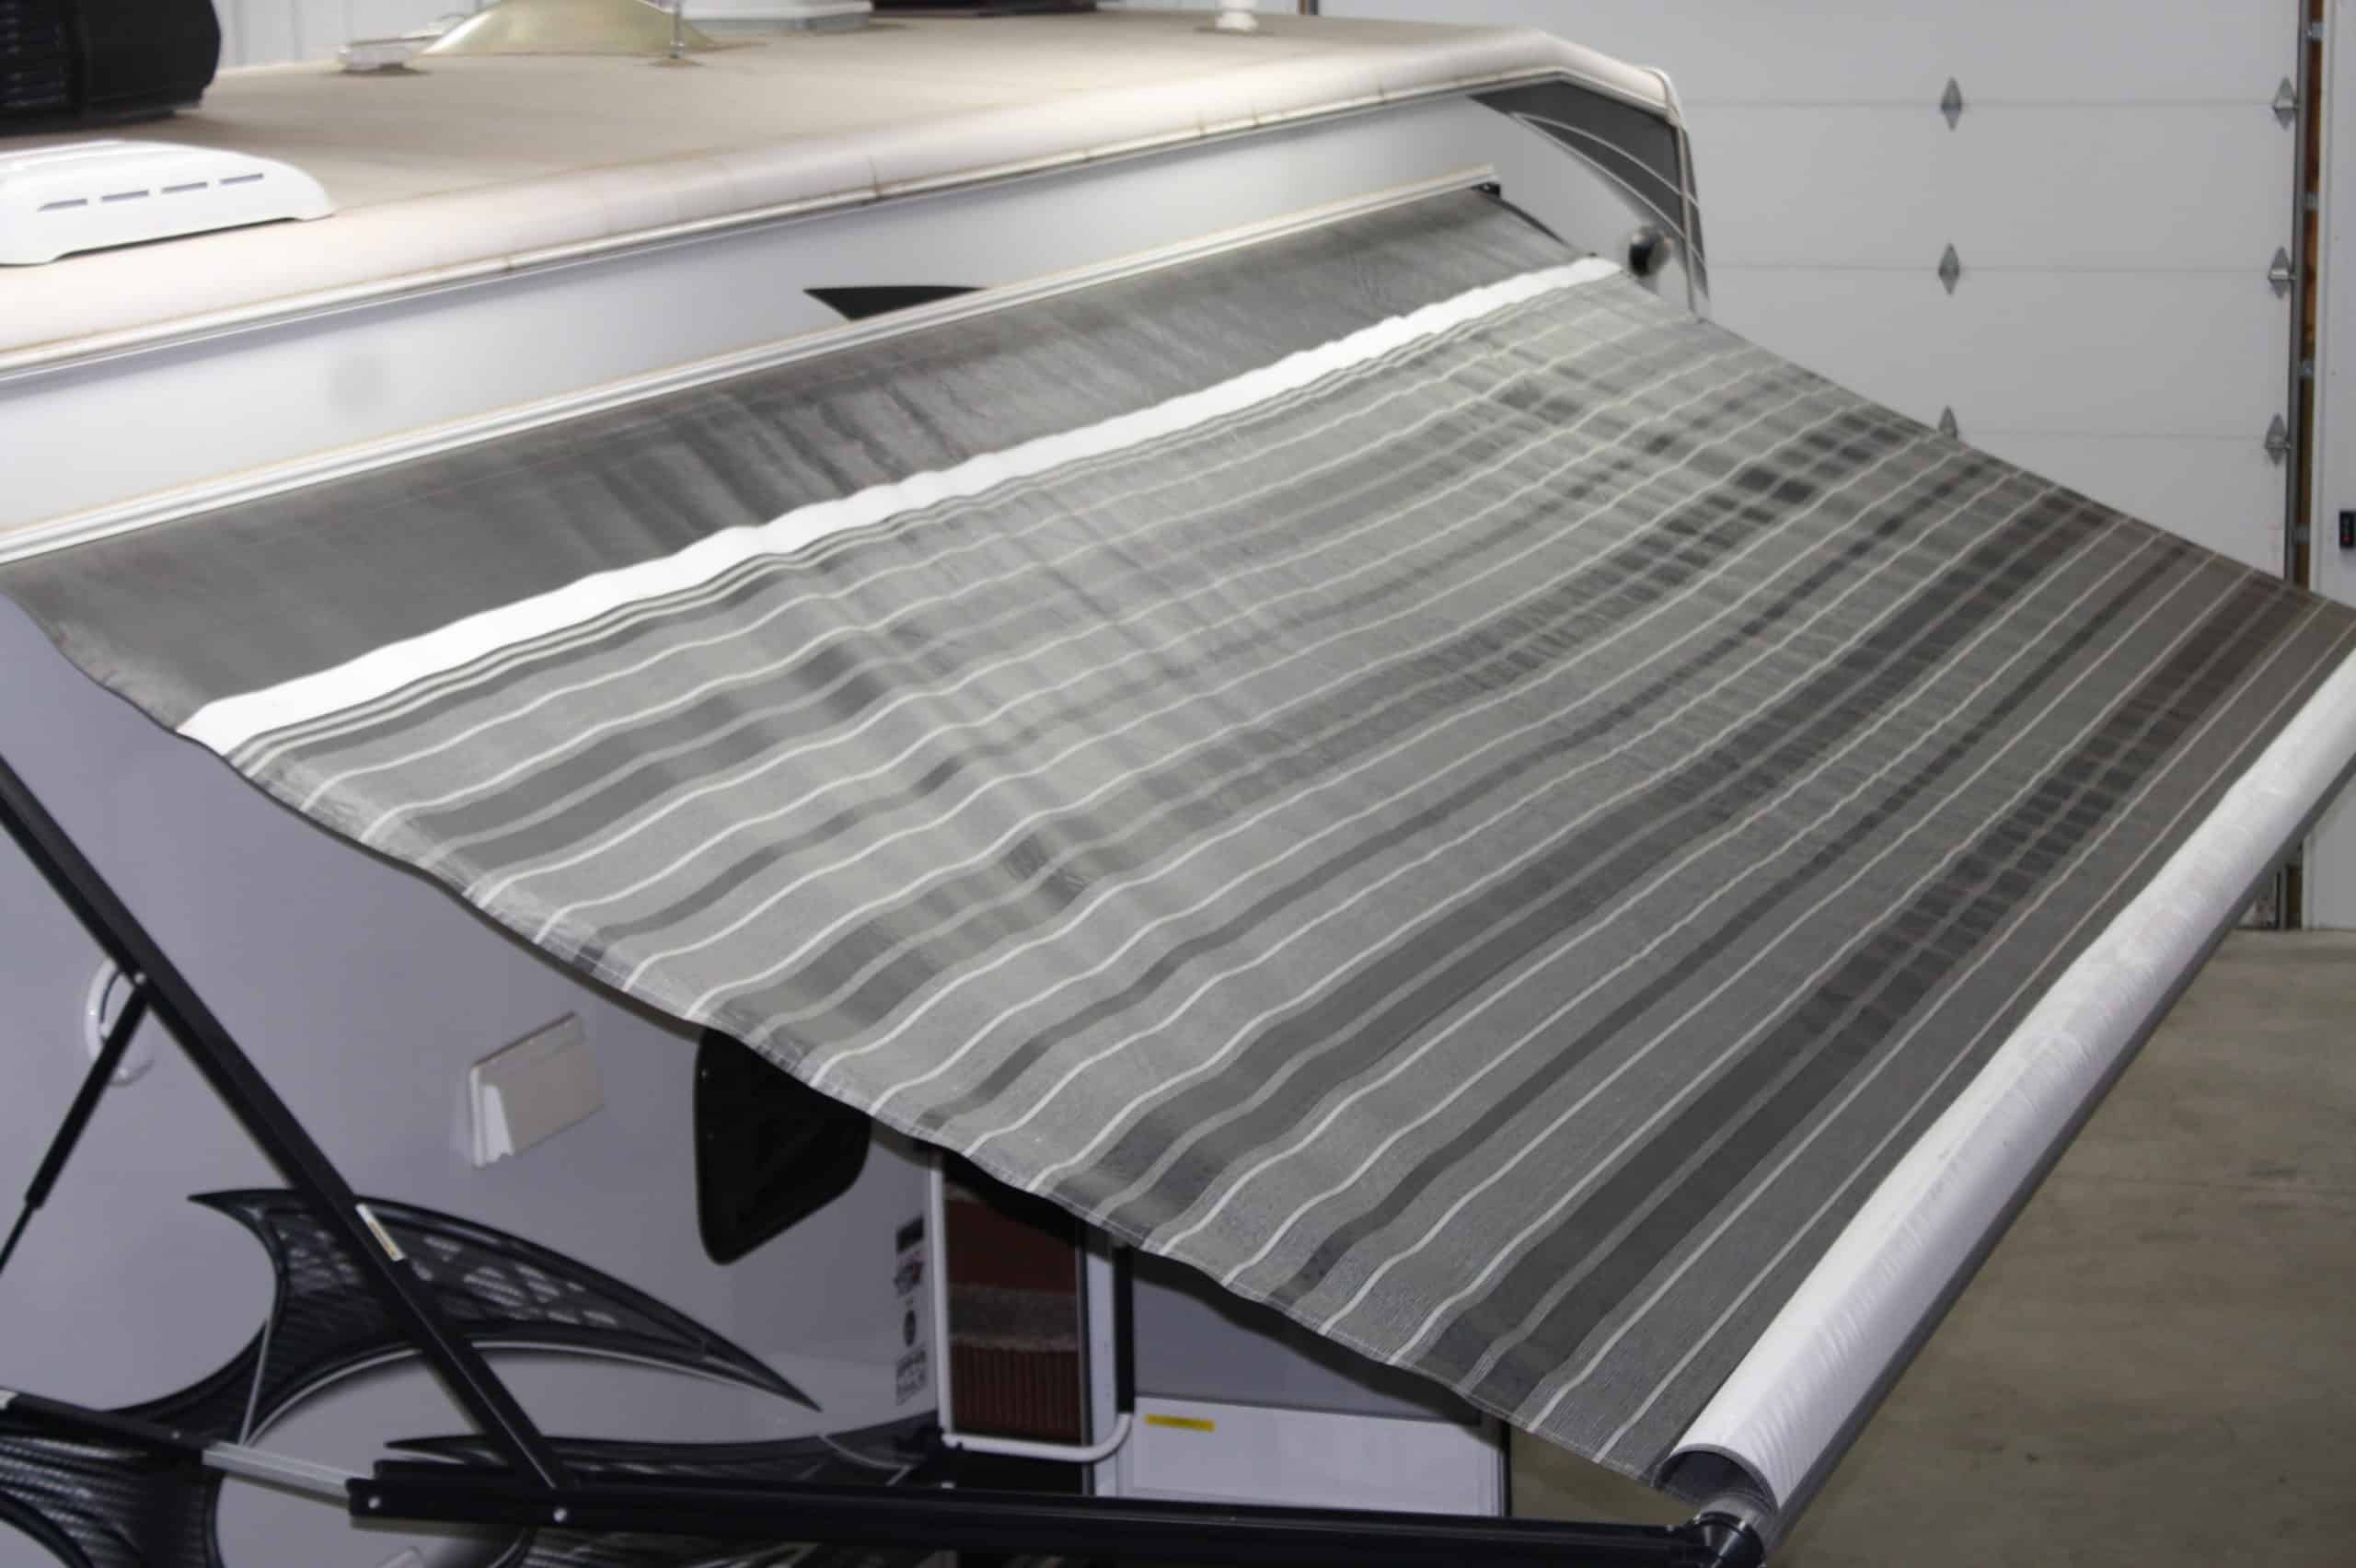
Start by carefully inspecting the entire awning fabric for any signs of wear and tear, such as tears, holes, or fraying seams. Pay close attention to the areas where the fabric attaches to the roller tube and the RV sidewall, as these are common trouble spots. Additionally, check for any signs of mold, mildew, or water damage, which can compromise the integrity of the fabric.
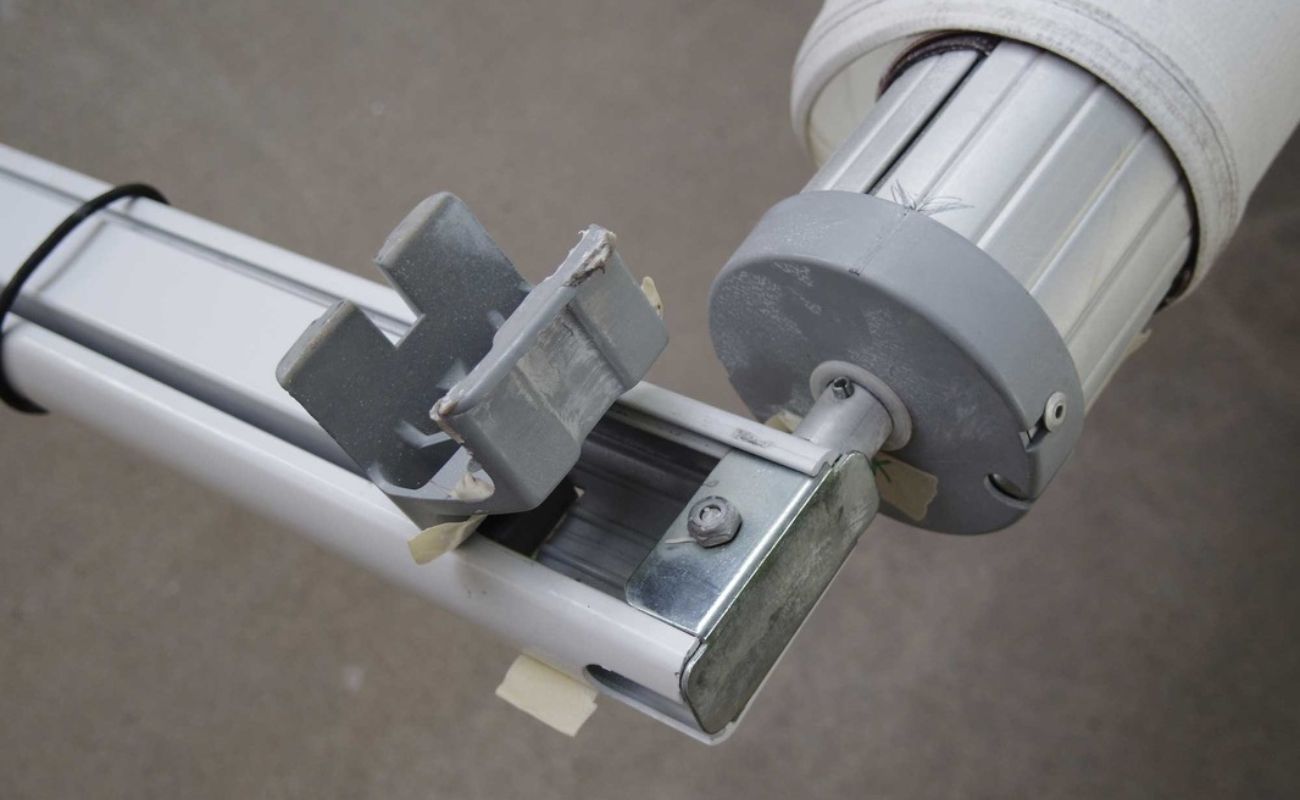
Next, extend the awning fully to examine the arms, support braces, and other mechanical components. Look for any bent or broken parts, rust, or signs of corrosion. It's essential to ensure that the awning's mechanical elements are in good working condition to guarantee the overall functionality and safety of the awning.
Once you've completed a thorough visual inspection, take note of all the areas that require attention. It's helpful to document the specific locations and types of damage, as this will guide your repair process and help you determine the necessary tools and materials.
In some cases, the damage may be minor and localized, requiring simple repairs to the fabric or mechanical components. However, if the damage is extensive or poses a safety risk, it may be necessary to consider replacing the entire awning fabric or specific parts.
By carefully assessing the damage at the outset, you'll be better equipped to plan and execute the appropriate repairs, ensuring that your RV awning is restored to optimal condition for your outdoor adventures.
Gathering the Necessary Tools and Materials
Before embarking on the repair of your RV awning, it's essential to gather the appropriate tools and materials to ensure a smooth and efficient process. Having the right supplies at hand will not only streamline the repair work but also minimize potential delays and frustrations. Here's a comprehensive list of the tools and materials you'll need:
Tools:
- Screwdriver Set: A set of screwdrivers, including both flathead and Phillips head varieties, will be essential for removing screws and disassembling components.
- Pliers: Both regular and needle-nose pliers will come in handy for gripping and manipulating small parts during the repair process.
- Adjustable Wrench: This versatile tool will be useful for loosening and tightening nuts and bolts on the awning's mechanical components.
- Utility Knife: A sharp utility knife will be indispensable for cutting and trimming the awning fabric and any necessary materials.
- Rubber Mallet: A rubber mallet can be used to gently tap and adjust certain components without causing damage.
- Measuring Tape: Accurate measurements are crucial for ensuring proper alignment and fit during the repair process.
Materials:
- Awning Repair Tape: High-quality, weather-resistant repair tape specifically designed for awnings can effectively patch small tears and holes in the fabric.
- Fabric Patch or Replacement Fabric: Depending on the extent of the damage, you may need a fabric patch kit or a full replacement fabric for the awning.
- Cleaning Solution: A mild cleaning solution or awning-specific cleaner will be necessary to remove dirt, mold, and mildew from the fabric.
- Seam Sealer: A seam sealer designed for outdoor fabrics can help reinforce and waterproof seams that have become compromised.
- Lubricant: A silicone-based lubricant will be useful for maintaining the moving parts of the awning, ensuring smooth operation.
- Replacement Hardware: It's wise to have a selection of replacement screws, nuts, bolts, and washers on hand in case any are damaged or lost during the repair process.
By gathering these essential tools and materials before you begin, you'll be well-prepared to tackle the repair of your RV awning with confidence and efficiency. This proactive approach will help you address the necessary repairs effectively, ensuring that your awning is restored to optimal functionality and appearance.
Read more: How To Replace An RV Awning
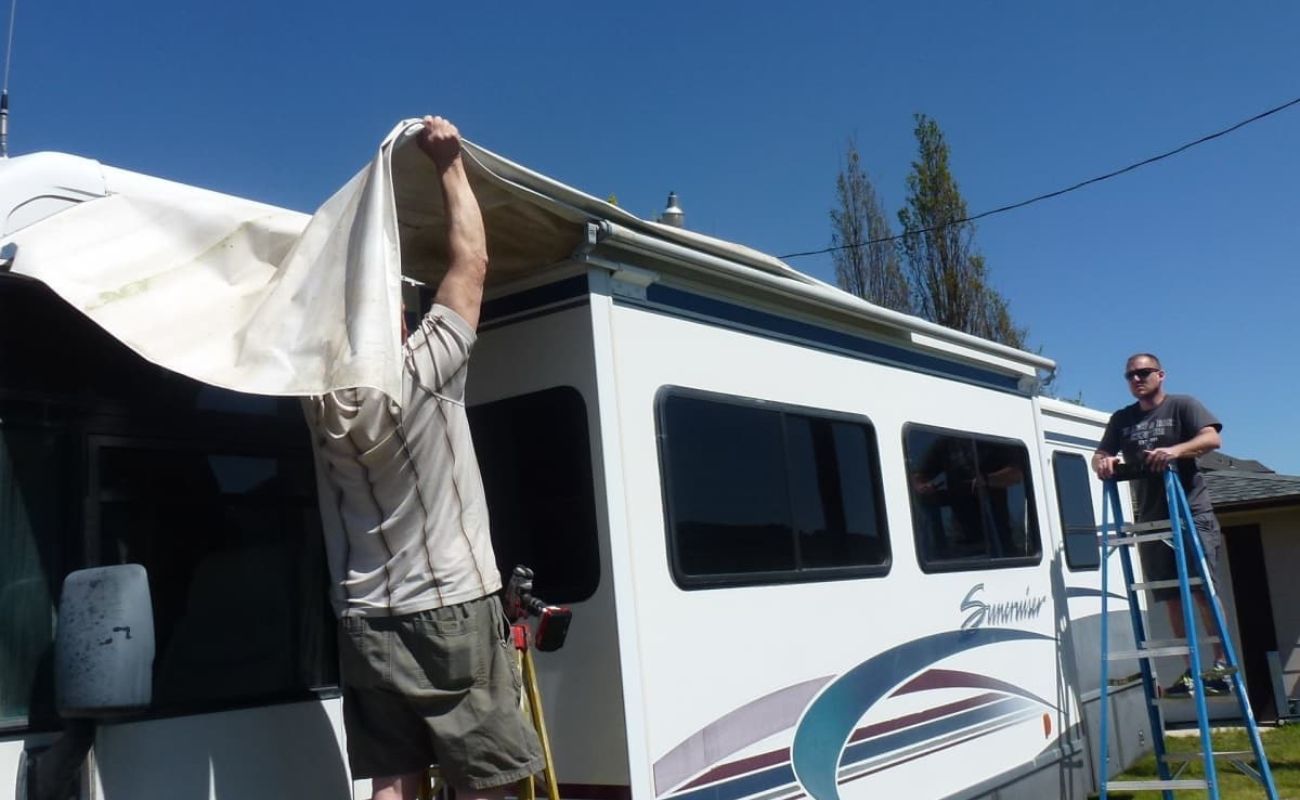
Removing the Awning Fabric
Removing the awning fabric is a critical step in the repair process, as it allows for thorough inspection and access to the underlying components. Before beginning this task, it's important to ensure that the awning is fully retracted and securely supported to prevent accidental deployment during the removal process.
-
Unfasten the Awning Fabric:
Start by carefully unfastening the awning fabric from the roller tube and the RV sidewall. This typically involves locating the screws or bolts that secure the fabric to these components and using a suitable screwdriver or wrench to loosen and remove them. It's important to keep track of the hardware as it is removed, as it will be needed for reinstallation later. -
Release the Tension Springs:
Many RV awnings are equipped with tension springs that help to retract and extend the fabric smoothly. Before proceeding with fabric removal, it's essential to release the tension from these springs to prevent any sudden movements or potential injury. This can usually be done by carefully unwinding the tension from the springs using the appropriate tools, following the manufacturer's guidelines. -
Gently Lower the Fabric:
With the fabric unfastened and the tension released, gently lower the awning fabric to the ground. It's advisable to have a second person assist with this step to ensure that the fabric is handled carefully and does not become tangled or damaged during removal. -
Inspect the Fabric and Hardware:
Once the fabric is removed, take the opportunity to inspect it thoroughly for any additional damage or areas in need of repair. Check the seams, edges, and overall condition of the fabric, noting any tears, holes, or signs of wear. Simultaneously, inspect the roller tube, arms, and other components for any issues that may require attention.
By following these steps, you can safely and effectively remove the awning fabric, setting the stage for the subsequent repair or replacement process. This careful approach ensures that the fabric and underlying components can be addressed with precision, ultimately leading to a successful restoration of your RV awning.
Repairing Tears and Holes
Repairing tears and holes in the RV awning fabric is a crucial step in restoring its functionality and appearance. Whether caused by weather-related damage or general wear and tear, addressing these issues promptly can prevent further deterioration and prolong the lifespan of the awning.
Patching Small Tears and Holes
For small tears and holes, awning repair tape can be an effective solution. Clean the damaged area thoroughly, ensuring it is free from dirt and debris. Trim any loose threads or frayed edges to create a clean surface for the patch. Carefully apply the awning repair tape over the damaged area, pressing firmly to ensure a secure bond. The high-quality, weather-resistant nature of the repair tape provides a durable and flexible patch that can withstand outdoor conditions.
Reinforcing Larger Tears and Weak Seams
In the case of larger tears or weakened seams, a fabric patch can provide a more substantial repair. Begin by cleaning and preparing the damaged area as previously described. Measure and cut a suitable patch from a piece of awning fabric or a compatible repair kit. Apply a layer of outdoor fabric adhesive to the back of the patch and carefully position it over the damaged area, ensuring a snug fit. Press the patch firmly and allow the adhesive to cure as per the manufacturer's instructions. This method reinforces the damaged area, providing a seamless and durable repair.
Read more: How To Retract An RV Awning
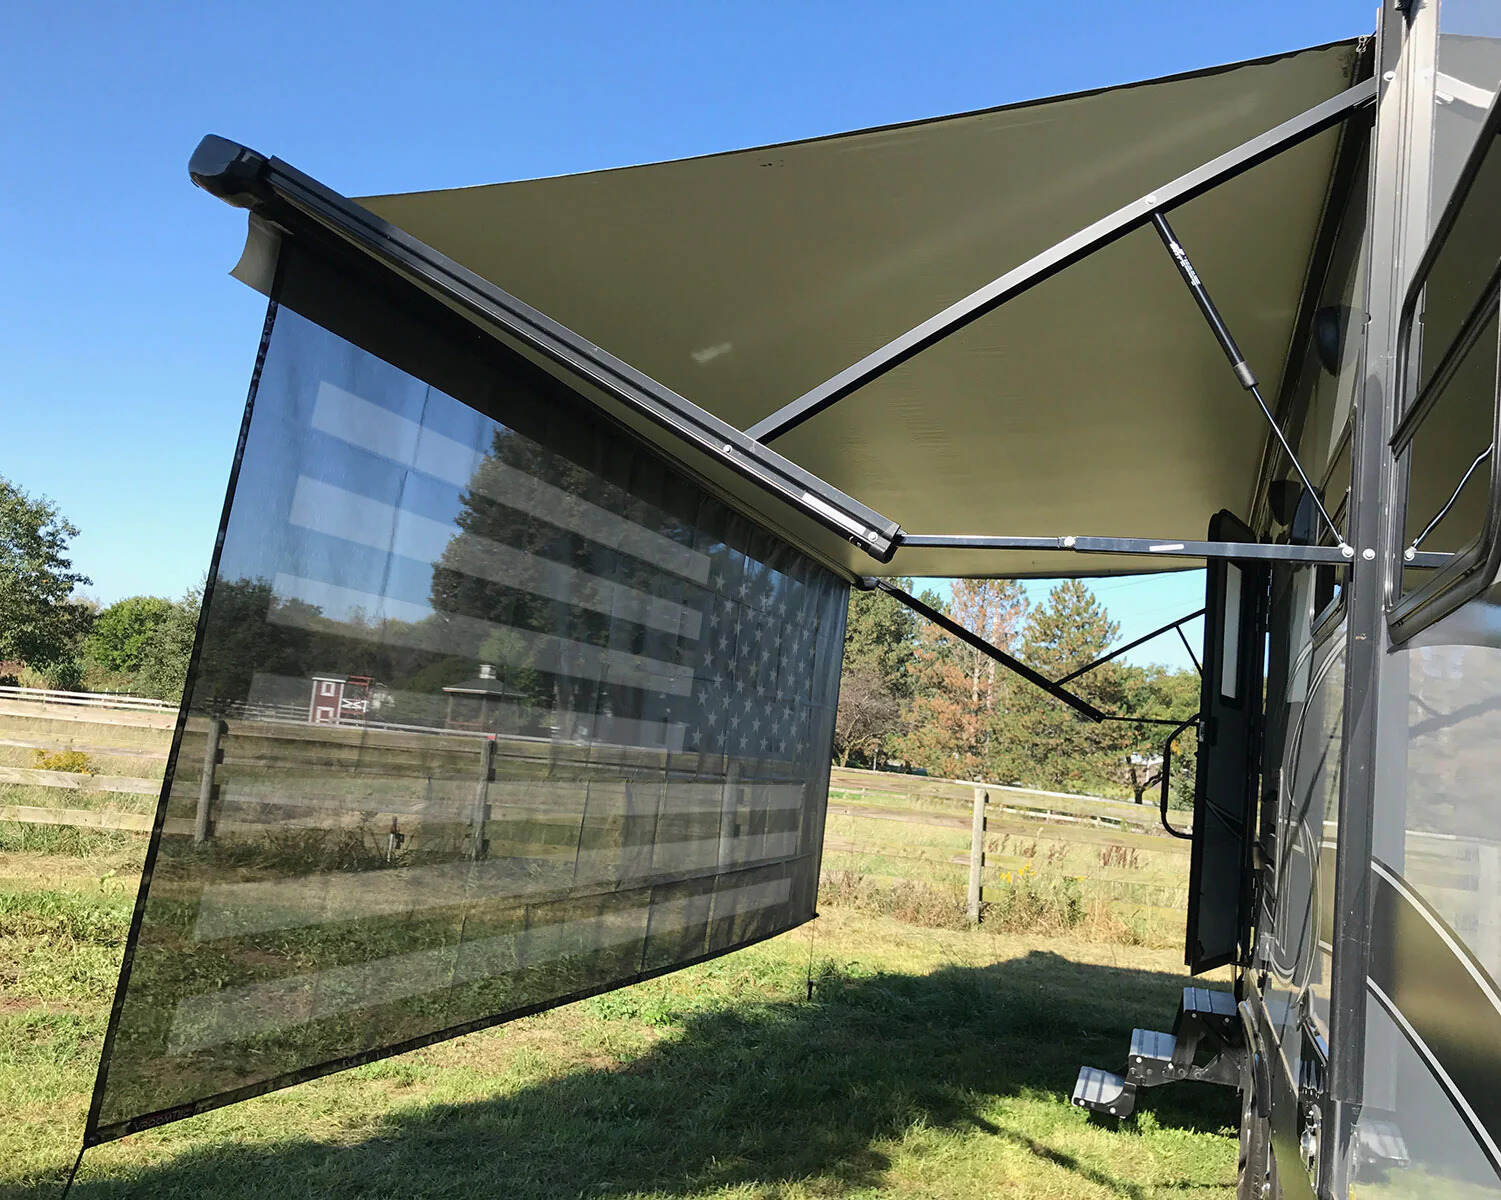
Seam Sealing for Added Protection
To further fortify the repaired areas and prevent water infiltration, consider applying a seam sealer designed for outdoor fabrics. This specialized sealer creates a waterproof barrier along the repaired seams and edges, enhancing the awning's resistance to moisture and environmental elements. Carefully apply the seam sealer according to the product guidelines, ensuring complete coverage of the repaired areas.
By meticulously addressing tears and holes in the RV awning fabric, you can effectively restore its structural integrity and visual appeal. These targeted repairs not only extend the lifespan of the awning but also contribute to a safer and more enjoyable outdoor experience. With the damaged areas expertly addressed, the awning is primed for the next phase of the repair process, ultimately leading to its full restoration.
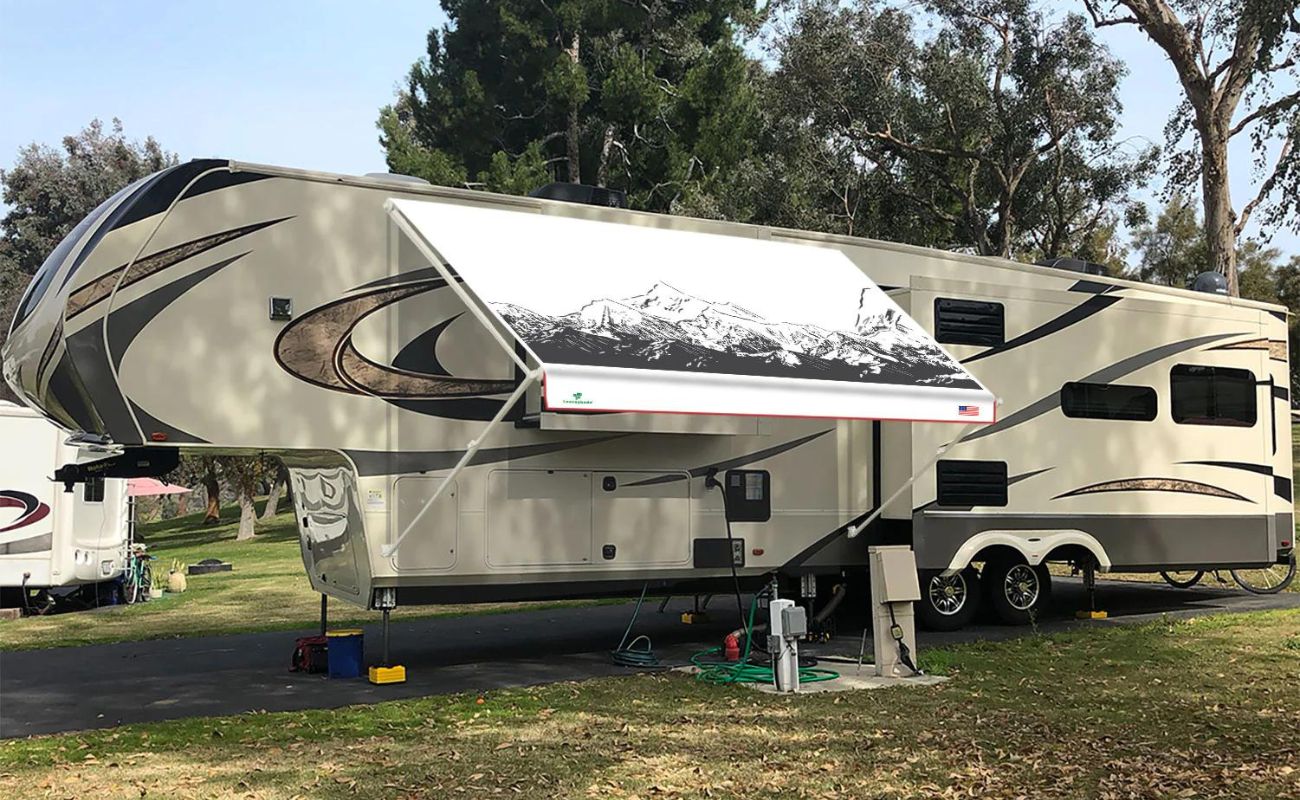
Replacing the Awning Fabric
When the damage to an RV awning fabric is extensive or beyond repair, replacing the fabric becomes the most viable solution. This process involves removing the existing fabric and installing a new one, rejuvenating the awning and ensuring its continued functionality and aesthetic appeal.
Removing the Old Fabric
-
Unfasten and Lower the Fabric: Begin by unfastening the old fabric from the roller tube and the RV sidewall, carefully removing any screws, bolts, or fasteners. With the fabric detached, gently lower it to the ground, ensuring that it is handled with care to prevent any further damage.
-
Inspect the Components: While removing the old fabric, take the opportunity to inspect the roller tube, arms, and other mechanical components for any signs of wear, corrosion, or damage. This inspection will help identify any additional repairs or replacements needed before installing the new fabric.
Installing the New Fabric
-
Prepare the New Fabric: Lay out the new awning fabric in a clean and spacious area, ensuring that it is free from wrinkles or creases. Verify that the new fabric is compatible with the specific model and dimensions of your RV awning, providing a precise fit for seamless installation.
-
Attach the Fabric to the Roller Tube: With the help of an assistant, carefully lift the new fabric and align it with the roller tube. Securely fasten the fabric to the roller tube using the appropriate hardware, ensuring that it is evenly tensioned and aligned for smooth operation.
-
Secure the Fabric to the RV Sidewall: Once the fabric is attached to the roller tube, proceed to fasten it to the RV sidewall using the designated screws or fasteners. Ensure that the fabric is taut and properly positioned, allowing for optimal functionality and appearance.
-
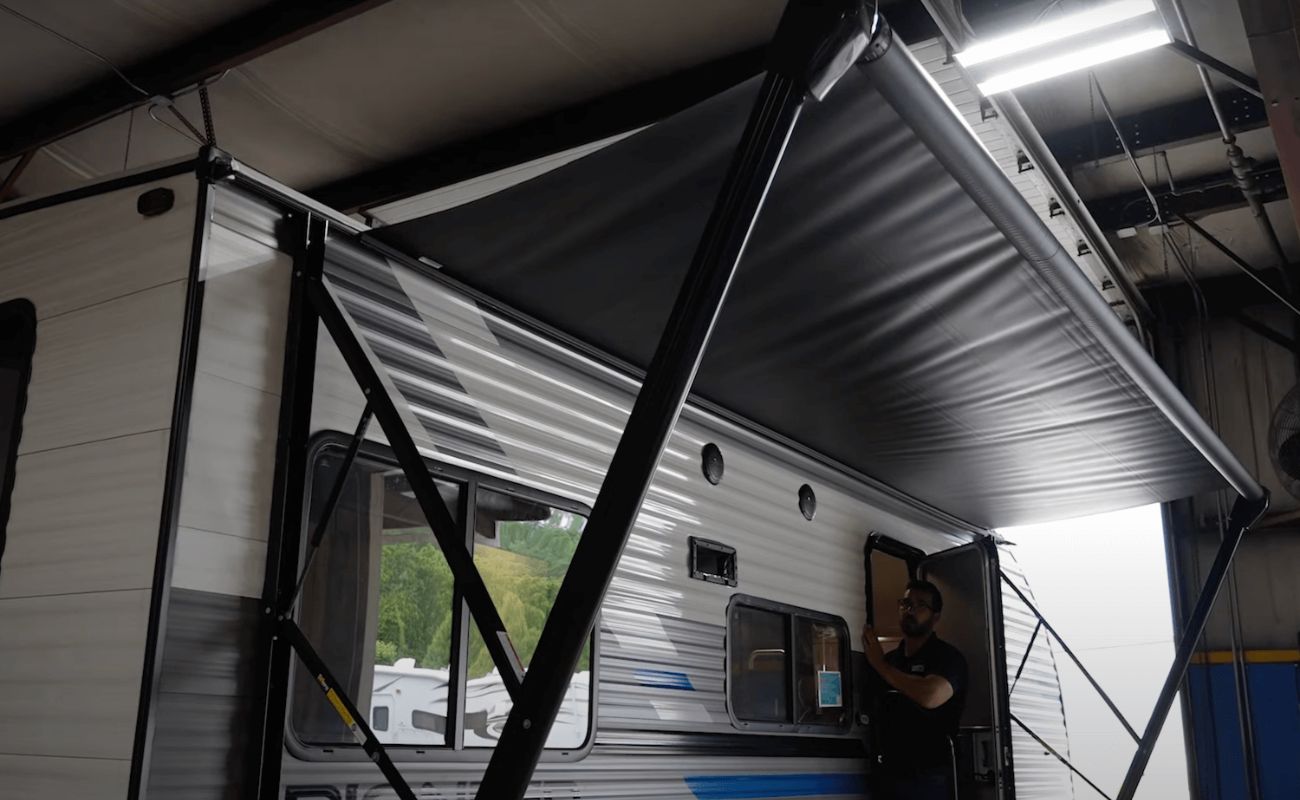
Test the Operation: After the new fabric is securely installed, test the awning's operation to verify that it extends and retracts smoothly. Make any necessary adjustments to the tension and alignment to ensure that the new fabric functions flawlessly.
Read more: How To Adjust An RV Awning
Final Checks and Adjustments
-
Inspect for Proper Alignment: Carefully inspect the newly installed fabric to ensure that it is evenly aligned and free from any wrinkles or sagging. Proper alignment is essential for the optimal performance and longevity of the awning.
-
Secure and Trim Excess Fabric: Trim any excess fabric as needed, ensuring that it does not interfere with the awning's operation or become a potential hazard. Secure any loose edges or seams to prevent fraying and maintain a neat appearance.
By following these steps, you can successfully replace the awning fabric, breathing new life into your RV awning and ensuring that it continues to provide shade and shelter for your outdoor adventures. With a fresh fabric in place, your RV awning is ready to enhance your outdoor experiences for years to come.
Reattaching the Awning to the RV
After addressing the necessary repairs or replacing the awning fabric, the final crucial step is reattaching the awning to the RV. This process ensures that the awning is securely and correctly positioned, allowing for safe and reliable operation. Here's a detailed guide on reattaching the awning to the RV:
-
Lift and Position the Awning: With the assistance of another person, carefully lift the awning into position against the RV sidewall. Ensure that the fabric is aligned with the roller tube and that the arms are positioned correctly for attachment.
-
Secure the Awning Arms: Begin by securing the awning arms to the RV sidewall using the appropriate screws or fasteners. It's essential to follow the manufacturer's guidelines for the specific model of the awning, ensuring that the arms are firmly and evenly attached.
-
Check the Tension Springs: If the awning is equipped with tension springs, carefully reapply tension to these components according to the manufacturer's instructions. Proper tensioning is crucial for the smooth operation and longevity of the awning.
-
Fasten the Fabric to the RV: Once the arms are securely attached, proceed to fasten the awning fabric to the RV sidewall using the designated screws or fasteners. Ensure that the fabric is taut and properly positioned, allowing for optimal functionality and appearance.
-
Test the Operation: After reattaching the awning, test its operation to verify that it extends and retracts smoothly. Check for any unusual sounds or movements, and make any necessary adjustments to the tension and alignment to ensure that the awning functions flawlessly.
-
Inspect for Proper Alignment: Carefully inspect the reattached awning to ensure that it is evenly aligned and free from any obstructions. Proper alignment is essential for the optimal performance and longevity of the awning.
-
Final Checks and Adjustments: Trim any excess fabric as needed, ensuring that it does not interfere with the awning's operation or become a potential hazard. Secure any loose edges or seams to prevent fraying and maintain a neat appearance.
By following these steps, you can effectively reattach the awning to the RV, completing the repair or replacement process with precision and care. A securely reattached awning ensures that it functions as intended, providing shade and shelter for your outdoor adventures while enhancing the overall aesthetics of your RV.
Conclusion
In conclusion, repairing an RV awning is a manageable task that can significantly extend the lifespan and functionality of this essential outdoor structure. By following the step-by-step process outlined in this guide, RV owners can confidently address common issues such as tears, holes, and fabric wear, restoring their awnings to optimal condition.
The initial assessment of the awning's condition sets the stage for a targeted and effective repair approach. Thoroughly inspecting the fabric and mechanical components allows for a comprehensive understanding of the required repairs, ensuring that no issues are overlooked.
Gathering the necessary tools and materials in advance streamlines the repair process, minimizing potential delays and ensuring that the appropriate supplies are readily available. This proactive approach sets the foundation for a successful repair endeavor.
The meticulous removal of the awning fabric, coupled with the careful repair of tears and holes, ensures that the fabric is restored to its original strength and integrity. Whether using specialized repair tape or implementing fabric patches, addressing these issues promptly prevents further deterioration and enhances the awning's durability.
In cases where the damage is extensive, replacing the awning fabric provides a fresh start for the outdoor structure. This process involves careful removal of the old fabric and precise installation of the new fabric, rejuvenating the awning and ensuring its continued functionality and visual appeal.
Finally, reattaching the awning to the RV completes the repair process, ensuring that the structure is securely positioned and ready for use. Proper alignment, tensioning, and operational testing guarantee that the awning functions flawlessly, providing shade and shelter for outdoor activities.
By following these comprehensive steps, RV owners can effectively repair their awnings, enhancing the overall outdoor experience and maximizing the value of their recreational vehicles. With a restored and reliable awning, outdoor adventures are made more comfortable and enjoyable, allowing for memorable experiences in various settings.
In essence, mastering the art of RV awning repair empowers outdoor enthusiasts to maintain and optimize their outdoor spaces, ensuring that they are well-equipped for relaxation and recreation amidst nature's beauty.
Frequently Asked Questions about How To Repair An RV Awning
Was this page helpful?
At Storables.com, we guarantee accurate and reliable information. Our content, validated by Expert Board Contributors, is crafted following stringent Editorial Policies. We're committed to providing you with well-researched, expert-backed insights for all your informational needs.


0 thoughts on “How To Repair An RV Awning”