Home>Gardening & Outdoor>Outdoor Structures>How To Make An Awning Over A Bulletin Board

Outdoor Structures
How To Make An Awning Over A Bulletin Board
Modified: April 1, 2024
Learn how to create a sturdy and stylish awning for your outdoor bulletin board with our step-by-step guide. Enhance your outdoor structures with this DIY project!
(Many of the links in this article redirect to a specific reviewed product. Your purchase of these products through affiliate links helps to generate commission for Storables.com, at no extra cost. Learn more)
Introduction
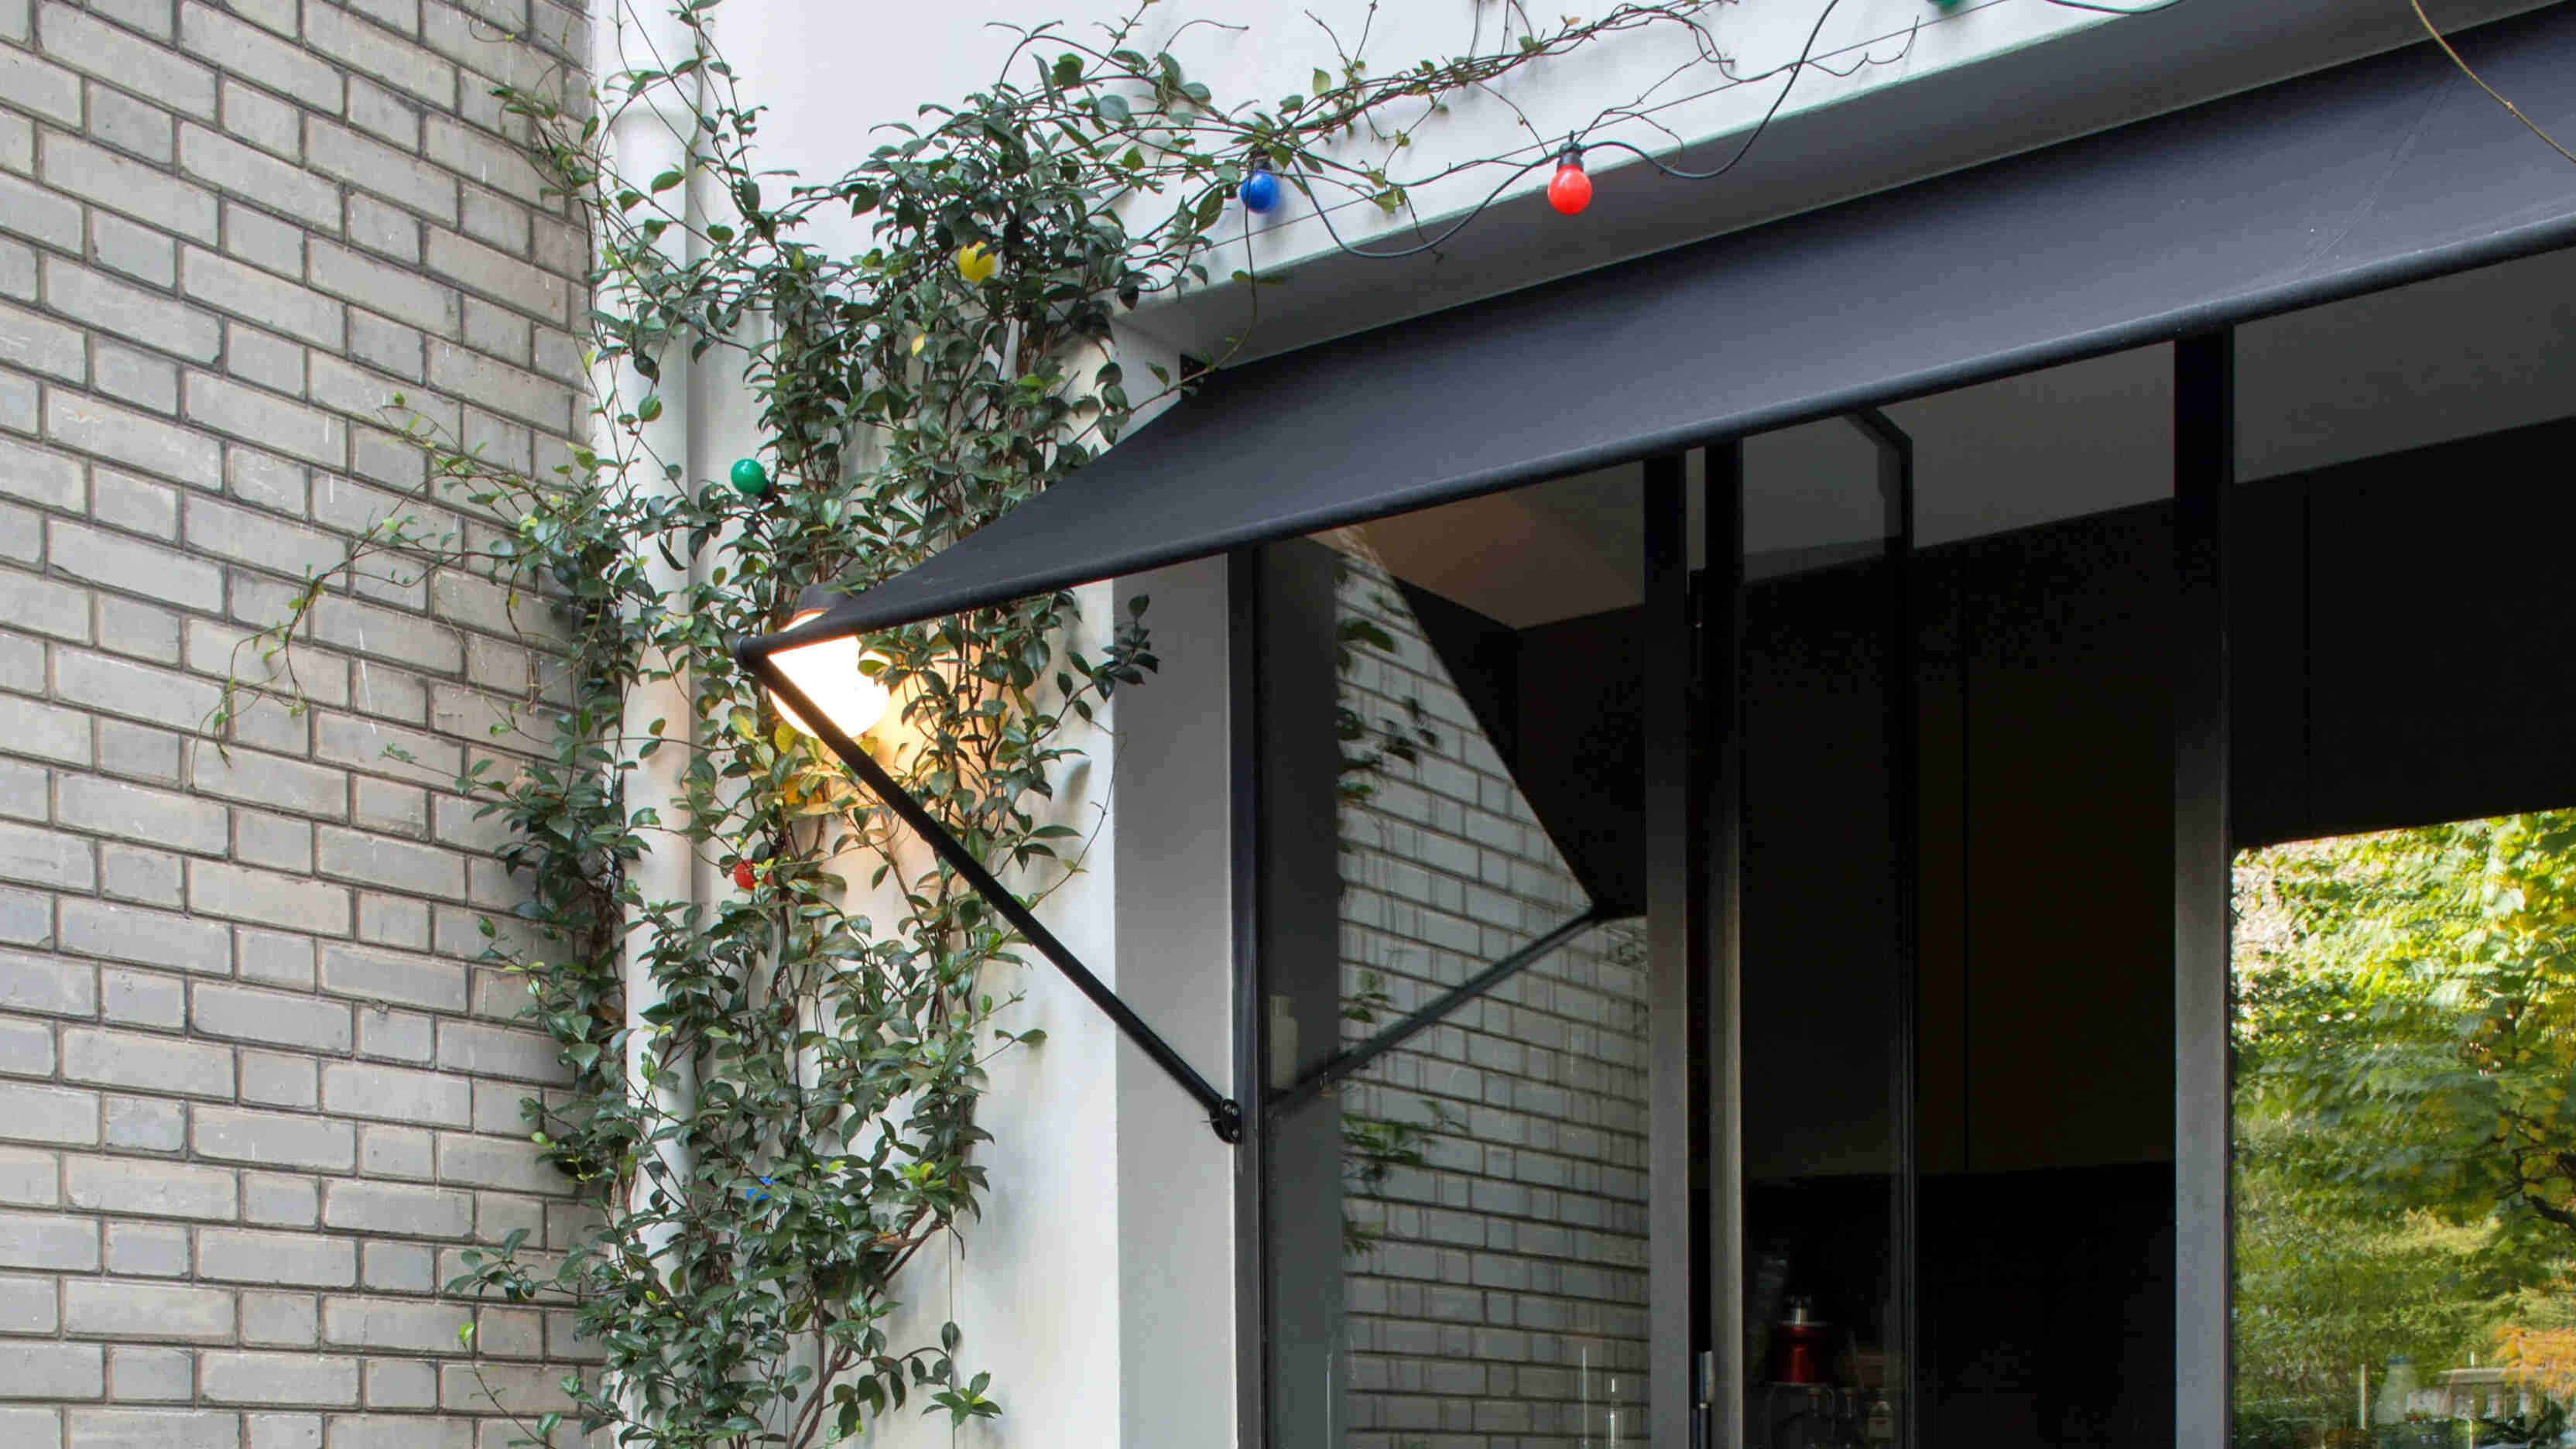
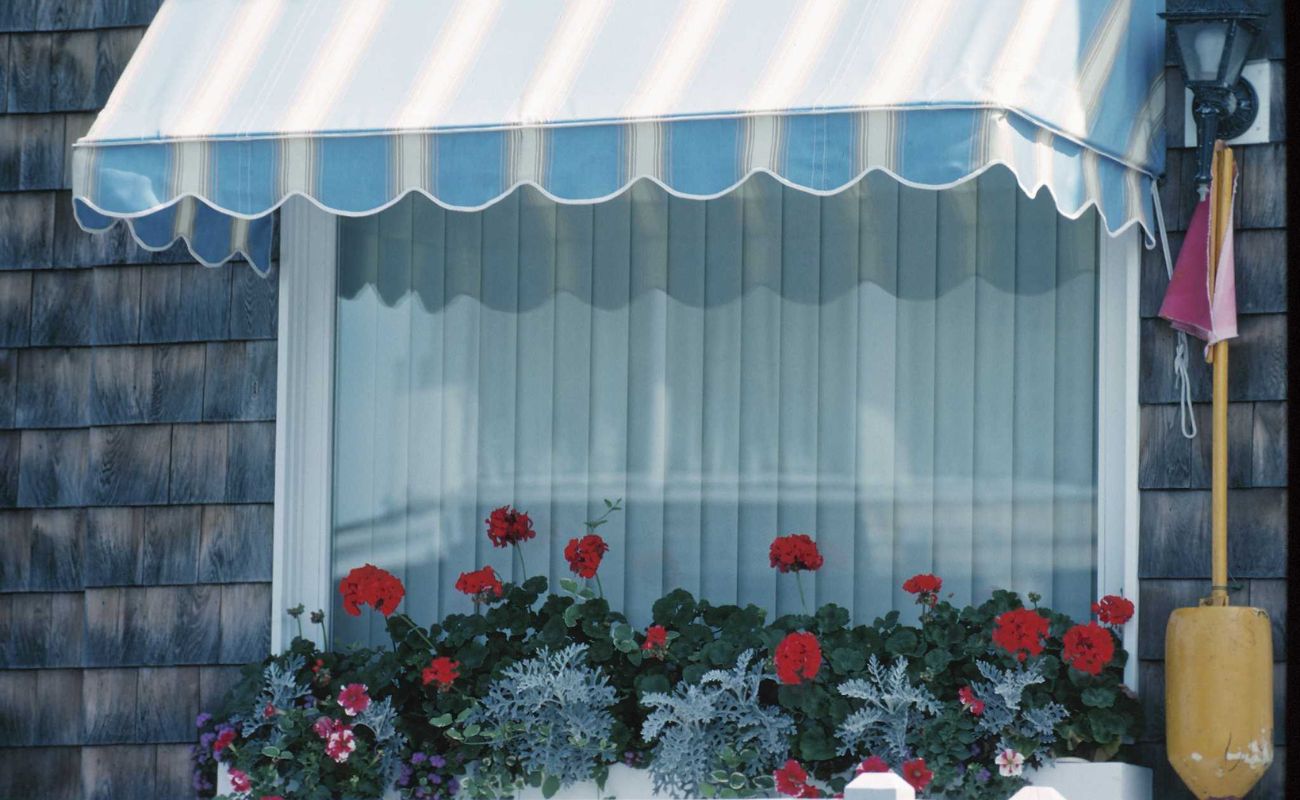
Are you looking to add a touch of charm and functionality to a bulletin board? An awning can be a delightful addition, providing protection from the elements while enhancing the visual appeal of the space. Whether you're aiming to create a cozy outdoor display or simply seeking to elevate the aesthetics of your bulletin board, crafting an awning can be a rewarding and relatively straightforward project.
In this guide, we'll walk you through the process of constructing an awning over a bulletin board, offering step-by-step instructions and valuable insights. With a few simple materials and a bit of creative flair, you can transform a plain bulletin board into a captivating focal point that stands out in any outdoor setting. So, gather your supplies and let's embark on this engaging DIY endeavor together.
Key Takeaways:
- Create an eye-catching awning for a bulletin board by measuring and cutting outdoor fabric with precision, ensuring a snug fit and a polished appearance.
- Secure the awning in place with sturdy supports and weather-resistant fasteners, enhancing its durability and providing long-lasting protection for the bulletin board.
Read more: How To Store Bulletin Board Borders
Materials Needed
Before diving into the construction process, it’s essential to gather the necessary materials and tools. Here’s a list of items you’ll need to create an awning over a bulletin board:
- Outdoor fabric: Select a durable, weather-resistant fabric that complements the bulletin board’s surroundings. Common options include canvas, polyester, or acrylic fabrics.
- Measuring tape: Accurate measurements are crucial for ensuring a precise fit and a visually appealing outcome.
- Scissors or fabric shears: These will be used to cut the fabric to the desired dimensions.
- Awning supports: Depending on the design, you may require metal or wooden supports to hold the awning in place.
- Fasteners: Choose appropriate fasteners such as screws, nails, or brackets to secure the awning supports to the bulletin board.
- Drill or hammer: Essential for installing the awning supports securely.
- Level: This tool will help ensure that the awning is installed evenly and straight.
- Waterproofing spray (optional): To enhance the fabric’s resistance to moisture and prolong its lifespan.
- Decorative elements (optional): Consider embellishments such as tassels, trimmings, or decorative hardware to personalize the awning’s appearance.
By having these materials on hand, you’ll be well-equipped to commence the construction of an eye-catching and functional awning for your bulletin board.
Step 1: Measure and Mark
Precision is key when it comes to creating an awning that fits flawlessly over a bulletin board. Begin by measuring the width and depth of the bulletin board to determine the dimensions for the awning. Ensure that the measurements extend beyond the board’s edges to provide adequate coverage and protection.
Once you have the measurements, mark the corresponding dimensions on the outdoor fabric using a fabric pencil or chalk. Use a straight edge, such as a ruler or a long piece of cardboard, to create straight lines and ensure accuracy. It’s advisable to add a few extra inches to the measurements to allow for hems and adjustments during the installation process.
After marking the fabric, carefully cut along the lines using scissors or fabric shears, resulting in a piece of fabric that matches the dimensions of the bulletin board. This precise cutting will set the stage for a well-fitted and visually appealing awning.
By taking the time to measure accurately and mark the fabric diligently, you’ll lay a solid foundation for the subsequent steps in constructing the awning over the bulletin board.
Step 2: Cut the Awning Fabric
With the fabric marked according to the measurements taken in the previous step, it’s time to proceed with cutting the awning fabric. Lay the fabric on a flat, spacious surface, ensuring that it is smooth and free of wrinkles to facilitate precise cutting.
Using sharp scissors or fabric shears, carefully cut along the marked lines, following the dimensions delineated for the awning. Take your time to maintain straight, clean cuts, as this will contribute to a polished and professional-looking end result.
It’s essential to pay attention to detail during this stage, as the accuracy of the cuts will directly impact the fit and appearance of the awning once it is installed. If the fabric has a pattern or design, ensure that it is aligned symmetrically and aesthetically before making the cuts.
Upon completing the cutting process, you should be left with a piece of fabric that corresponds precisely to the dimensions of the bulletin board. This carefully tailored fabric will serve as the primary component of the awning, ready to be installed and transformed into a captivating addition to the outdoor space.
By approaching the cutting process with patience and precision, you’ll set the stage for a beautifully crafted awning that enhances the appeal and functionality of the bulletin board area.
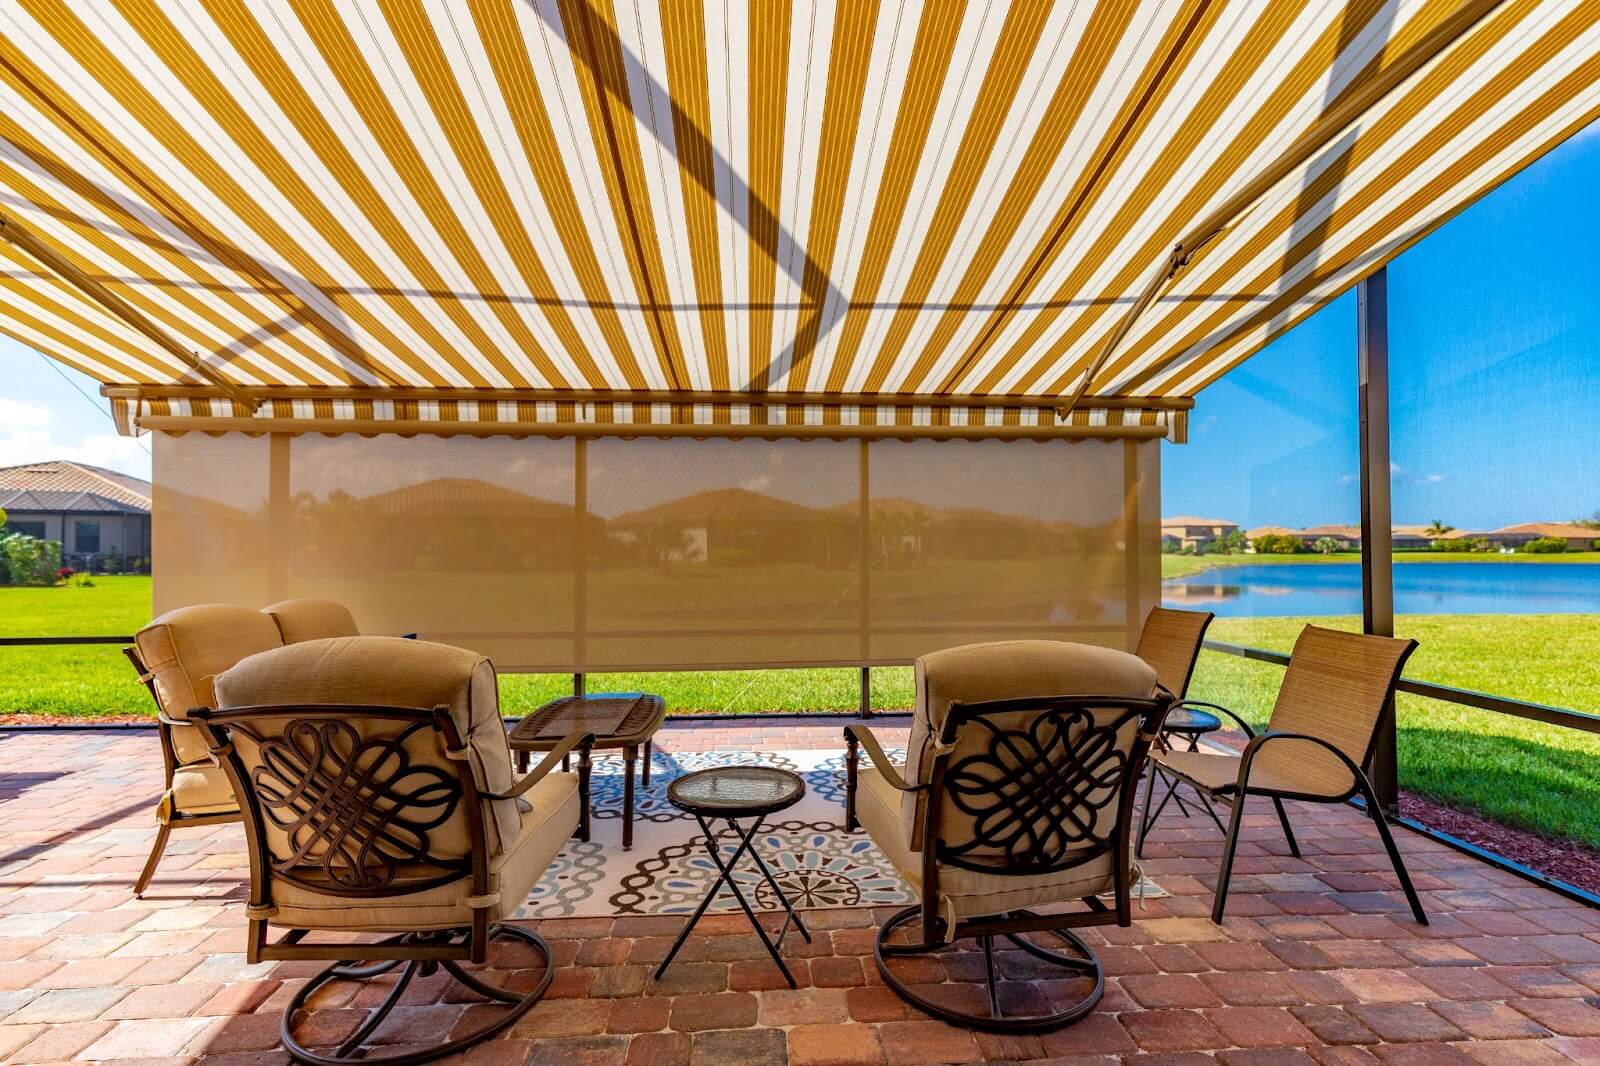
You can make an awning over a bulletin board by using a piece of fabric or plastic and attaching it to a frame above the board. This will help protect the board from rain and sun damage.
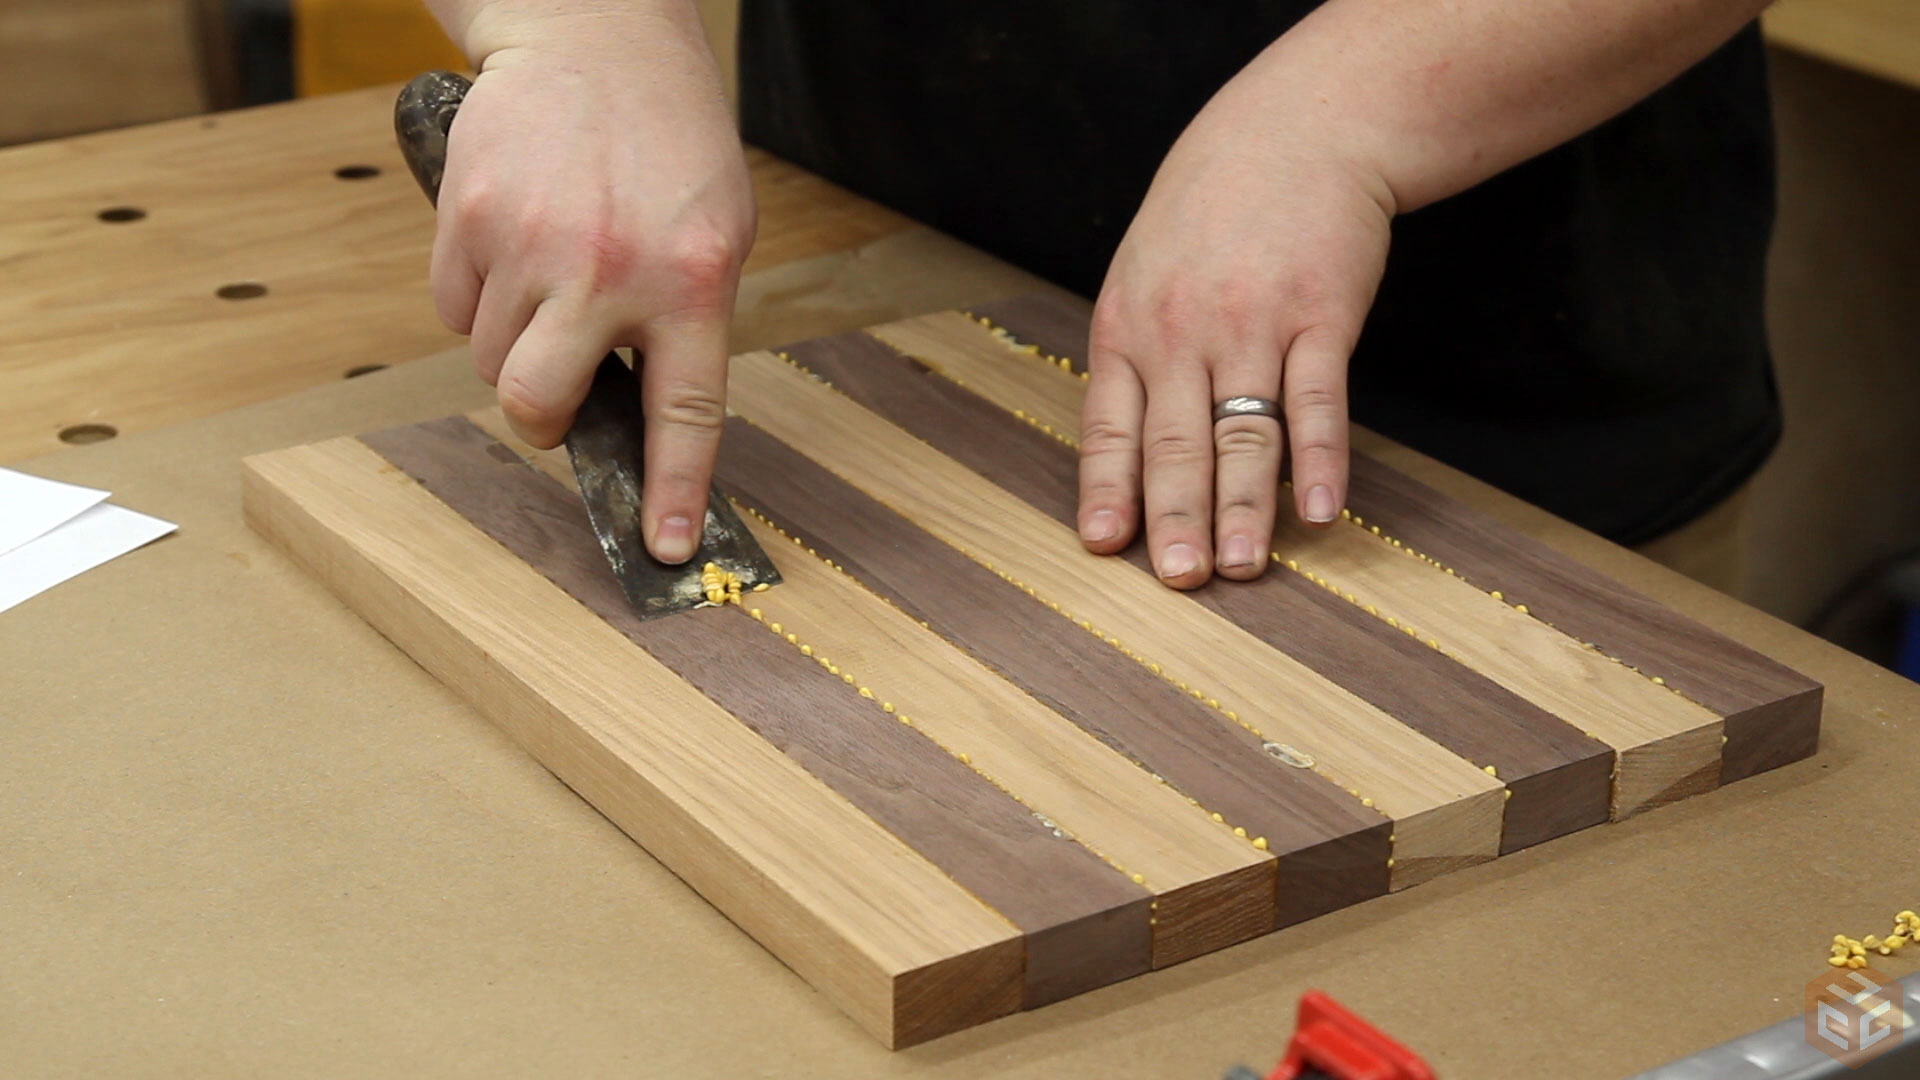
Step 3: Attach the Awning Fabric
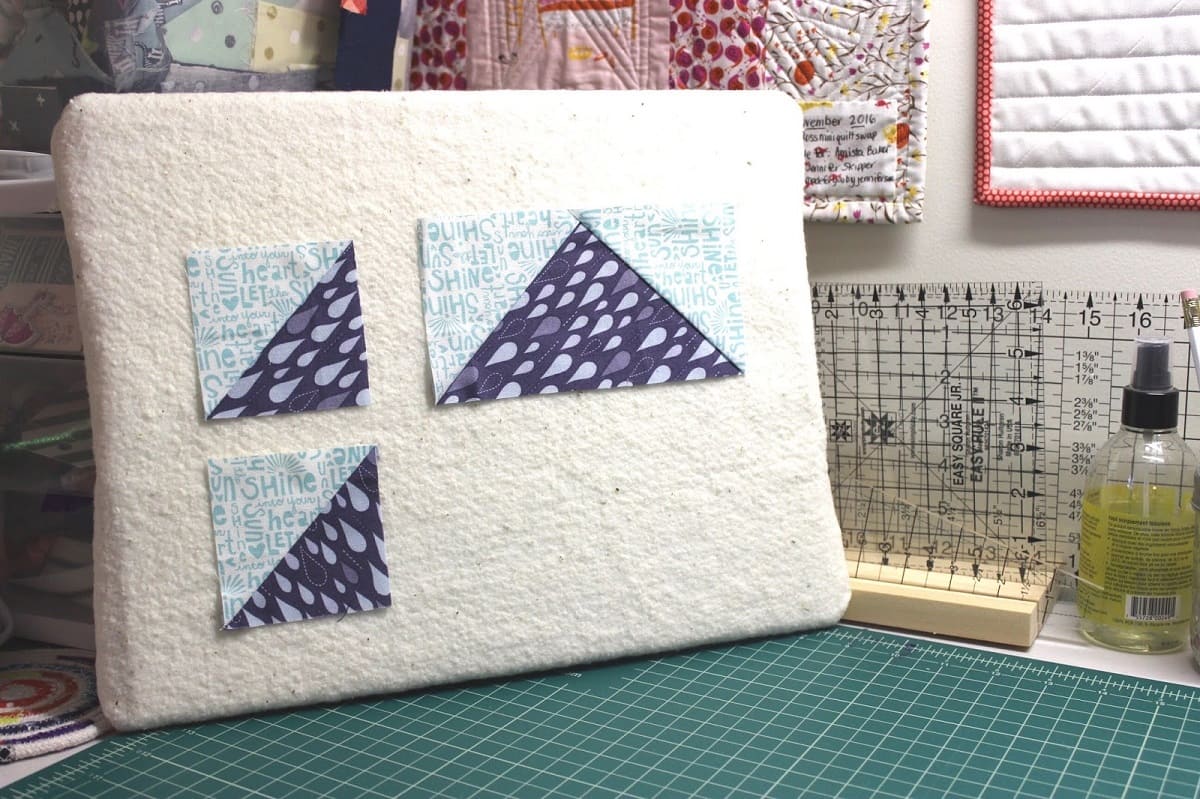
With the fabric cut to the appropriate size, the next step involves attaching it to the bulletin board to form the awning. Begin by positioning the fabric over the bulletin board, ensuring that it aligns evenly and covers the intended area. If necessary, enlist the assistance of another person to hold the fabric in place while you secure it.
Using suitable fasteners, such as staples, tacks, or weather-resistant adhesive, affix the fabric to the top of the bulletin board. Work methodically from one end to the other, smoothing out any wrinkles or creases as you progress. This will help ensure a taut and visually appealing surface once the fabric is fully attached.
Take care to secure the fabric firmly but without excessive tension, as this may cause distortion or damage to the material. If the fabric has a pattern or design, verify that it is positioned symmetrically and aligns as intended before finalizing the attachment.
Throughout this process, maintain a keen eye for detail and symmetry, as these elements are pivotal in achieving a professional and polished appearance for the awning. Once the fabric is securely attached, it will begin to take shape as a functional and aesthetically pleasing addition to the bulletin board area.
By skillfully affixing the fabric to the bulletin board, you’ll bring the awning to life, setting the stage for the subsequent steps in the construction process.
Read more: How To Build An Awning Over A Patio
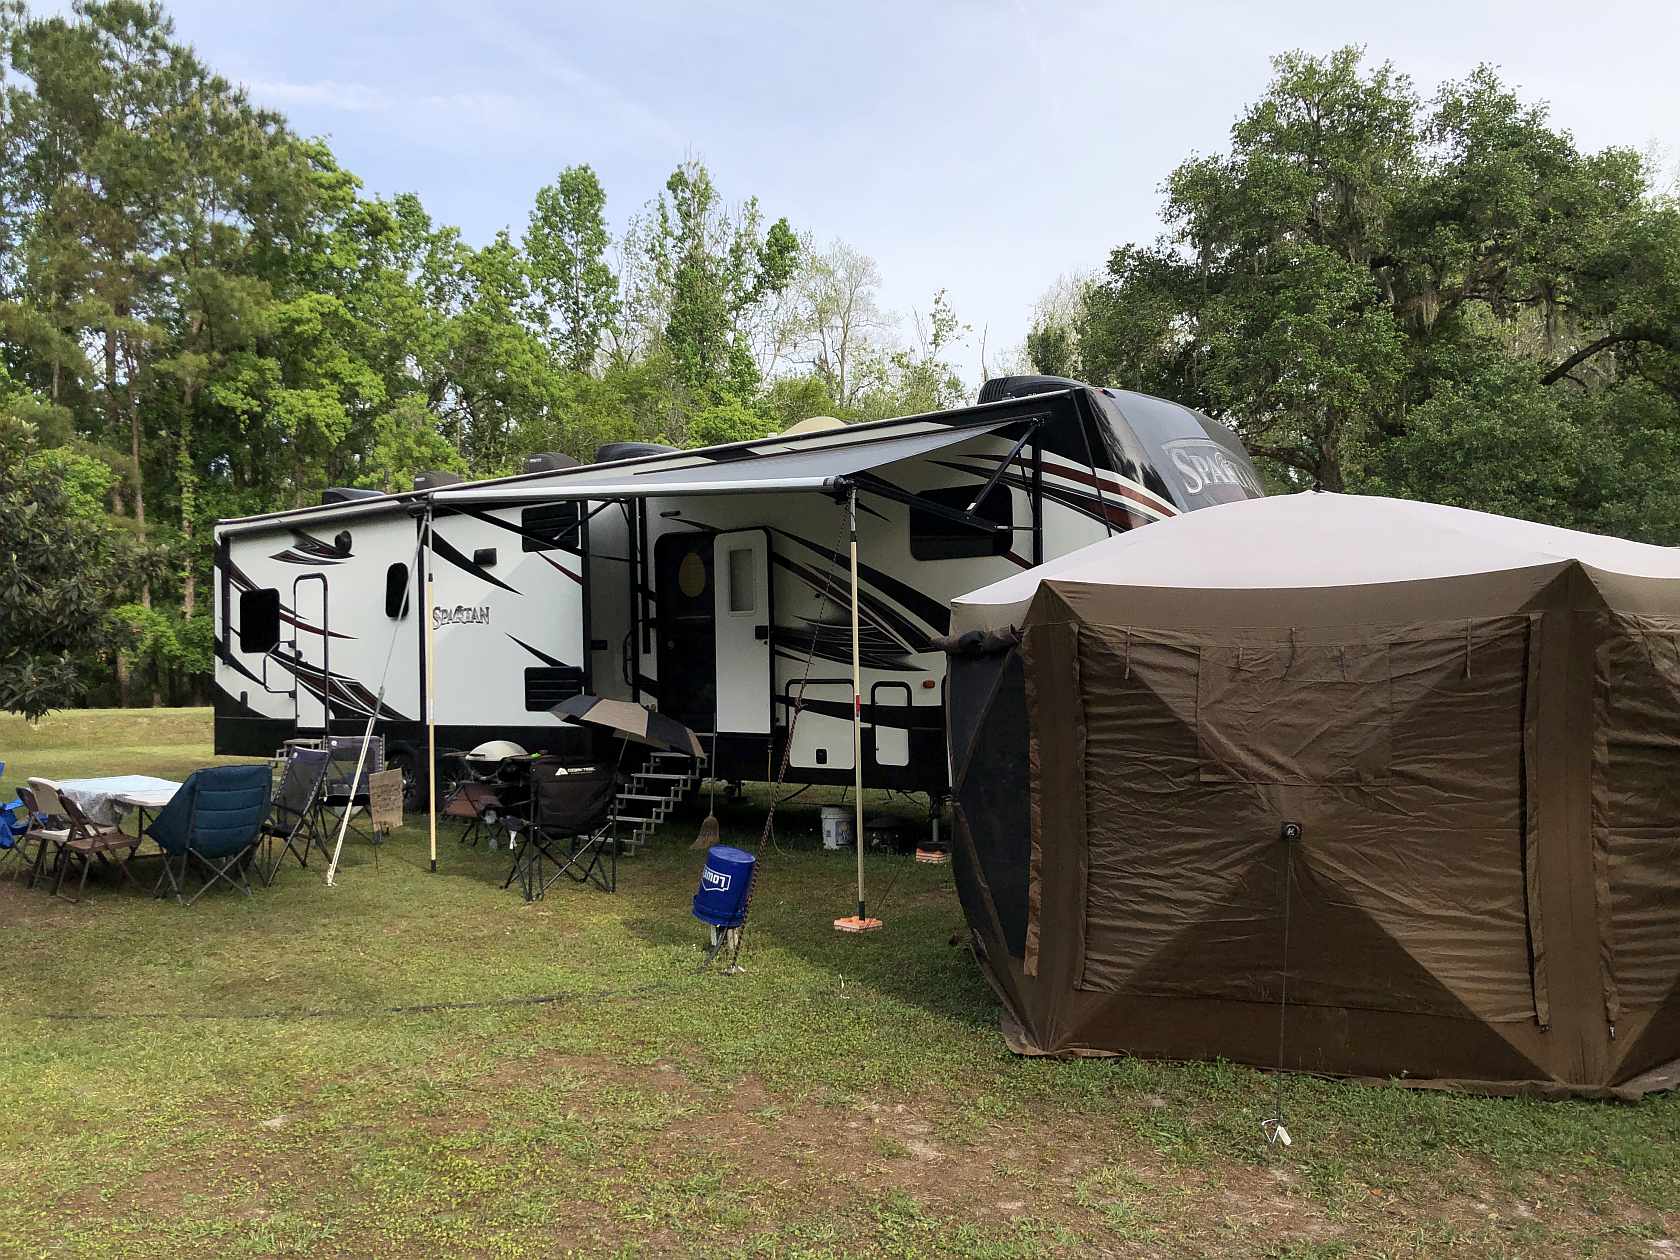
Step 4: Install the Awning Supports
With the fabric securely attached to the bulletin board, the next crucial step is to install the supports that will uphold the awning. The type of supports required will depend on the design and size of the awning, as well as the specific characteristics of the bulletin board and its surroundings.
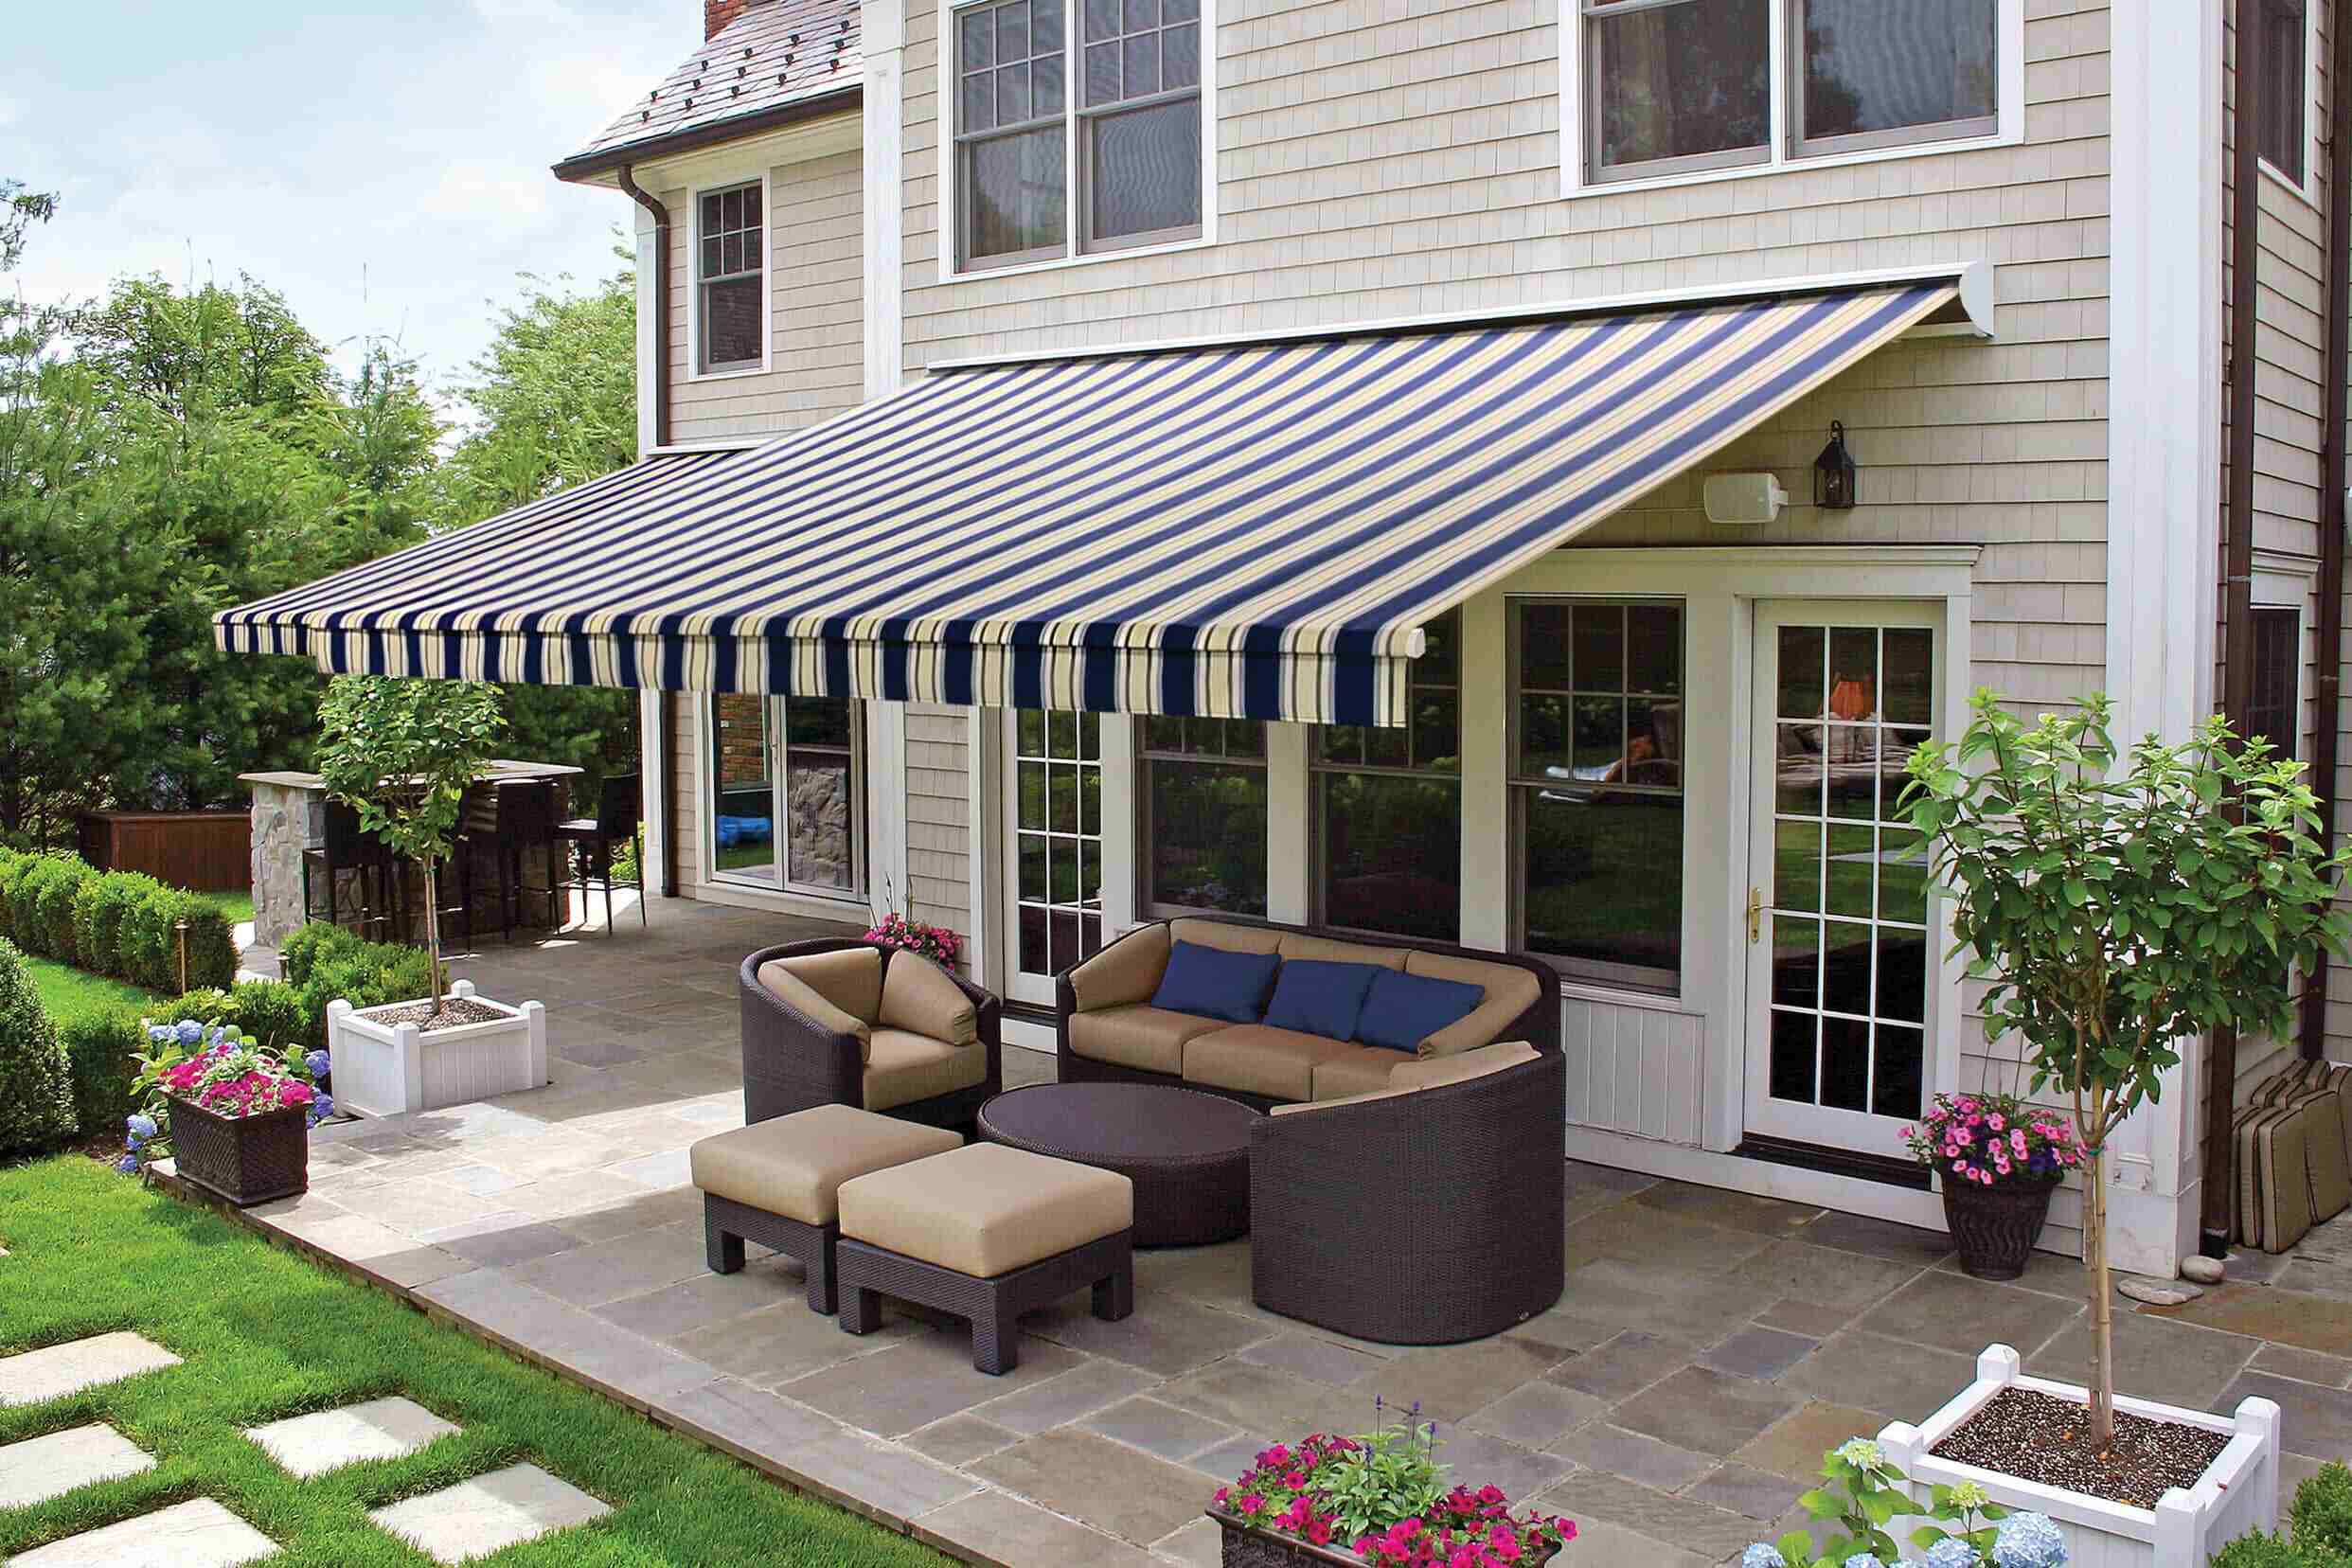
If you opt for a traditional awning design, consider using metal or wooden supports that extend from the bulletin board to provide structural stability. Prior to installation, carefully measure and mark the positions where the supports will be attached, ensuring that they are evenly spaced and aligned with the edges of the fabric.
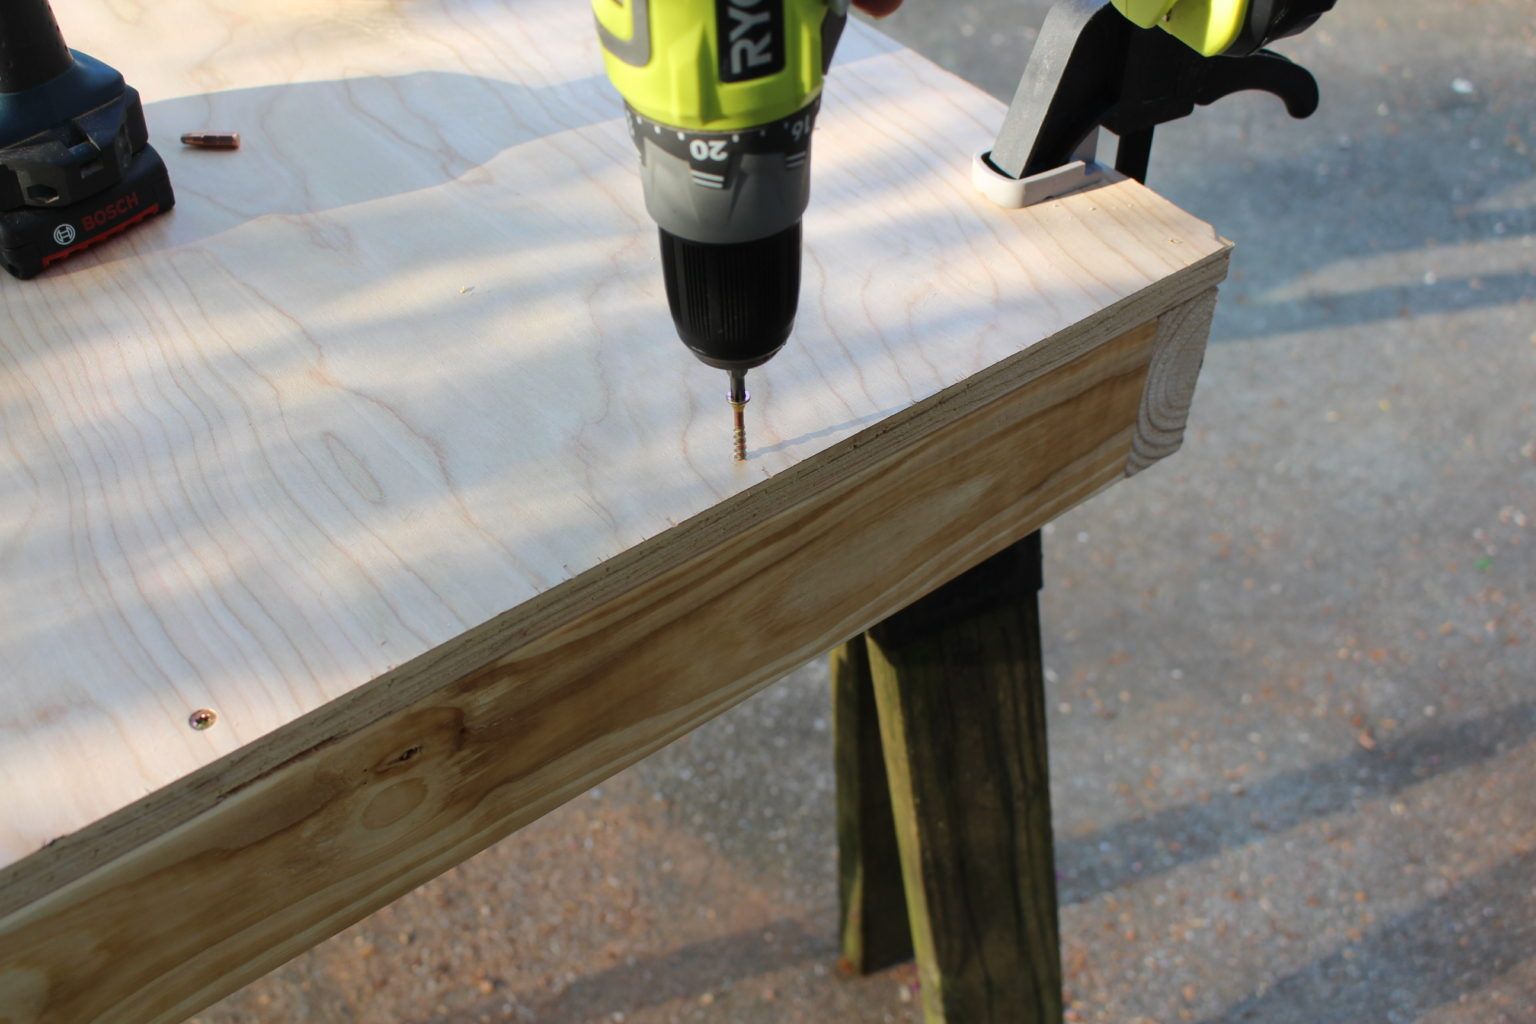
Using a drill, screws, and appropriate mounting hardware, affix the supports to the bulletin board securely. It’s essential to ensure that the supports are level and firmly anchored, as they will bear the weight of the awning and withstand external forces such as wind and precipitation.
For a more modern or minimalist approach, sleek metal brackets or tensioned cables may be utilized to support the awning, offering a contemporary aesthetic while maintaining structural integrity. Whichever support method is chosen, meticulous installation is paramount to guarantee the awning’s durability and functionality.
As you install the supports, periodically assess their alignment and stability, making any necessary adjustments to ensure that the awning will be held securely in place. By completing this step meticulously, you’ll create a solid foundation for the awning, readying it for the final phase of the installation process.
Step 5: Secure the Awning in Place
With the awning fabric attached and the supports firmly in position, the final step involves securing the awning to ensure its stability and longevity. This crucial phase will help safeguard the awning against environmental elements and ensure its resilience over time.
Begin by inspecting the entire assembly, verifying that the fabric is taut and free of wrinkles, and the supports are securely fastened to the bulletin board. If any adjustments are necessary, address them promptly to achieve a visually appealing and structurally sound outcome.
Depending on the chosen design and materials, you may need to apply additional fasteners or hardware to reinforce the connections between the fabric and the supports. This may involve using weather-resistant screws, washers, or brackets to enhance the awning’s stability and resistance to external forces.
If the fabric used for the awning is susceptible to moisture or UV exposure, consider applying a waterproofing spray or UV protectant to prolong its lifespan and maintain its appearance over time. This extra measure can significantly contribute to the fabric’s durability and overall resilience in outdoor conditions.
Upon completing these final adjustments and enhancements, step back and admire the newly installed awning, appreciating the transformation it has brought to the bulletin board area. The secure and well-maintained awning will not only enhance the visual appeal of the space but also provide practical protection for the bulletin board and its contents.
By meticulously securing the awning in place and attending to its long-term durability, you’ll ensure that this charming addition remains an enduring and functional feature of the outdoor setting.
Conclusion
Embarking on the endeavor to create an awning over a bulletin board is a gratifying journey that culminates in a harmonious blend of aesthetic enhancement and practical utility. By following the step-by-step process outlined in this guide, you have transformed a simple bulletin board into a captivating focal point that harmonizes with its outdoor surroundings.
Throughout this creative undertaking, you’ve exercised precision, creativity, and attention to detail, resulting in the seamless integration of an awning that not only shields the bulletin board from the elements but also adds an inviting charm to the space.
As you admire the finished product, take pride in the craftsmanship and artistry that have gone into this project. The carefully measured and cut fabric, the secure attachment, and the thoughtful installation of supports have collectively contributed to the creation of an appealing and functional awning.
Moreover, the attention to detail in securing the awning in place ensures its resilience and longevity, allowing it to withstand the rigors of outdoor exposure while maintaining its allure and protective function.
Whether you’ve chosen a classic design with wooden supports or a modern, minimalist approach with sleek metal fixtures, the awning now stands as a testament to your creativity and resourcefulness, enriching the outdoor space with its presence.
As the bulletin board area is transformed into an inviting and sheltered nook, you’ve not only enhanced its visual appeal but also created a welcoming space that beckons visitors to engage with its contents.
With the completion of this project, you’ve not only constructed an awning over a bulletin board but also woven a delightful narrative of creativity, craftsmanship, and practical ingenuity into the outdoor setting.
Congratulations on the successful completion of this project, and may the newly adorned bulletin board area serve as a testament to your skill and creativity for years to come.
Frequently Asked Questions about How To Make An Awning Over A Bulletin Board
Was this page helpful?
At Storables.com, we guarantee accurate and reliable information. Our content, validated by Expert Board Contributors, is crafted following stringent Editorial Policies. We're committed to providing you with well-researched, expert-backed insights for all your informational needs.
0 thoughts on “How To Make An Awning Over A Bulletin Board”