Home>Gardening & Outdoor>Outdoor Structures>How To Finish A Shed Interior
Outdoor Structures
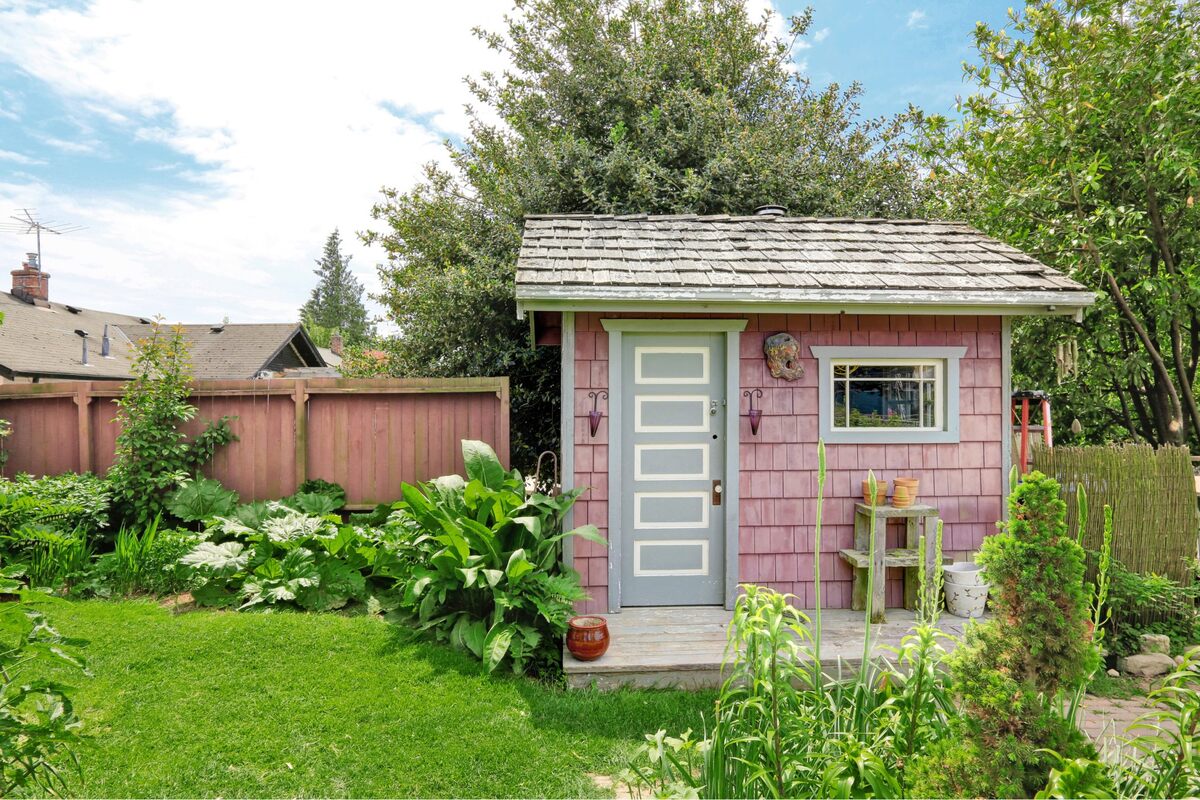
How To Finish A Shed Interior
Modified: October 27, 2024
Learn how to finish the interior of your shed with our expert tips and advice. Create a functional and stylish space for your outdoor structures.
(Many of the links in this article redirect to a specific reviewed product. Your purchase of these products through affiliate links helps to generate commission for Storables.com, at no extra cost. Learn more)
Introduction
Finishing the interior of a shed can transform it from a simple storage space into a versatile and inviting area that can serve as a home office, a creative workshop, a cozy retreat, or any other functional space you desire. Whether you’re repurposing an old shed or customizing a new one, the process of finishing the interior involves several key steps to ensure a comfortable and visually appealing result.
In this comprehensive guide, we will walk you through the essential steps to finish the interior of your shed, sharing valuable insights and tips along the way. From preparing the interior and insulating the walls to adding the final decorative touches, you’ll gain the knowledge and inspiration needed to complete this rewarding project.
So, roll up your sleeves, unleash your creativity, and let’s delve into the exciting world of shed interior finishing!
Key Takeaways:
- Transform a shed into a versatile space by following essential steps like preparing, insulating, and decorating. Embrace creativity to create a personalized and functional interior that reflects your unique style and interests.
- Finishing a shed interior involves steps like insulation, lighting, and flooring to create a comfortable and inviting space. Organize and decorate to optimize functionality and infuse the shed with your personal touch.
Read more: What Paint Finish For Interior Walls
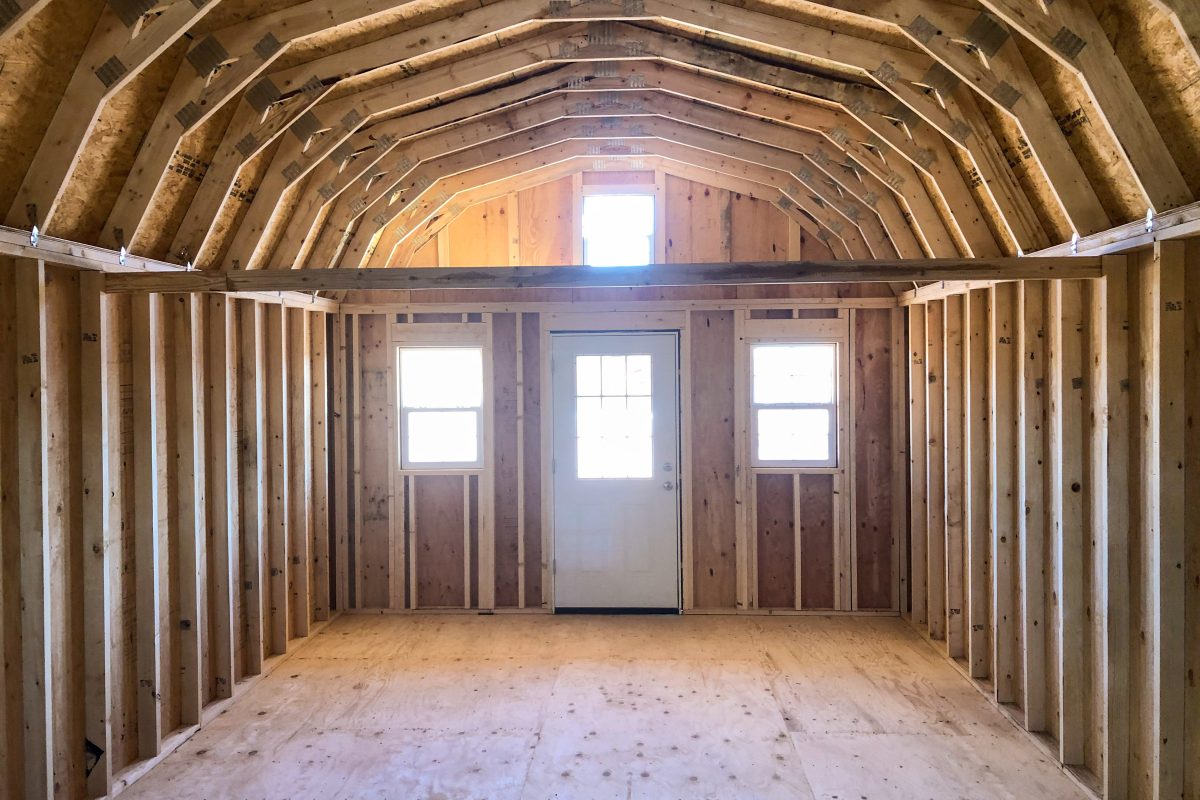
Step 1: Prepare the Interior
Before diving into the actual finishing work, it’s crucial to prepare the interior of your shed. Start by clearing out any clutter, debris, or unnecessary items to create a clean and spacious canvas for your project. This initial step sets the stage for a successful transformation and allows you to assess the condition of the space.
Next, thoroughly inspect the walls, ceiling, and flooring for any signs of damage, such as cracks, holes, or rot. Address any structural issues and make necessary repairs to ensure a solid and secure foundation for the finishing materials.
If your shed lacks proper ventilation, consider adding vents or windows to improve air circulation and prevent moisture buildup, which can lead to mold and mildew problems down the line. Adequate ventilation is essential for maintaining a healthy and comfortable interior environment.
Additionally, take the time to evaluate the existing electrical wiring and outlets in the shed. If you plan to incorporate lighting, power tools, or electronic devices in the finished space, it’s important to ensure that the electrical system meets your needs and complies with safety standards. If upgrades or modifications are required, consult a qualified electrician to handle the necessary adjustments.
By thoroughly preparing the interior of your shed, you’ll create a solid foundation for the subsequent steps of insulating, finishing, and decorating. This proactive approach sets the stage for a seamless and successful transformation, allowing you to focus on the creative and rewarding aspects of the project.
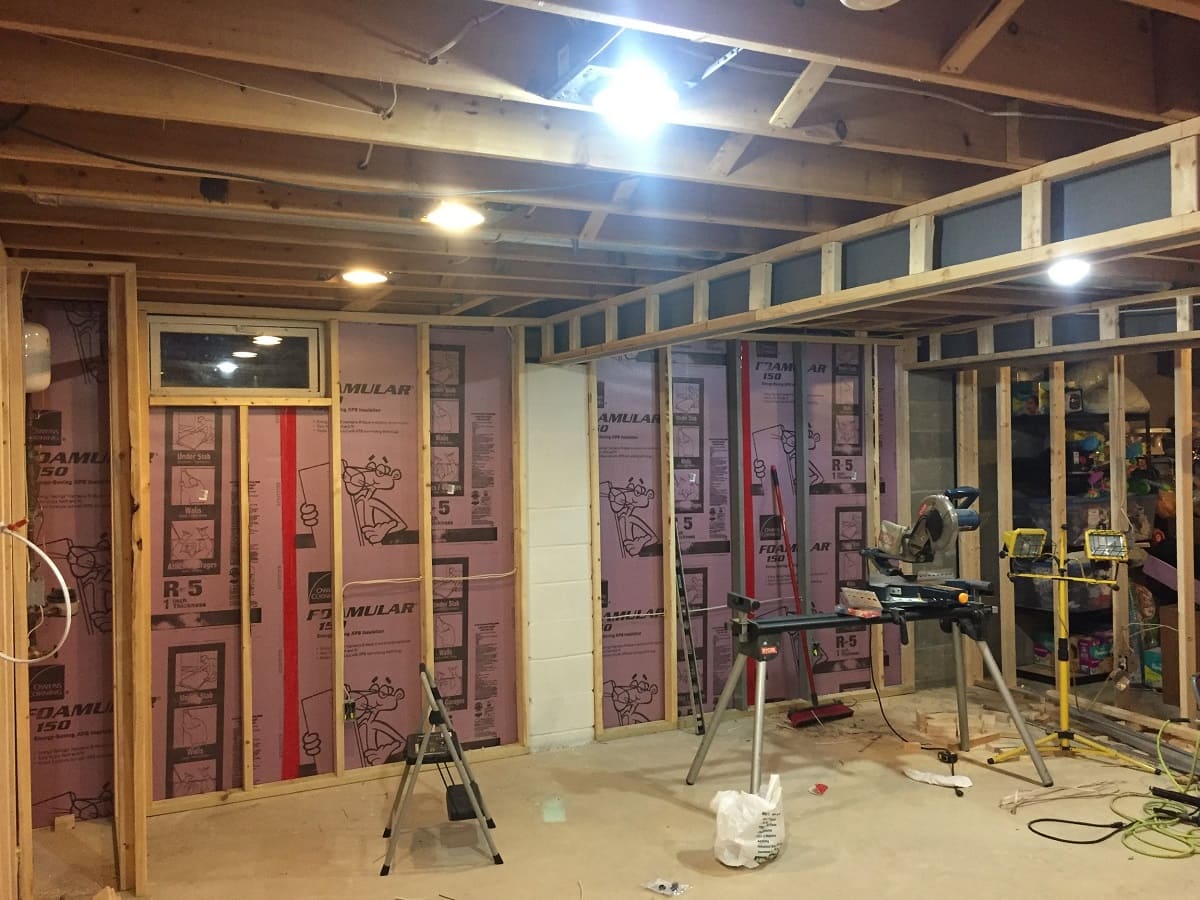
Step 2: Insulate the Shed
Insulating your shed is a crucial step in creating a comfortable and energy-efficient interior space. Proper insulation helps regulate temperature, minimizes moisture buildup, and provides soundproofing benefits, making the shed conducive to year-round use and enhancing overall comfort.
When selecting insulation materials, consider factors such as climate, intended use of the shed, and your budget. Common options include fiberglass batts, foam board insulation, and spray foam. Each type offers unique advantages in terms of installation ease, thermal performance, and moisture resistance.
Before installing the insulation, carefully seal any gaps, cracks, or openings in the walls and ceiling to prevent air leakage and ensure maximum efficiency. This step, known as air sealing, helps maintain a consistent indoor temperature and reduces energy waste.
When placing the insulation, pay close attention to proper installation techniques to achieve optimal results. Ensure a snug fit without compressing the insulation, as this can diminish its effectiveness. Additionally, consider installing a vapor barrier to control moisture and prevent condensation within the walls.
For sheds located in regions with extreme temperatures, it’s advisable to insulate the flooring as well. This extra layer of insulation helps keep the interior comfortable and prevents cold air from seeping in through the ground.
By insulating your shed, you create a well-insulated and cozy environment that is conducive to various activities and purposes. Whether you’re working, relaxing, or pursuing hobbies in the finished space, proper insulation sets the stage for a comfortable and inviting interior.
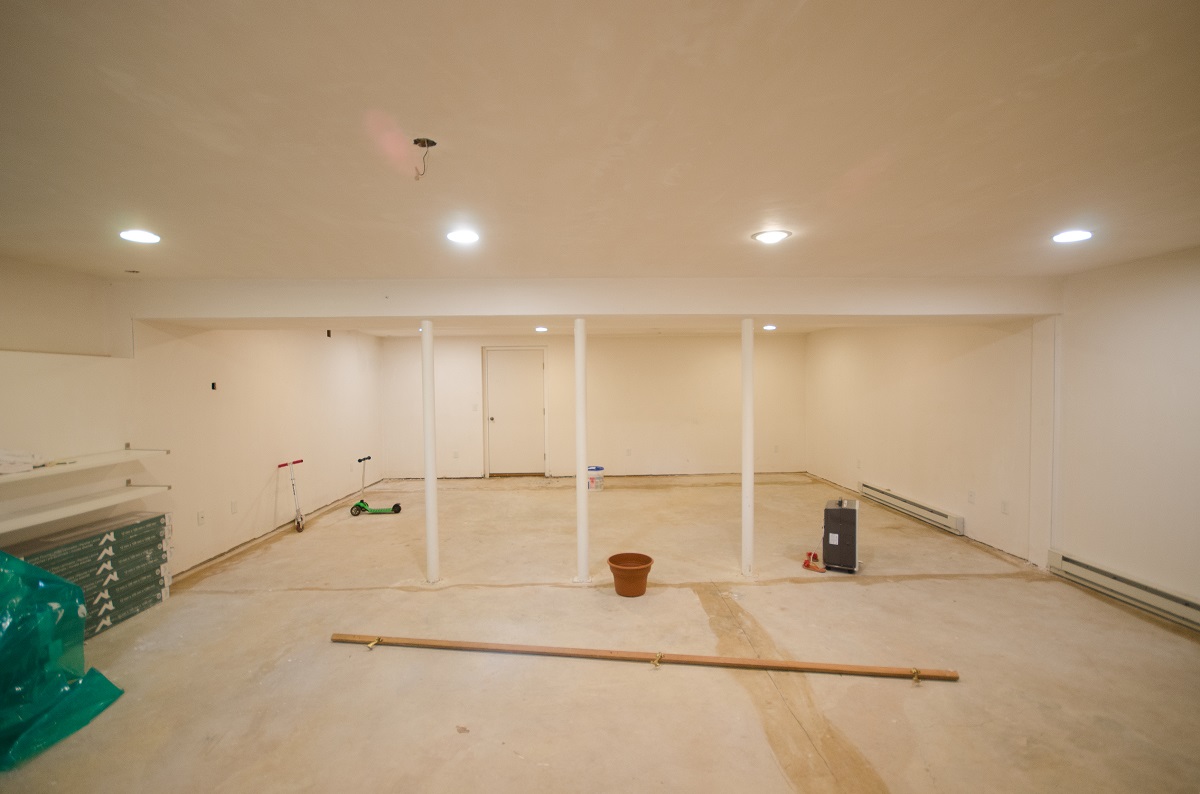
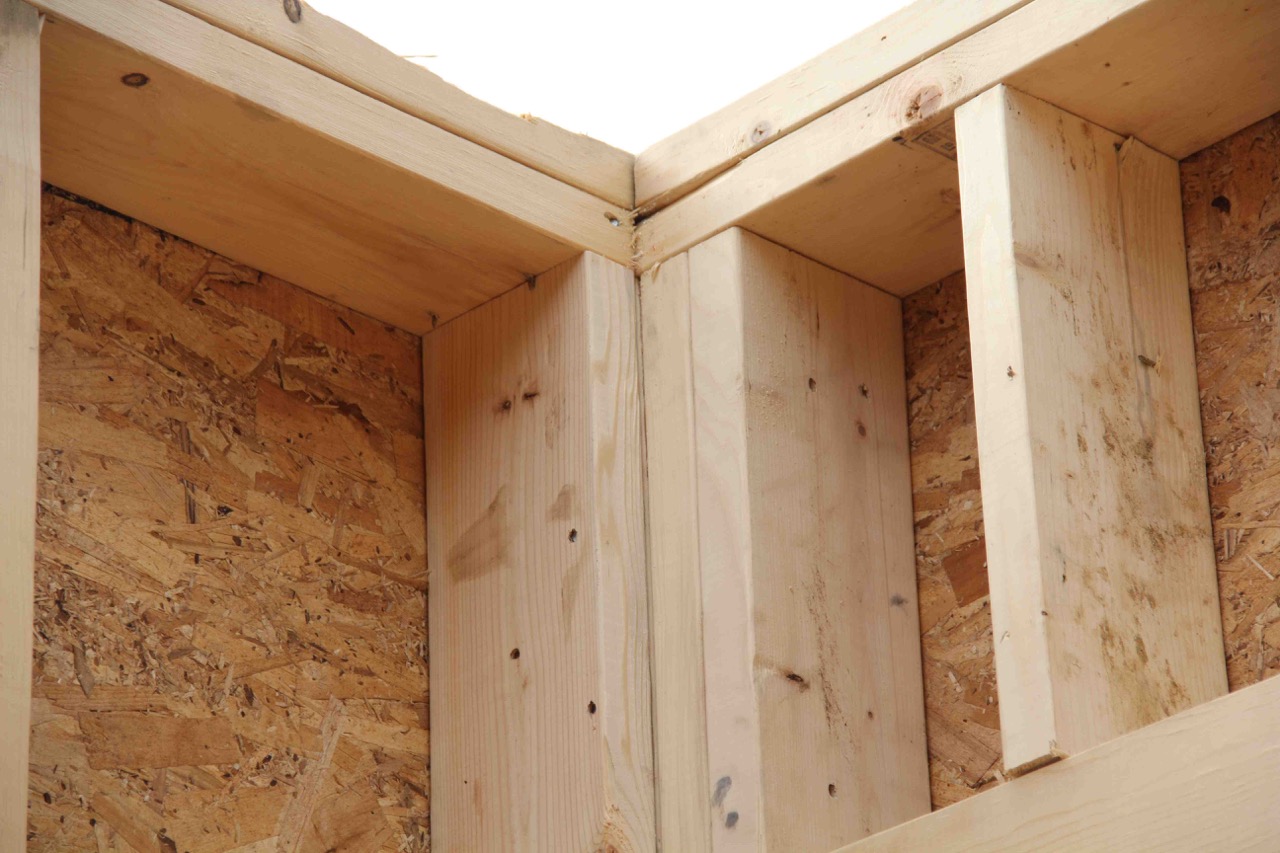
Step 3: Install Drywall or Paneling
Once the insulation is in place, the next step in finishing the interior of your shed involves adding wall and ceiling coverings. Drywall and paneling are popular options, each offering distinct advantages in terms of appearance, durability, and ease of installation.
Drywall, also known as gypsum board or plasterboard, is a versatile and cost-effective choice for covering interior walls and ceilings. It provides a smooth and seamless surface that can be painted, textured, or adorned with wallpaper to suit your desired aesthetic. When installing drywall, ensure proper cutting and fitting to achieve a precise and polished look.
Paneling, available in various materials such as wood, PVC, or MDF (medium-density fiberboard), offers a diverse range of textures and finishes to complement different design styles. From rustic wood paneling to sleek and modern PVC options, paneling allows you to infuse character and charm into the shed’s interior. Consider the visual impact, maintenance requirements, and acoustical properties of each paneling material before making your selection.
Prior to installing the drywall or paneling, carefully measure and plan the layout to minimize waste and achieve a balanced appearance. Secure the materials firmly to the walls and ceiling, ensuring a stable and even surface for the subsequent finishing touches.
During the installation process, take the opportunity to address any additional electrical or wiring needs, such as adding outlets or light switches. Planning these elements in conjunction with the wall coverings helps create a cohesive and functional interior space.
By installing drywall or paneling, you elevate the visual appeal and functionality of the shed’s interior, setting the stage for the final steps of painting, decorating, and outfitting the space to suit your specific needs and preferences.
Step 4: Paint or Stain the Interior
Once the walls and ceiling are covered with drywall or paneling, it’s time to infuse the interior of your shed with color, personality, and style. Painting or staining the surfaces allows you to customize the space to reflect your aesthetic preferences and create a cohesive look that complements the intended use of the shed.
When choosing paint colors, consider the size of the space, the amount of natural light, and the atmosphere you wish to create. Lighter hues can make the interior feel more spacious and airy, while bold or rich colors can add depth and visual interest. Additionally, consider the psychological impact of different colors and select shades that promote productivity, relaxation, or creativity, depending on your preferences.
If you opt for staining the walls or ceiling, explore various wood stains to enhance the natural beauty of the paneling or trim. Stains offer a warm and timeless aesthetic, allowing the grain and texture of the wood to shine through while providing protection against wear and tear.
Prior to applying paint or stain, ensure that the surfaces are clean, dry, and free of any dust or debris. Proper preparation, including sanding and priming as needed, sets the stage for a flawless and long-lasting finish.
Consider incorporating accent walls or decorative finishes to add visual intrigue and personality to the interior. Whether it’s a pop of color, a mural, or a textured feature wall, these creative touches can elevate the aesthetic appeal of the space and make it uniquely yours.
By painting or staining the interior of your shed, you breathe life and character into the space, transforming it into a personalized and inviting environment that reflects your individual style and vision.
Consider using a durable and easy-to-clean material, such as plywood or vinyl, for the walls and ceiling of your shed interior. This will make maintenance and cleaning much easier in the long run.
Read more: How To Finish The Top Edge Of A Shed Roof
Step 5: Add Flooring
Completing the interior of your shed involves the essential step of adding flooring, which not only enhances the visual appeal but also contributes to the comfort and functionality of the space. The choice of flooring material should align with the shed’s purpose, durability requirements, and your personal style preferences.
Consider options such as laminate flooring, vinyl planks, engineered wood, or ceramic tiles, each offering unique benefits in terms of aesthetics, maintenance, and resilience. Additionally, assess the traffic level and potential exposure to moisture to select a flooring material that can withstand the demands of the environment.
Prior to installing the flooring, ensure that the subfloor is level, clean, and free of any debris or protrusions. Address any structural issues or irregularities to create a stable foundation for the new flooring. Depending on the selected material, you may need to install an underlayment or moisture barrier to enhance the performance and longevity of the flooring.
When laying the flooring, pay attention to precision and alignment to achieve a professional and polished result. Consider incorporating transition strips, especially if you are using different flooring materials in adjoining areas, to create a seamless and cohesive look throughout the interior space.
If you prefer a more rustic or organic feel, explore options such as reclaimed wood, bamboo, or cork flooring, which add warmth and character to the shed’s interior. These eco-friendly and distinctive choices can infuse the space with a unique charm and contribute to a sustainable design approach.
By adding the appropriate flooring, you elevate the functionality and visual appeal of the shed’s interior, creating a solid and stylish foundation for various activities and purposes within the space.
Step 6: Install Lighting and Electrical Outlets
Effective lighting and convenient access to electrical outlets are essential components of a well-finished shed interior. Proper illumination enhances productivity, safety, and ambiance, while strategically placed outlets provide power for tools, electronics, and other devices, catering to the practical needs of the space.
Begin by planning the lighting layout to ensure adequate coverage and functionality within the shed. Consider a combination of overhead lighting, task lighting, and accent lighting to create a versatile and inviting atmosphere. LED fixtures are energy-efficient and provide bright, focused light, making them an ideal choice for shed interiors.
When installing lighting fixtures, adhere to safety guidelines and local building codes, especially if you are incorporating new wiring or electrical components. Seek the expertise of a qualified electrician if you are unsure about the technical aspects of electrical work, ensuring a secure and compliant installation.
In addition to lighting, strategically position electrical outlets throughout the shed to accommodate various tools, equipment, and electronic devices. Plan the outlet placement based on the intended use of the space, ensuring convenient access without cluttering the walls or limiting functionality.
Consider installing GFCI (ground fault circuit interrupter) outlets in areas where water or moisture may be present, such as near sinks or workbenches, to enhance safety and prevent electrical hazards. These specialized outlets are designed to quickly cut off power in the event of a ground fault, reducing the risk of electric shock.
Explore smart lighting options and Wi-Fi-enabled outlets for added convenience and control, allowing you to adjust lighting levels and monitor power usage from your smartphone or other connected devices.
By installing efficient lighting and strategically positioned electrical outlets, you create a well-equipped and illuminated interior space that supports productivity, comfort, and safety, catering to a diverse range of activities and requirements.
Step 7: Organize and Decorate
With the essential structural and functional elements in place, the final step in finishing the interior of your shed involves organizing the space and infusing it with decorative touches that reflect your personal style and enhance its functionality.
Begin by assessing your storage needs and incorporating organizational solutions that optimize the available space. Consider installing shelves, cabinets, and storage systems to keep tools, supplies, and equipment neatly arranged and easily accessible. Utilize vertical space to maximize storage capacity while maintaining a clean and uncluttered environment.
Personalize the shed’s interior by adding decorative elements that resonate with your interests and preferences. Incorporate artwork, framed photographs, or motivational posters to infuse the space with character and inspiration. Consider incorporating plants or greenery to bring a touch of nature indoors, creating a refreshing and inviting atmosphere.
Explore creative ways to integrate functional and decorative elements, such as using colorful storage bins or baskets that not only keep items organized but also add visual interest to the space. Additionally, consider incorporating versatile furniture pieces, such as a workbench with integrated storage or a comfortable seating area, to enhance the shed’s functionality and comfort.
When organizing and decorating the shed’s interior, strive for a balance between aesthetics and practicality, ensuring that the space remains conducive to its intended use while reflecting your personal style and creativity.
Utilize hooks, pegboards, and other innovative storage solutions to keep frequently used tools and equipment within easy reach, promoting efficiency and productivity within the space. By thoughtfully organizing and decorating the shed’s interior, you create a harmonious and personalized environment that inspires creativity and supports your activities and pursuits.
Conclusion
Finishing the interior of a shed is a rewarding endeavor that allows you to transform a utilitarian structure into a versatile and inviting space tailored to your specific needs and preferences. By following the essential steps outlined in this guide, you can achieve a well-finished interior that combines functionality, comfort, and aesthetic appeal.
From the initial preparation and insulation to the installation of wall coverings, flooring, lighting, and electrical components, each step contributes to the creation of a cohesive and purposeful interior environment. By carefully considering materials, design choices, and organizational solutions, you can customize the shed to accommodate a wide range of activities, whether it serves as a workshop, studio, storage area, or a peaceful retreat.
Throughout the finishing process, infuse your personal style and creativity into the space, making it a reflection of your unique vision and interests. Whether it’s through the selection of colors, decorative elements, or organizational strategies, the interior of the shed can become an extension of your personality and a source of inspiration.
As you embark on the journey of finishing your shed’s interior, embrace the opportunity to create a space that not only meets your practical needs but also nurtures your passions and pursuits. Whether you’re crafting, working, or simply unwinding in the completed interior, the effort and attention to detail invested in the finishing process will yield a space that enriches your daily life and provides a welcoming retreat.
With a well-finished shed interior, you have the freedom to explore, create, and thrive in a space that reflects your individuality and enhances your lifestyle. Embrace the creative possibilities and make the most of this versatile and personalized environment.
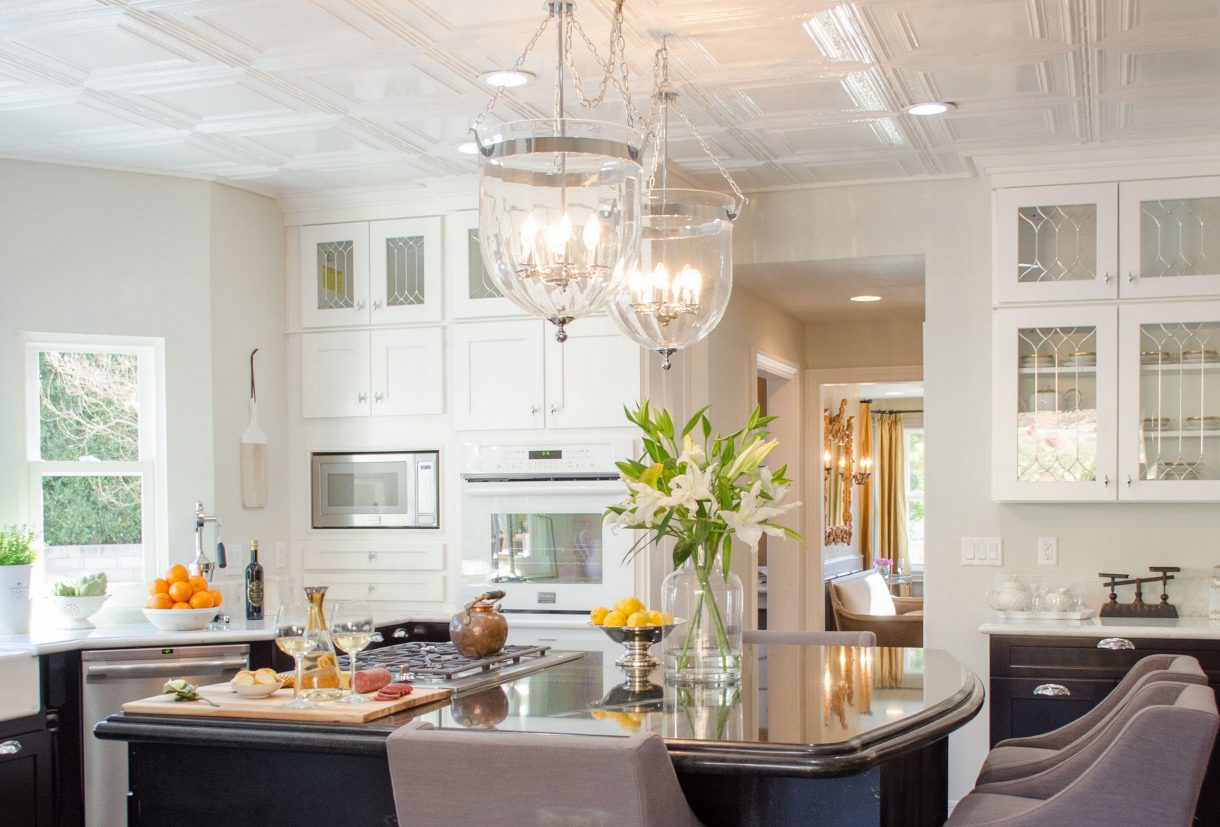
Now that you've mastered finishing your shed interior, why not spruce up other areas of your home? If you're considering a kitchen update, discovering durable yet stylish flooring options could be your next step. For those looking to brighten spaces effectively, selecting the right lighting solutions will transform any room from ordinary to exceptional. Both guides offer practical advice and creative ideas, helping you enhance every corner of your dwelling with confidence.
Frequently Asked Questions about How To Finish A Shed Interior
Was this page helpful?
At Storables.com, we guarantee accurate and reliable information. Our content, validated by Expert Board Contributors, is crafted following stringent Editorial Policies. We're committed to providing you with well-researched, expert-backed insights for all your informational needs.


0 thoughts on “How To Finish A Shed Interior”