Home>Home Security and Surveillance>How To Install A Feit Flood Light Security Camera
Home Security and Surveillance
How To Install A Feit Flood Light Security Camera
Modified: March 6, 2024
Learn how to install a Feit flood light security camera for your home security and surveillance. Enhance your safety with this easy step-by-step guide.
(Many of the links in this article redirect to a specific reviewed product. Your purchase of these products through affiliate links helps to generate commission for Storables.com, at no extra cost. Learn more)
Introduction
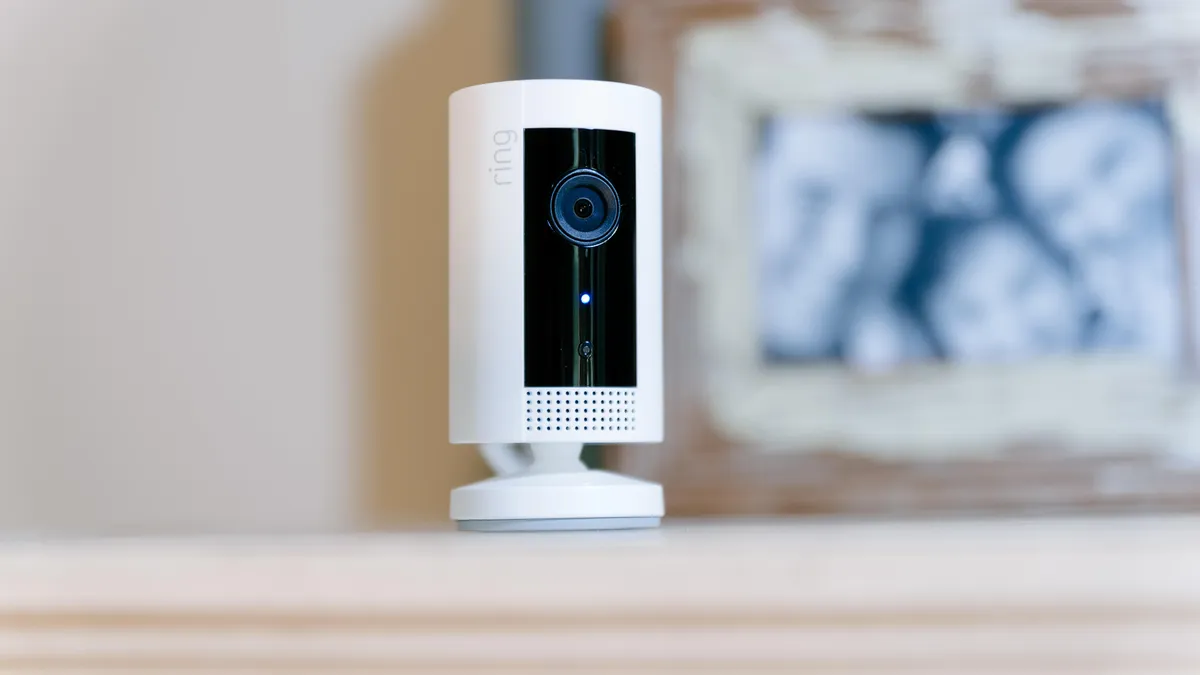
Welcome to this comprehensive guide on how to install a Feit flood light security camera. Home security is a top priority for many homeowners, and with advancements in technology, it has become easier than ever to enhance the security of your property. The Feit flood light security camera combines the functionality of a bright outdoor flood light with the surveillance capabilities of a high-quality camera.
In this article, we will walk you through the step-by-step process of installing a Feit flood light security camera. By following these instructions, you can ensure that your property is well protected and enjoy the peace of mind that comes with having a reliable home security system.
Before we dive into the installation process, it’s essential to gather all the necessary tools and equipment. This will help streamline the installation and ensure that you have everything you need within reach. Let’s move on to step 1 and explore the tools and equipment required for this installation.
Key Takeaways:
- Installing a Feit flood light security camera involves gathering tools, choosing the right location, connecting to power and network, and testing its functionality. It provides peace of mind and enhances home security.
- By following the step-by-step guide, you can ensure your Feit flood light security camera is properly installed and configured to meet your specific security needs. Regular maintenance and updates are essential for optimal performance.
Read more: How To Install A Flood Light Security Camera
Step 1: Gathering the Necessary Tools and Equipment
Before getting started with the installation, it’s crucial to gather all the tools and equipment you will need. Being prepared with the right tools will make the installation process smoother and more efficient. Here is a list of the tools and equipment you will need:
- Feit flood light security camera
- Screwdriver (Phillips and flathead)
- Drill
- Drill bit (appropriate for your mounting surface)
- Pencil or marker
- Measuring tape
- Ladder or step stool
- Electrical wire (if necessary)
- Wire connectors
- Outdoor-rated Ethernet cable (if required)
- Power source (outlet or junction box)
- Smartphone or computer for camera setup
Having all these tools and equipment readily available will save you time and ensure a smooth installation process. It’s also essential to read and understand the manufacturer’s instructions that come with the Feit flood light security camera. This will provide you with specific details and guidelines for the installation.
Once you have gathered all the necessary tools and equipment, and familiarized yourself with the manufacturer’s instructions, you are ready to proceed to the next step: choosing the right location for installation.
Step 2: Choosing the Right Location for Installation
Selecting the ideal location for installing your Feit flood light security camera is crucial for optimal performance and effectiveness. Here are a few factors to consider when choosing the right location:
- 360-Degree Coverage: Look for a location that provides a wide field of view, allowing the camera to capture as much detail as possible. This will ensure maximum coverage of your property.
- Height and Angle: Mount the camera at a height that provides a clear view of the area you want to monitor. Make sure the camera is angled correctly to capture the desired field of view. Avoid obstructions such as trees, branches, or walls that may hinder the camera’s line of sight.
- Weather Resistance: Ensure that the chosen location is suitable for an outdoor camera. Look for areas protected from direct sunlight and extreme weather conditions, such as heavy rain or snow. Additionally, verify that the camera is IP65 or higher rated for weather resistance.
- Accessibility: Consider the accessibility of the camera for maintenance purposes. You may need to access the camera for cleaning, adjustments, or firmware updates periodically.
- Lighting Conditions: Take into account the lighting conditions in the chosen location. Avoid areas with excessive backlighting, such as direct sunlight or bright street lights, as it may affect the clarity of the captured footage.
Once you have assessed these factors, it’s time to mark the installation location. Use a pencil or marker to mark the spots where you will mount the camera and run the necessary wiring. Take accurate measurements to ensure precise installation.
With the appropriate location marked, you can now move on to the next step: mounting the Feit flood light security camera.
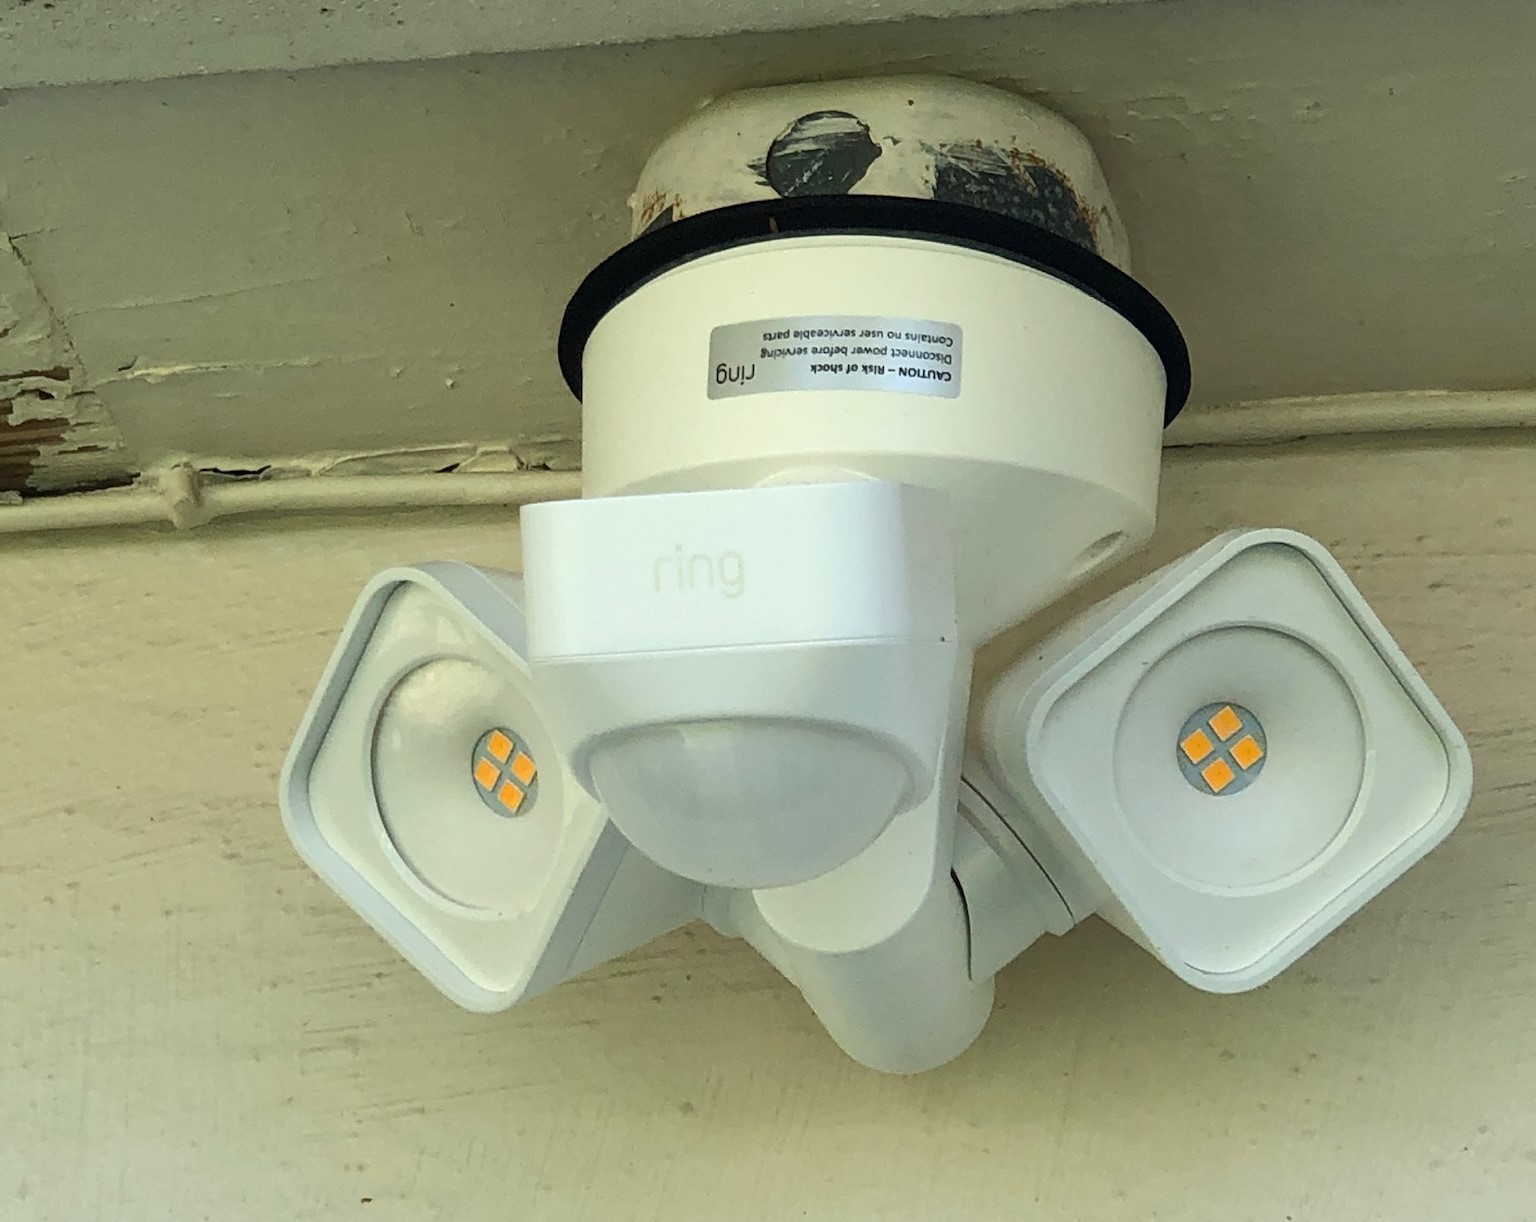
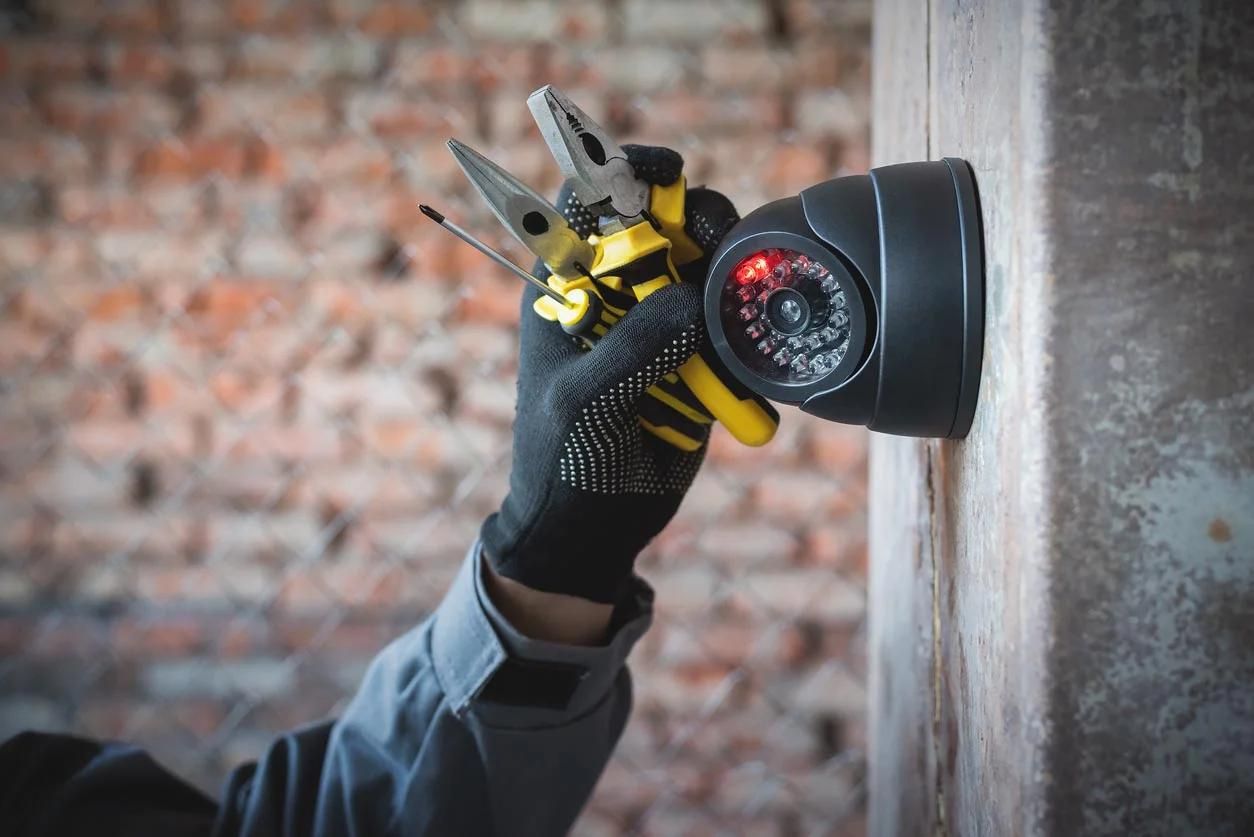
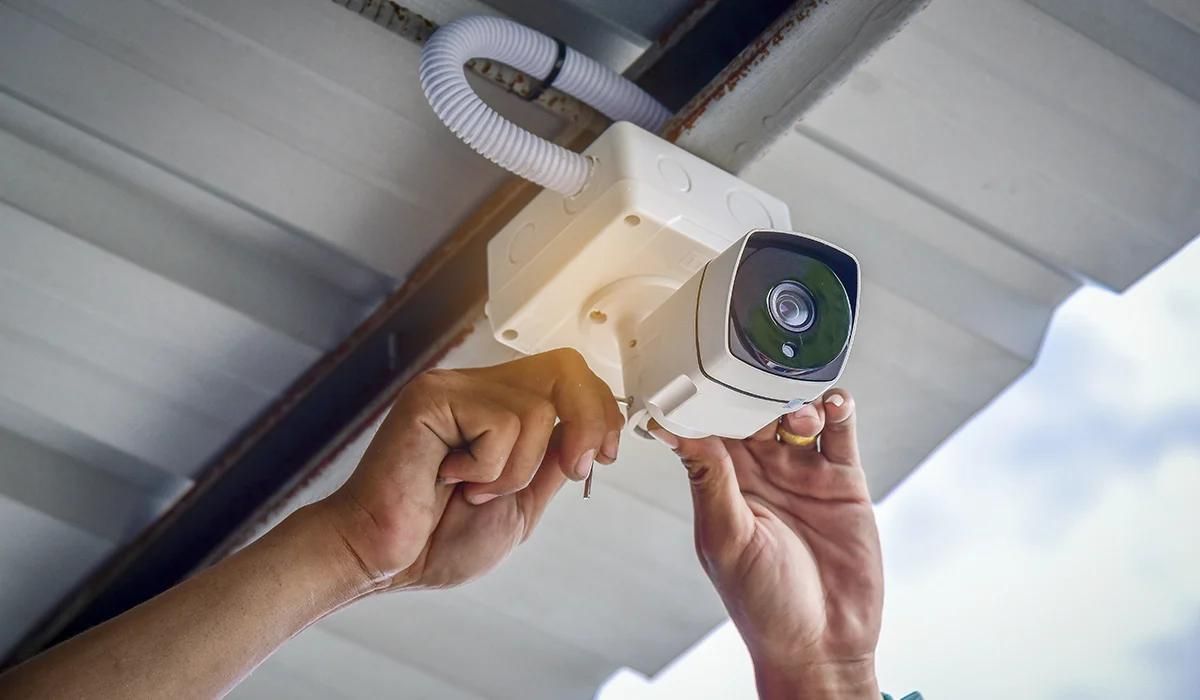
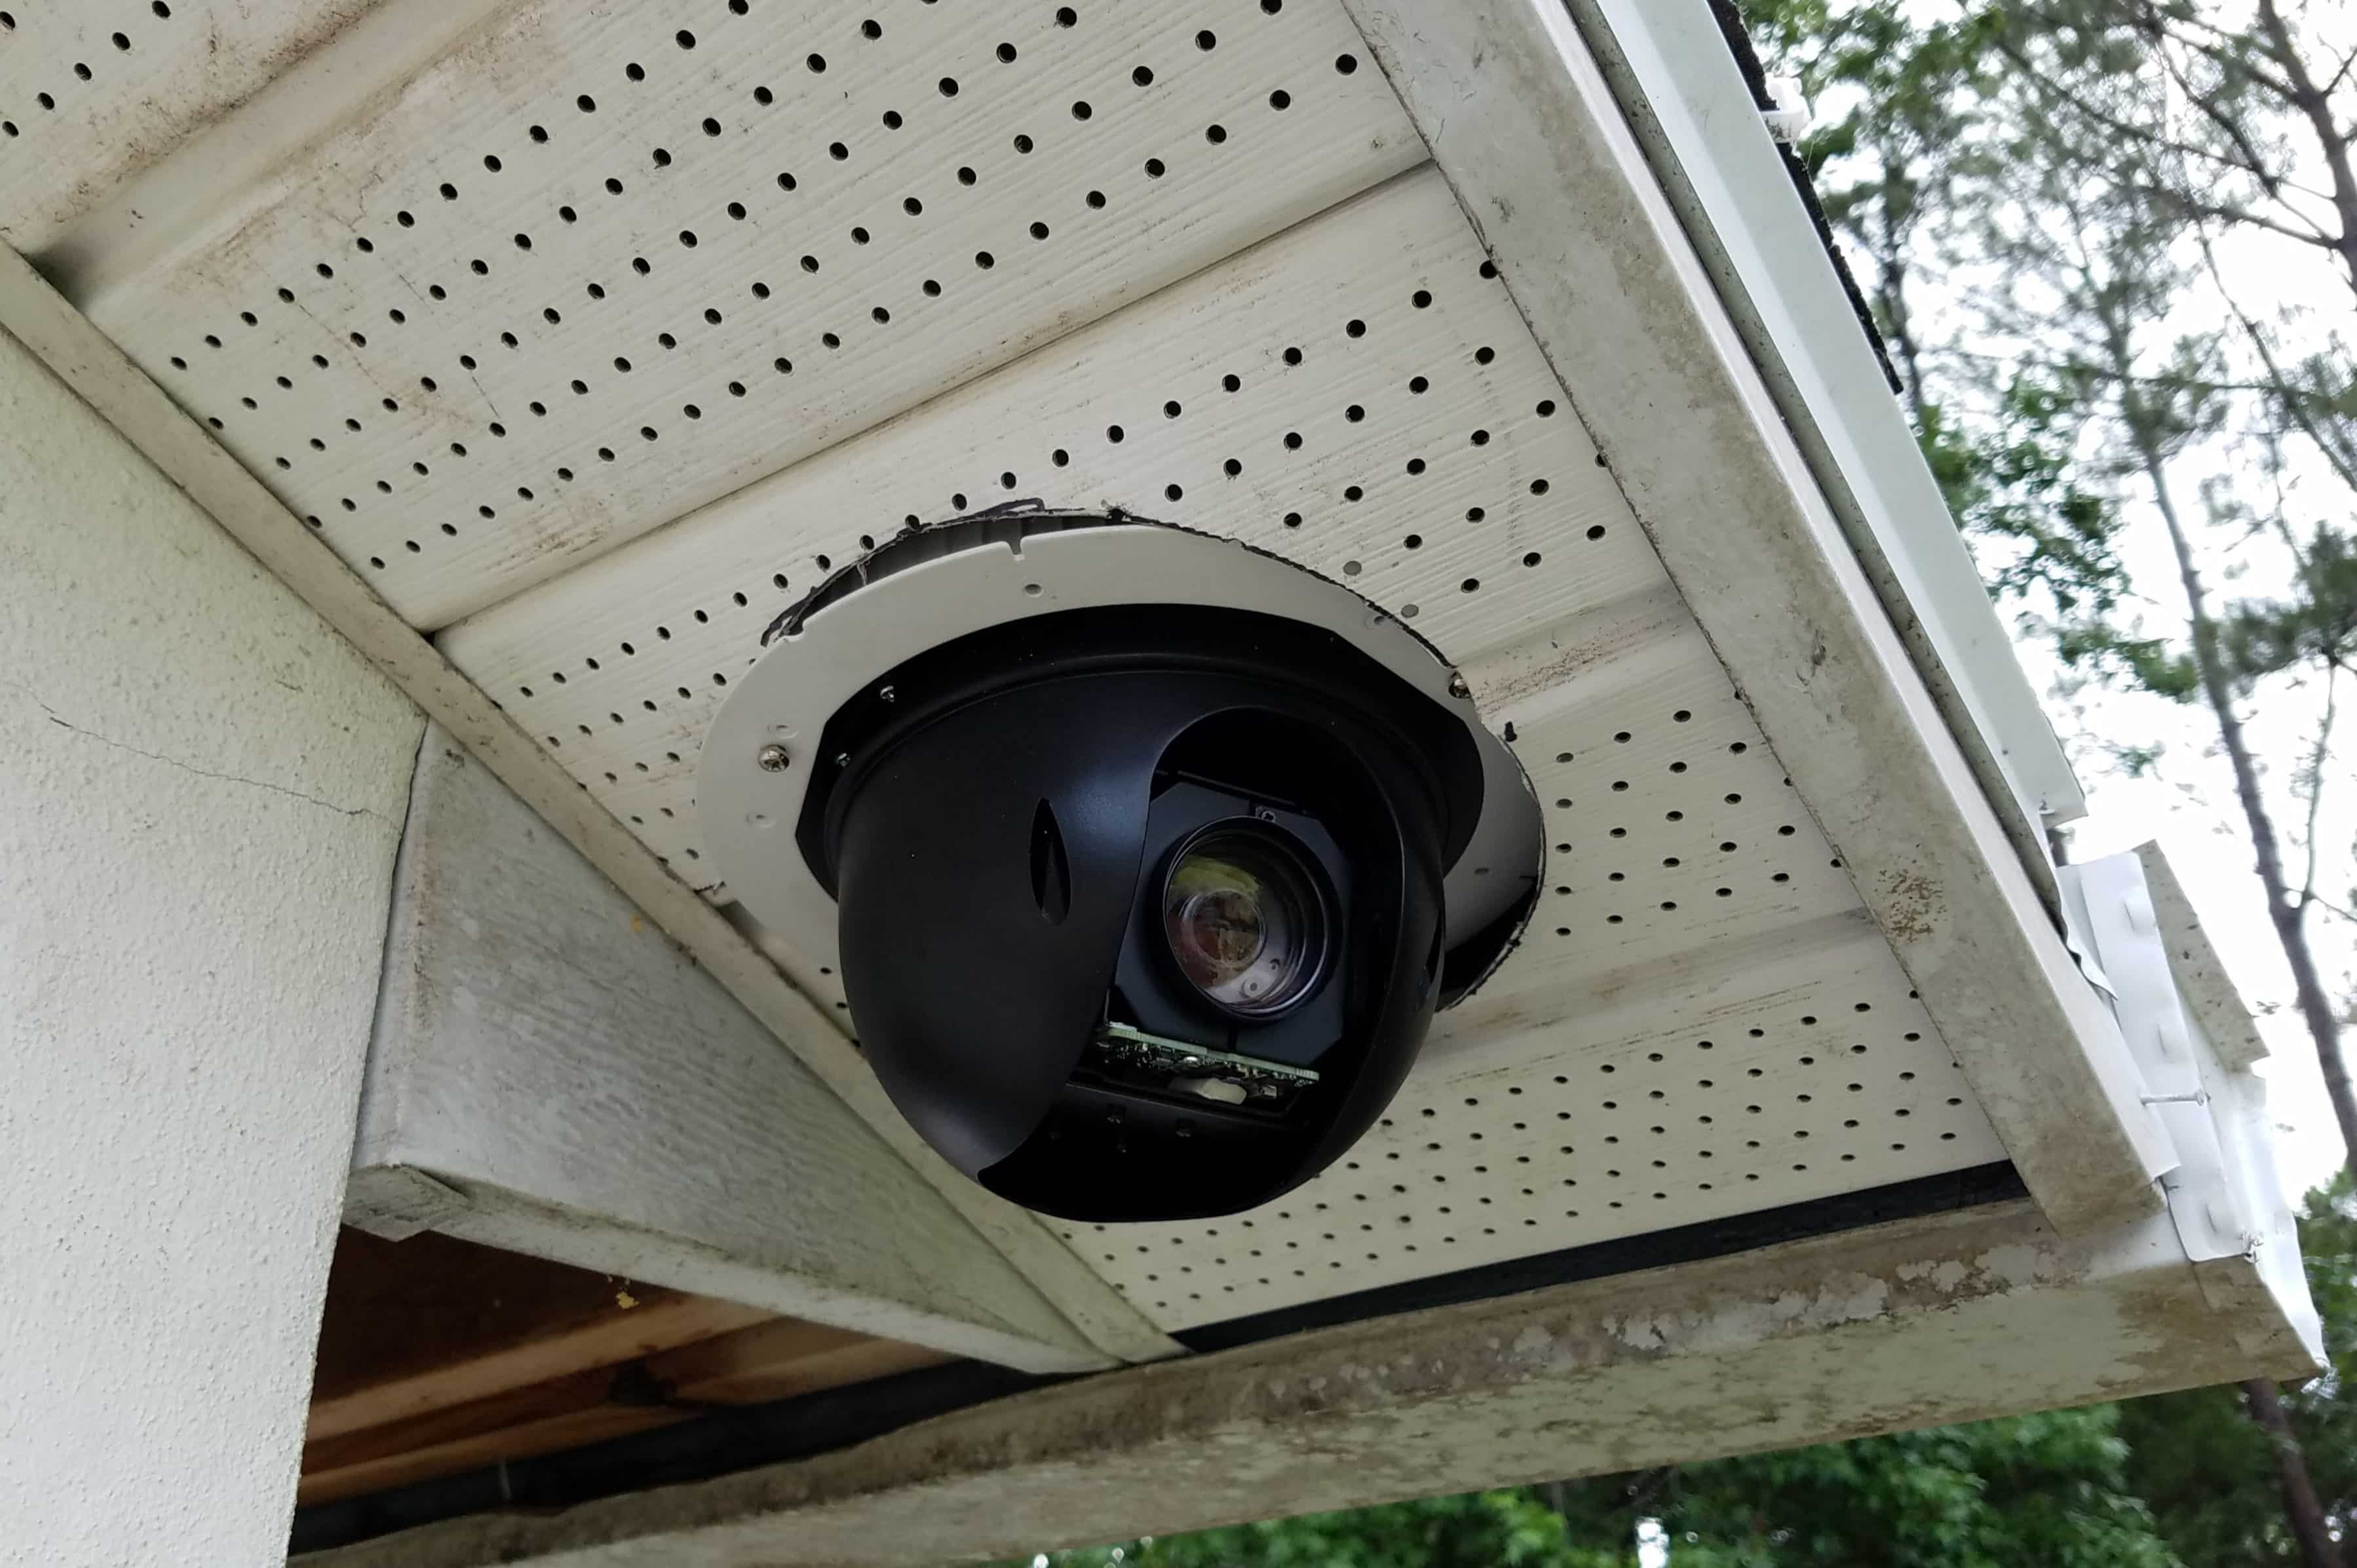
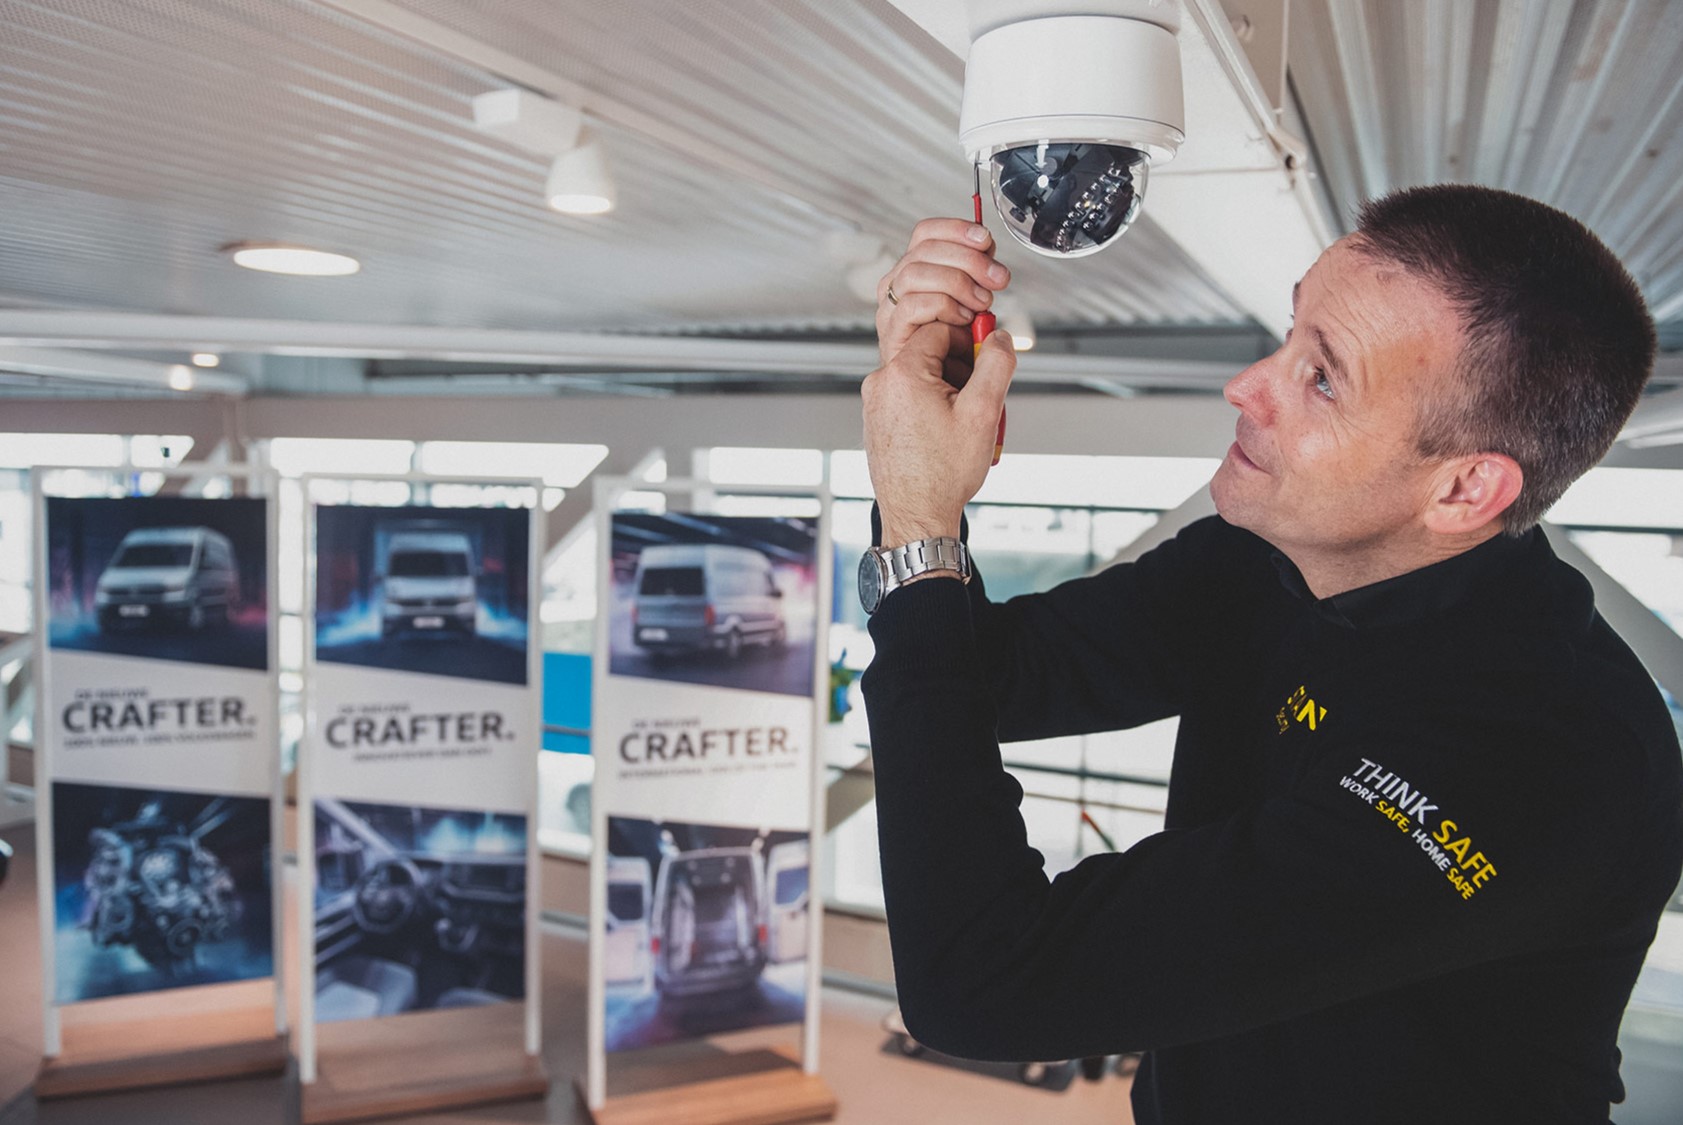
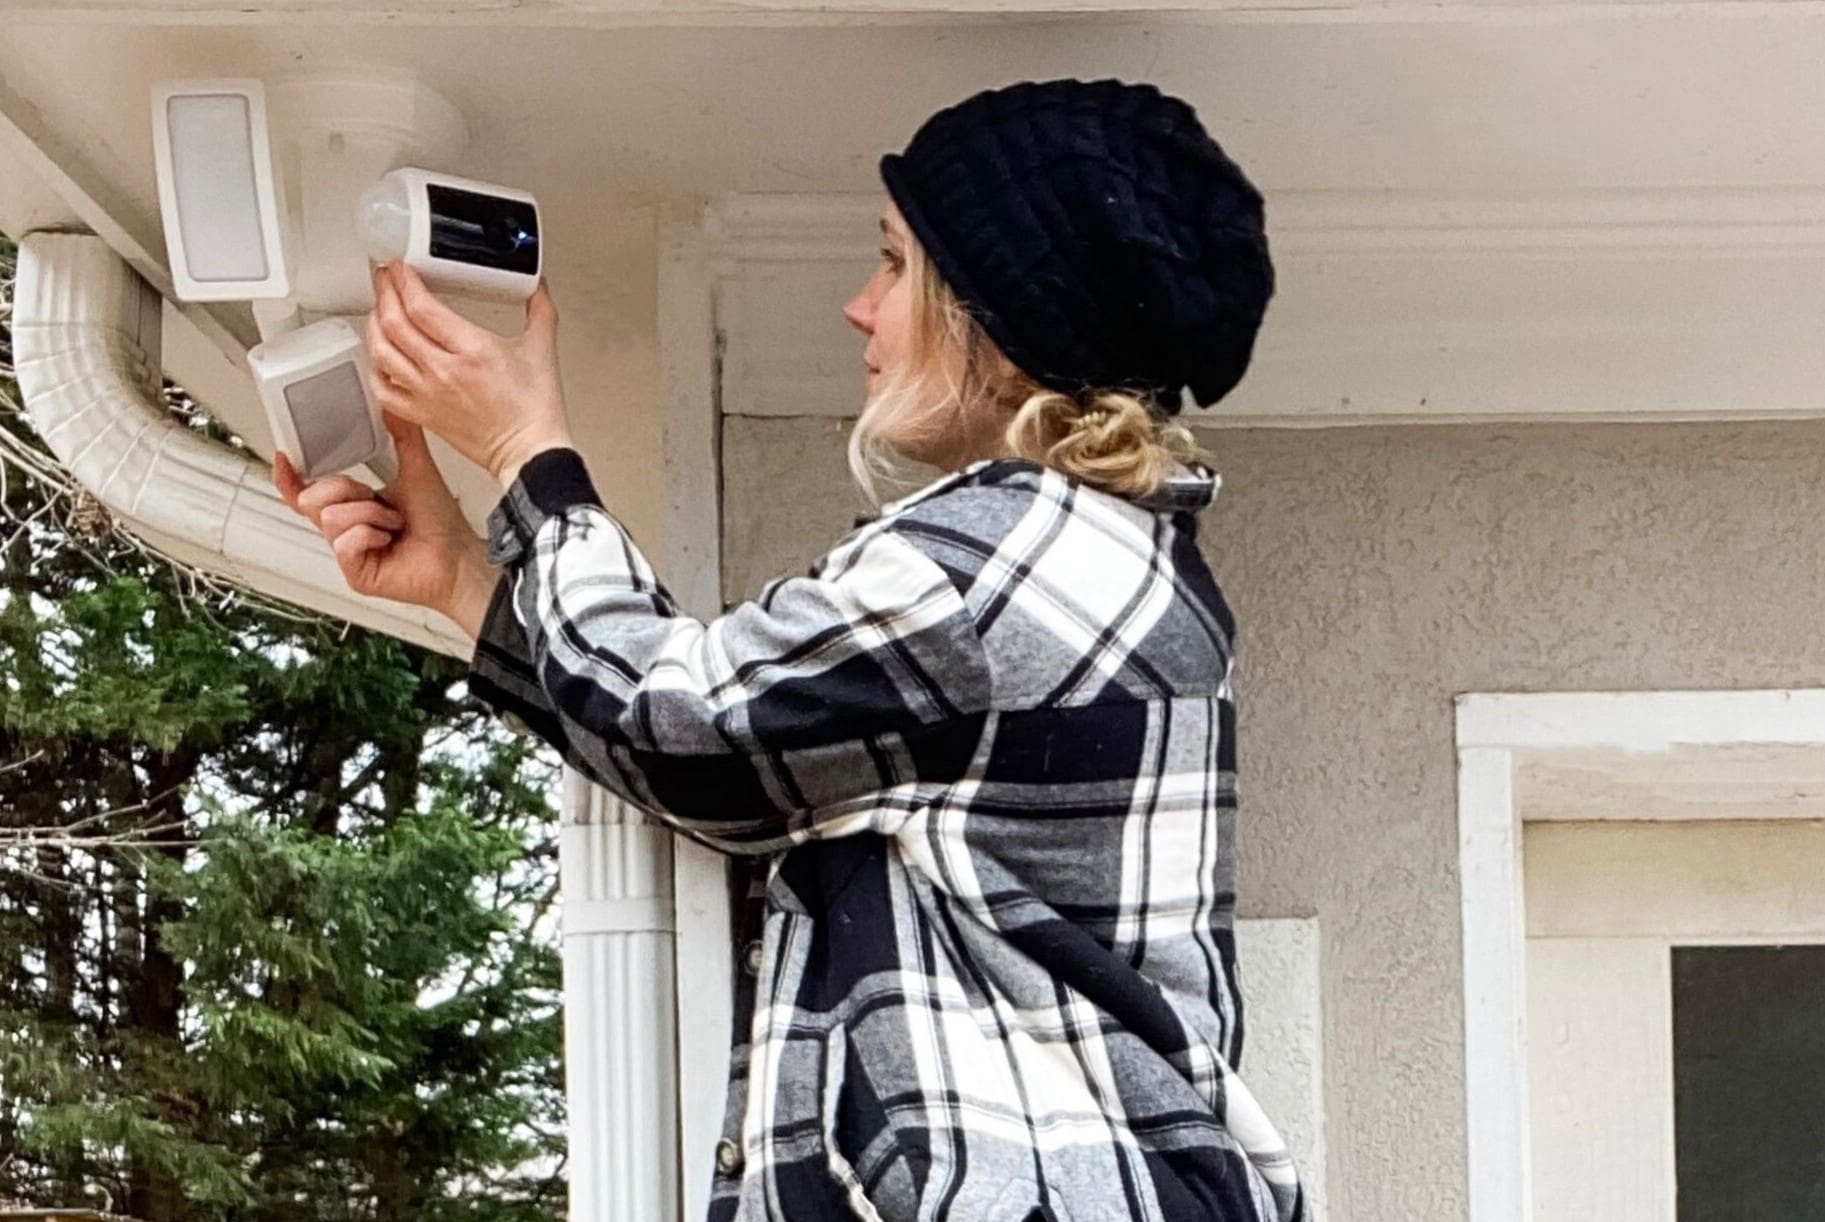
Step 3: Mounting the Flood Light Security Camera
Mounting the Feit flood light security camera properly is crucial for ensuring stability and optimal performance. Follow these steps to mount the camera securely:
- Prepare the Mounting Surface: Ensure that the mounting surface is sturdy and can support the weight of the camera. If necessary, use a drill and an appropriate drill bit to create pilot holes for the mounting screws.
- Attach the Mounting Bracket: If your Feit flood light camera comes with a mounting bracket, attach it to the chosen location using the provided screws. Make sure the bracket is securely fastened to the mounting surface.
- Position and Align the Camera: Place the camera on the mounting bracket and adjust its position and angle as needed. Ensure that the camera is level and facing the desired field of view.
- Tighten the Mounting Screws: Once the camera is positioned correctly, use a screwdriver to tighten the mounting screws and secure the camera in place. Ensure that the camera is stable and does not wobble or move.
- Verify the Camera’s View: Double-check the camera’s view to ensure that it covers the intended area. Make any necessary adjustments to the camera’s position or angle to achieve optimal coverage.
It’s important to follow the manufacturer’s instructions for mounting the flood light security camera, as different models may have specific mounting requirements. Additionally, make sure to use the appropriate screws and fasteners provided with the camera to ensure a secure installation.
With the camera securely mounted, you can now proceed to the next step: connecting the camera to power.
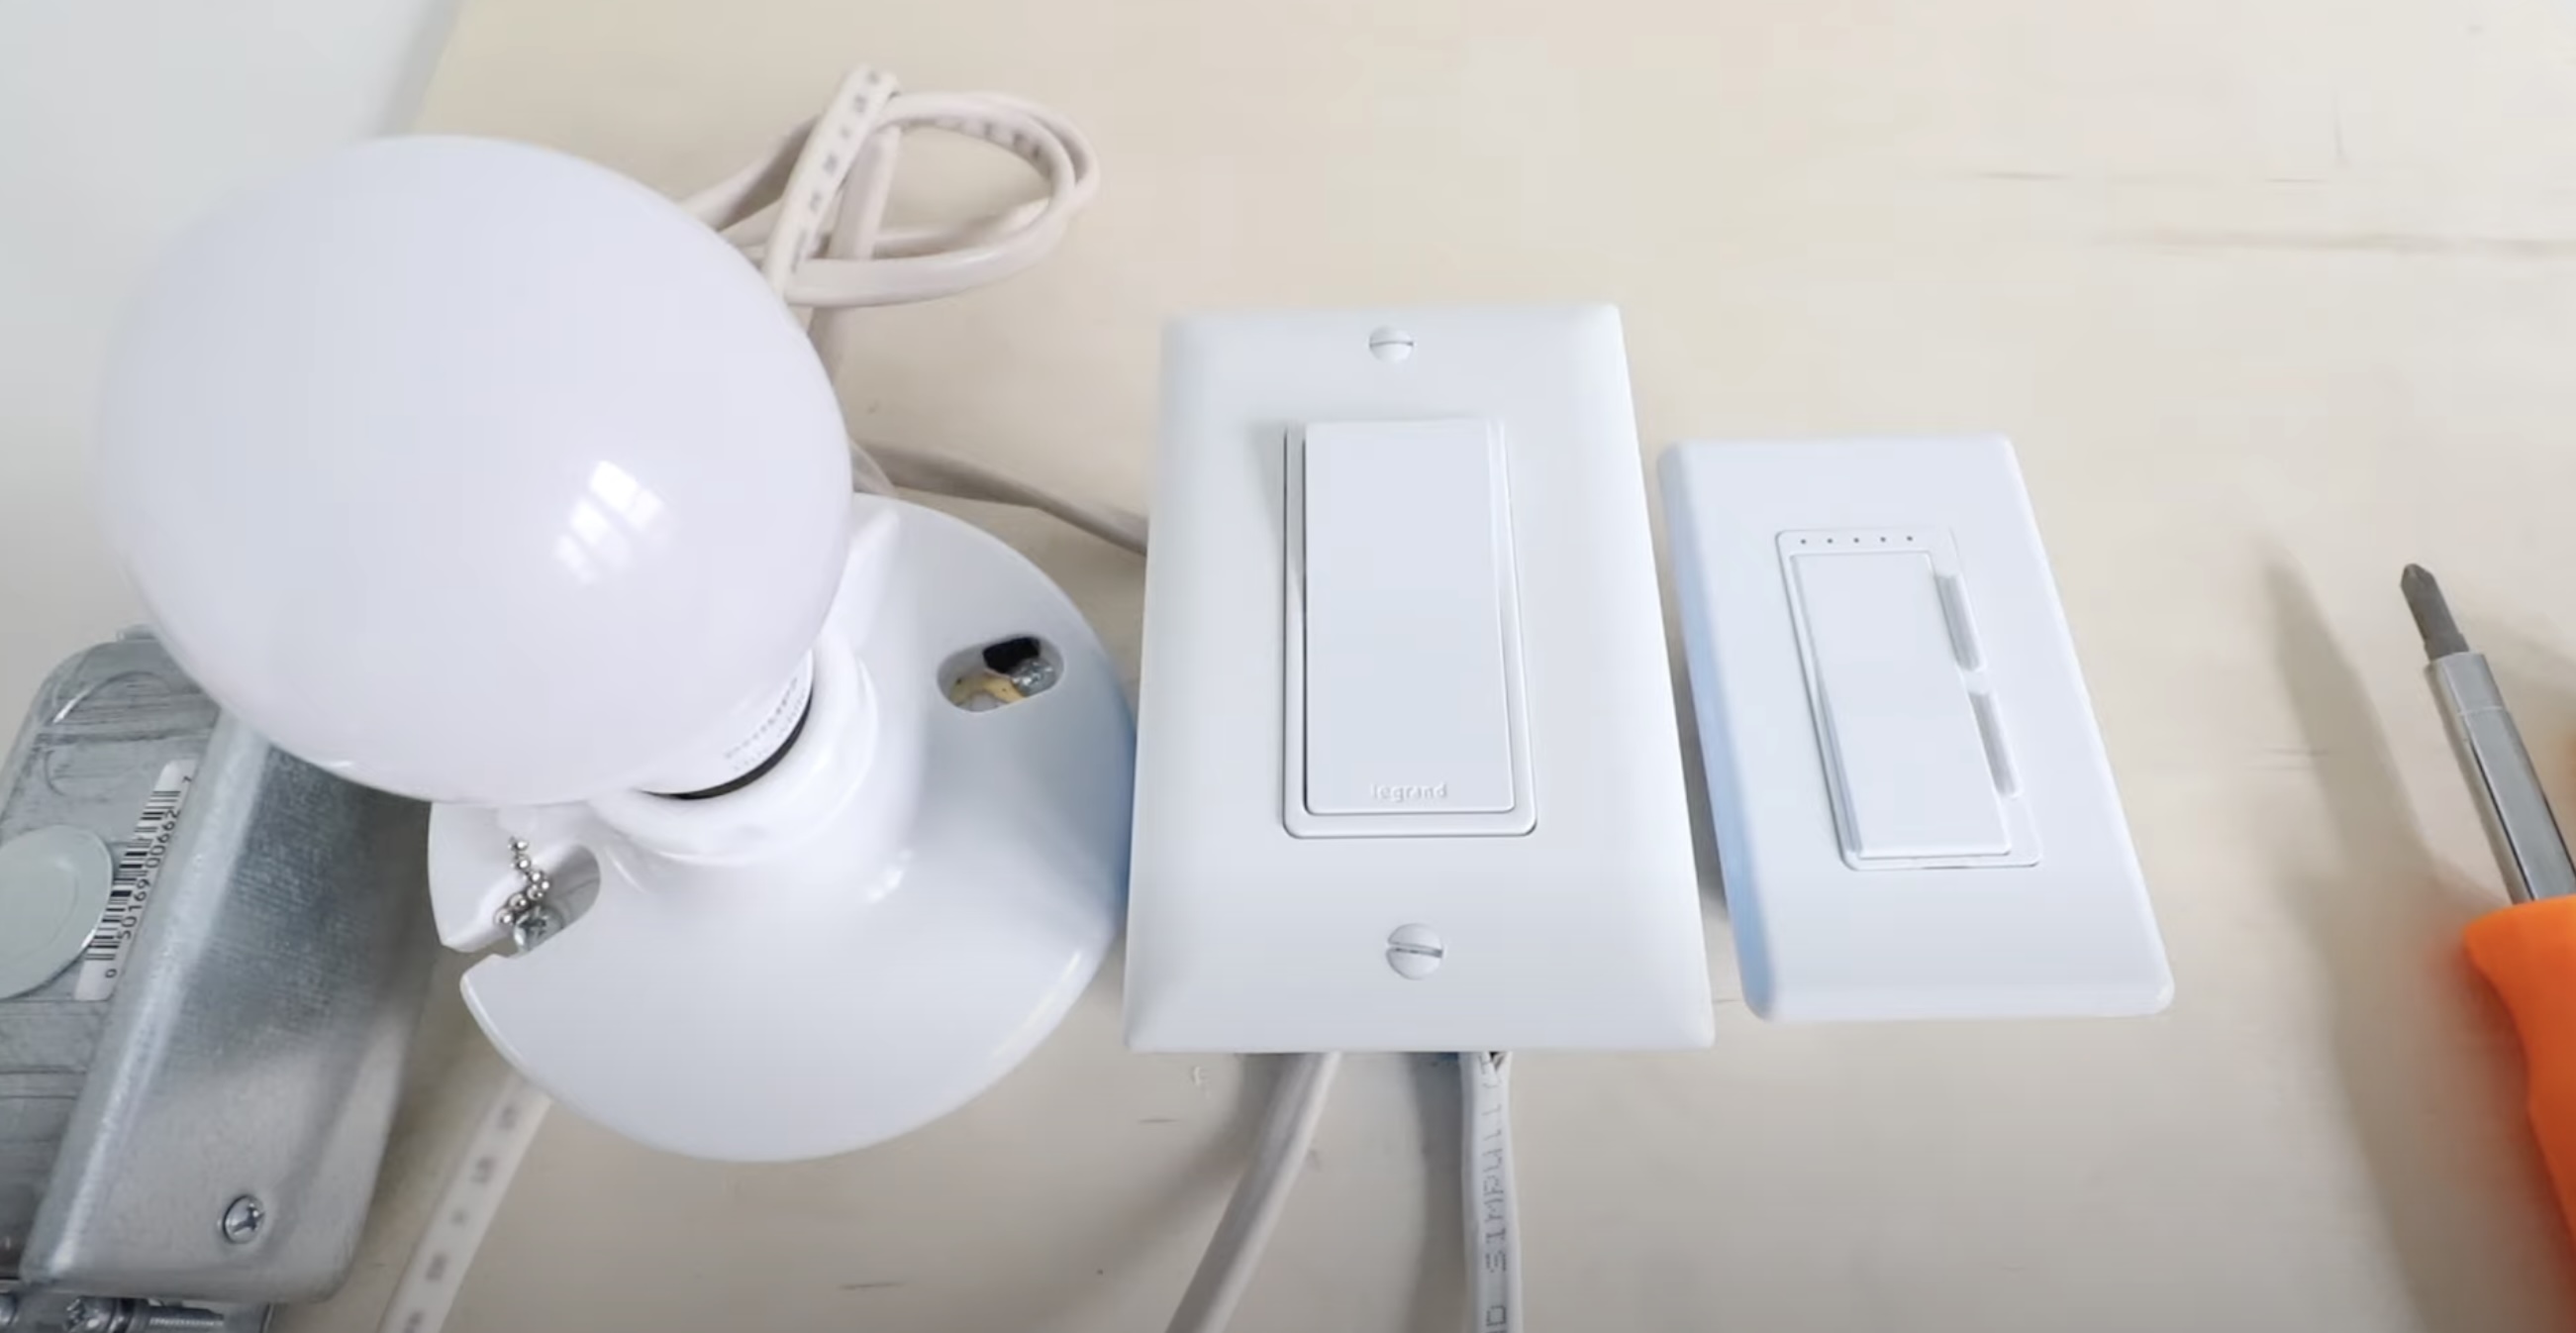
Step 4: Connecting the Camera to Power
To ensure that your Feit flood light security camera functions properly, it’s essential to connect it to a reliable power source. Here are the steps to follow:
- Locate the Power Source: Identify the nearest power source where you can connect your camera. This can be an outdoor outlet or a junction box. Ensure that the power source is compatible with the camera’s power requirements.
- Prepare the Power Cable: If your camera requires a power cable, ensure that it’s long enough to reach the power source. Measure the distance between the camera and the power source and cut the power cable accordingly. Use wire connectors to secure the connections.
- Connect the Power Cable: Connect one end of the power cable to the camera’s power input port. If your camera comes with a separate power adapter, plug it into the designated port. Next, connect the other end of the power cable to the power source, either by plugging it into the outdoor outlet or wiring it to the junction box.
- Secure the Connections: Ensure that all power connections are secure and tight to avoid any loose connections that could lead to power interruption. Tape or secure the cables to prevent them from being accidentally unplugged or damaged.
- Test the Power Connection: Once the power connections are made, verify that the camera receives power by checking for LED indicators or any signs of activation. Check the camera’s user manual for specific indications of a successful power connection.
It’s important to adhere to all safety precautions when working with electricity. If you’re unsure about the electrical connections, it’s recommended to consult a professional electrician for assistance.
With your Feit flood light security camera powered up, you can move on to the next step: setting up the camera’s network connection.
Before installing a Feit flood light security camera, make sure to turn off the power to the existing light fixture. Follow the manufacturer’s instructions carefully to ensure proper installation and functionality.
Read more: How To Install Outdoor Flood Lights
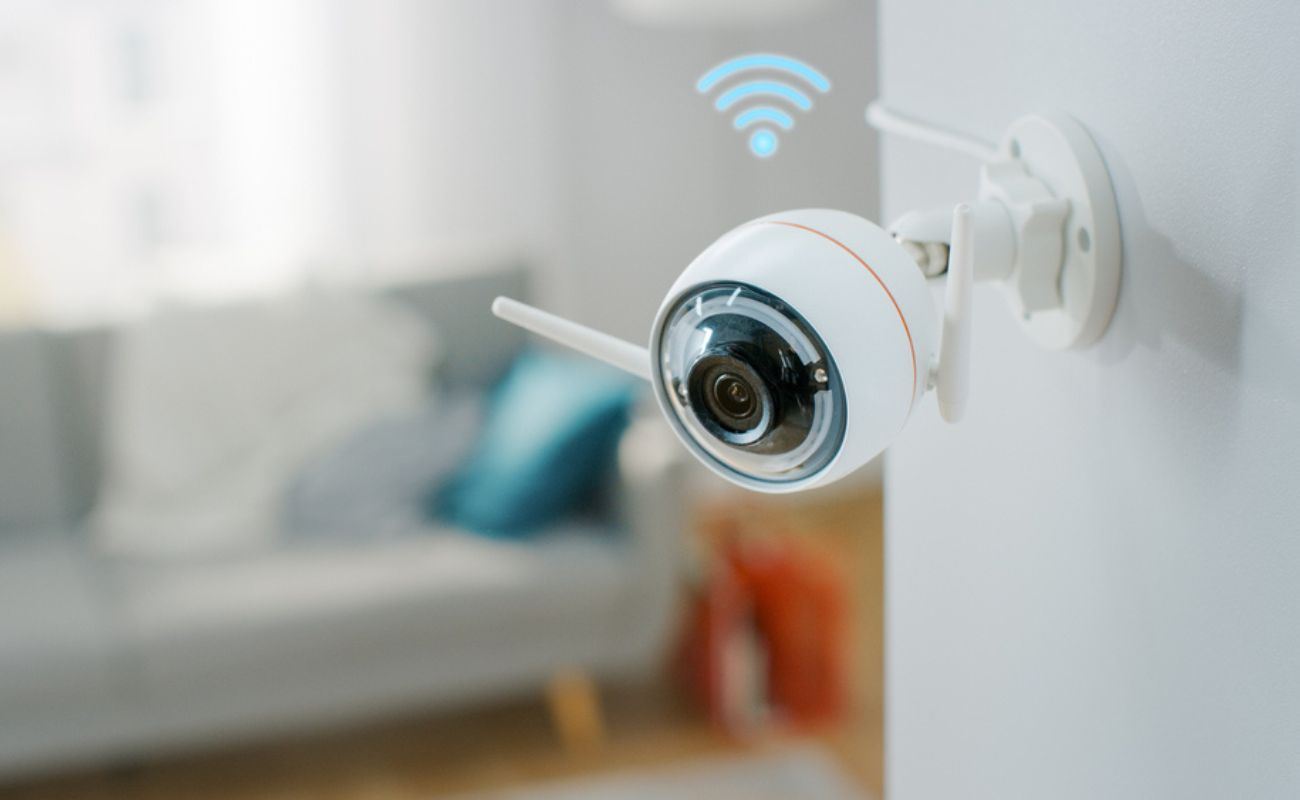
Step 5: Setting Up the Camera’s Network Connection
To fully utilize the features of your Feit flood light security camera, you need to establish a network connection. Follow these steps to set up the camera’s network connection:
- Wi-Fi Setup: If your camera supports a wireless connection, access the camera’s settings menu and navigate to the Wi-Fi setup option. Follow the on-screen prompts to connect the camera to your Wi-Fi network. Make sure you have the correct Wi-Fi credentials handy.
- Wired Connection: If you prefer a wired connection, use an outdoor-rated Ethernet cable to connect your camera to the router or network switch. Ensure that the cable is securely connected to both the camera and the router/switch.
- Network Configuration: Once the camera is connected to the network, access the camera’s settings menu and configure the network settings accordingly. This may include setting a static IP address or DHCP configuration, depending on your network setup.
- Network Testing: After configuring the network settings, perform a network test to ensure a stable connection. Access the camera’s network settings menu and look for options to test the network connection or check signal strength. This will help verify that the camera is successfully connected to the network.
- Remote Access: If you intend to access the camera remotely through a smartphone or computer, install the necessary mobile or web app provided by the camera manufacturer. Follow the app’s instructions to pair the camera with your device and enable remote access.
It’s worth noting that the setup process may vary depending on the model and brand of your Feit flood light security camera. Be sure to refer to the camera’s user manual for detailed instructions specific to your camera.
With your camera successfully connected to the network, you can now proceed to the next step: configuring the camera’s settings to suit your preferences.
Step 6: Configuring the Camera’s Settings
Once your Feit flood light security camera is connected to the network, it’s time to configure its settings according to your preferences. Follow these steps to set up and customize the camera’s settings:
- Access the Camera’s Settings Menu: Use the provided app or web interface to access the camera’s settings menu. This allows you to adjust various options and parameters.
- Camera Modes and Features: Explore the available camera modes and features. Depending on your camera model, you may have options such as motion detection, night vision, motion tracking, and more. Enable or disable these features based on your requirements.
- Video Quality and Resolution: Adjust the video quality and resolution settings to fit your needs. Higher resolutions may provide more detail but could require more bandwidth and storage space.
- Recording and Storage: Configure the camera’s recording and storage options. You may have choices such as local storage on an SD card or cloud storage. Set the recording duration and choose whether to enable continuous recording or motion-triggered recording.
- Notifications and Alerts: Customize the camera’s notification settings. Decide whether you want to receive alerts for detected motion or events and specify the delivery method, such as push notifications or email notifications.
- Privacy Settings: Ensure that the camera’s privacy settings are set according to your preferences. If required, configure privacy zones to mask certain areas that you do not want the camera to monitor.
- Remote Access and Sharing: If you plan to share access to the camera with others, set up user accounts and permissions. Enable remote access for authorized users, allowing them to view the camera’s live feed or recorded footage.
Take your time to explore and adjust the camera’s settings to suit your specific needs and preferences. Refer to the camera’s user manual or the manufacturer’s support resources for more detailed instructions on configuring specific settings.
Once you have personalized the camera’s settings, you are ready to move on to the final step: testing the functionality of the Feit flood light security camera.
Step 7: Testing the Functionality of the Flood Light Security Camera
After completing the installation and configuration process, it’s important to test the functionality of your Feit flood light security camera to ensure it is working correctly. Follow these steps to test the camera’s functionality:
- Check the Live Feed: Access the camera’s live feed through the provided app or web interface. Verify that you can see a clear and well-lit view of the monitored area. Test any additional camera features or modes, such as pan and tilt or zoom, if applicable.
- Trigger Motion Detection: Move within the camera’s field of view or use an object to trigger the motion detection feature. Confirm that the camera detects the motion and starts recording or sends alerts as configured.
- Test Night Vision: If your camera has night vision capabilities, test them in low-light or dark conditions. Ensure that the camera switches to night vision mode automatically and captures clear footage in the dark.
- Verify Remote Access: If you enabled remote access, test it by accessing the camera’s live feed through the app or web interface from a different location or device. Make sure you can view the feed and access the camera’s settings remotely.
- Review Recorded Footage: If your camera records footage, review the recorded videos to ensure they are being saved properly and are of satisfactory quality. Check if the recorded videos can be retrieved easily from the camera’s storage or cloud platform.
- Check Notifications and Alerts: Test the camera’s notification and alert system by intentionally triggering an event, such as motion detection or sound detection. Verify that you receive the appropriate notifications on your smartphone or through the designated communication method.
By performing these tests, you can confirm that your Feit flood light security camera is functioning as expected and meeting your security needs. If you encounter any issues during the testing process, consult the camera’s user manual or contact the manufacturer’s technical support for assistance.
Congratulations! You have successfully installed and tested your Feit flood light security camera. Enjoy the enhanced security and peace of mind that comes with having a reliable home surveillance system.
Remember to periodically check and maintain your camera to ensure its continued functionality. Regularly clean the lens, make necessary adjustments, and stay updated with any firmware or software updates provided by the manufacturer.
Thank you for following this comprehensive guide. Stay safe and secure!
Conclusion
Installing a Feit flood light security camera is a significant step towards enhancing the security and surveillance capabilities of your home. By following the step-by-step guide outlined in this article, you have learned how to properly install, configure, and test the camera to ensure its optimal functionality.
Throughout the installation process, you have gathered the necessary tools and equipment, chosen the ideal location for installation, securely mounted the camera, connected it to a power source, established a network connection, configured the camera’s settings, and thoroughly tested its functionality. These steps are essential for creating a reliable and effective home security system.
With your Feit flood light security camera in place, you can enjoy features like motion detection, night vision, remote access, and customizable settings tailored to your specific needs. The camera’s ability to provide a clear view of the monitored area, even in low-light conditions, ensures that you have a comprehensive surveillance solution to keep your home and loved ones safe.
Remember to regularly maintain and update your camera to ensure its continued performance. Clean the lens, check the connections, and stay informed about any firmware or software updates provided by the manufacturer. This will help optimize the camera’s functionality and ensure that you are always up-to-date with the latest security features.
Now that you have successfully installed and tested your Feit flood light security camera, you can enjoy the peace of mind that comes with knowing your property is protected. Whether you are at home or away, you can monitor your surroundings and have a reliable tool to deter potential intruders.
Thank you for following this comprehensive guide. We hope it has provided you with the necessary knowledge and confidence to install and utilize your Feit flood light security camera effectively. Stay safe and secure!
Frequently Asked Questions about How To Install A Feit Flood Light Security Camera
Was this page helpful?
At Storables.com, we guarantee accurate and reliable information. Our content, validated by Expert Board Contributors, is crafted following stringent Editorial Policies. We're committed to providing you with well-researched, expert-backed insights for all your informational needs.