Home>Ideas and Tips>DIY Shed Foundation: A Step-by-Step Guide
Ideas and Tips
DIY Shed Foundation: A Step-by-Step Guide
Modified: October 28, 2024
Learn how to build a sturdy DIY shed foundation with our step-by-step guide. Ensure stability and longevity for your shed with these easy-to-follow methods.
(Many of the links in this article redirect to a specific reviewed product. Your purchase of these products through affiliate links helps to generate commission for Storables.com, at no extra cost. Learn more)
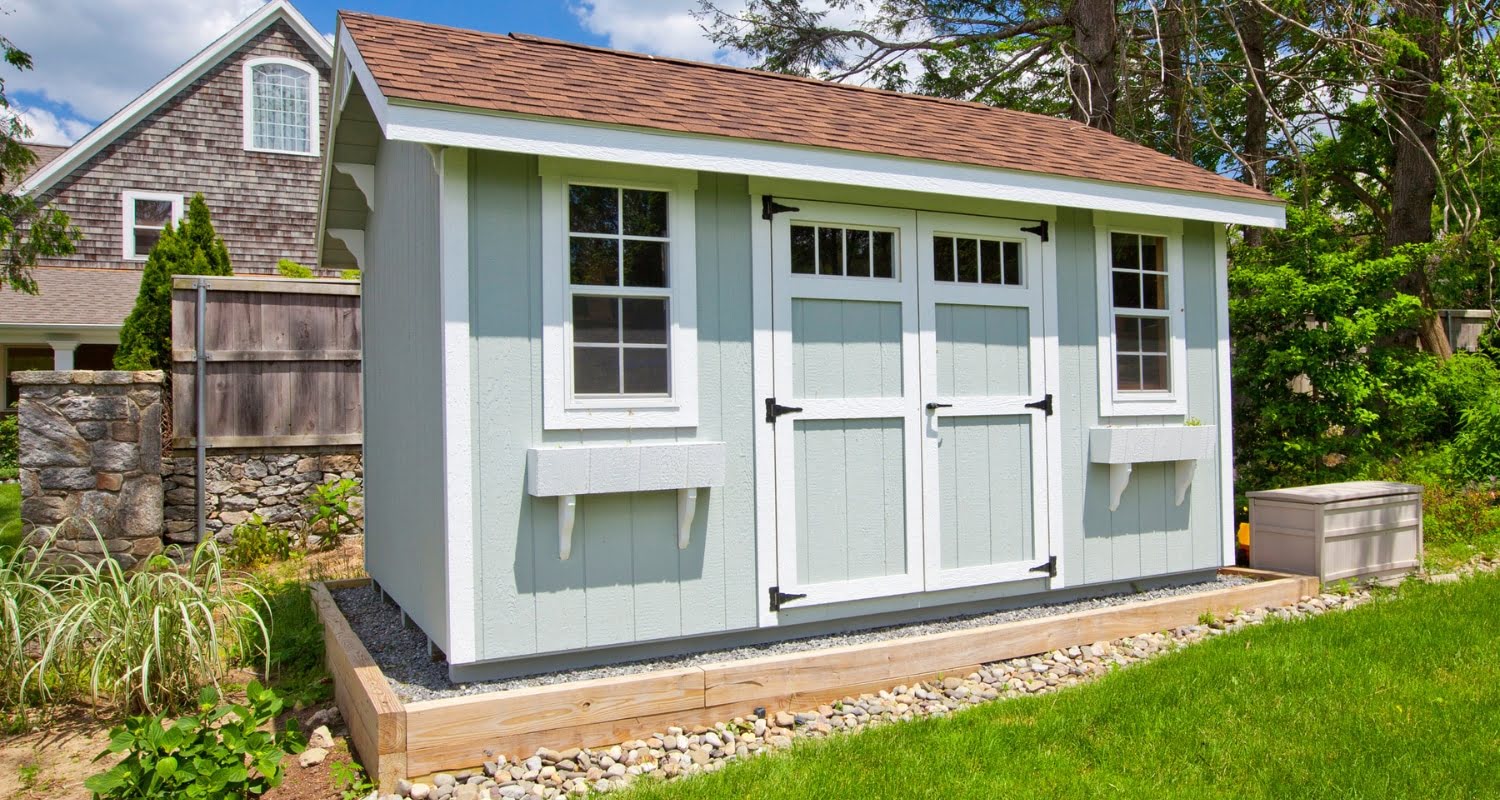
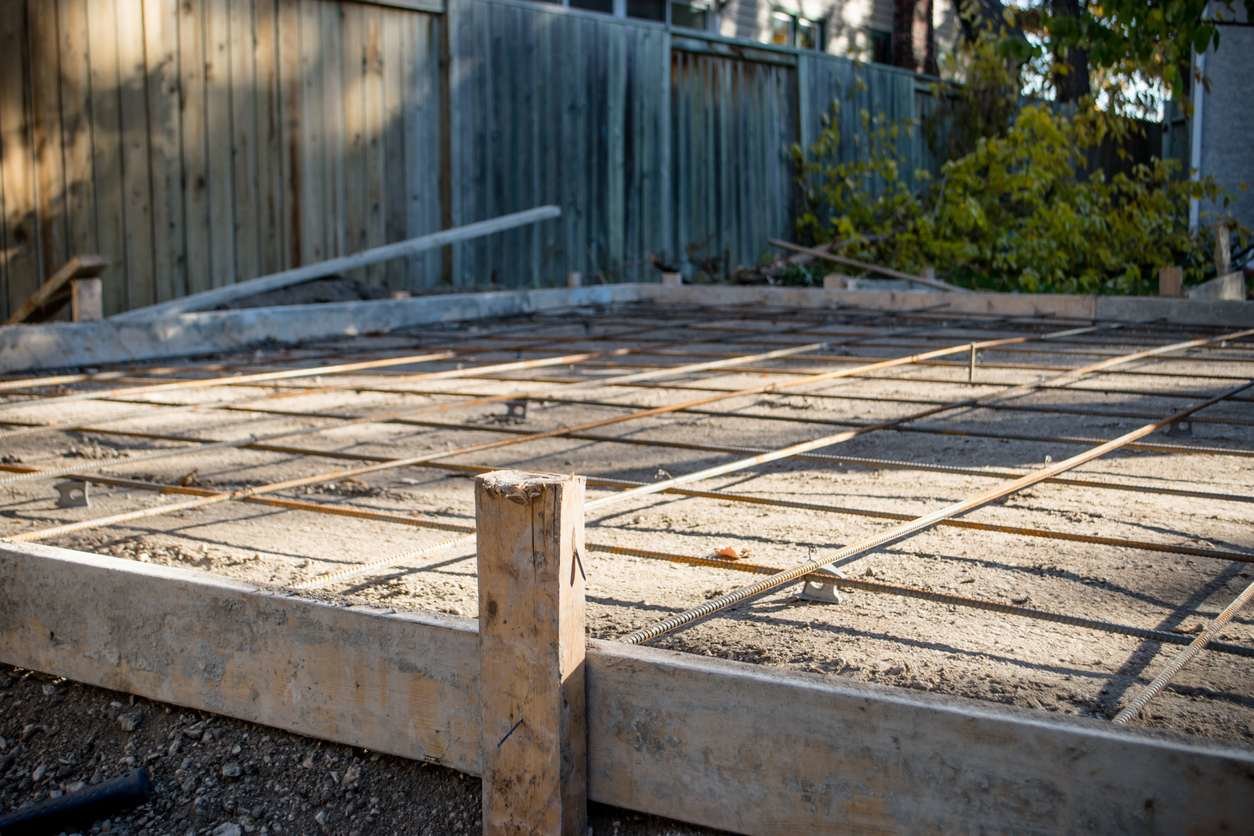
Building a shed can be an exciting and rewarding project, but it requires a solid foundation to ensure stability and longevity. A well-built shed foundation is crucial for supporting the weight of your shed, protecting it from moisture, and providing a level surface for your structure. In this article, we will guide you through the process of building a DIY shed foundation, covering various methods and providing detailed steps for each.
1. Planning and Preparation
Before you start digging, it's essential to plan and prepare your site thoroughly. Here are some key steps to consider:
1.1 Check Local Building Codes
Local building codes and homeowners association guidelines can have specific requirements for shed foundations. These may include requirements for foundation types, frost lines, and location specifications. Always check with your local building inspector or homeowners association to ensure compliance.
1.2 Choose a Level Site
The site where you plan to build your shed should be as close to level as possible. Avoid areas that collect water or have uneven terrain. It's also important to ensure there is at least 3 feet of clearance around the perimeter of your shed.
1.3 Mark the Shed Area
Use mason's string and stakes to mark out the area where your shed will be built. To square the area, measure 3 feet along one string and 4 feet along the adjacent string. The distance between these two points should be 5 feet. Adjust as needed to ensure accuracy.
2. Types of Shed Foundations
There are several types of shed foundations, each with its own advantages and requirements. Here are some common methods:
2.1 Concrete Block Foundation
A concrete block foundation is a popular choice for its durability and ease of installation. Here’s how to build one:
-
Materials Needed:
- Solid concrete blocks (4-inch thick x 8-inch wide x 16 inches long)
- Patio blocks (2-inch thick)
- Gravel
- Sand
- Level
- Tamping tool
-
Instructions:
- Lay Out the Blocks: Place the solid concrete blocks in straight rows, evenly spaced from each other. The size of your shed and the lumber used for the floor joists will determine how many blocks you need and how much space will be between them.
- Avoid Hollow Wall Blocks: Do not use hollow wall blocks as they can crack and crumble over time due to the weight of your shed.
- Add Patio Blocks: If necessary, set patio blocks on top of the thicker blocks to raise them evenly.
- Compact the Ground: Use gravel and sand to create a stable base for your blocks. Compact the ground thoroughly to prevent settling.
2.2 Skid Foundation
A skid foundation is one of the easiest and quickest methods to build a shed foundation. Here’s how:
-
Materials Needed:
- Pressure-treated timbers (4x6s, 6x6s, 8x8s)
- Gravel
- Level
- Tamping tool
-
Instructions:
- Lay Out the Skids: Place two or more long, straight skids parallel to each other and evenly spaced apart on the ground.
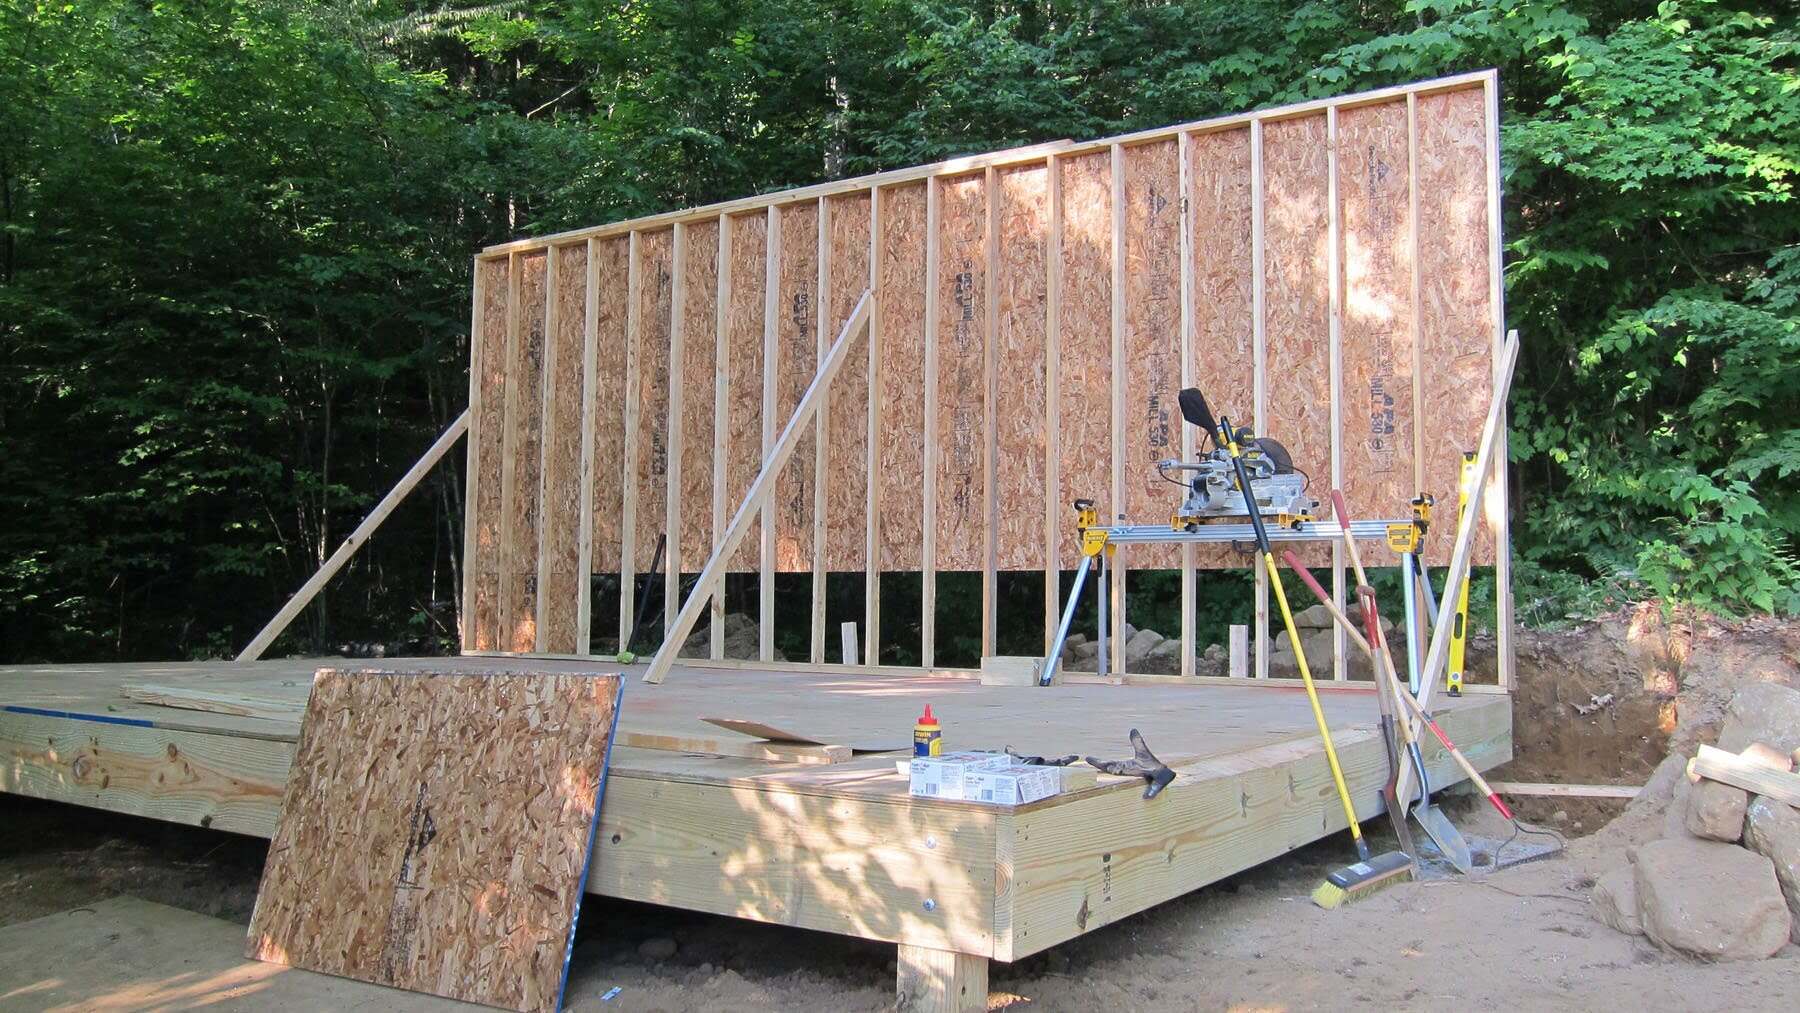
- Build the Floor Frame: Construct the shed’s floor frame on top of the skids.
- Advantages: Skid foundations distribute weight evenly over a wide surface and are best used at sites that are quite flat.
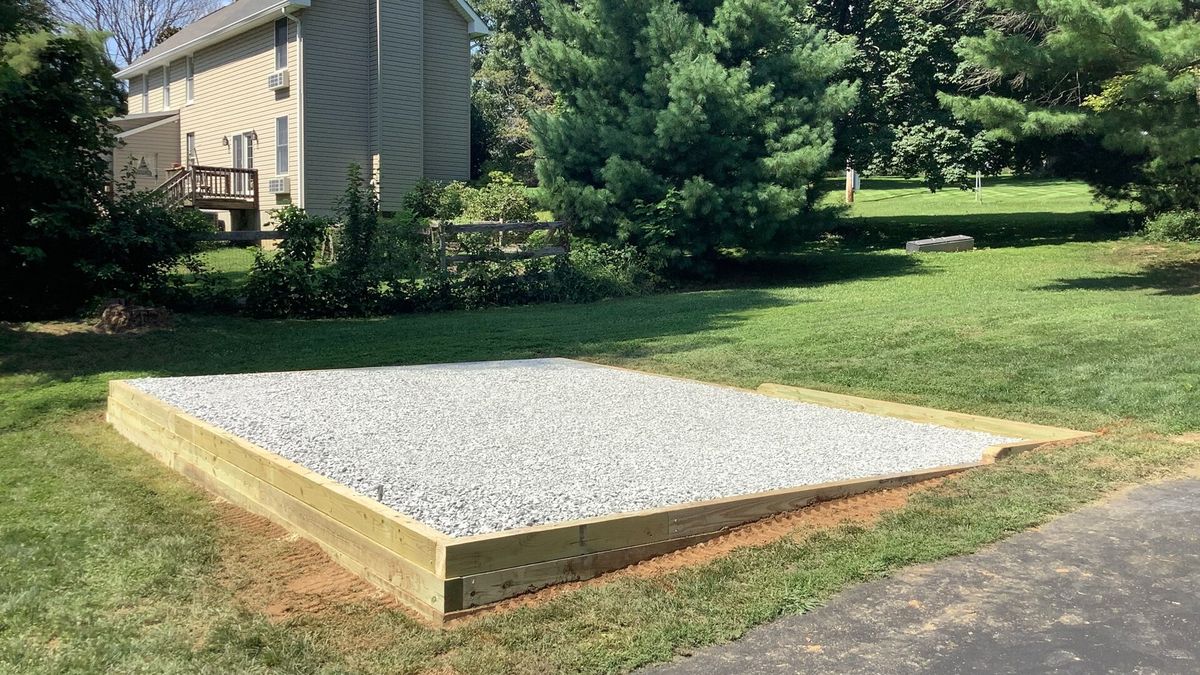
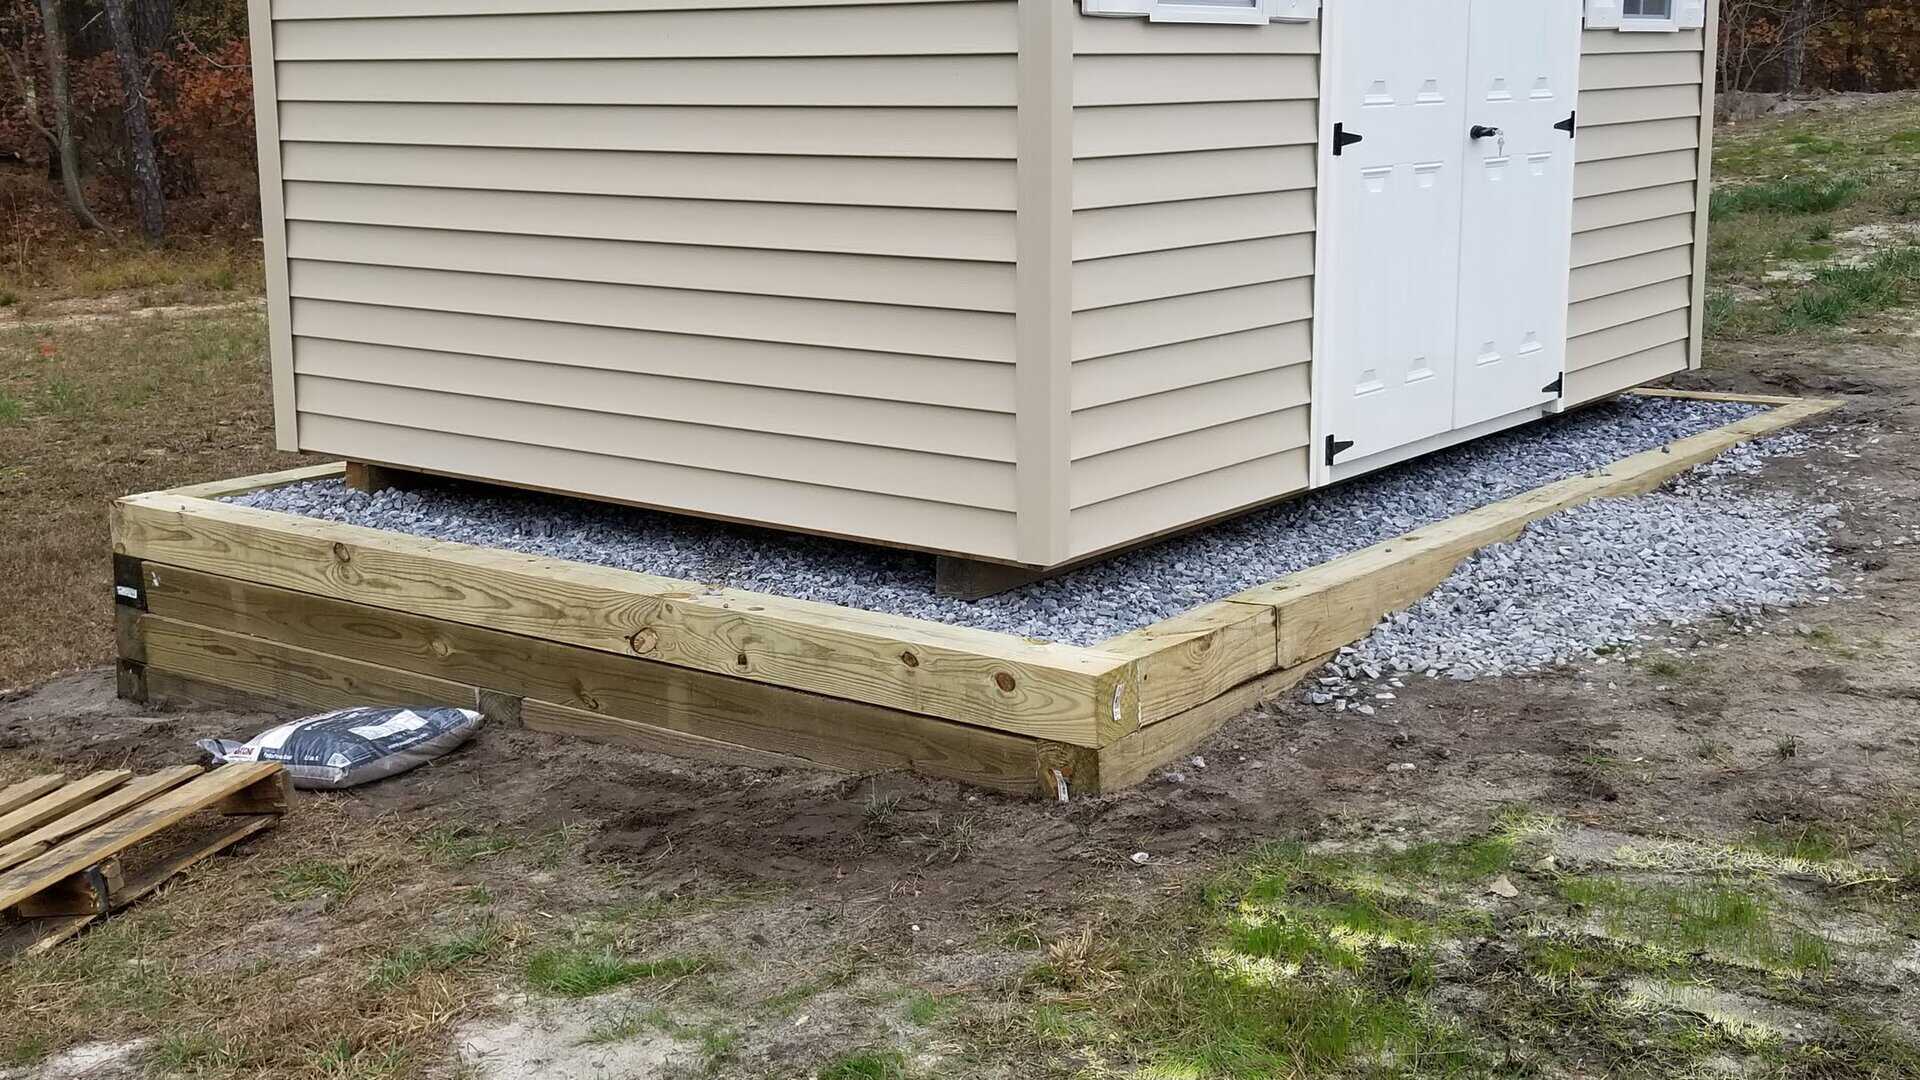
2.3 Timber-Frame Foundation
A timber-frame foundation is another versatile option that allows for various flooring options.
-
Materials Needed:
- Pressure-treated timbers (4x4s, 4x6s, 6x6s)
- Gravel or other fill materials (bricks, concrete, gravel, marble chips, bluestone slabs)
- Level
- Tamping tool
-
Instructions:
- Construct the Frame: Build a rectangular wood frame and position it on top of a bed of gravel.
- Add Flooring Material: Fill the space within the frame with your chosen flooring material or simply screw down pressure-treated decking.
- Join Timbers: Use half-lap corner joints or stack timbers high and fasten them together.
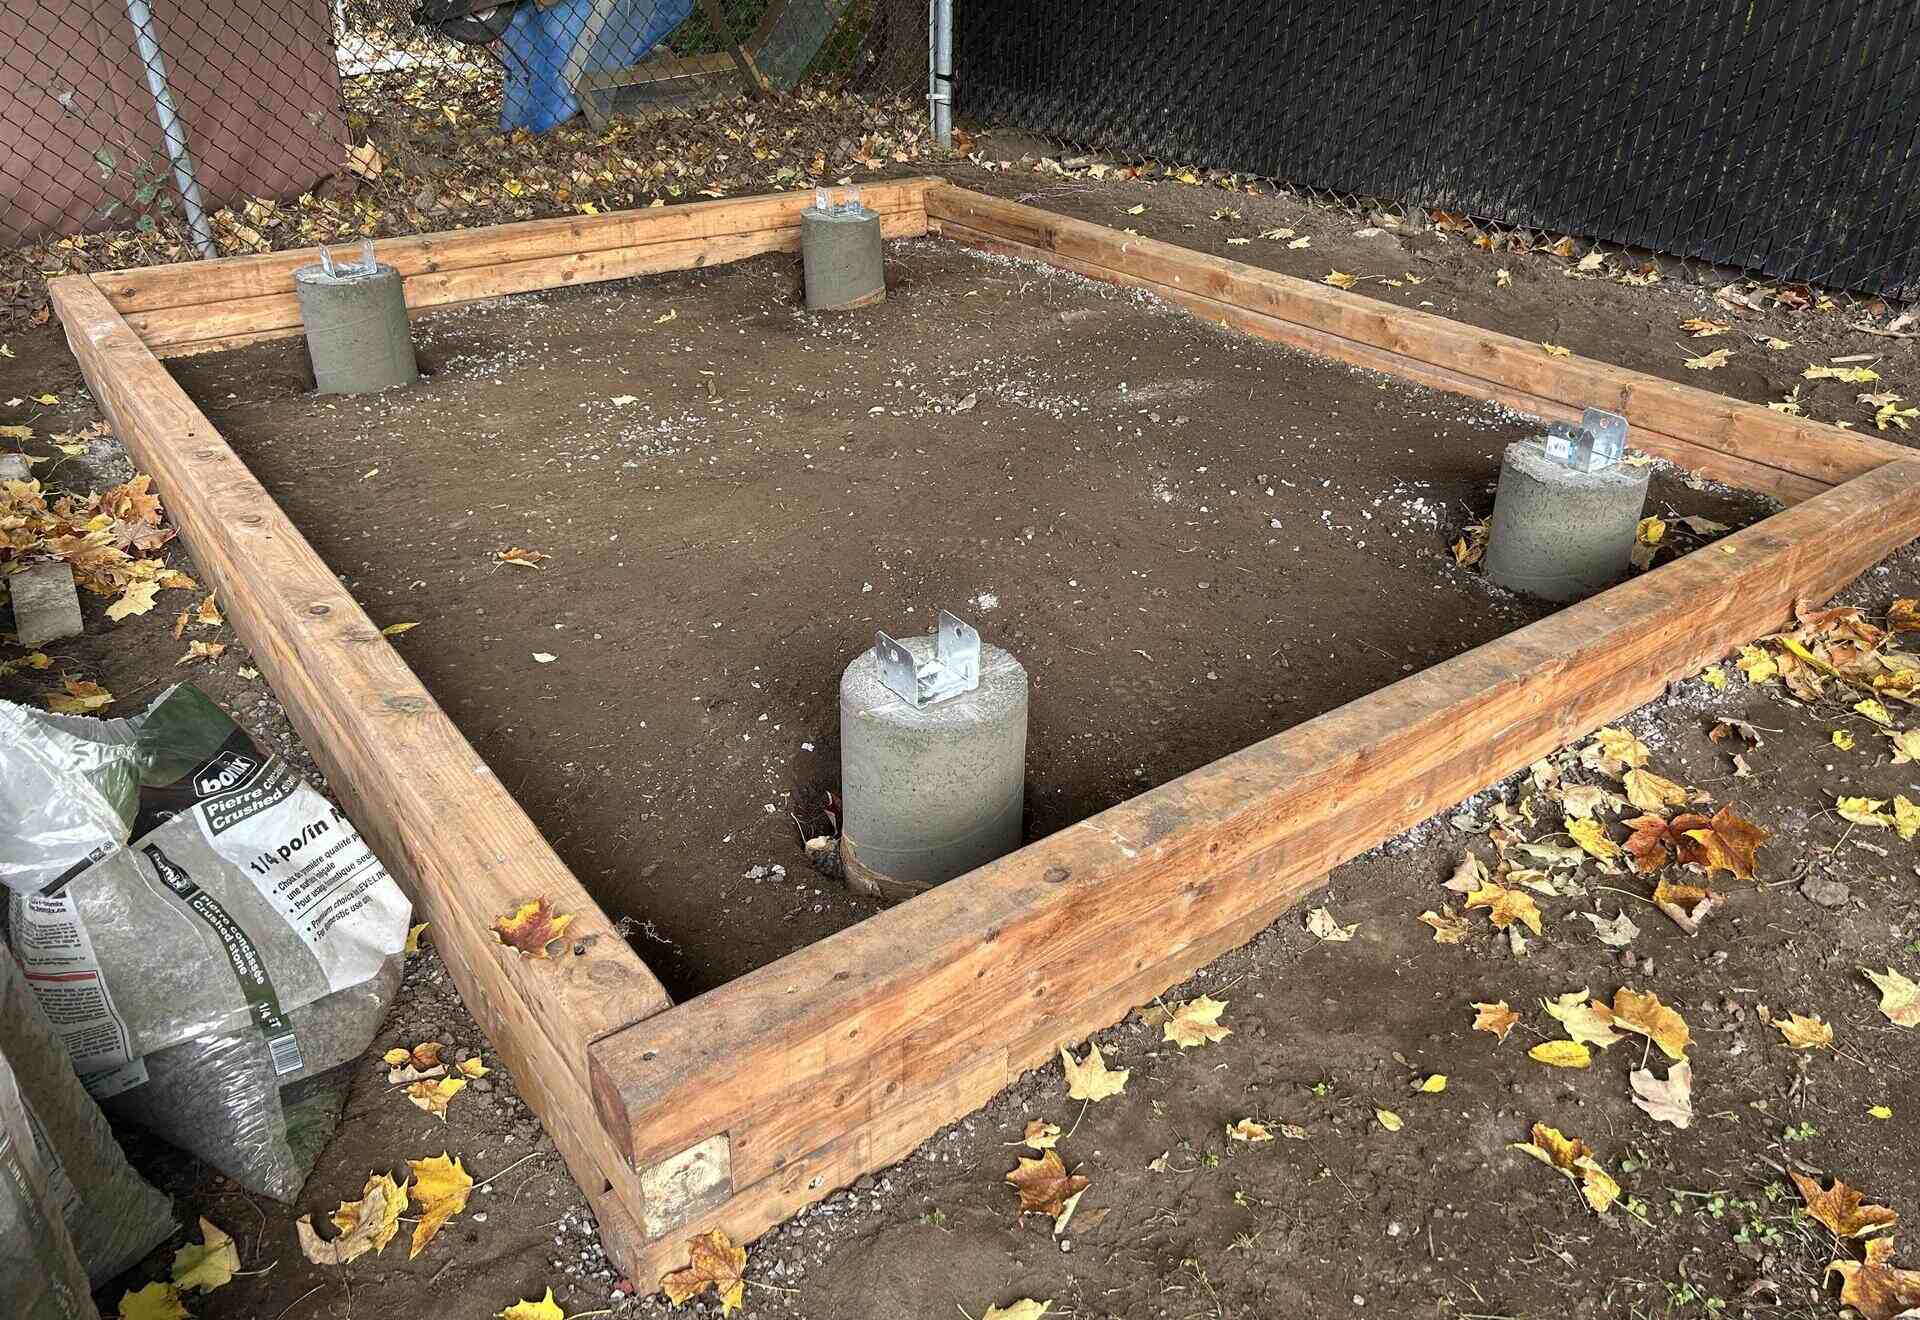
2.4 Concrete Piers
Concrete piers are ideal for areas that freeze and require frost-proof foundations.
-
Materials Needed:
- Concrete
- Fiber-form tubes (Sonotube)
- Post anchors or beam connectors
- Level
- Tamping tool
-
Instructions:
- Dig Holes: Dig holes 12 inches in diameter and 12 inches below the frost line.
- Pour Gravel: Pour about 4 to 6 inches of gravel into each hole and compact it.
- Add Concrete: Pour concrete into each hole, ensuring that it extends below the frost line.
- Secure Posts: Set posts on top of the concrete piers and secure them with galvanized-metal hardware.
3. Additional Types of Foundations
Besides the above methods, there are other types of foundations you might consider:
3.1 Adjustable Plastic Base
An adjustable plastic base is a quick and easy option for smaller sheds or those with good landscaping support.
-
Materials Needed:
- Plastic shed jacks
- Level
-
Instructions:
- Install Jacks: Place plastic shed jacks in the desired locations.
- Level the Ground: Use a level to ensure that the ground is firm and level.
- Pros and Cons: This method is quick and easy but may sink over time and is not available everywhere.
4. Building Your Shed Foundation
Once you have chosen your foundation method, it's time to start building:
4.1 On-Grade Foundations
For areas that don't freeze, on-grade foundations are suitable.
- Concrete Slab Method:
- Pour Concrete Slab: Pour a concrete slab with sill plates on top.
- Masonry Block Method:
- Set masonry blocks on 4 inches of gravel.
- Compact the ground thoroughly.
4.2 Frost-Proof Foundations
For areas that freeze, frost-proof foundations are necessary.
- Concrete Tube Method:
- Dig Holes: Dig holes 12 inches in diameter and 12 inches below the frost line.
- Pour Gravel: Pour about 4 to 6 inches of gravel into each hole and compact it.
- Add Concrete Tube Forms: Insert concrete tube forms into each hole.
- Add Concrete: Pour concrete into each tube form, ensuring that it extends below the frost line.
- Secure Posts: Set posts on top of the concrete footers and secure them with post base brackets and 4x4s.
5. Detailed Steps for Each Method
5.1 Concrete Block Foundation
- Prepare the Site: Clear the area of any debris and level it as much as possible.
- Lay Out Blocks: Place solid concrete blocks in straight rows, evenly spaced from each other.
- Compact Ground: Use gravel and sand to create a stable base for your blocks. Compact the ground thoroughly to prevent settling.
- Add Patio Blocks (if necessary): Set patio blocks on top of the thicker blocks to raise them evenly.
- Check Level: Use a level to ensure that each block is level and plumb.
5.2 Skid Foundation
- Prepare Site: Clear the area of any debris and level it as much as possible.
- Lay Out Skids: Place two or more long, straight skids parallel to each other and evenly spaced apart on the ground.
- Build Floor Frame: Construct the shed’s floor frame on top of the skids.
- Check Level: Use a level to ensure that the floor frame is level and plumb.
5.3 Timber-Frame Foundation
- Prepare Site: Clear the area of any debris and level it as much as possible.
- Construct Frame: Build a rectangular wood frame and position it on top of a bed of gravel.
- Add Flooring Material: Fill the space within the frame with your chosen flooring material or simply screw down pressure-treated decking.
- Join Timbers: Use half-lap corner joints or stack timbers high and fasten them together.
- Check Level: Use a level to ensure that each timber is level and plumb.
5.4 Concrete Piers
- Dig Holes: Dig holes 12 inches in diameter and 12 inches below the frost line.
- Pour Gravel: Pour about 4 to 6 inches of gravel into each hole and compact it.
- Add Concrete Tube Forms: Insert concrete tube forms into each hole.
- Add Concrete: Pour concrete into each tube form, ensuring that it extends below the frost line.
- Secure Posts: Set posts on top of the concrete footers and secure them with post base brackets and 4x4s.
6. Additional Tips and Considerations
6.1 Safety Precautions
Always follow safety precautions when building your shed foundation:
- Wear protective gear such as gloves, safety glasses, and a hard hat.
- Use proper lifting techniques to avoid injury.
- Ensure that all materials are stored safely and out of reach of children.
6.2 Tool Recommendations
Here are some tools you may need for each method:
- Concrete trowel
- Level
- Tamping tool
- Post base brackets
- 4x4s
- Concrete tube forms (Sonotube)
- Post anchors or beam connectors
6.3 Budget Considerations
Building a shed foundation can vary in cost depending on the method you choose:
- Concrete block foundations are generally more expensive than skid foundations but offer better durability.
- Timber-frame foundations can be more versatile but may require additional materials.
Conclusion
Building a DIY shed foundation requires careful planning and execution. By choosing the right method for your area and following these detailed steps, you can create a sturdy and long-lasting foundation for your shed. Remember to always check local building codes and homeowners association guidelines before starting your project. With patience and attention to detail, you'll be able to enjoy your new shed for years to come.
This comprehensive guide should provide you with all the information needed to build a solid shed foundation. Whether you choose a concrete block, skid, timber-frame, or concrete pier foundation, each method has its own advantages and requirements. Always prioritize safety and follow local regulations to ensure that your shed foundation meets all necessary standards. Happy building
Was this page helpful?
At Storables.com, we guarantee accurate and reliable information. Our content, validated by Expert Board Contributors, is crafted following stringent Editorial Policies. We're committed to providing you with well-researched, expert-backed insights for all your informational needs.


0 thoughts on “DIY Shed Foundation: A Step-by-Step Guide”