Home>Interior Design>How To Tile A Bathtub: For A Stylish, Practical Finish
Interior Design
How To Tile A Bathtub: For A Stylish, Practical Finish
Modified: August 26, 2024
Learn how to tile a bathtub for a stylish, practical finish with our expert interior design tips. Enhance your bathroom's aesthetic appeal with our easy-to-follow steps.
(Many of the links in this article redirect to a specific reviewed product. Your purchase of these products through affiliate links helps to generate commission for Storables.com, at no extra cost. Learn more)
Introduction
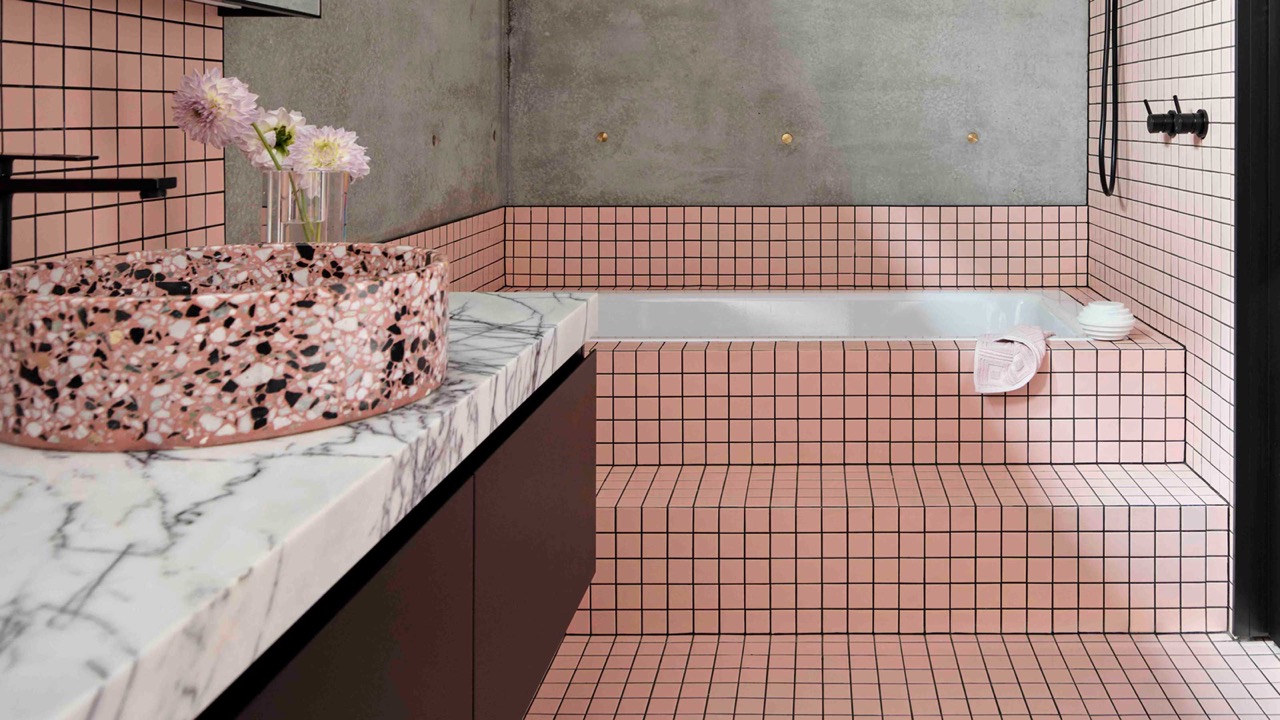
Tiling a bathtub is a great way to enhance the overall look and functionality of your bathroom. Not only does it add a stylish and sophisticated touch, but it also serves as a practical solution for protecting the walls around your bathtub from water damage. Whether you’re a seasoned DIY enthusiast or a beginner, tiling a bathtub is a manageable project that can be accomplished with the right tools, materials, and technique.
In this article, we will guide you through the step-by-step process of tiling a bathtub. From preparing the surface to applying the tile adhesive and grout, we will cover all the essential elements to help you achieve a professional-looking finish. So, let’s dive in and discover how to transform your bathtub into a stunning focal point of your bathroom!
Key Takeaways:
- Elevate your bathroom with a stylish and practical tiled bathtub. Follow our step-by-step guide for a professional finish that enhances the overall ambiance of your space.
- Prepare, plan, and execute your bathtub tiling project with confidence. From surface preparation to grout application, achieve a stunning and functional result that lasts for years to come.
Tools and Materials Needed
Before you begin tiling your bathtub, it’s important to gather all the necessary tools and materials. Here’s a list of what you’ll need:
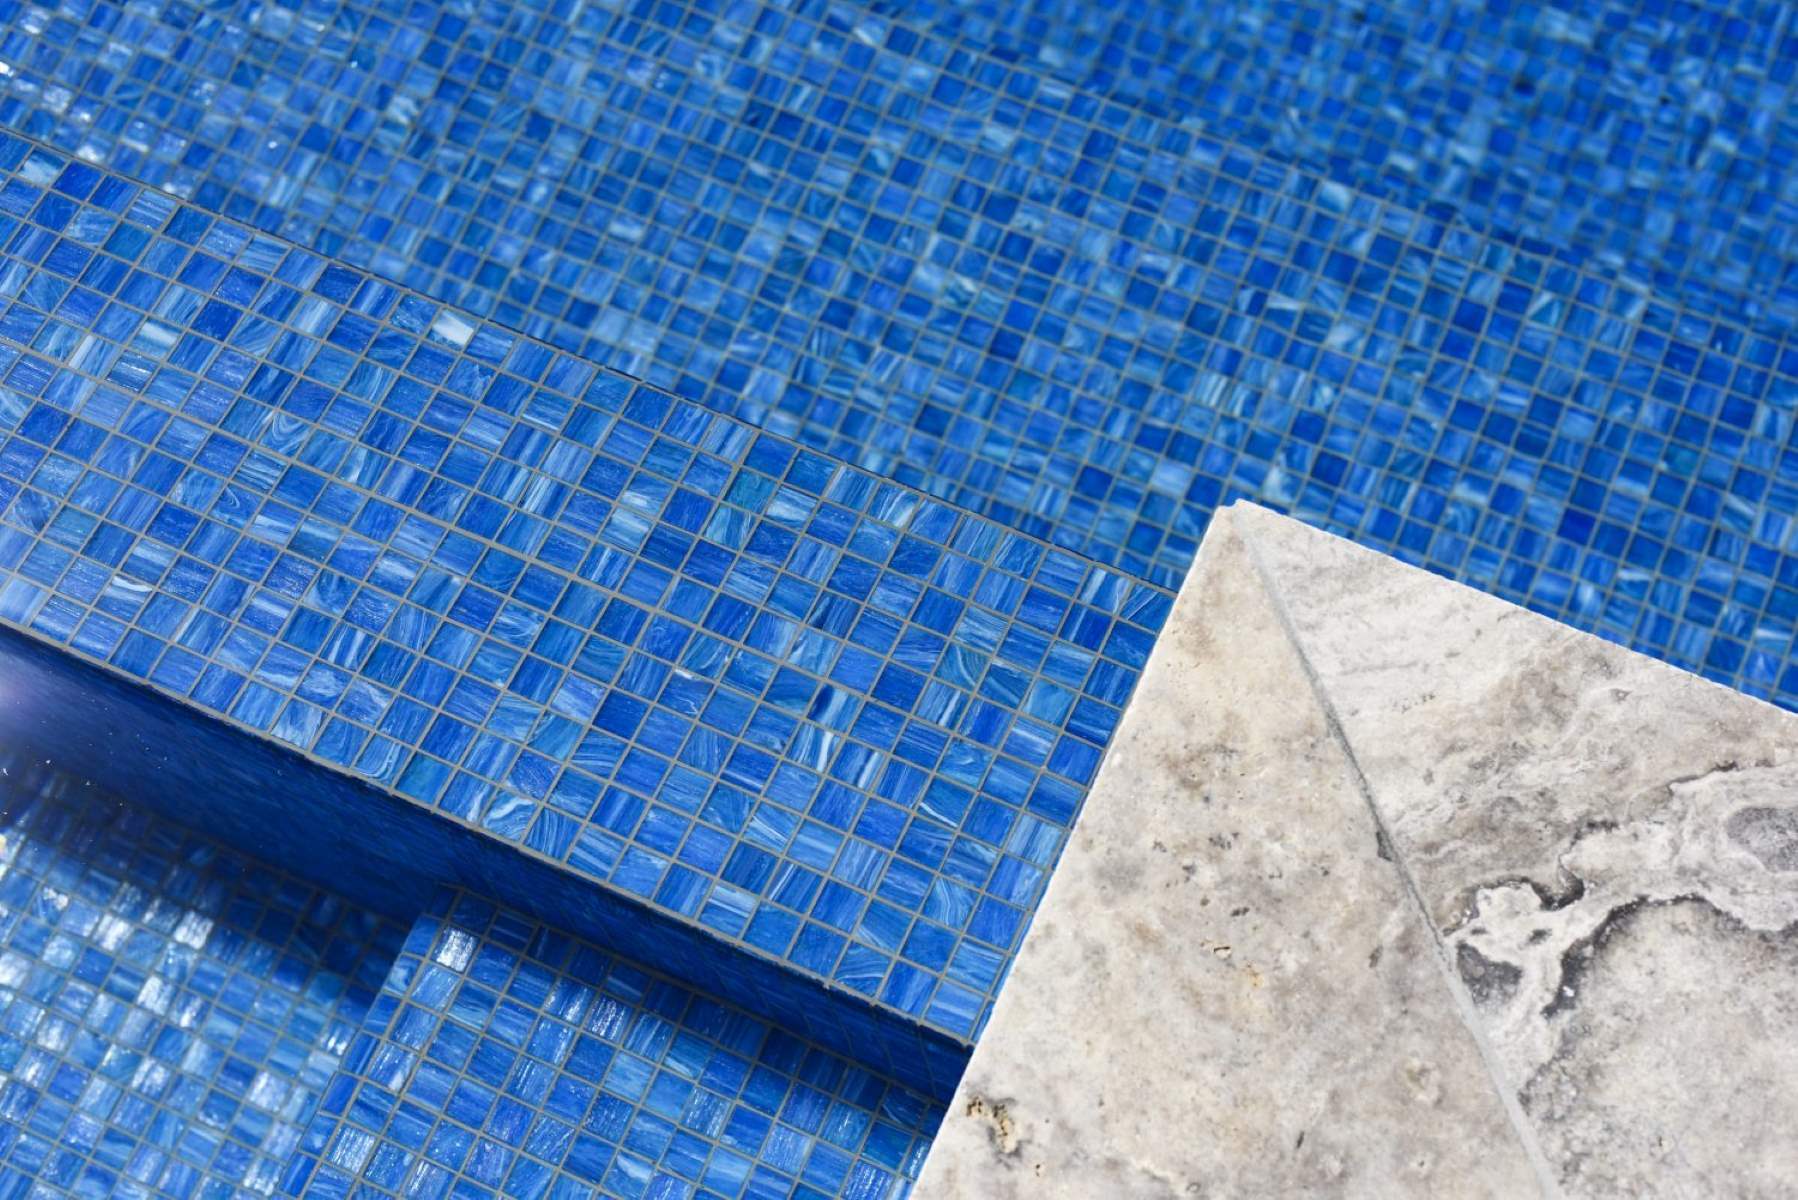
- Tile: Choose the type and style of tile that best suits your bathroom design. Consider factors such as color, texture, and durability.
- Tile adhesive: This is a specialized adhesive that is used to bond the tiles to the bathtub surface.
- Tile spacers: These small plastic pieces are used to maintain consistent spacing between each tile, ensuring a professional-looking finish.
- Tile cutter: Depending on the layout and design, you may need a tile cutter to trim the tiles to fit around edges and corners.
- Trowel: A trowel is used to evenly spread the tile adhesive onto the bathtub surface.
- Grout: Grout is a cement-based material that fills the gaps between tiles, providing a stable and watertight seal.
- Grout float: This tool is used to apply the grout mixture and smooth it into the joints between the tiles.
- Sponge: A sponge is necessary for removing excess grout and cleaning the tile surface.
- Level: To ensure that your tiles are installed evenly and straight, use a level to check for proper alignment.
- Measuring tape: Accurate measurements are crucial when determining the quantity of tiles needed and planning the layout.
- Notched trowel: A notched trowel has ridges that help create an even layer of adhesive on the bathtub surface.
- Caulk: Caulk is used to seal the edges and corners of the bathtub, preventing water infiltration.
- Sealant: Applying a sealant to the grout after it has cured will help protect it from stains and moisture.
Having these tools and materials ready before starting your project will ensure a smoother and more efficient tiling process. Now that you’re equipped with everything you need, let’s move on to the next steps.
Preparing the Bathtub Surface
Before you can begin tiling your bathtub, it’s essential to properly prepare the surface to ensure proper adhesion and a smooth finish. Here are the steps to follow:
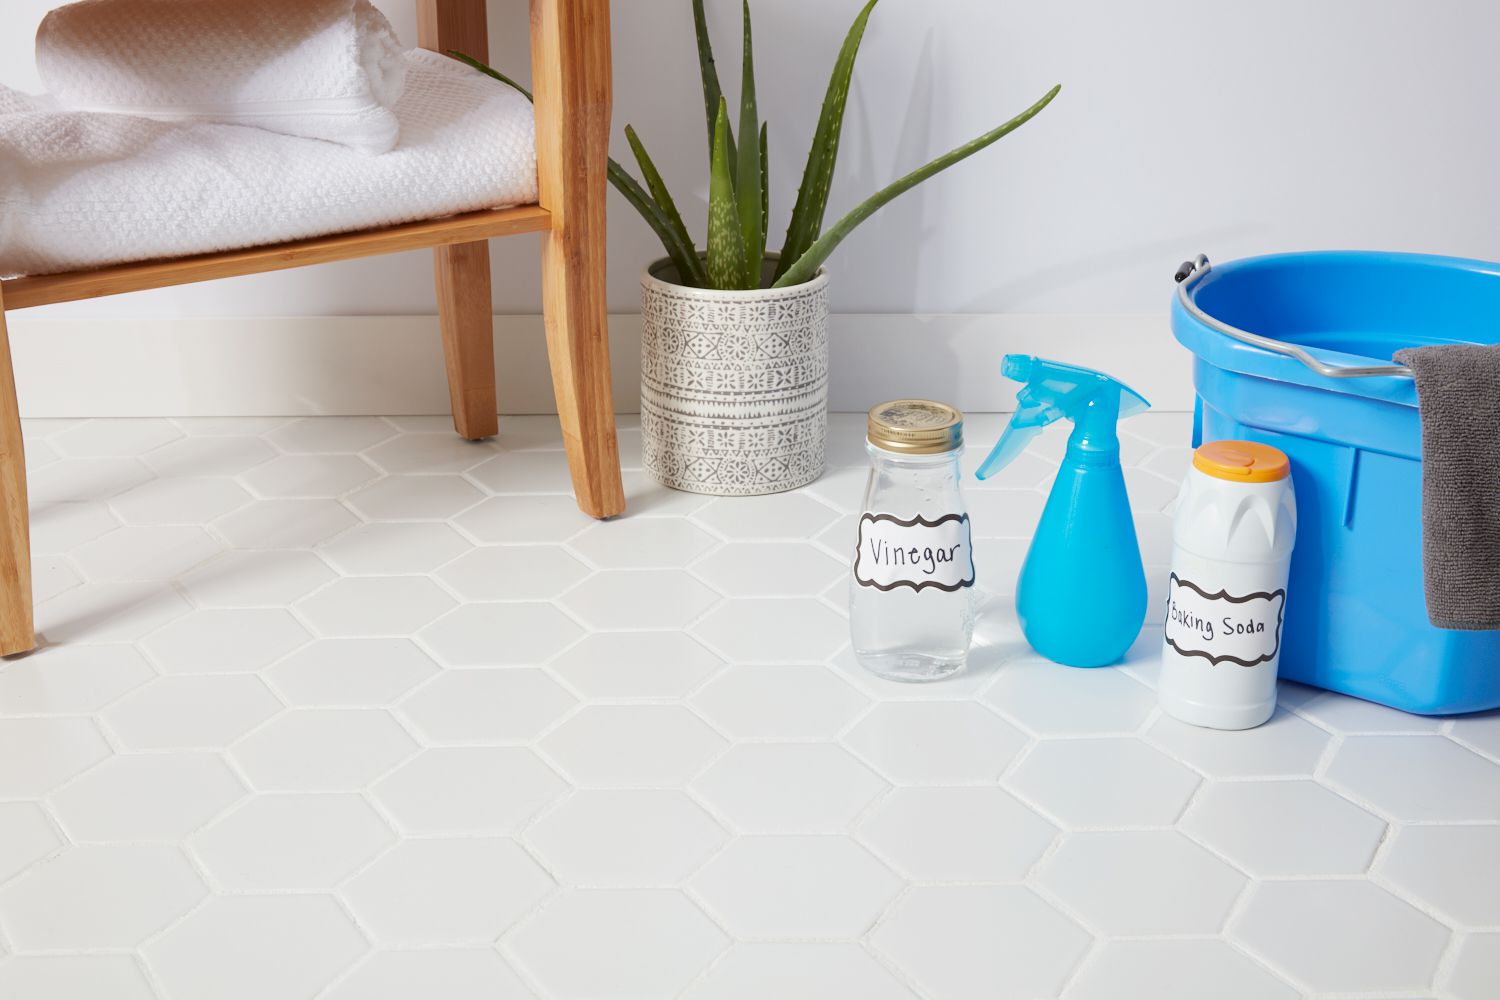
Cleaning the bathtub: Start by thoroughly cleaning the bathtub surface. Remove any soap scum, dirt, or residue using a non-abrasive cleaner. Rinse the bathtub with water and allow it to dry completely.
Removing old caulk or sealant: If there is old caulk or sealant present, use a caulk remover or a utility knife to carefully scrape it off the surface. Make sure to remove all traces of old caulk to create a clean and smooth surface for tiling.
Sanding the surface: Next, lightly sand the bathtub surface using fine-grit sandpaper. This step helps to remove any remaining residue and creates a slightly rough texture, allowing the tile adhesive to adhere better to the bathtub surface.
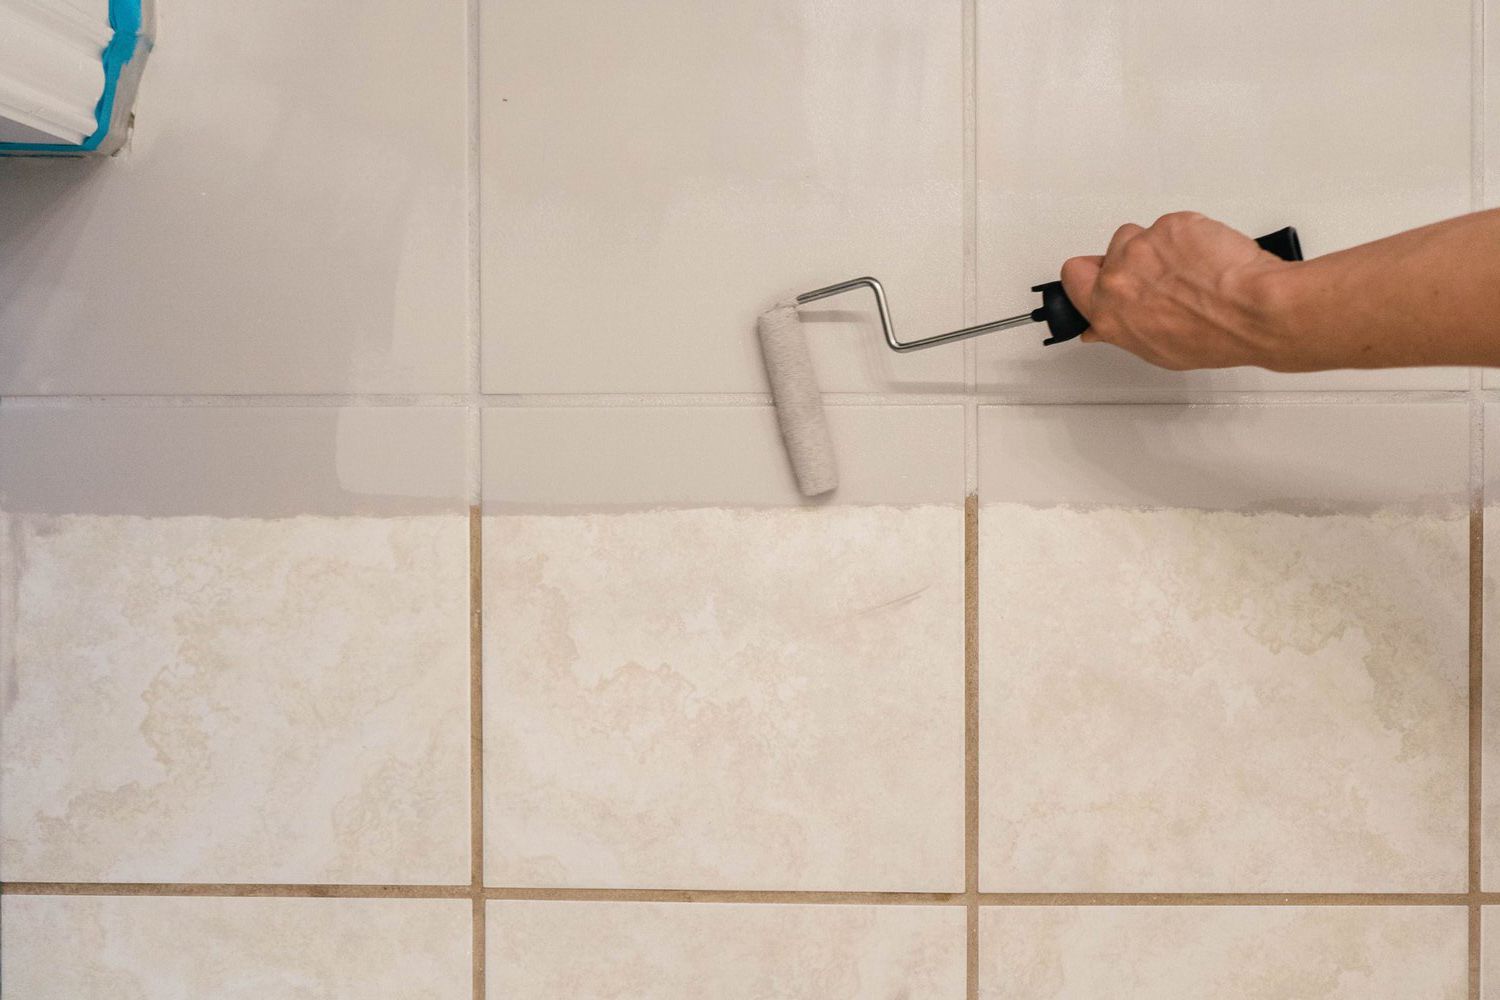
Applying primer (if necessary): In some cases, it may be necessary to apply a primer to the bathtub surface, especially if it is made of a non-porous material such as acrylic or fiberglass. A primer helps improve the bond between the surface and the tile adhesive. Follow the manufacturer’s instructions and allow the primer to dry before proceeding with the tile installation.
Taking the time to properly prepare the bathtub surface will ensure a strong and long-lasting bond between the tiles and the bathtub. Once the surface is clean, smooth, and ready, you can move on to the next steps of measuring and planning your tile layout.
Measuring and Planning
Accurate measurements and careful planning are crucial for a successful bathtub tiling project. Here’s what you need to do:
Measuring the bathtub area: Start by measuring the length and width of the bathtub area where you intend to install the tiles. Use a measuring tape to get precise measurements. Take into account any areas where tiles will not be installed, such as the faucet and drain openings.
Calculating the number of tiles needed: Once you have the measurements, calculate the number of tiles you’ll need. Consider the size of the tiles you have chosen and add an additional 10% to account for any wastage or irregularities. It’s always better to have a few extra tiles on hand in case of breakage or mistakes during the installation.
Determining the tile layout and pattern: Before you start tiling, it’s important to determine the layout and pattern of the tiles. You can choose from various options such as diagonal, herringbone, or straight patterns. Play around with different tile layouts and find the one that best suits your preferences and the shape of your bathtub area. You can also use tile spacers to visualize the spacing between tiles and ensure a consistent and symmetrical arrangement.
Taking the time to measure and plan your bathtub tiling project will save you headaches and ensure a professional-looking finish. It allows you to accurately estimate the amount of materials needed and create a visually appealing tile pattern. Now that you have your measurements and layout determined, it’s time to move on to the next steps and start tiling your bathtub!
Applying the Tile Adhesive
Once you have prepared the bathtub surface and planned the layout, it’s time to apply the tile adhesive. Follow these steps to ensure a secure bond between the tiles and the bathtub:
Mixing the tile adhesive: Start by following the manufacturer’s instructions for mixing the tile adhesive. Use a bucket and a drill with a mixing attachment to achieve a smooth and consistent mixture. Make sure to mix the adhesive thoroughly to activate its bonding properties.
Applying the adhesive to the bathtub surface: Using a trowel, apply a layer of tile adhesive to a small section of the bathtub surface. Start at the bottom and work your way up. Spread the adhesive evenly to ensure a solid bond. Avoid applying too much adhesive at once, as it may dry before you can install the tiles.
Using a notched trowel to create ridges in the adhesive: Once the adhesive is applied, use a notched trowel to create ridges in the adhesive. Hold the trowel at a 45-degree angle and drag it through the adhesive, creating consistent ridges. The ridges help create suction and allow the tiles to adhere firmly to the surface.
Continue applying the adhesive and creating ridges section by section, working your way across the bathtub surface. Make sure to work in small areas at a time to prevent the adhesive from drying out. It’s important to maintain a consistent layer of adhesive thickness to ensure a level and secure installation.
Now that the tile adhesive is applied, it’s time to start installing the tiles. In the next section, we will guide you through the process of placing and aligning the tiles to achieve a flawless finish.
When tiling a bathtub, make sure to use waterproof adhesive and grout to prevent water damage. Choose a stylish and practical tile design that complements your bathroom decor.
Installing the Tiles
With the tile adhesive applied and the ridges created, it’s time to start installing the tiles on the bathtub surface. Follow these steps for a successful installation:
Starting with the first tile: Begin by placing the first tile in the desired position. Press it firmly into the adhesive, making sure it is aligned with the layout and pattern you planned. Use a slight twisting motion to ensure a good bond with the adhesive.
Pressing the tile firmly into the adhesive: As you continue installing the tiles, press each one firmly into the adhesive, making sure they are level and well-aligned. Use a level to check for accuracy and make any necessary adjustments. If needed, gently tap the tiles with a rubber mallet to ensure they are securely bonded to the adhesive.
Placing tile spacers between tiles: Insert tile spacers between each tile to maintain consistent spacing and allow room for grouting. The size of the spacers will depend on the desired grout line thickness. Follow the manufacturer’s instructions for proper spacing.
Continuously checking for level and alignment: Throughout the installation process, regularly use a level to check for both horizontal and vertical alignment. This will help ensure a professional and visually pleasing result. Make any adjustments as necessary.
Cutting tiles to fit around edges and corners: As you approach edges, corners, or other obstacles, you may need to cut tiles to fit. Use a tile cutter or a wet saw to carefully trim the tiles to the required size and shape. Take accurate measurements and work slowly to achieve precise cuts.
Continue installing the tiles, placing spacers, checking for level and alignment, and making any necessary cuts until the entire bathtub area is covered. Take your time to ensure a quality installation, and allow the tiles to set in the adhesive according to the manufacturer’s instructions. In the next section, we will cover the final step of the tiling process: grouting the tiles.
Grouting the Tiles
Grouting is the final step in the tiling process and involves filling the gaps between the tiles to create a seamless and polished look. Follow these steps to grout your bathtub tiles effectively:
Preparing the grout mixture: Start by reading the instructions on the grout packaging and mix the grout in a clean bucket according to the manufacturer’s recommendations. Mix it to a smooth consistency, similar to peanut butter. Let the mixture sit for a few minutes before continuing.
Applying the grout to the tile joints: Using a grout float, scoop up a generous amount of grout and apply it to the tile joints. Hold the float at a 45-degree angle and spread the grout diagonally across the tiles, ensuring that the gaps are filled evenly. Work in small sections at a time to prevent the grout from drying before you can clean it.
Using a grout float to fill in the gaps: Once the grout is applied, hold the grout float at a 45-degree angle and scrape it diagonally across the tiles. This process helps to fill in the gaps while removing excess grout from the tile surface.
Removing excess grout with a sponge: After a few minutes, when the grout starts to set, use a damp sponge to gently wipe away the excess grout from the tiles. Rinse the sponge frequently and avoid pressing too hard to prevent removing grout from the joints.
Continue applying grout, filling the joints, and cleaning the tiles in small sections. Be sure to work efficiently, as the grout becomes harder to remove as it sets. Once the grout has cured according to the manufacturer’s instructions, typically within 24 to 48 hours, you can move on to the finishing touches.
In the next section, we will cover the final steps to complete your bathtub tiling project: removing tile spacers, allowing the grout to cure, and applying caulk or sealant to the edges.
Finishing touches
Now that the tiles are grouted and the main tiling work is complete, it’s time to add the finishing touches to your bathtub tiling project. Follow these final steps for a polished and professional outcome:
Removing tile spacers: Begin by carefully removing the tile spacers from between the tiles. Use a pair of pliers or your fingers to gently pull them out. Take care not to disturb the grout lines. Removing the spacers will reveal the intended spacing and allow for a cleaner and uniform appearance.
Allowing the grout to cure: Once the tile spacers have been removed, allow the grout to cure completely before using the bathtub or applying any further treatments or finishes. This usually takes 24 to 48 hours, but refer to the grout manufacturer’s instructions for specific curing times. Keep the area well-ventilated during this time.
Applying caulk or sealant around the bathtub edges: To ensure a watertight seal and prevent water from seeping into the gaps between the bathtub and the tiles, apply caulk or sealant around the bathtub edges. Use a caulk gun and follow the manufacturer’s instructions for proper application and smoothing. Choose a color that matches your grout to maintain a cohesive appearance.
Allow the caulk or sealant to dry completely before using the bathtub. During this time, avoid any direct water contact or cleaning the surface. It’s essential to follow the recommended drying times for the specific product you are using.
With these finishing touches in place, your bathtub tiling project is complete. Step back and admire your beautiful and functional tiled bathtub. Maintain the cleanliness of your tiled surface by regularly cleaning it with a mild, non-abrasive cleaner and a soft sponge or cloth.
Tiling a bathtub is a rewarding project that can significantly enhance the overall look and feel of your bathroom. By following the proper steps and taking your time throughout the process, you can achieve a stunning, professional finish that will last for years to come.
Conclusion
Tiling a bathtub is a fantastic way to elevate the aesthetic appeal and functionality of your bathroom. With careful planning, proper preparation, and precise installation, you can achieve a stylish and professional finish that will enhance the overall ambiance of the space. By following the step-by-step process outlined in this article, you can confidently tackle your bathtub tiling project.
Remember to gather all the necessary tools and materials before you start. From tiles and adhesive to spacers and a level, having everything at hand will ensure a seamless and efficient workflow. Take the time to clean the bathtub surface thoroughly, removing any old caulk or sealant and sanding it for optimum adhesion. If necessary, apply primer to non-porous surfaces for better bonding.
Accurate measurements and careful planning are crucial for a successful tiling project. Measure the bathtub area precisely and calculate the number of tiles needed to avoid running out or having excess materials. Determine the layout and pattern that best suits your preferences and the shape of your bathtub area.
Applying the tile adhesive is a critical step in ensuring a strong bond between the tiles and the bathtub. Mix the adhesive according to the manufacturer’s instructions, apply it in small sections, and use a notched trowel to create ridges for a secure installation.
Once the adhesive is applied, carefully install the tiles, pressing them firmly into the adhesive and using tile spacers to maintain consistent spacing and alignment. Continuously check for level and alignment, and make any necessary cuts to fit tiles around edges and corners.
Grouting the tiles is the final step to create a seamless and polished look. Follow the manufacturer’s instructions to prepare and apply the grout, filling in the gaps and removing excess with a sponge or cloth. Allow the grout to cure fully before removing tile spacers and applying caulk or sealant around the bathtub edges for a watertight seal.
With the finishing touches in place, step back and admire your beautifully tiled bathtub. Regularly clean the surface to maintain its pristine condition and enjoy the stylish and practical addition to your bathroom.
Tiling a bathtub may seem like a daunting task, but with proper guidance and a bit of patience, it can be a rewarding and transformative DIY project. Now it’s time for you to take the plunge and create a stunning, tiled bathtub that will be the envy of everyone who sees it!
Frequently Asked Questions about How To Tile A Bathtub: For A Stylish, Practical Finish
Was this page helpful?
At Storables.com, we guarantee accurate and reliable information. Our content, validated by Expert Board Contributors, is crafted following stringent Editorial Policies. We're committed to providing you with well-researched, expert-backed insights for all your informational needs.

0 thoughts on “How To Tile A Bathtub: For A Stylish, Practical Finish”