Home>Articles>How To Build Landscape Timber Steps For A Stunning Outdoor Garden
Articles
How To Build Landscape Timber Steps For A Stunning Outdoor Garden
Modified: October 18, 2024
Learn how to build stunning landscape timber steps in your outdoor garden with our informative articles. Gain expert tips and design ideas to enhance your landscape.
(Many of the links in this article redirect to a specific reviewed product. Your purchase of these products through affiliate links helps to generate commission for Storables.com, at no extra cost. Learn more)
Introduction
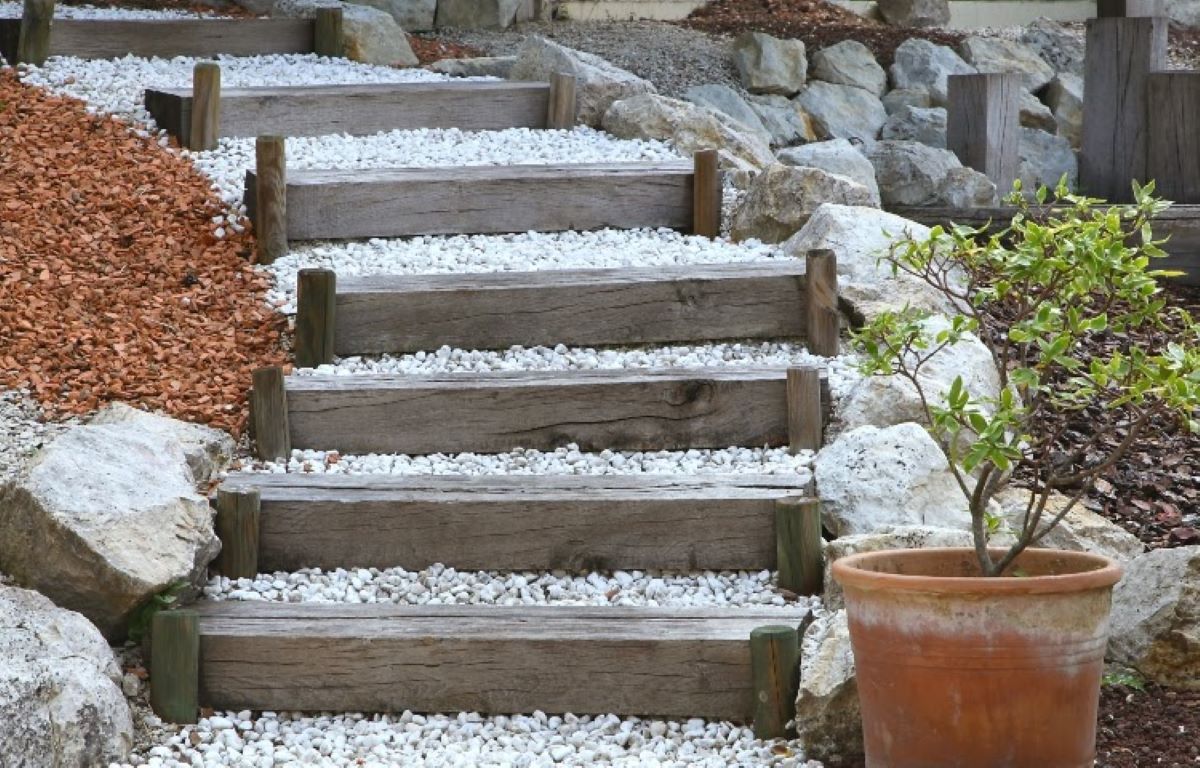
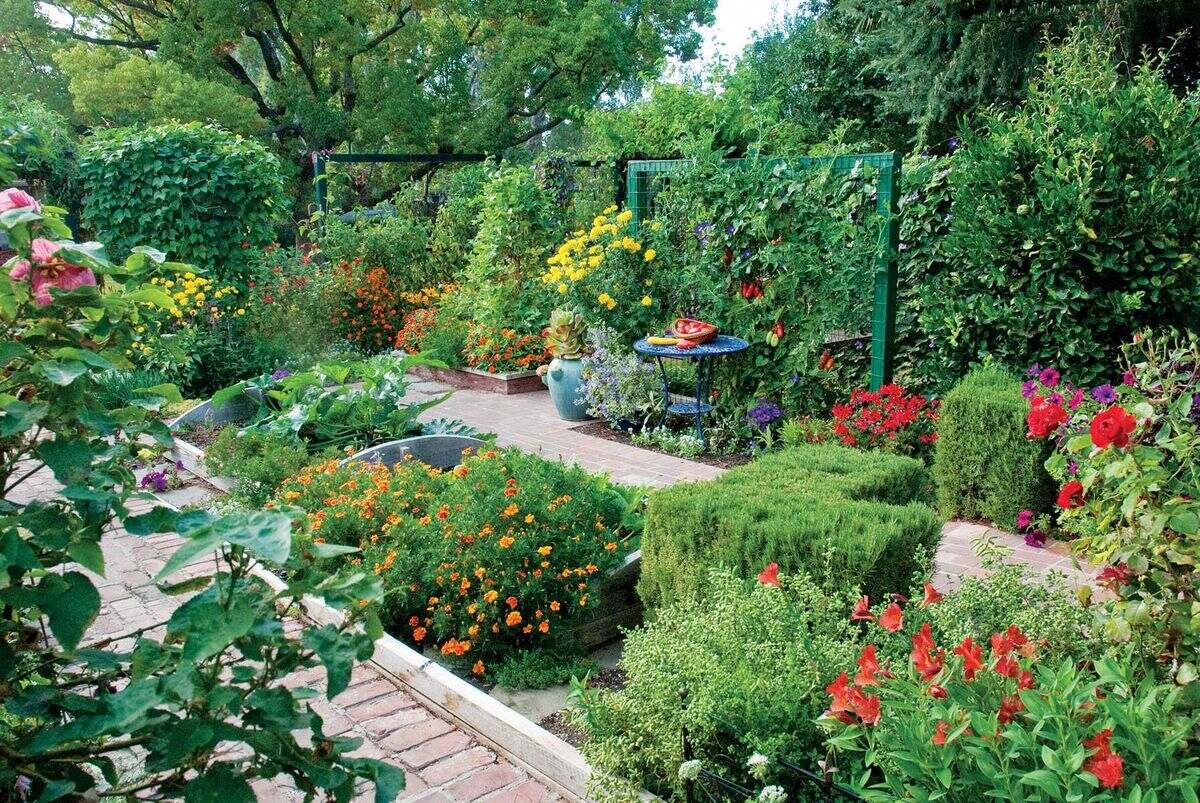
When it comes to beautifying your outdoor space, few things can have as big of an impact as a well-designed garden. And what better way to enhance the aesthetics and functionality of your garden than by adding landscape timber steps? Whether you have uneven terrain or simply want to create a focal point, landscape timber steps can be a stunning addition to your outdoor area.
In this article, we will guide you through the process of building landscape timber steps to help elevate your garden to the next level. By following these simple steps, you’ll be able to create a visually appealing and functional feature that will enhance the overall look and accessibility of your outdoor space.
Building landscape timber steps may seem like a daunting task, but with proper planning and execution, it can be a rewarding DIY project. Not only will it add value to your property, but it will also provide a practical solution for navigating slopes and elevations in your garden.
Before we dive into the step-by-step process, let’s first gather the necessary materials. By having everything ready, you’ll be able to complete the project smoothly and efficiently.
Key Takeaways:
- Elevate your outdoor garden with stunning landscape timber steps, adding both visual appeal and practicality to your space. Follow the step-by-step guide for a rewarding DIY project.
- Secure and personalize your landscape timber steps with finishing touches, such as decorative borders, lighting, and handrails, to create a captivating focal point in your outdoor garden.
Read more: How To Build Landscaping Steps
Step 1: Gather Materials
Before you begin building landscape timber steps, it’s important to ensure that you have all the necessary materials on hand. Here is a list of items you will need:
- Landscape timbers: These will serve as the main building blocks of your steps. Choose timbers that are sturdy and treated for outdoor use.
- Gravel: You will need gravel to create a stable base for your steps.
- Wood stakes: These will be used to mark the area and lay out the dimensions of the steps.
- Nails or screws: Depending on your preference, you will need nails or screws to secure the timbers together.
- Level: A level will help ensure that your steps are even and properly aligned.
- Hammer: You will need a hammer to drive in the stakes and secure the timbers.
- Hand saw or circular saw: These tools will be necessary for cutting the landscape timbers to the desired lengths.
- Safety equipment: Don’t forget to wear safety goggles and work gloves to protect yourself during the construction process.
Once you have gathered all the materials, you’ll be ready to move on to the next step: measuring and planning.
Step 2: Measure and Plan
Measuring and planning are crucial steps in building landscape timber steps. Proper measurements will ensure that your steps are of the desired height, width, and length, and planning will help you determine the layout and design of the steps.
Start by assessing the area where you intend to build the steps. Consider the slope and elevation of the terrain, as well as any obstacles that may affect the placement of the steps. Take note of any existing structures, such as trees or flower beds, that you want to work around or incorporate into your design.
Next, measure the height and width of each step. Ideally, each step should have a consistent rise (height) and run (width) for ease of use and a visually pleasing appearance. To determine the rise, divide the total height difference between the top and bottom of the steps by the desired number of steps. For example, if the height difference is 24 inches and you want six steps, each step should rise 4 inches.
Once you have calculated the rise, measure the run. The run is the horizontal depth of each step. Typically, a comfortable run falls between 11-12 inches. Multiply the run by the number of steps to find the total length of the steps.
With your measurements in hand, use wooden stakes and string to mark the area where the steps will be placed. This will give you a visual representation of the dimensions and layout of the steps. Make adjustments as needed to ensure the steps fit smoothly into the landscape and align with your desired design.
Now that you have a solid plan in place, it’s time to clear the area and prepare it for the construction of the landscape timber steps.
Step 3: Clear the Area
Before you can begin building the landscape timber steps, it’s important to clear the area of any vegetation, debris, or obstacles. This will ensure a clean and level surface for the construction process.
Start by removing any plants, rocks, or other objects that may be in the way of the steps. Use a shovel or a garden rake to clear away any excess dirt, leaves, or debris in the area. If the ground is uneven, it’s also a good idea to level it out using a tamper or a compacting tool.
If there are any existing structures, such as a pathway or patio, that the steps will connect to, make sure to clear any obstructions in these areas as well.
Additionally, if you are working on a slope, you may need to consider drainage. It’s important to ensure that water will flow away from the steps to prevent erosion and water buildup. You can achieve this by adding drainage pipes or gravel at the bottom of the steps, directing water to a suitable drainage area.
By clearing the area and preparing the ground properly, you will create a stable foundation for your landscape timber steps. This will not only enhance the durability of the steps but also contribute to their overall aesthetic appeal. With the area cleared, it’s time to move on to the next step: leveling the ground.
Step 4: Level the Ground
One of the essential steps in building landscape timber steps is to ensure that the ground is leveled. A level surface will provide a sturdy foundation and help prevent the steps from settling or shifting over time.
Start by using a long piece of wood or a leveled board to check the ground’s overall levelness. Place the board on the ground and use a bubble level to determine if it is flat. If you notice any significant slopes or unevenness, you will need to make adjustments.
To level the ground, you have a few options. One method is to remove excess soil from higher spots and fill in lower areas with additional soil. This will help create a smooth, even surface for the steps.
Another option is to use a layer of gravel to level the area. Spread gravel over the ground and use a rake or shovel to distribute it evenly. The gravel should be compacted with a tamper to create a solid base. Check the level again to ensure that the ground is adequately leveled.
It’s important to note that the amount of leveling required may vary depending on the specific terrain and the design of your steps. Take the time to thoroughly check and adjust the ground to ensure a stable and even base.
With the ground leveled, you can now move on to the next step: laying the foundation for the landscape timber steps.
Read more: How To Build An Outdoor Step
Step 5: Lay the Foundation
The foundation is a crucial element in building landscape timber steps, as it provides stability and support for the entire structure. In this step, you will lay the foundation for your steps using gravel and landscape fabric.
First, measure and mark the area where the foundation will be placed. This should align with the dimensions and layout you planned in step 2.
Next, excavate the marked area to a depth of about 4-6 inches. This will allow enough room for the gravel and landscape fabric.
Spread a layer of landscape fabric in the excavated area. The fabric will help prevent weeds from growing through the foundation and improve drainage.
Once the fabric is in place, add a layer of gravel to the excavated area. Use a rake or shovel to spread the gravel evenly. Ensure that the gravel is compacted and levelled to create a solid foundation for the steps.
The gravel acts as a sturdy base, allowing for proper drainage and preventing the steps from sinking or shifting over time. It also helps with stability and provides a level surface for the timber to sit on.
After the gravel foundation is in place, check the level to ensure that it is even and adjust as needed. It’s important to take the time to get this step right, as it will affect the stability and longevity of your landscape timber steps.
With the foundation laid, you are now ready to start installing the bottom step of the landscape timber structure.
When building landscape timber steps, make sure to use pressure-treated timber to prevent rot and decay. Additionally, use a level and gravel base for stability.
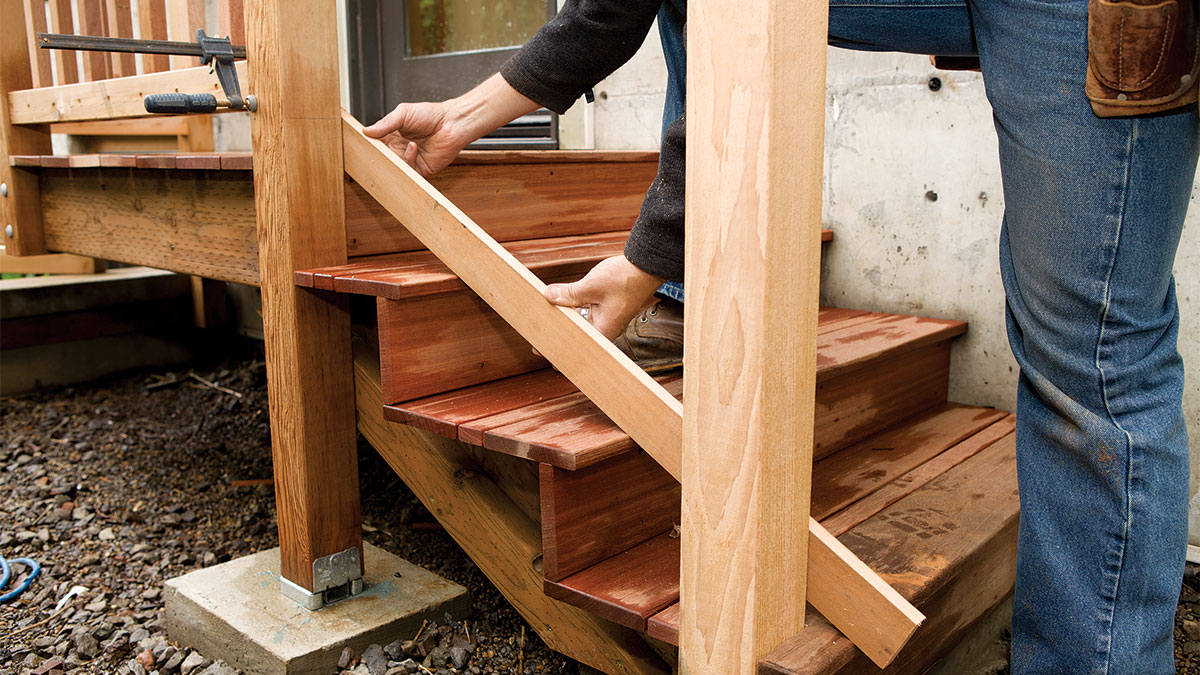
Step 6: Install the Bottom Step
Now that the foundation is in place, it’s time to begin constructing the actual landscape timber steps. We will start by installing the bottom step, which will anchor the entire structure.
Measure and cut a landscape timber to the desired length for the bottom step. Make sure to account for any overhang or desired spacing between each step.
Place the cut timber onto the prepared foundation, ensuring that it is level and aligned with the marking you made during the planning phase. Use a level to verify its horizontal position and adjust if necessary.
To secure the bottom step in place, drive wooden stakes into the ground next to the timber at each end. Use a hammer to firmly drive the stakes into the ground, making sure they are flush with the top of the landscape timber.
Next, attach the landscape timber to the stakes using nails or screws. Position the stakes on the outside of the step, one on each end, and drive the fasteners through the timber and into the stakes. This will securely anchor the bottom step to the ground.
Once the bottom step is securely in place, double-check its levelness and stability. It should sit firmly on the foundation and be parallel to the ground. Adjust as needed.
Congratulations! With the bottom step installed, you have a solid starting point for the rest of your landscape timber steps. Now it’s time to move on to the next step: adding the middle steps.
Step 7: Add Middle Steps
With the bottom step securely in place, it’s time to build upon your foundation and add the middle steps to your landscape timber structure. These steps will provide a seamless progression upwards and enhance the functionality and aesthetics of your outdoor garden.
To add the middle steps, follow these steps:
- Measure and cut the landscape timbers to the desired length for each middle step. Keep in mind the rise and run measurements determined during the planning phase.
- Place the first middle step timber onto the bottom step, ensuring it is level and aligned with the desired spacing. Use a level to check its horizontal position and make any necessary adjustments.
- Secure the middle step timber to the bottom step using nails or screws. Drive the fasteners through the top of the bottom step and into the bottom of the middle step.
- Repeat the previous steps to add each additional middle step, checking for alignment and levelness as you go.
As you add the middle steps, it’s important to maintain proper spacing and alignment. This will ensure a visually balanced and structurally sound set of steps.
After each middle step is securely installed, double-check its levelness and stability. Adjust as needed, making sure each step is firmly attached to the step below it.
By carefully adding the middle steps, your landscape timber structure will begin to take shape and provide a functional and attractive feature for your outdoor garden.
Now that the middle steps are in place, you’re ready to move on to the next step: installing the top step.
Step 8: Install the Top Step
With the middle steps securely in place, it’s time to complete your landscape timber structure by installing the top step. This step will serve as the finishing touch and provide a smooth transition to the end of your staircase.
To install the top step, follow these steps:
- Measure and cut a landscape timber to the desired length for the top step. Ensure that it aligns with the spacing and design of the other steps.
- Place the cut timber onto the middle steps, making sure it is level and aligned with the existing steps. Use a level to check its horizontal position.
- Secure the top step to the middle steps using nails or screws. Drive the fasteners through the top of the middle step and into the bottom of the top step.
As with the previous steps, it’s important to ensure the top step is level and securely attached. This will help maintain the structural integrity and overall appearance of your landscape timber steps.
Once the top step is installed, take a step back and admire your work. You have successfully constructed a beautiful and functional set of landscape timber steps that will enhance your outdoor space.
However, before we wrap things up, there’s one more crucial step to complete: securing the steps to ensure long-lasting stability.
Step 9: Secure the Steps
Securing the steps is an essential part of building landscape timber steps. Properly securing the steps will ensure their stability and integrity over time. Here’s how you can secure the steps:
- Using a drill or screwdriver, insert screws or nails at an angle through the front and back of each timber step, securing them to the step below. This will prevent the steps from shifting or becoming loose.
- You can also enhance the stability of the steps by driving rebar or metal stakes into the ground at an angle, through the timbers and into the underlying soil. This will provide additional anchoring support.
- For added security, consider using construction adhesive or landscape block adhesive between each step to bond the timbers together. Apply the adhesive according to the manufacturer’s instructions.
By taking these steps to secure the landscape timber steps, you are ensuring their longevity and durability, even in areas with varying weather conditions or heavy foot traffic.
Once the steps are securely fastened and bonded together, give them a final inspection to ensure all connections are tight and secure.
Now that your landscape timber steps are solidly secured, we can move on to the final step: adding the finishing touches to complete the overall look and functionality of your outdoor space.
Step 10: Finishing Touches
Now that your landscape timber steps are securely in place, it’s time to add the finishing touches to enhance their overall appearance and functionality. These finishing touches will add the final polish to your outdoor garden. Here are some suggestions:
- Trim any excess landscape fabric or gravel that may be visible around the steps. This will give the steps a cleaner and more professional look.
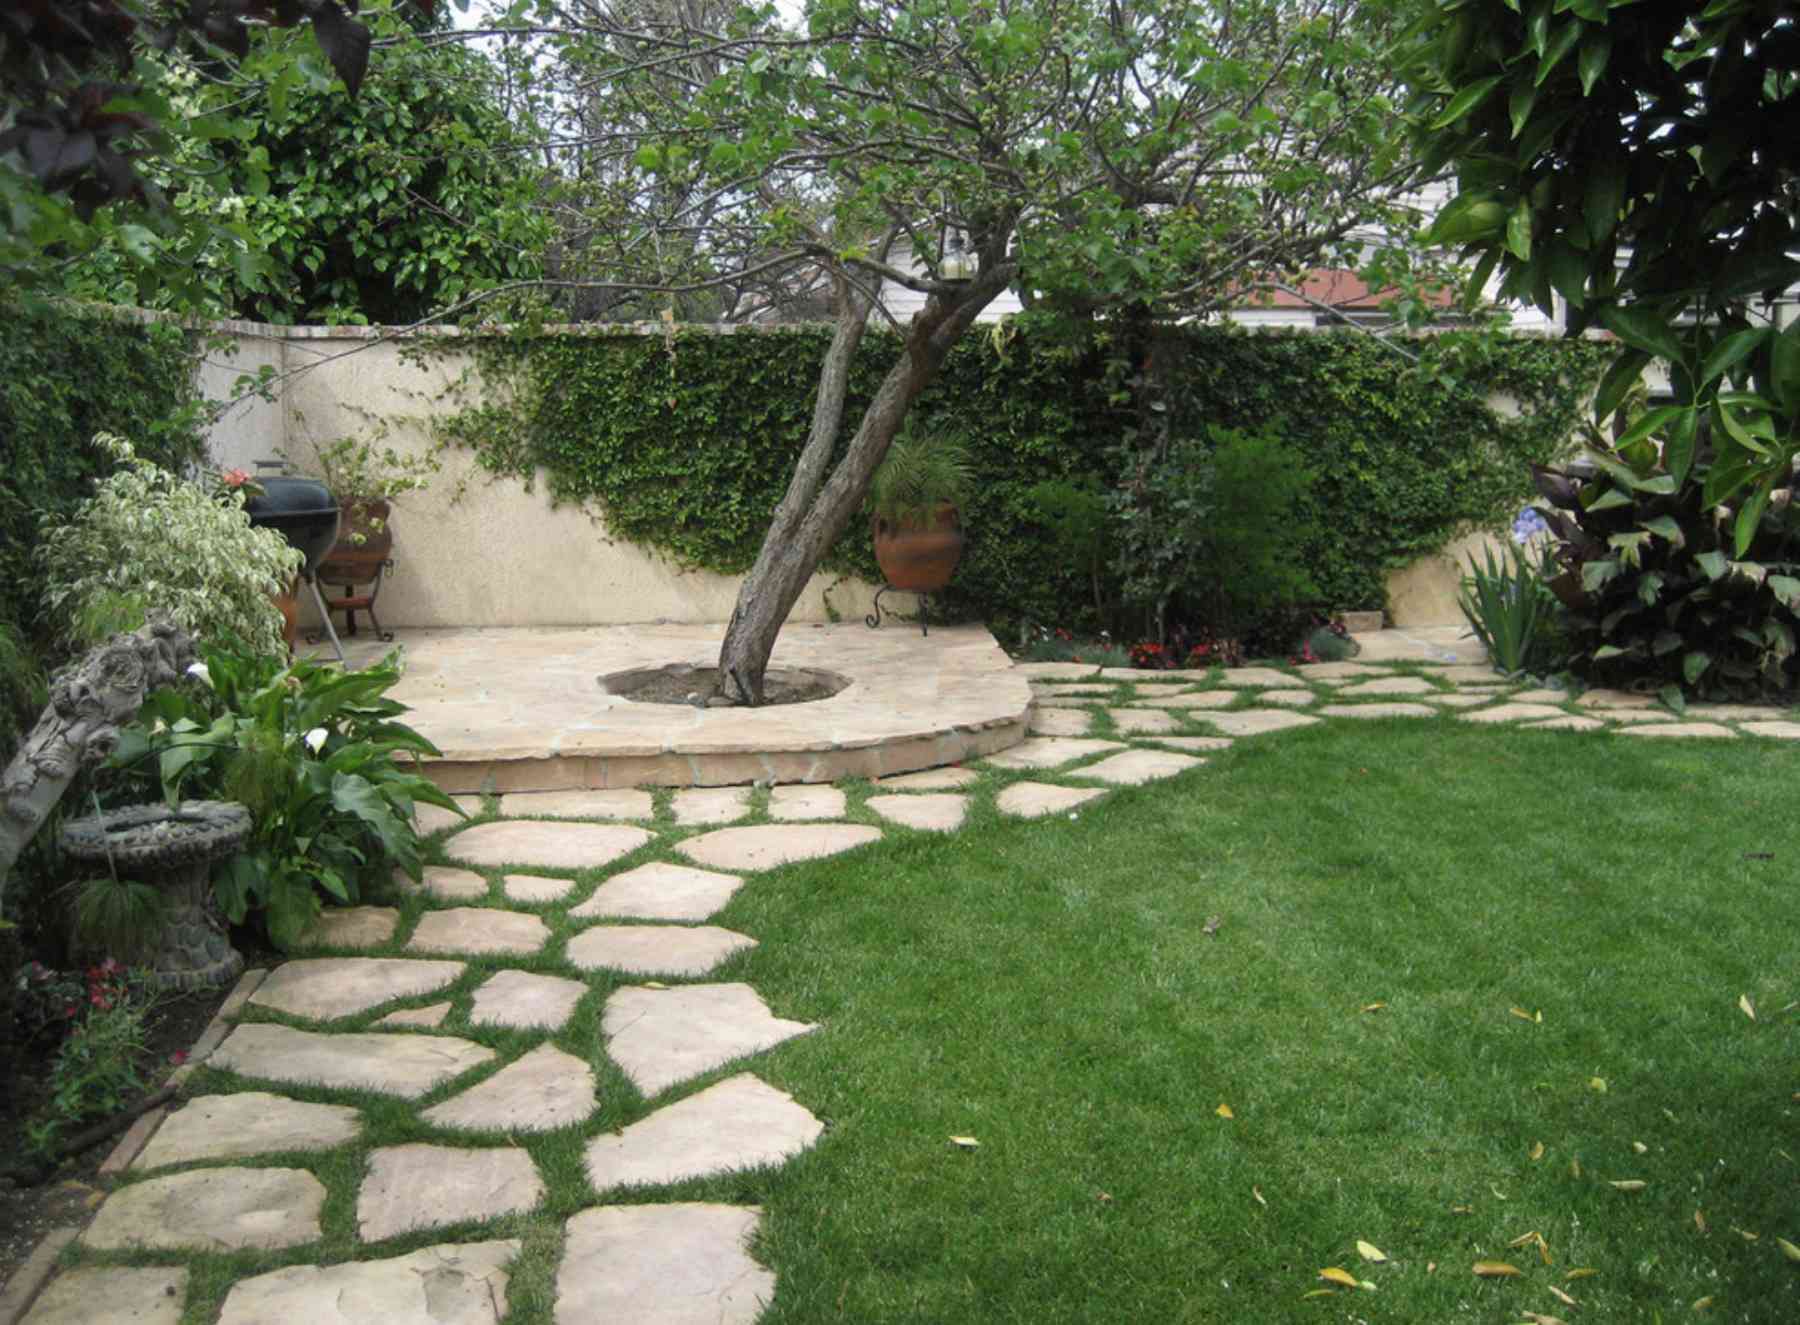
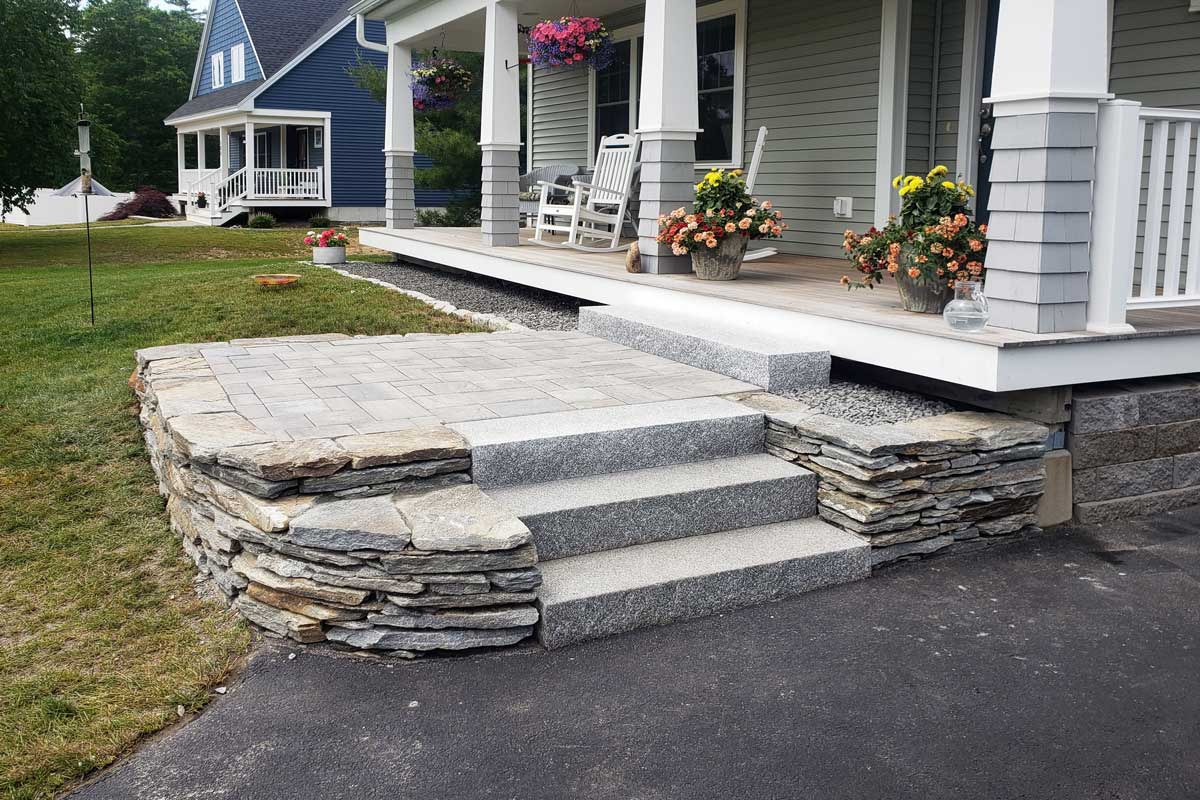
- Consider adding a decorative border or edging around the steps. This can be done using bricks, stones, or pavers to create a visually appealing and defined edge for your steps.
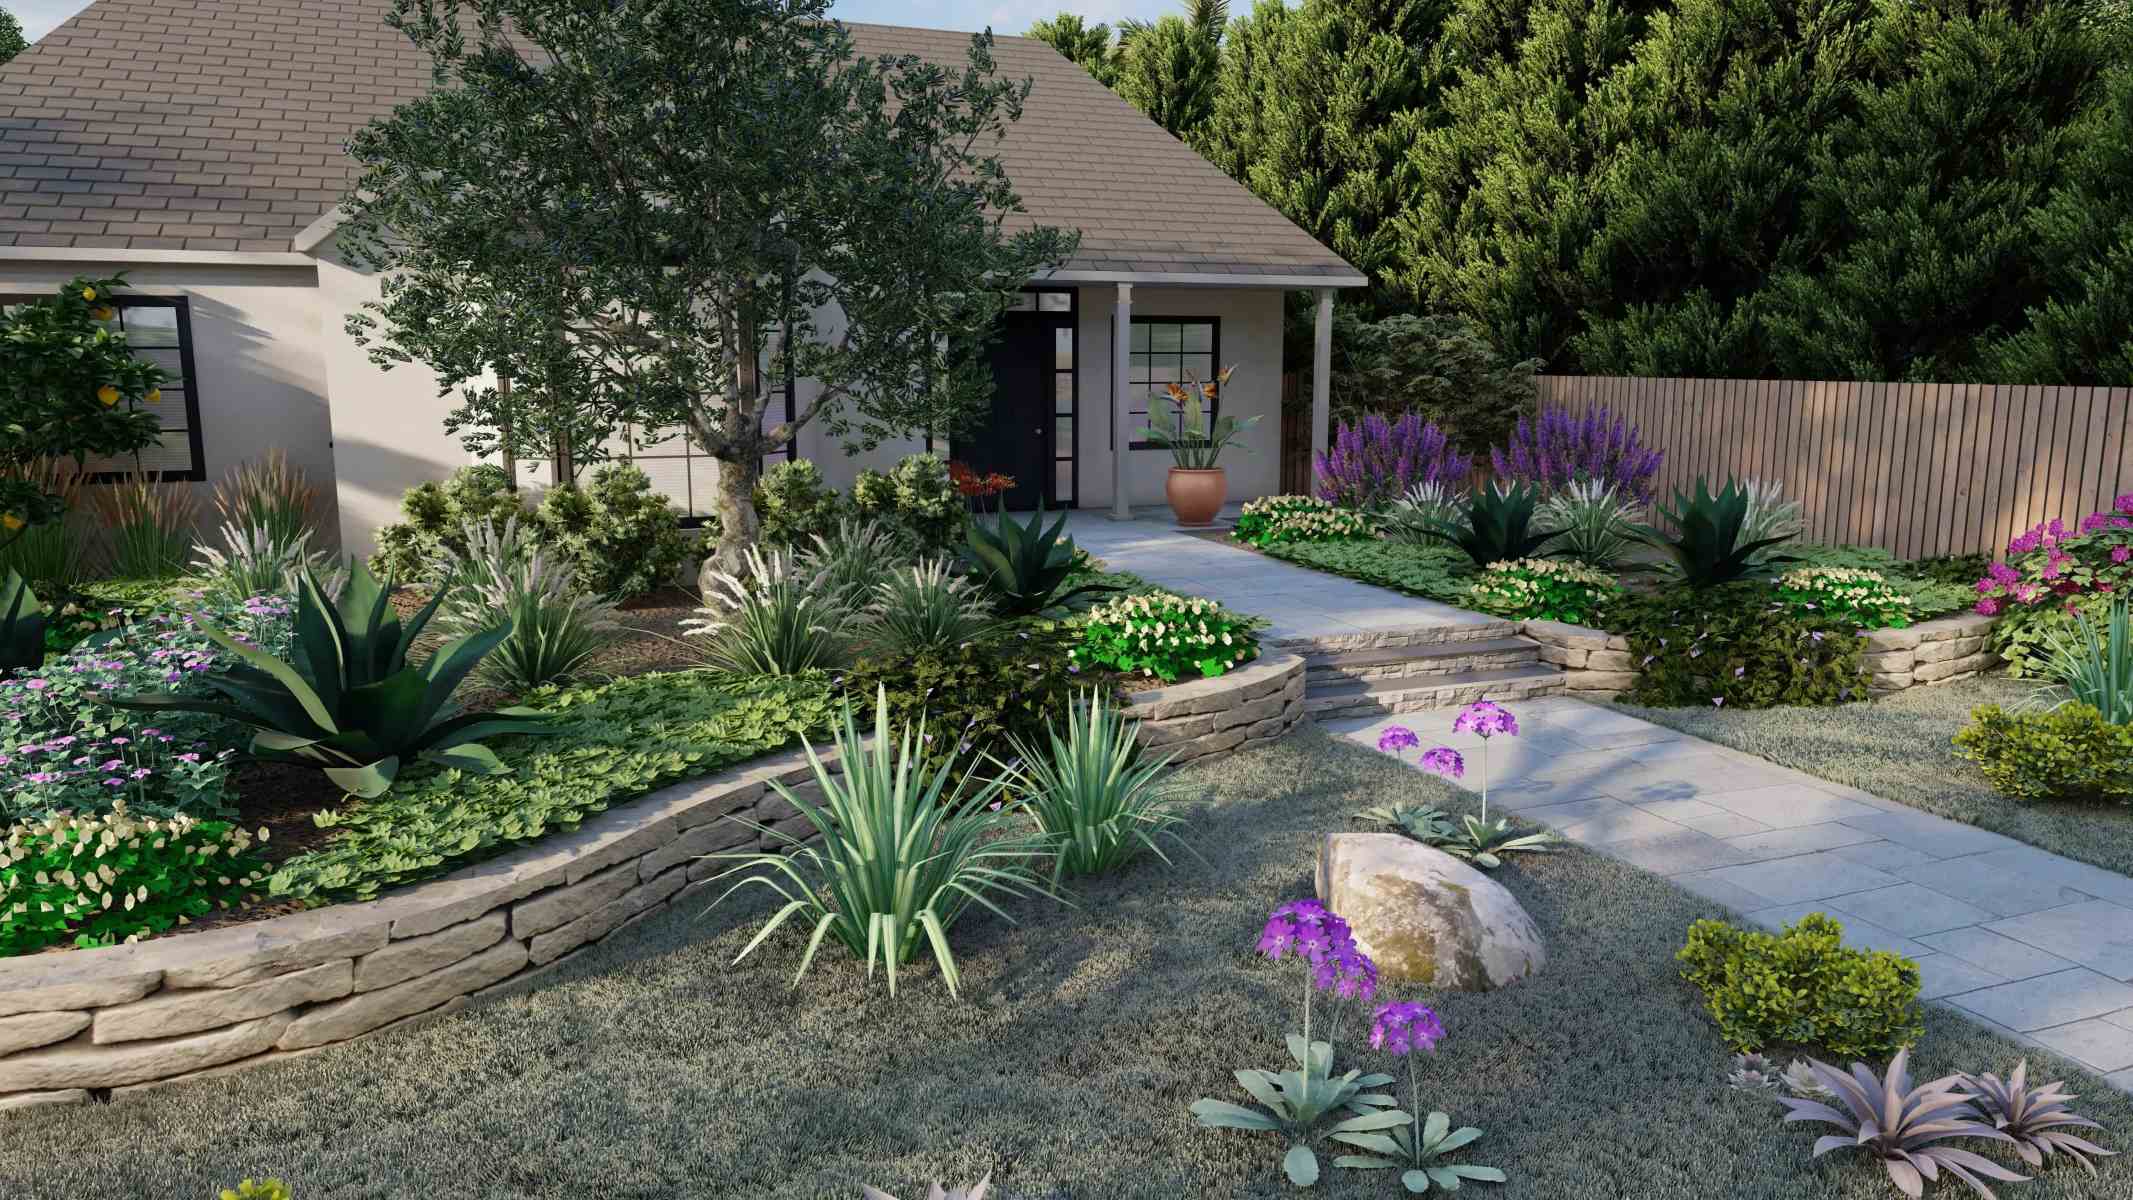
- Add some landscaping elements around the steps to complement and blend them into your outdoor garden. Planting flowers, shrubs, or ornamental grasses near the steps can create a harmonious and inviting atmosphere.
- Install lighting along the steps to improve visibility and safety, especially during the evening hours. Solar-powered lights or LED strip lights can be installed along the sides or underside of each step.
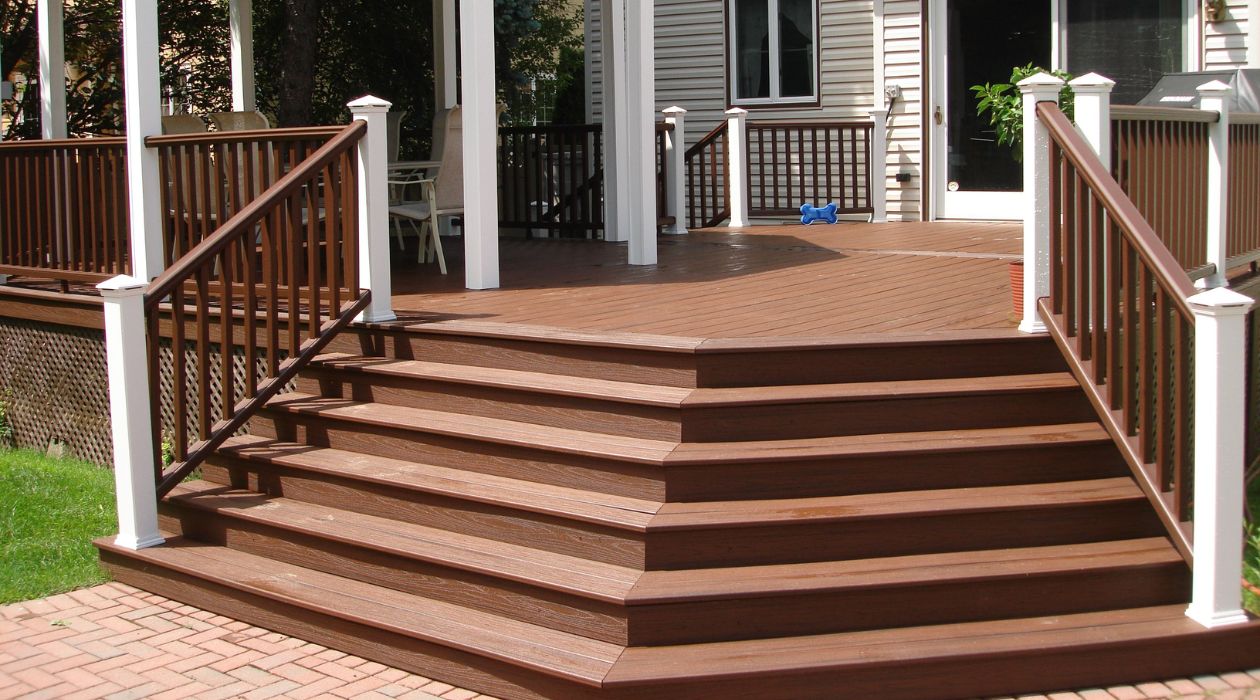
- Consider adding handrails for additional safety and accessibility, especially if the steps are tall or steep. Handrails can be constructed using matching landscape timbers or other materials such as metal or wood.
- Regular maintenance is important to keep your landscape timber steps looking their best. Remove any debris or leaves that may accumulate on the steps, and inspect for any signs of damage or wear. Stain or seal the timber periodically to protect it from weathering.
By adding these finishing touches, you’ll transform your landscape timber steps into a visually stunning and functional feature in your outdoor garden. These details will tie everything together and create a cohesive and inviting space for you and your guests to enjoy.
Congratulations! You have successfully completed the process of building landscape timber steps for your stunning outdoor garden. Take a step back and appreciate the transformation you have achieved.
Remember to regularly inspect and maintain your steps to ensure their longevity and continued beauty. And most importantly, enjoy the fruits of your labor as you navigate your garden with ease and style.
Happy gardening!
Conclusion
Building landscape timber steps can significantly enhance the beauty and functionality of your outdoor garden. By following the steps outlined in this guide, you’ve learned how to create a stunning feature that seamlessly blends with your landscape.
Throughout the process, you learned the importance of gathering the necessary materials, measuring and planning, clearing the area, leveling the ground, laying the foundation, and installing the steps. Each step plays a crucial role in ensuring the stability and longevity of your landscape timber steps.
Additionally, securing the steps and adding the finishing touches are important steps that not only enhance the overall look of your steps but also contribute to their safety and durability.
Remember to embrace creativity and make the steps your own by incorporating personal touches, such as decorative borders, landscaping elements, lighting, and handrails. By doing so, you can transform your landscape timber steps into a captivating focal point in your outdoor space.
Regular maintenance will be essential in preserving the beauty and functionality of your steps. Inspect them regularly, remove debris, and apply treatments as needed to protect the timber and maintain its appearance.
As you enjoy the fruits of your labor, take the time to appreciate the transformation you’ve achieved in your outdoor garden. The landscape timber steps will not only add visual appeal but also provide practicality as you navigate slopes and elevations with ease.
Now you have the knowledge and skills to embark on this DIY project and create stunning landscape timber steps for your outdoor garden. Embrace the process, stay creative, and enjoy the journey of enhancing your outdoor space!
Now that you've mastered landscape timber steps, why not expand your DIY skills with some fresh woodworking projects? Our next article covers the 14 best woodworking ideas for the upcoming year. Whether you're looking to craft furniture, decorative pieces, or practical household items, you'll find plenty of inspiration to kick-start your creativity. Don't miss out on this chance to enhance your crafting repertoire!
Frequently Asked Questions about How To Build Landscape Timber Steps For A Stunning Outdoor Garden
Was this page helpful?
At Storables.com, we guarantee accurate and reliable information. Our content, validated by Expert Board Contributors, is crafted following stringent Editorial Policies. We're committed to providing you with well-researched, expert-backed insights for all your informational needs.


0 thoughts on “How To Build Landscape Timber Steps For A Stunning Outdoor Garden”