Home>Renovation & DIY>Home Renovation Guides>How To Do Backsplash In The Kitchen
Home Renovation Guides
How To Do Backsplash In The Kitchen
Modified: August 17, 2024
Learn how to do a kitchen backsplash with our comprehensive home renovation guide. Get expert tips and ideas for your next project.
(Many of the links in this article redirect to a specific reviewed product. Your purchase of these products through affiliate links helps to generate commission for Storables.com, at no extra cost. Learn more)
Introduction
When it comes to renovating your kitchen, adding a backsplash can be a game-changer. Not only does it protect your walls from splashes and spills, but it also serves as a focal point, adding personality and style to your culinary space. Whether you're a seasoned DIY enthusiast or a novice looking to embark on your first home improvement project, installing a backsplash is a rewarding endeavor that can elevate the aesthetics and functionality of your kitchen.
The beauty of a backsplash lies in its versatility. From sleek subway tiles to intricate mosaic patterns, the options are virtually endless, allowing you to unleash your creativity and tailor the design to suit your taste and the overall ambiance of your kitchen. Moreover, the practical benefits of a backsplash cannot be overstated. By safeguarding your walls from moisture and grease, it simplifies cleaning and maintenance, ensuring that your kitchen remains a hygienic and inviting space for culinary adventures.
In this comprehensive guide, we will walk you through the step-by-step process of installing a backsplash in your kitchen. From selecting the right materials to applying the finishing touches, we will cover everything you need to know to embark on this exciting home improvement journey. Whether you're aiming for a modern, minimalist look or a rustic, cozy feel, we'll provide insights and tips to help you achieve your desired aesthetic.
So, roll up your sleeves, gather your tools, and get ready to transform your kitchen with a stunning backsplash. With the right guidance and a touch of creativity, you'll soon be admiring the impressive results of your hard work every time you step into your newly revitalized culinary haven. Let's dive in and discover the art of creating a beautiful and functional backsplash that will breathe new life into your kitchen.
Key Takeaways:
- Elevate your kitchen with a stunning backsplash that adds style and functionality. From choosing the right material to applying the finishing touches, this guide will help you create a personalized culinary haven.
- Keep your backsplash looking beautiful with daily wipe-downs, gentle cleaners, and proactive maintenance. Preserve its allure and functionality while protecting your walls from culinary mishaps.
Read more: How To Do Grout For Backsplash
Choosing the Right Backsplash Material
Selecting the perfect material for your kitchen backsplash is a pivotal decision that will significantly influence the overall look and feel of your culinary space. With a myriad of options available, it's essential to consider both aesthetic appeal and practicality when making this choice. Here's a detailed exploration of various backsplash materials to help you make an informed decision:
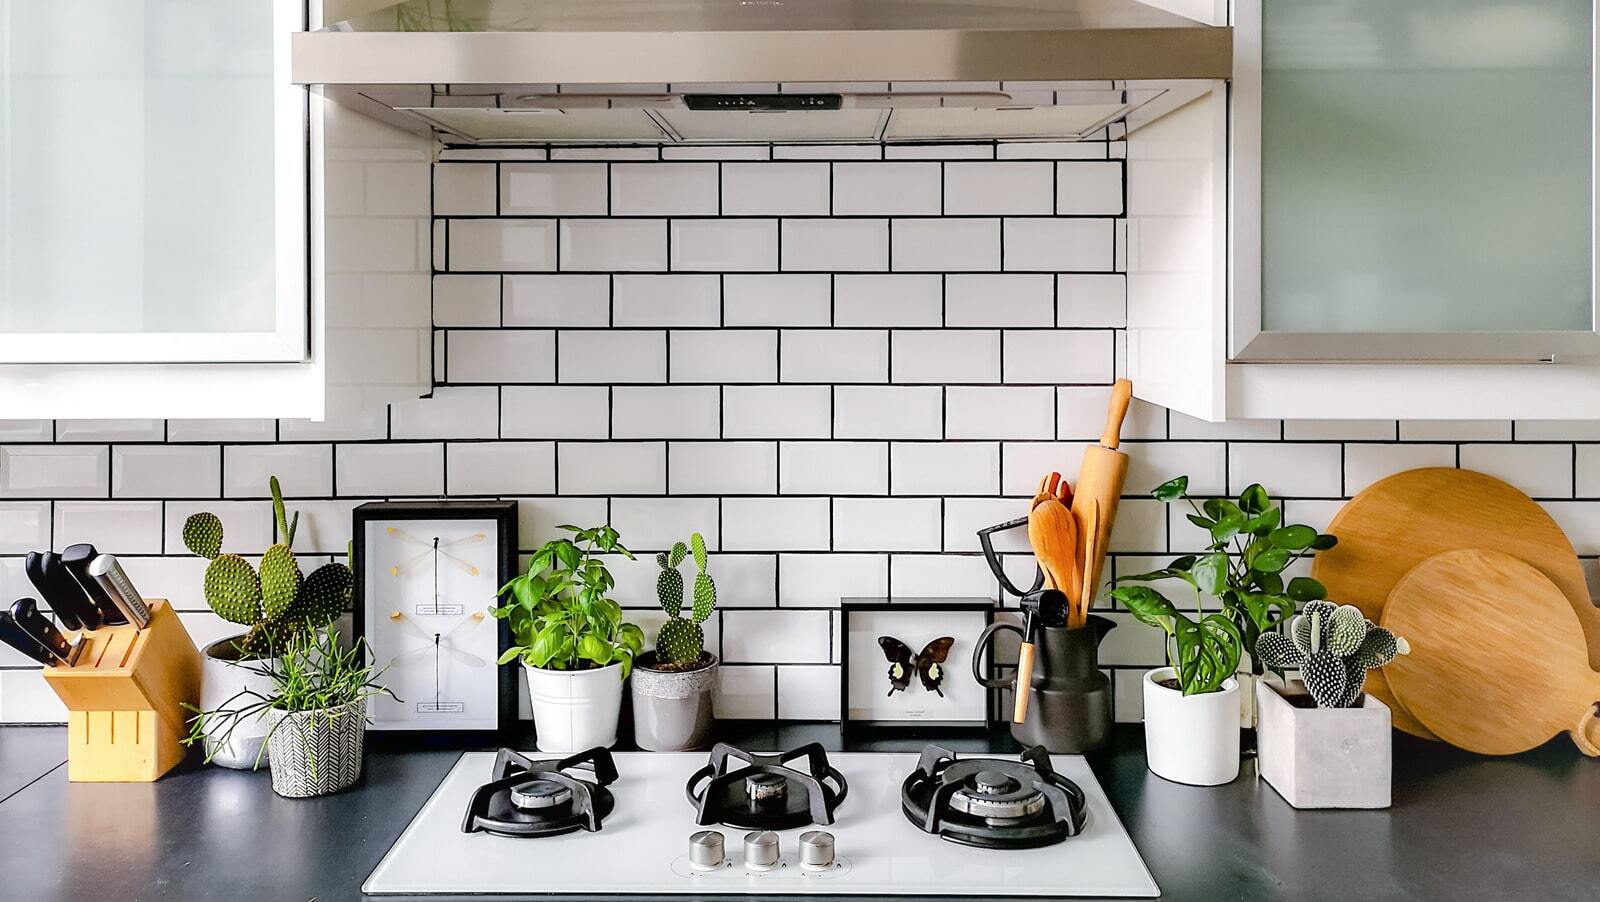
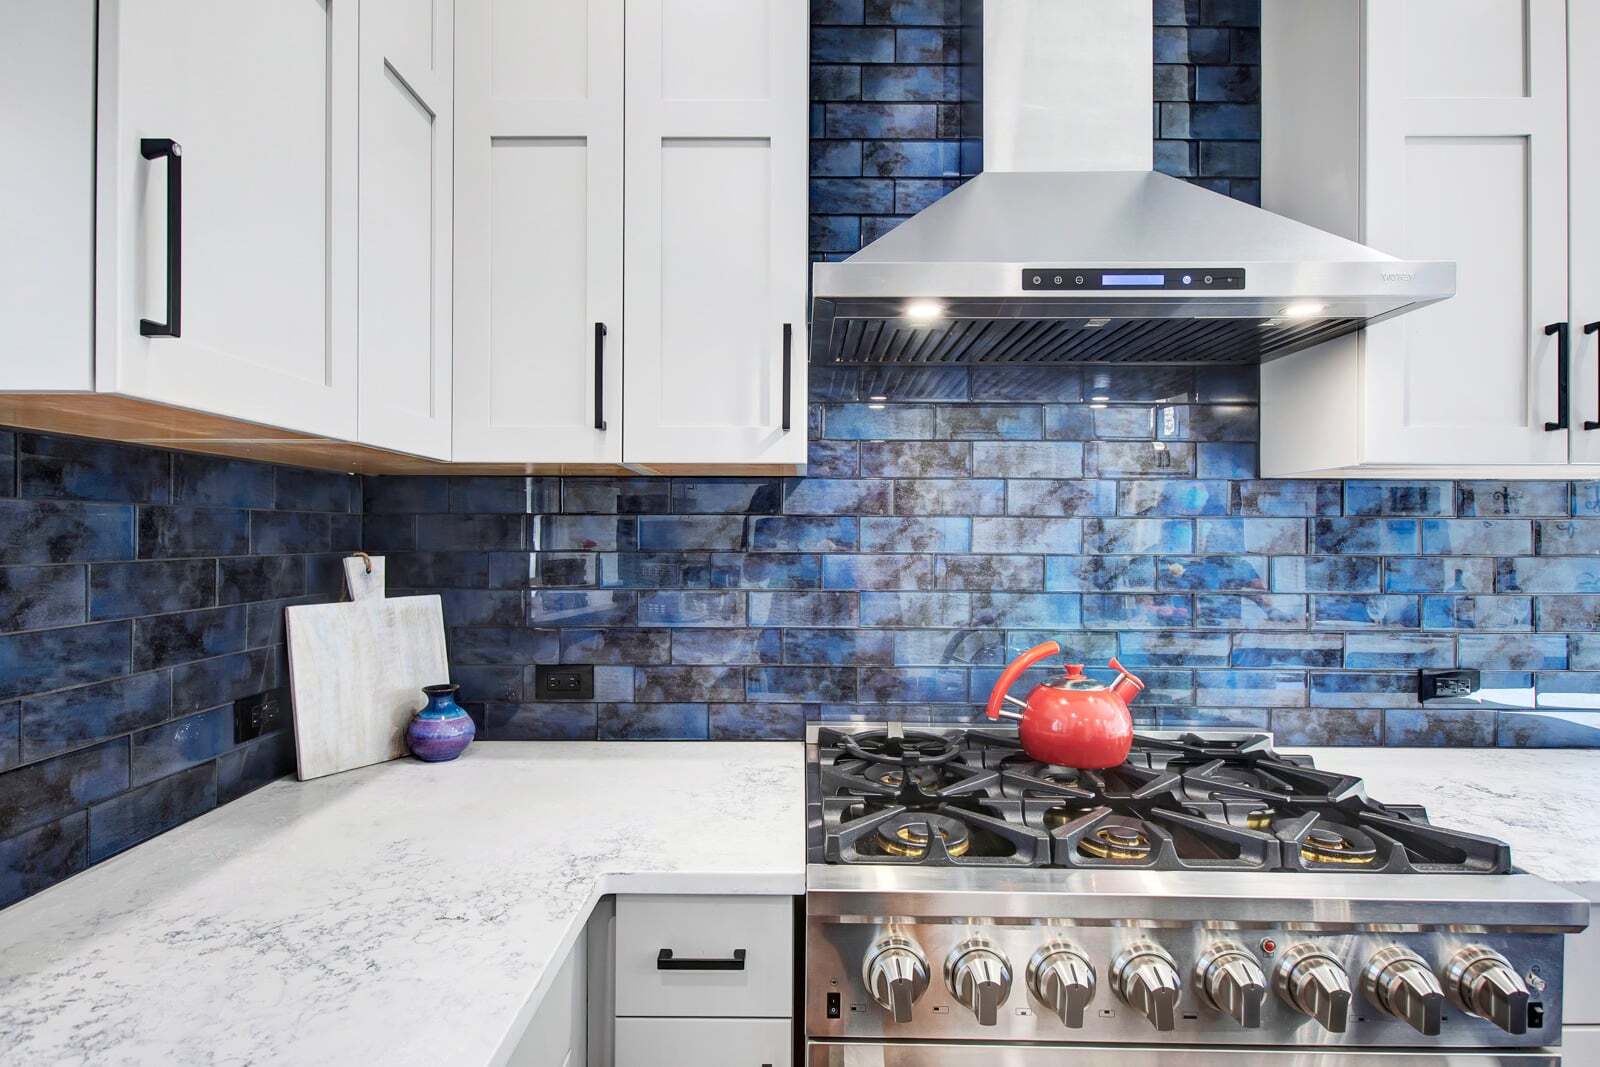
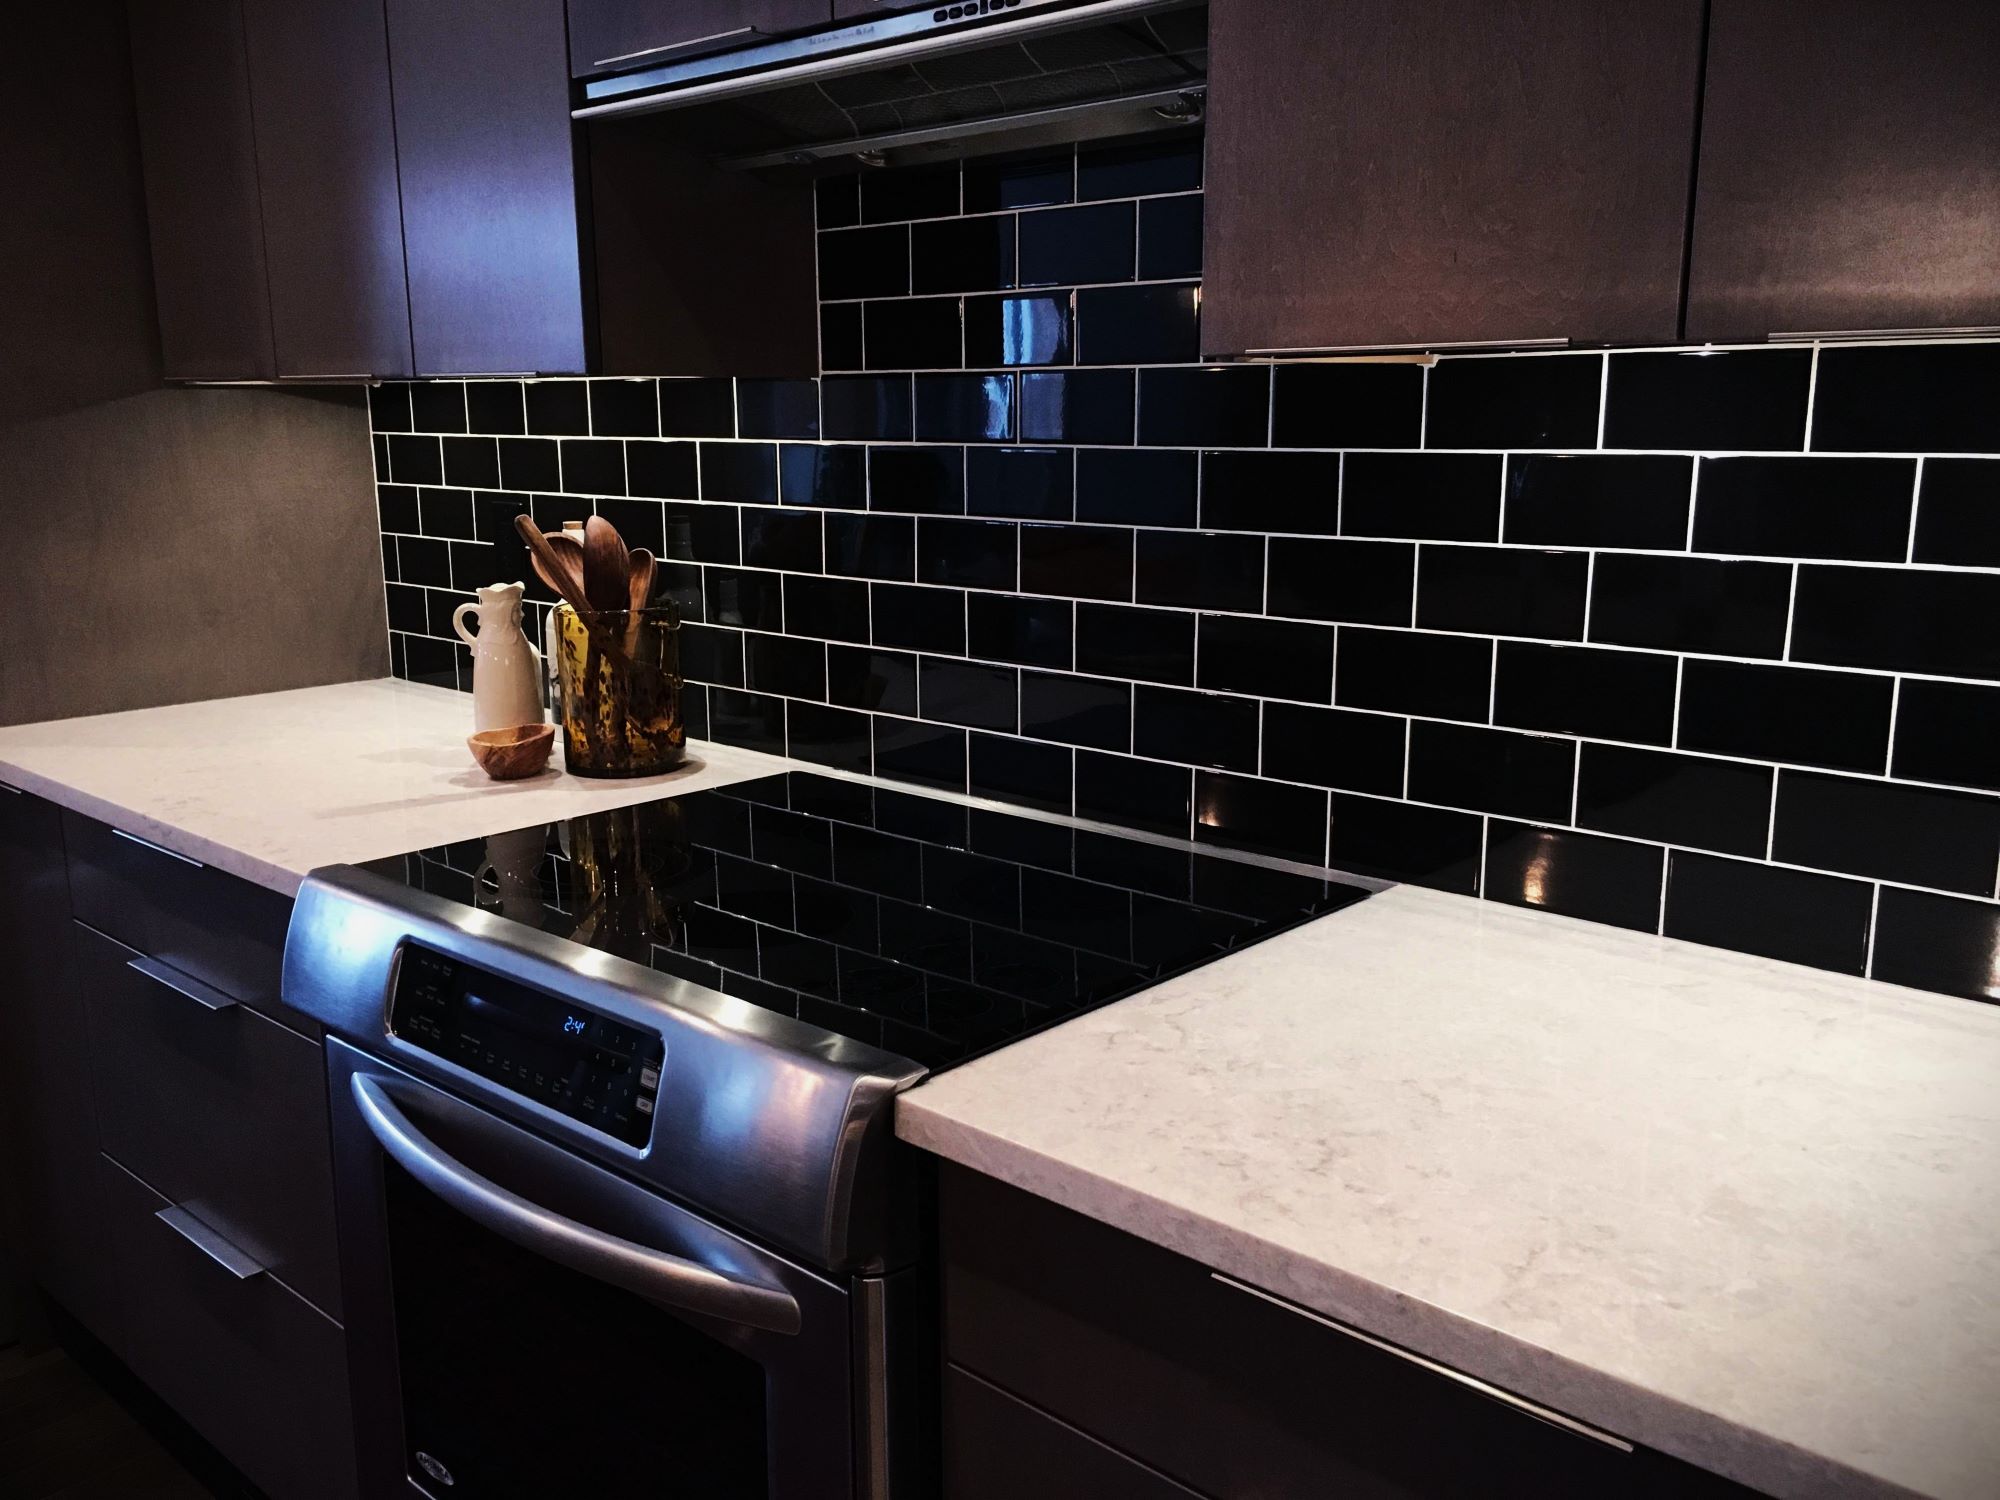
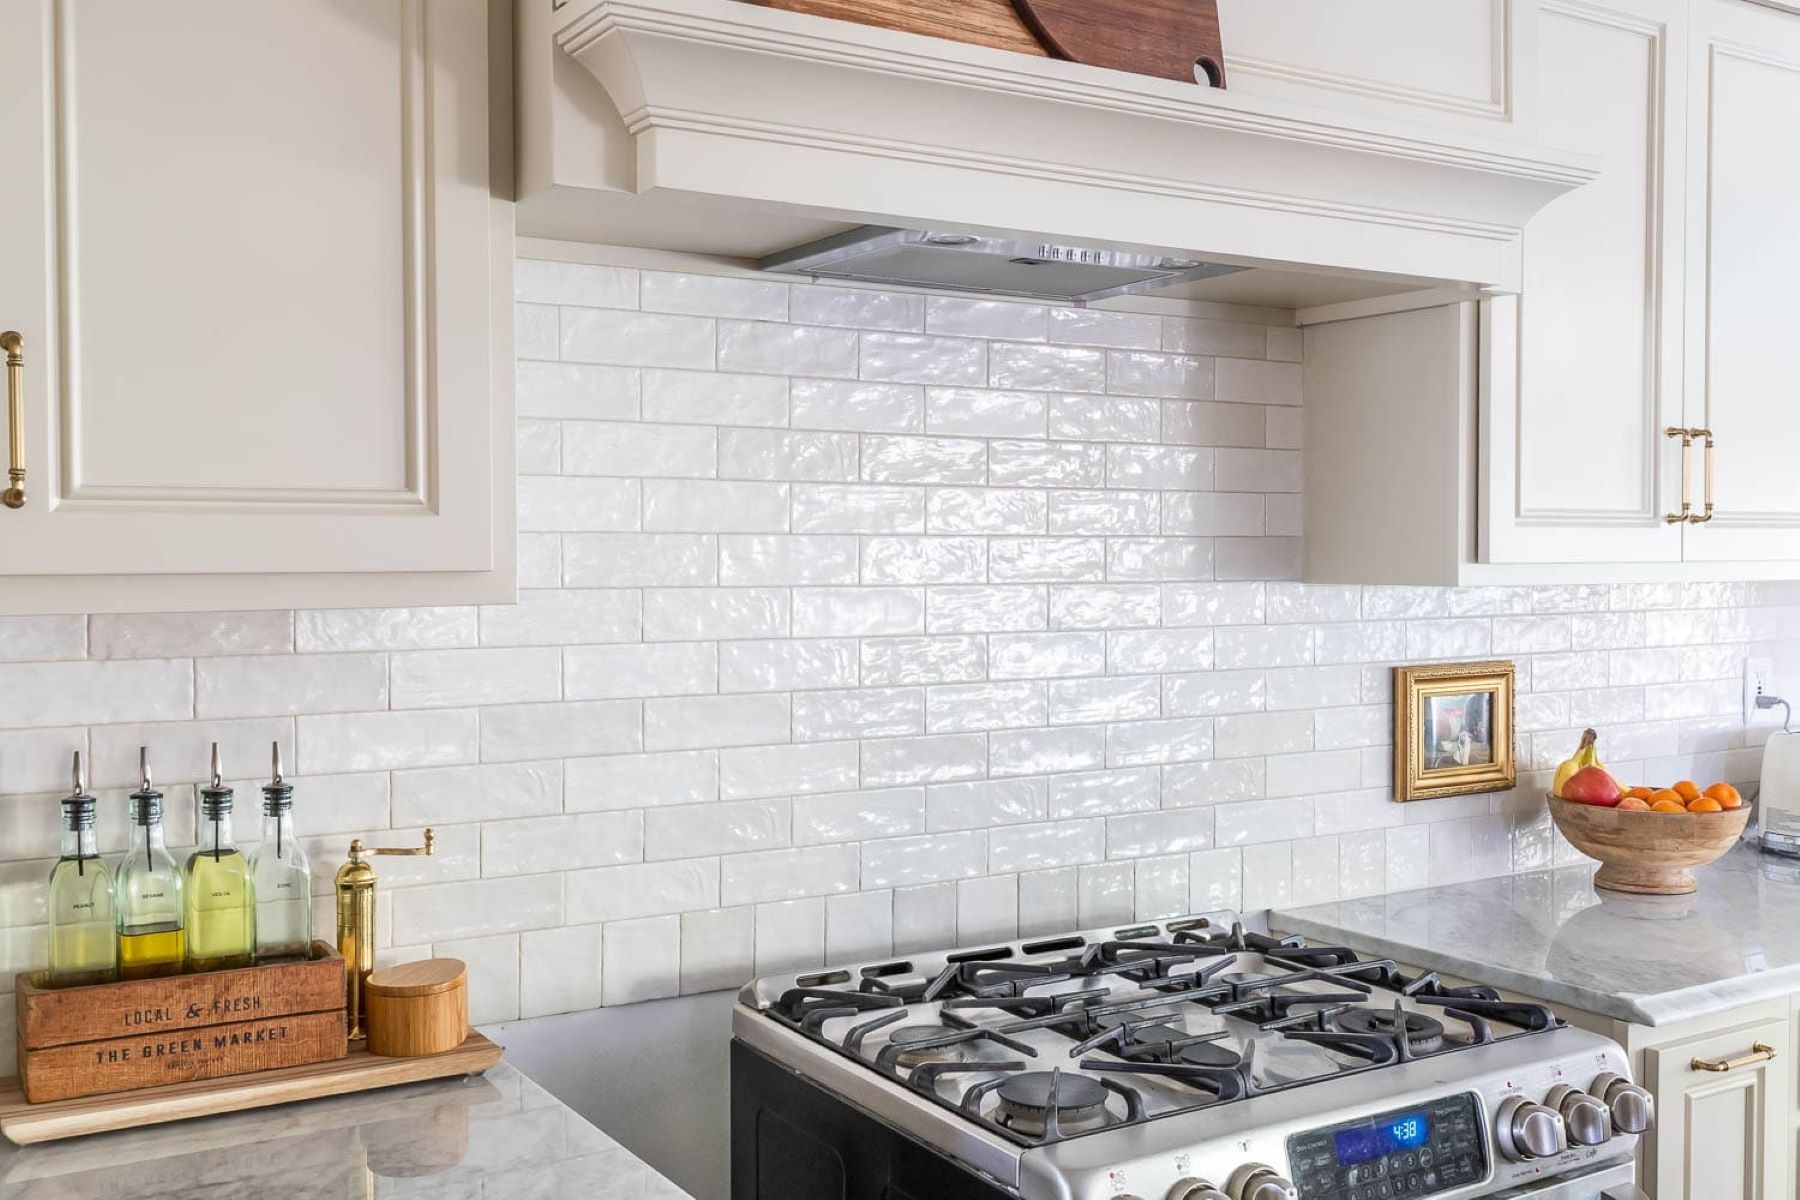
1. Ceramic and Porcelain Tiles
- Advantages: These tiles are popular for their durability, easy maintenance, and versatility in design. They come in an array of colors, patterns, and textures, allowing you to achieve a customized look for your kitchen.
- Considerations: While ceramic tiles are cost-effective, porcelain tiles offer enhanced resistance to moisture and stains, making them ideal for high-traffic kitchen areas.
2. Glass Tiles
- Advantages: Glass tiles impart a sleek and modern aesthetic to the kitchen. They are non-porous, making them resistant to stains and easy to clean. Additionally, they reflect light, creating a luminous and spacious feel in the kitchen.
- Considerations: It's important to ensure proper installation to prevent visible adhesive marks through the transparent tiles.
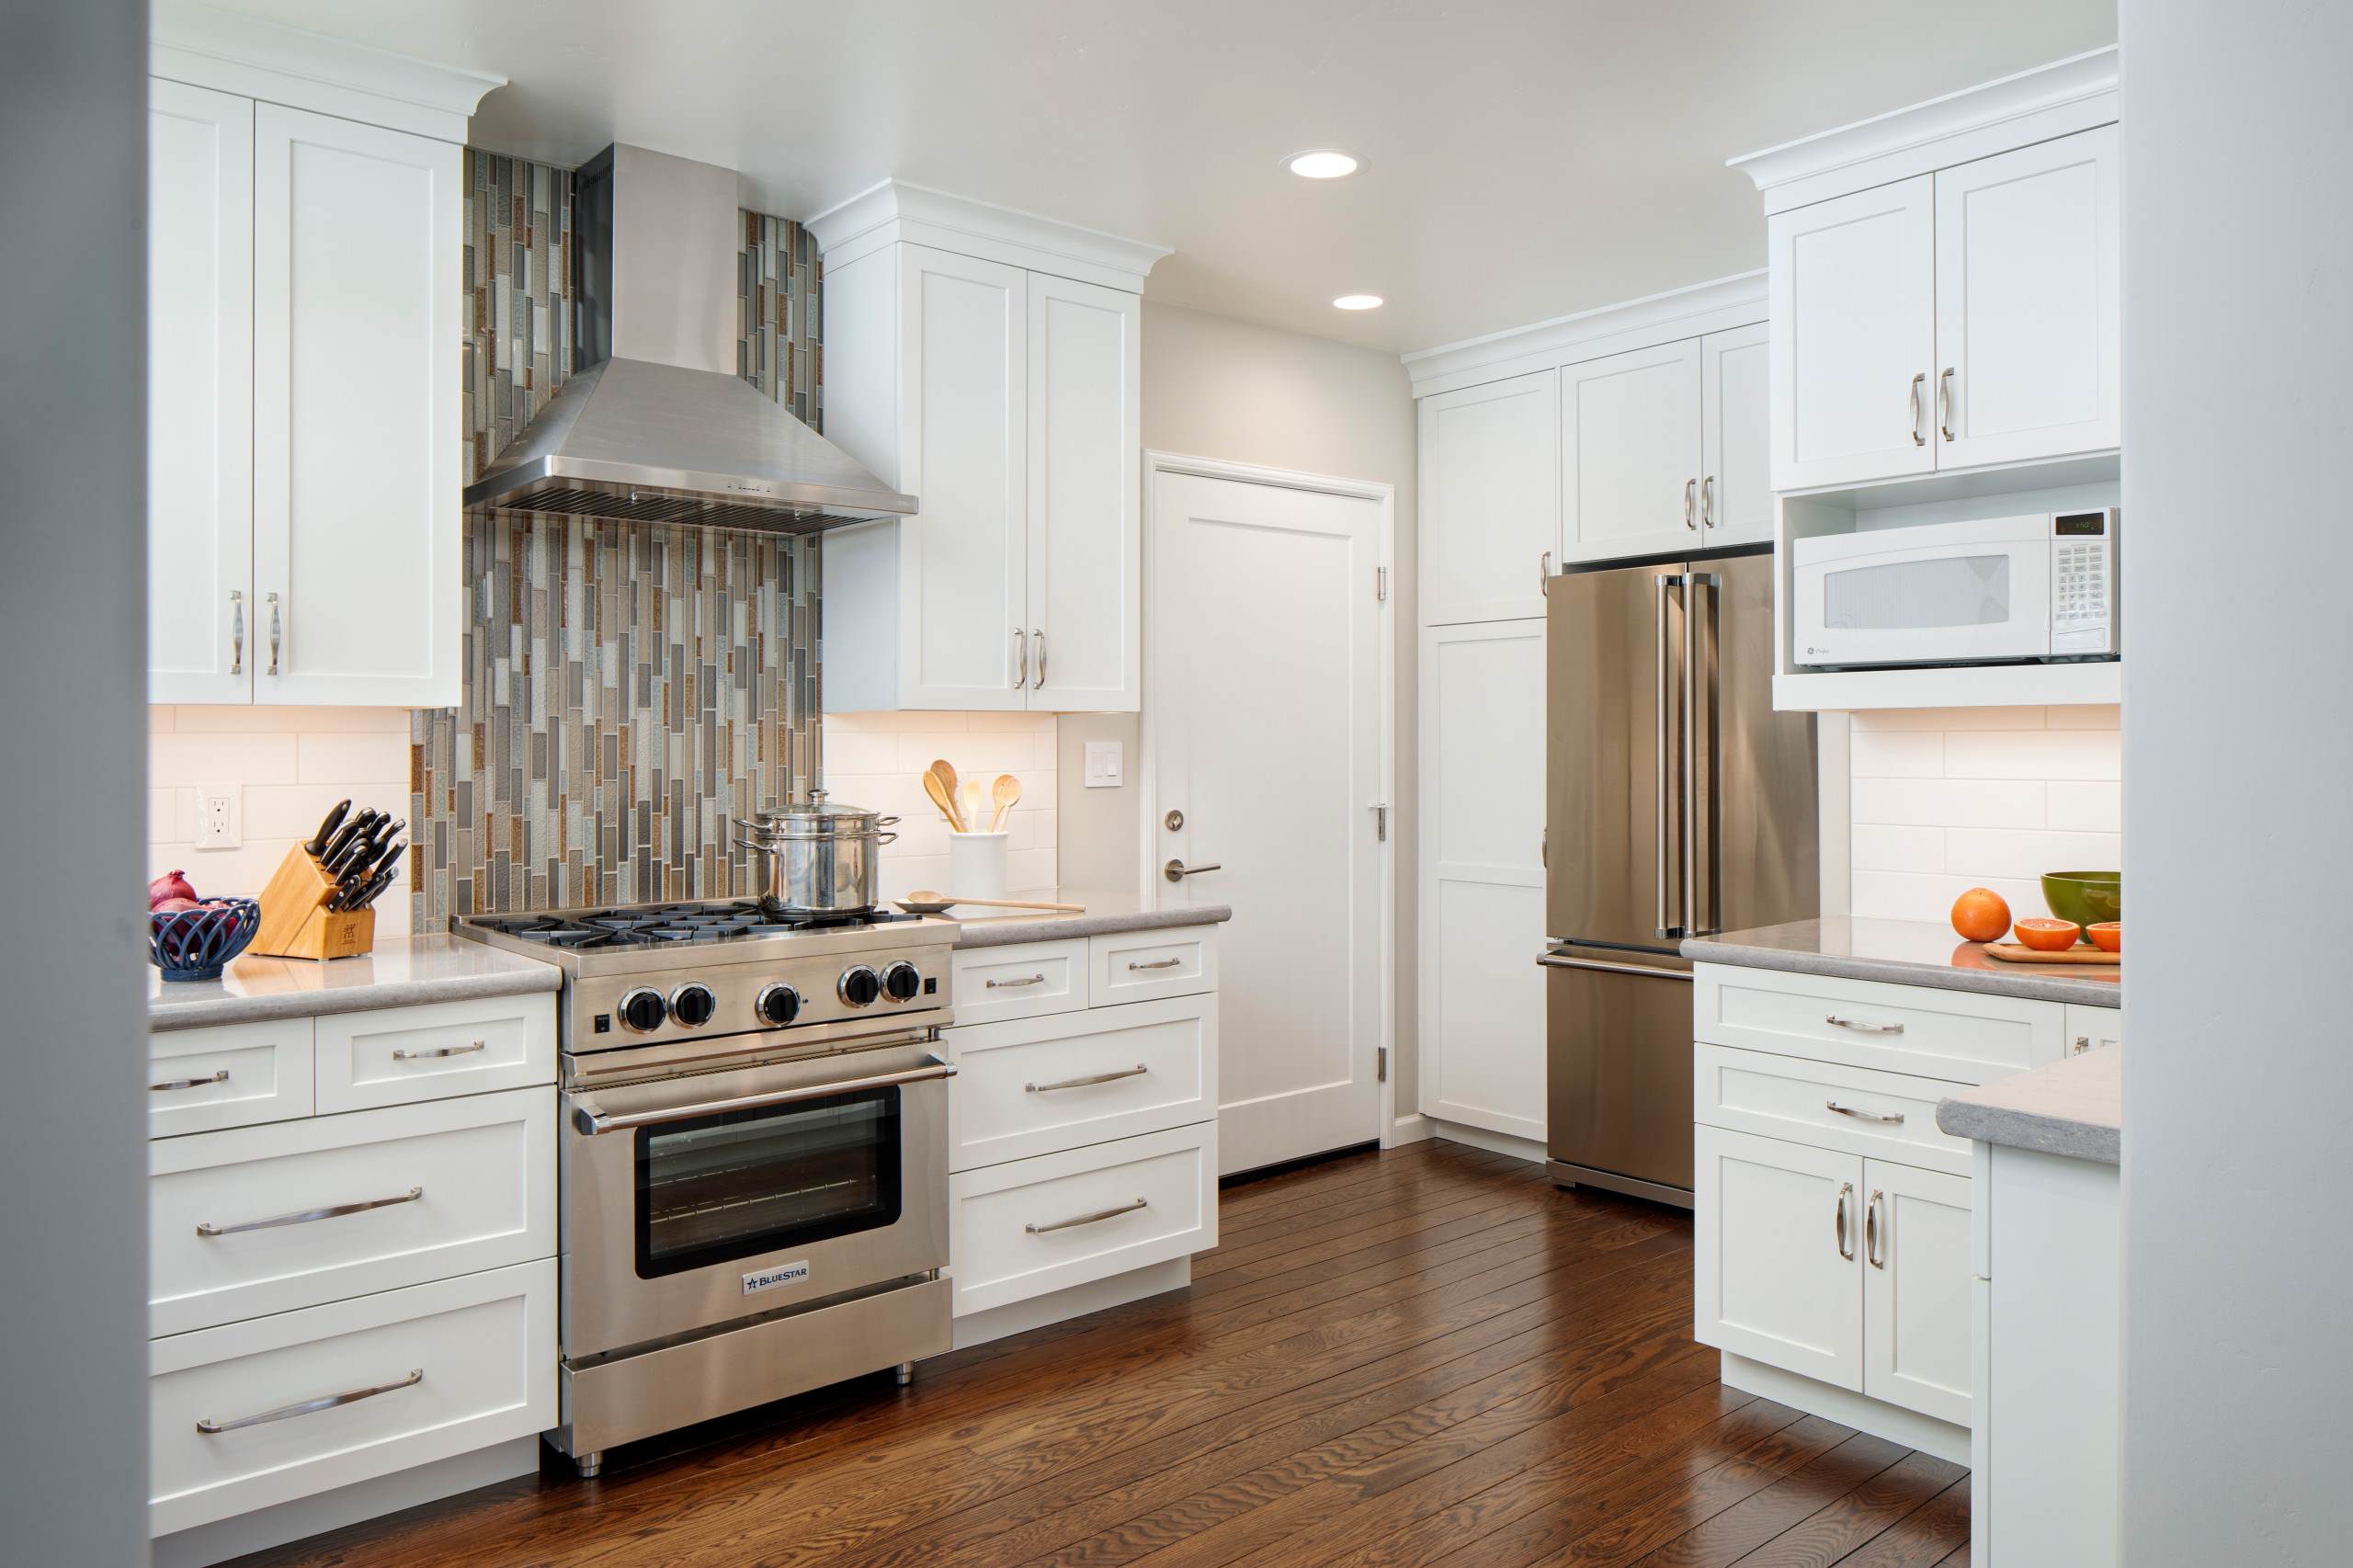
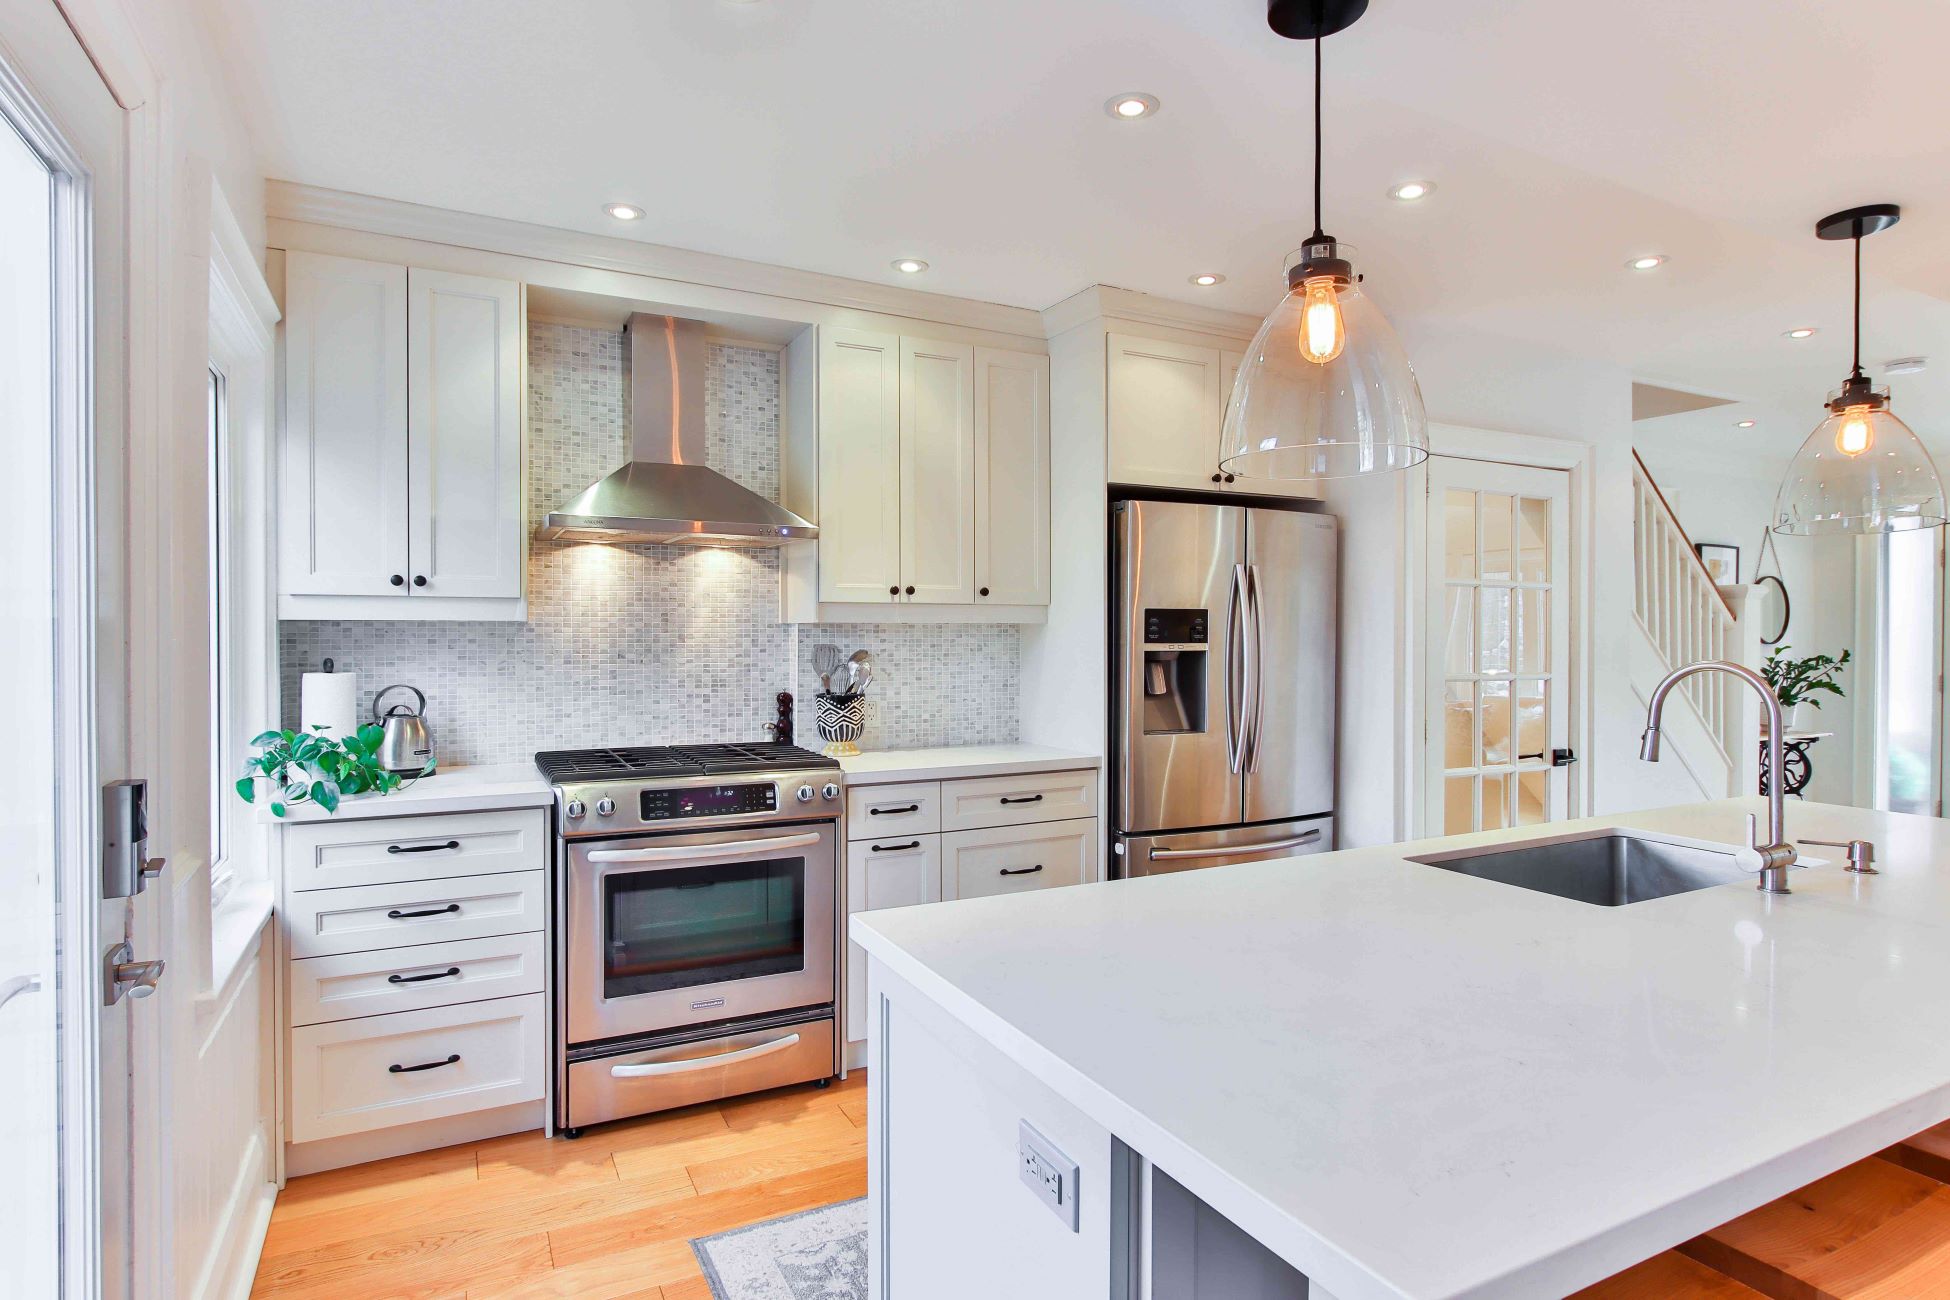
3. Natural Stone
- Advantages: Materials such as marble, granite, and travertine lend a timeless and elegant appeal to the kitchen. Each piece of natural stone is unique, adding a touch of luxury and sophistication to the space.
- Considerations: Natural stone requires sealing to protect it from moisture and stains. Additionally, it's crucial to consider the weight of the material and ensure that the wall can support it.
Read more: How To Do A Herringbone Backsplash
4. Stainless Steel
- Advantages: Stainless steel backsplashes are prized for their contemporary and industrial look. They are heat-resistant, hygienic, and easy to clean, making them an excellent choice for a modern kitchen.
- Considerations: While stainless steel is durable, it is susceptible to scratches and fingerprints, requiring regular maintenance to preserve its pristine appearance.
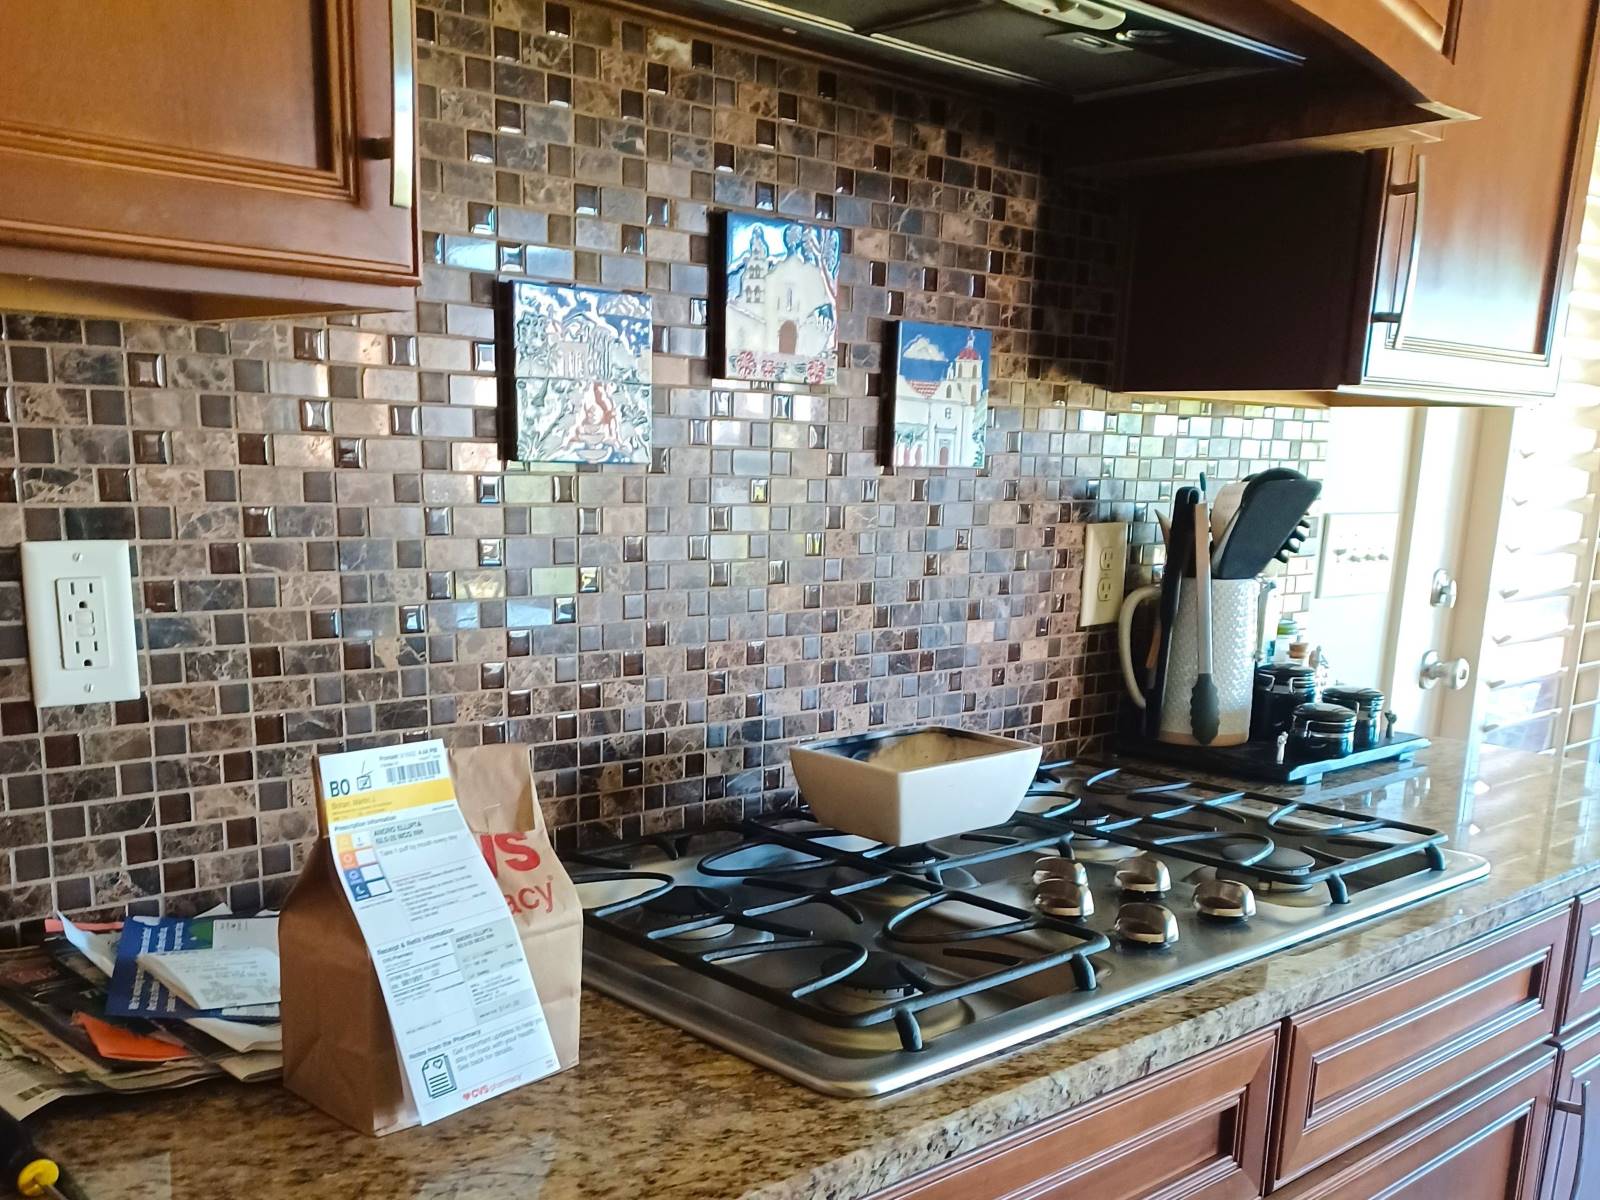
5. Mosaic Tiles
- Advantages: Mosaic tiles offer endless design possibilities, allowing you to create intricate patterns and visual interest in your kitchen. They are available in various materials, including glass, ceramic, and natural stone.
- Considerations: Precision and patience are essential during installation to ensure a seamless and visually appealing result.
By carefully evaluating the characteristics and visual impact of each material, you can make an informed decision that aligns with your design preferences and practical requirements. Whether you opt for the timeless allure of natural stone or the contemporary charm of glass tiles, the right backsplash material will serve as a captivating backdrop, enhancing the allure and functionality of your kitchen.
Measuring and Planning
Before diving into the installation process, meticulous measuring and strategic planning are crucial to ensure a seamless and visually striking backsplash. Here's a detailed exploration of the essential steps involved in this preparatory phase:
1. Assessing the Area
Begin by carefully examining the area where the backsplash will be installed. Take precise measurements of the wall space, accounting for any obstacles such as electrical outlets, switches, and cabinets. It's imperative to note the exact dimensions and any irregularities in the wall surface to facilitate accurate material calculations and a precise installation process.
Read more: How To Do Backsplash Around Outlets
2. Material Estimation
Based on the measurements obtained, calculate the amount of material required for the backsplash. Whether you're working with tiles, stainless steel sheets, or other materials, factoring in the necessary overage for cuts and adjustments is essential. This ensures that you have an adequate supply of materials and minimizes the risk of running short during the installation.
3. Design Considerations
Visualize the design layout for the backsplash, taking into account the overall aesthetic of the kitchen. Whether you opt for a classic subway pattern, a herringbone arrangement, or a bold mosaic motif, planning the layout in advance allows for a harmonious integration of the backsplash with the existing kitchen decor. Consider experimenting with tile orientation, color combinations, and decorative accents to infuse personality and charm into the design.
4. Surface Preparation
Assess the condition of the wall surface where the backsplash will be installed. Ensure that the wall is clean, smooth, and free of any imperfections that could affect the adhesion of the backsplash material. If necessary, make any repairs or adjustments to create an optimal foundation for the installation.
5. Layout Mock-Up
Prior to applying the backsplash material, consider creating a mock-up of the design layout using loose tiles or sheets. This allows you to visualize the final look, make any necessary adjustments to the design, and ensure a cohesive and balanced composition. By experimenting with different arrangements, you can fine-tune the layout to achieve the desired aesthetic impact.
6. Adhesive Selection
Selecting the appropriate adhesive or mortar is a critical aspect of the planning process. Consider the specific requirements of your chosen backsplash material and the wall surface to determine the most suitable adhesive. Whether it's thin-set mortar for tiles or adhesive for stainless steel sheets, ensuring compatibility and adhesion strength is essential for a durable and long-lasting installation.
By meticulously measuring the space, estimating material requirements, planning the design layout, and preparing the wall surface, you set the stage for a successful and visually captivating backsplash installation. This preparatory phase not only streamlines the installation process but also lays the foundation for a stunning and functional enhancement to your kitchen space.
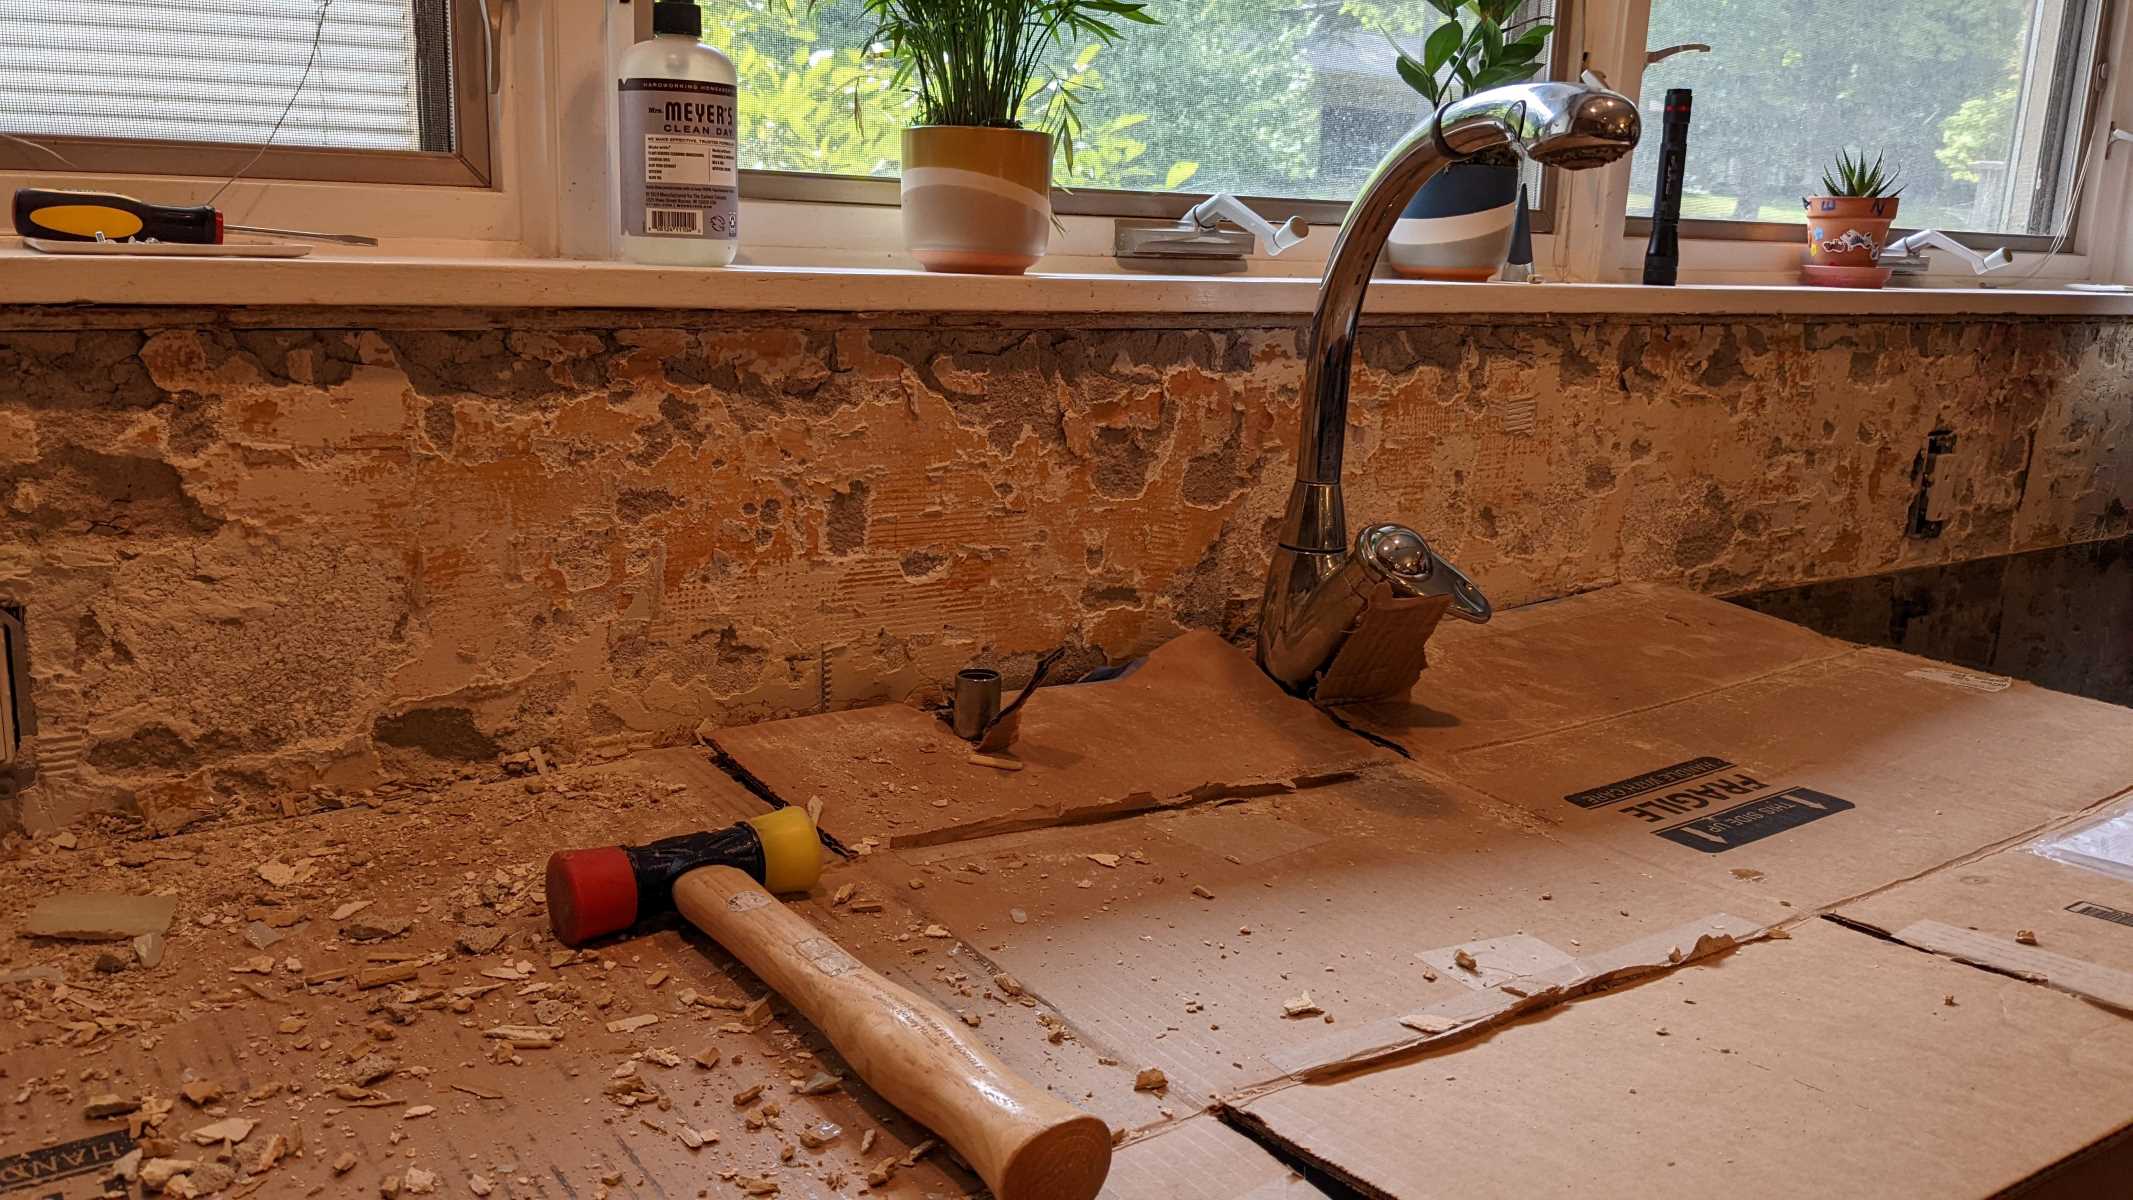
Preparing the Surface
Proper preparation of the wall surface is a critical precursor to a successful backsplash installation. This essential step sets the stage for optimal adhesion, durability, and visual appeal. Here's a detailed exploration of the key tasks involved in preparing the surface for your new backsplash:
-
Cleaning and Degreasing: Begin by thoroughly cleaning the wall surface to remove any dirt, grease, or residues that could hinder the adhesion of the backsplash material. Use a mild detergent or a specialized cleaner suitable for the wall material to ensure a pristine and grease-free surface. Pay particular attention to areas near cooking surfaces, as they are prone to accumulating grease and grime.
-
Surface Inspection: After cleaning, inspect the wall surface for any imperfections, such as cracks, bumps, or protrusions. Address any irregularities by sanding the surface to create a smooth and uniform substrate for the backsplash. This step is crucial for promoting even adhesion and preventing potential issues during the installation process.
-
Protecting Adjacent Surfaces: Prior to applying any adhesives or sealants, take measures to protect adjacent surfaces, such as countertops and cabinets, from potential damage or staining. Use painter's tape and protective coverings to shield these areas, ensuring that the installation process does not inadvertently impact surrounding elements of the kitchen.
-
Priming the Surface: Depending on the wall material and the type of backsplash material being installed, priming the surface may be necessary to enhance adhesion and prevent moisture penetration. Select a high-quality primer suitable for the specific wall material and follow the manufacturer's instructions for proper application. This step is particularly important for porous surfaces, such as drywall, to create an optimal bonding surface for the backsplash material.
-
Applying Backer Board (If Applicable): In cases where the existing wall surface is not conducive to direct application of the backsplash material, such as in areas with high moisture exposure, installing a backer board can provide a stable and moisture-resistant substrate. Cut the backer board to fit the designated area and secure it to the wall according to the manufacturer's guidelines, ensuring a level and secure foundation for the backsplash installation.
By meticulously executing these preparatory tasks, you establish a solid foundation for the successful installation of your chosen backsplash material. This meticulous attention to detail not only ensures optimal adhesion and durability but also paves the way for a visually stunning and long-lasting enhancement to your kitchen space.
Applying the Backsplash
With the meticulous planning and surface preparation complete, it's time to embark on the transformative process of applying the backsplash to your kitchen walls. This pivotal phase requires precision, patience, and a keen eye for detail to ensure a seamless and visually striking result. Here's a comprehensive guide to navigating the application of your chosen backsplash material:
1. Layout Alignment
Begin by establishing a reference line or layout to guide the placement of the backsplash material. This serves as a visual guide to maintain alignment and ensure a uniform installation. Whether you opt for a traditional horizontal layout or a more intricate pattern, such as a herringbone or basket weave, carefully marking the layout on the wall sets the stage for a cohesive and visually appealing result.
2. Adhesive Application
Select the appropriate adhesive or mortar based on the requirements of your chosen backsplash material. Using a notched trowel, apply the adhesive to a small section of the wall, ensuring even coverage. Work in manageable sections to prevent the adhesive from drying out before the backsplash material is applied. Adhering to the recommended application guidelines for the specific adhesive is crucial for optimal bonding and a durable installation.
3. Material Installation
Carefully place the backsplash material onto the adhesive, following the established layout and alignment. Whether you're working with individual tiles, mosaic sheets, or stainless steel panels, press the material firmly into the adhesive to promote secure adhesion. Use tile spacers to maintain consistent grout joints and ensure a uniform appearance. Pay close attention to any decorative elements or patterns, ensuring their alignment and continuity for a polished and professional finish.
4. Cutting and Trimming
Inevitably, some sections of the backsplash material will require cutting to fit around obstacles, such as electrical outlets, switches, or corners. Utilize appropriate tools, such as a tile cutter or wet saw for tiles, or metal shears for stainless steel, to achieve precise cuts. Take measurements carefully and make gradual adjustments as needed to achieve a seamless integration of the material with the surrounding elements of the kitchen.
5. Grout Application
Once the adhesive has set and the backsplash material is securely in place, it's time to apply the grout. Select a grout color that complements the backsplash material and the overall kitchen aesthetic. Using a grout float, apply the grout in a diagonal motion, ensuring that the joints are completely filled. Wipe away excess grout with a damp sponge, taking care not to disturb the newly installed material. This meticulous grouting process adds the finishing touch to the backsplash, enhancing its visual impact and ensuring structural integrity.
By methodically following these steps, you'll navigate the application of the backsplash with confidence and precision, culminating in a stunning and functional enhancement to your kitchen. The careful attention to detail and craftsmanship invested in this phase will yield a backsplash that not only elevates the aesthetic appeal of your culinary space but also stands the test of time, serving as a testament to your dedication to quality and artistry.
Grouting and Finishing Touches
With the backsplash material securely in place, the grouting process marks the final stage of the installation, adding the finishing touches that elevate both the visual appeal and structural integrity of the backsplash. This critical phase requires meticulous attention to detail and a methodical approach to achieve a seamless and polished result.
1. Grout Selection
Selecting the right grout color is a pivotal decision that significantly impacts the overall aesthetic of the backsplash. Whether you opt for a classic white grout to impart a clean and timeless look or a contrasting color to make a bold design statement, the grout serves as a crucial element in defining the visual impact of the backsplash. Consider the tone and texture of the backsplash material, as well as the existing kitchen decor, to guide your grout color selection.
2. Application Technique
Prior to grout application, ensure that the adhesive securing the backsplash material has fully cured as per the manufacturer's guidelines. Using a rubber grout float, apply the grout in a diagonal motion, working it into the joints between the backsplash elements. Ensure thorough coverage and avoid leaving any voids or gaps within the grout lines. The consistent application of grout is essential for both aesthetic uniformity and the structural stability of the backsplash.
3. Cleaning and Finishing
Once the grout is applied, use a damp sponge to gently wipe away excess grout from the surface of the backsplash. Rinse the sponge frequently to prevent smearing excess grout over the newly installed material. Take care not to disturb the grout lines while ensuring that the surface of the backsplash is free from any residual grout haze. This meticulous cleaning process contributes to the clarity and definition of the grout lines, enhancing the overall visual impact of the backsplash.
4. Sealing (If Applicable)
Depending on the type of grout used and the specific requirements of the backsplash material, sealing the grout may be necessary to enhance its durability and resistance to stains and moisture. Select a high-quality grout sealer suitable for the chosen grout type and follow the manufacturer's instructions for proper application. This additional protective measure safeguards the grout against discoloration and deterioration, ensuring that the backsplash maintains its pristine appearance over time.
By meticulously executing the grouting and finishing touches, you bring the installation process to a satisfying culmination, resulting in a visually striking and enduring enhancement to your kitchen. The careful selection of grout color, precise application technique, thorough cleaning, and optional sealing collectively contribute to a backsplash that not only complements the overall kitchen aesthetic but also stands as a testament to your dedication to quality and craftsmanship.
Maintenance and Cleaning Tips
Maintaining the pristine appearance and structural integrity of your newly installed backsplash is essential for preserving its visual allure and functionality over time. By incorporating regular cleaning and maintenance into your kitchen care routine, you can ensure that your backsplash continues to serve as a captivating focal point while effectively safeguarding your walls from culinary mishaps. Here are essential maintenance and cleaning tips to uphold the beauty and longevity of your backsplash:
-
Daily Wipe-Down: Incorporate a daily wipe-down routine to remove any splatters, grease, or food residue from the surface of the backsplash. Using a mild detergent or a specialized kitchen cleaner and a soft cloth, gently wipe the backsplash to maintain its cleanliness and luster.
-
Avoid Harsh Cleaners: When cleaning your backsplash, refrain from using abrasive cleaners or harsh chemicals that could damage the material or grout. Opt for gentle, non-abrasive cleaning solutions to preserve the integrity of the backsplash and prevent discoloration or deterioration.
-
Grout Maintenance: Periodically inspect the grout lines for any signs of wear, discoloration, or cracking. Address any issues promptly by applying grout sealer or performing minor grout repairs to prevent moisture infiltration and maintain the structural stability of the backsplash.
-
Sealing Natural Stone: If your backsplash features natural stone tiles, ensure that the stone is adequately sealed to protect it from moisture and stains. Regularly reapply a high-quality stone sealer as recommended by the manufacturer to maintain the beauty and resilience of the natural stone.
-
Preventative Measures: Take proactive measures to prevent damage to the backsplash, such as using trivets and heat-resistant mats near cooking areas to shield the backsplash from excessive heat exposure. Additionally, exercise caution when handling sharp utensils near the backsplash to avoid accidental scratches or chips.
-
Regular Inspections: Conduct periodic inspections of the backsplash to identify any areas that may require attention, such as loose tiles, grout issues, or signs of wear. Addressing these minor maintenance needs promptly can prevent larger issues and preserve the overall integrity of the backsplash.
By integrating these maintenance and cleaning tips into your kitchen care regimen, you can uphold the beauty and functionality of your backsplash, ensuring that it remains a captivating and enduring element of your culinary space. With regular care and attention, your backsplash will continue to enhance the aesthetics of your kitchen while providing practical protection for your walls, serving as a testament to your commitment to maintaining a welcoming and well-maintained home environment.
Frequently Asked Questions about How To Do Backsplash In The Kitchen
Was this page helpful?
At Storables.com, we guarantee accurate and reliable information. Our content, validated by Expert Board Contributors, is crafted following stringent Editorial Policies. We're committed to providing you with well-researched, expert-backed insights for all your informational needs.


0 thoughts on “How To Do Backsplash In The Kitchen”