Home>Renovation & DIY>Home Renovation Guides>How To Measure A Storm Door For Replacement
Home Renovation Guides
How To Measure A Storm Door For Replacement
Modified: March 2, 2024
Learn how to measure a storm door for replacement with our comprehensive home renovation guide. Upgrade your home with ease!
(Many of the links in this article redirect to a specific reviewed product. Your purchase of these products through affiliate links helps to generate commission for Storables.com, at no extra cost. Learn more)
Introduction
Read more: How To Replace A Storm Door Glass
Introduction
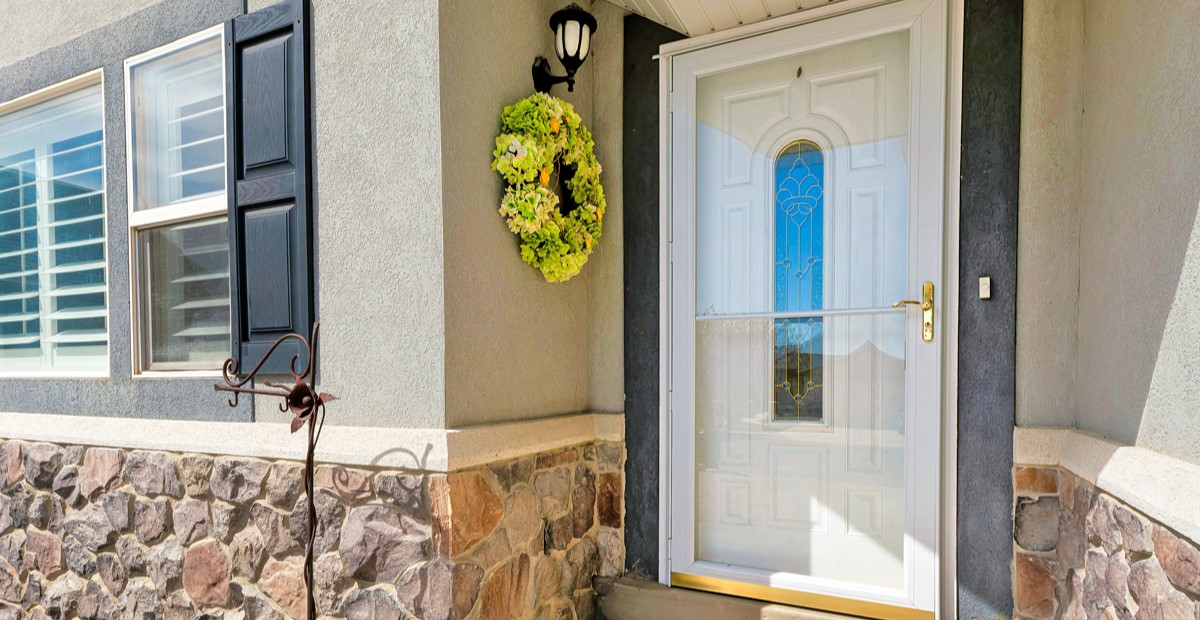
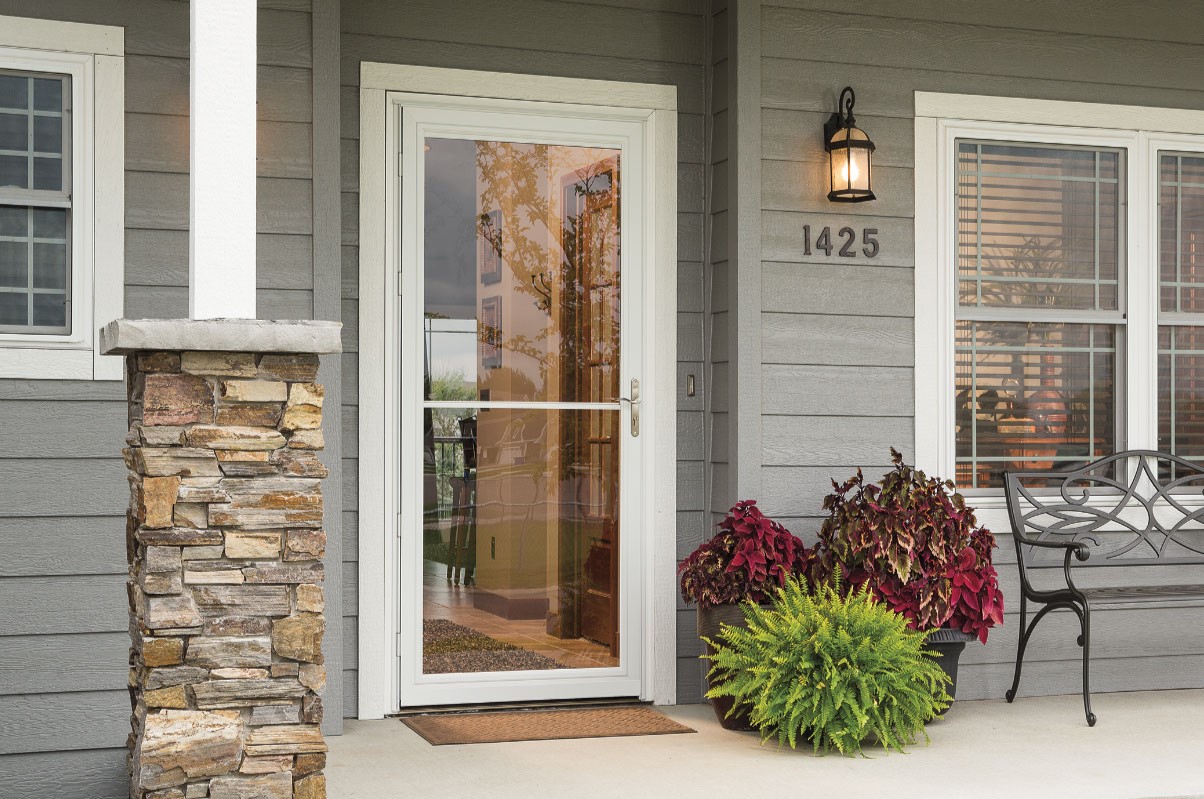
Replacing a storm door can be a simple yet impactful home improvement project. Whether you're looking to enhance your home's energy efficiency, boost its curb appeal, or increase security, choosing the right storm door starts with accurate measurements. By following a few straightforward steps, you can ensure that your new storm door fits seamlessly, providing the desired functionality and aesthetic appeal.
In this comprehensive guide, we'll walk you through the essential steps for measuring a storm door for replacement. From the tools you'll need to the precise measurements required, we've got you covered. So, grab your measuring tape and let's get started on this rewarding home renovation journey!
Tools Needed
Key Takeaways:
- Ensure a seamless storm door replacement by measuring the width, height, and thickness of the door frame with precision. Double-checking measurements is key to avoiding installation setbacks and achieving a perfect fit.
- By mastering the art of measuring a storm door, you can confidently embark on a transformative home improvement journey. Armed with essential tools and meticulous measurements, you’ll be well-prepared to select the perfect replacement door for enhanced functionality and aesthetic appeal.
Tools Needed
Before diving into the process of measuring a storm door for replacement, it’s essential to gather the necessary tools. Here’s what you’ll need:
- Measuring Tape: A reliable measuring tape is crucial for obtaining accurate dimensions of the existing door frame.
- Pencil and Paper: These basic tools will allow you to record the measurements as you go, preventing any potential confusion or mix-ups.
- Safety Gear: While not directly related to measuring, it’s always wise to prioritize safety. Depending on the specific installation requirements, safety goggles, gloves, and other protective gear may be necessary.
By having these tools at your disposal, you can streamline the measuring process and set the stage for a successful storm door replacement endeavor.
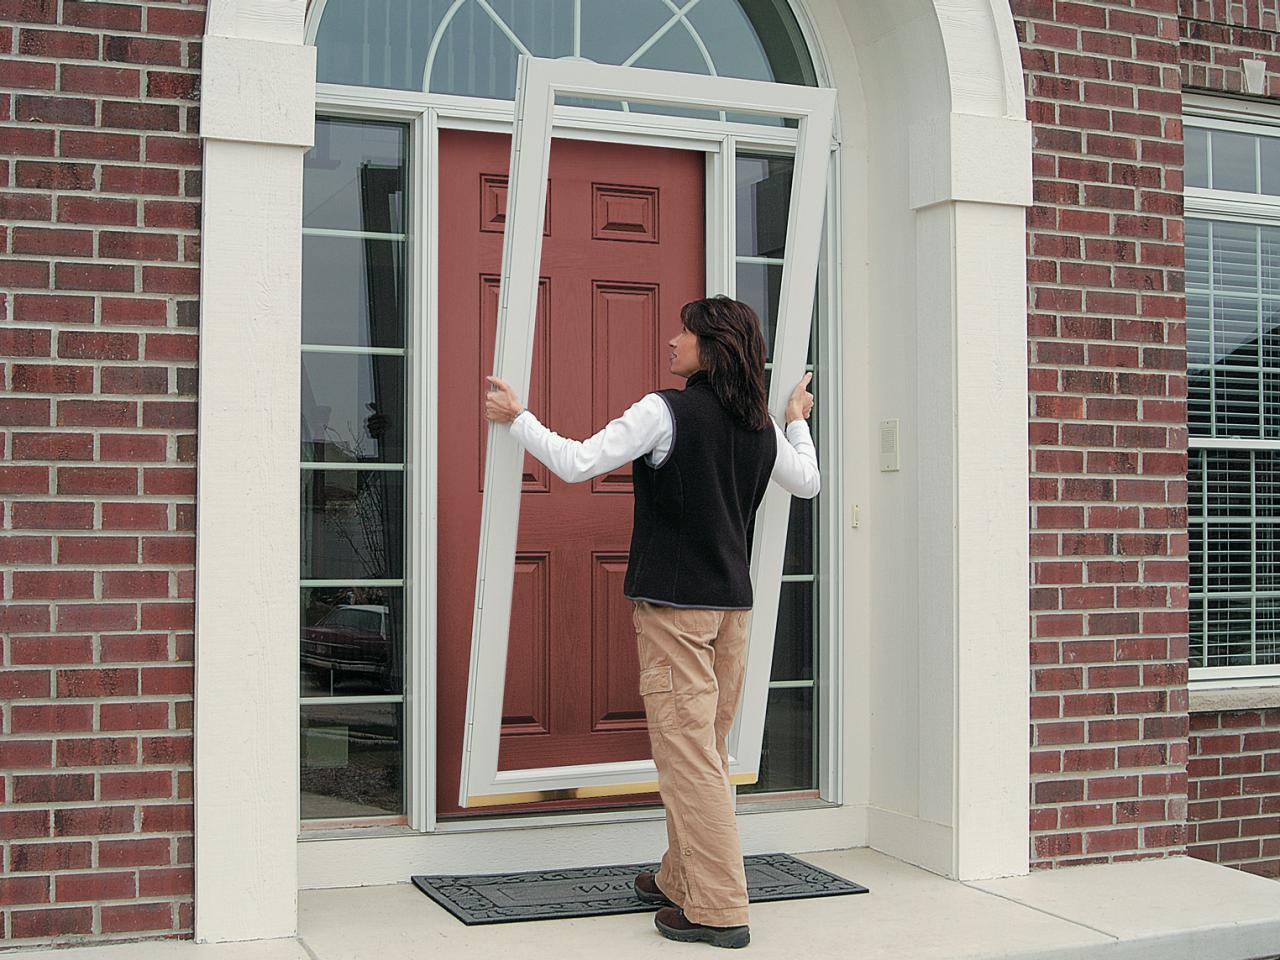
Measuring the Width
Read more: How To Replace A Storm Door Handle
Measuring the Width
When it comes to replacing a storm door, obtaining accurate measurements is paramount. To begin, focus on measuring the width of the door frame. Follow these steps for precision:
- Open the Existing Door: Start by opening the current storm door to access the door frame. Ensure that the door is fully open to reveal the entire width of the frame.
- Locate the Widest Point: Identify the widest part of the door frame. This may not necessarily be at eye level, so take a moment to assess the entire width to pinpoint the broadest area.
- Take the Measurement: With your measuring tape, measure the width of the door frame from the widest point. Position the tape at the left side of the frame and extend it to the right, noting down the exact measurement.
- Double-Check the Measurement: To ensure accuracy, it’s advisable to double-check the width measurement. Repeat the process to confirm that the initial measurement aligns with the actual width of the door frame.
By meticulously measuring the width of the door frame, you’ll lay the groundwork for selecting a replacement storm door that fits flawlessly, contributing to both functionality and visual harmony.
Measuring the Height
Measuring the Height
After determining the width of the door frame, the next crucial step in the replacement process is measuring the height. Follow these steps to ensure accuracy:
- Identify the Tallest Point: Similar to measuring the width, start by locating the tallest point of the door frame. The highest point may not always be at the center, so take a moment to assess the entire height of the frame.
- Take the Measurement: With your measuring tape, measure the height of the door frame from the bottom to the top. Position the tape at the bottom of the frame and extend it to the highest point, recording the precise measurement.
- Confirm the Vertical Alignment: Check for any irregularities in the vertical alignment of the door frame. In older homes, settling may have caused the frame to be slightly out of plumb. If this is the case, consider measuring both the left and right sides of the frame to ensure accuracy.
- Double-Check the Measurement: As with measuring the width, it’s essential to double-check the height measurement for accuracy. Repeating the measurement process will help confirm the exact height of the door frame.
By meticulously measuring the height of the door frame, you’ll be well-equipped to select a replacement storm door that not only fits perfectly but also complements the overall aesthetic of your home.
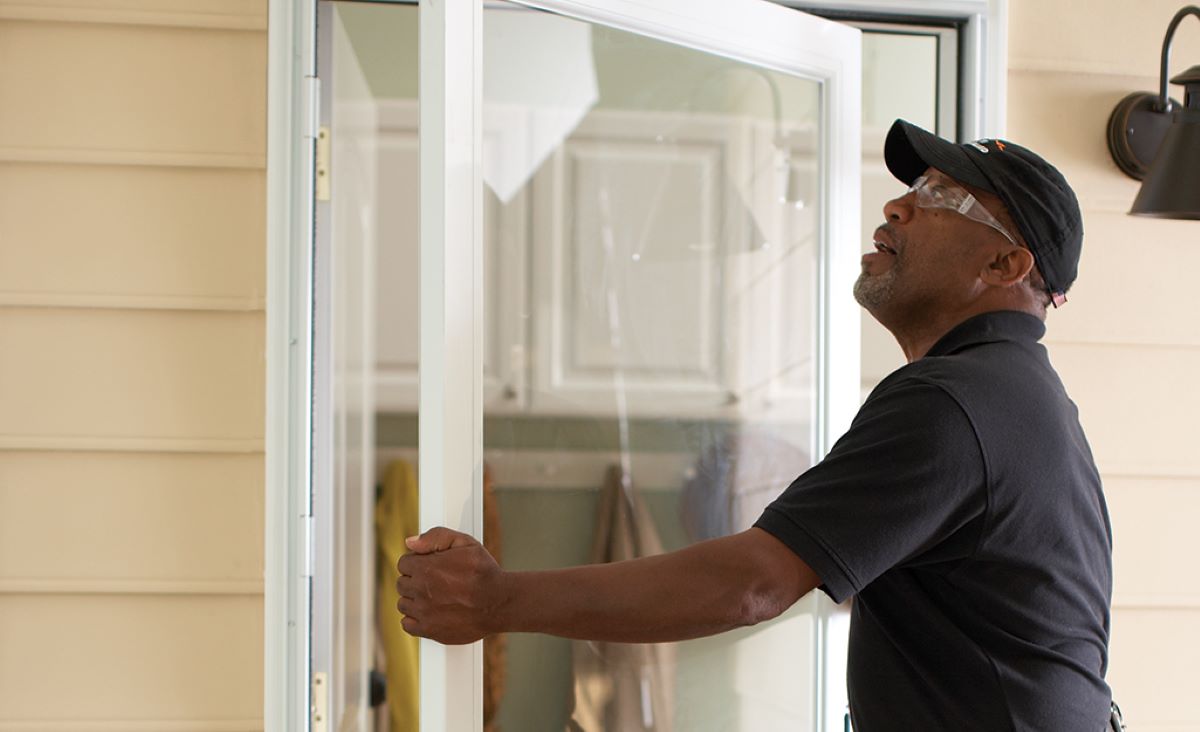
Measuring the Thickness
Read more: How To Replace Screen In A Storm Door
Measuring the Thickness
When preparing to replace a storm door, accurately measuring the door frame’s thickness is a crucial step. Follow these guidelines to ensure precision:
- Determine the Thickness: The thickness of the door frame is an often overlooked but essential measurement. Using your measuring tape, assess the thickness by measuring the door jamb or the area where the storm door will be installed.
- Account for any Trim: If there is trim around the door frame, it’s important to factor this into the measurement. Measure from the outer edge of the trim on one side to the outer edge on the opposite side to obtain the accurate thickness.
- Consider the Door Configuration: Depending on the type of storm door being replaced, such as full-view, mid-view, or high-view, the thickness measurement may vary. Be mindful of the specific requirements of the replacement door to ensure a seamless fit.
- Verify the Measurement: After obtaining the initial thickness measurement, take a moment to verify its accuracy. This can be achieved by measuring the thickness at multiple points along the door frame to account for any variations.
By meticulously measuring the thickness of the door frame, you’ll pave the way for selecting a replacement storm door that aligns perfectly with the structural requirements, contributing to both functionality and visual appeal.
Conclusion
Conclusion
Mastering the art of measuring a storm door for replacement is a fundamental aspect of any home renovation project. By carefully assessing the width, height, and thickness of the door frame, you can ensure a seamless transition to a new storm door that not only fits perfectly but also enhances your home’s functionality and aesthetic appeal.
Armed with the essential tools and a methodical approach, you can confidently embark on this transformative journey. Remember, precision is key, and double-checking your measurements will help avoid potential setbacks during the installation process.
With these comprehensive measurements in hand, you’ll be well-prepared to explore the myriad options available for storm door replacements, from various styles and materials to additional features such as built-in screens and security enhancements.
So, whether you’re aiming to boost your home’s energy efficiency, elevate its curb appeal, or simply upgrade its overall functionality, the process of measuring a storm door for replacement sets the stage for a successful and rewarding home improvement endeavor. Embrace the opportunity to revitalize your home’s entryway, and let your meticulously measured dimensions guide you toward the perfect storm door replacement.
Frequently Asked Questions about How To Measure A Storm Door For Replacement
Was this page helpful?
At Storables.com, we guarantee accurate and reliable information. Our content, validated by Expert Board Contributors, is crafted following stringent Editorial Policies. We're committed to providing you with well-researched, expert-backed insights for all your informational needs.


0 thoughts on “How To Measure A Storm Door For Replacement”