Home>Renovation & DIY>Tools & Equipment>How To Use Stanley Stud Finder S150
Tools & Equipment
How To Use Stanley Stud Finder S150
Modified: January 4, 2024
Discover how to effectively use the Stanley Stud Finder S150 and make your DIY projects easier with this essential tools-and-equipment guide.
(Many of the links in this article redirect to a specific reviewed product. Your purchase of these products through affiliate links helps to generate commission for Storables.com, at no extra cost. Learn more)
Introduction
Welcome to the world of DIY home improvement! Whether you’re a seasoned professional or a weekend warrior, having the right tools can make all the difference. One indispensable tool for anyone working on home projects is the Stanley Stud Finder S150. This compact and reliable device is designed to locate studs, joists, and live AC wires hidden behind walls, making it an essential companion for anyone tackling tasks such as hanging shelves, mounting TVs, or installing cabinets.
In this comprehensive guide, we’ll delve into the ins and outs of the Stanley Stud Finder S150, exploring how to understand, prepare for, and effectively use this powerful tool. By the end of this article, you’ll be equipped with the knowledge and confidence to make the most of your Stanley Stud Finder S150, ensuring that your home improvement projects are not only successful but also safe and secure.
So, let’s roll up our sleeves and dive into the world of stud finding with the Stanley Stud Finder S150!
Key Takeaways:
- The Stanley Stud Finder S150 is a reliable tool for finding studs, joists, and live AC wires behind walls. It’s easy to use and helps ensure your home improvement projects are safe and secure.
- Before using the Stanley Stud Finder S150, read the manual, check the battery, clear the work area, and understand your wall composition. These steps will help you use the tool effectively and efficiently.
Read more: How To Use Stanley Fatmax Stud Finder
Understanding the Stanley Stud Finder S150
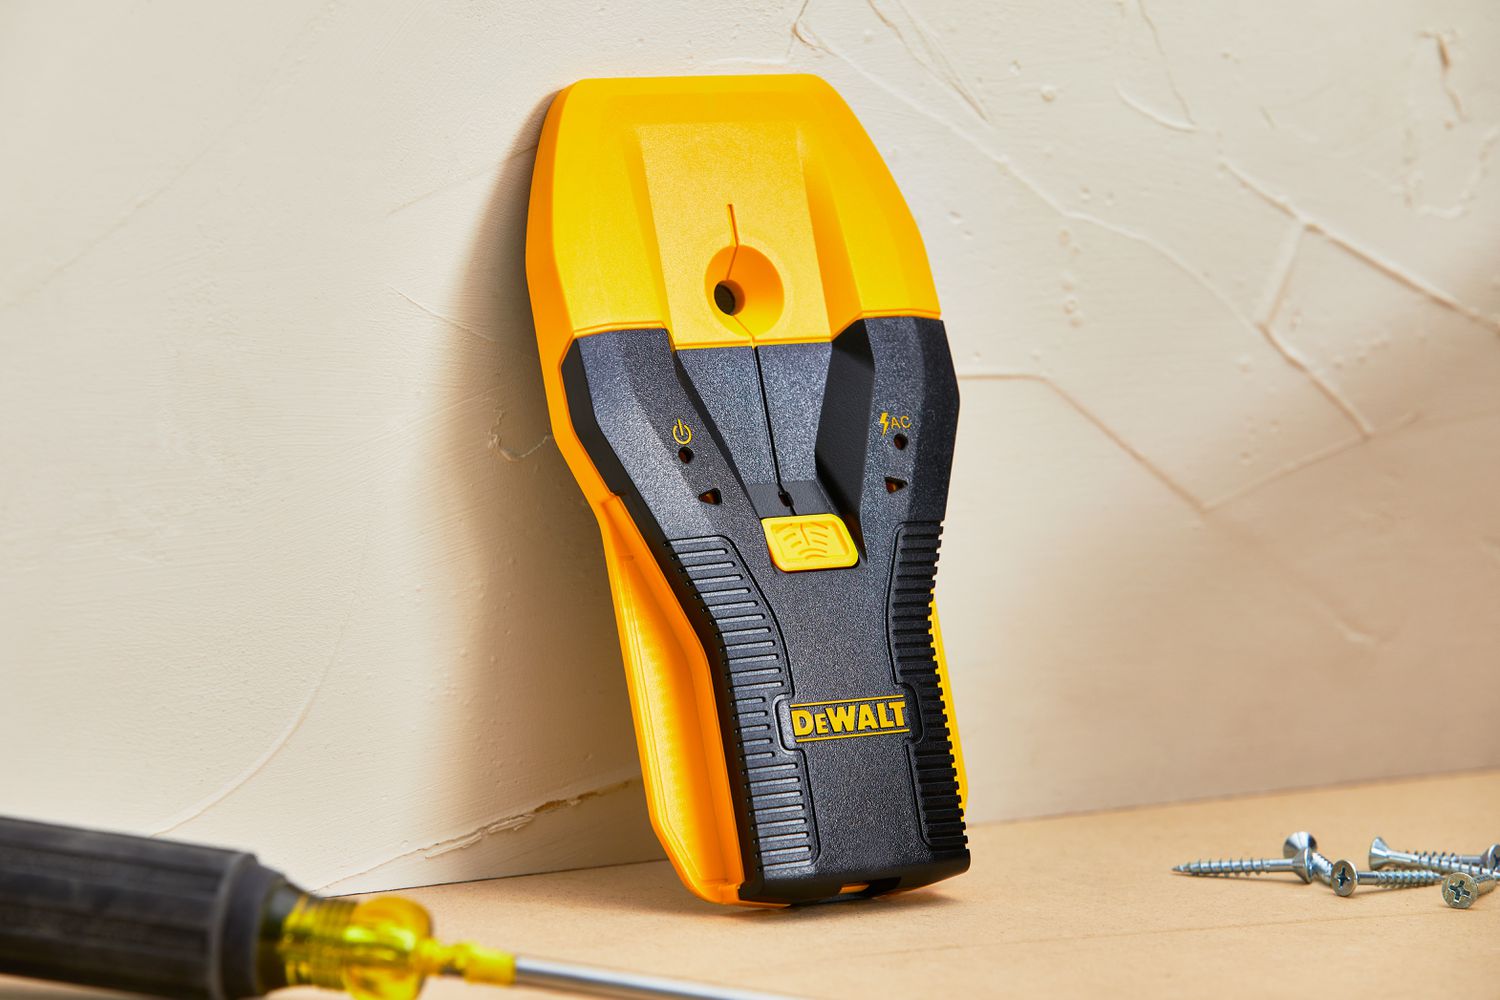
The Stanley Stud Finder S150 is a state-of-the-art electronic device designed to detect the presence of studs, joists, and live AC wires hidden behind walls. Equipped with advanced sensor technology, this stud finder offers both accuracy and reliability, making it an indispensable tool for any DIY enthusiast or professional tradesperson.
One of the key features of the Stanley Stud Finder S150 is its ability to identify the center and edges of studs, allowing for precise marking and ensuring that your fixtures and fittings are securely anchored. Additionally, the S150 is equipped with a deep metal scan mode, enabling it to detect metal components such as pipes and rebar concealed within walls.
With its ergonomic design and intuitive interface, the Stanley Stud Finder S150 is user-friendly and suitable for individuals of all experience levels. The clear visual and audio indicators provide instant feedback, allowing users to quickly and accurately pinpoint hidden obstacles and plan their projects with confidence.
Furthermore, the S150 is equipped with a built-in marking system, eliminating the need for additional tools to indicate the location of studs. This feature streamlines the workflow, saving time and ensuring that your measurements are precise.
Overall, the Stanley Stud Finder S150 is a versatile and reliable tool that empowers users to tackle a wide range of home improvement projects with ease and precision. Whether you’re hanging a heavy mirror, installing a new light fixture, or mounting a television, the S150 is your trusted ally in achieving professional results.
Preparing to Use the Stanley Stud Finder S150
Before diving into your home improvement project, it’s essential to prepare for the use of the Stanley Stud Finder S150 to ensure optimal results. Here are the key steps to take before utilizing this powerful tool:
- Read the User Manual: Familiarize yourself with the user manual that accompanies the Stanley Stud Finder S150. Understanding the device’s features, operating instructions, and safety precautions is crucial for efficient and safe use.
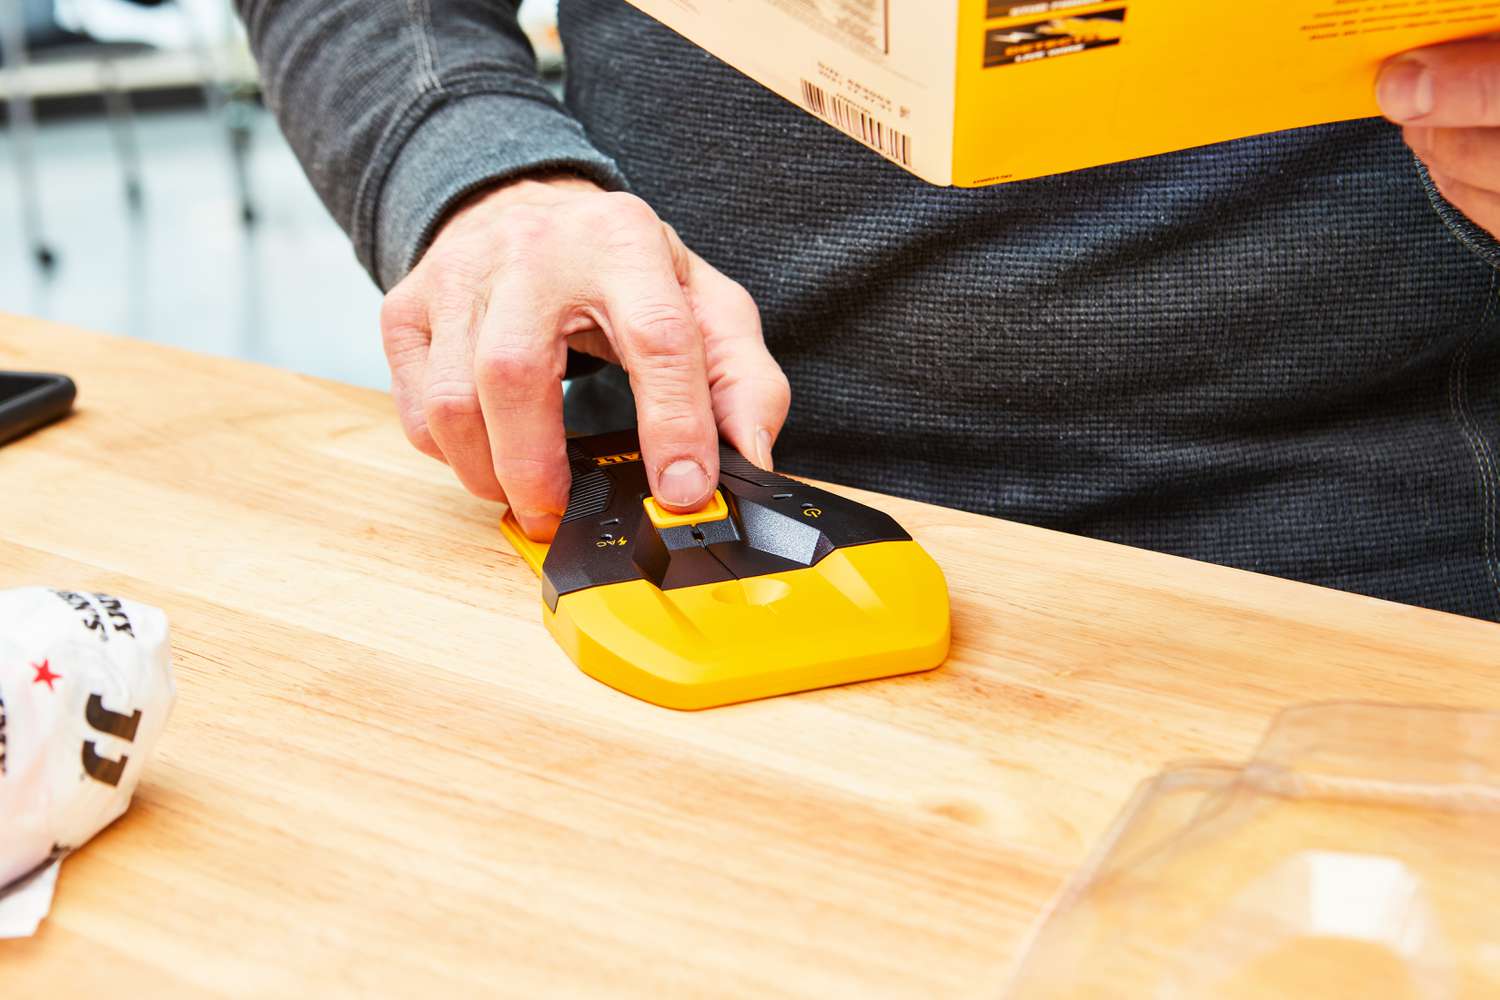
- Check the Battery: Ensure that the S150 is equipped with a fresh battery to guarantee reliable performance. A weak battery can compromise the accuracy of the stud finder, so it’s advisable to replace the battery if it’s been in use for an extended period.
- Clear the Work Area: Before scanning for studs, remove any obstructions such as furniture, wall hangings, or decor that may interfere with the accurate detection of wall components. A clear and unobstructed workspace will facilitate seamless operation.
- Understand Wall Composition: Familiarize yourself with the typical construction of walls in your home. Different materials, such as drywall, plaster, or lath, may impact the performance of the stud finder. Knowing the composition of your walls will help you interpret the readings effectively.
By taking these preparatory steps, you’ll set the stage for a successful and efficient experience with the Stanley Stud Finder S150. Proper preparation not only enhances the accuracy of stud detection but also contributes to the overall safety and effectiveness of your home improvement endeavors.
When using the Stanley Stud Finder S150, make sure to calibrate it on a clear, flat surface before starting. This will ensure accurate results when locating studs in your walls.
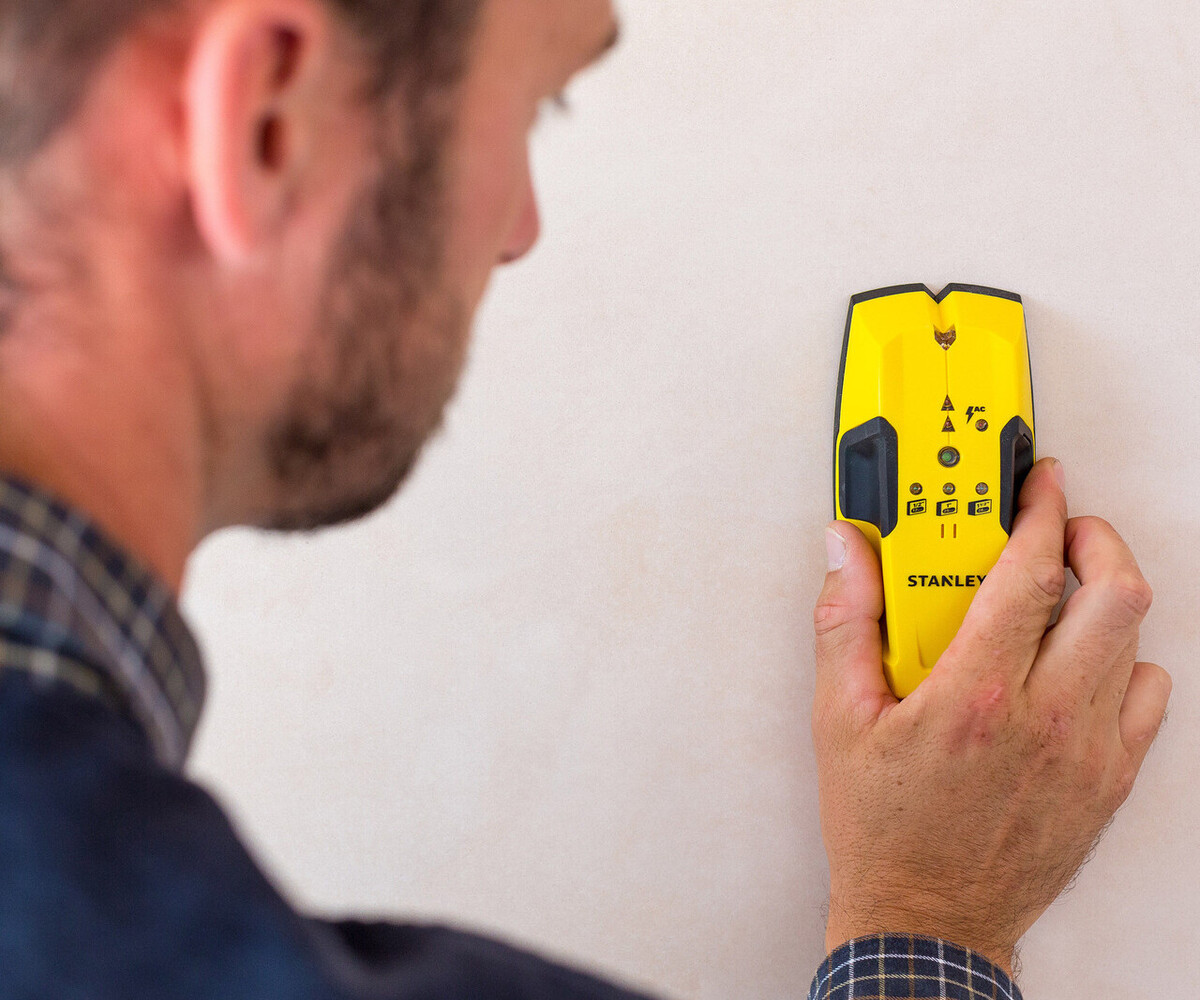
Using the Stanley Stud Finder S150
Now that you’re prepared to wield the power of the Stanley Stud Finder S150, it’s time to put this exceptional tool to use. Follow these steps to effectively utilize the S150 for accurate stud detection:
- Power On the Device: Activate the stud finder by pressing the power button. The device will emit a visual and/or audible signal to indicate that it’s ready for use.
- Calibration: Place the S150 flat against the wall and allow it to calibrate. This step is crucial for ensuring accurate readings and reliable detection of studs and other wall components.
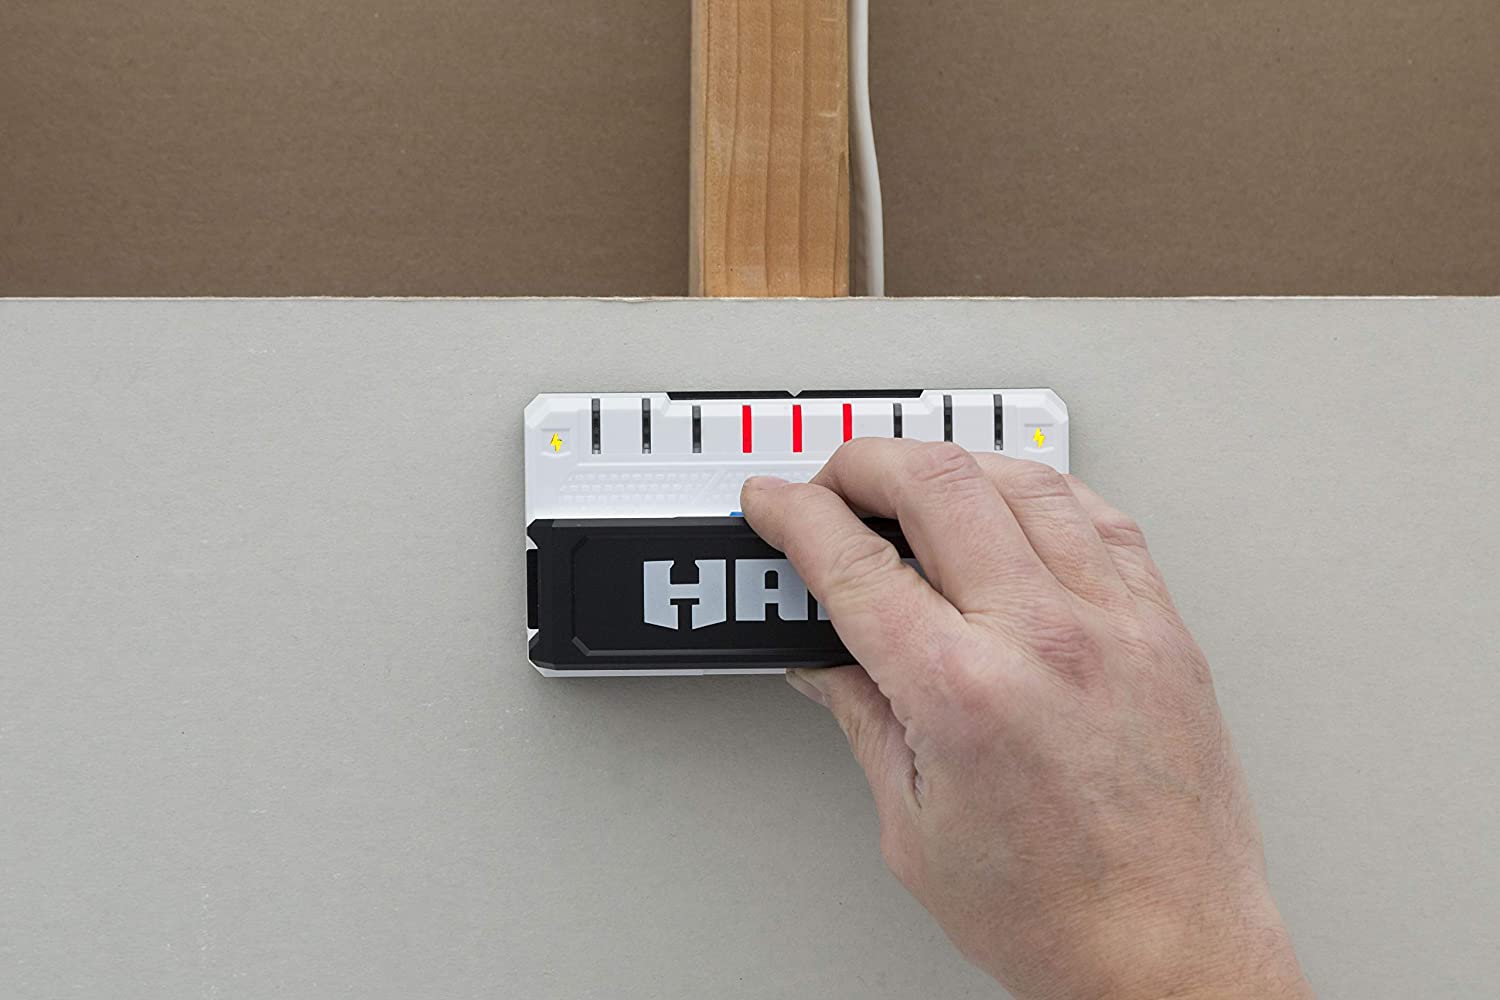
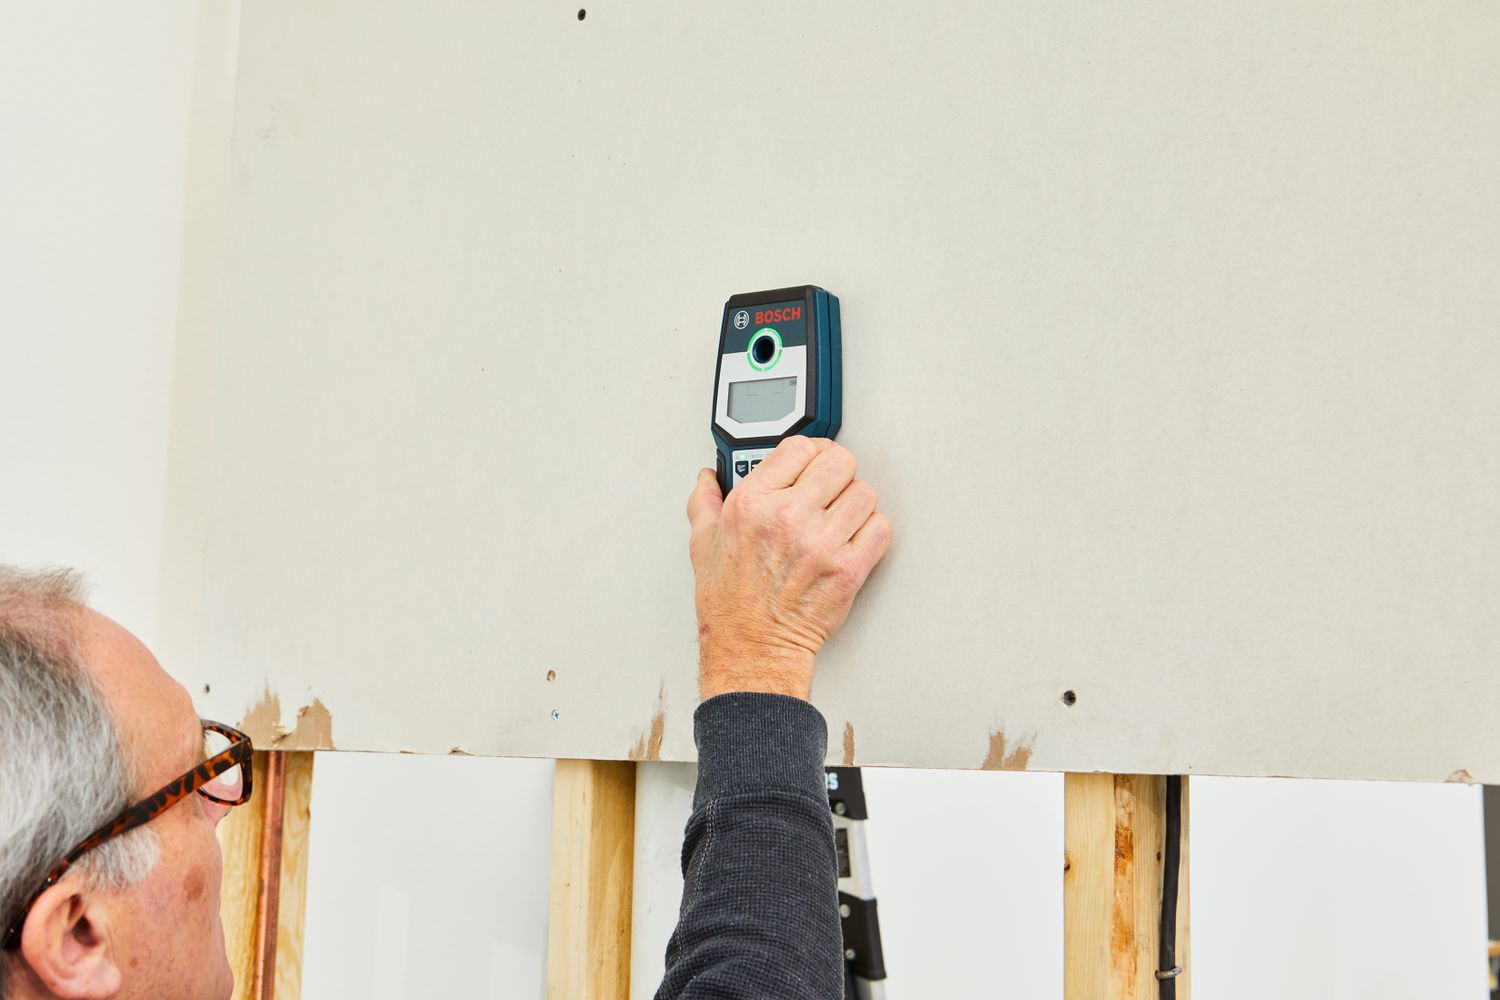
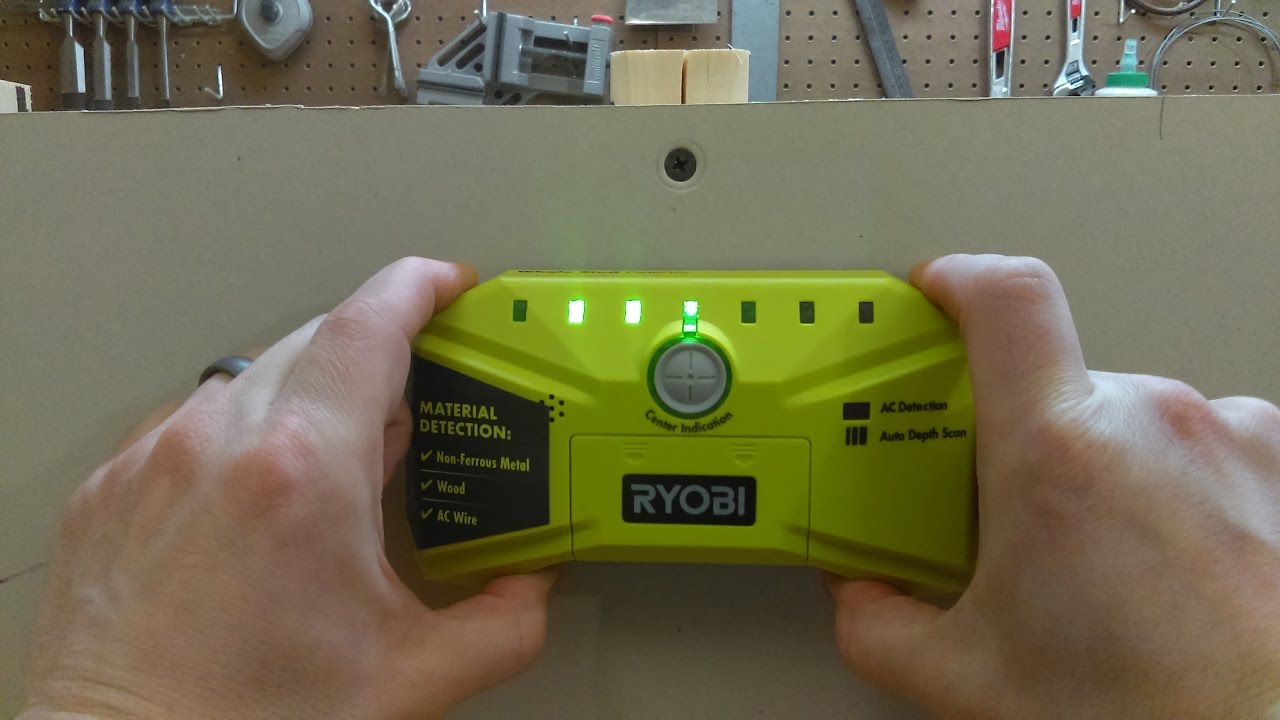
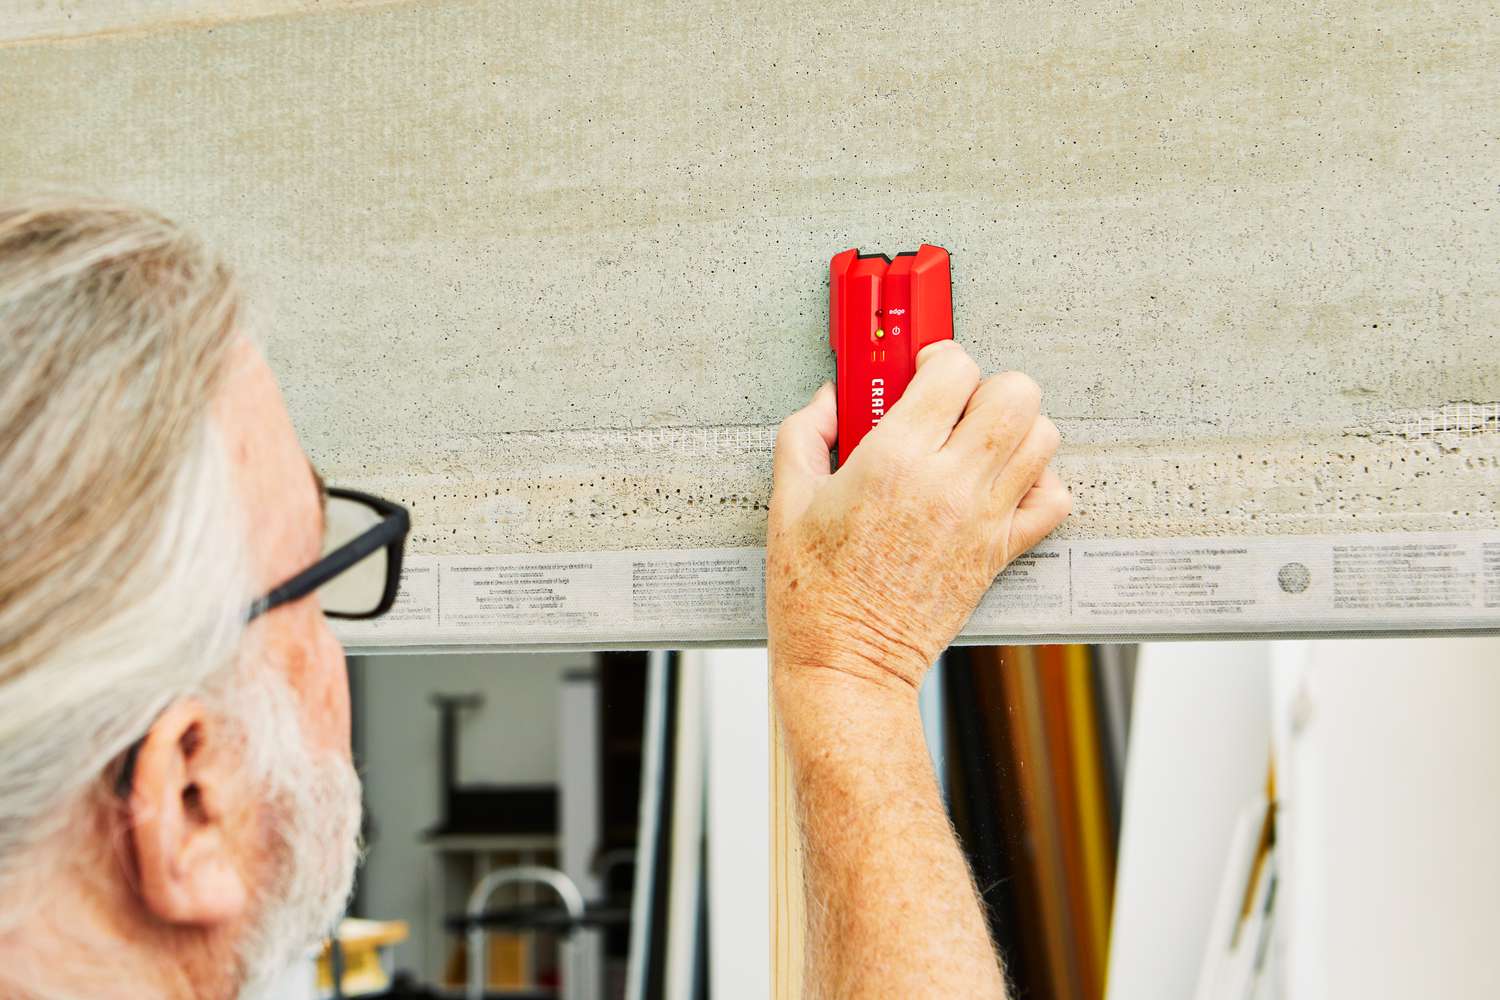
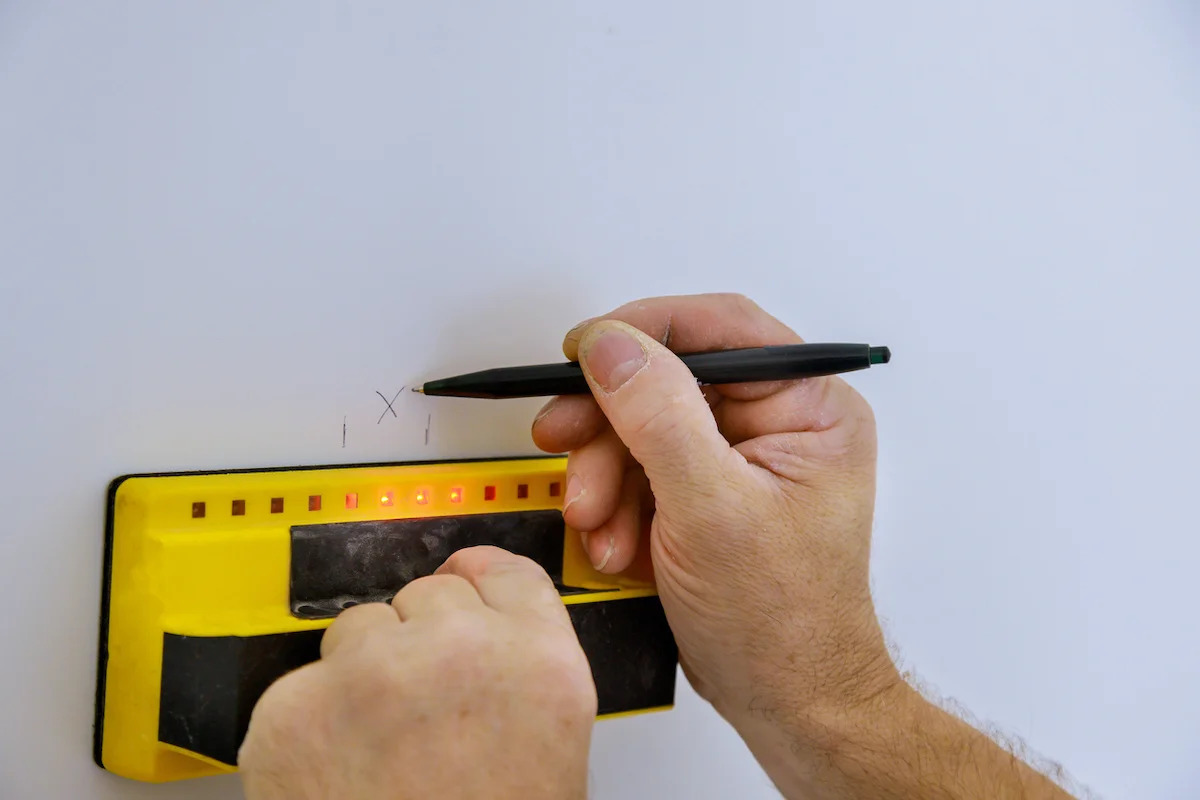
- Scan the Wall: Slowly slide the stud finder across the surface of the wall in a horizontal motion. Pay attention to the visual indicators and listen for any audible cues. The S150 will signal when it has detected the presence of a stud.
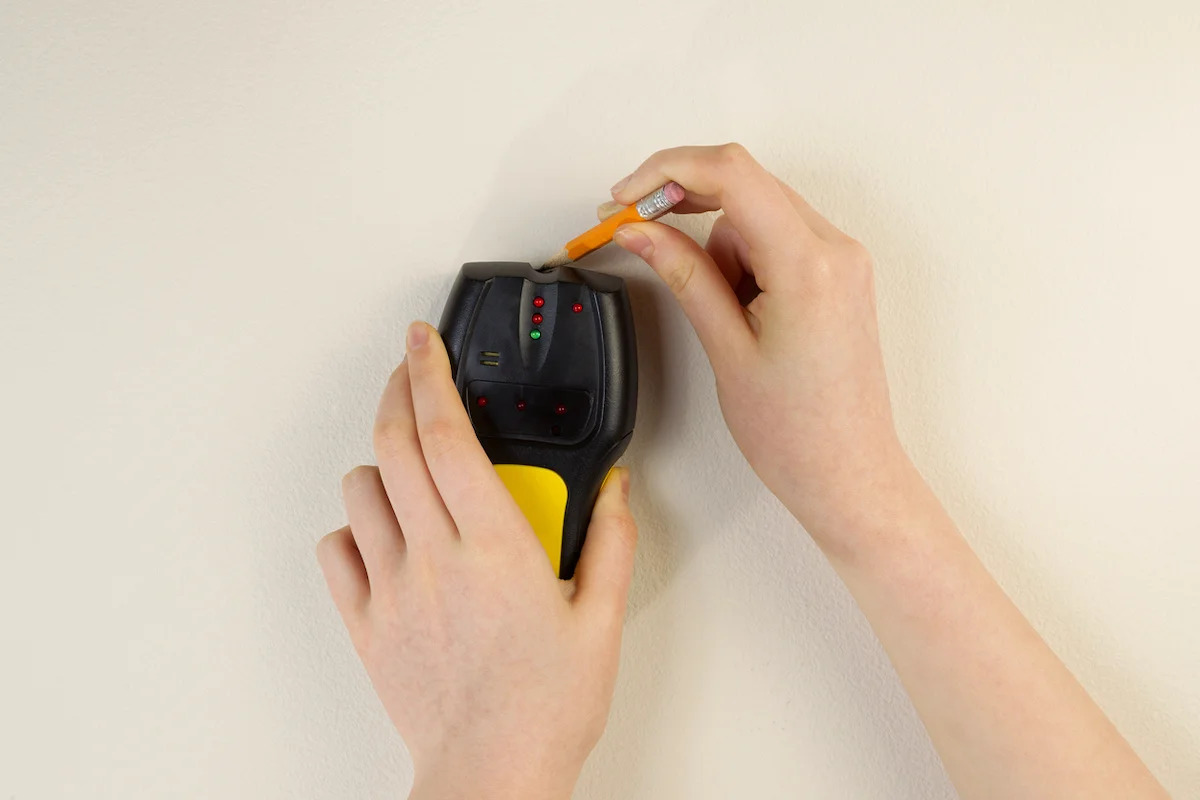
- Mark the Stud: Once the stud is identified, use a pencil or marker to make a clearly visible mark on the wall. The S150’s built-in marking system may also be utilized for this purpose, streamlining the process and ensuring precision.
- Verify Stud Edges: To accurately determine the width of the stud, move the S150 to the left and right of the initial mark. Note the points at which the device indicates the edges of the stud, allowing for precise measurements and fixture placement.
By following these steps, you can harness the full potential of the Stanley Stud Finder S150, confidently identifying and marking studs with precision and efficiency. Whether you’re hanging shelves, installing cabinetry, or mounting a television, the S150 empowers you to approach your projects with accuracy and confidence.
Tips for Effective Use
While the Stanley Stud Finder S150 is designed to be user-friendly and reliable, incorporating the following tips into your workflow can enhance the effectiveness and efficiency of stud detection:
- Practice on Known Surfaces: Before tackling a project, practice using the S150 on a known surface with visible studs. This hands-on experience will familiarize you with the device’s signals and help you interpret the readings accurately.
- Slow and Steady Movement: When scanning for studs, move the S150 across the wall slowly and steadily. Rushing the process may result in missed detections or inaccurate readings. Smooth and deliberate movement ensures thorough coverage of the wall surface.
- Verify Multiple Readings: To confirm the presence and location of a stud, verify the readings by scanning the same area from multiple directions. This approach minimizes the risk of false positives and provides a comprehensive understanding of the wall’s composition.
- Account for Wall Thickness: If your walls have varying thicknesses or are layered with additional materials, adjust the device’s settings or sensitivity to accommodate these differences. Understanding the unique characteristics of your walls is essential for accurate stud detection.
- Utilize Deep Metal Scan Mode: When working in areas where metal components may be present, such as plumbing or electrical installations, activate the deep metal scan mode to identify these hidden elements. This feature enhances safety and prevents accidental damage to concealed infrastructure.
- Regular Maintenance: Periodically check and replace the battery of the S150 to maintain consistent performance. Additionally, keep the device clean and free of debris to ensure optimal functionality during each use.
By incorporating these tips into your stud-finding endeavors, you can maximize the capabilities of the Stanley Stud Finder S150, streamline your projects, and achieve precise and reliable results with confidence.
Read more: How To Use The Stanley Stud Finder
Conclusion
Congratulations! You’ve now gained a comprehensive understanding of the Stanley Stud Finder S150 and how to make the most of this indispensable tool for your home improvement projects. By familiarizing yourself with the features, preparing for its use, and implementing effective techniques, you’re well-equipped to tackle a wide range of tasks with confidence and precision.
The Stanley Stud Finder S150 serves as a reliable ally, empowering you to identify studs, joists, and live AC wires concealed within walls, ensuring that your fixtures and fittings are securely anchored and your projects are executed with professional results. With its intuitive interface, accurate detection capabilities, and built-in marking system, the S150 streamlines the process of locating and marking studs, saving you time and effort.
As you embark on your next home improvement venture, whether it’s hanging a heavy mirror, mounting shelves, or installing cabinetry, the Stanley Stud Finder S150 will be by your side, providing the confidence and accuracy you need to achieve outstanding outcomes.
Remember, practice makes perfect. Take the time to familiarize yourself with the device, hone your technique, and implement the tips provided in this guide. By doing so, you’ll elevate your DIY prowess and ensure that your projects are not only visually appealing but also structurally sound and safe.
So, go forth with your newfound knowledge and let the Stanley Stud Finder S150 guide you to success in your home improvement endeavors. With precision, confidence, and the right tools at your disposal, there’s no limit to what you can achieve!
Frequently Asked Questions about How To Use Stanley Stud Finder S150
Was this page helpful?
At Storables.com, we guarantee accurate and reliable information. Our content, validated by Expert Board Contributors, is crafted following stringent Editorial Policies. We're committed to providing you with well-researched, expert-backed insights for all your informational needs.


0 thoughts on “How To Use Stanley Stud Finder S150”