Home>Storage Ideas>Bathroom Storage>How To Clean A Toilet For A Pristine Bathroom

Bathroom Storage
How To Clean A Toilet For A Pristine Bathroom
Modified: October 20, 2024
Learn effective techniques and tips on how to clean your toilet for a sparkling bathroom. Discover the secret to maintaining a pristine space with proper bathroom storage.
(Many of the links in this article redirect to a specific reviewed product. Your purchase of these products through affiliate links helps to generate commission for Storables.com, at no extra cost. Learn more)
Introduction
Welcome to the ultimate guide on how to clean a toilet for a pristine bathroom. A clean and well-maintained toilet is not only essential for hygiene but also adds to the overall aesthetic appeal of your bathroom. A clean toilet not only eliminates unpleasant odors but also helps prevent the spread of germs and bacteria.
Cleaning a toilet may not be the most glamorous task, but with the right techniques and tools, it can be a straightforward and rewarding process. In this article, we will guide you through the step-by-step process of achieving a sparkling clean toilet.
Before diving into the cleaning process, it’s important to gather all the necessary supplies. Having the right tools and products will make the cleaning process more efficient and effective. Make sure you have the following items on hand:
- Toilet brush
- Toilet bowl cleaner
- Microfiber cloths
- Gloves
- All-purpose surface cleaner
- Vinegar
Now that you have all the supplies ready, it’s time to prepare the toilet for cleaning. Start by removing any obstacles around the toilet area, such as bath mats or other decorative items. This will ensure that you have easy access to every part of the toilet.
Once the area is clear, it’s a good idea to pre-treat the toilet bowl. Apply a generous amount of toilet bowl cleaner and allow it to sit for a few minutes. This will help loosen any grime or stains, making them easier to remove during the cleaning process.
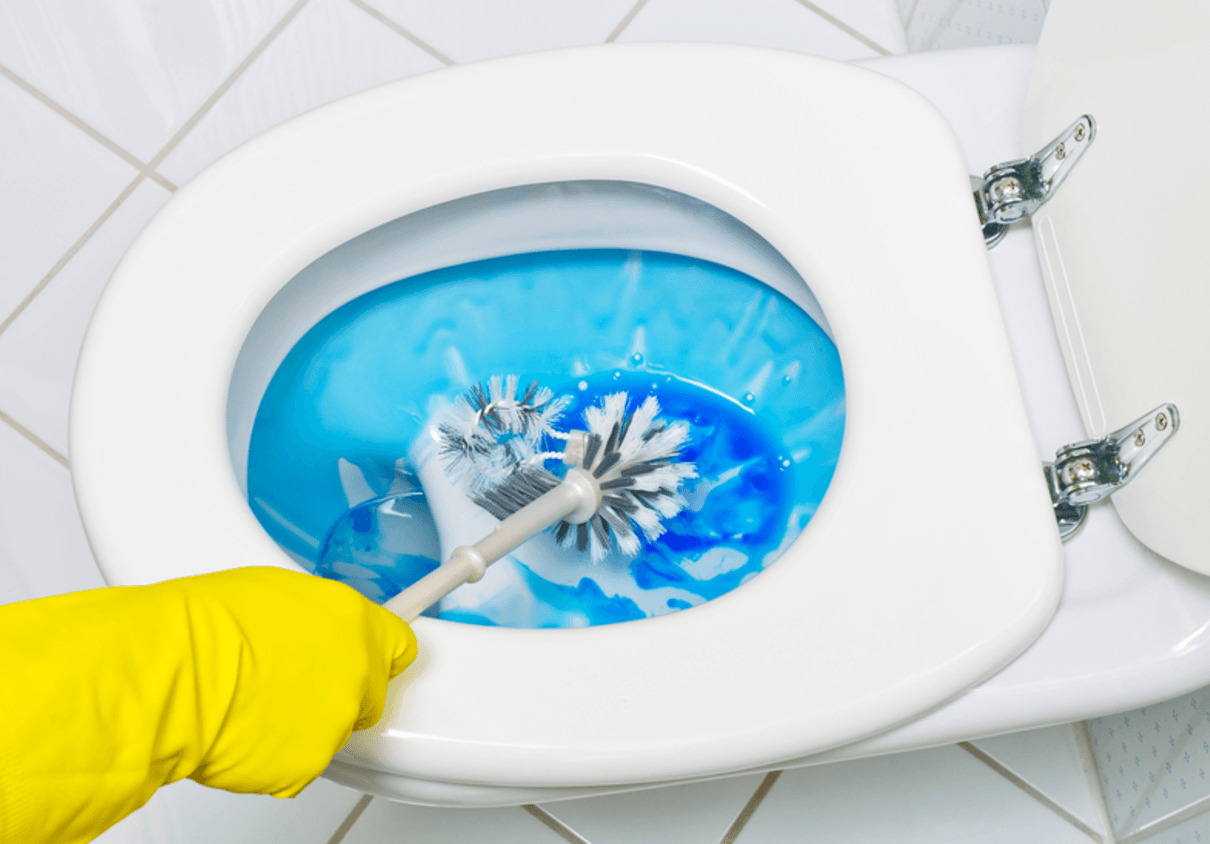
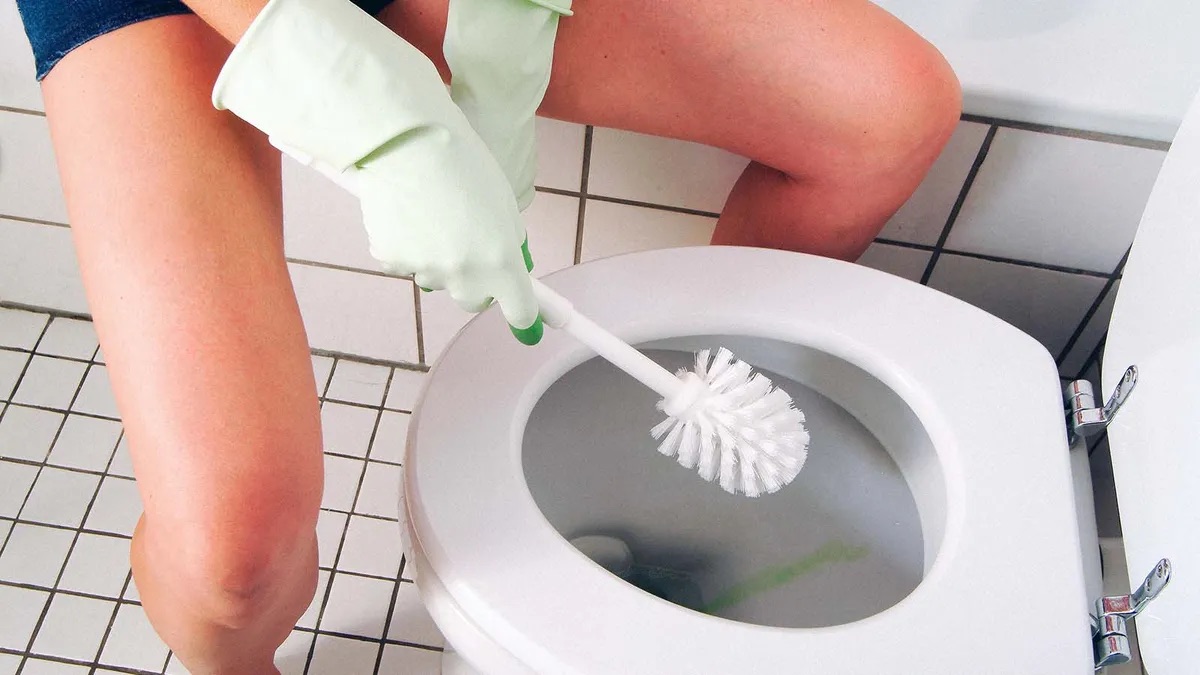
Next, take your toilet brush and scrub the inside of the toilet bowl. Pay close attention to the waterline and under the rim, as these areas often accumulate the most dirt and stains. Use a firm yet gentle motion to effectively remove any grime or residue.
Key Takeaways:
- Properly cleaning a toilet involves gathering essential supplies, pre-treating the bowl, and scrubbing thoroughly. Regular maintenance ensures a fresh and hygienic bathroom environment for you and your family.
- In addition to cleaning the toilet bowl, it’s crucial to pay attention to the seat, lid, tank, handle, and exterior. Completing the final steps ensures a functional, inviting, and pristine bathroom space.
Gather Your Supplies
Before diving into the task of cleaning your toilet, it’s important to gather all the necessary supplies. Having the right tools and products will make the cleaning process more efficient and effective. Here’s a list of items you’ll need:
- Toilet brush: Invest in a high-quality toilet brush with sturdy bristles. This will make it easier to scrub away stubborn stains and grime.
- Toilet bowl cleaner: Choose a toilet bowl cleaner that is effective in removing tough stains and killing bacteria. Look for products that are specifically formulated for toilets.
- Microfiber cloths: Microfiber cloths are great for wiping down surfaces and absorbing moisture. They are gentle on the toilet surface and leave no streaks behind.
- Gloves: Protect your hands from harsh chemicals by wearing a pair of rubber gloves. This will also prevent any cross-contamination between surfaces.
- All-purpose surface cleaner: Have an all-purpose cleaner on hand for tackling the exterior of the toilet. Look for one that is safe to use on different surfaces.
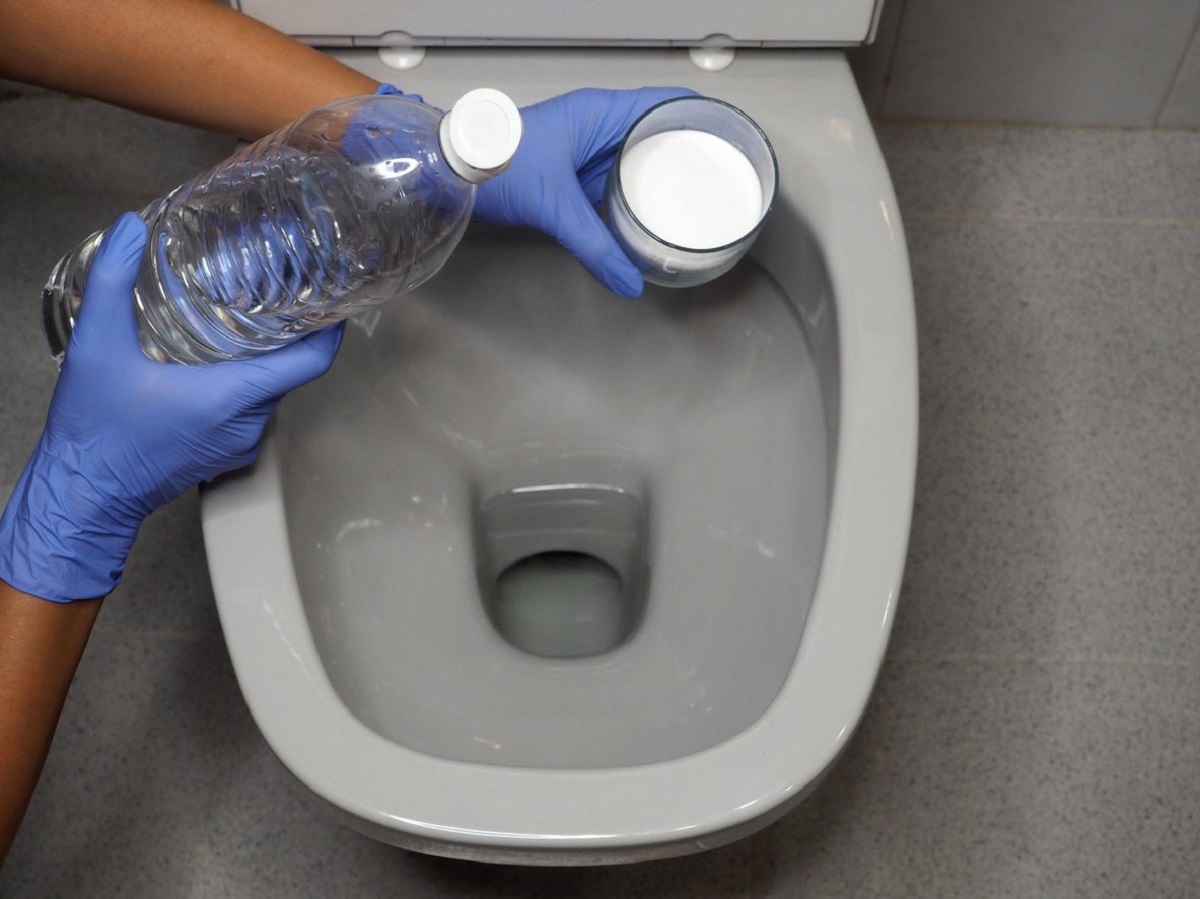
- Vinegar: Vinegar is a natural cleaner that can help remove stains and eliminate odors. It’s an excellent alternative to chemical-based cleaners.
Once you have gathered all the necessary supplies, you’ll be well-prepared to tackle the task of cleaning your toilet. Having these items readily available will save you time and make the cleaning process more efficient.
Note: Depending on your personal preferences and specific cleaning needs, you may choose to use additional cleaning products or tools. However, the items listed above are the essential supplies to get started with cleaning your toilet.
Remember, it’s always a good idea to follow the manufacturer’s instructions when using cleaning products, especially if you’re using new brands or formulas for the first time.
Now that you have your supplies ready, let’s move on to the next step: removing any obstacles around the toilet area.
Remove Any Obstacles
Before you begin cleaning your toilet, it’s important to clear the area and remove any obstacles that may hinder your cleaning process. Removing obstacles ensures that you have easy access to every part of the toilet and allows for a thorough cleaning. Here’s what you need to do:
1. Remove bath mats or rugs: Take any bath mats or rugs that are near the toilet and remove them. This will prevent the mats from getting wet or soiled during the cleaning process. You can wash them separately later.
2. Clear countertop or shelves: If you have any toiletries, cleaning products, or decorative items on the countertop or shelves near your toilet, temporarily relocate them to another area. This will give you ample space and clear visibility while cleaning.
3. Move freestanding items: If there are any freestanding items, such as trash bins, containers, or stools, that are in close proximity to the toilet, temporarily move them away. This will prevent accidental splashes or bumps during the cleaning process.
4. Remove obstructions from the floor: Look for any items on the bathroom floor that may get in the way, such as laundry baskets, storage boxes, or shoes. Relocate them to another area so that you have sufficient room to move around and clean the toilet area.
By clearing the area around the toilet, you’ll have a clear workspace and be able to easily access every part of the toilet. This step will help you clean more efficiently and avoid any accidental damage to surrounding items.
Once you’ve removed all the obstacles, it’s time to move on to the next step: pre-treatment.
Pre-treatment
Pre-treating your toilet before diving into the cleaning process can greatly help in loosening stubborn stains and grime, making them easier to remove. This step is particularly important if there are visible stains or buildup inside the toilet bowl. Here’s how to pre-treat your toilet:
1. Put on gloves: Before handling any cleaning products, it’s important to protect your hands by wearing a pair of gloves. This will prevent any skin irritations or reactions to the cleaning agents.
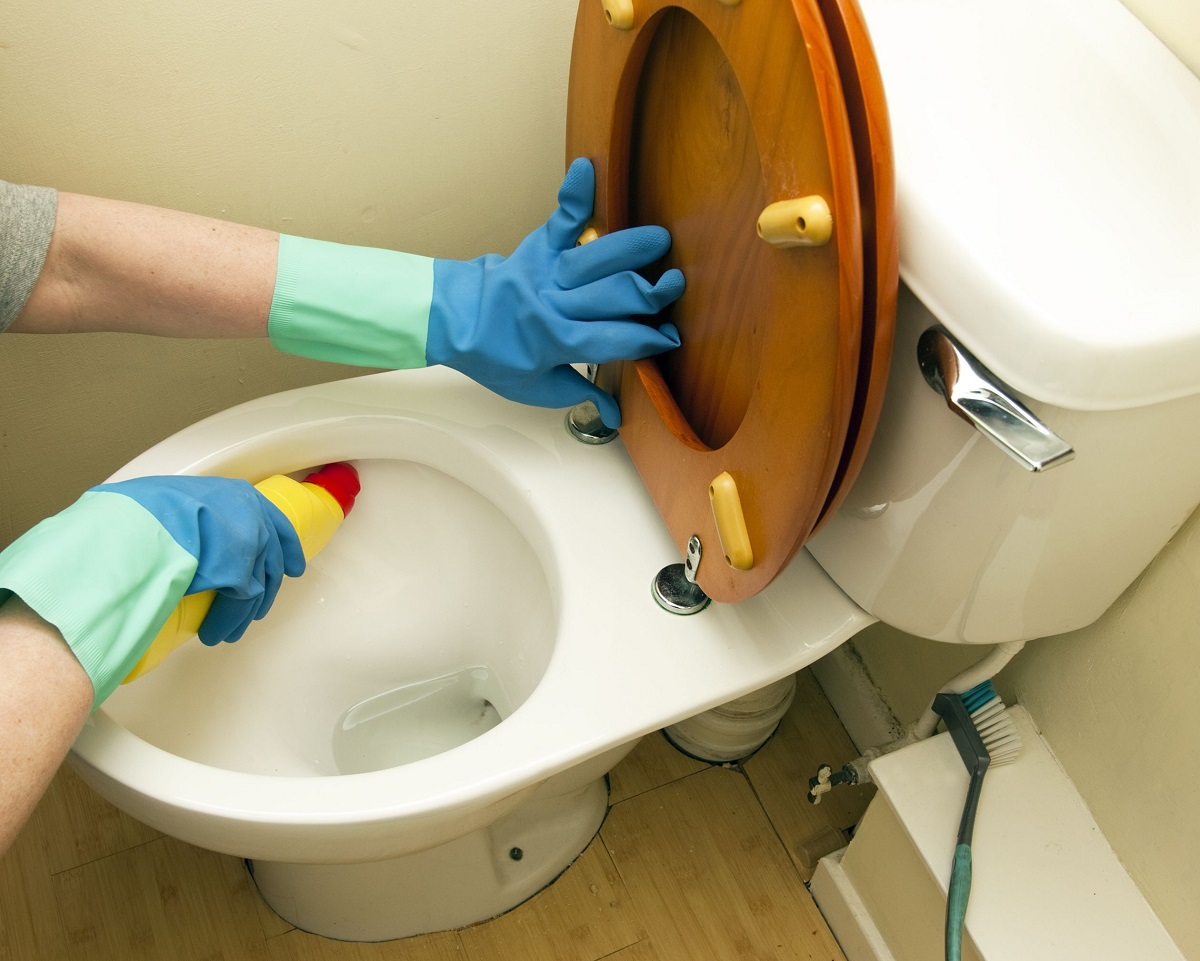
2. Apply toilet bowl cleaner: Squeeze a generous amount of toilet bowl cleaner onto the inner surface of the toilet bowl. Make sure the cleaner reaches the waterline and covers the entire surface area of the bowl.
3. Let it sit: Allow the toilet bowl cleaner to sit for the recommended amount of time, typically about 5 to 10 minutes. This will give the cleaner a chance to work its magic and break down any stains or grime.
While the toilet bowl cleaner is doing its job, you can move on to other cleaning tasks, such as cleaning the toilet seat and lid or gathering any additional supplies you may need.
4. Scrub the toilet bowl: After the recommended time, take your toilet brush and vigorously scrub the inside of the toilet bowl. Focus on areas with visible stains or buildup, such as the waterline and under the rim. Use a firm yet gentle motion to effectively remove the loosened grime.
5. Flush the toilet: Once you’ve thoroughly scrubbed the toilet bowl, flush the toilet to rinse away the cleaner and any loosened dirt. This will leave you with a fresh slate to continue the cleaning process.
Pre-treating your toilet not only helps in removing stubborn stains but also saves you time and effort during the cleaning process. It’s an essential step to ensure that your toilet is left sparkling clean and free of any buildup.
Now that you’ve pre-treated your toilet, let’s move on to the next step: cleaning the toilet bowl.
Clean the Toilet Bowl
Cleaning the toilet bowl is perhaps the most important step in achieving a pristine bathroom. The toilet bowl can accumulate stains and bacteria over time, so it’s crucial to clean it thoroughly. Here’s how to effectively clean the toilet bowl:
1. Apply toilet bowl cleaner: Start by applying a generous amount of toilet bowl cleaner to the inside of the toilet bowl. Squeeze the cleaner around the rim, letting it cascade down into the water. Ensure that the cleaner reaches the waterline and covers the entire surface of the bowl.
2. Let it sit: Allow the toilet bowl cleaner to sit for the recommended amount of time, usually indicated on the product’s label. This will give the cleaner a chance to work its magic and break down stains and bacteria.
3. Scrub with a toilet brush: Take your toilet brush and begin scrubbing the inside of the toilet bowl. Start from under the rim and work your way down, ensuring that you cover all areas, including the waterline and the bottom of the bowl. Use firm pressure but avoid scrubbing too aggressively to prevent any splashing.
4. Pay attention to stains: If there are stubborn stains that are not easily removed with regular scrubbing, consider using a more abrasive tool like a pumice stone or a specialized toilet cleaning brush with stronger bristles. Be sure to follow the manufacturer’s instructions to avoid scratching or damaging the toilet bowl surface.
5. Flush and rinse: After scrubbing, flush the toilet to rinse away the cleaner and any loosened dirt. If necessary, repeat the scrubbing and flushing process until the water runs clear, indicating a clean and fresh toilet bowl.
6. Clean the toilet brush: Once you’re done cleaning the toilet bowl, rinse the toilet brush thoroughly with clean water. Shake off any excess water and place the brush back in its holder or a designated area. It’s important to keep the brush clean and dry to prevent the growth of bacteria.
Remember to regularly clean the toilet bowl to maintain its cleanliness and prevent the buildup of stains and odors. A weekly cleaning routine and a thorough scrubbing will help keep your toilet bowl fresh and hygienic.
Now that you’ve cleaned the toilet bowl, it’s time to move on to the next step: cleaning the toilet seat and lid.
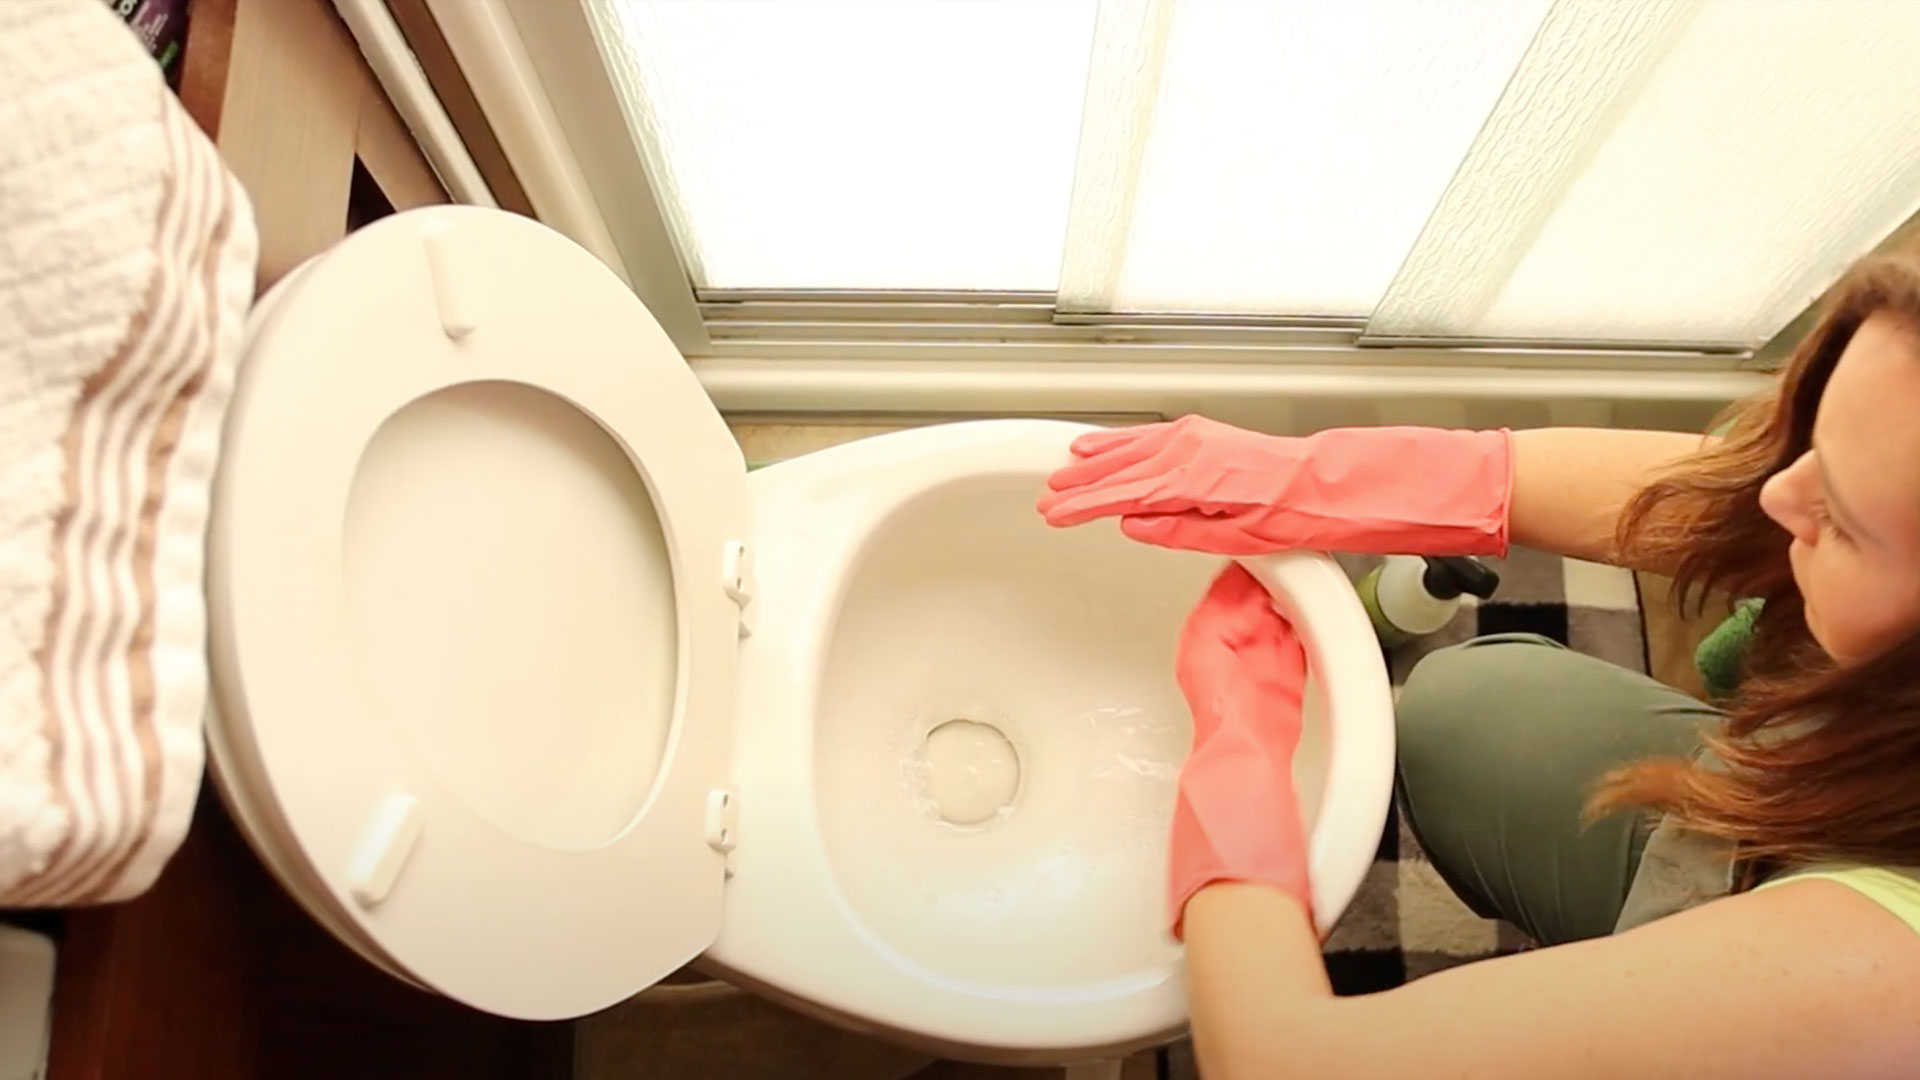
Use a toilet brush and a cleaning solution to scrub the inside of the bowl, focusing on the waterline and under the rim. Don’t forget to clean the outside of the toilet and the floor around it for a truly pristine bathroom.
Read more: How To Clean A Toilet With Bleach
Clean the Toilet Seat and Lid
The toilet seat and lid are frequently used and can accumulate grime, stains, and bacteria over time. Cleaning them regularly is essential for maintaining a hygienic bathroom. Here’s how to effectively clean the toilet seat and lid:
1. Start with a visual inspection: Before cleaning, visually inspect the toilet seat and lid for any visible stains or residue. This will help you determine if any pre-treatment or additional cleaning steps are necessary.
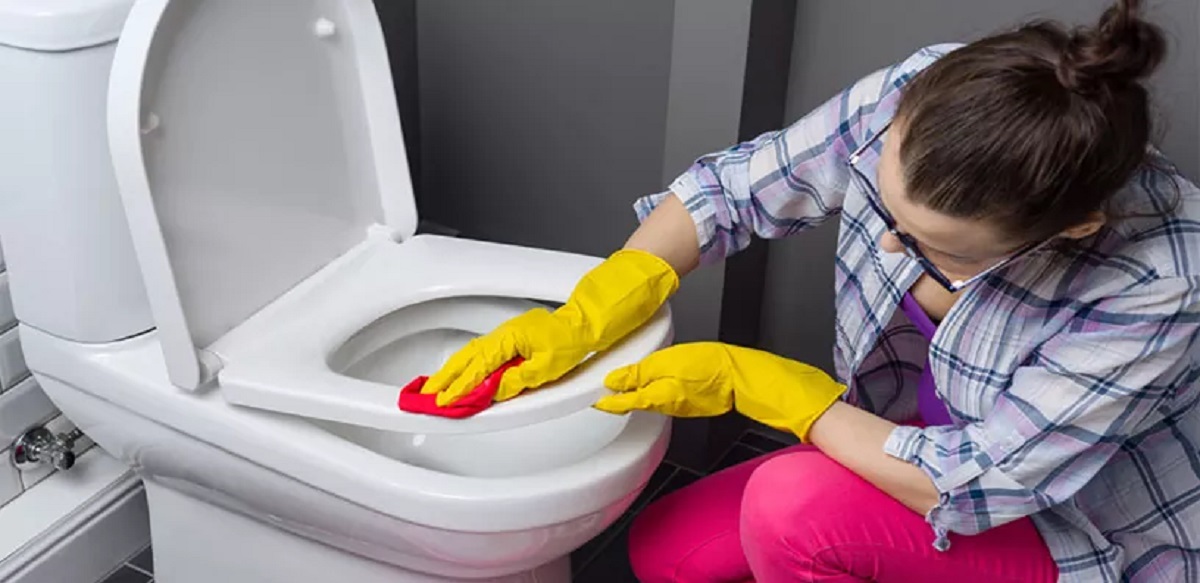
2. Use an all-purpose cleaner: Spray an all-purpose cleaner directly onto the surface of the toilet seat and lid. Make sure to cover all areas, including the top and bottom surfaces, as well as the hinges. Allow the cleaner to sit for a few moments to penetrate any dirt or stains.
3. Wipe with a microfiber cloth: Take a damp microfiber cloth and gently wipe down the toilet seat and lid. Start from the back and work your way towards the front, ensuring that you cover the entire surface. Pay extra attention to any stained or heavily soiled areas, applying a bit more pressure if needed.
4. Clean hard-to-reach areas: For hard-to-reach areas, such as the hinges or crevices between the seat and lid, use a small brush or an old toothbrush to scrub away any dirt or grime. This will help ensure a thorough cleaning and remove any hidden buildup.
5. Rinse and dry: After wiping down the toilet seat and lid, rinse the microfiber cloth with clean water and go over the surfaces once again to remove any remaining cleaner. Finally, dry the seat and lid with a dry microfiber cloth or allow them to air dry.
6. Disinfect if necessary: If you want to further disinfect the toilet seat and lid, you can use a disinfectant spray or wipes specifically designed for this purpose. Follow the instructions on the product label for the appropriate contact time and method of application.
Remember to wash your hands thoroughly after cleaning the toilet seat and lid to maintain good hygiene.
By regularly cleaning the toilet seat and lid, you’ll not only keep your bathroom looking clean and fresh but also minimize the risk of germ transmission.
Now that you’ve cleaned the toilet seat and lid, let’s move on to the next step: cleaning the tank and handle.
Clean the Tank and Handle
While the tank and handle may not be the most noticeable parts of your toilet, they still require regular cleaning to ensure proper hygiene and functionality. Here’s how to effectively clean the tank and handle:
1. Turn off the water supply: Before cleaning the tank, locate the water supply valve behind or beside the toilet. Turn it clockwise to shut off the water flow. This step is important to prevent any accidental flushing or water splashing while cleaning.
2. Remove the tank lid: Carefully remove the tank lid by lifting it straight up. Place it on a clean and stable surface to prevent any breakage or damage. Take note of any clips or screws that may be holding the lid in place and remove them if necessary.
3. Clean the tank interior: Use a clean cloth or sponge dipped in a mixture of water and mild dish soap to wipe down the inside of the tank. Pay attention to any visible dirt, mineral deposits, or discoloration. This step will help remove any buildup and keep the tank clean and odor-free.
4. Clean the tank exterior: Take a damp cloth or sponge and wipe down the exterior of the tank, including the sides and top. If there are any stubborn stains or residue, you can use a mild all-purpose cleaner or vinegar solution to help break them down. Avoid using abrasive cleaners or scrub brushes that may scratch the surface.
5. Clean the handle: The toilet handle is one of the frequently touched areas, so it’s important to keep it clean. Use a disinfectant wipe or a cloth dipped in a solution of water and disinfectant to thoroughly clean the handle. Pay attention to any crevices or hard-to-reach areas where bacteria may accumulate.
6. Rinse and dry: Once you’ve finished cleaning, rinse the tank interior and exterior with clean water. Wipe down the surfaces with a dry cloth to remove any excess moisture. Ensure that the tank lid is completely dry before placing it back on the tank.
7. Turn on the water supply: After you’ve cleaned and dried the tank and handle, turn the water supply valve counterclockwise to reopen the flow of water. Listen for the sound of the tank refilling, indicating that the water supply has been successfully restored.
Regularly cleaning the tank and handle will help maintain proper functionality and prevent any potential issues. It will also contribute to a cleaner and more hygienic bathroom environment.
Now that you’ve cleaned the tank and handle, let’s move on to the next step: cleaning the exterior of the toilet.
Clean the Exterior of the Toilet
The exterior of your toilet can accumulate dust, dirt, and fingerprints over time. Cleaning the exterior not only enhances the overall appearance of your bathroom but also ensures proper hygiene. Here’s how to effectively clean the exterior of the toilet:
1. Remove surface debris: Start by using a dry cloth or paper towel to remove any surface debris, such as dust or hair, from the exterior of the toilet. Pay attention to areas like the base, sides, and back of the toilet.
2. Spray with all-purpose cleaner: Spray an all-purpose cleaner on the exterior surfaces of the toilet, including the tank, bowl base, and sides. Make sure to cover all areas, including the handle and buttons if applicable.
3. Wipe down with a cloth or sponge: Take a damp cloth or sponge and wipe down the surfaces, starting from the top and working your way down. Use gentle but firm strokes, applying a bit more pressure on any stubborn stains or spots. Ensure that you reach all crevices and corners.
4. Pay attention to the toilet base: The toilet base is prone to collecting dust and grime. Use a small brush or an old toothbrush dipped in the all-purpose cleaner to clean around the base and in any hard-to-reach areas. Scrub gently to avoid scratching the surface.
5. Clean the toilet handle: If your toilet has a handle, wipe it down with a disinfectant wipe or a cloth soaked in a solution of water and disinfectant. Pay attention to any crevices or joints where bacteria might accumulate. Ensure that the handle is thoroughly cleaned and sanitized.
6. Dry the surfaces: After wiping down the toilet exterior, use a dry cloth or paper towel to remove any excess moisture. Dry the handle, tank, and base, ensuring that there are no damp surfaces that could attract dust or encourage the growth of bacteria.
7. Polish for shine (optional): For an extra touch of cleanliness and shine, you can use a polishing cloth or a microfiber cloth with a small amount of stainless steel cleaner or chrome polish. Gently buff the surfaces to remove any smudges and restore a polished look.
Regularly cleaning the exterior of your toilet will help maintain its appearance and cleanliness. It’s a simple yet important step in keeping your bathroom fresh and inviting.
Now that you’ve cleaned the exterior of the toilet, let’s move on to the final steps of the cleaning process.
Final Steps
Now that you’ve cleaned the toilet bowl, seat and lid, tank and handle, and the exterior of the toilet, there are a few final steps to complete the cleaning process and leave your bathroom looking pristine:
1. Dispose of cleaning materials: Properly dispose of any used cleaning materials, such as gloves, cloths, or wipes. Place them in a plastic bag and seal it before throwing it in the trash. This will help prevent the spread of bacteria or odors.
2. Replenish bathroom essentials: Take this opportunity to replenish any bathroom essentials that may need attention. Check the toilet paper supply, refill the soap dispenser, and replace any empty or near-empty products.
3. Clean the surrounding area: Don’t forget to clean the area surrounding the toilet. Wipe down countertops, vanity tops, and any other surfaces near the toilet to remove any dust or particles that may have accumulated during the cleaning process.
4. Check for leaks or issues: Take a moment to check for any leaks or issues with the toilet. Look for any signs of water on the floor, check the base of the toilet for any cracks or damage, and ensure that the flush mechanism is functioning properly. If you notice any problems, address them accordingly or seek professional assistance if needed.
5. Freshen up the bathroom: To leave your bathroom smelling fresh, you can use an air freshener or open a window to allow for proper ventilation. You can also place a scented candle or a bowl of potpourri in the bathroom for a pleasant aroma.
By completing these final steps, you are ensuring that your bathroom is not only clean but also functional and inviting.
Congratulations! You’ve successfully cleaned your toilet and achieved a pristine bathroom. By following these steps regularly, you can maintain a high level of cleanliness and hygiene in your bathroom.
Remember to establish a consistent cleaning routine to prevent the buildup of dirt and germs. Regular cleaning, coupled with proper maintenance, will ensure that your bathroom remains a clean and comfortable space for you and your family.
Thank you for reading this comprehensive guide on how to clean a toilet for a pristine bathroom. Happy cleaning!
Conclusion
Keeping your bathroom clean and hygienic starts with maintaining a pristine toilet. A properly cleaned toilet not only ensures a fresh and inviting bathroom but also helps prevent the spread of germs and bacteria. By following the step-by-step guide provided in this article, you can effectively clean every aspect of your toilet, from the bowl to the seat, tank, handle, and exterior.
It’s important to gather the necessary supplies before starting the cleaning process. Having a toilet brush, toilet bowl cleaner, microfiber cloths, gloves, all-purpose cleaner, and vinegar on hand will make the cleaning process more efficient and effective.
Before diving into cleaning, remove any obstacles around the toilet area to ensure easy access to all parts of the toilet. Pre-treating the toilet bowl with a generous amount of toilet bowl cleaner and allowing it to sit for a few minutes loosens stains and grime, making them easier to remove.
Thoroughly scrubbing the toilet bowl, seat, and lid with the appropriate cleaning materials ensures a deep and effective clean. Cleaning the tank and handle, as well as wiping down the exterior of the toilet, completes the overall cleaning process.
Remember to regularly clean the toilet to maintain its cleanliness and prevent the buildup of stains and odors. Develop a cleaning routine that suits your needs and schedule to ensure that your toilet stays fresh and hygienic.
By following these steps and taking the time to clean your toilet properly, you can create a clean and pristine bathroom environment. Not only will it enhance the visual appeal of your space, but it will also contribute to a healthier and more sanitary living environment for you and your family.
Thank you for reading this comprehensive guide on how to clean a toilet for a pristine bathroom. We hope that it has provided you with valuable insights and practical tips for maintaining a clean and inviting toilet. Happy cleaning!
Frequently Asked Questions about How To Clean A Toilet For A Pristine Bathroom
Was this page helpful?
At Storables.com, we guarantee accurate and reliable information. Our content, validated by Expert Board Contributors, is crafted following stringent Editorial Policies. We're committed to providing you with well-researched, expert-backed insights for all your informational needs.

0 thoughts on “How To Clean A Toilet For A Pristine Bathroom”