Home>Technology>Home Entertainment Systems>How To Set Up A Projector Outside
Home Entertainment Systems
How To Set Up A Projector Outside
Modified: October 28, 2024
Learn how to set up a projector outside for your home entertainment system with our step-by-step guide. Create an outdoor movie theater and enjoy cinema under the stars.
(Many of the links in this article redirect to a specific reviewed product. Your purchase of these products through affiliate links helps to generate commission for Storables.com, at no extra cost. Learn more)
Introduction
Setting up a projector outside can transform your outdoor space into a captivating entertainment hub. Whether it's for a movie night under the stars, a sports event viewing party, or a backyard gaming session, a well-executed outdoor projector setup can elevate your outdoor gatherings to a whole new level. In this guide, we will walk through the essential steps to help you create a seamless and enjoyable outdoor viewing experience.
When venturing into the realm of outdoor projector setups, there are several key factors to consider, such as choosing the right location, ensuring a reliable power source, selecting the appropriate screen and surface, and adjusting the projector for optimal viewing. Additionally, weather considerations play a crucial role in ensuring the longevity and performance of your outdoor setup.
By addressing these factors and implementing the best practices, you can create a captivating outdoor viewing environment that will leave your guests in awe. So, let's dive into the details of how to set up a projector outside and unlock the full potential of your outdoor space for entertainment and relaxation.
Key Takeaways:
- Create a captivating outdoor movie experience by choosing the right location, managing power and cables, and adjusting the projector for optimal viewing. Weatherproofing and maintenance are key for long-lasting enjoyment.
- Transform your outdoor space into an entertainment hub with a well-executed outdoor projector setup. Consider location, power accessibility, screen selection, and weather protection for an unforgettable outdoor viewing experience.
Read more: How To Get A Projector To Work Outside
Choosing the Right Location
When setting up a projector outside, selecting the right location is paramount to the overall viewing experience. Consider the following factors to ensure an optimal viewing environment:
- Space and Layout: Assess the available space and layout of your outdoor area. Choose a location that provides sufficient room for seating and ensures that the projector is positioned at an appropriate distance from the screen or viewing surface. Additionally, consider the placement of any potential obstructions, such as trees or structures, that could impact the projection.
- Lighting Conditions: Evaluate the ambient lighting conditions in the chosen location. While outdoor settings offer the advantage of natural light, excessive brightness can diminish the clarity of the projected image. Opt for a location where you can control or mitigate the impact of ambient light, such as positioning the setup away from direct light sources or utilizing shading options like canopies or outdoor curtains.
- Accessibility: Ensure that the chosen location allows for convenient access to power sources and audiovisual equipment. Consider the proximity to power outlets and the feasibility of running cables to connect the projector and other devices.
- Environmental Considerations: Take into account environmental factors such as wind patterns and potential sources of noise. Choosing a sheltered spot can help mitigate the impact of wind, while minimizing background noise can enhance the overall audio experience.
By carefully assessing these considerations, you can identify the optimal location for your outdoor projector setup, setting the stage for an immersive and enjoyable viewing experience. The next steps will delve into the technical aspects of powering the setup and selecting the appropriate screen and surface for projection.
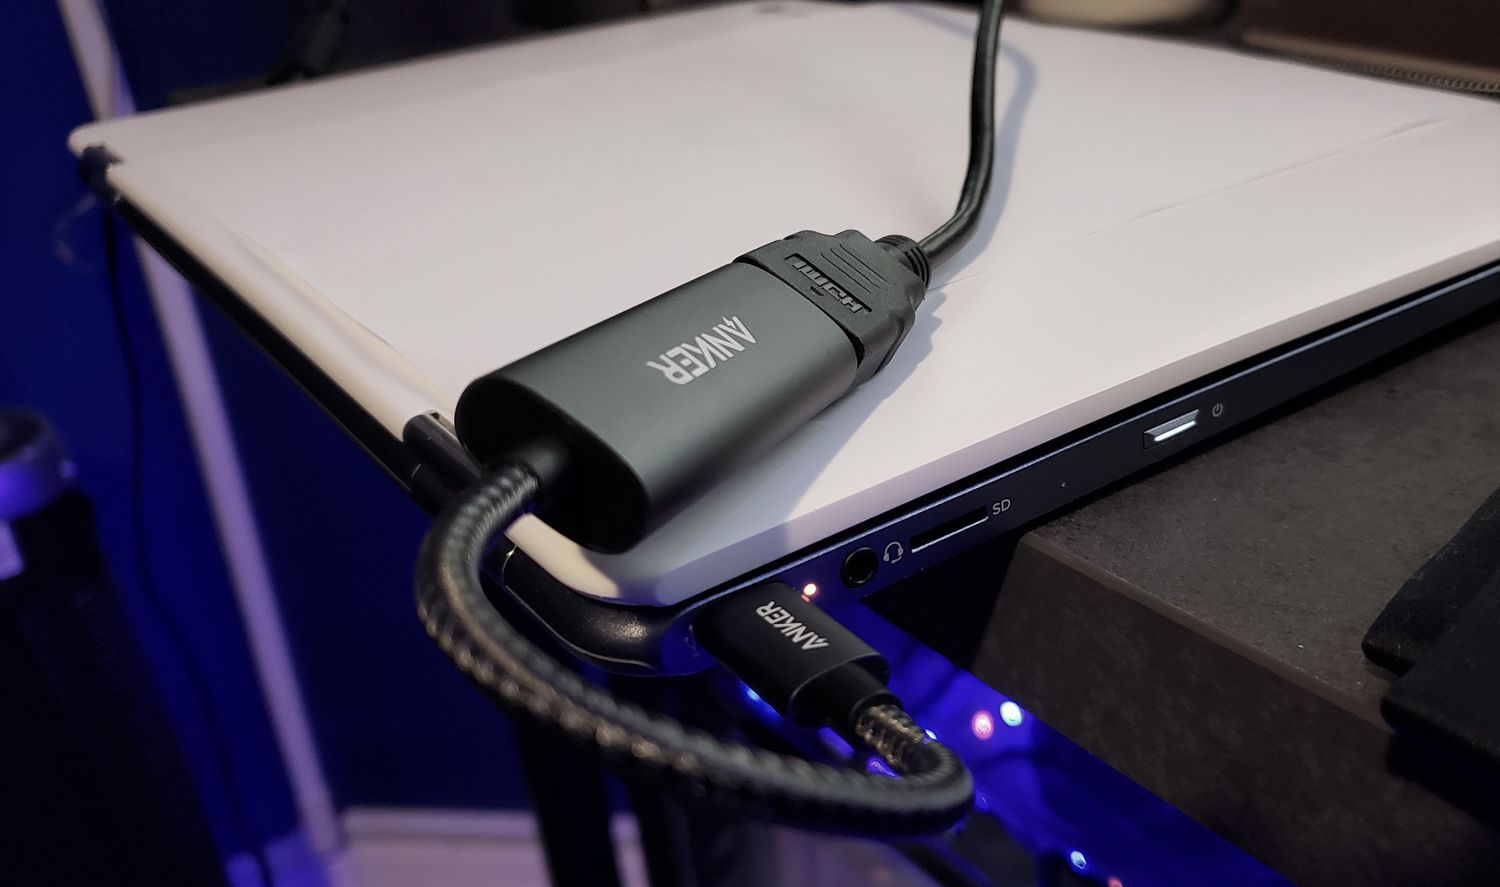
Power Source and Cables
Ensuring a reliable power source and managing the necessary cables are crucial steps in setting up a projector outside. Here are the key considerations to keep in mind:
- Power Accessibility: Identify the nearest power source to the chosen location for the projector setup. If an outdoor power outlet is available, ensure that it is in good working condition and can provide the necessary power for the projector and any additional audio equipment. In cases where outdoor power access is limited, consider using outdoor-rated extension cords to safely extend the reach of the power source.
- Weatherproofing: When utilizing outdoor power outlets or extension cords, prioritize weatherproofing to safeguard against moisture and outdoor elements. Opt for outdoor-rated extension cords and utilize weatherproof outlet covers to protect the connections from rain, dew, or other environmental factors.
- Cable Management: Plan the routing of cables from the power source to the projector and any associated audio devices. Utilize cable management solutions such as cable clips, ties, or outdoor cable covers to secure and protect the cables, minimizing trip hazards and potential damage from outdoor conditions.
- Audio Connections: If incorporating external speakers or a sound system into your outdoor setup, ensure that the necessary audio cables are securely connected and positioned to deliver optimal sound quality. Consider the placement of speakers to achieve balanced audio coverage across the viewing area.
By addressing power accessibility, weatherproofing, and effective cable management, you can establish a reliable and safe power infrastructure for your outdoor projector setup. The next section will delve into the selection of the screen and surface, which are essential components for delivering a high-quality projected image in an outdoor environment.
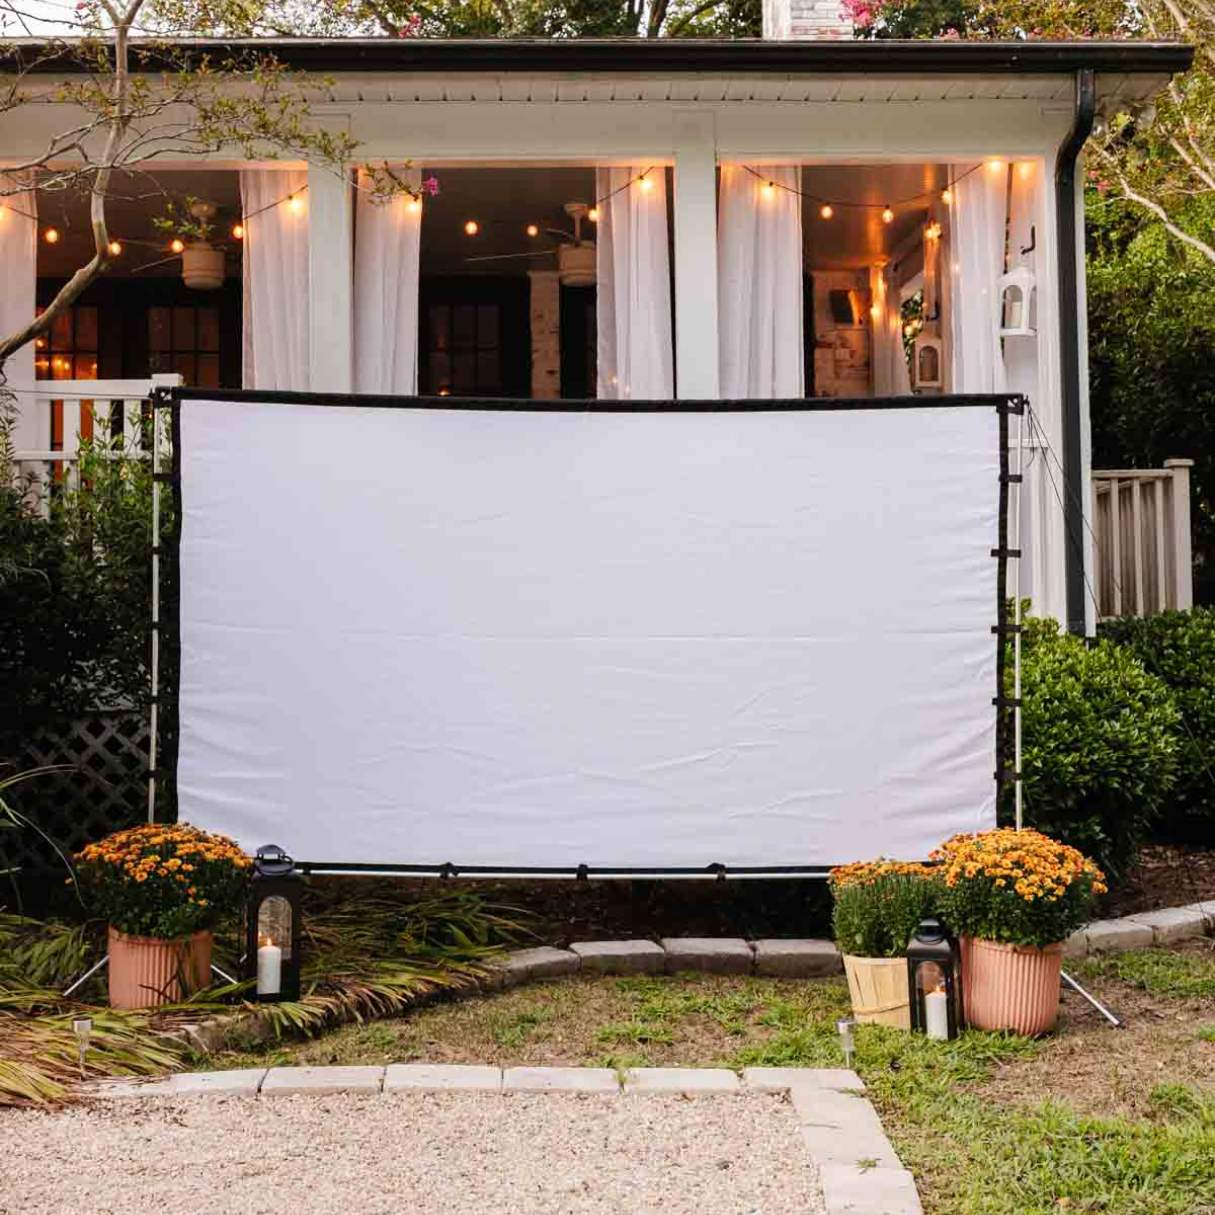
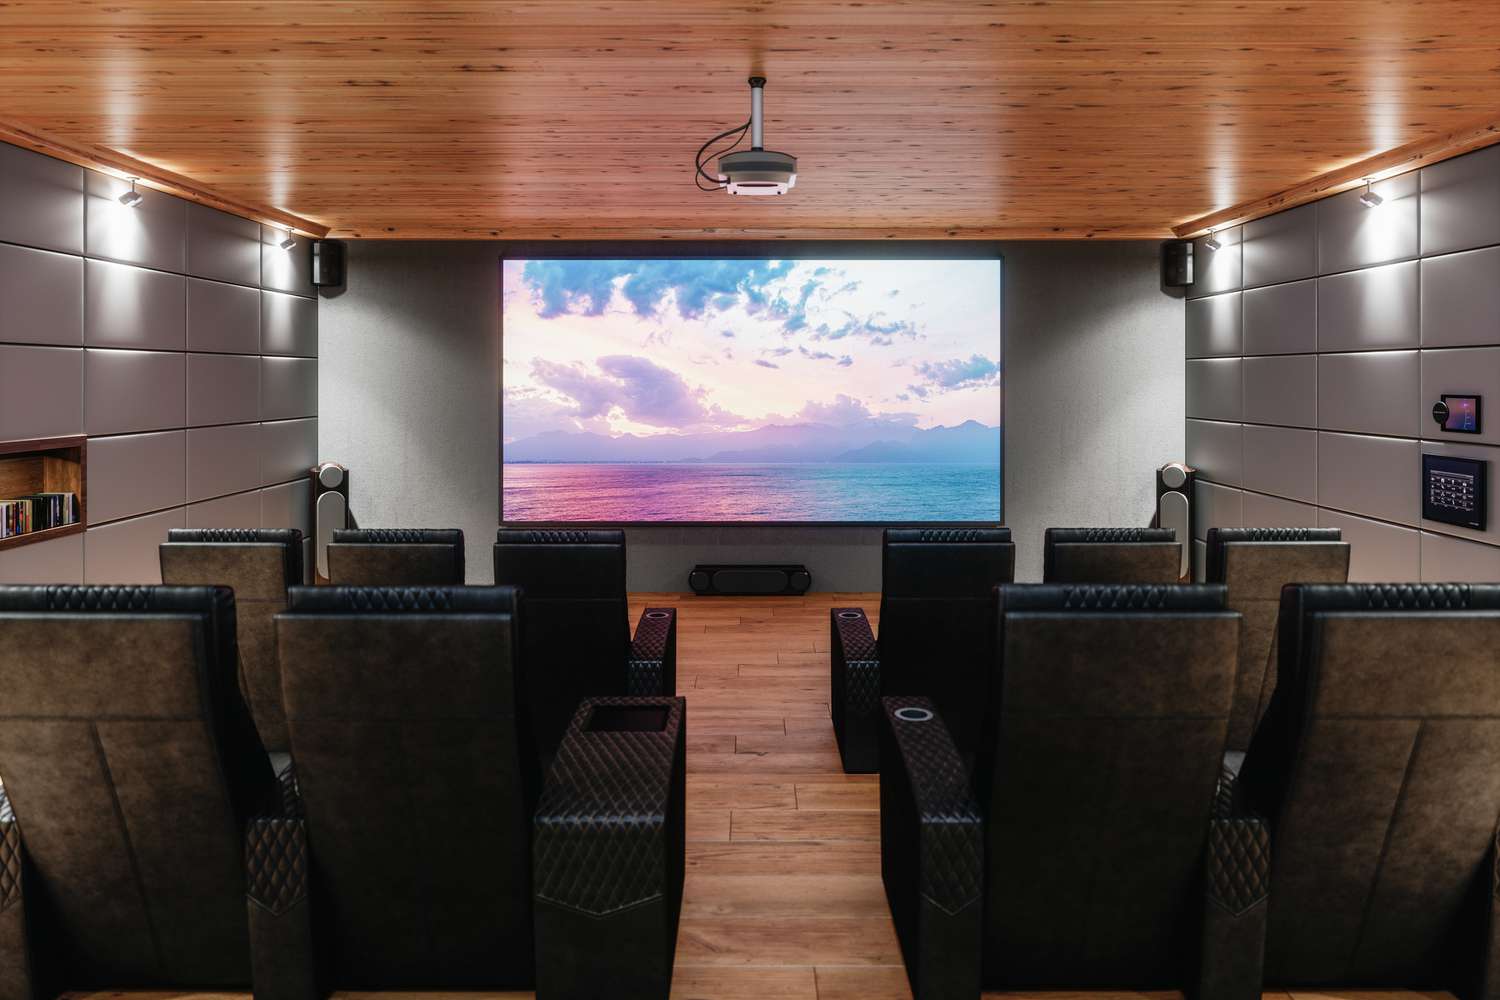
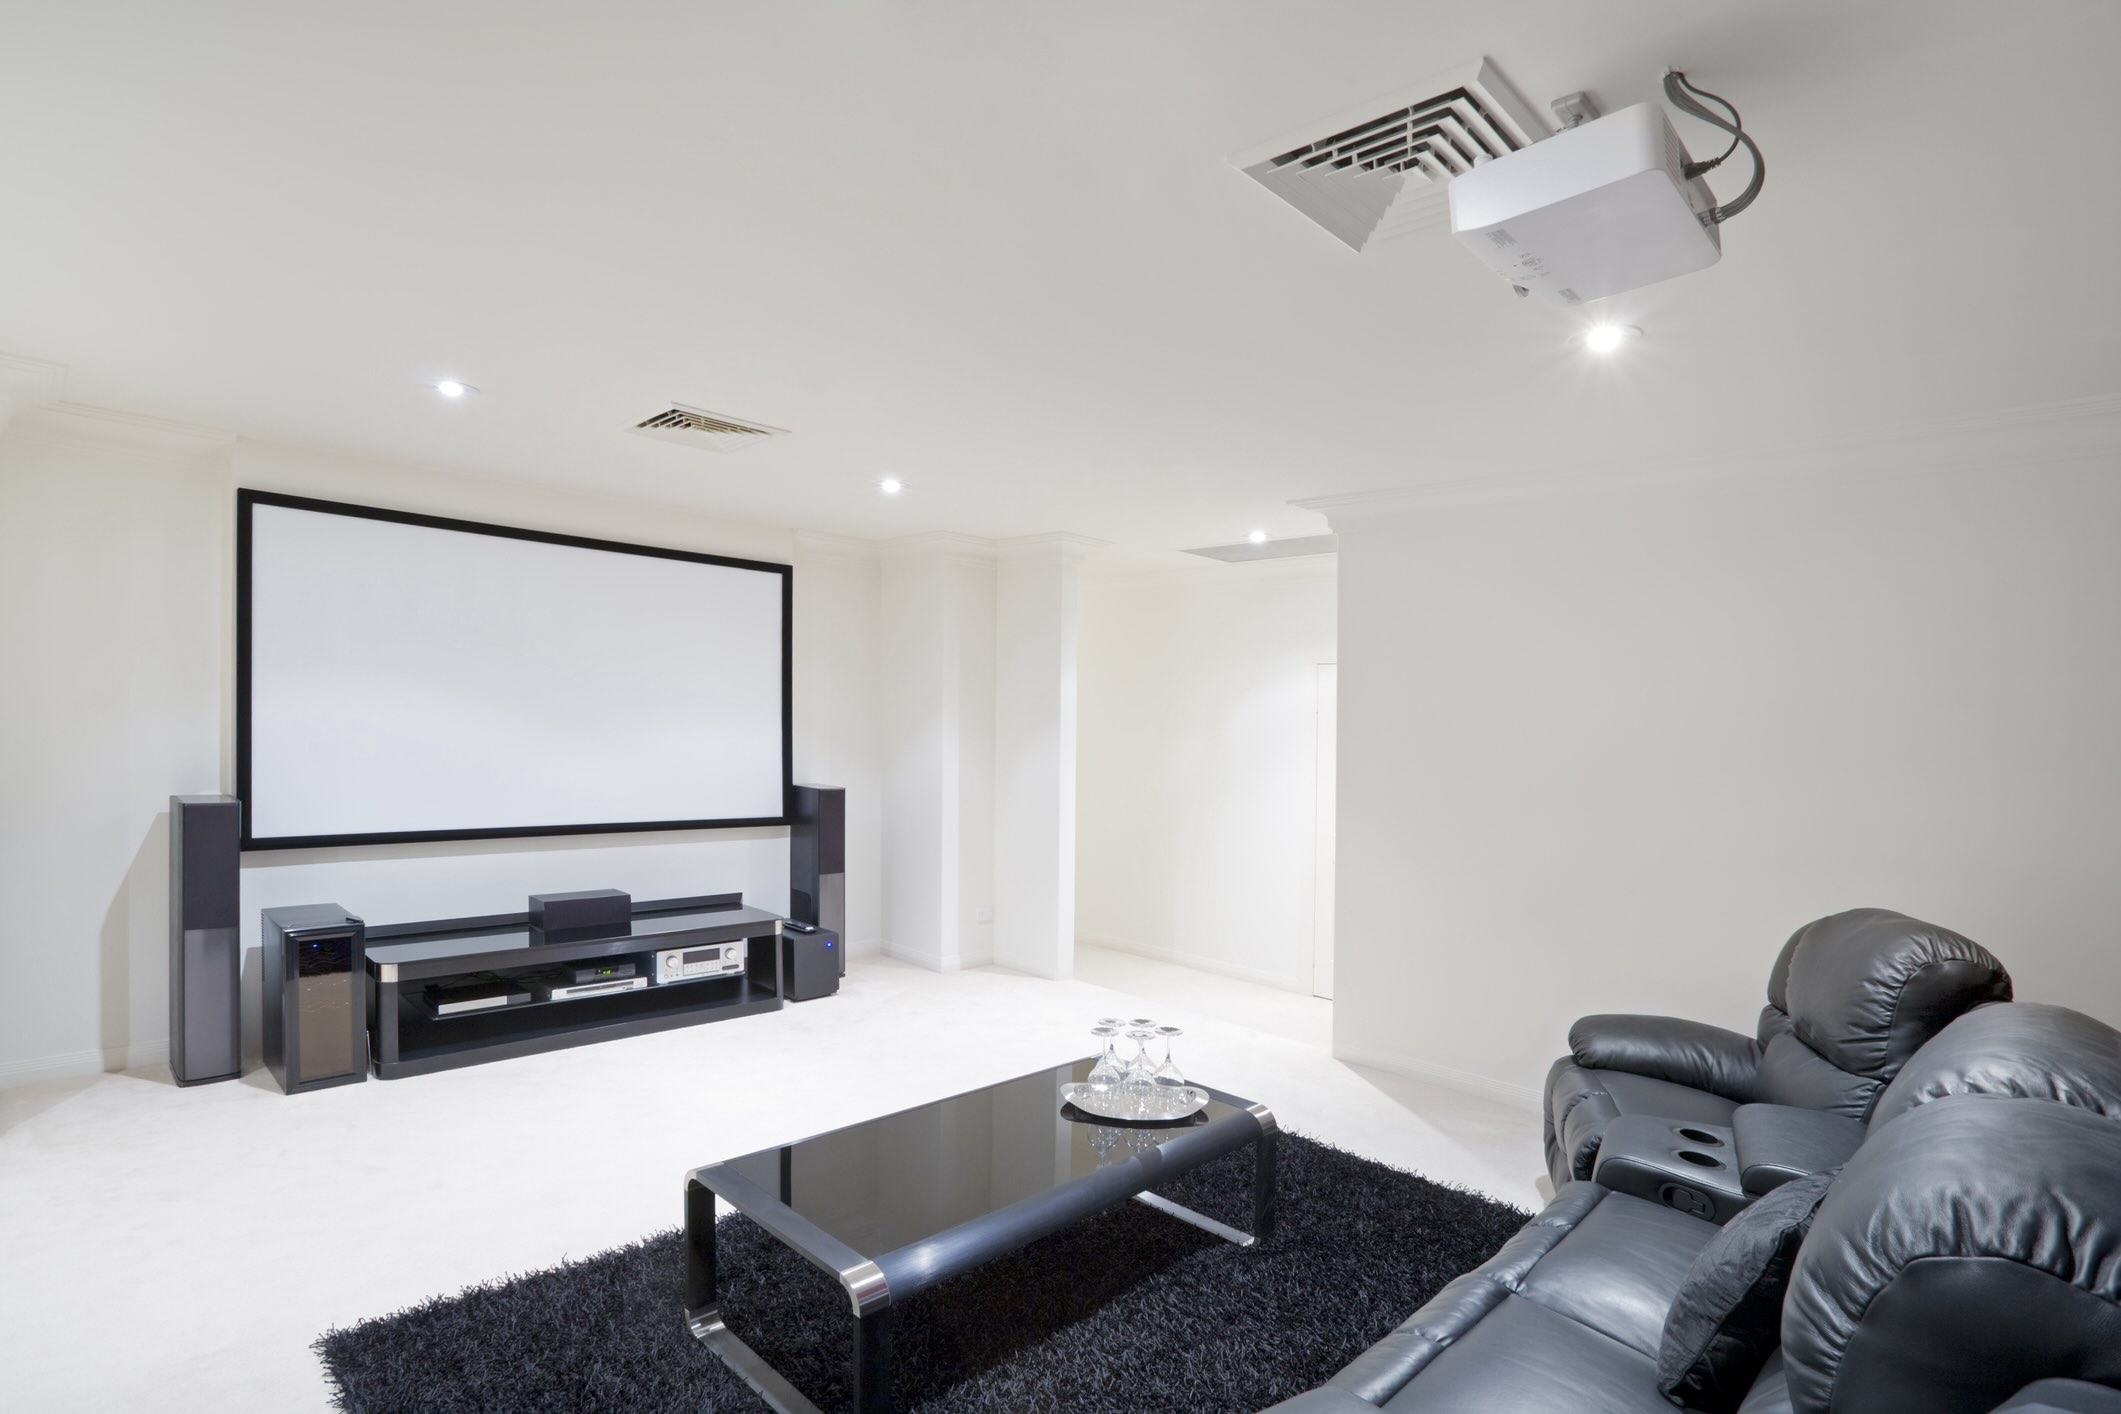
Screen and Surface
Choosing the right screen and surface for your outdoor projector setup is essential for achieving a captivating and immersive viewing experience. Consider the following factors when selecting the screen and surface:
- Screen Type: Opt for a dedicated outdoor projector screen or a suitable alternative, such as a blank wall or a high-quality, tensioned projection surface. Outdoor projector screens are designed to withstand outdoor conditions and provide optimal image reflection, while blank walls should be smooth, light-colored, and free from imperfections to ensure a clear and vibrant projected image.
- Surface Preparation: If using a blank wall or a makeshift projection surface, ensure that the surface is clean, smooth, and free from any obstructions or textures that could distort the projected image. Consider using a portable screen or a projector screen with a sturdy frame for added stability and ease of setup.
- Screen Positioning: Set up the screen at an appropriate height and angle to ensure optimal viewing for your audience. Consider utilizing adjustable stands or mounts to position the screen at the ideal viewing level, taking into account the seating arrangement and the projector’s throw distance.
- Surface Stability: If setting up the projector on an uneven or soft surface, such as grass or gravel, ensure that the screen is securely anchored to prevent movement or instability caused by wind or other environmental factors. Utilize stakes, weights, or sandbags to secure the screen and maintain a steady viewing surface.
By carefully considering the screen type, surface preparation, positioning, and stability, you can create an optimal canvas for projecting high-quality images in your outdoor viewing space. The next section will focus on adjusting the projector to deliver an exceptional viewing experience, taking into account factors such as image clarity, focus, and alignment.
When setting up a projector outside, make sure to choose a location with minimal ambient light to improve visibility. Use a screen or a smooth, light-colored surface for the best image quality. Also, consider using a portable power source if there are no electrical outlets nearby.
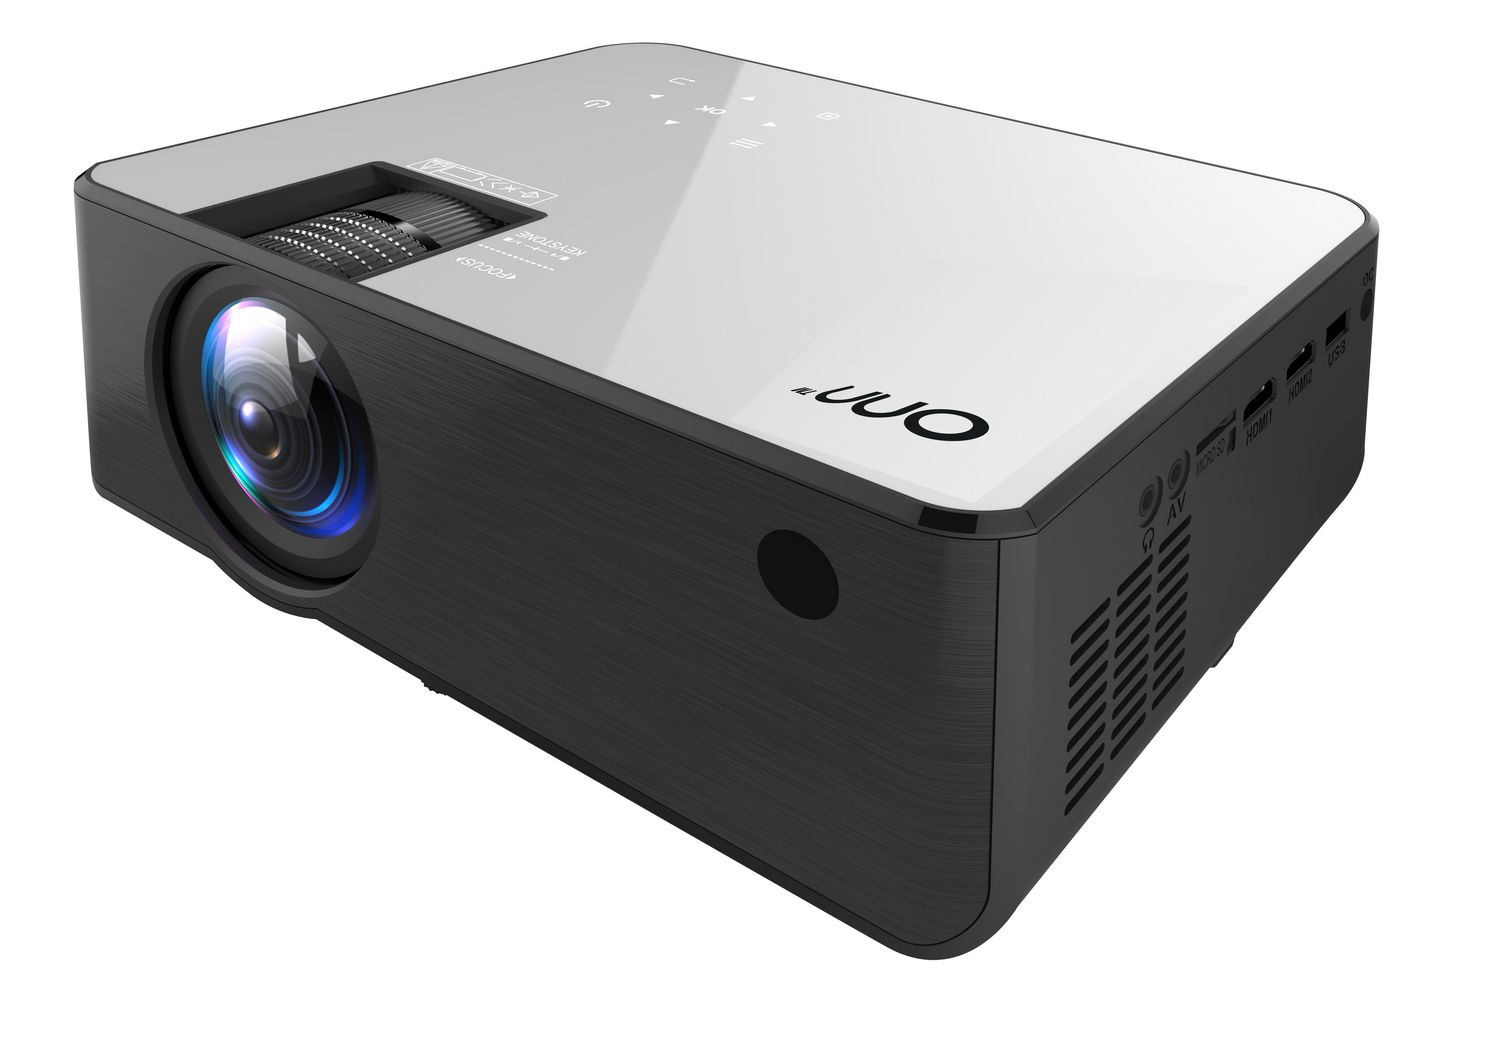
Adjusting the Projector
Properly adjusting the projector is essential for delivering a crisp and vibrant image in your outdoor viewing setup. Follow these steps to optimize the projector’s settings for an exceptional viewing experience:
- Image Alignment: Position the projector at an appropriate distance from the screen or viewing surface to achieve the desired image size and aspect ratio. Use the projector’s zoom and lens shift features, if available, to fine-tune the image alignment and ensure that it fills the screen evenly without distortion.
- Keystone Correction: Utilize the projector’s keystone correction functionality to adjust the image and compensate for any distortion caused by the projector’s angle relative to the screen. This feature helps maintain a rectangular and true-to-form image, even if the projector is not perfectly aligned with the screen.
- Focusing the Image: Use the projector’s focus adjustment to sharpen the projected image and enhance overall clarity. Ensure that text, graphics, and details are crisp and well-defined, providing a visually engaging experience for your audience.
- Color and Contrast Calibration: Access the projector’s color and contrast settings to fine-tune the visual characteristics of the projected image. Adjust the color temperature, contrast levels, and other display parameters to achieve vibrant colors and optimal image depth, enhancing the overall visual impact of your outdoor viewing experience.
- Optimizing Brightness: Consider the ambient light conditions in your outdoor setting and adjust the projector’s brightness and display mode to ensure optimal visibility. In darker environments, a higher brightness setting may be suitable, while dimming the projector’s output can enhance image quality in settings with controlled ambient lighting.
By carefully adjusting the projector’s settings, you can optimize the image quality and ensure that your outdoor viewing experience is visually stunning and immersive. The next section will explore essential considerations related to weather and environmental factors, which play a significant role in maintaining the longevity and performance of your outdoor projector setup.
Read more: How To Set Up Skytrak With Projector
Weather Considerations
When setting up a projector outside, weather considerations are pivotal to safeguarding the equipment and ensuring an uninterrupted viewing experience. Here’s how to address weather-related factors for your outdoor projector setup:
- Protection from Moisture: Shield the projector and associated equipment from moisture by utilizing weatherproof covers or enclosures. If possible, position the setup under a covered area or invest in a weather-resistant housing to safeguard the equipment from rain, dew, or high humidity.
- Temperature Management: Be mindful of temperature fluctuations and extreme heat or cold, as they can impact the performance and longevity of the projector. Avoid exposing the equipment to direct sunlight or extreme temperatures, and consider using cooling fans or shade structures to regulate the operating temperature of the projector.
- Wind and Stability: Secure the projector, screen, and any supporting structures to withstand wind and outdoor elements. Utilize sturdy mounts, weighted bases, or anchor points to prevent movement or instability caused by gusts of wind, ensuring a steady and reliable outdoor viewing setup.
- Storage and Maintenance: When not in use, store the projector and related equipment in a dry and secure location to protect them from prolonged exposure to outdoor elements. Perform routine maintenance, such as cleaning filters and inspecting connections, to uphold the performance and longevity of the outdoor setup.
- Emergency Preparedness: Have a contingency plan in place for unexpected weather events. Consider options for quickly dismantling and protecting the equipment in the event of sudden rain or adverse weather conditions to prevent damage and ensure the longevity of the projector and associated components.
By addressing these weather considerations, you can mitigate potential risks and ensure the durability and reliability of your outdoor projector setup. With proper weatherproofing and protective measures in place, you can enjoy outdoor entertainment with peace of mind, knowing that your equipment is safeguarded against the elements. As we conclude, let’s recap the essential steps and considerations for setting up a projector outside to create memorable outdoor viewing experiences.
Conclusion
Setting up a projector outside opens up a world of possibilities for outdoor entertainment, from movie nights and sports viewings to gaming experiences under the open sky. By carefully considering the location, power source, screen and surface, projector adjustments, and weather considerations, you can create a captivating outdoor viewing environment that enhances your gatherings and leisure time.
Choosing the right location sets the stage for an immersive viewing experience, allowing you to optimize seating arrangements and mitigate potential obstructions and lighting challenges. Ensuring a reliable power source and managing cables with weatherproofing measures are essential for the safe and efficient operation of your outdoor setup, providing the necessary infrastructure for powering the projector and associated audio equipment.
When selecting the screen and surface, attention to detail in surface preparation, positioning, and stability is crucial for delivering a high-quality projected image. Adjusting the projector’s settings, including image alignment, focus, and color calibration, allows you to optimize visual clarity and vibrancy, ensuring an exceptional viewing experience for your audience.
Moreover, weather considerations play a significant role in safeguarding the equipment and maintaining the longevity of your outdoor setup. By protecting the projector from moisture, managing temperature exposure, ensuring stability in windy conditions, and implementing maintenance and emergency preparedness measures, you can enjoy outdoor entertainment with confidence, knowing that your equipment is well-protected.
With these considerations in mind, you can create a seamless and enjoyable outdoor viewing experience that captivates your audience and elevates your outdoor gatherings. Whether it’s a cozy movie night with loved ones or an exhilarating sports event viewing, your outdoor projector setup can become a focal point for unforgettable moments and shared experiences under the open sky.
So, take the time to set up your outdoor projector with care and attention to detail, and unlock the full potential of your outdoor space for entertainment and relaxation. With the right setup and a touch of creativity, you can turn any outdoor occasion into a memorable and immersive cinematic experience.
Frequently Asked Questions about How To Set Up A Projector Outside
Was this page helpful?
At Storables.com, we guarantee accurate and reliable information. Our content, validated by Expert Board Contributors, is crafted following stringent Editorial Policies. We're committed to providing you with well-researched, expert-backed insights for all your informational needs.


0 thoughts on “How To Set Up A Projector Outside”