Articles
How To Replace A Delta Faucet Cartridge
Modified: May 6, 2024
Learn how to replace a Delta faucet cartridge with this informative article. Find step-by-step instructions and helpful tips to complete the task easily.
(Many of the links in this article redirect to a specific reviewed product. Your purchase of these products through affiliate links helps to generate commission for Storables.com, at no extra cost. Learn more)
Introduction
Replacing a Delta faucet cartridge is a common maintenance task that can extend the life of your faucet and restore its optimal functionality. Over time, mineral deposits, wear and tear, and other factors can cause the cartridge to malfunction, resulting in leaks or difficulty in controlling water flow and temperature.
By following a few simple steps, you can easily replace a Delta faucet cartridge and have your faucet working like new again. In this article, we will guide you through the process of replacing a Delta faucet cartridge, providing detailed instructions along the way.
Before we begin, it’s important to note that it can be helpful to refer to the specific model number and documentation for your Delta faucet. Additionally, always remember to turn off the water supply before starting any maintenance task on your faucet.
Let’s dive into the step-by-step process of replacing a Delta faucet cartridge, starting with gathering the necessary tools and materials.
Key Takeaways:
- Easily restore your Delta faucet’s functionality by following simple steps to replace the cartridge, ensuring optimal water flow and temperature control while preventing leaks.
- Regular maintenance and prompt cartridge replacement can extend your Delta faucet’s lifespan, improve performance, and save you from more extensive repairs in the future.
Read more: How To Replace A Kitchen Faucet Cartridge
Step 1: Gather Tools and Materials
To replace a Delta faucet cartridge, you will need the following tools and materials:
- Adjustable wrench
- Phillips screwdriver
- Needle-nose pliers
- Plumber’s grease
- Replacement Delta faucet cartridge
Ensure that you have all these items readily available before starting the cartridge replacement process. This will save you time and prevent any interruptions during the task.
It’s worth noting that there are different types of Delta faucet cartridges, such as single-handle and double-handle cartridges. Ensure that you purchase the correct one for your specific faucet model. The model number can usually be found on the faucet itself or in the product documentation.
Once you have the necessary tools and the appropriate replacement cartridge, you’re ready to move on to the next step: shutting off the water supply.
Step 2: Shut Off the Water Supply
Before you begin the process of replacing a Delta faucet cartridge, it is crucial to shut off the water supply to avoid any potential leaks or accidents. Here’s how you can do it:
- Locate the shut-off valves under the sink. These valves are usually located on the hot and cold water supply lines.
- Turn the shut-off valves clockwise to shut off the water flow. This will prevent any water from coming out of the faucet while you work on it.
- Once you have turned off the water supply, test the faucet by turning the handles to ensure that the water flow has stopped completely.
By shutting off the water supply, you can work on the faucet without worrying about any water leakage or damage. It is important to note that if you cannot locate the shut-off valves under the sink or if they are not functioning properly, you may need to shut off the main water supply to your home.
Now that you have successfully shut off the water supply, it’s time to move on to the next step: removing the faucet handle.
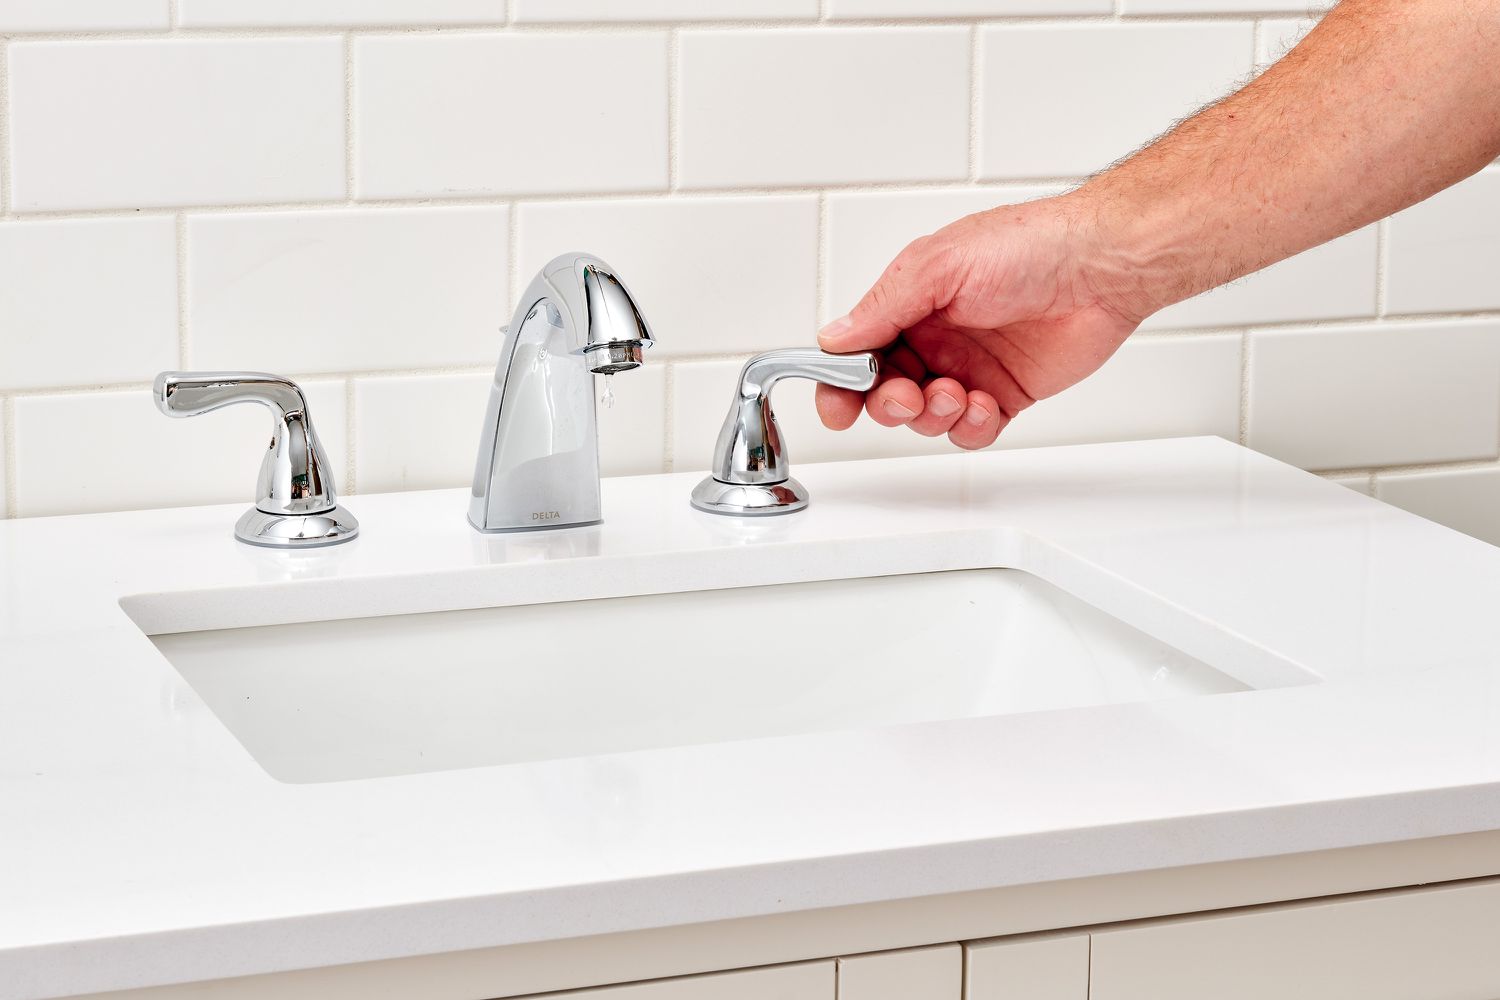
Step 3: Remove the Faucet Handle
With the water supply shut off, the next step is to remove the faucet handle. Here’s how:
- Locate the decorative cap or cover on the faucet handle. This cap is usually marked with the Delta logo or an “H” for hot and “C” for cold.
- Gently pry off the cap using a flathead screwdriver or your fingers. Be careful not to scratch or damage the surface of the cap or handle.
- Once the cap is removed, you will see a screw that holds the handle in place. Use a Phillips screwdriver to unscrew the handle screw in a counterclockwise direction.
- Once the screw is loose, carefully lift the handle upwards to remove it from the faucet stem. If the handle is stuck or stubborn, you can use a handle puller or give it a gentle wiggle to loosen it.
By removing the faucet handle, you gain access to the bonnet nut, which will allow you to proceed with the cartridge replacement process. Keep the handle, cap, and screw in a safe place as you will need them for reassembly later.
Now that you have successfully removed the faucet handle, it’s time to move on to the next step: removing the bonnet nut.
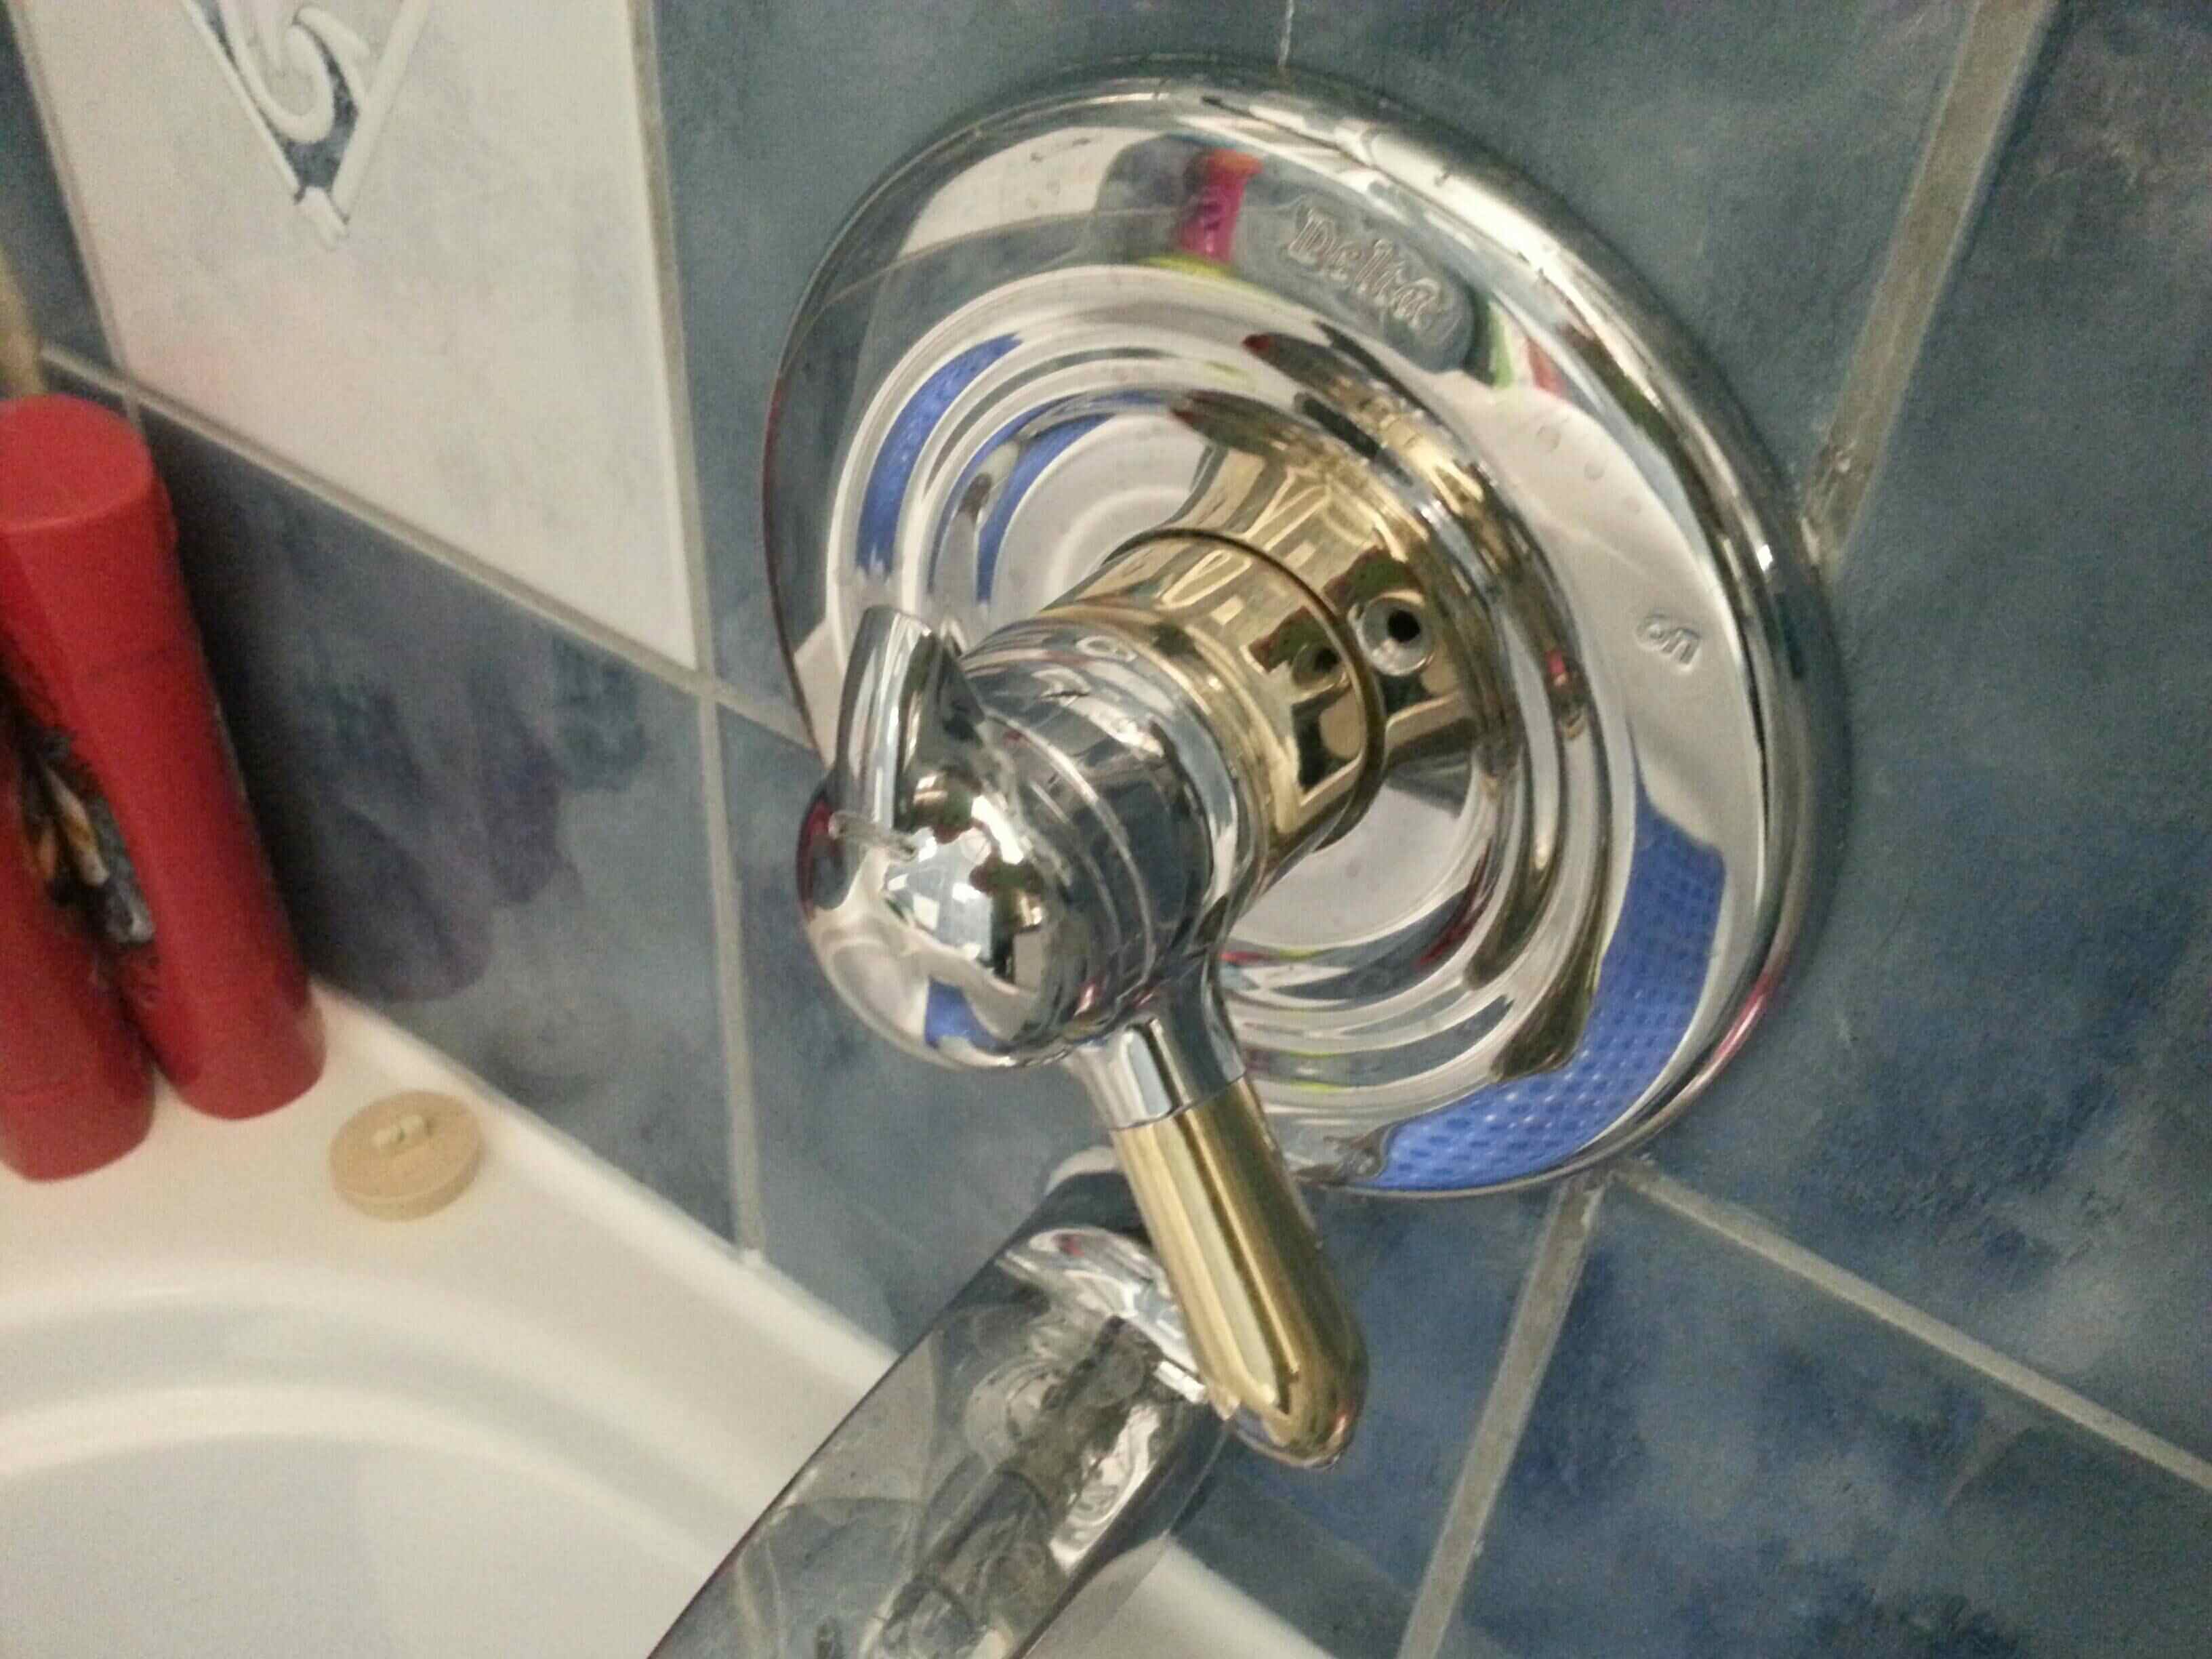
Step 4: Remove the Bonnet Nut
After removing the faucet handle, the next step in replacing a Delta faucet cartridge is to remove the bonnet nut. Follow these steps:
- Inspect the exposed part of the faucet stem and locate the bonnet nut. This nut is typically hexagonal or rounded and secures the cartridge in place.
- Using an adjustable wrench, grip the bonnet nut firmly and turn it counterclockwise to loosen it. Be careful not to use excessive force, as you don’t want to risk damaging the nut or the faucet.
- Continue turning the bonnet nut until it is completely removed from the faucet stem. If the nut is stubborn or difficult to loosen, you can apply a penetrating oil or use a plumber’s wrench for additional leverage.
- Once the bonnet nut is removed, set it aside in a safe place. You will need it for reassembly later.
Removing the bonnet nut grants you access to the Delta faucet cartridge. Remember to keep the bonnet nut in a secure location, as misplacing it can delay the reassembly process.
Now that the bonnet nut is out of the way, it’s time to proceed to the next step: extracting the cartridge.
When replacing a Delta faucet cartridge, be sure to turn off the water supply before beginning. Use a cartridge puller tool for easier removal and installation. Lubricate the new cartridge with silicone grease before inserting.
Read more: How To Replace Moen Kitchen Faucet Cartridge
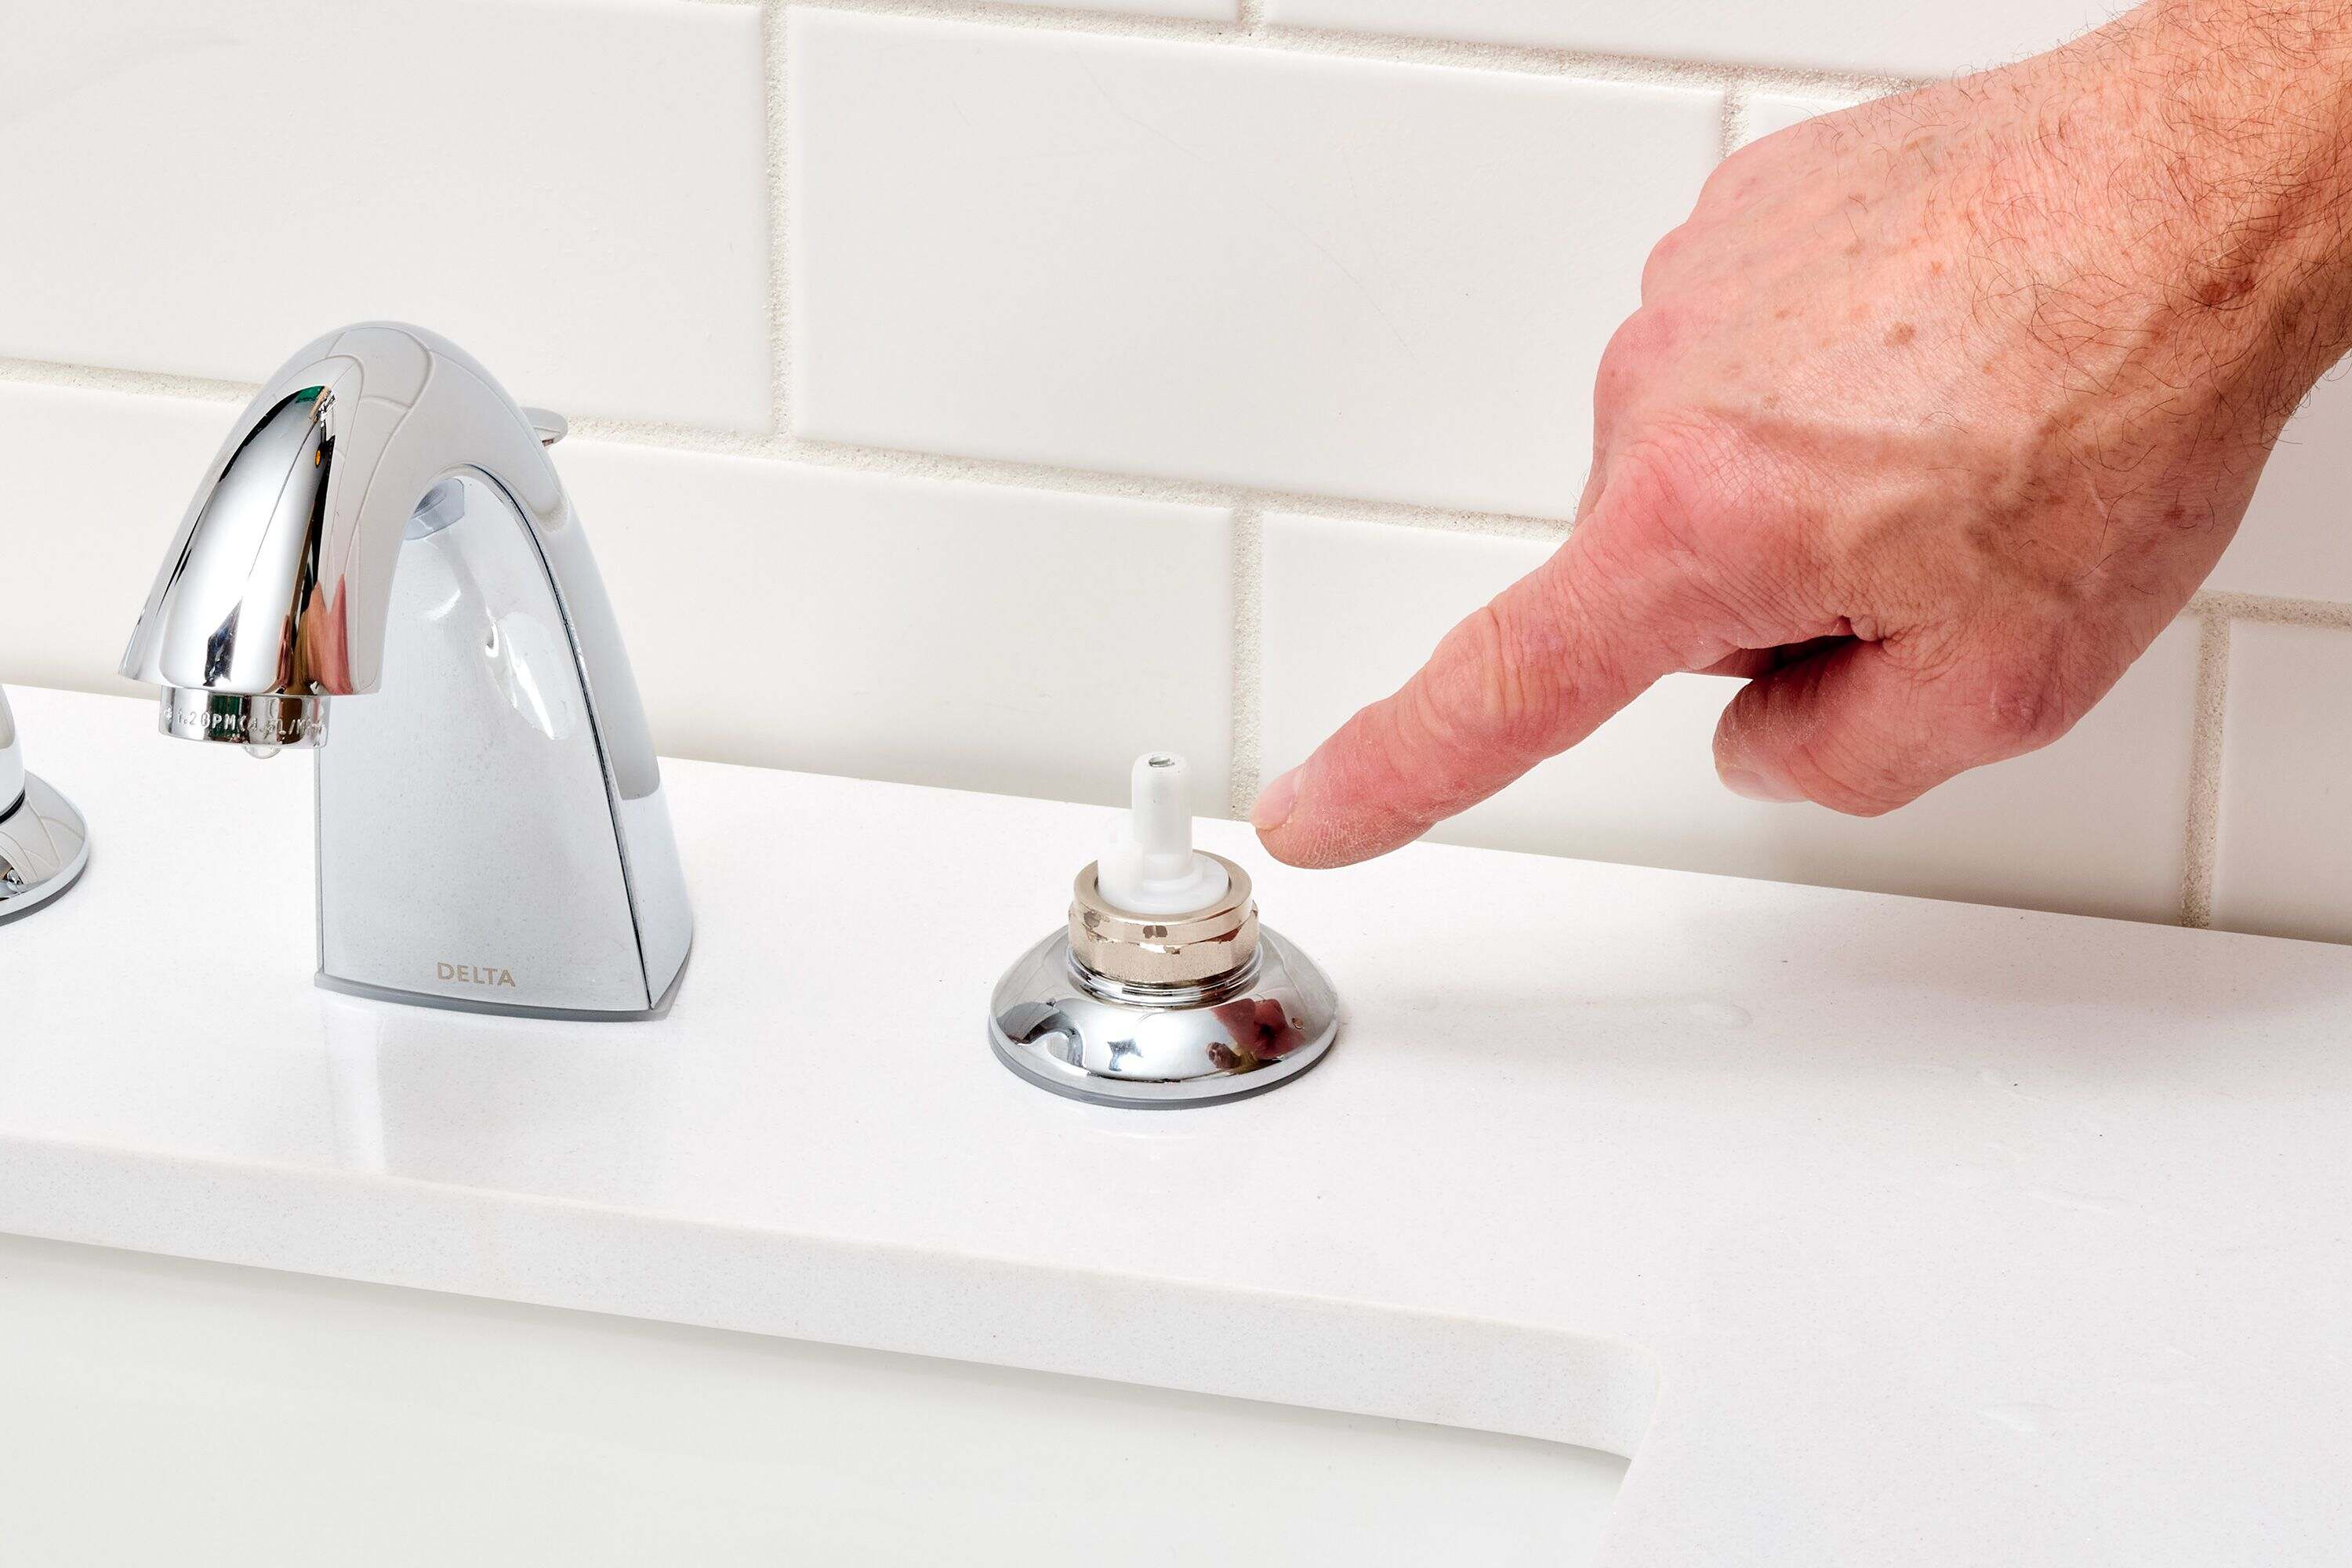
Step 5: Extract the Cartridge
With the bonnet nut removed, you are now ready to extract the Delta faucet cartridge. Follow these steps:
- Locate the cartridge inside the faucet body. Depending on the model, the cartridge may have a tab or a retaining clip holding it in place.
- If there is a retaining clip, use needle-nose pliers to carefully remove it by squeezing the clip and pulling it out. If there is a tab, use your fingers or pliers to grip the tab and gently pull the cartridge out.
- Slowly and steadily wiggle the cartridge back and forth while applying gentle pulling pressure. This will help loosen any mineral deposits or debris that may have accumulated around the cartridge.
- Continue wiggling and pulling until the cartridge is completely removed from the faucet body.
Extracting the old cartridge may require some patience and gentle maneuvering, especially if it has been in use for a long time. Inspect the cartridge for any damage, wear, or buildup that may have caused its malfunction.
Set aside the old cartridge and prepare to install the new one as we move on to the next step: replacing it with a new cartridge.
Step 6: Replace with a New Cartridge
Now that the old cartridge has been extracted, it’s time to replace it with a new Delta faucet cartridge. Follow these steps:
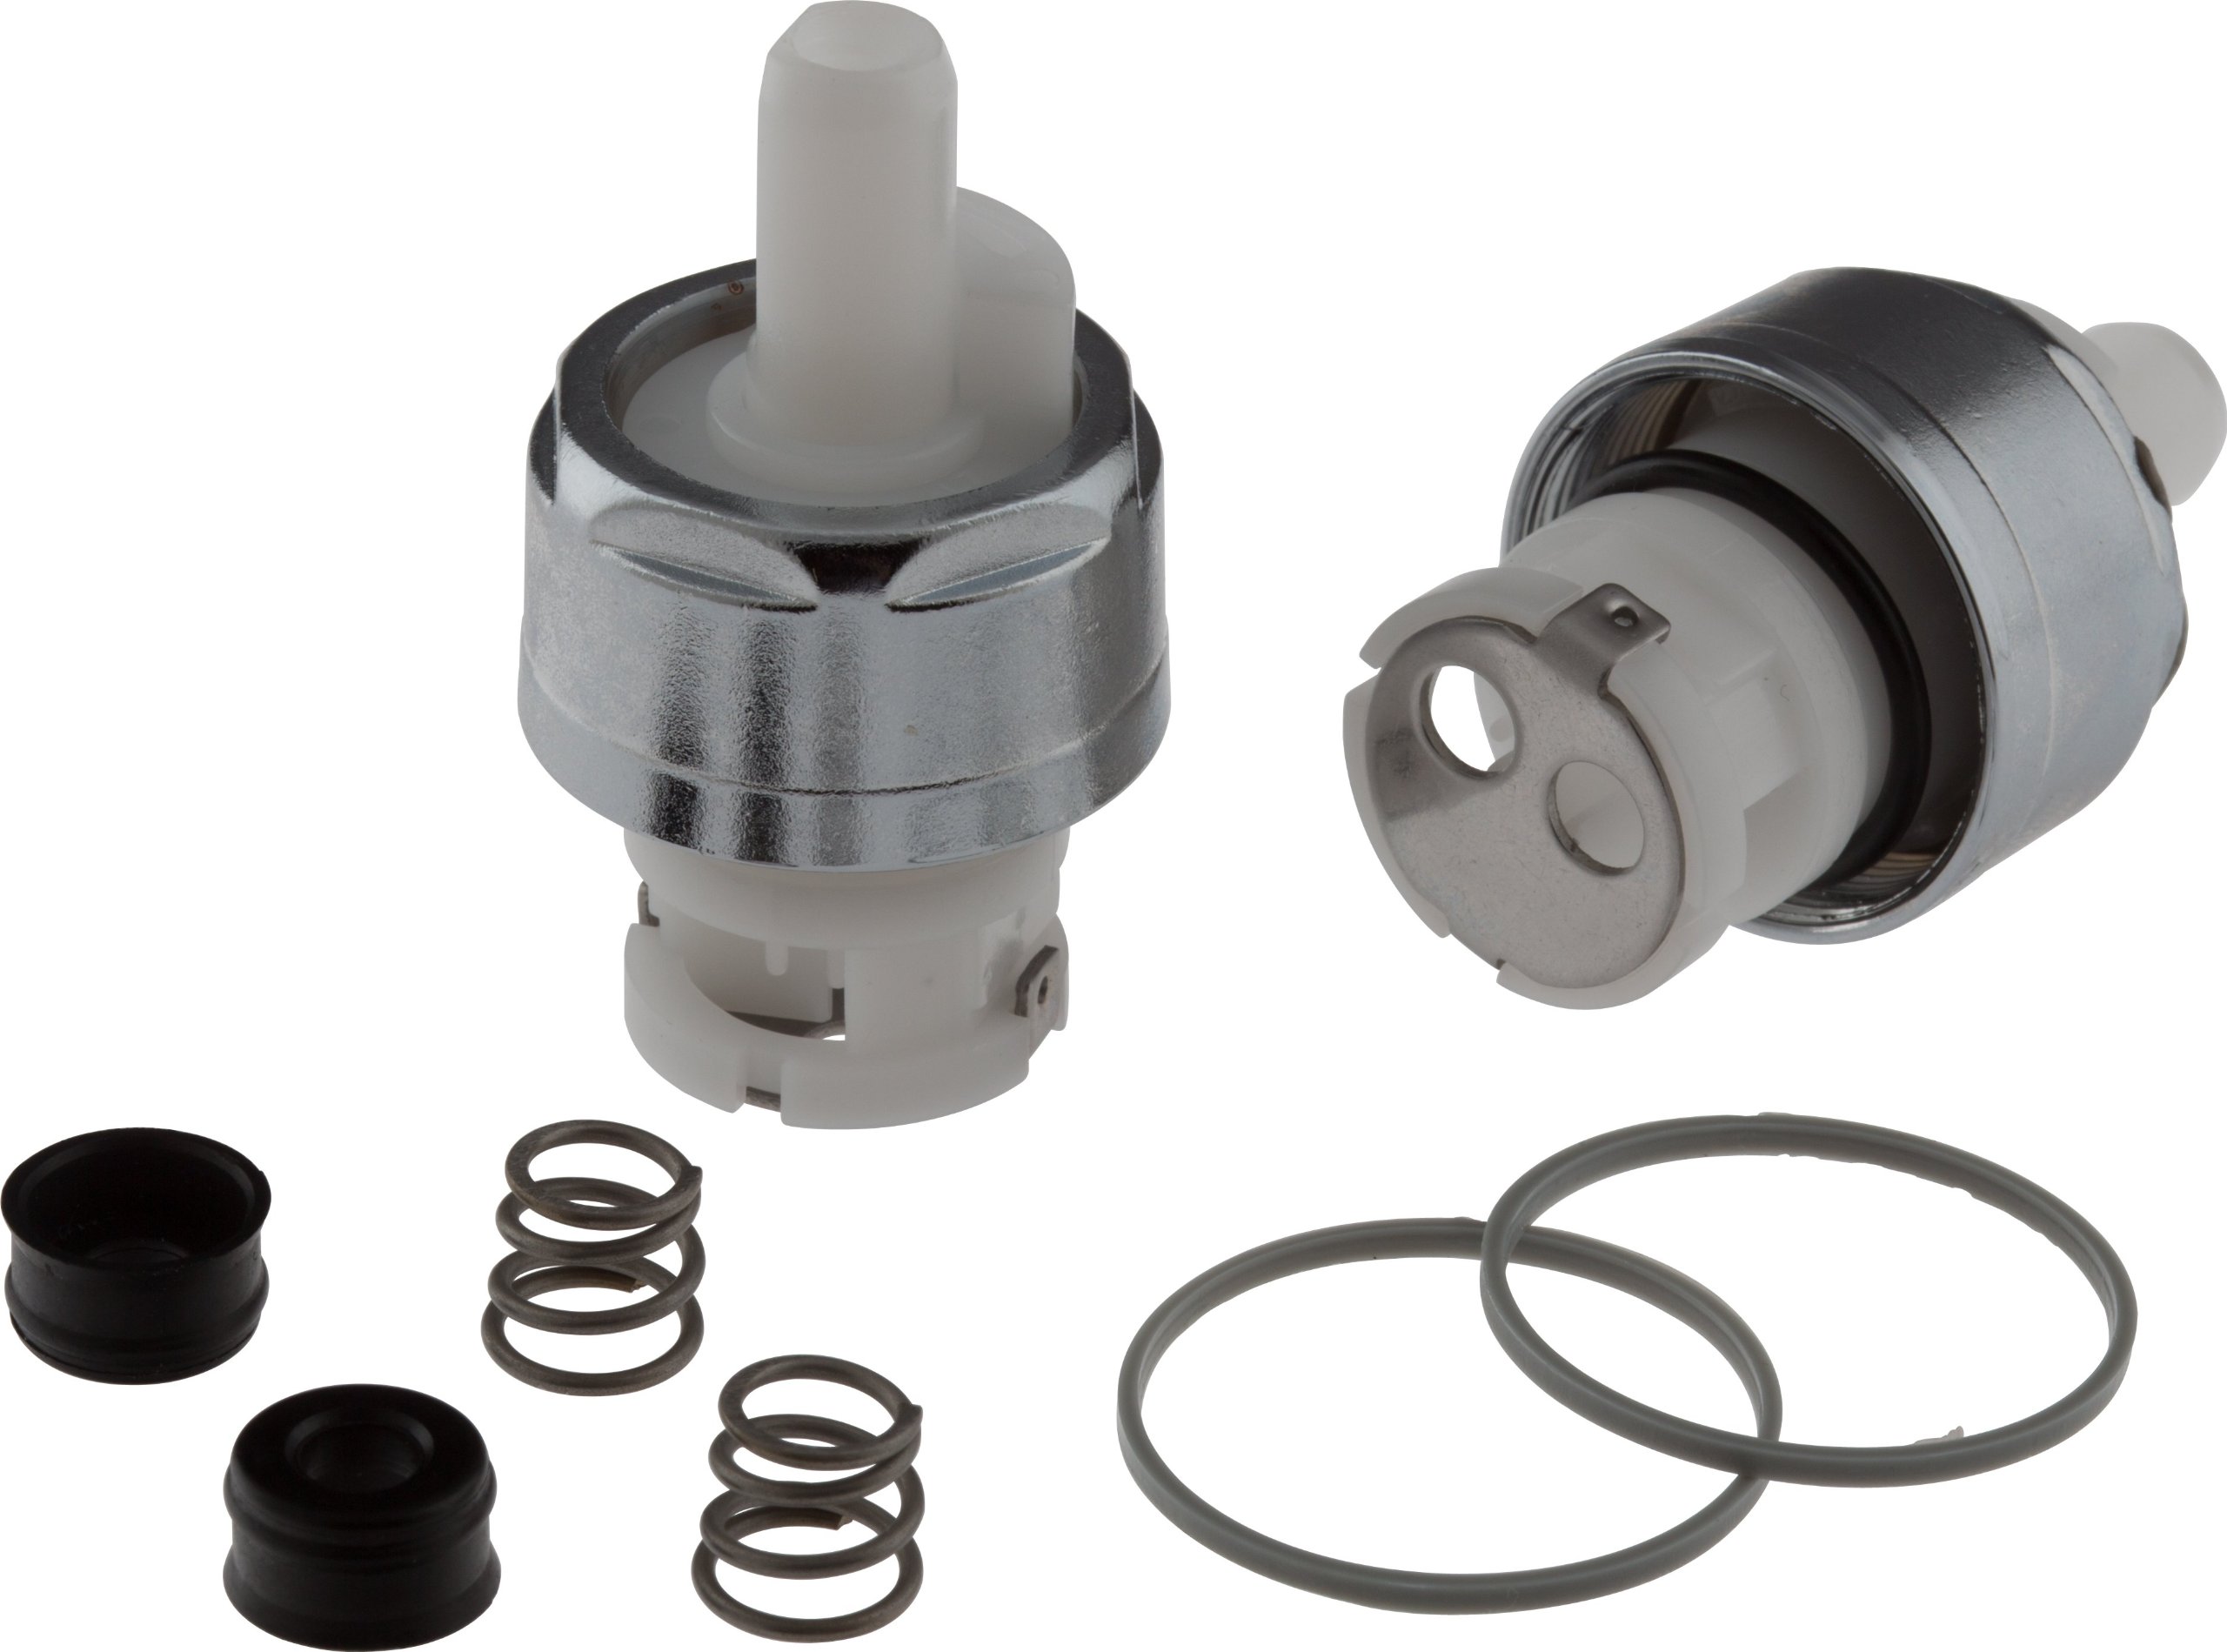
- Take the new cartridge and inspect it to ensure that it matches the model and specifications of your faucet. It should be compatible and identical to the old cartridge you removed.
- Apply a thin layer of plumber’s grease to the o-rings on the new cartridge. This will help lubricate the o-rings and create a watertight seal when the cartridge is installed.
- With the plumber’s grease applied, carefully insert the new cartridge into the faucet body. Align any tabs or grooves on the cartridge with the corresponding slots in the faucet body.
- Once the cartridge is properly aligned, gently push it in until it is fully seated inside the faucet body.
- If your faucet has a retaining clip, reinsert it back into place to secure the cartridge. Make sure the clip is properly positioned and fully engaged to hold the cartridge securely.
Replacing the old cartridge with a new one is a critical step in restoring the functionality of your Delta faucet. Ensure that the new cartridge is firmly and securely installed to prevent any leaks or issues in the future.
Having replaced the cartridge, it’s time to move on to the next step: reassembling the faucet.
Step 7: Reassemble the Faucet
With the new cartridge in place, it’s time to reassemble the Delta faucet. Follow these steps:
- Retrieve the bonnet nut that you removed earlier and thread it back onto the faucet stem. Use your adjustable wrench to tighten the bonnet nut in a clockwise direction. Ensure that it is snug but not overly tight.
- Grab the faucet handle and position it over the faucet stem. Align the handle with the stem and carefully lower it into place. If necessary, give it a gentle wiggle to ensure a proper fit.
- Insert the handle screw that you previously removed and tighten it with a Phillips screwdriver in a clockwise direction. Make sure it is secure but avoid over-tightening to prevent damage.
- If your faucet handle had a decorative cap or cover, reattach it by gently pressing it into place. Ensure that it is snug and aligned correctly.
Reassembling the faucet brings all the components back together, securing the new cartridge in place. Take care to position and secure each part properly to ensure proper functionality.
Once you have reassembled the faucet, you are almost done. The final step is to turn on the water supply.
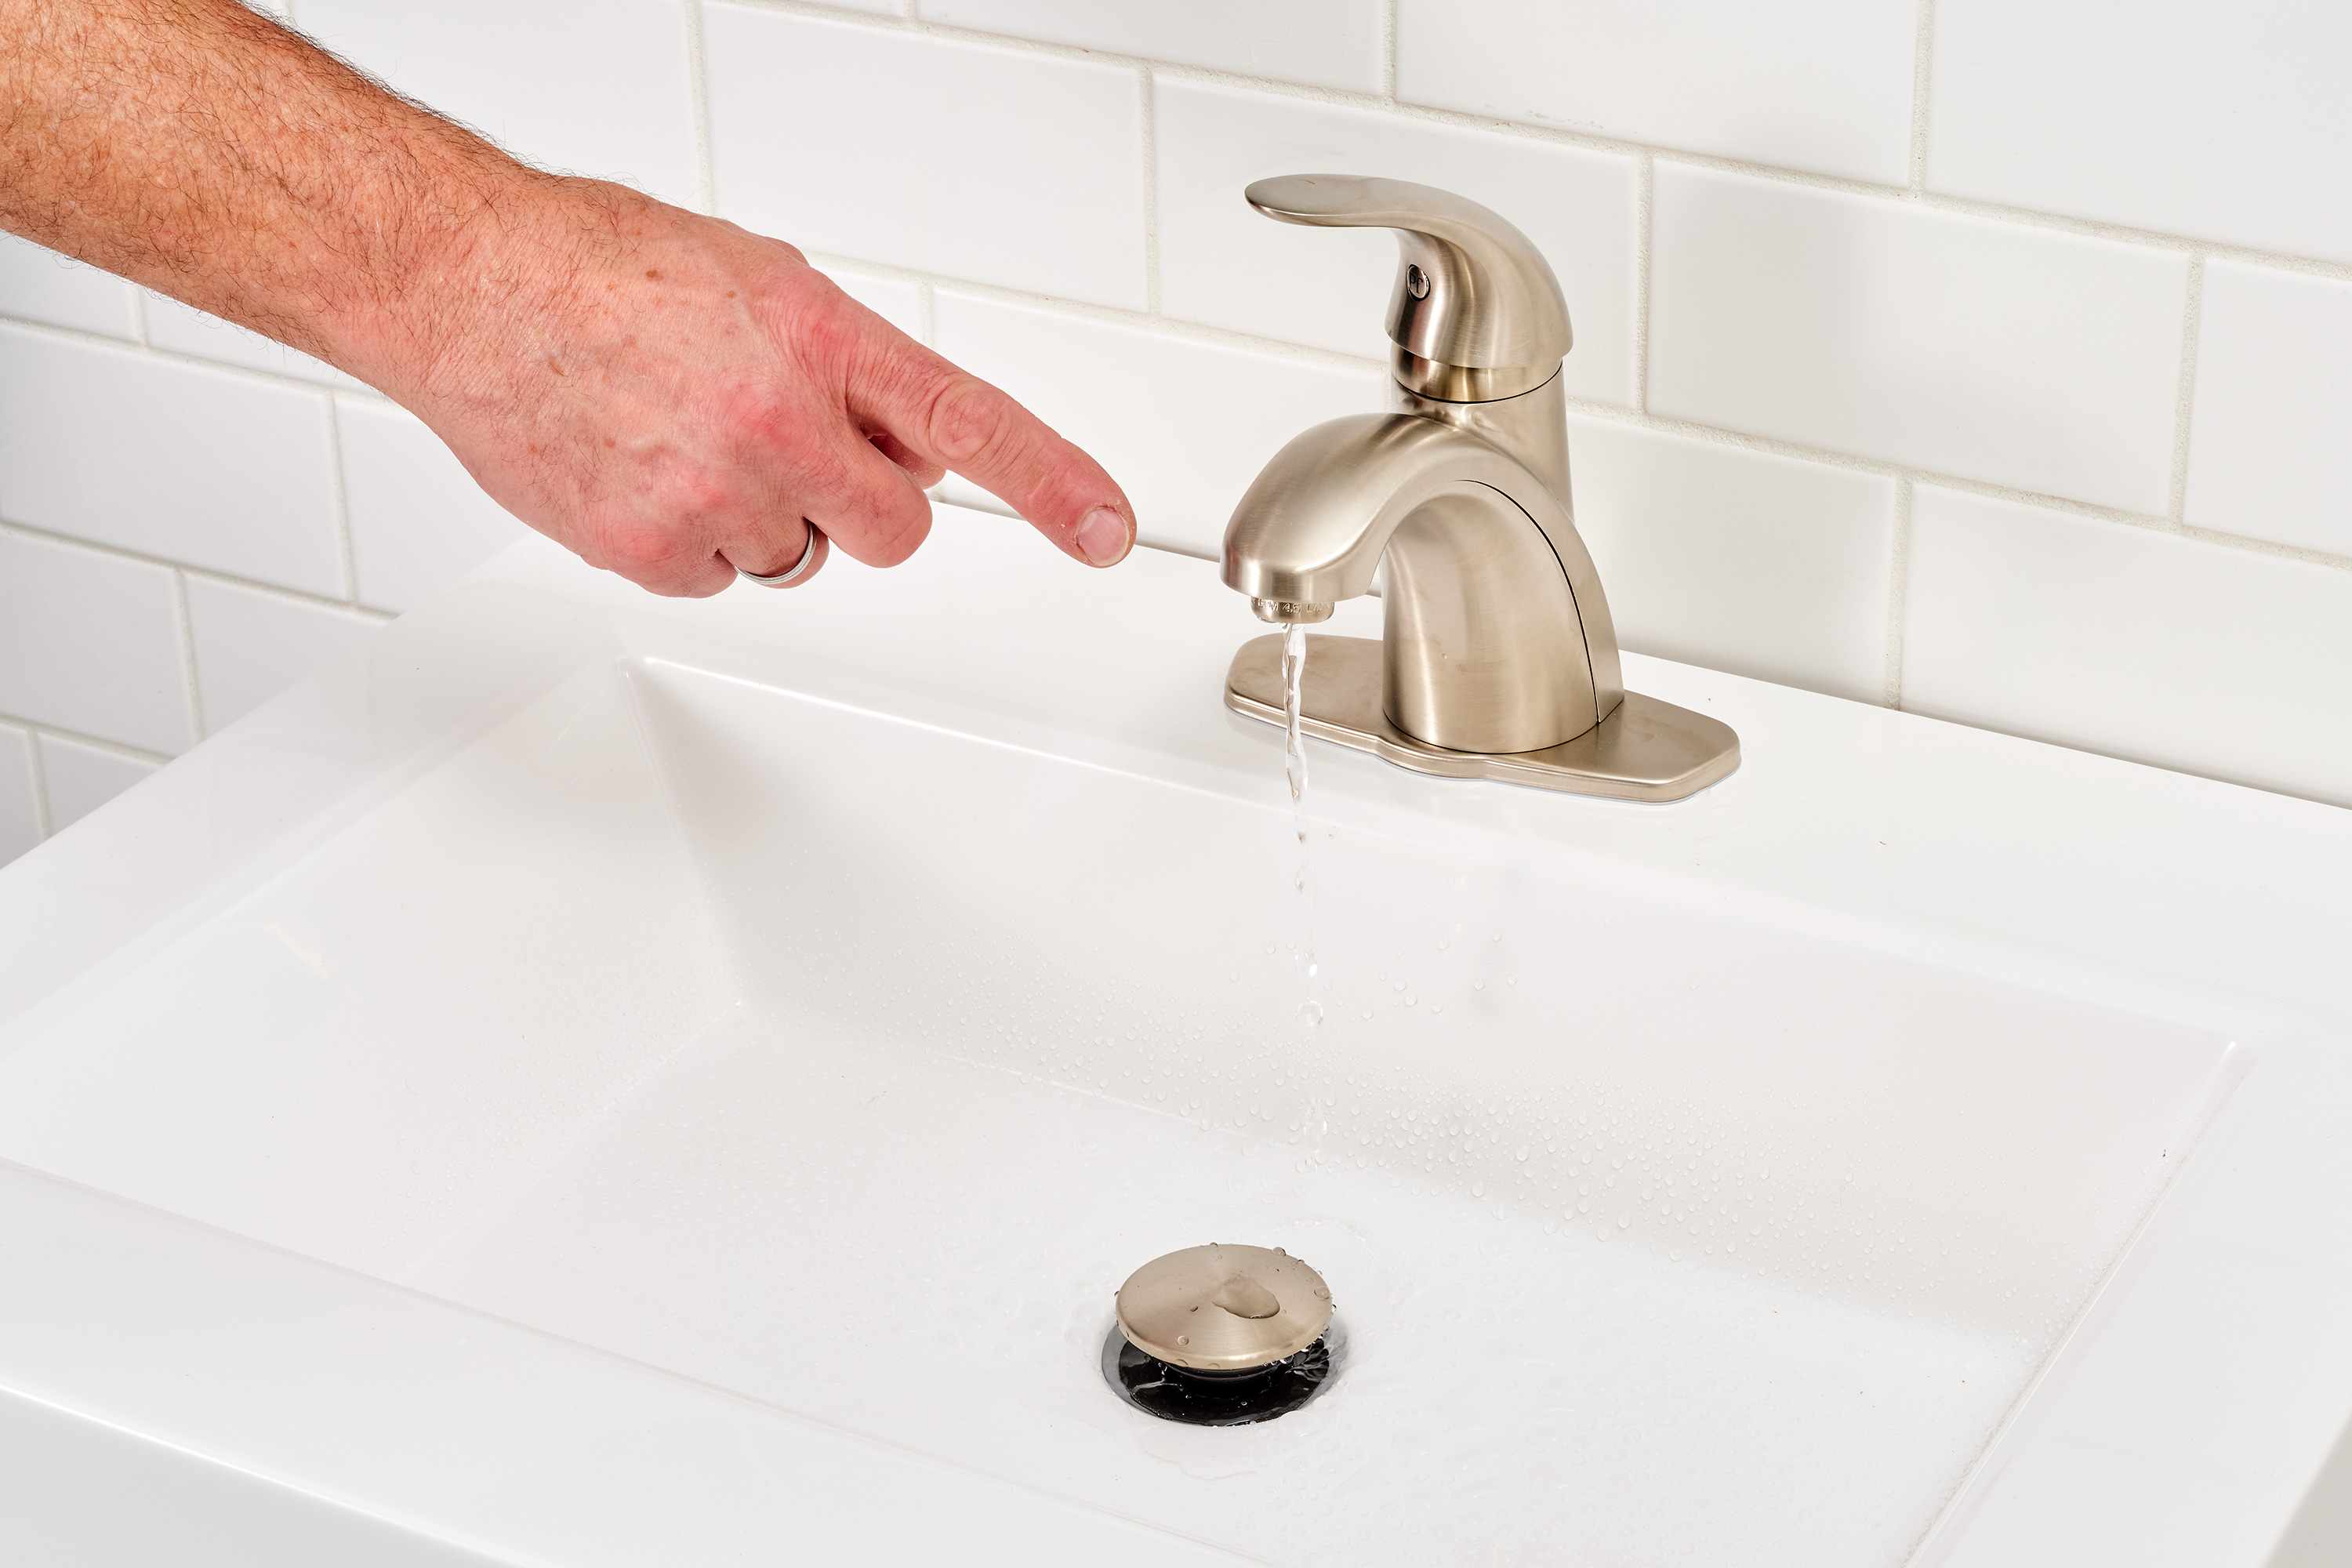
Step 8: Turn On the Water Supply
After successfully reassembling the Delta faucet, it’s time to turn on the water supply and test the functionality of your newly installed cartridge. Follow these final steps:
- Locate the shut-off valves under the sink that you previously turned off. Gradually turn the valves counterclockwise to restore the water flow to the faucet.
- Once you have fully opened the shut-off valves, allow the water to run through the faucet for a few moments. This will help flush out any debris or air that may have accumulated during the cartridge replacement process.
- Check for any leaks around the faucet handle, base, or spout. Additionally, test the water flow and temperature to ensure that it is functioning properly.
- If you notice any leaks or issues, double-check the tightness of the bonnet nut, handle screw, and any other connections. Make any necessary adjustments to ensure a tight seal.
By turning on the water supply and testing the faucet, you can verify that the new cartridge is working correctly and that your faucet is fully operational. Be vigilant for any signs of leaks or malfunctions, and address them promptly to prevent any further damage.
Congratulations! You have successfully replaced the Delta faucet cartridge and restored your faucet’s functionality. Regular maintenance and prompt action when signs of wear or malfunctions arise can help prolong the lifespan of your faucet and ensure optimal performance.
Remember, if you encounter any difficulties during the cartridge replacement process or if you’re unsure about any steps, it’s always wise to consult the manufacturer’s instructions or seek assistance from a professional plumber.
With your newly acquired knowledge and the steps provided in this article, you can confidently tackle future Delta faucet cartridge replacements. Enjoy your restored faucet and the efficient flow of water!
Conclusion
Replacing a Delta faucet cartridge is a straightforward process that can have a significant impact on the functionality and lifespan of your faucet. By following the eight steps outlined in this article, you can easily replace a cartridge and restore your faucet to optimal working condition.
Throughout the process, it’s important to gather the necessary tools and materials, shut off the water supply, carefully remove the faucet handle and bonnet nut, extract the old cartridge, and replace it with a new one. Reassembling the faucet and turning on the water supply is the final step to test the functionality of your newly installed cartridge.
Regular maintenance and prompt replacement of cartridges can prevent leaks, improve water flow and temperature control, and extend the life of your Delta faucet. By paying attention to the signs of wear and addressing them promptly, you can avoid more extensive repairs in the future.
Remember that each faucet may have specific requirements, so consulting the manufacturer’s instructions or seeking professional assistance is always recommended. However, armed with the knowledge and steps provided in this article, you can confidently perform a Delta faucet cartridge replacement on your own.
Enjoy the satisfaction of a properly functioning faucet and the convenience it brings to your daily routines. By taking care of your Delta faucet and handling maintenance tasks promptly, you can ensure its longevity and continued performance for years to come.
Ready to tackle more DIY home improvement projects? If mastering your Delta faucet fix was a breeze, perhaps you're eager to explore the best options in Faucet Repair kits for your next challenge. Or, if you're curious about the longevity and variety of Cartridge Replacement, that's covered too! Considering a bigger venture? Understanding the timeline for a Bathroom Renovation can help you plan efficiently.
Frequently Asked Questions about How To Replace A Delta Faucet Cartridge
Was this page helpful?
At Storables.com, we guarantee accurate and reliable information. Our content, validated by Expert Board Contributors, is crafted following stringent Editorial Policies. We're committed to providing you with well-researched, expert-backed insights for all your informational needs.


0 thoughts on “How To Replace A Delta Faucet Cartridge”