Home>Articles>How To Work With Metal Stud Wiring When Installing A Wall
Articles
How To Work With Metal Stud Wiring When Installing A Wall
Modified: October 20, 2024
Learn how to safely work with metal stud wiring during wall installations by reading our informative articles. Gain the necessary knowledge and techniques to handle this specific type of wiring.
(Many of the links in this article redirect to a specific reviewed product. Your purchase of these products through affiliate links helps to generate commission for Storables.com, at no extra cost. Learn more)
Introduction
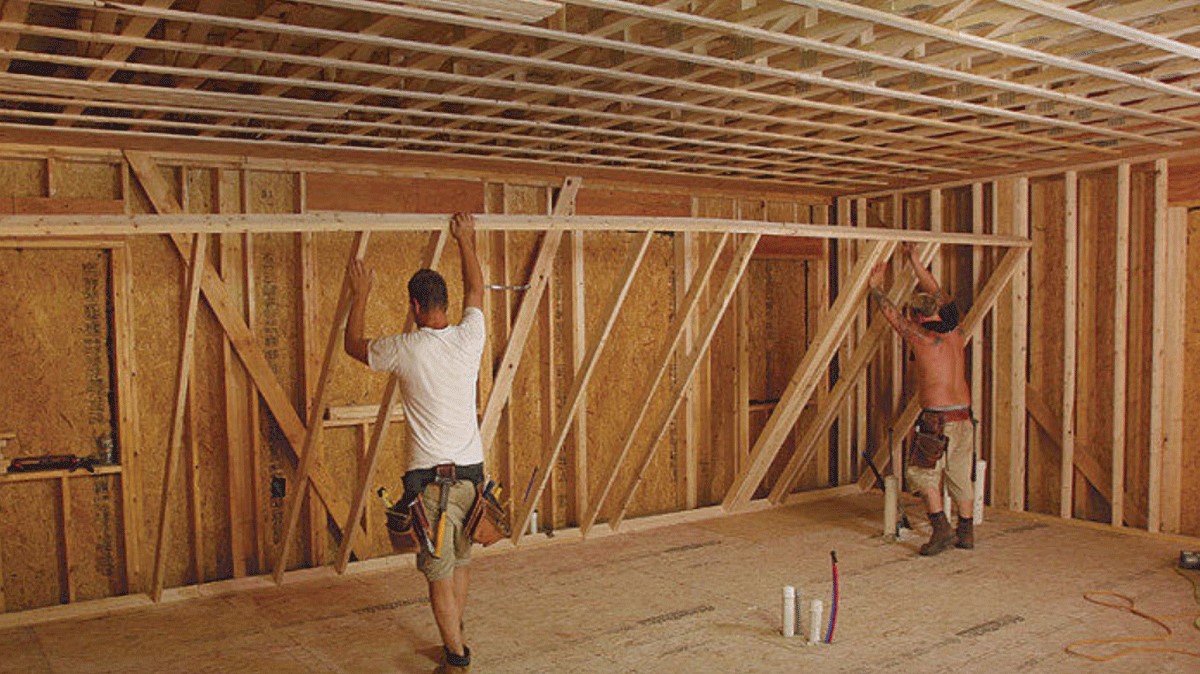
Welcome to the world of metal stud wiring! When it comes to installing a wall, understanding how to work with metal stud wiring is essential. As opposed to traditional wooden studs, metal studs offer a range of advantages such as durability, resistance to fire and pests, and ease of installation.
However, working with metal stud wiring requires a different set of techniques and tools than those used with wooden studs. In this article, we will guide you through the step-by-step process of working with metal stud wiring to ensure a successful installation.
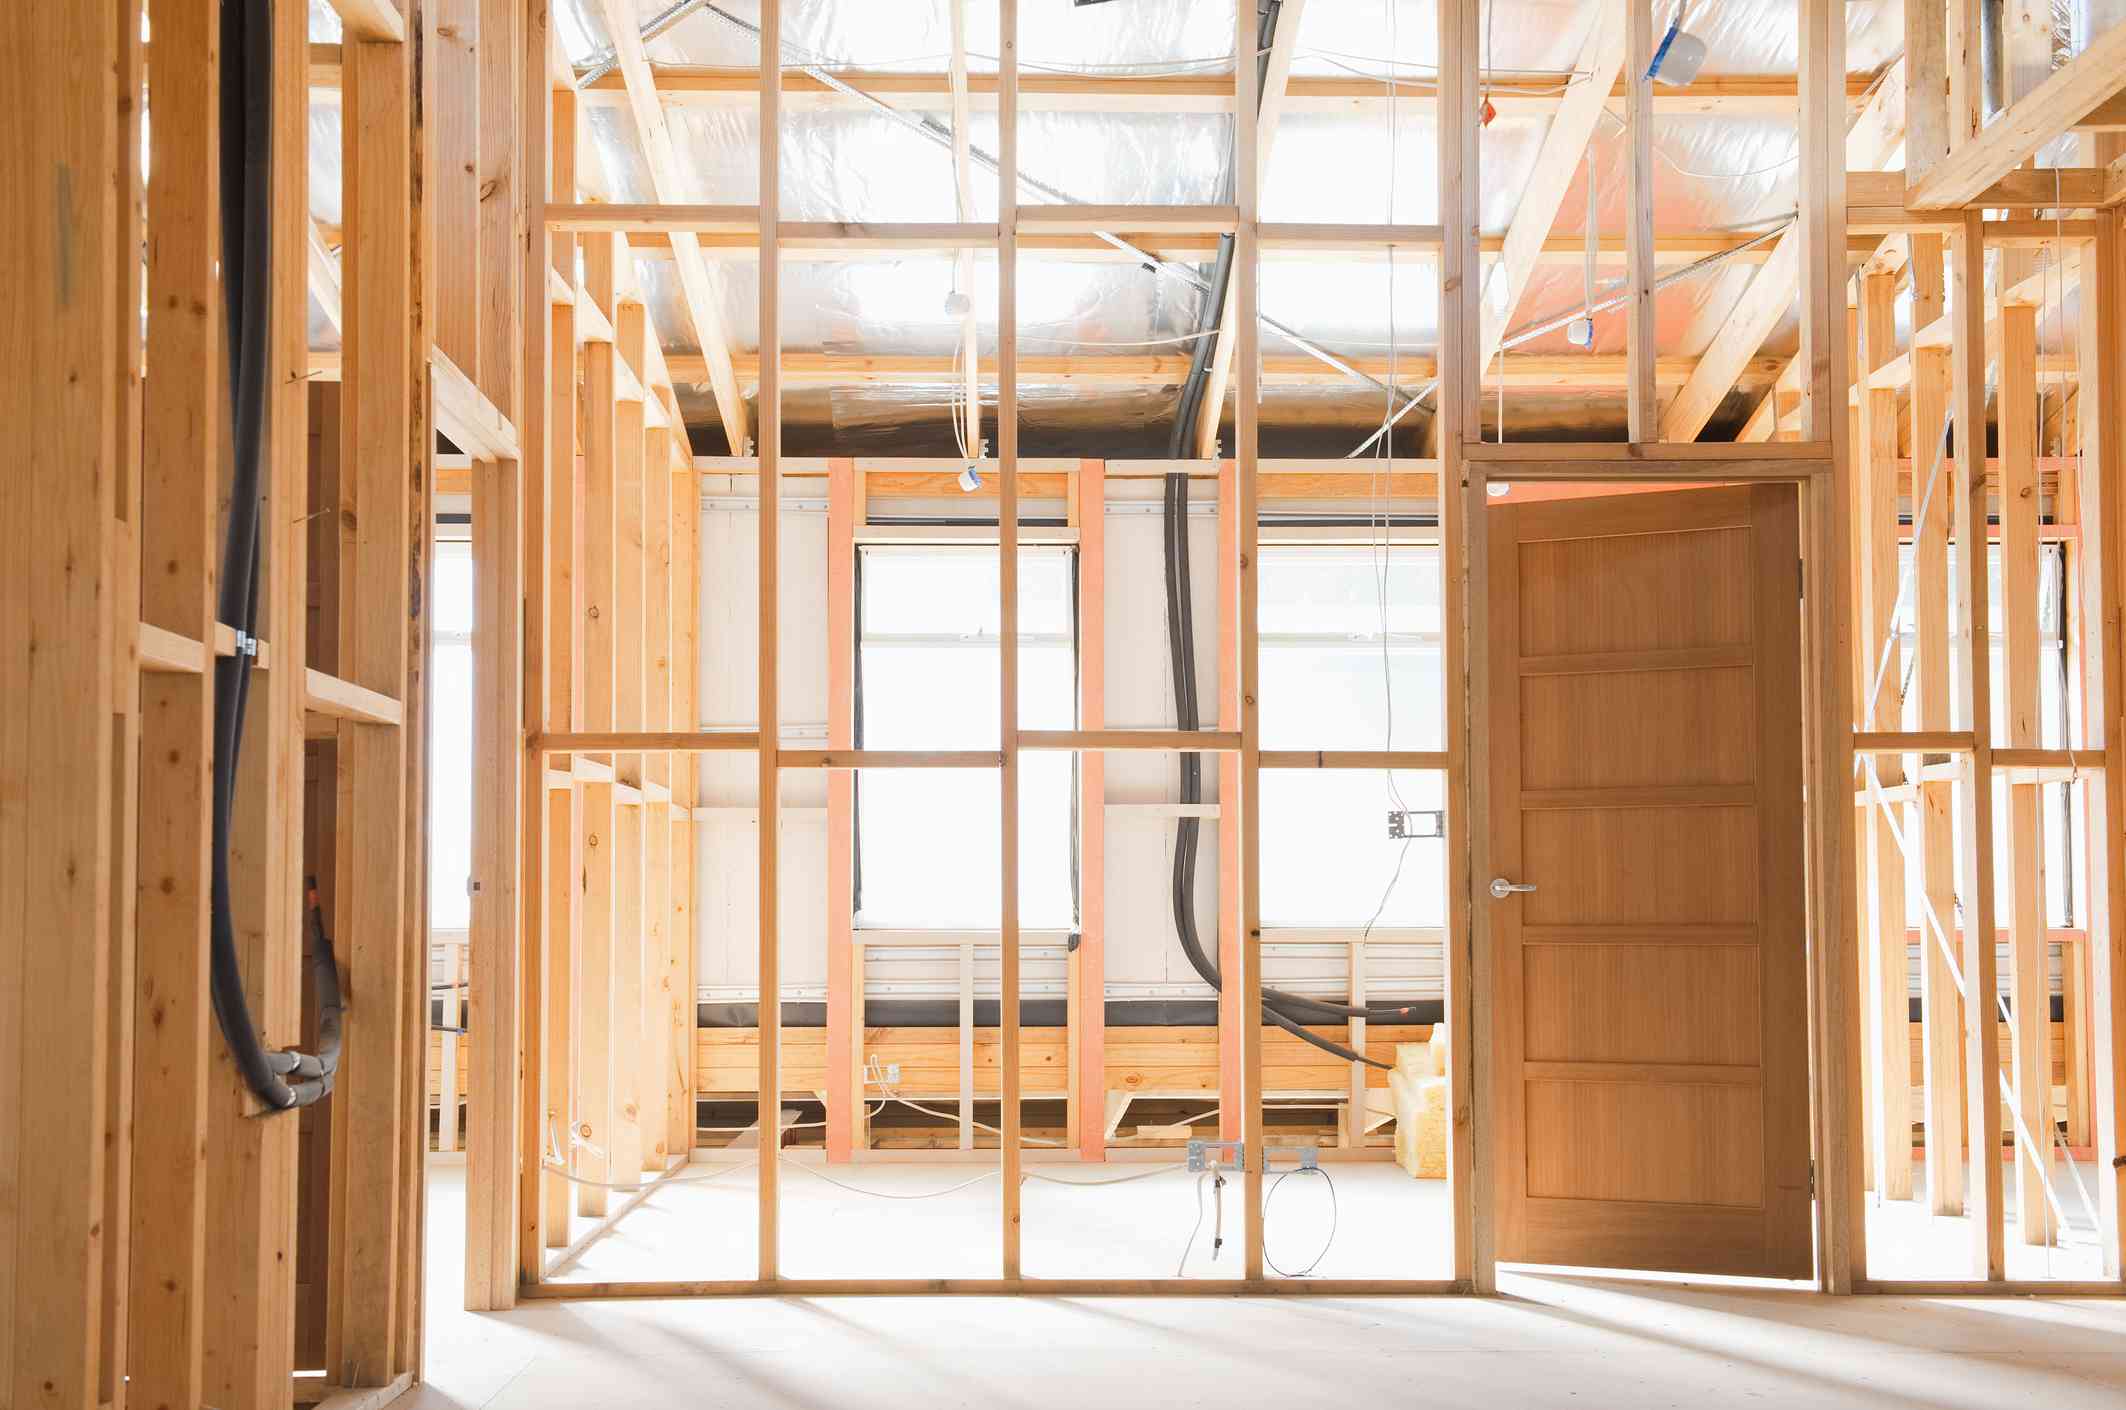
Before we dive into the details, let’s have a brief overview of what metal stud wiring entails. Metal stud wiring is a method of running electrical wiring through metal studs, which form the framework of a wall. The electrical cables are routed through the pre-punched holes in the studs, allowing for the safe and efficient distribution of electricity throughout the building.
Now that you have a general understanding of metal stud wiring, let’s move on to the specific tools and materials you’ll need to gather before getting started.
Key Takeaways:
- Metal stud wiring offers durability, fire resistance, and pest resistance, making it a reliable and long-lasting choice for electrical installations. It provides flexibility in design, ease of installation, and cost-effectiveness compared to traditional wooden studs.
- Proper preparation, marking, measuring, running the wiring, securing the wiring, making connections, testing, and finishing the wall are key steps to follow when working with metal stud wiring. Prioritize safety, double-check connections, and take pride in your well-designed, safe, and efficient electrical system.
Understanding Metal Stud Wiring
Before you begin working with metal stud wiring, it’s important to have a solid understanding of how it functions and the benefits it offers. Here are a few key points to consider:
Durability: Metal studs are known for their durability and strength. Unlike wooden studs, they are not susceptible to rot, termite damage, or warping. This makes them ideal for long-lasting electrical installations.
Fire Resistance: One of the major advantages of metal stud wiring is its fire resistance. Metal studs do not easily catch fire or contribute to the spread of flames. This ensures that your electrical wiring is protected and reduces the risk of fire accidents.
Pest Resistance: In addition to fire resistance, metal studs are also resistant to pests such as termites, ants, and rodents. This adds another layer of protection to your electrical system, preventing damage caused by these unwanted visitors.
Flexibility: Working with metal stud wiring allows for greater flexibility in terms of design and installation. Metal studs can be easily cut, shaped, and adjusted to fit specific wall configurations. This flexibility makes it easier to route electrical wiring exactly where it needs to go.
Cost-Effective: While metal studs may have a slightly higher upfront cost compared to wood, they offer long-term cost savings. Metal studs are less likely to require repairs or replacement, resulting in reduced maintenance costs over time.
Ease of Installation: Metal stud wiring is relatively easy to install, especially when compared to traditional wooden studs. The pre-punched holes in the metal studs allow for quick and straightforward routing of electrical cables.
Code Compliance: It’s essential to ensure that your metal stud wiring installation complies with electrical codes and regulations. Be sure to familiarize yourself with the specific requirements in your area to guarantee that your installation is safe and up to code.
By understanding the advantages and considerations associated with metal stud wiring, you can make informed decisions and proceed with confidence. Now, let’s move on to the tools and materials you’ll need to gather for this project.
Tools and Materials Needed
Before you start working with metal stud wiring, it’s important to gather the necessary tools and materials. Here’s a list of what you’ll need:
- Metal Studs: Purchase metal studs that are suitable for your project. The size and length will depend on the dimensions of your wall.
- Electrical Wiring: Use high-quality electrical wiring that meets the standards and requirements of your local electrical codes.
- Wire Cutters: These will be essential for cutting and stripping the electrical wires to the appropriate length.
- Screwdriver: A screwdriver will be needed to secure the wiring to the metal studs.
- Drill: You’ll need a drill to create any necessary additional holes in the metal studs for running the wiring.
- Fish Tape: This tool will help you guide the wiring through the holes in the metal studs.
- Flexible Conduit: Use flexible conduit to protect the electrical wires and ensure their longevity.
- Electrical Boxes: Install electrical boxes for outlets, switches, or other electrical components.
- Wire Connectors: Wire connectors will be used to securely connect the electrical wires.
- Level: A level will help ensure that your wall and metal studs are straight and properly aligned.
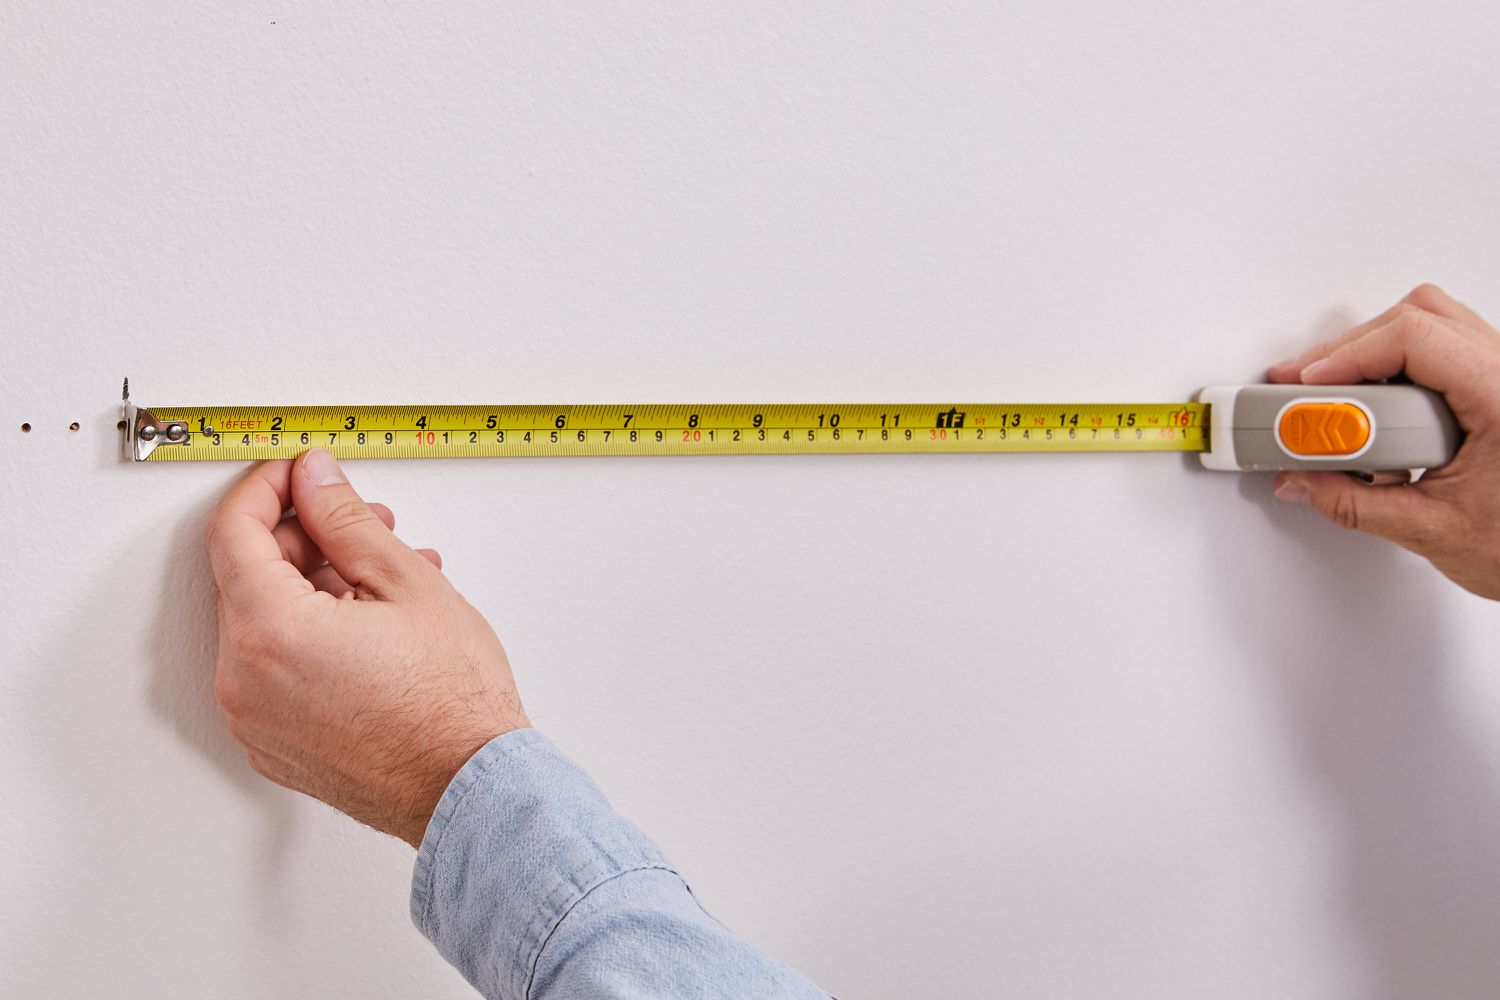
- Tape Measure: Use a tape measure to mark and measure the length of the electrical wires and the positioning of the metal studs.
- Pencil or Marker: These will be needed for marking the location of the metal studs and any additional holes to be drilled.
- Safety Equipment: Don’t forget to use safety equipment such as goggles, gloves, and a dust mask to protect yourself during the installation process.
Make sure to have all the necessary tools and materials ready before you begin working with metal stud wiring. This will help ensure a smooth and efficient installation process. Now that you have everything you need, let’s move on to the step-by-step process of working with metal stud wiring.
Step 1: Preparing the Work Area
Before you start working with metal stud wiring, it’s important to prepare the work area to ensure a safe and efficient installation process. Here’s what you need to do:
- Cut Power: Begin by cutting power to the area where you’ll be working. Locate the circuit breaker that controls the electrical supply to the wall and switch it off. Verify that the power is indeed off by testing nearby outlets or using a voltage tester.
- Clear the Area: Remove any furniture, decorations, or obstacles from the wall area. This will give you ample space to work and prevent any potential damage to your belongings.
- Protect the Floors: Lay down drop cloths or plastic sheets to protect the floors from any potential damage or debris during the installation process. This will make cleanup much easier when you’re finished.
- Ensure Proper Lighting: Adequate lighting is crucial for accurate installation. Make sure the work area is well-lit by using additional lighting or natural light sources. This will help you see clearly and avoid any mistakes during the process.
- Take Safety Precautions: Before you begin working, put on safety equipment such as goggles, gloves, and a dust mask to protect yourself from any potential hazards. Metal studs can be sharp, so it’s important to take precautions and work carefully.
By following these steps, you can create a safe and organized work area for your metal stud wiring installation. Once you’ve prepared the work area, you’re ready to move on to the next step: marking and measuring.
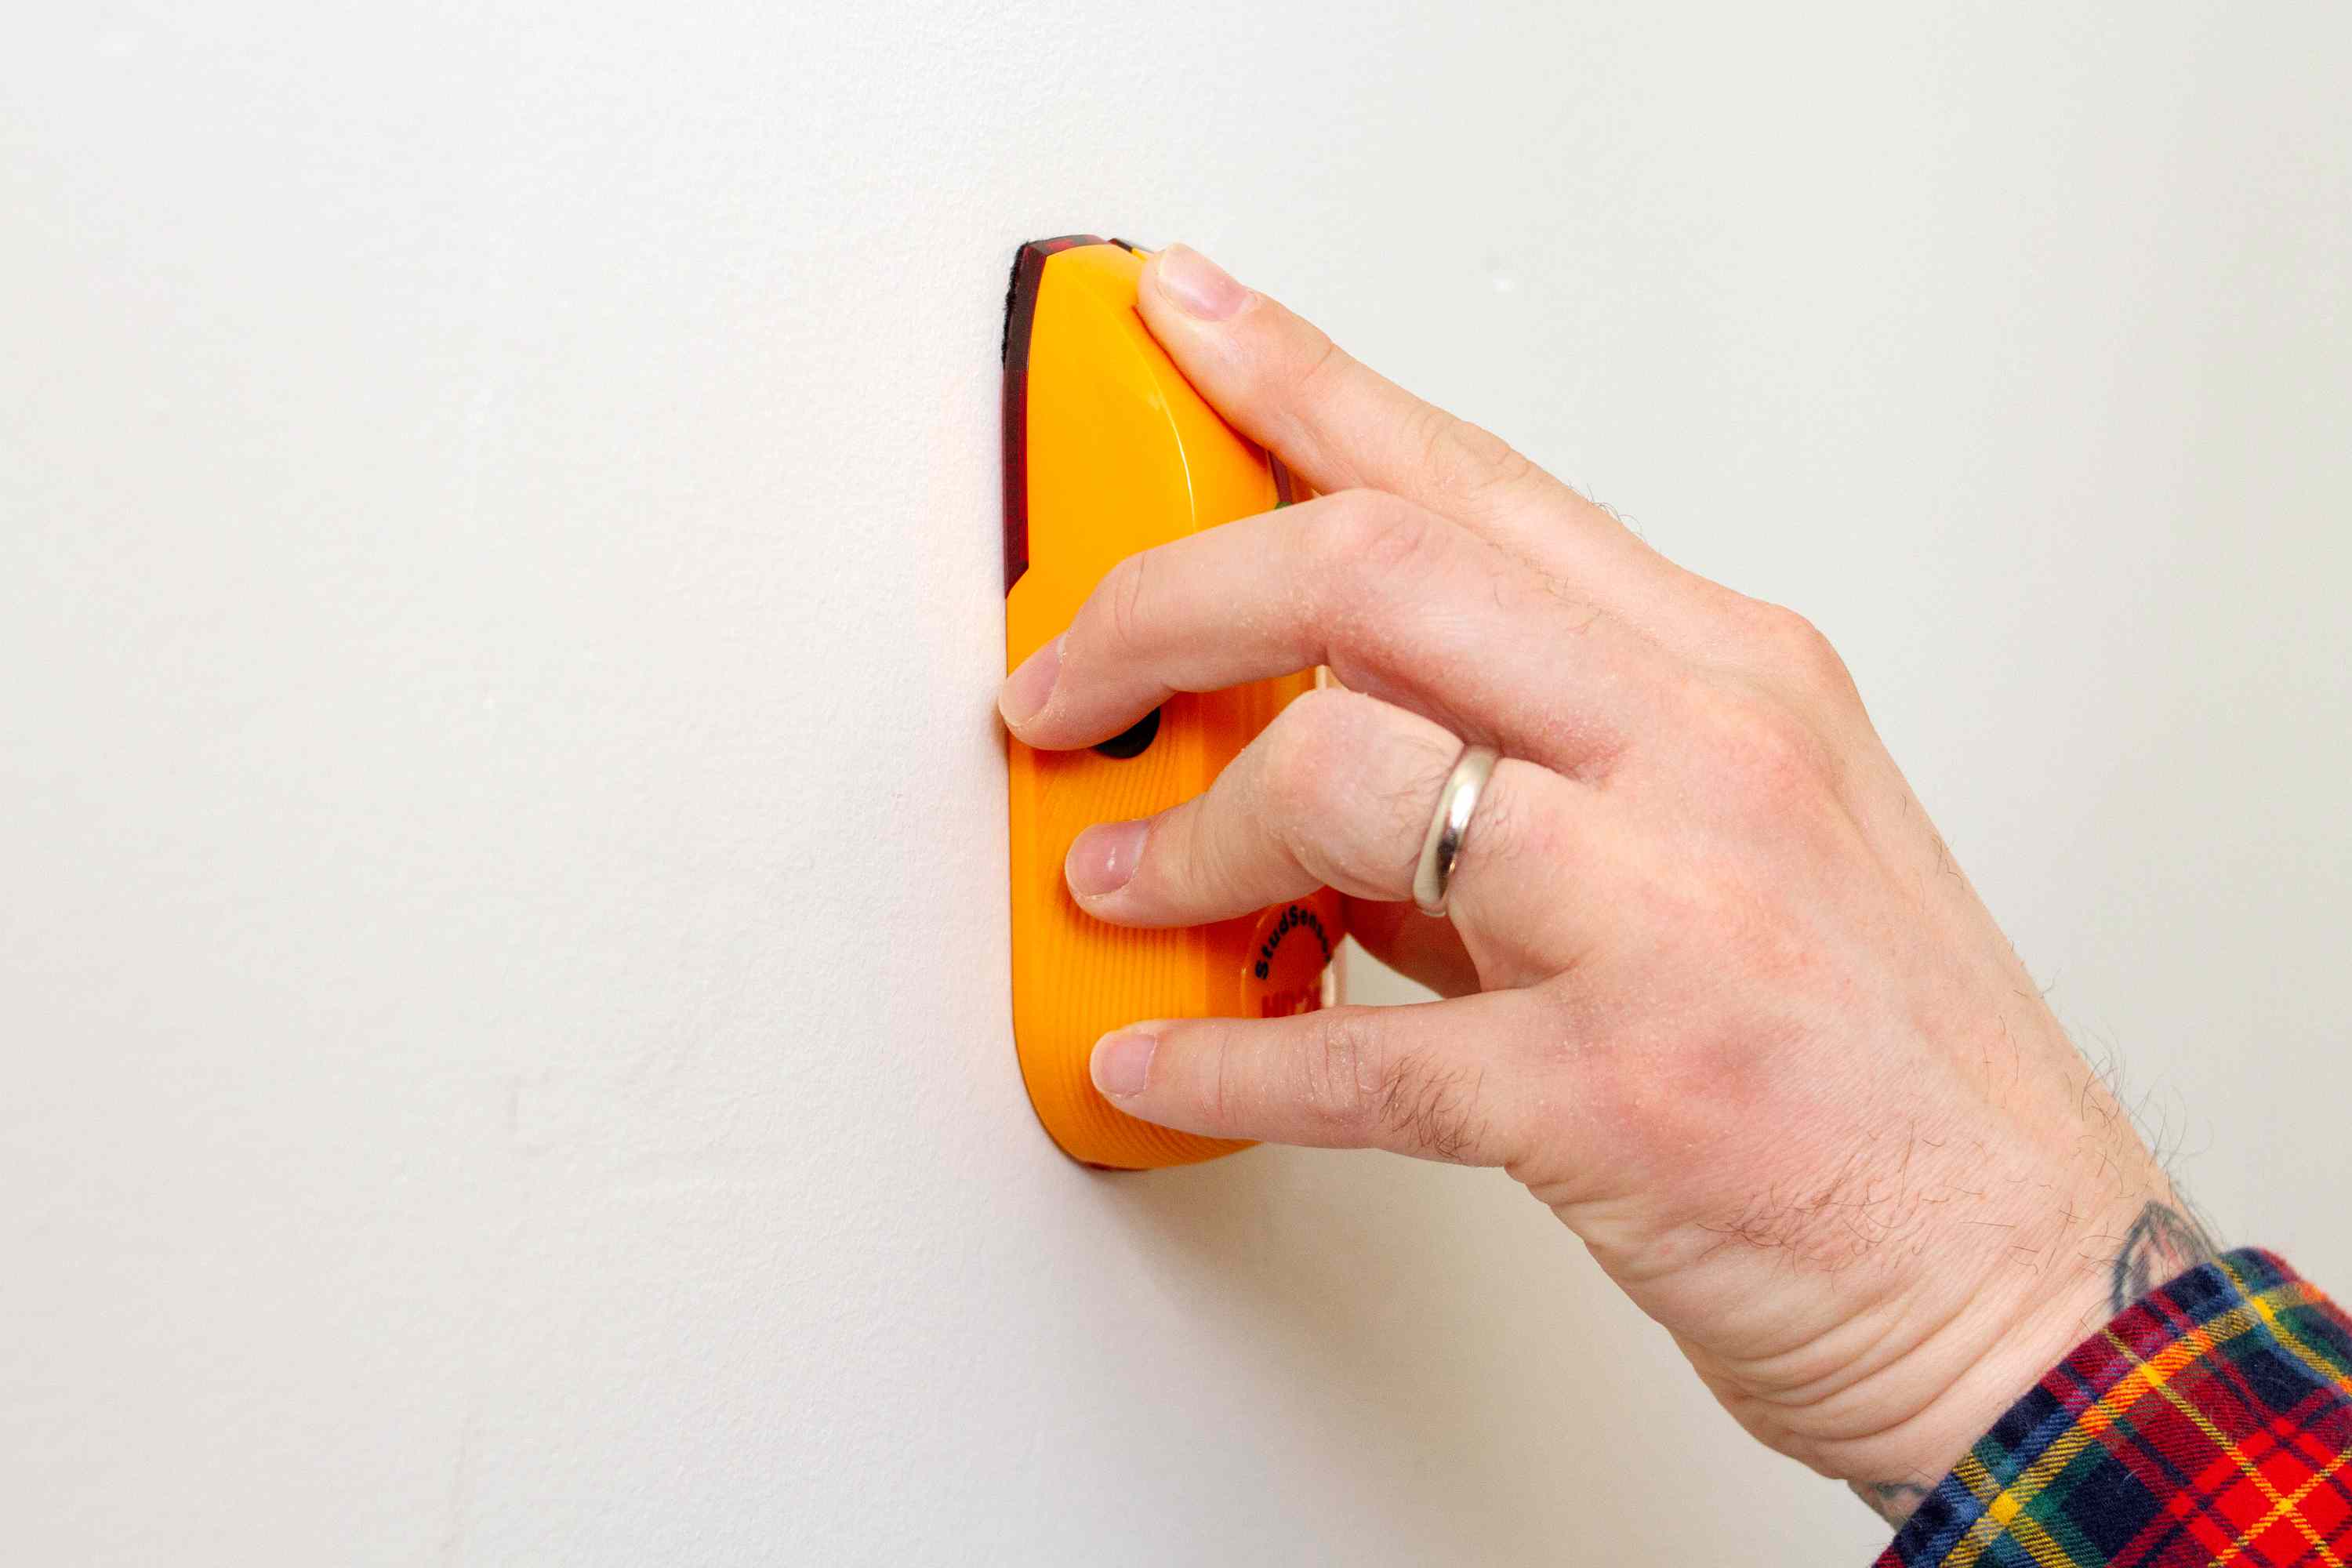
Step 2: Marking and Measuring
With the work area prepared, it’s time to mark and measure the locations where the metal studs will be placed, as well as the paths for the electrical wiring. Follow these steps to ensure accurate measurements:
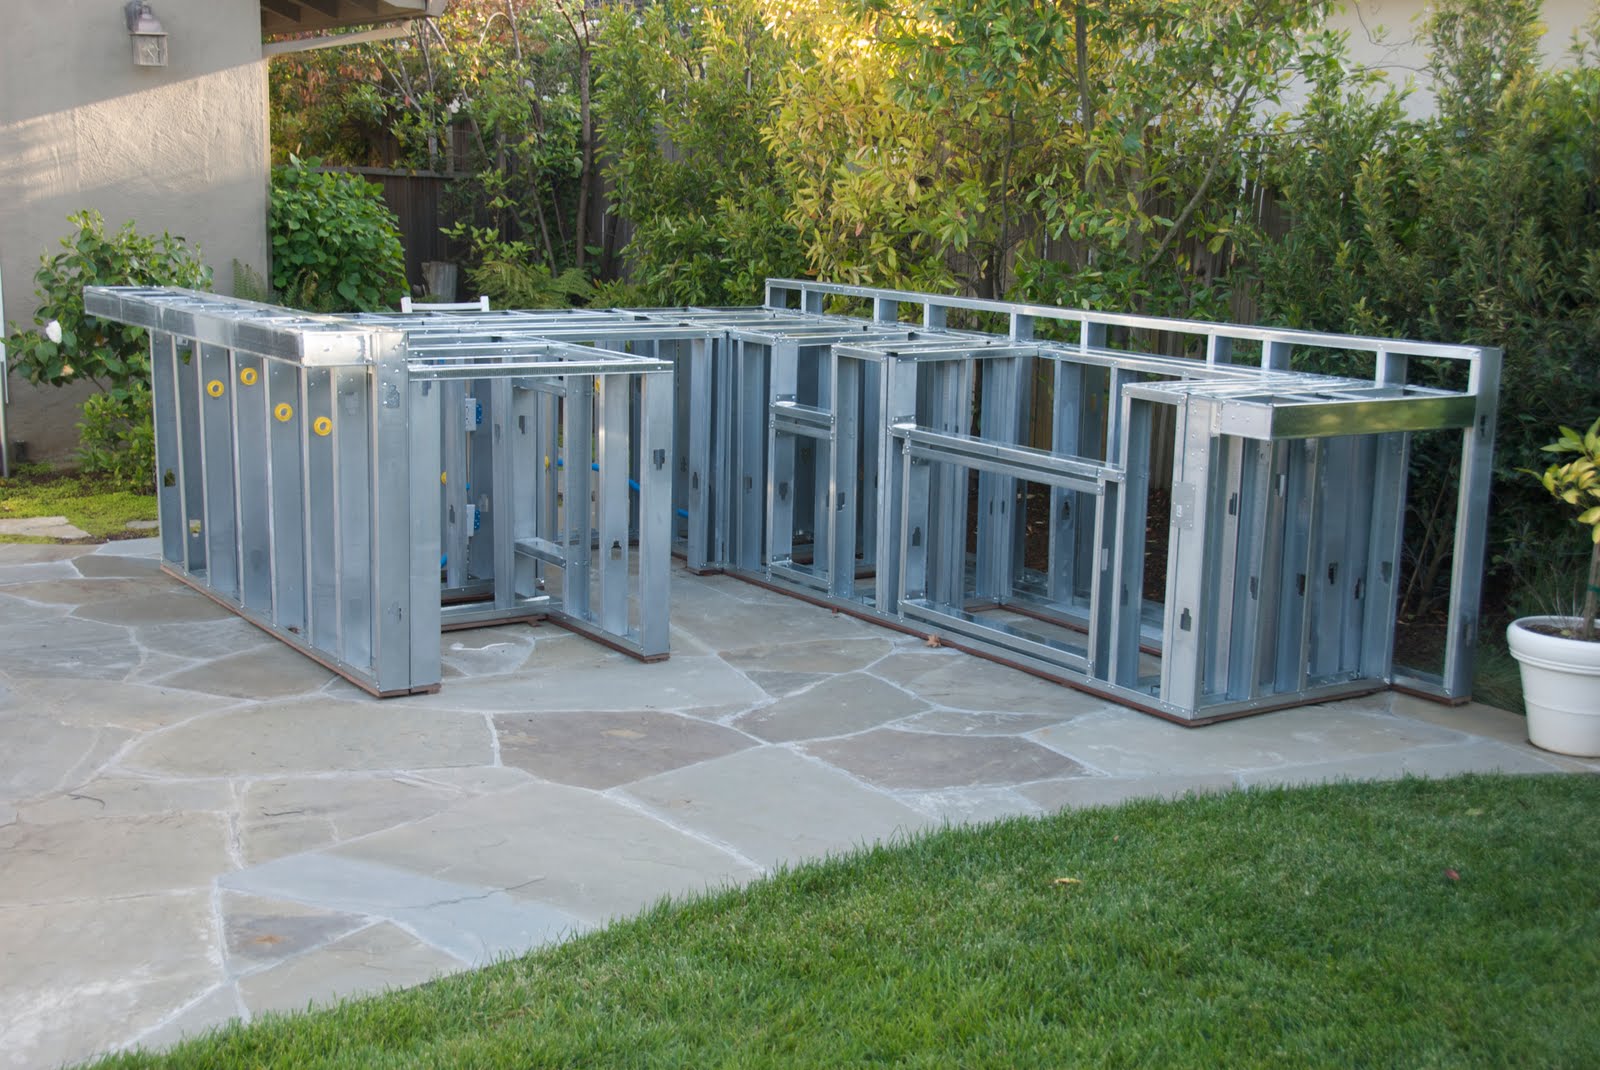
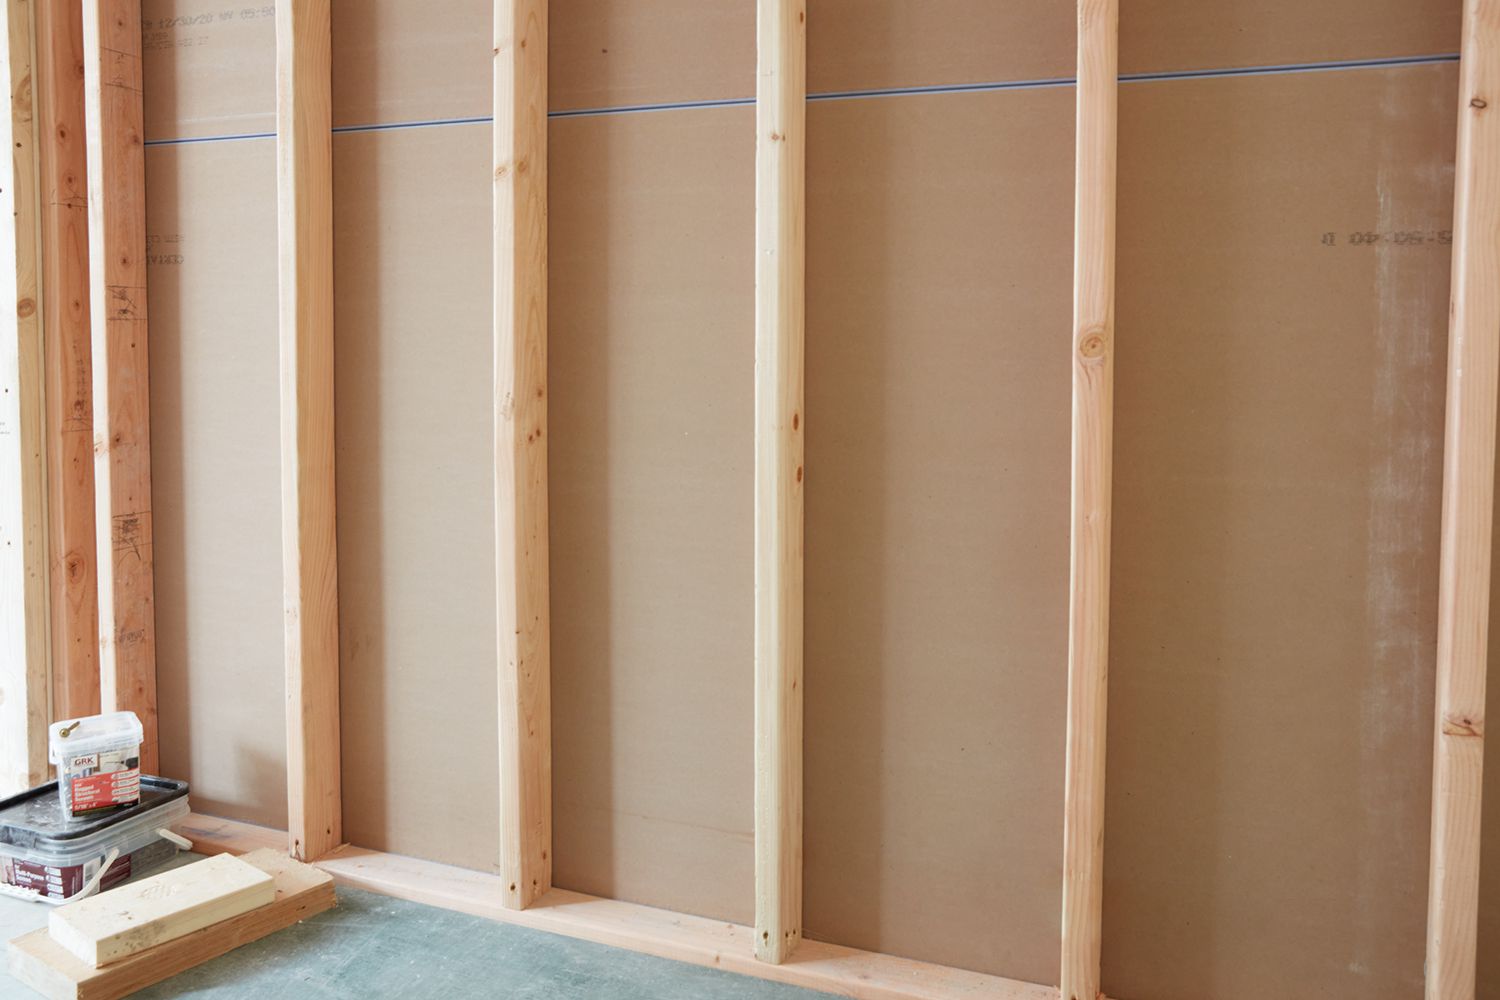
- Identify Wall Layout: Determine the layout of the wall and decide where you want to position the metal studs. Typically, studs are spaced 16 inches apart, but check local building codes for specific requirements.
- Mark Stud Positions: Use a pencil or marker to mark the locations of the metal studs on the floor and ceiling. Measure and mark the stud positions along these reference points, ensuring they are aligned vertically.
- Mark Wire Paths: Based on your electrical plan, mark the paths where the wiring will run through the metal studs. Measure the distances from the nearest power source to each electrical box or outlet location, and mark the paths accordingly.
- Measure and Cut Conduit: If you are using flexible conduit for added protection, measure the lengths needed for each wire path and cut the conduit accordingly. Keep in mind that the conduit should overlap the studs by about 6 inches at both ends for proper installation.
Remember to double-check your measurements and markings before proceeding to the next step. Accuracy is crucial to ensure a smooth installation process. Once you have marked and measured the stud positions and wire paths, you’re ready to move on to running the wiring.
Read more: How To Attach Insulation To Metal Studs
Step 3: Running the Wiring
Now that you have marked the stud positions and wire paths, it’s time to run the electrical wiring through the metal studs. Follow these steps to ensure a proper installation:
- Prepare the Wiring: Begin by cutting the electrical wiring to the appropriate length, allowing for some extra length to work with. Use wire cutters to strip about 1/2 inch of insulation from the ends of the wires.
- Start from the Power Source: Begin at the nearest power source, such as an electrical panel or existing outlet. Feed the wiring through the pre-punched holes in the metal studs, following the marked wire paths.
- Use Fish Tape: If needed, use a fish tape to guide the wiring through the metal studs. Insert the fish tape into one pre-punched hole, push it through to the next hole, and pull the wiring through with it.
- Avoid Sharp Bends: When running the wiring, avoid sharp bends or kinks that can damage the wires. Make gentle curves instead to ensure the integrity of the electrical cables.
- Straight and Parallel: Keep the wiring as straight and parallel to the metal studs as possible. This will make it easier to secure the wiring and prevent any potential interference with other components.
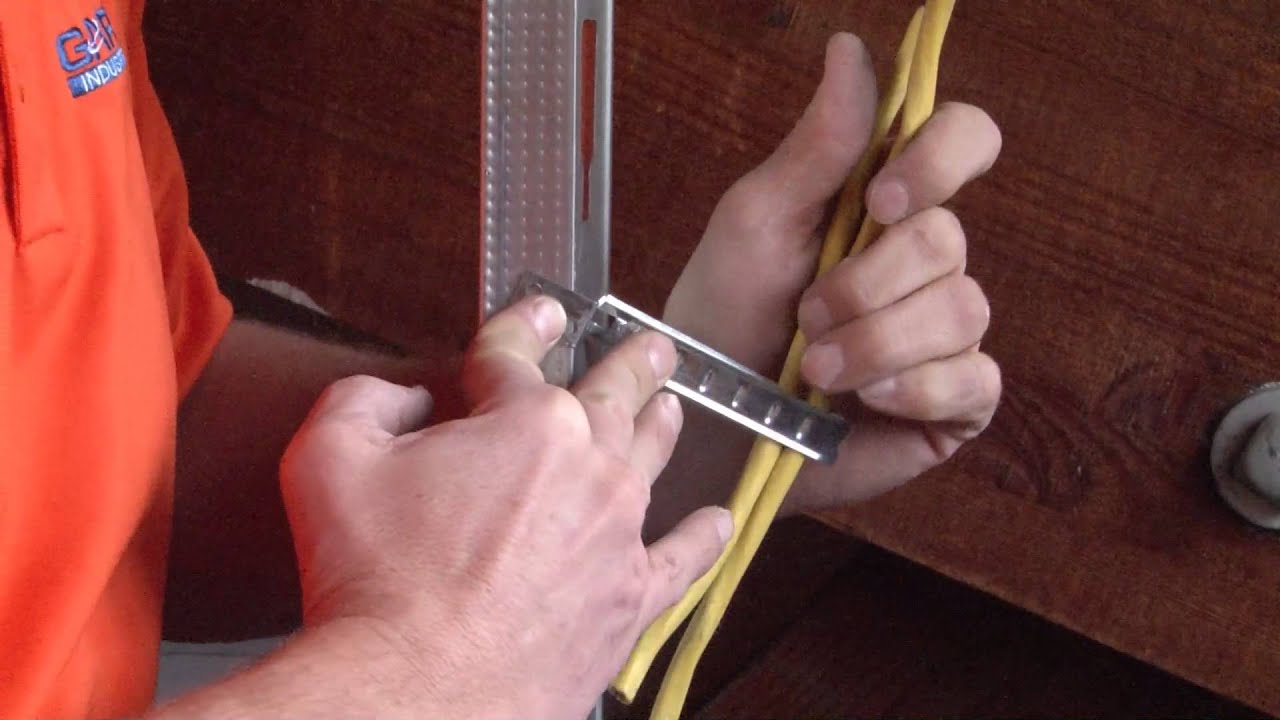
- Secure the Wiring: As you progress, use plastic or metal wiring straps to secure the wiring to the metal studs. Space the straps every few feet to ensure the wiring is firmly in place.
Pay close attention to the positioning and organization of the wiring as you run it through the metal studs. Take your time to ensure that all the wires are neatly arranged and properly secured. Once you have finished running the wiring, it’s time to move on to the next step: securing the wiring.
When working with metal stud wiring, use metal-rated cable clamps to secure the electrical cables to the studs. This will help prevent damage to the cables and ensure they are properly secured in place.
Step 4: Securing the Wiring
After running the electrical wiring through the metal studs, the next step is to secure the wiring in place. Properly securing the wiring is essential for safety and preventing any damage or interference. Follow these steps to securely fasten the wiring:
- Position the Wiring: Ensure that the wiring is aligned properly and neatly positioned alongside the metal studs. Make sure there is no slack or tension in the wires.
- Use Cable Staples or Clamps: Depending on the type of wiring you’re using, use either cable staples or clamps to secure the wiring to the metal studs. Place the staples or clamps every few feet to hold the wiring firmly in place.
- Avoid Over-Tightening: When applying staples or clamps, be careful not to over-tighten them, as this can damage the insulation or compression the wires. Secure them just enough to hold the wiring in place without exerting excessive pressure.
- Ensure Proper Spacing: Maintain the specified spacing between wires and between wires and studs, as outlined in electrical codes. This ensures proper ventilation and minimizes the risk of overheating.
- Bundle Excess Wiring: If there is excess wiring, bundle it together neatly using zip ties or wire clips. This helps to keep things organized and prevents any loose or dangling wires.
- Avoid Squeezing or Pinching the Wiring: Take care not to squeeze or pinch the wiring between the metal studs or any other objects. This can damage the wires and affect their performance.
By following these steps, you can ensure that the wiring is securely fastened and protected within the metal stud framework. With the wiring secured, you’re now ready to move on to the next step: making connections.
Step 5: Making Connections
Once the wiring is securely fastened within the metal studs, it’s time to make the necessary connections. This step involves joining wires together, connecting them to switches or outlets, and ensuring proper electrical conductivity. Follow these steps to make connections:
- Strip the Wires: Use wire cutters to strip about 1/2 inch of insulation from the ends of the wires that need to be connected. Ensure that the bare wire is clean and free from any frayed ends.
- Twist Wire Ends: After stripping the wires, twist together the corresponding wires that need to be connected. For example, connect black wires to black wires and white wires to white wires.
- Secure with Wire Connectors: Use wire connectors, such as wire nuts, to securely fasten the twisted wire ends together. Insert the twisted wire ends into the connector and twist the connector clockwise until it is tight and secure.
- Trim Excess Wire: Once the connections are made, trim any excess wire with wire cutters. Leave a short length of wire extending from the connectors to ensure flexibility and ease of installation.
- Connect to Switches and Outlets: If you’re working on a switch or outlet installation, follow the manufacturer’s instructions to connect the wires to the appropriate terminals. This may involve attaching wires to screws or pushing them into backstab connections.
- Double-Check Connections: After making all the necessary connections, double-check each connection to ensure it is secure and properly insulated. Confirm that the wires are not loose and that there is no exposed bare wire.
It is crucial to make proper and secure connections to ensure the safe and efficient operation of your electrical system. Take your time, follow the manufacturer’s instructions and electrical codes, and check each connection carefully. With the connections made, it’s time to move on to the next step: testing the wiring.
Step 6: Testing the Wiring
After making the necessary connections, it’s important to test the wiring to ensure that everything is functioning correctly. Testing the wiring will help identify any potential issues or faults before completing the wall installation. Follow these steps to test the wiring:
- Restore Power: Turn the circuit breaker back on to restore power to the area where you’ve installed the wiring.
- Test Electrical Outlets: Use a voltage tester to check the electrical outlets and ensure they are receiving power. Insert the tester into each outlet and confirm that it indicates the presence of voltage.
- Test Switches: If you’ve installed switches, test them to ensure they are working properly. Flip each switch on and off and check if the connected lighting or device responds accordingly.
- Check for Continuity: Using a continuity tester, check the continuity of each wire connection. Touch one probe to one wire end and the other probe to the corresponding wire end. The tester should indicate continuity, confirming that the connection is secure.
- Inspect for Safety: While testing, also inspect the wiring for any exposed or loose wires, damaged insulation, or signs of overheating. Rectify any issues immediately to ensure safety and prevent potential hazards.
- Document and Label: Once testing is complete and everything is functioning properly, document and label the wiring for future reference. This will make future repairs or modifications easier and more efficient.
Testing the wiring is a critical step in the installation process, as it ensures the proper functioning and safety of your electrical system. Take the time to perform thorough testing and address any issues that may arise. With the wiring successfully tested, you’re ready for the final step: finishing the wall.
Read more: How To Attach Metal Electrical Box To Stud
Step 7: Finishing the Wall
With the wiring in place and properly tested, it’s time to finish the wall installation process. This step involves completing the remaining tasks to ensure the wall is ready for its intended use. Follow these steps to finish the wall:
- Insulate the Studs: If necessary, add insulation material between the metal studs to improve thermal and acoustic properties. This will help regulate temperature and reduce sound transmission.
- Install Drywall: Measure and cut drywall sheets to fit the wall, ensuring they cover the metal studs and any electrical components. Secure the drywall to the studs using drywall screws or nails.
- Fill and Sand: Fill any gaps or seams between the drywall sheets with joint compound. Once dry, sand the surface to create a smooth and seamless finish.
- Prime and Paint: Apply a coat of primer to the drywall to seal it and help the paint adhere properly. Once the primer is dry, apply your chosen paint color to finish the wall.
- Mount Switches and Outlets: Install the switch plates, outlet covers, and any other electrical components onto the wall. Ensure they are securely fastened and aligned with the wiring.
- Final Inspections: Conduct a final inspection of the wall to ensure there are no visible defects, loose electrical components, or exposed wiring. Check for any cosmetic or functional issues and address them accordingly.
- Clean up: Remove any debris or excess materials from the work area and give the newly installed wall a final cleaning. This will help create a polished and professional-looking result.
Finishing the wall completes the installation process and leaves you with a functional and visually appealing wall. Take your time to ensure that each step is done carefully and with attention to detail. Once finished, enjoy the fruits of your labor and the convenience of your newly installed metal stud wiring.
Congratulations on successfully working with metal stud wiring and completing the installation of your wall!
Conclusion
Working with metal stud wiring when installing a wall may initially seem daunting, but with the right knowledge and techniques, it can be a straightforward and rewarding process. By understanding the benefits of metal studs, gathering the necessary tools and materials, and following the step-by-step guide we’ve provided, you can successfully install a wall with metal stud wiring.
Metal stud wiring offers durability, fire resistance, and pest resistance, making it a reliable and long-lasting choice for electrical installations. It provides flexibility in design, ease of installation, and cost-effectiveness compared to traditional wooden studs. Additionally, metal stud wiring ensures compliance with electrical codes and regulations for a safe and efficient electrical system.
Throughout the process, careful preparation, marking, measuring, running the wiring, securing the wiring, making connections, testing, and finishing the wall are key steps to follow. Each step contributes to the overall success and functionality of your electrical installation.
Remember to prioritize safety by cutting power, wearing protective gear, and double-checking connections. Take the time to test the wiring to ensure that it is functioning properly and inspect for any potential hazards. By following these guidelines, you can avoid future issues and ensure the longevity of your electrical system.
Finishing the wall with proper insulation, drywall installation, and paint gives the project a polished, professional look. Mounting the switches, outlets, and other components adds the final touches to your newly installed wall.
With the installation complete, take pride in your accomplishment as you enjoy the benefits of a well-designed, safe, and efficient electrical system within your wall.
Remember to refer back to this guide if you ever need to work with metal stud wiring in the future, and always consult local electrical codes and regulations for specific requirements in your area.
Best of luck with your metal stud wiring installation and enjoy your newly installed wall!
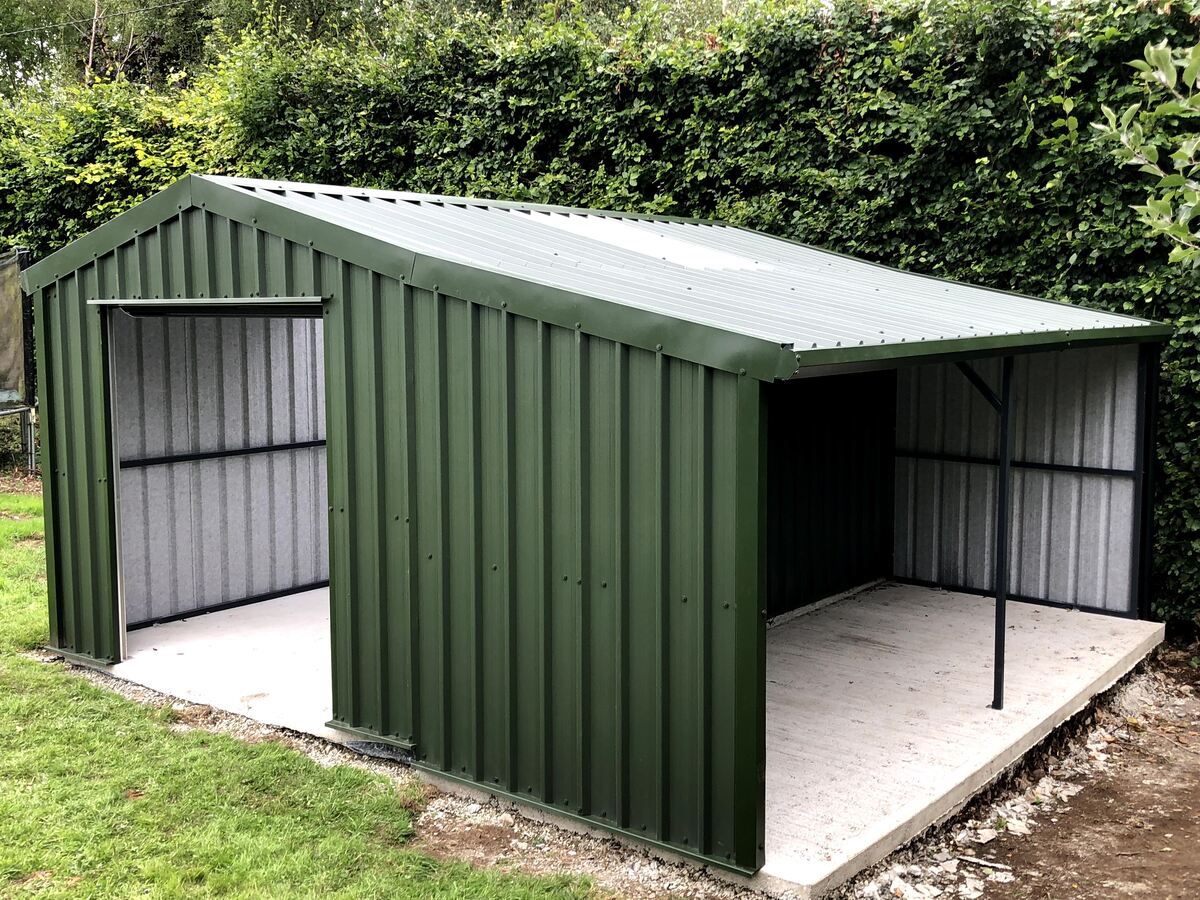
Now that you've mastered working with metal stud wiring, why not expand your DIY prowess further? Our next guide, on running overhead electrical wires to your garage, offers practical steps and essential tips. Perfect for homeowners looking to power up their outbuildings, this article provides clear instructions to ensure safe and efficient electrical connections. Don't miss out on this opportunity to enhance your home's functionality!
Frequently Asked Questions about How To Work With Metal Stud Wiring When Installing A Wall
Was this page helpful?
At Storables.com, we guarantee accurate and reliable information. Our content, validated by Expert Board Contributors, is crafted following stringent Editorial Policies. We're committed to providing you with well-researched, expert-backed insights for all your informational needs.
0 thoughts on “How To Work With Metal Stud Wiring When Installing A Wall”