Home>Gardening & Outdoor>Outdoor Structures>How To Build An Awning Over A Deck
Outdoor Structures
How To Build An Awning Over A Deck
Published: January 29, 2024
Learn how to build an awning over your deck and enhance your outdoor space with our expert tips and advice on outdoor structures. Discover the best techniques for creating a stylish and functional awning.
(Many of the links in this article redirect to a specific reviewed product. Your purchase of these products through affiliate links helps to generate commission for Storables.com, at no extra cost. Learn more)
Introduction
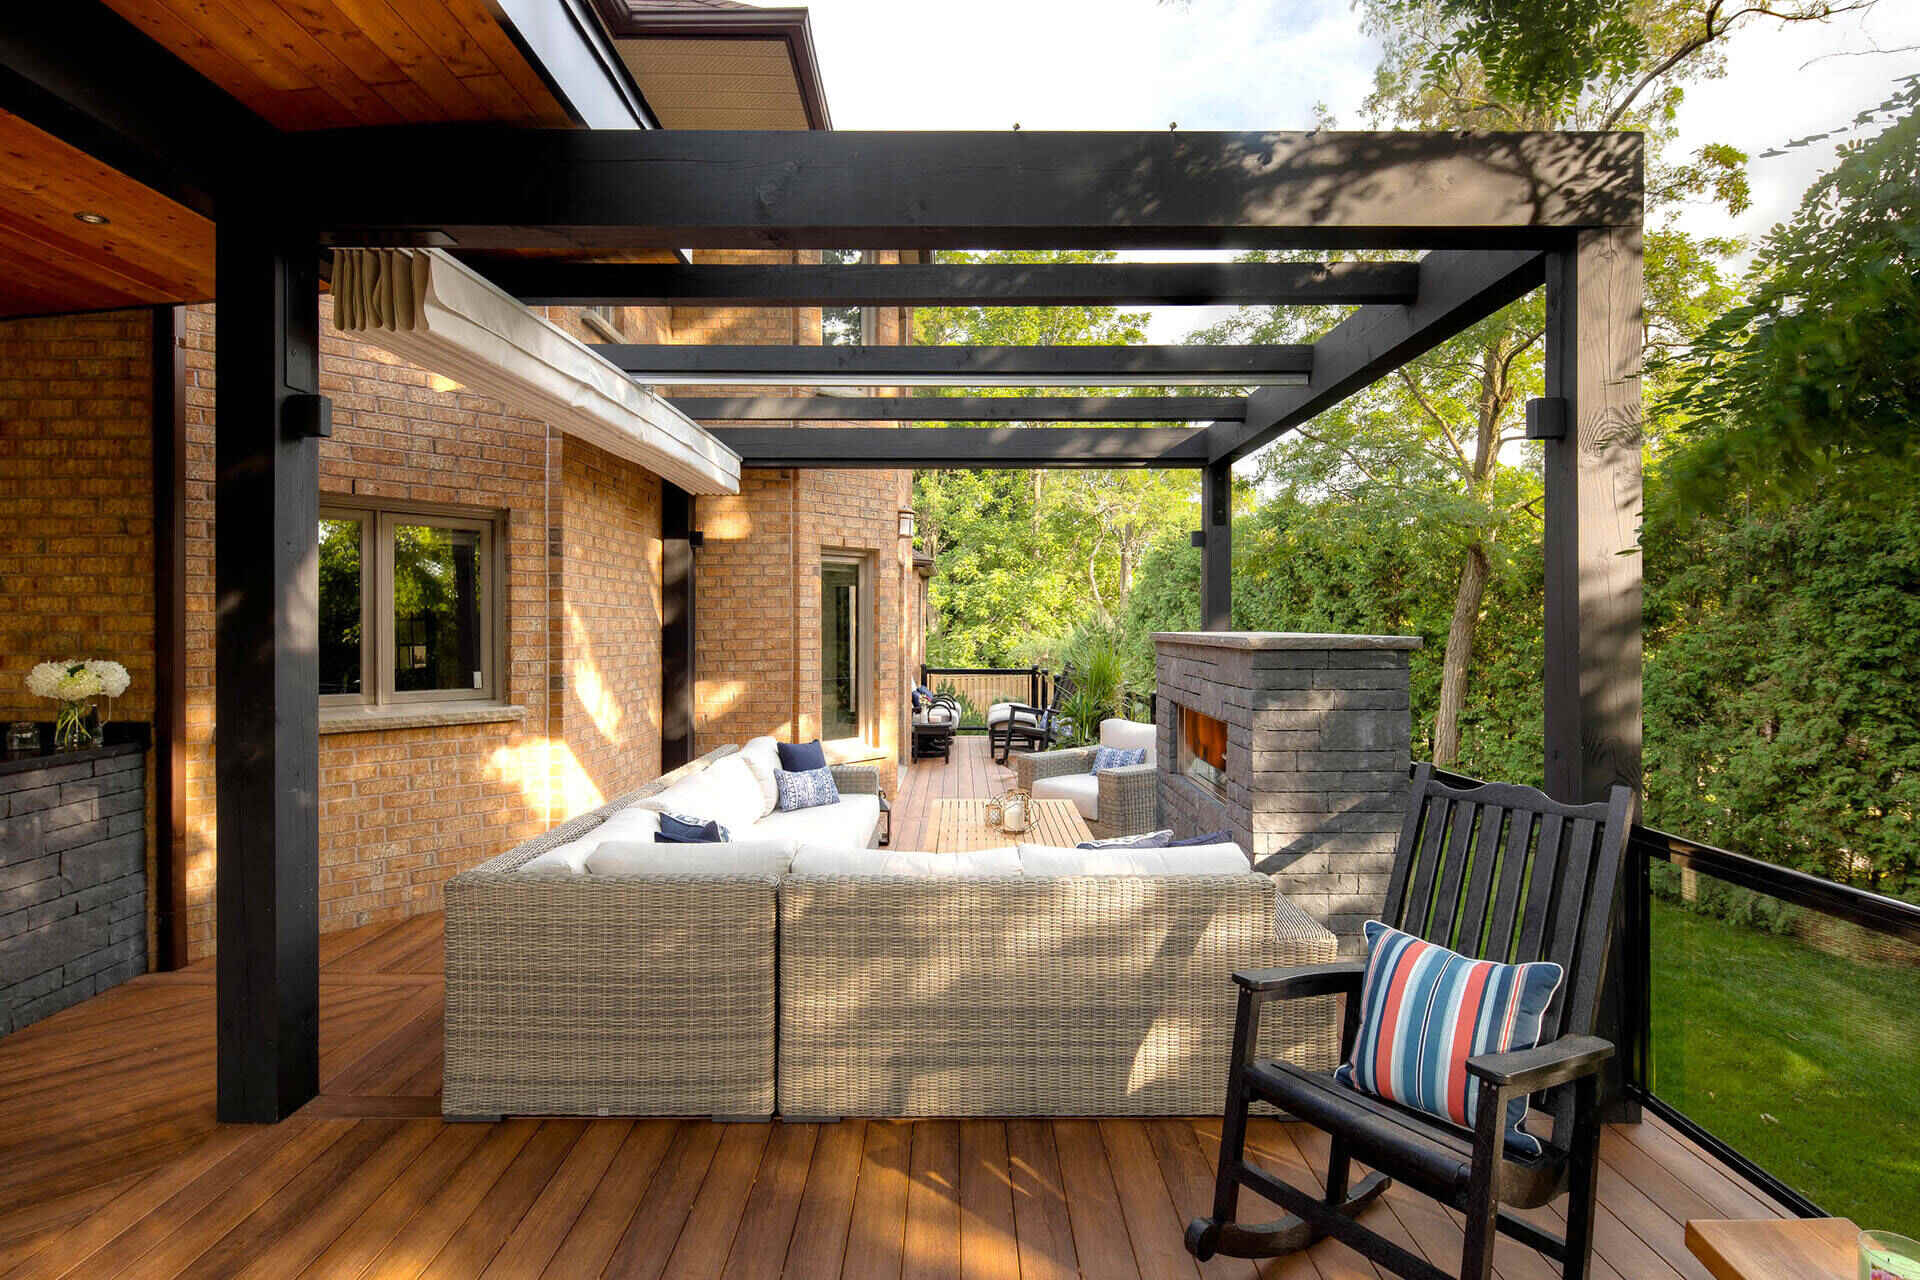
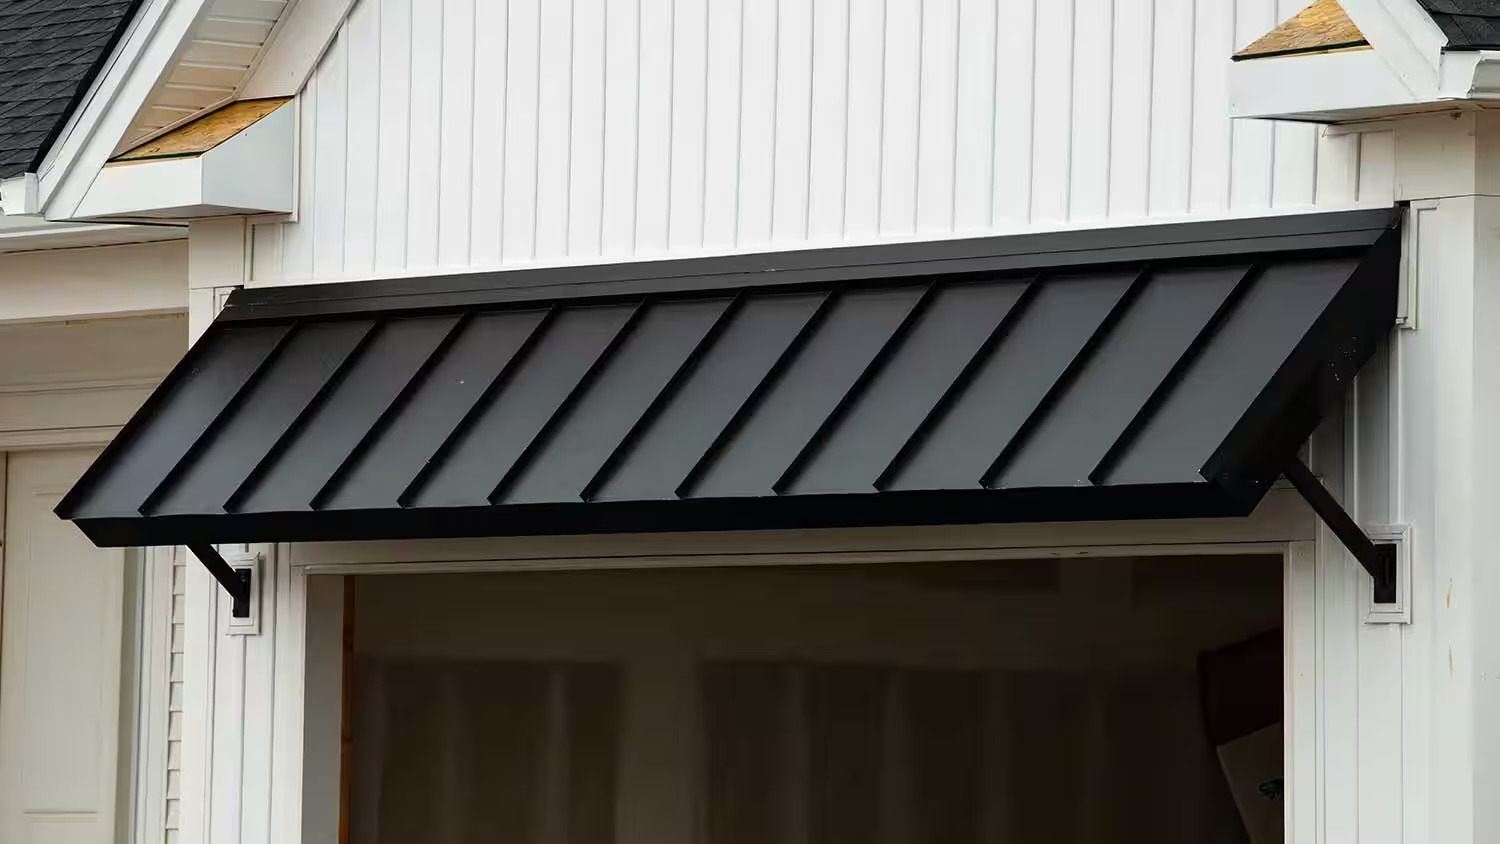
Are you looking to enhance your outdoor living space and create a comfortable, shaded area for relaxing and entertaining? Building an awning over your deck can provide the perfect solution, offering protection from the elements while adding a touch of style to your outdoor environment. Whether you're envisioning a cozy retreat for enjoying a book on a sunny afternoon or a welcoming space for hosting gatherings with friends and family, an awning can significantly elevate the functionality and aesthetic appeal of your deck.
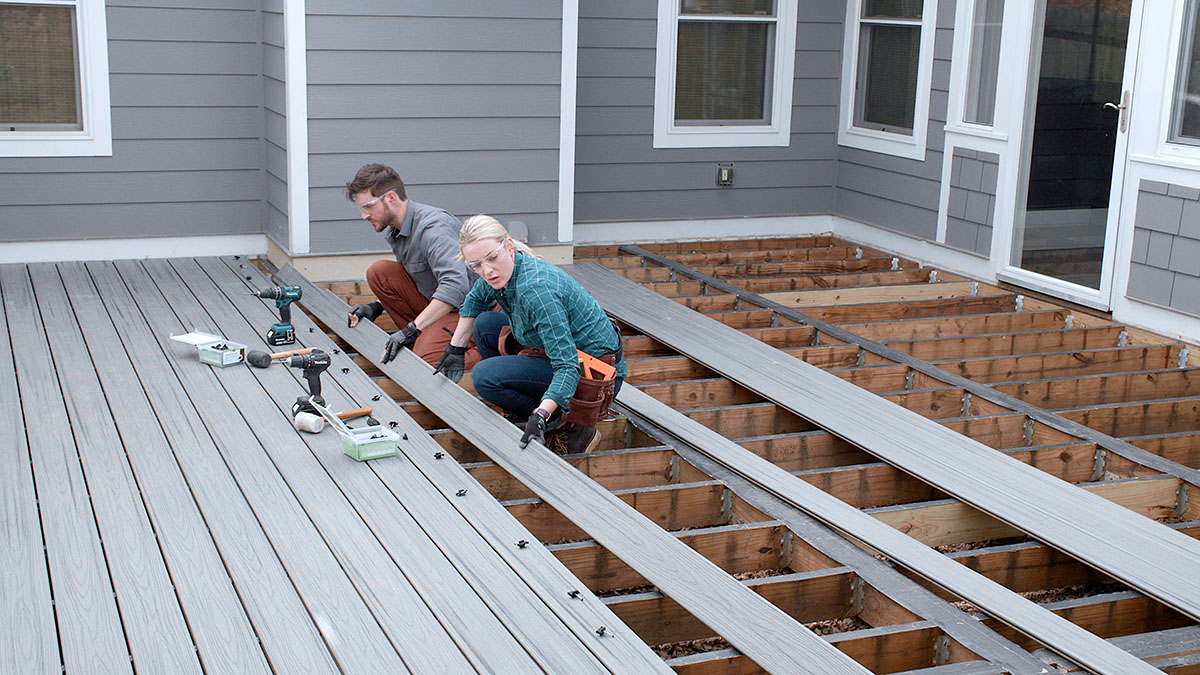
In this comprehensive guide, we will walk you through the step-by-step process of constructing an awning over your deck. From gathering the necessary materials and tools to the final touches that bring the project to completion, you'll gain valuable insights and practical instructions to help you embark on this rewarding endeavor. Whether you're a seasoned DIY enthusiast or a first-time builder, this guide is designed to empower you with the knowledge and confidence to tackle this project with ease.
As we delve into each stage of the construction process, you'll discover the essential techniques and considerations for ensuring a sturdy and visually appealing awning. Additionally, we'll explore various design options and materials, allowing you to tailor the awning to complement your deck's architecture and your personal preferences.
By the end of this guide, you'll be equipped with the expertise to transform your deck into a versatile and inviting outdoor oasis. So, roll up your sleeves, gather your tools, and let's embark on this exciting journey to create a stunning awning that will redefine the way you enjoy your outdoor space.
Key Takeaways:
- Building an awning over your deck can create a cozy, shaded space for relaxation and entertaining. With the right materials, tools, and careful planning, you can transform your outdoor environment with a stylish and functional addition.
- Constructing a deck awning involves precise measurements, sturdy support posts, and the strategic installation of roofing material. By adding finishing touches like lighting and decorative elements, you can personalize your awning for a welcoming outdoor retreat.
Read more: How To Build An Awning Over A Patio
Step 1: Gather Materials and Tools
Before commencing the construction of your deck awning, it’s crucial to assemble all the necessary materials and tools. By preparing in advance, you can streamline the building process and minimize interruptions, ensuring a smooth and efficient project execution.
Materials:
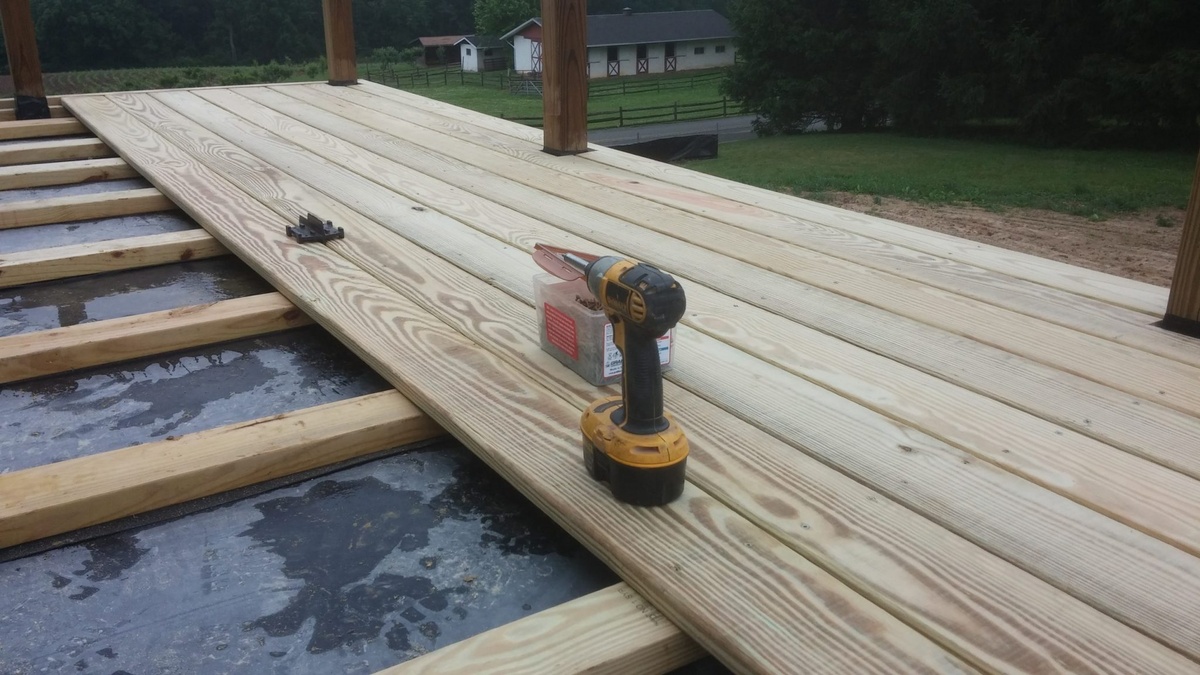
- Pressure-treated lumber for posts and crossbeams
- Metal brackets and fasteners
- Roofing material, such as polycarbonate panels or outdoor fabric
- Concrete mix for securing the support posts
- Waterproof sealant or paint for added protection
When selecting the materials, prioritize durability and weather resistance to prolong the lifespan of your awning and minimize maintenance requirements.
Tools:
- Tape measure and marking tools for precise measurements
- Level to ensure the structure is plumb and even
- Power drill and appropriate drill bits
- Saw for cutting lumber to the required dimensions
- Shovel for digging holes for the support posts
- Mixing tools for preparing concrete
- Protective gear, including gloves and safety goggles
By having these tools readily available, you can seamlessly transition through each phase of the construction process, from setting the foundation to adding the finishing touches.
Additionally, consider the design and aesthetic aspects of your awning, as this will influence the specific materials and tools needed. Whether you opt for a rustic timber frame or a sleek, modern design, aligning the materials and tools with your vision will contribute to a cohesive and visually pleasing end result.
With the materials and tools at your disposal, you’re poised to embark on the next stage of the project: measuring and marking the area to lay the groundwork for your deck awning.
Step 2: Measure and Mark the Area
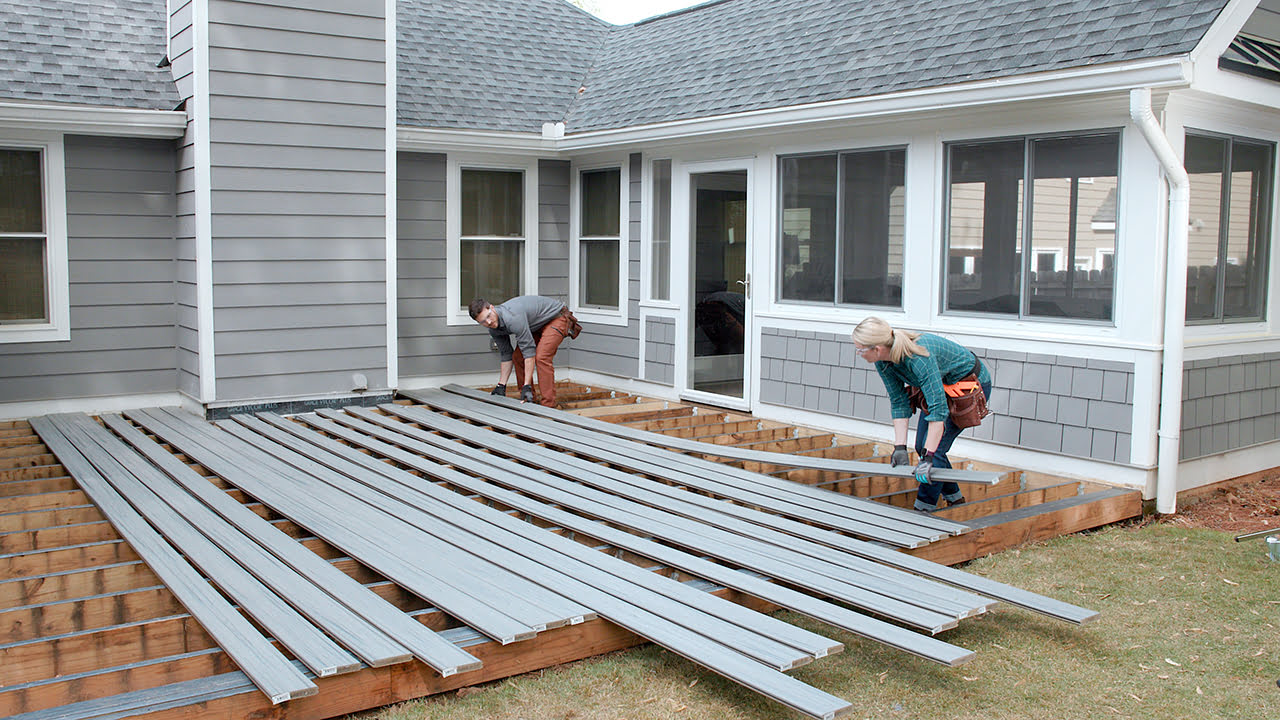
Accurate measurements and precise markings are fundamental to the successful construction of your deck awning. Before breaking ground, take the time to meticulously measure and mark the designated area, ensuring that the foundation and structure align with your deck’s dimensions and layout.
Begin by identifying the optimal location for your awning, considering factors such as sun exposure, prevailing winds, and the intended use of the shaded space. Once the location is determined, use a tape measure to establish the dimensions of the awning, accounting for the desired coverage area and the height clearance above the deck.
After determining the dimensions, mark the locations for the support posts, ensuring they are evenly spaced and aligned with the deck’s perimeter. Use stakes and string to outline the footprint of the awning, providing a visual guide for the subsequent construction steps.
It’s essential to verify that the marked area is level, as this will impact the stability and aesthetics of the awning. Utilize a level to confirm that the ground is even and make any necessary adjustments to ensure a uniform foundation for the support posts.
Consider the local building codes and regulations pertaining to structures such as awnings, as these may dictate specific requirements for setbacks, heights, and permits. Adhering to these guidelines will not only ensure compliance but also contribute to the safety and longevity of your awning.
By meticulously measuring and marking the area, you set the stage for the subsequent steps of installing support posts and assembling the framework of your deck awning. This foundational phase lays the groundwork for a structurally sound and visually appealing addition to your outdoor living space.
With the area measured and marked, you’re ready to progress to the next pivotal stage: installing the support posts that will form the backbone of your deck awning.
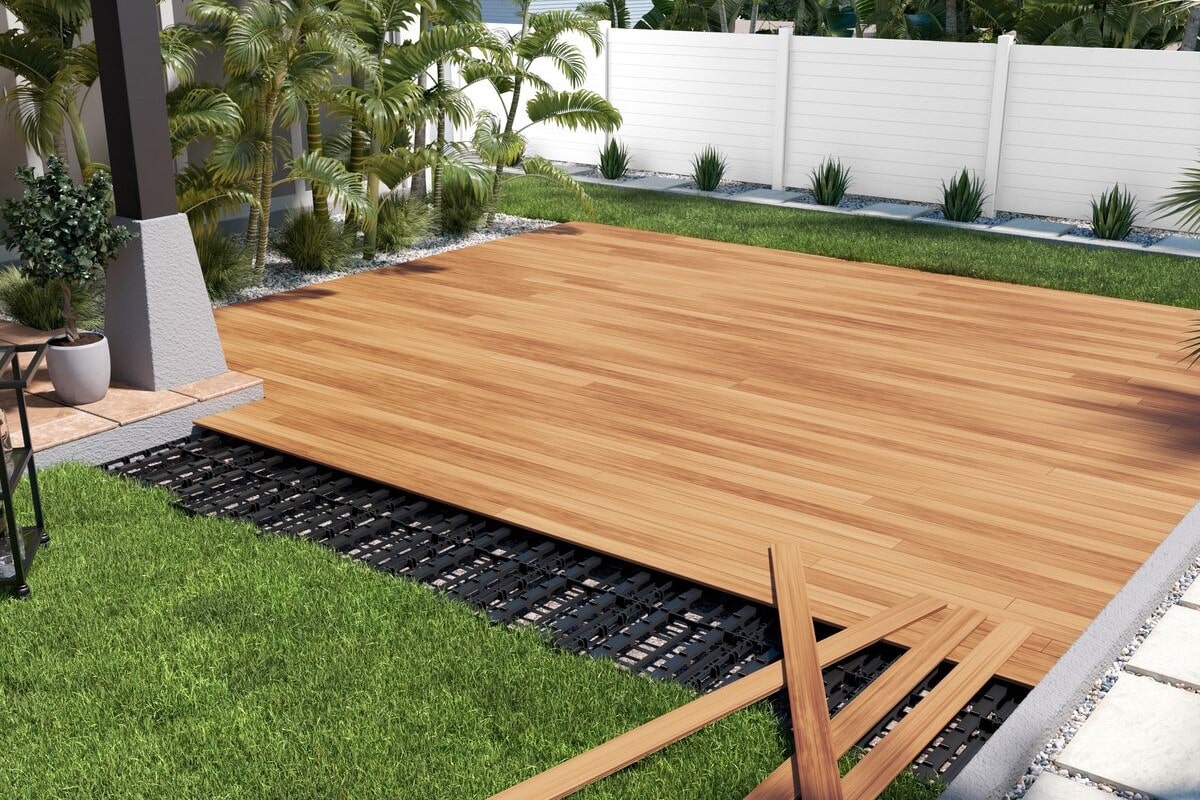
Step 3: Install Support Posts
The installation of sturdy and secure support posts forms the backbone of your deck awning, providing the structural integrity and stability essential for withstanding various weather conditions. Properly anchoring the support posts ensures the longevity and reliability of your awning, making this step critical to the overall success of the project.
Begin by digging holes at each marked post location, ensuring that the depth and diameter comply with local building codes and accommodate the size of the posts. Once the holes are excavated, insert the support posts, using a level to ensure they are perfectly plumb and aligned with one another. This step is crucial in guaranteeing a stable foundation for the awning structure.
Next, prepare a concrete mix according to the manufacturer’s instructions and pour it into the holes around the support posts. The concrete will anchor the posts securely in place, providing the necessary stability to support the weight of the awning and withstand external forces, such as wind and precipitation.
Allow the concrete to cure completely before proceeding to the next phase of the construction process. This curing period is vital for ensuring the strength and stability of the support posts, laying the groundwork for the subsequent installation of the crossbeams and roofing material.
Consider treating the support posts with a waterproof sealant or paint to enhance their resistance to moisture and prolong their lifespan. This additional protective measure can safeguard the posts against rot, decay, and other environmental factors, contributing to the overall durability of your deck awning.
By meticulously installing the support posts, you establish a robust and reliable foundation for the subsequent components of your awning. The completion of this phase sets the stage for the next step: attaching the crossbeams that will form the framework of your deck awning.
With the support posts securely in place, you’re ready to advance to the pivotal stage of assembling the framework for your deck awning by attaching the crossbeams.
When building an awning over a deck, make sure to use sturdy materials like metal or treated wood. Consider the angle for proper rain runoff and check local building codes for any necessary permits.
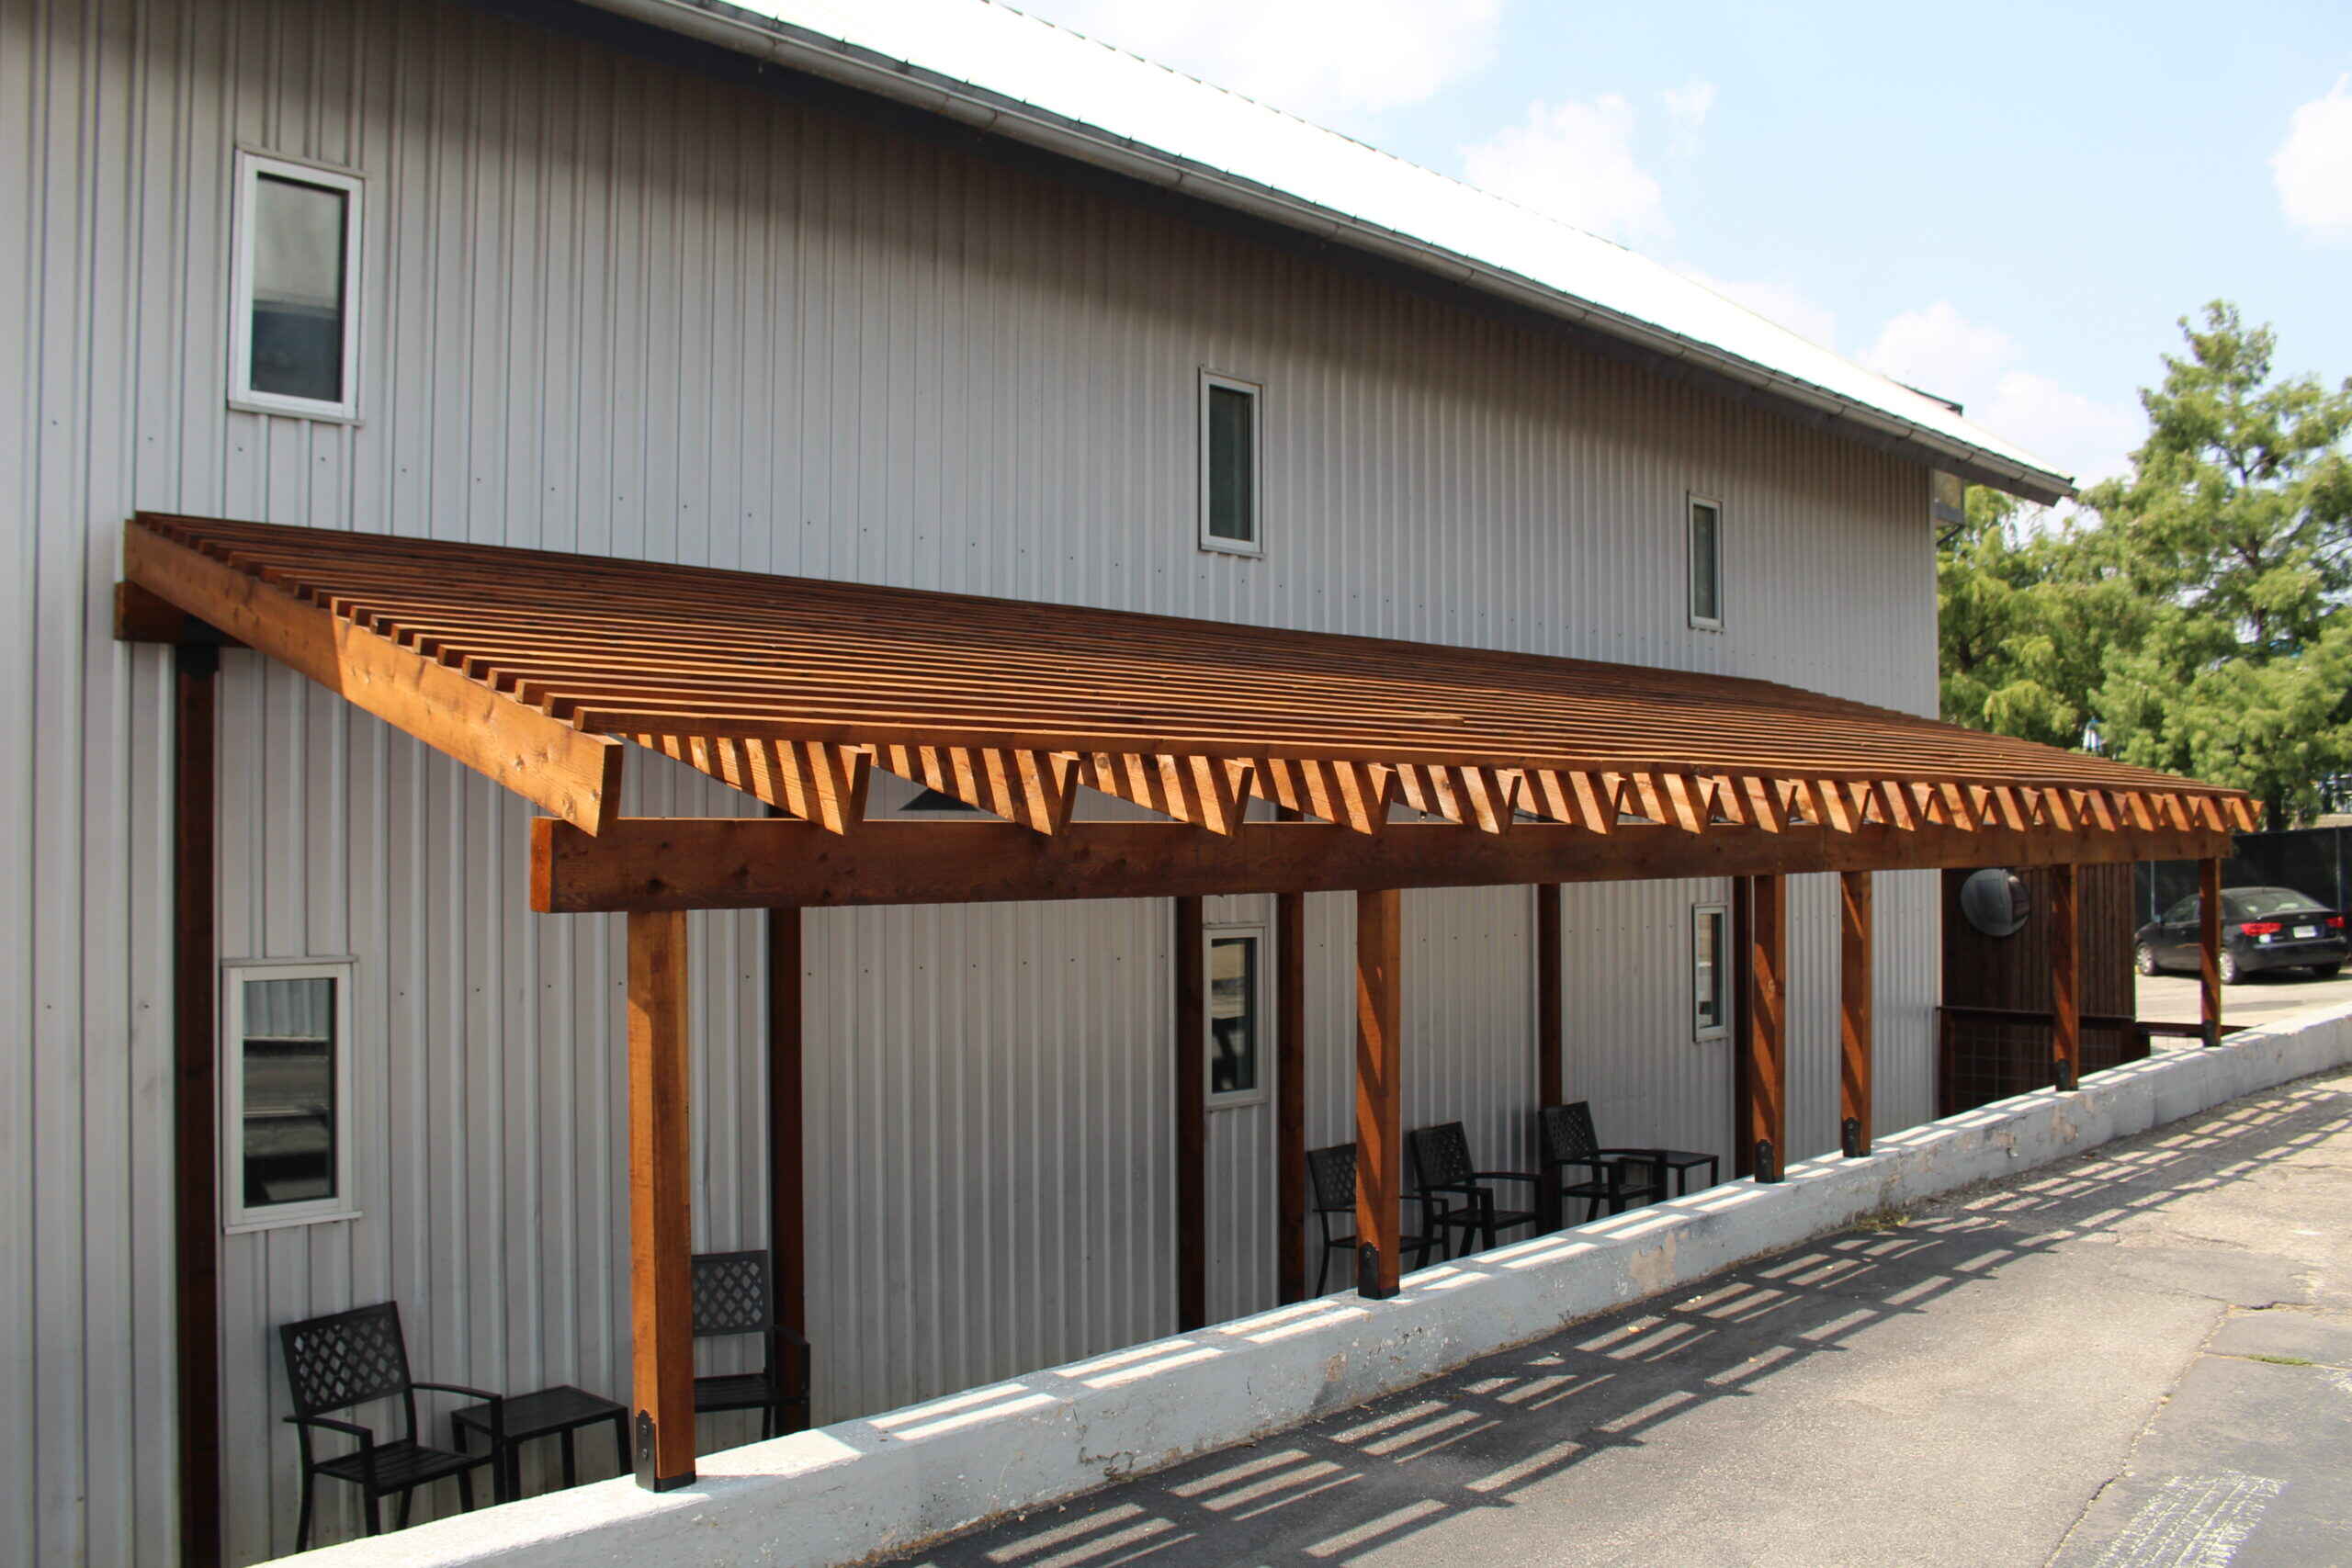
Step 4: Attach the Crossbeams
Assembling the framework of your deck awning involves the precise and strategic attachment of crossbeams to the support posts. These crossbeams form the skeleton of the awning, providing the structure onto which the roofing material will be affixed. Attention to detail and accuracy in this phase are essential to ensure the stability and functionality of your awning.
Begin by measuring and cutting the crossbeams to the specified lengths, taking into account the dimensions of your deck and the desired coverage area of the awning. It’s crucial to ensure that the crossbeams are accurately sized and aligned to create a symmetrical and visually appealing framework.
Position the crossbeams atop the support posts, securing them in place with metal brackets and fasteners. Utilize a level to confirm that the crossbeams are perfectly horizontal and aligned, maintaining uniformity and structural integrity throughout the framework.
Consider the spacing between the crossbeams, aiming for optimal coverage and support while maintaining an aesthetically pleasing arrangement. The spacing should strike a balance between functionality and visual appeal, accommodating the chosen roofing material and enhancing the overall design of the awning.
Once the crossbeams are securely attached, assess the framework to ensure its stability and resilience. Apply additional fasteners or reinforcements as needed to fortify the connections and fortify the framework against external forces.
As the framework takes shape, visualize the impact of the design on your outdoor space, considering how the awning will integrate with your deck and enhance the overall ambiance. The framework not only serves a functional purpose but also contributes to the aesthetic appeal of your outdoor environment.
With the crossbeams in place, the framework of your deck awning is solidified, laying the groundwork for the next crucial step: adding the roofing material that will provide shelter and character to your outdoor living space.
With the framework assembled, you’re now prepared to proceed to the pivotal stage of adding the roofing material to complete your deck awning.
Read more: How To Build An Awning Over A Door
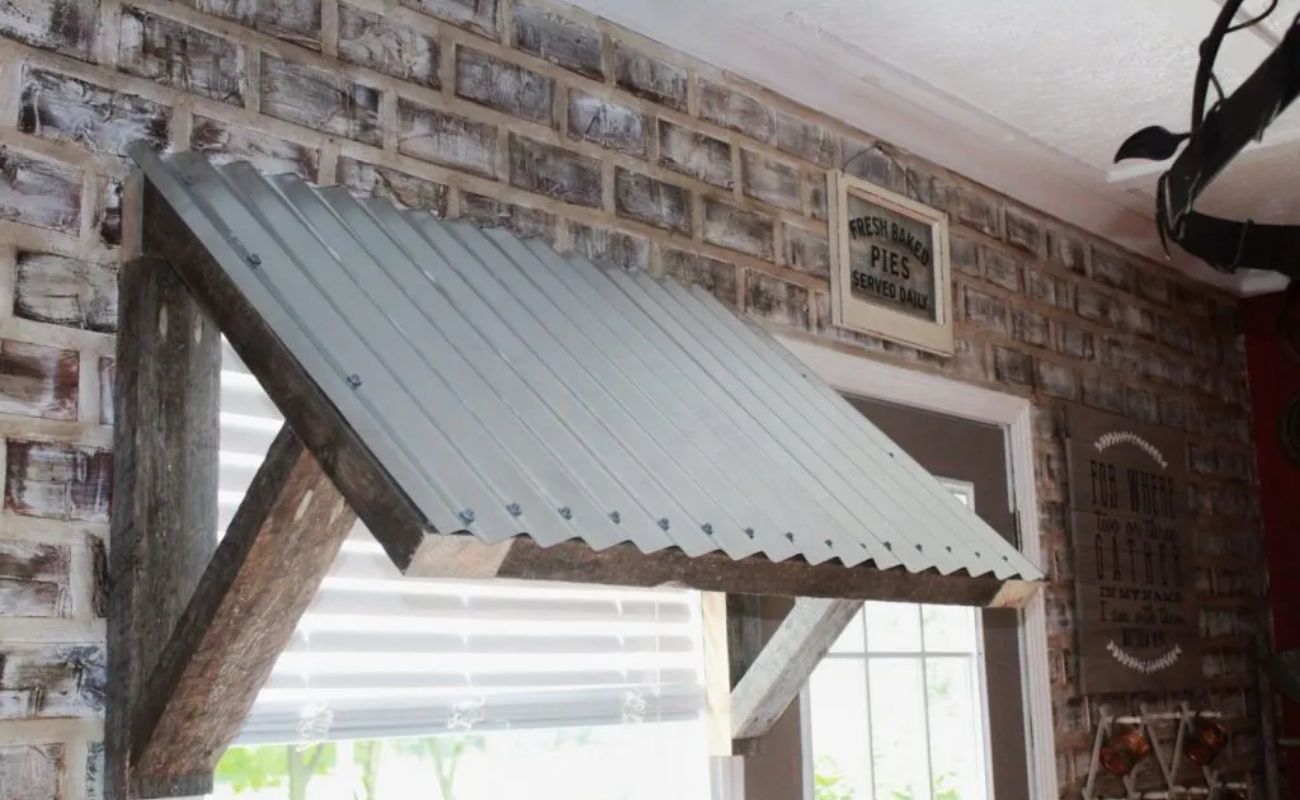
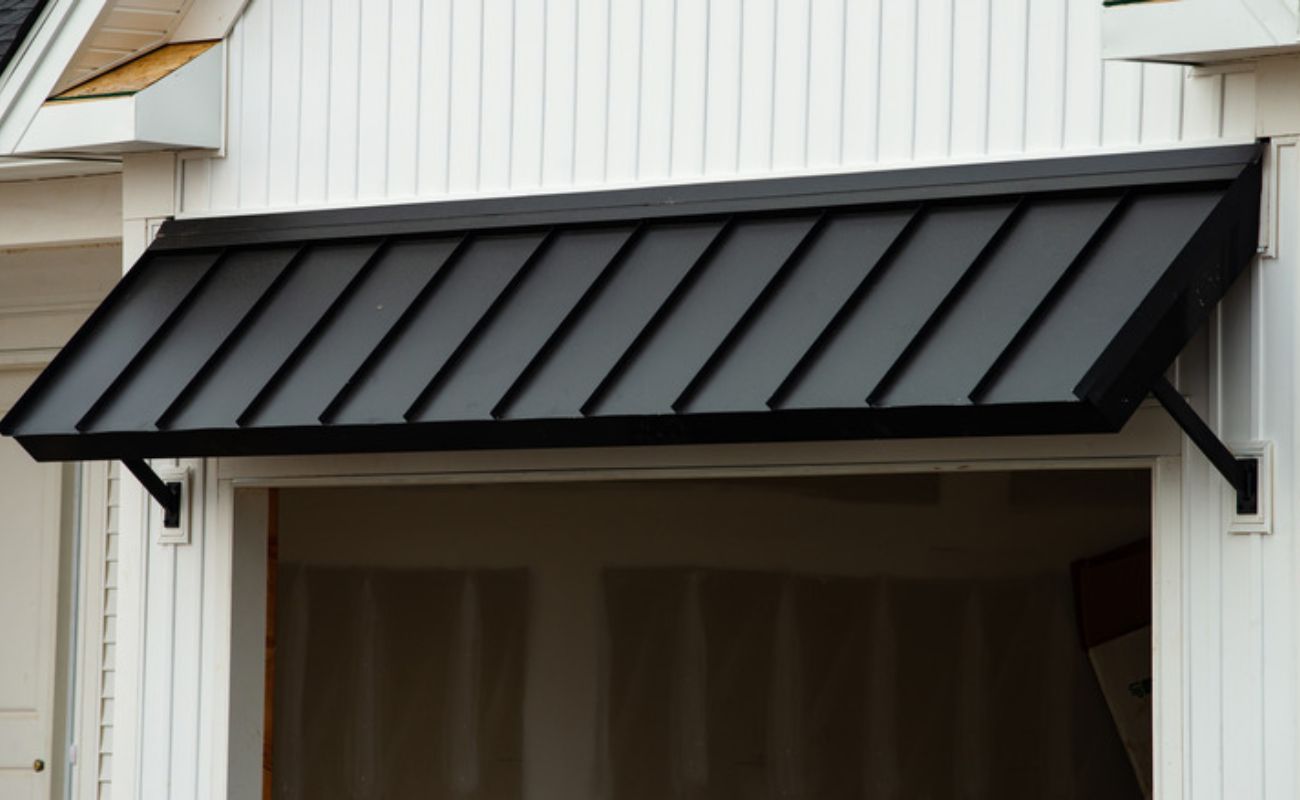
Step 5: Add the Roofing Material
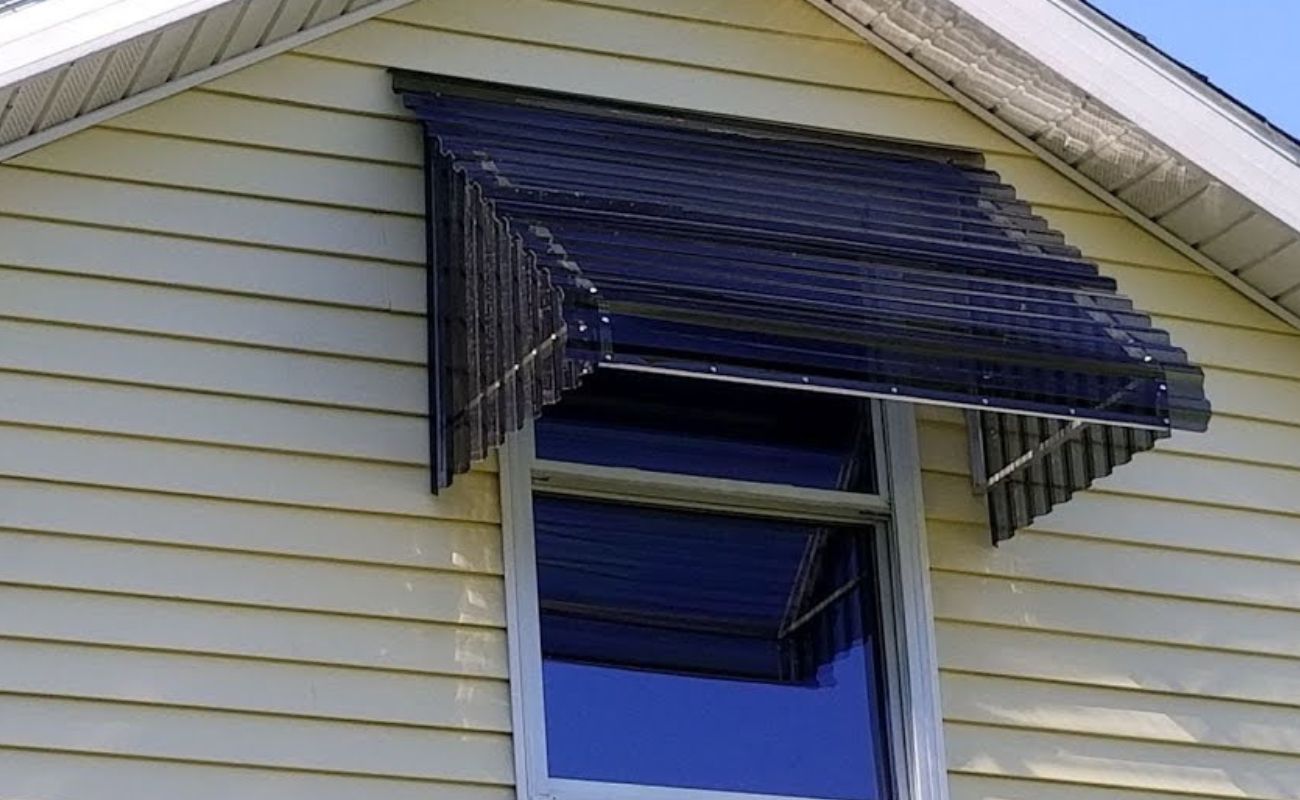
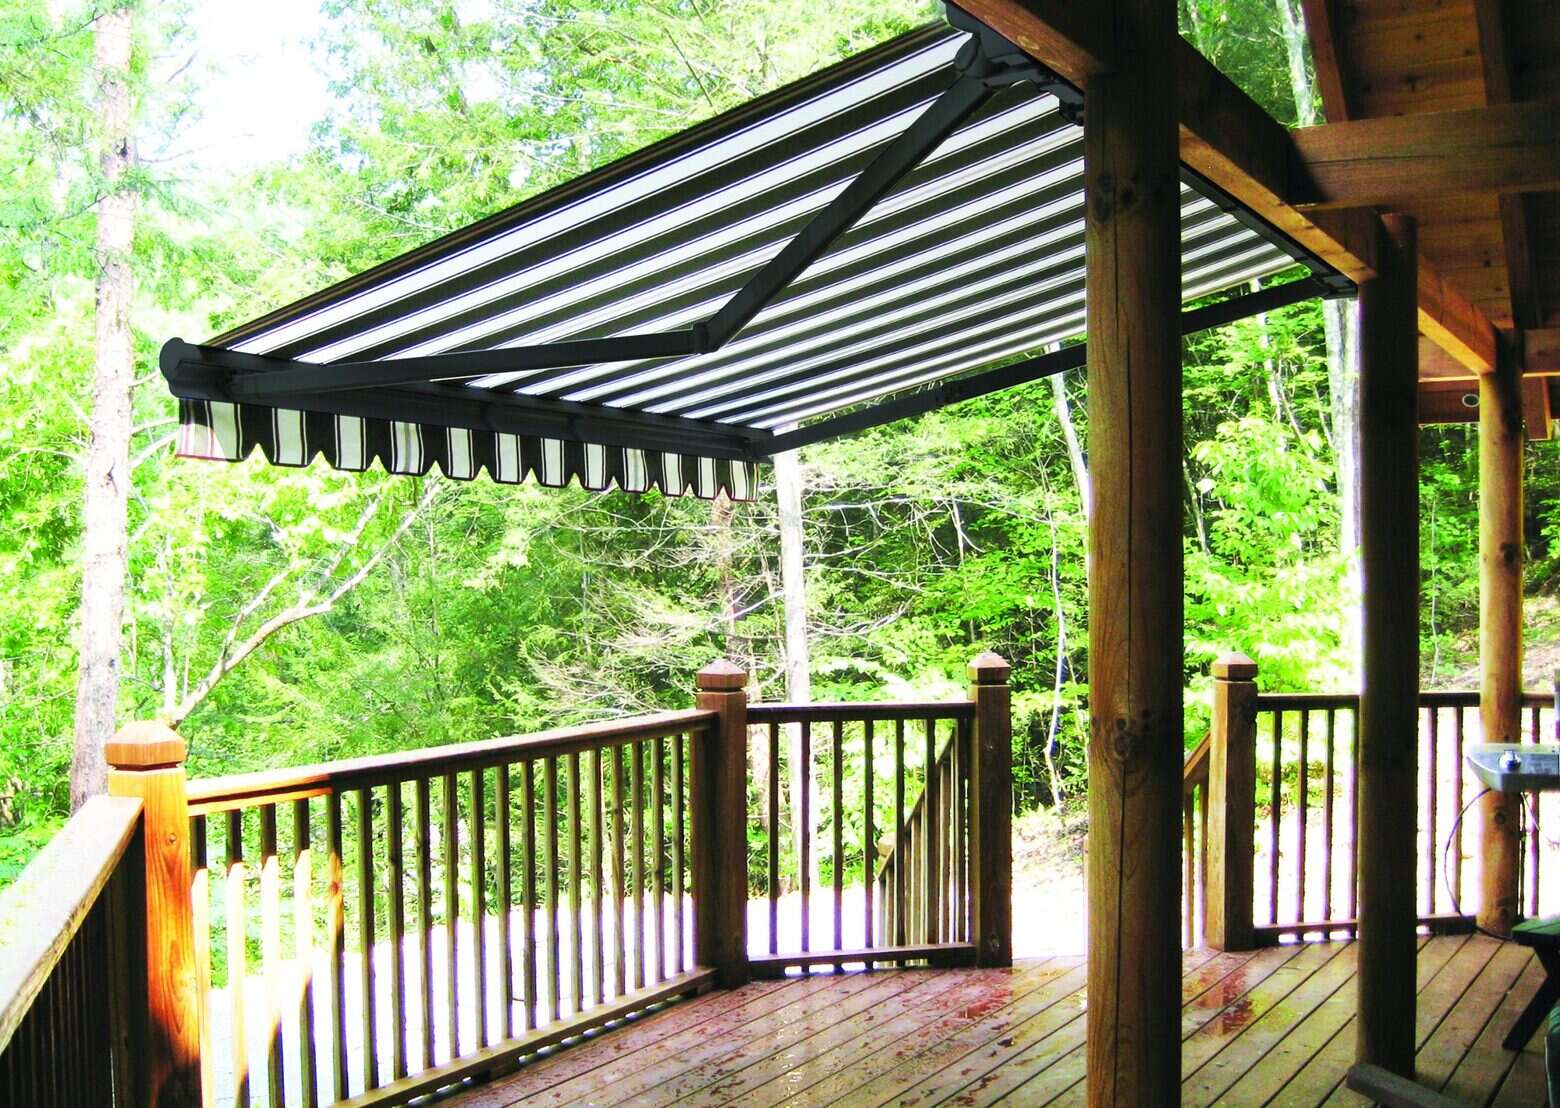
The selection and installation of the roofing material for your deck awning play a pivotal role in determining its functionality, durability, and aesthetic appeal. Whether you opt for polycarbonate panels, outdoor fabric, or another suitable material, this phase is instrumental in providing shelter and character to your outdoor living space.
When choosing the roofing material, consider factors such as weather resistance, light transmission, and visual cohesion with your deck’s architecture. Polycarbonate panels, for example, offer exceptional durability and UV protection, making them a popular choice for awning construction. Alternatively, outdoor fabric provides a softer, more customizable option, allowing for various colors and patterns to complement your outdoor decor.
Once the roofing material is selected, carefully measure and cut it to fit the dimensions of the framework, ensuring a precise and tailored fit. Attention to detail in this step is crucial for achieving a seamless and professional-looking result.
Secure the roofing material to the framework, taking care to fasten it evenly and securely to prevent sagging or flapping in the wind. Depending on the chosen material, utilize appropriate fasteners or adhesives to affix the roofing material to the crossbeams, ensuring a tight and weather-resistant installation.
Consider the angle and pitch of the roofing material to facilitate proper drainage and prevent the accumulation of water or debris. A slight slope will encourage water runoff, preserving the integrity of the awning and minimizing maintenance requirements over time.
As the roofing material is installed, visualize the transformation of your outdoor space, envisioning the enhanced functionality and aesthetic appeal that the awning brings to your deck. The roofing material not only provides shelter but also contributes to the overall ambiance and character of your outdoor environment.
With the roofing material in place, your deck awning takes on its final form, ready to provide a shaded retreat and a striking visual element in your outdoor living space. This pivotal phase sets the stage for the finishing touches that will complete the construction of your deck awning.
With the roofing material securely installed, you’re now prepared to proceed to the final stage of adding the finishing touches to complete your deck awning.
Step 6: Finishing Touches
As you near the completion of your deck awning construction, the final touches serve to refine and enhance the overall appearance and functionality of the structure. These details add a polished and personalized flair, elevating your outdoor space and ensuring that your awning seamlessly integrates with your deck and surroundings.
Consider applying a waterproof sealant or weather-resistant paint to the framework and support posts, providing an additional layer of protection against the elements. This protective measure can safeguard the wood from moisture, UV exposure, and other environmental factors, extending the longevity of your deck awning.
Incorporate decorative elements, such as lattice panels or climbing plants, to infuse character and charm into the awning design. These embellishments can soften the structure’s appearance, create visual interest, and foster a welcoming ambiance in your outdoor living space.
Install lighting fixtures beneath the awning to extend its utility into the evening hours and create a warm and inviting atmosphere. Whether through string lights, lanterns, or recessed fixtures, lighting enhances the functionality and aesthetics of the awning, allowing you to enjoy the space well after the sun sets.
Add personal touches, such as outdoor furniture, cushions, and accessories, to customize the shaded area beneath the awning. By incorporating comfortable seating, vibrant textiles, and decorative accents, you can transform the space into a cozy retreat that reflects your style and invites relaxation and leisure.
Perform a thorough inspection of the awning, ensuring that all connections are secure, the roofing material is taut, and the overall structure is stable. Address any minor adjustments or refinements to guarantee that your deck awning is not only visually appealing but also structurally sound and reliable.
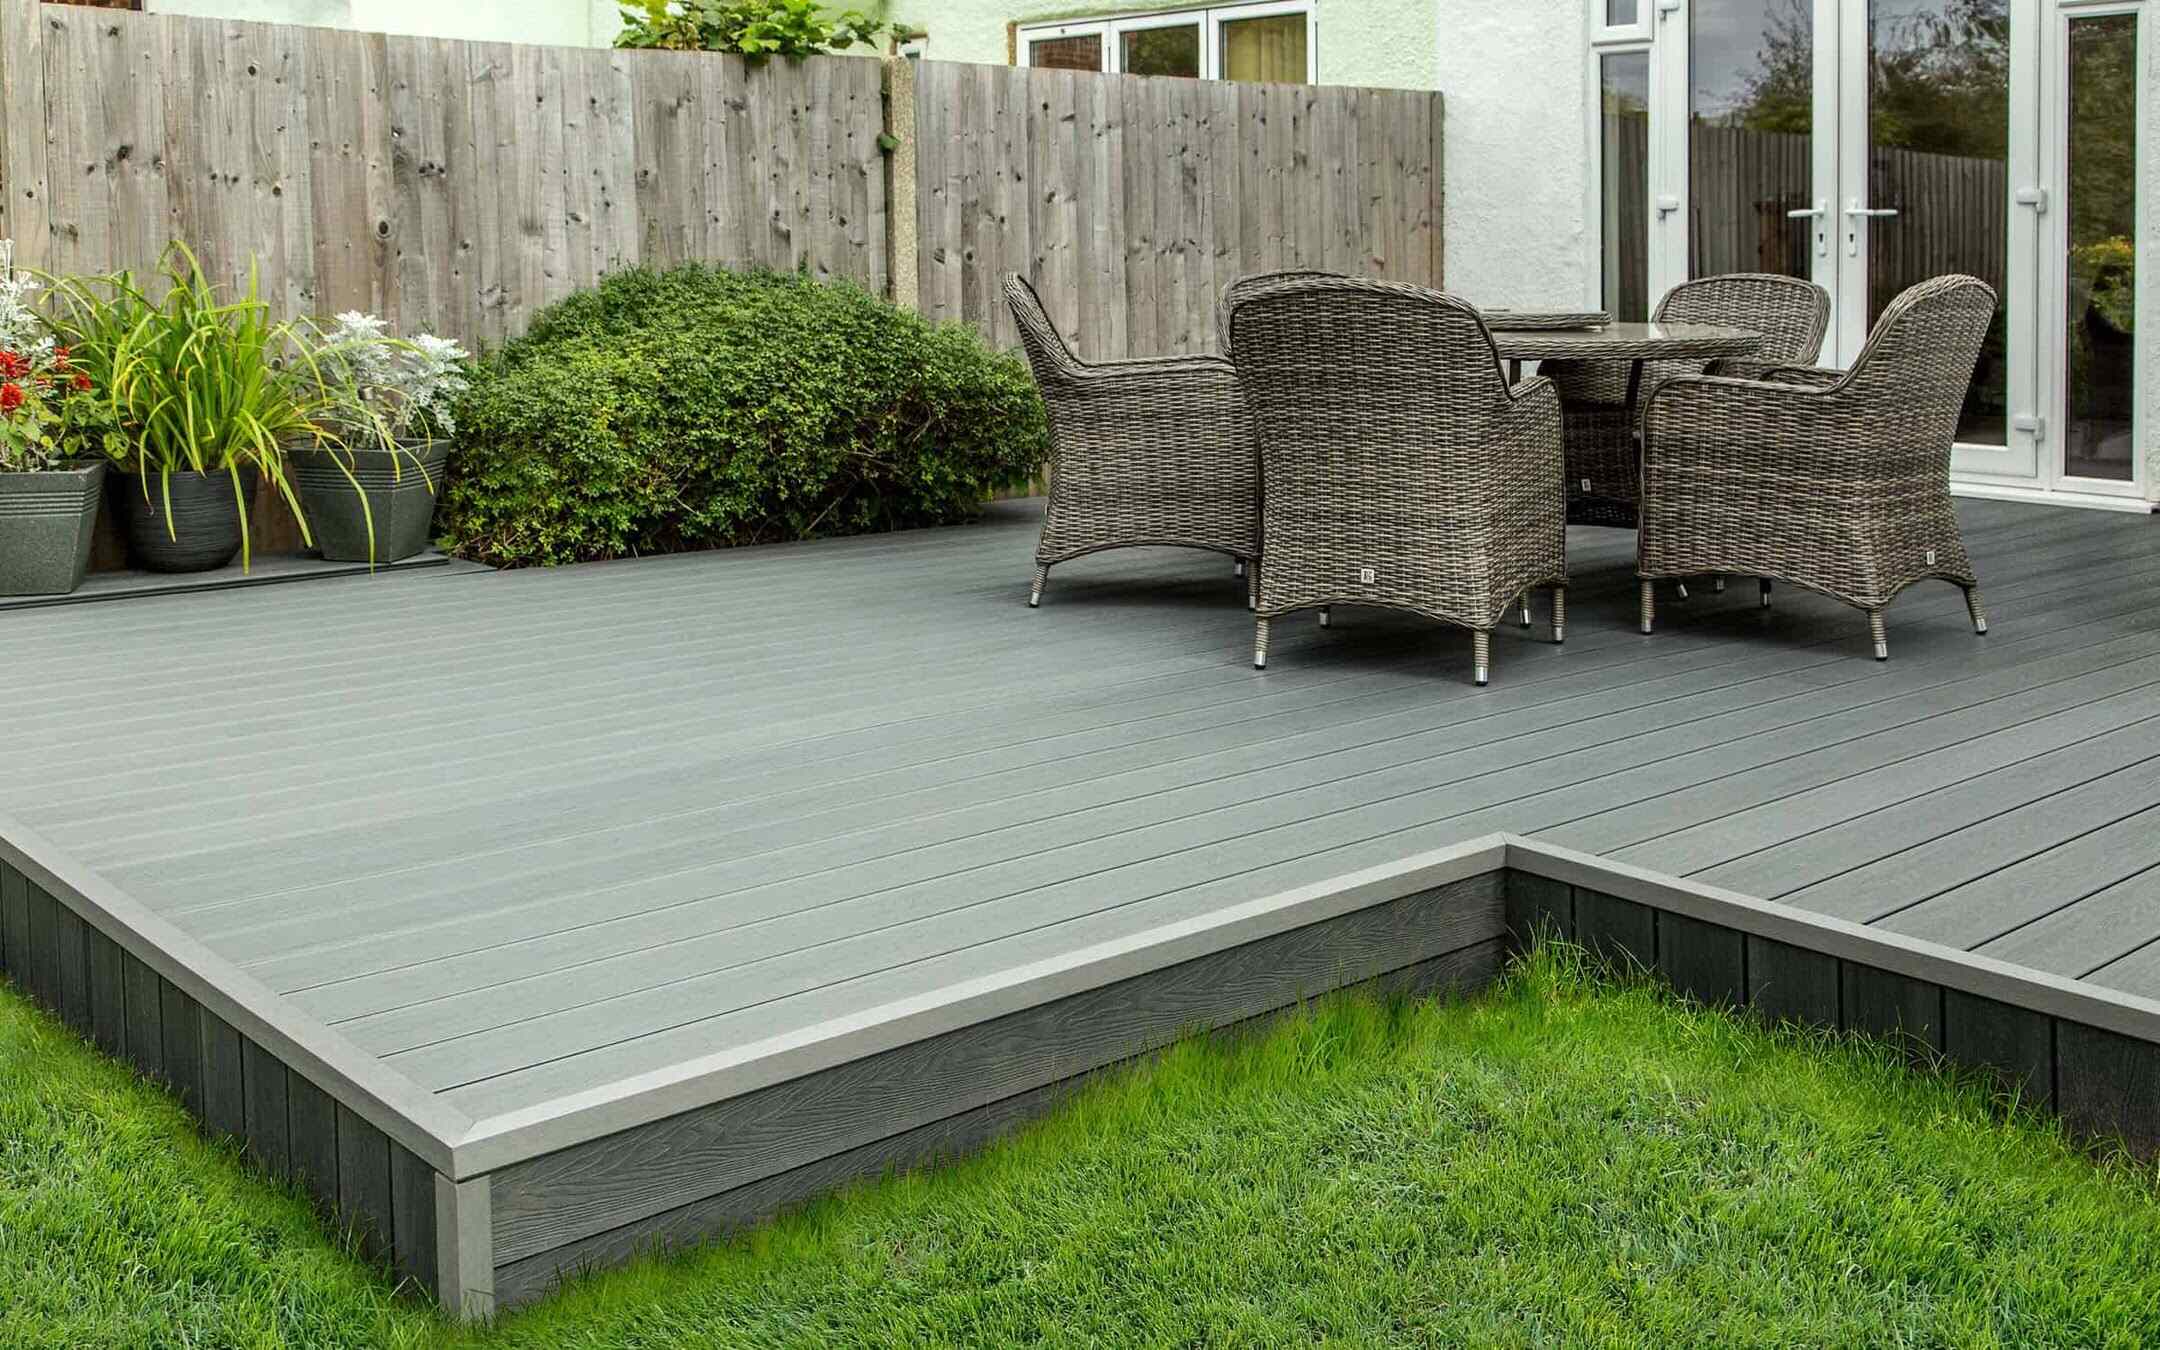
With the finishing touches in place, step back and admire the transformation of your outdoor living space. Your deck awning now stands as a functional and captivating addition, providing a shaded sanctuary for relaxation, entertainment, and enjoyment of the natural surroundings.
As you revel in the completion of your deck awning, take pride in the craftsmanship and attention to detail that have culminated in a stunning and versatile outdoor feature. Your newly constructed awning is poised to redefine the way you experience and savor your outdoor environment.
With the finishing touches applied, your deck awning is now a fully realized and inviting extension of your outdoor living space, ready to enhance your enjoyment of the great outdoors.
Conclusion
Congratulations on successfully completing the construction of your deck awning! Through meticulous planning, precise execution, and attention to detail, you have transformed your outdoor living space into a versatile and inviting oasis. The awning now stands as a testament to your craftsmanship and vision, providing a shaded retreat that enriches your enjoyment of the great outdoors.
By following the comprehensive guide outlined in this article, you have gained valuable insights and practical knowledge to undertake this rewarding project with confidence. From gathering the necessary materials and tools to adding the finishing touches, each step has contributed to the creation of a structurally sound and visually appealing deck awning.
As you bask in the completion of your deck awning, take a moment to appreciate the enhancement it brings to your outdoor environment. Whether it’s a tranquil space for unwinding with a book, a welcoming setting for gatherings with loved ones, or a sheltered area for enjoying meals al fresco, your new awning offers endless possibilities for relaxation and entertainment.
As you enjoy the benefits of your deck awning, remember to maintain it with care and attention, ensuring its longevity and continued functionality. Regular inspections, cleaning, and maintenance will preserve the beauty and integrity of your awning, allowing you to relish its benefits for years to come.
Embrace the potential for personalization and adaptation as you utilize your deck awning throughout the seasons. Whether through seasonal decor, additional furnishings, or creative lighting, your awning can evolve to meet your changing needs and preferences, enriching your outdoor experience year-round.
As you embark on future outdoor projects and endeavors, may the knowledge and expertise gained from constructing your deck awning serve as a foundation for further exploration and creativity. Your outdoor space is a canvas for expression and enjoyment, and your awning stands as a testament to the transformative power of thoughtful design and skilled craftsmanship.
With your deck awning as a focal point of enjoyment and relaxation, may your outdoor living space continue to be a source of comfort, inspiration, and cherished memories for years to come.
Cheers to the successful completion of your deck awning, and to the countless moments of joy and tranquility it will bring to your outdoor lifestyle.
Frequently Asked Questions about How To Build An Awning Over A Deck
Was this page helpful?
At Storables.com, we guarantee accurate and reliable information. Our content, validated by Expert Board Contributors, is crafted following stringent Editorial Policies. We're committed to providing you with well-researched, expert-backed insights for all your informational needs.


0 thoughts on “How To Build An Awning Over A Deck”