Articles
How To Build A Water Pump Windmill
Modified: October 22, 2024
Learn how to build water pump windmills with our comprehensive articles and step-by-step guides. Harness the power of wind energy to pump water efficiently.
(Many of the links in this article redirect to a specific reviewed product. Your purchase of these products through affiliate links helps to generate commission for Storables.com, at no extra cost. Learn more)
Introduction
Water pump windmills have been used for centuries as a reliable and sustainable method of pumping water. Whether you live in a remote location with limited access to electricity or simply want to reduce your reliance on traditional energy sources, building a water pump windmill can be a rewarding and practical project. Not only will it provide you with a continuous supply of water, but it will also help you harness the power of the wind, making it a truly eco-friendly solution.
In this article, we will guide you through the step-by-step process of building your own water pump windmill. We will cover everything from gathering the necessary materials to troubleshooting and testing the final product. So, roll up your sleeves and get ready to embark on an exciting journey towards harnessing the power of wind and water.
Before we dive into the construction process, let’s first take a look at the materials you will need to gather.
Key Takeaways:
- Building a water pump windmill is a rewarding and eco-friendly project that provides a sustainable source of water, reduces reliance on traditional energy sources, and harnesses the power of wind for a positive impact on the environment.
- Attention to quality materials, proper installation, and regular maintenance are essential for maximizing the efficiency and longevity of a water pump windmill. Embracing renewable energy through wind power offers a practical and self-sufficient solution for accessing water.
Read more: Why Is My Water Pump Not Building Pressure
Materials Needed
Before you start building your water pump windmill, it’s essential to gather all the necessary materials. Here’s a list of items you will need:
- A sturdy and durable windmill tower
- Windmill blades
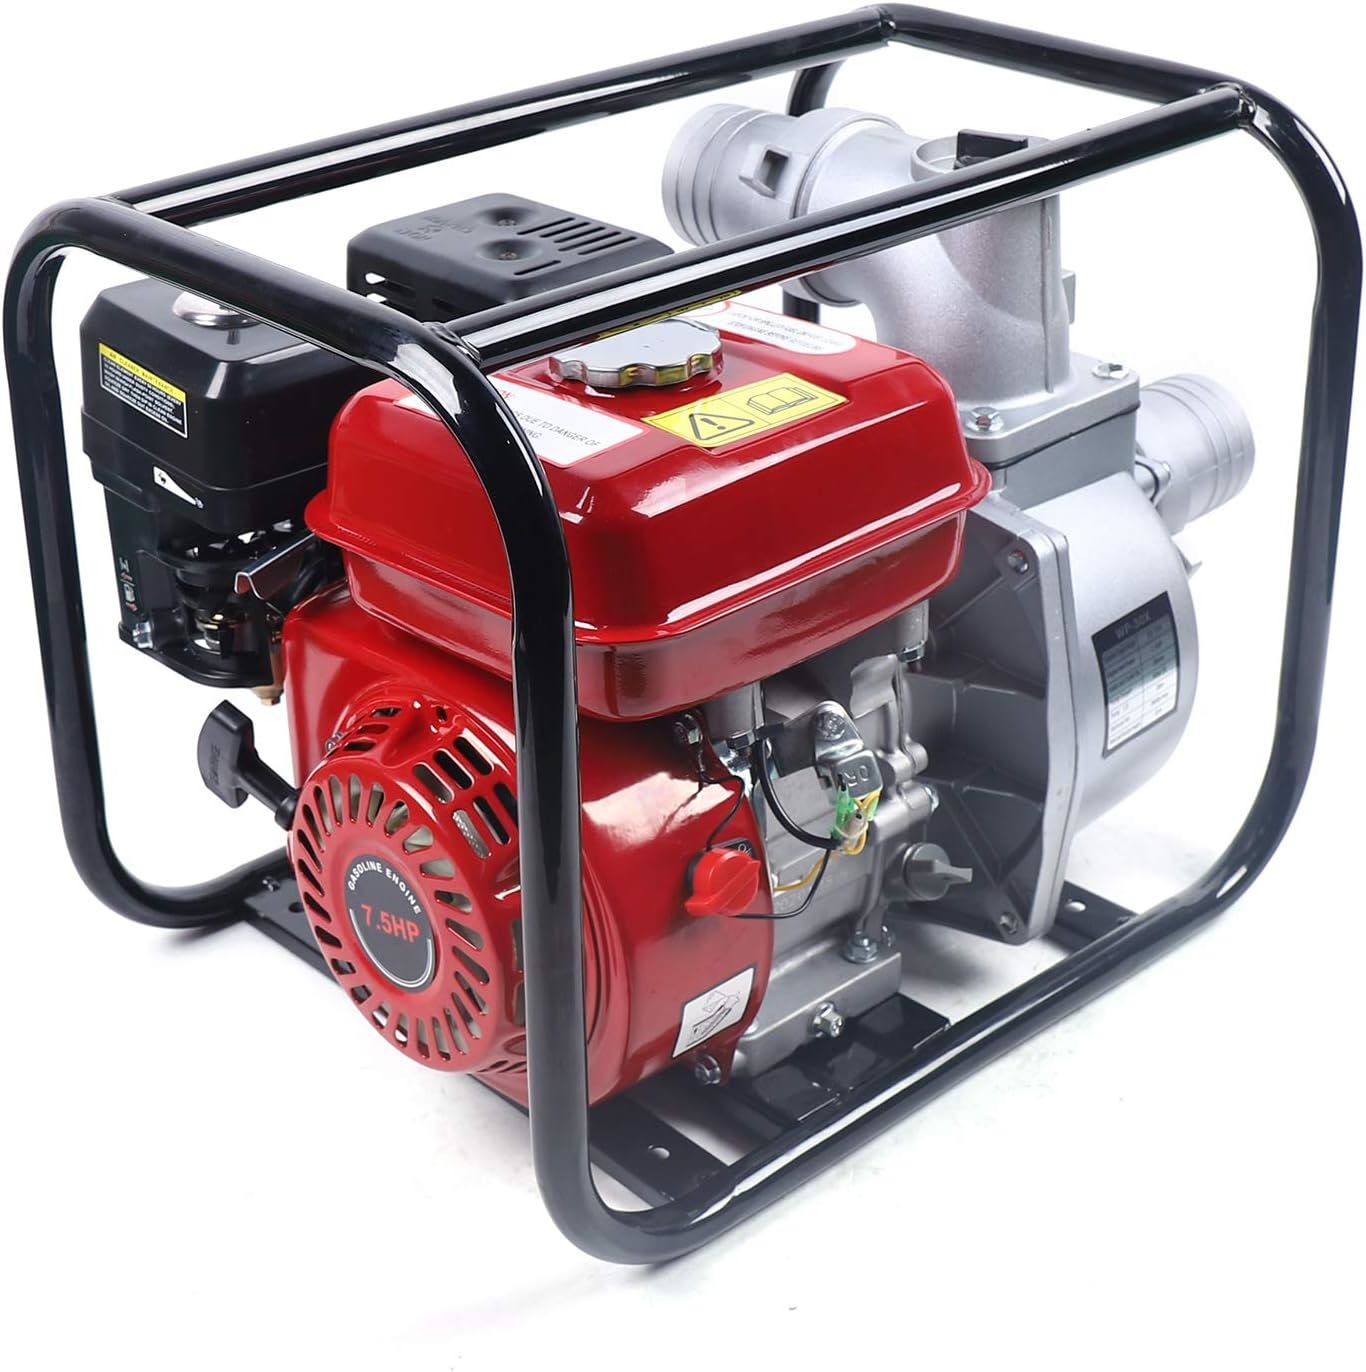
- A water pump mechanism
- A water storage tank
- Pipe fittings and hoses
- A pump handle
- Strong anchors and foundation materials
- Tools such as a drill, saw, wrenches, and measuring tape
- Safety equipment including gloves and goggles
When it comes to selecting the materials, opt for high-quality and robust components that can withstand the elements and provide long-lasting functionality. This will ensure the effectiveness and durability of your water pump windmill.
Now that you’ve gathered the necessary materials, let’s move on to the first step of the construction process: preparing the windmill base.
Step 1: Gathering the Necessary Parts
Before you begin building your water pump windmill, it’s crucial to gather all the necessary parts and components. Here’s a breakdown of the essential parts you’ll need:
- Windmill Tower: The windmill tower serves as the framework for your water pump windmill. It needs to be sturdy and able to withstand strong winds. You can either purchase a pre-made tower or build one yourself using strong materials such as steel or wood.
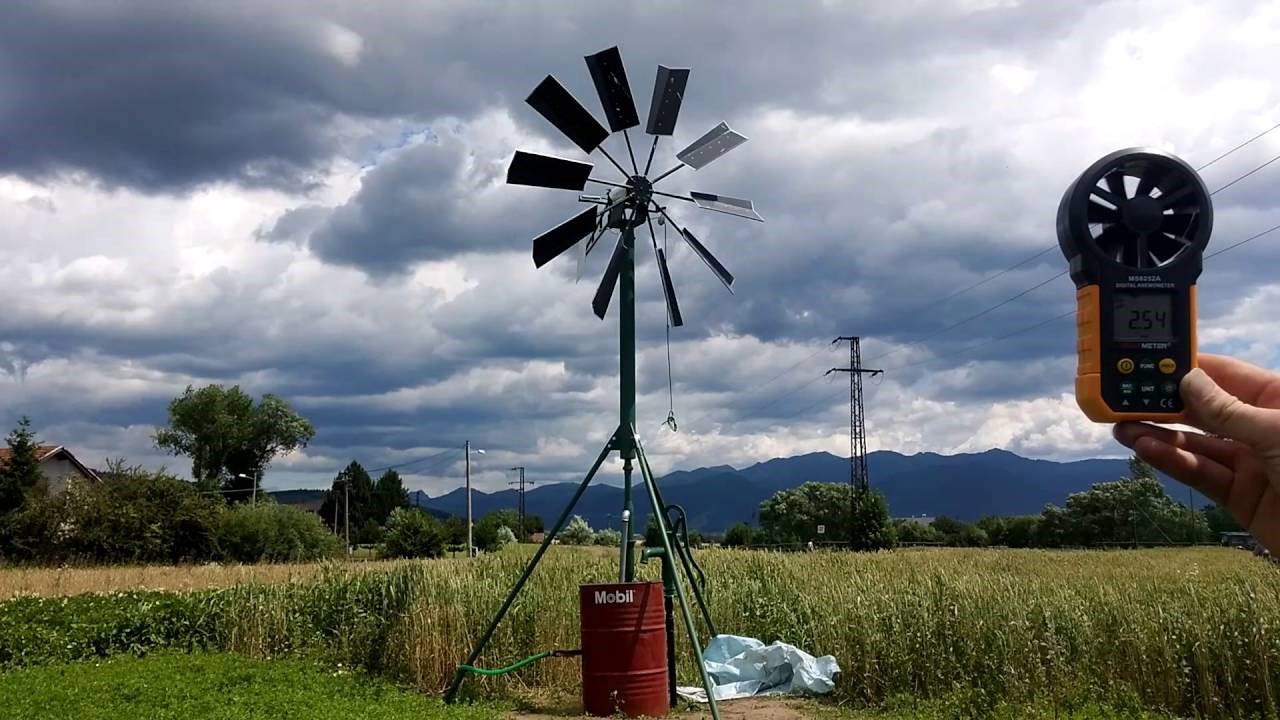
- Windmill Blades: The windmill blades are responsible for catching the wind and converting it into rotational energy. You can find ready-made windmill blades or even create your own using lightweight and durable materials like PVC or fiberglass. The number and size of the blades will depend on the wind conditions in your area and the desired pumping capacity.
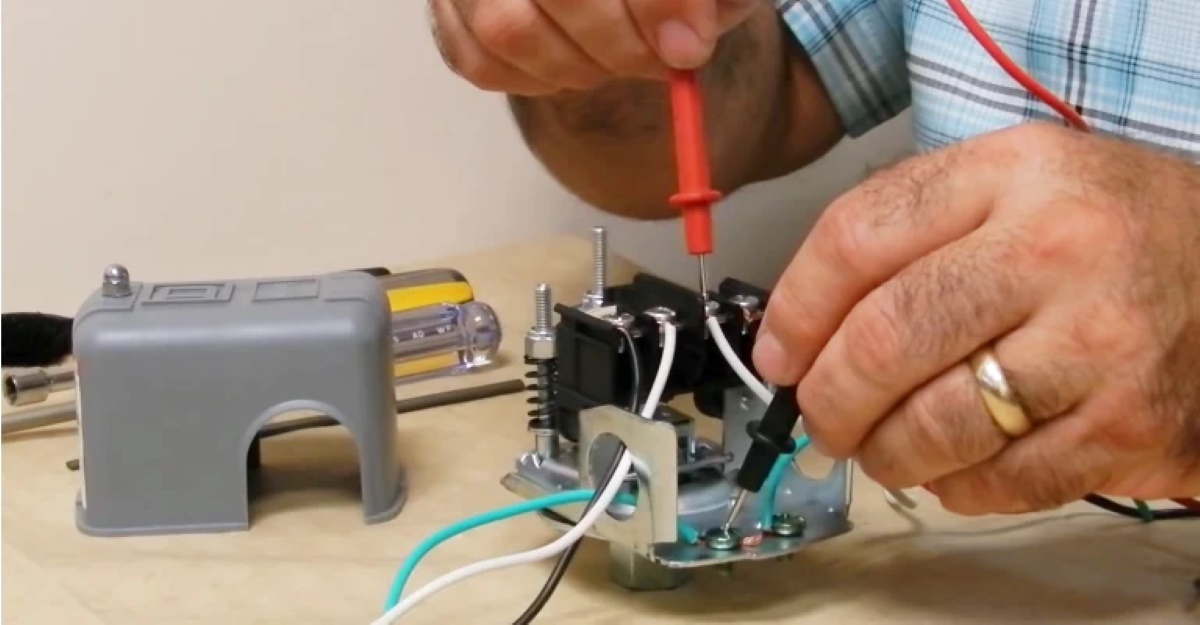
- Water Pump Mechanism: The water pump mechanism is the heart of your water pump windmill. It includes components such as a pump cylinder, sucker rods, and a pump handle. The pump mechanism is responsible for drawing water from a source and pushing it through the system to the desired location.
- Water Storage Tank: To store the pumped water, you will need a water storage tank. This can be a large container or a built-in underground tank, depending on your needs and space availability.
- Pipe Fittings and Hoses: To connect the different components of the water pump system, you will need pipe fittings and hoses. These should be made from durable materials to ensure proper water flow and minimize leakage.
- Pump Handle: The pump handle is used to manually operate the water pump mechanism. It provides the necessary force to draw water and push it through the system.
- Strong Anchors and Foundation Materials: To secure your windmill tower and ensure stability, you will need strong anchors and foundation materials. These could include concrete footings, steel rods, or other reliable anchoring methods.
- Tools and Safety Equipment: Finally, gather the necessary tools for construction, such as a drill, saw, wrenches, and measuring tape. Additionally, always prioritize safety by wearing appropriate equipment such as gloves and goggles when working with tools and materials.
By ensuring you have all the necessary parts and components, you can proceed with confidence to the next step: preparing the windmill base.
Step 2: Preparing the Windmill Base
With all the necessary parts gathered, it’s time to prepare the windmill base. The windmill base provides a stable foundation for your water pump windmill, ensuring that it can withstand the forces of nature. Follow these steps to prepare the base:
- Select a Suitable Location: Choose a location that has a consistent and strong wind flow. Avoid areas with obstructions such as trees or buildings that may disrupt the wind patterns. Additionally, consider the proximity to the water source that you plan to pump from.
- Prepare the Ground: Clear the area of any debris or vegetation. Level the ground using a shovel or a garden rake, ensuring a flat and smooth surface for the windmill base.
- Construct the Base: Depending on the size and material of your windmill tower, construct a sturdy base using concrete footings or other foundation materials. Follow the manufacturer’s instructions or consult with a professional to ensure proper construction and stability.
- Anchor the Tower: Once the base is prepared, anchor the windmill tower securely to the base. This will ensure that the tower remains stable in strong winds. Use strong anchors and follow the manufacturer’s instructions or consult with a professional for the best anchoring method.
- Check for Stability: After anchoring the tower, double-check the stability of the entire structure. Shake the tower gently to ensure that it doesn’t wobble or move excessively. If any instability is detected, reinforce the base or anchors as needed.
Preparing a solid windmill base is crucial for the overall stability and functionality of your water pump windmill. Taking the time and effort to properly construct and anchor the base will ensure that the windmill can withstand the forces of wind and operate efficiently.
Now that the windmill base is ready, we can move on to the next step: constructing the pump tower.
Step 3: Constructing the Pump Tower
With the windmill base prepared, it’s time to move on to constructing the pump tower. The pump tower provides support for the windmill blades and houses the water pump mechanism. Follow these steps to construct the pump tower:
- Measure and Cut the Tower Materials: Measure the desired height of the pump tower and cut the tower materials accordingly. Use sturdy and durable materials such as steel or wood, ensuring that they can withstand the weight of the windmill blades and the forces of wind.
- Assemble the Tower Sections: Join the tower sections together using appropriate connectors or welding, depending on the type of material chosen. Ensure that the connections are secure and stable, as the tower needs to support the entire windmill structure.
- Install the Pump Cylinders: Determine the appropriate location for the pump cylinders within the tower structure. Install the pump cylinders securely, ensuring that they are aligned properly to allow for smooth operation.
- Attach the Sucker Rods: Connect the sucker rods to the pump cylinders to create a linkage mechanism. This mechanism allows the rotational energy from the windmill blades to be transformed into vertical motion, drawing water from the source.
- Ensure Smooth Movement: Check that the sucker rods move freely and smoothly within the tower. Lubricate the moving parts as necessary to ensure optimal performance.
- Secure the Pump Mechanism: Once the pump cylinders and sucker rods are properly installed, secure the pump mechanism safely within the tower structure. Pay attention to the position and alignment of all the components to ensure efficient water pumping.
By following these steps, you will successfully construct the pump tower for your water pump windmill. Remember to pay attention to the stability and alignment of the tower structure, as it will play a crucial role in the overall functionality of your windmill.
Now that the pump tower is complete, we can move on to the next step: assembling the pump mechanism.
When building a water pump windmill, ensure that the blades are angled correctly to catch the wind efficiently and that the pump mechanism is securely attached to the windmill structure.
Read more: How To Lubricate A Water Pump
Step 4: Assembling the Pump Mechanism
Assembling the pump mechanism is a vital step in the construction of your water pump windmill. This step involves connecting the various components that will draw water from a source and push it through the system. Follow these steps to assemble the pump mechanism:
- Attach the Pump Cylinder: Begin by attaching the pump cylinder to the lower end of the sucker rods. Ensure it is securely fastened using suitable connectors or clamps.
- Connect the Pump Handle: Next, attach the pump handle to the upper end of the sucker rods. The pump handle is responsible for manually operating the pump mechanism.
- Check the Pump Cylinder Seal: Inspect the pump cylinder seal to ensure it is in good condition and free from any damage or leaks. Replace the seal if necessary to prevent water leakage during operation.
- Attach the Water Inlet and Outlet: Connect the water inlet and outlet to the pump cylinder using appropriate pipe fittings and hoses. The water inlet should be connected to the water source, while the outlet should lead to the desired location where the water will be pumped.
- Secure the Pipe Fittings: Once the water inlet and outlet are attached, securely fasten the pipe fittings to prevent any leaks or disconnections. Use thread seal tape or appropriate sealants to ensure a watertight seal.
- Check for Smooth Movement: Test the pump handle to ensure smooth movement of the pump mechanism. Make any necessary adjustments or lubrications to ensure proper operation.
By following these steps, you will successfully assemble the pump mechanism for your water pump windmill. It is essential to pay attention to the tightness and alignment of the connections to prevent water leakage and maximize efficiency.
Now that the pump mechanism is assembled, we can move on to the next step: attaching the windmill blades.
Step 5: Attaching the Windmill Blades
Attaching the windmill blades is a critical step in the construction of your water pump windmill. The windmill blades are responsible for capturing the wind’s energy and converting it into rotational motion, which will drive the pump mechanism and pump water. Follow these steps to attach the windmill blades:
- Position the Blades: Place the windmill blades in a position on the windmill tower where they will be exposed to the maximum wind flow. Ensure that they are evenly spaced and aligned to achieve optimal balance and efficiency.
- Secure the Blades: Once the blades are positioned correctly, secure them to the windmill tower using appropriate connectors or bolts. Ensure that the blades are firmly attached, as they will experience significant forces from the wind.
- Adjust the Blade Angle: Adjust the blade angle according to the prevailing wind conditions in your area. Experiment with different angles and observe the windmill’s performance to find the optimal blade position that maximizes the wind’s energy capture.
- Balance the Blades: It’s crucial to ensure that the windmill blades are balanced to avoid unnecessary stress on the windmill tower and the pump mechanism. Make any necessary adjustments to achieve proper blade balance.
- Inspect for Safety: Double-check all connections and ensure there are no loose or protruding parts that may pose a safety risk. Tighten any loose bolts or connectors, and trim any excess material if needed.
By following these steps, you will successfully attach the windmill blades to your water pump windmill. It’s essential to pay attention to the positioning, securing, and balancing of the blades to optimize their performance and ensure the safe operation of your windmill.
Now that the windmill blades are attached, we can move on to the next step: installing the pumping system.
Step 6: Installing the Pumping System
Installing the pumping system is a crucial step in completing your water pump windmill. This step involves connecting the water source, pump mechanism, and water storage tank to create a functional pumping system. Follow these steps to install the pumping system:
- Connect the Water Source: Determine the water source you will be pumping from, such as a well or a nearby water body. Install the necessary pipe fittings and hoses to connect the water source to the water inlet of the pump mechanism.
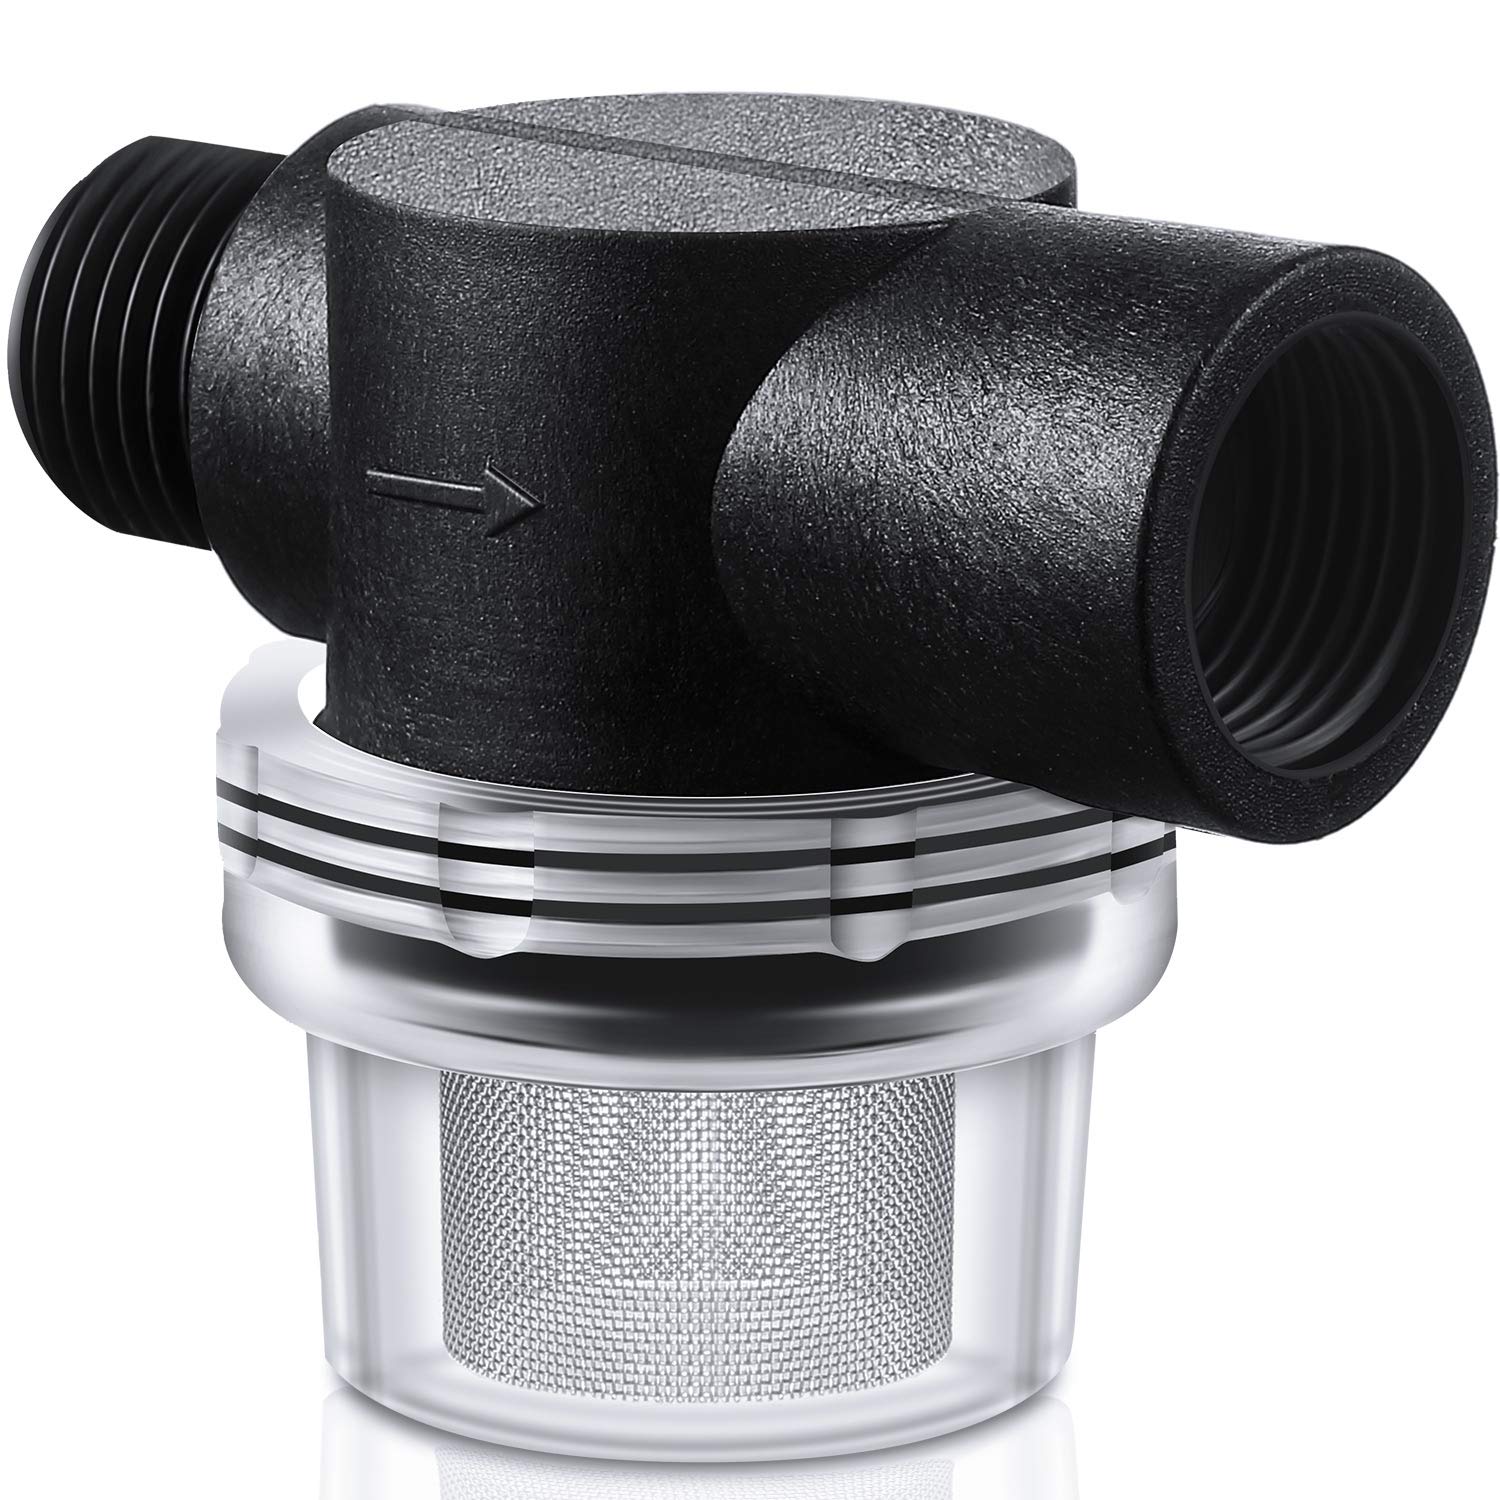
- Attach a Filter: To prevent debris or sediment from entering the pump mechanism, attach a filter to the water inlet. The filter will help ensure the longevity and proper functioning of the pump.
- Connect the Water Storage Tank: Choose a suitable location for the water storage tank and connect it to the water outlet of the pump mechanism. Use appropriate pipe fittings and hoses to ensure a secure and leak-free connection.
- Ensure Proper Slope: When connecting the water storage tank, ensure that it is located at a lower elevation than the windmill and pump mechanism. This will allow gravity to aid in the water flow and provide optimal pumping efficiency.
- Check for Leaks: Turn on the pump mechanism and inspect all connections for any signs of leakage. Tighten any loose fittings or hoses to prevent water wastage and ensure efficient operation.
- Prime the Pump Mechanism: Priming the pump mechanism involves removing any air trapped in the system to ensure proper water flow. Follow the manufacturer’s instructions or consult with a professional on how to prime your specific pump mechanism.
- Test the Pumping System: Finally, test the pumping system by operating the pump handle and monitoring the water flow. Observe the functionality and performance of the windmill and check for any issues or adjustments that need to be made.
By following these steps, you will successfully install the pumping system for your water pump windmill. It’s important to pay attention to the proper connection and alignment of the components in order to achieve efficient and reliable water pumping.
Now that the pumping system is installed, we can move on to the final step: testing and troubleshooting.
Step 7: Testing and Troubleshooting
Testing and troubleshooting your water pump windmill is the final step in the construction process. It involves ensuring that all components are functioning properly and addressing any potential issues or challenges that may arise. Follow these steps to test and troubleshoot your water pump windmill:
- Test the Windmill Blades: Observe the rotation of the windmill blades under various wind conditions. Ensure that they rotate smoothly and consistently, without any signs of excessive wobbling or imbalance.
- Check the Water Flow: Monitor the water flow from the pump mechanism and into the water storage tank. Ensure that the water is being pumped effectively and efficiently. Measure the flow rate if necessary.
- Monitor the Pump Mechanism: Pay close attention to the operation of the pump mechanism. Check for any abnormal sounds, vibrations, or fluctuations in the pump handle movement. Address any issues promptly to prevent further complications.
- Inspect for Leaks: Check all connections, pipe fittings, and hoses for possible leaks. Make sure they are properly tightened and sealed to prevent water wastage and maintain optimal pumping efficiency.
- Adjust Blade Angle if Needed: If the windmill blades are not capturing enough wind or are spinning too rapidly, adjust the blade angle accordingly. Find the angle that provides the best balance between capturing wind energy and maintaining stability.
- Listen for Unusual Noises: While the windmill is in operation, listen for any unusual noises or grinding sounds that could indicate issues with the pump mechanism or moving parts. Investigate and address these noises promptly.
- Perform Regular Maintenance: Regularly inspect and maintain your water pump windmill to ensure long-term functionality. Clean or replace filters, lubricate moving parts, and address any wear and tear as needed.
By following these steps, you can effectively test and troubleshoot your water pump windmill to ensure optimal performance and functionality. Regular monitoring and maintenance will help prevent potential problems and keep your windmill operating smoothly for years to come.
Congratulations! You have successfully completed all the steps to build and test your water pump windmill. Enjoy the benefits of harnessing renewable energy and a reliable source of water.
While constructing a water pump windmill can be a challenging task, the rewards are well worth the effort. Not only will you have access to a sustainable water supply, but you will also reduce your reliance on traditional energy sources. So, go ahead and enjoy the fruits of your labor, knowing that you have made a positive impact on both the environment and your own self-sufficiency.
Read more: How To Fix Water Pump
Conclusion
Building a water pump windmill is a rewarding project that allows you to harness the power of wind and provide a sustainable source of water. Throughout this article, we have guided you through the step-by-step process of constructing your own water pump windmill. From gathering the necessary materials to testing and troubleshooting the final product, you have learned the essential elements for a successful build.
By constructing a water pump windmill, you can reduce your reliance on traditional energy sources and mitigate the impact on the environment. The power of wind can be harnessed to pump water from a source to a storage tank, providing you with a continuous supply of water without the need for electricity or fuel-powered pumps.
Throughout the construction process, it is important to pay attention to the quality of materials, proper installation techniques, and regular maintenance. Ensure that all connections are secure, components are aligned correctly, and any issues or leaks are promptly addressed. By doing so, you can maximize the efficiency and longevity of your water pump windmill.
Once your water pump windmill is up and running, you can enjoy the benefits of a reliable and sustainable water source. Whether you live in a remote location with limited access to electricity or simply want to reduce your carbon footprint, a water pump windmill is a practical solution.
Remember, safety is paramount throughout the entire construction process. Always wear appropriate safety equipment and take necessary precautions when working with tools and materials. If you are unsure about any aspect of the construction, consult with a professional or seek guidance from experienced individuals in this field.
Building a water pump windmill requires patience, diligence, and a desire to embrace renewable energy. However, the sense of accomplishment and the positive impact you can make on the environment and your own self-sufficiency make it a truly worthwhile endeavor.
So, gather your materials, roll up your sleeves, and embark on the journey of building your very own water pump windmill. Embrace the power of wind, and let it provide you with a sustainable source of water for years to come.
Frequently Asked Questions about How To Build A Water Pump Windmill
Was this page helpful?
At Storables.com, we guarantee accurate and reliable information. Our content, validated by Expert Board Contributors, is crafted following stringent Editorial Policies. We're committed to providing you with well-researched, expert-backed insights for all your informational needs.


0 thoughts on “How To Build A Water Pump Windmill”