
Articles
How To Change A License Plate Light Bulb
Modified: August 26, 2024
Learn how to change the license plate light bulb with our step-by-step guide. Find articles on various methods and tools required for a quick and easy replacement.
(Many of the links in this article redirect to a specific reviewed product. Your purchase of these products through affiliate links helps to generate commission for Storables.com, at no extra cost. Learn more)
Introduction
Having a functional license plate light is crucial for maintaining road safety and legal compliance. If your license plate light bulb has burned out and needs replacement, don’t worry. This article will guide you through the step-by-step process of changing a license plate light bulb.
Changing a license plate light bulb is a straightforward task that can be done with basic tools and a little patience. By following these simple instructions, you’ll be able to ensure that your license plate is properly illuminated, allowing other drivers and law enforcement to easily read your license plate number.
Before you begin, it’s essential to follow some safety precautions. Always make sure you are working in a well-lit area and take the necessary steps to prevent any accidents or injuries. Additionally, consult your vehicle’s owner’s manual for specific instructions and safety guidelines.
Now, let’s gather the tools and materials needed before we start:
- Replacement license plate light bulb
- Screwdriver (based on your vehicle’s specifications)
- Protective gloves
- Clean cloth
Key Takeaways:
- Ensure safety by working in a well-lit area, wearing protective gloves, and following vehicle manual instructions when changing a license plate light bulb. Regular inspection and replacement maintain road safety and legal compliance.
- Gather necessary tools and materials, follow step-by-step instructions to access, remove, install, and test the new bulb. Reassemble the light housing securely for improved visibility and peace of mind while on the road.
Read more: How To Change A Light Bulb
Safety Precautions
Before you begin the process of changing the license plate light bulb, it’s important to take certain safety precautions to ensure your well-being and prevent any damage to your vehicle. Follow these guidelines:
- Work in a safe and well-lit area: Find a location where you can work comfortably and where there is ample light. This will help you see what you’re doing and reduce the risk of accidents.
- Turn off the engine: Ensure that the ignition is turned off and the keys are removed from the vehicle before you start. This will prevent any accidental activations or damage to electrical components.
- Wear protective gloves: It’s advisable to wear protective gloves to avoid any injuries while handling the light bulb. This will also prevent any dirt or oil from your hands from coming into contact with the bulb, which can shorten its lifespan.
- Allow the bulb to cool down: If you’ve recently driven your vehicle, give the license plate light bulb enough time to cool down before attempting to replace it. Working with a hot bulb can cause burns.
- Consult the vehicle’s manual: Each vehicle model may have specific instructions and requirements for changing the license plate light bulb. Refer to the owner’s manual to ensure you follow the correct procedure and avoid damaging any components.
- Inspect the wiring and connectors: Before replacing the bulb, take a moment to inspect the wiring and connectors. Look for any signs of fraying, corrosion, or damage. If you notice any issues, it may be necessary to seek professional assistance or replace the wiring before proceeding.
By adhering to these safety precautions, you can ensure a smooth and hazard-free process while changing your license plate light bulb. Let’s now move on to the steps required to replace the bulb.
Tools and Materials Needed
Before you begin replacing the license plate light bulb, it’s essential to gather the necessary tools and materials. Having everything on hand will make the process much smoother. Here’s what you’ll need:
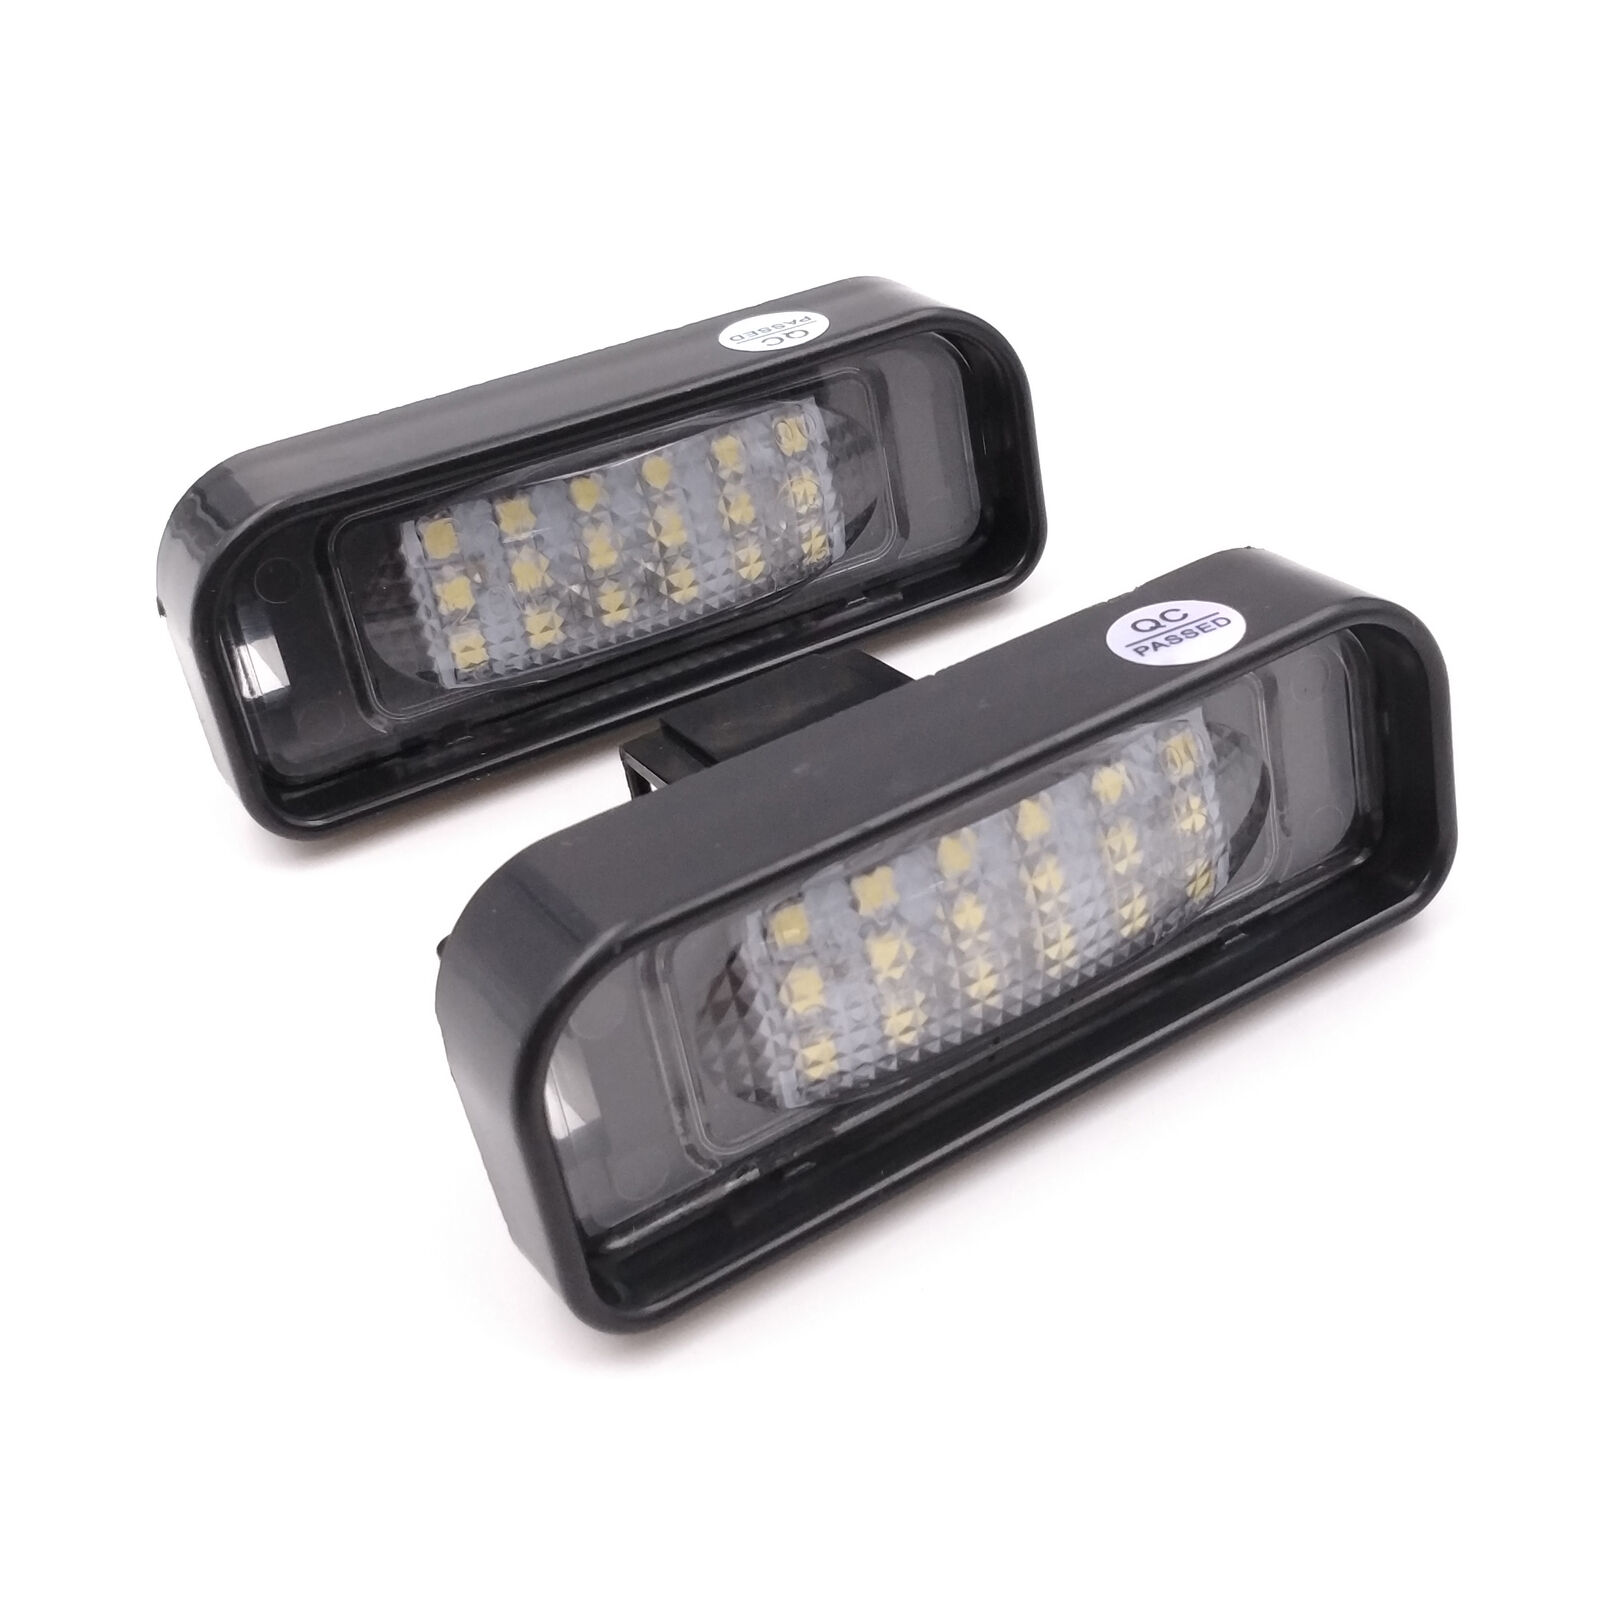
- Replacement license plate light bulb: Consult your vehicle’s owner’s manual or take note of the type of bulb needed. You can purchase a suitable replacement bulb from an auto parts store or online.
- Screwdriver: The specific type of screwdriver required will depend on your vehicle’s make and model. Commonly, a Phillips head or flathead screwdriver will be needed to remove the screws holding the light housing in place.
- Protective gloves: It’s always a good idea to wear protective gloves when handling the light bulb. This will help prevent any damage to the bulb and protect your hands from any sharp edges or debris.
- Clean cloth: Keep a clean cloth nearby to wipe away any dirt, dust, or fingerprints from the light housing and the new bulb. This will ensure optimal visibility and prevent any potential issues caused by debris.
- Optional: Penetrating oil or rust remover: If the screws holding the light housing in place are rusted or difficult to remove, you may need to use a penetrating oil or rust remover to help loosen them. This can make the removal process much easier.
By having these tools and materials ready, you’ll be well-prepared to tackle the task of changing the license plate light bulb. Now, let’s move on to the step-by-step process of accessing and replacing the bulb.
Step 1: Accessing the License Plate Light Bulb
The first step in replacing the license plate light bulb is to access the light housing. Follow these instructions to gain access to the bulb:
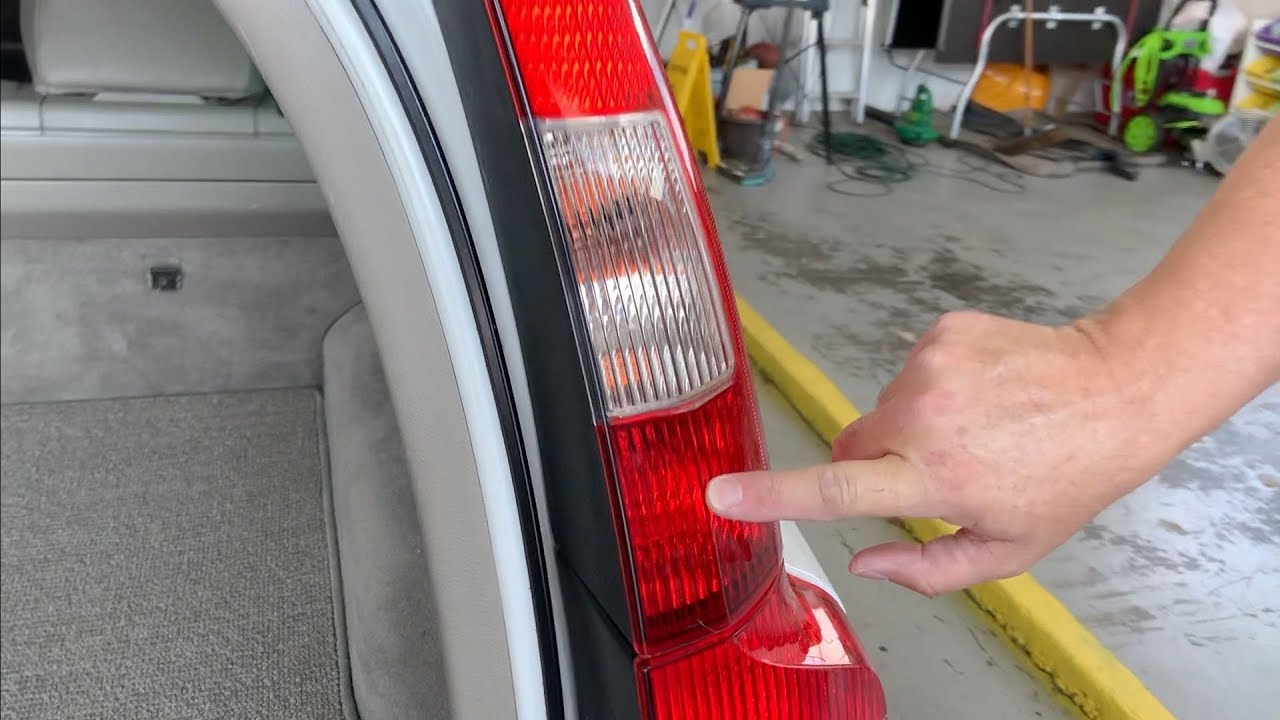
- Locate the license plate light housing: The license plate light housing is usually located above or on either side of the license plate. Look for a small plastic or metal housing that houses the light bulb.
- Remove any screws or fasteners: Depending on your vehicle model, there may be screws or fasteners holding the light housing in place. Use the appropriate screwdriver to carefully remove these screws. Be sure to set them aside in a safe place as you will need them later.
- Gently detach the light housing: Once the screws or fasteners have been removed, use your fingers or a flathead screwdriver to gently pry the light housing away from the vehicle. Be cautious not to use excessive force and avoid scratching the vehicle’s surface.
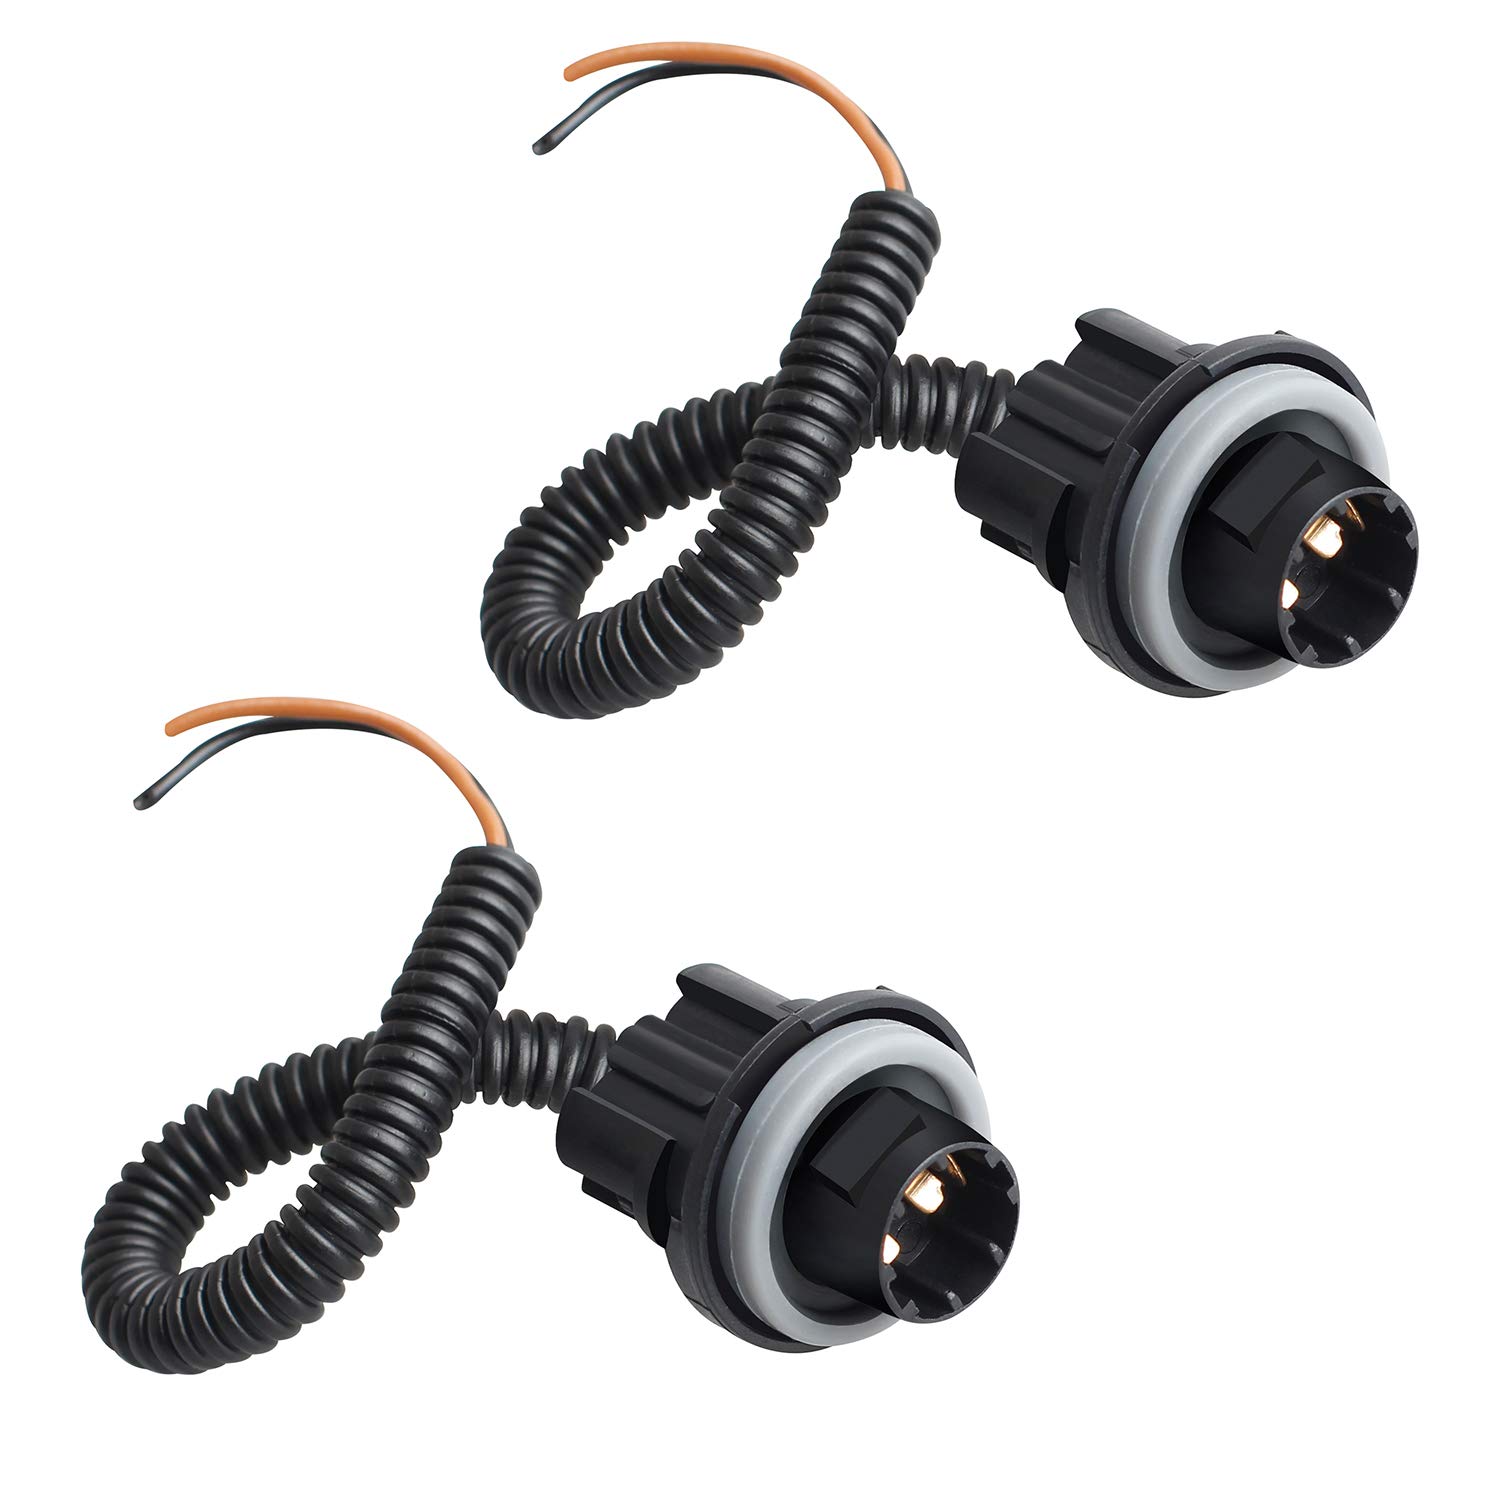
- Disconnect the electrical connector: With the light housing detached, locate the electrical connector attached to the back of the housing. Carefully disconnect the connector by pressing the release tab (if present) and pulling it apart. Take note of how the connector is connected to make reassembly easier later on.
Once you have completed these steps, you have successfully accessed the license plate light bulb. In the next step, we will learn how to remove the old bulb safely.
Step 2: Removing the Old Bulb
Now that you have accessed the license plate light housing, it’s time to remove the old bulb. Follow these steps to safely remove the old bulb:
- Inspect the bulb socket: Take a moment to inspect the bulb socket and surrounding area. Look for any signs of damage or corrosion that may have caused the bulb to malfunction. If you notice any issues, it’s advisable to clean or replace the socket before proceeding.
- Remove the old bulb: Gently twist the old bulb counterclockwise to loosen and remove it from the socket. Be cautious not to apply excessive force, as this can break the bulb or damage the socket.
- Dispose of the old bulb: Safely dispose of the old bulb by placing it in a designated container or wrapping it in a cloth before disposing of it. This will help prevent any accidents or injuries caused by broken glass.
- Clean the bulb socket: Use a clean cloth to wipe the bulb socket, removing any dirt, debris, or corrosion. A clean socket will ensure a secure connection with the new bulb and maximize its lifespan.
By carefully following these steps, you have successfully removed the old license plate light bulb. In the next step, we will learn how to install the new bulb into the socket.
When changing a license plate light bulb, make sure to disconnect the power source, remove the old bulb carefully, and replace it with the correct type of bulb. Test the new bulb before reassembling the light fixture.
Read more: What Screwdriver For License Plate
Step 3: Installing the New Bulb
Now that you have removed the old license plate light bulb, it’s time to install the new one. Follow these instructions to safely install the new bulb:
- Select the correct replacement bulb: Refer to the vehicle’s manual or the packaging of the new bulb to ensure you have the correct size and type. It’s crucial to use the right bulb to ensure proper fitment and functionality.
- Align the base of the new bulb: Take the new bulb and align the base with the socket. Ensure that the two align properly to prevent any damage during installation.
- Insert and twist the new bulb: Firmly insert the new bulb into the socket and twist it clockwise to secure it in place. Make sure it is securely seated without any wobbling or looseness.
- Test the new bulb: Before reassembling the light housing, it’s important to test the newly installed bulb. To do this, turn on your vehicle’s lights and check to see if the license plate light illuminates properly. If the bulb doesn’t light up, double-check the connection and installation to ensure everything is correctly aligned.
By following these steps, you have successfully installed the new license plate light bulb. In the next step, we will learn how to reassemble the light housing to complete the process.
Step 4: Testing the New Bulb
After installing the new license plate light bulb, it’s crucial to test it to ensure it’s functioning correctly. Follow these steps to test the new bulb:
- Reconnect the electrical connector: Before testing the new bulb, reconnect the electrical connector to the back of the light housing. Make sure it securely snaps into place and the connection is tight.
- Turn on the vehicle’s lights: Start your vehicle and turn on the lights. Specifically, check if the license plate light illuminates properly. It should emit a bright, steady light without any flickering or dimness.
- Examine the illumination: Step back and observe the license plate light to ensure it provides sufficient illumination to allow easy reading of the license plate. Check for any shadows or uneven lighting that may interfere with visibility.
- Double-check the connection: While the lights are on, visually inspect the connection between the bulb and the housing. Ensure there are no signs of loose wires, gaps, or any issues that could affect the bulb’s performance.
If the new bulb passes the testing phase and provides satisfactory illumination, you have successfully replaced the license plate light bulb. If there are any issues, double-check the connections and installation, and consult your vehicle’s manual for troubleshooting tips.
Now, let’s move on to the final step – reassembling the light housing to complete the process.
Step 5: Reassembling the Light Housing
Once you have confirmed that the new license plate light bulb is functioning correctly, it’s time to reassemble the light housing. Follow these steps to complete the reassembly:
- Reattach the light housing: Carefully position the light housing back into its original place and align it with the screw holes or fasteners from step 1. Ensure that it sits flush against the vehicle’s surface.
- Insert and tighten the screws or fasteners: Take the screws or fasteners that were removed earlier and insert them back into their respective holes. Use the appropriate screwdriver to tighten them securely, but be cautious not to overtighten and risk damaging the housing or vehicle components.
- Connect the electrical connector: Reconnect the electrical connector to the back of the light housing. Ensure that it fits snugly and the connection is secure. Refer to the notes you made during the disassembly process to easily identify and align the connector.
- Double-check the housing placement: Once everything is reassembled, visually inspect the light housing. Ensure that it is properly seated, aligned, and there are no gaps or loose parts.
- Test the lights again: Turn on the vehicle’s lights once more to double-check that the license plate light is still functioning properly after reassembly. Confirm that there are no issues with the light’s operation or any signs of loose connections.
By following these steps and ensuring everything is securely reassembled, you have successfully completed the process of changing the license plate light bulb. Congratulations!
Remember, maintaining proper illumination on your license plate is important for both safety and legal compliance, so it’s always a good idea to periodically inspect the lights and replace any bulbs as necessary.
If you encounter any difficulties during the process or have concerns about the light’s performance, consult a professional or refer to your vehicle’s manual for further guidance.
With the license plate light bulb successfully changed, you can now enjoy improved visibility and peace of mind while on the road.
Safe travels!
Conclusion
Changing a license plate light bulb is a simple task that can be done with basic tools and a little know-how. By following the step-by-step instructions outlined in this guide, you can ensure that your license plate remains properly illuminated, allowing for easy identification by other drivers and law enforcement.
Throughout the process, it’s important to prioritize safety. Always work in a well-lit area, follow the vehicle’s manual for specific instructions, and wear protective gloves to prevent any accidents or injuries. Taking the time to gather the necessary tools and materials will also make the task more efficient and eliminate any unnecessary frustrations.
Remember to test the new bulb after installation to ensure proper functionality. Take note of any concerns, such as dimness or flickering, which may indicate a loose connection or other issues that need to be addressed.
Lastly, reassembling the light housing carefully and securely ensures that the bulb remains in place and properly aligned. Take the time to tighten the screws or fasteners without overtightening, as this may lead to damage.
By following these steps and taking the necessary precautions, you can successfully change the license plate light bulb and maintain a safe and compliant vehicle. Regularly inspecting and replacing bulbs when needed will help ensure that your license plate remains visible and legible, contributing to overall road safety.
Now, armed with the knowledge and confidence to tackle this task, you can easily change a license plate light bulb whenever necessary. Stay attentive to the condition of your vehicle’s lights and drive safely!
Frequently Asked Questions about How To Change A License Plate Light Bulb
Was this page helpful?
At Storables.com, we guarantee accurate and reliable information. Our content, validated by Expert Board Contributors, is crafted following stringent Editorial Policies. We're committed to providing you with well-researched, expert-backed insights for all your informational needs.


0 thoughts on “How To Change A License Plate Light Bulb”