
Articles
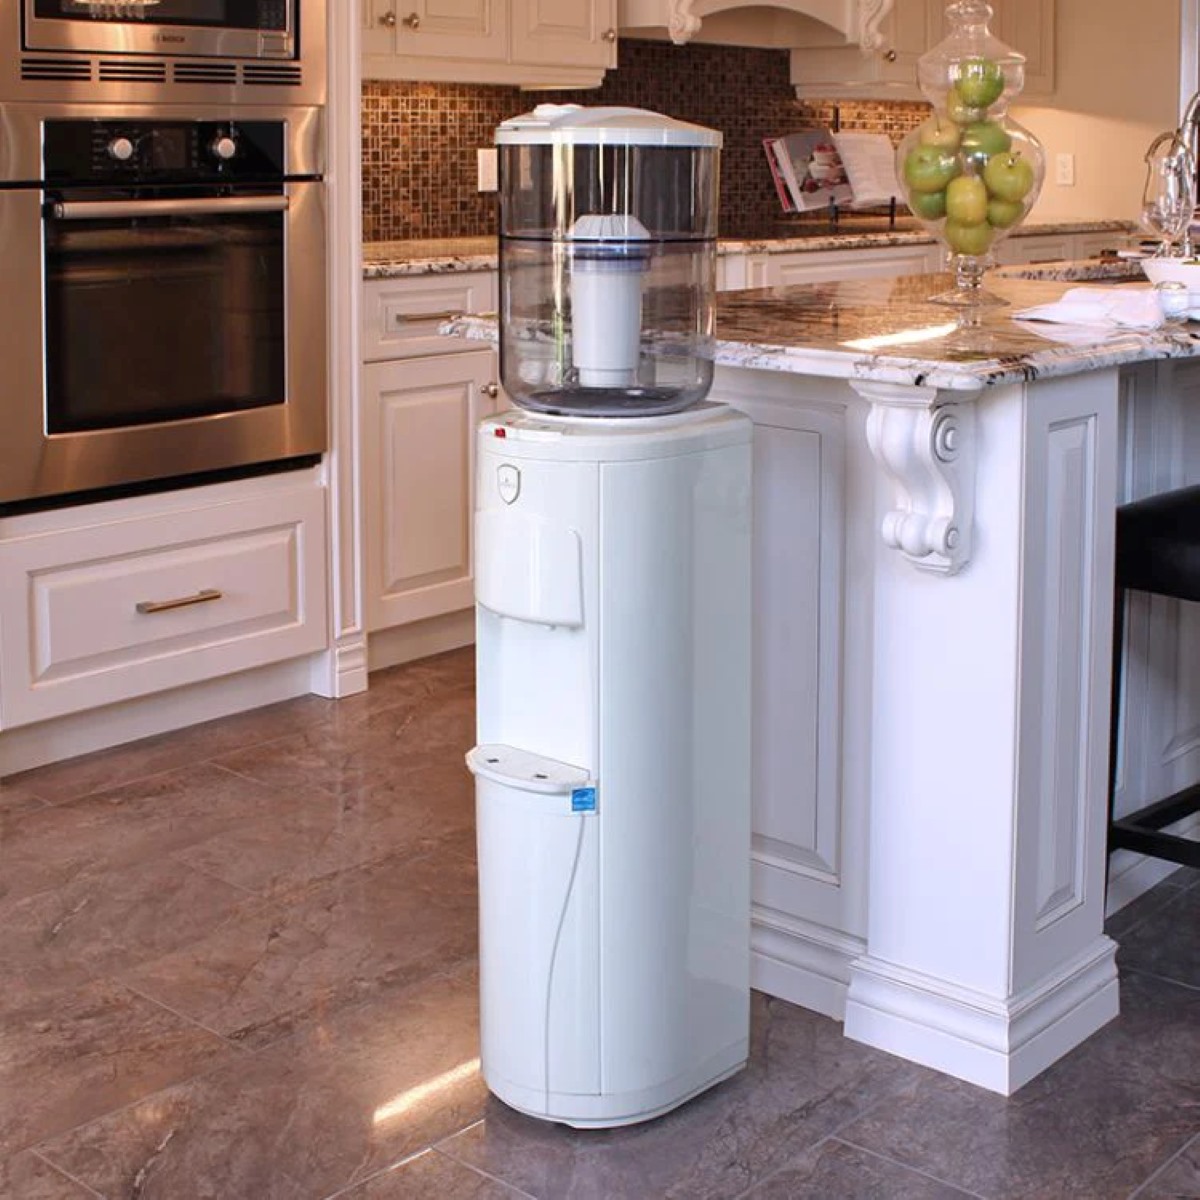
How To Clean A Vitapur Water Dispenser
Modified: April 22, 2024
Learn how to properly clean your Vitapur water dispenser with our helpful articles. Keep your dispenser in top shape for clean and refreshing water.
(Many of the links in this article redirect to a specific reviewed product. Your purchase of these products through affiliate links helps to generate commission for Storables.com, at no extra cost. Learn more)
Introduction
A Vitapur water dispenser is a convenient and efficient way to have clean and cold water readily available in your home or office. However, it’s important to regularly clean and maintain your water dispenser to ensure that it continues to provide clean and refreshing water. Regular cleaning not only helps to remove any dirt or bacteria buildup but also improves the overall lifespan and performance of the dispenser.
In this article, we will guide you step-by-step on how to clean a Vitapur water dispenser effectively. By following these simple cleaning techniques, you can ensure that your water dispenser remains in optimal condition, delivering fresh and pure water every time.
Key Takeaways:
- Regularly cleaning and maintaining your Vitapur water dispenser is essential for ensuring clean and refreshing water. Follow safety precautions, gather supplies, and clean both the interior and exterior to maintain optimal performance.
- Disassembling and cleaning removable parts, using natural cleaning agents, and reassembling the water dispenser are crucial steps in maintaining its cleanliness and longevity. Regular cleaning and monitoring water quality are key for ongoing freshness.
Read more: How To Clean Pur Water Dispenser
Safety Precautions
Before you begin the cleaning process, it’s crucial to take the necessary safety precautions to protect yourself and the water dispenser. Here are some important safety measures to keep in mind:
- Read the manufacturer’s instructions: Familiarize yourself with the specific cleaning guidelines provided by Vitapur for your water dispenser model. This will ensure that you follow the correct procedures and avoid any potential damage.
- Turn off and unplug the dispenser: Before you start cleaning, make sure to turn off the dispenser and unplug it from the power source. This will eliminate the risk of electrical shocks and ensure your safety.
- Wear protective gloves: When handling cleaning solutions, it’s advisable to wear rubber or latex gloves to protect your hands from any chemicals or bacteria present in the dispenser.
- Work in a well-ventilated area: Ensure that the area where you’re cleaning the water dispenser is well-ventilated to prevent inhaling any fumes from cleaning agents. If possible, open windows or use a fan to improve air circulation.
- Use safe and natural cleaning agents: Whenever possible, choose natural cleaning agents such as vinegar or baking soda instead of harsh chemicals. This is not only safer for you but also helps to maintain the quality of the water dispenser.
- Follow the recommended cleaning frequency: Regularly check the manufacturer’s recommendations for how often you should clean the water dispenser. Following these guidelines will help you maintain the dispenser’s performance and keep the water clean and safe.
By adhering to these safety precautions, you can ensure a safe and effective cleaning process for your Vitapur water dispenser.
Supplies Needed
Before you begin cleaning your Vitapur water dispenser, gather the following supplies:
- Mild dish soap: Use a gentle, non-abrasive dish soap for cleaning the removable parts and the exterior of the water dispenser.
- Vinegar: White vinegar is a natural and effective cleaning agent that can help remove mineral deposits and bacteria from the water reservoir.
- Baking soda: Baking soda is another natural cleaning agent that can help eliminate any odors and stains from the water dispenser.
- Soft cleaning cloth or sponge: Use a soft cloth or sponge to wipe down the exterior surfaces of the water dispenser.
- Toothbrush or small brush: A toothbrush or small brush can be used to clean hard-to-reach areas and remove any buildup or debris.
- Empty containers: You will need empty containers to collect and discard the water and cleaning solution during the cleaning process.
- Water: Clean, fresh water will be required for rinsing the removable parts and the interior of the water dispenser.
Having these supplies ready beforehand will make the cleaning process smoother and more efficient. If you don’t have all the supplies readily available, make sure to gather them before starting the cleaning process.
Step 1: Unplug and Empty the Water Dispenser
The first step in cleaning your Vitapur water dispenser is to unplug it from the power source and empty any remaining water from the reservoir. Follow these steps to ensure a safe and thorough cleaning process:
- Locate the power cord at the back of the water dispenser and unplug it from the electrical outlet. This will prevent any accidental electrical shocks during the cleaning process.
- Carefully remove the water bottle from the top of the dispenser, if applicable. Empty any remaining water from the bottle and set it aside for cleaning separately.
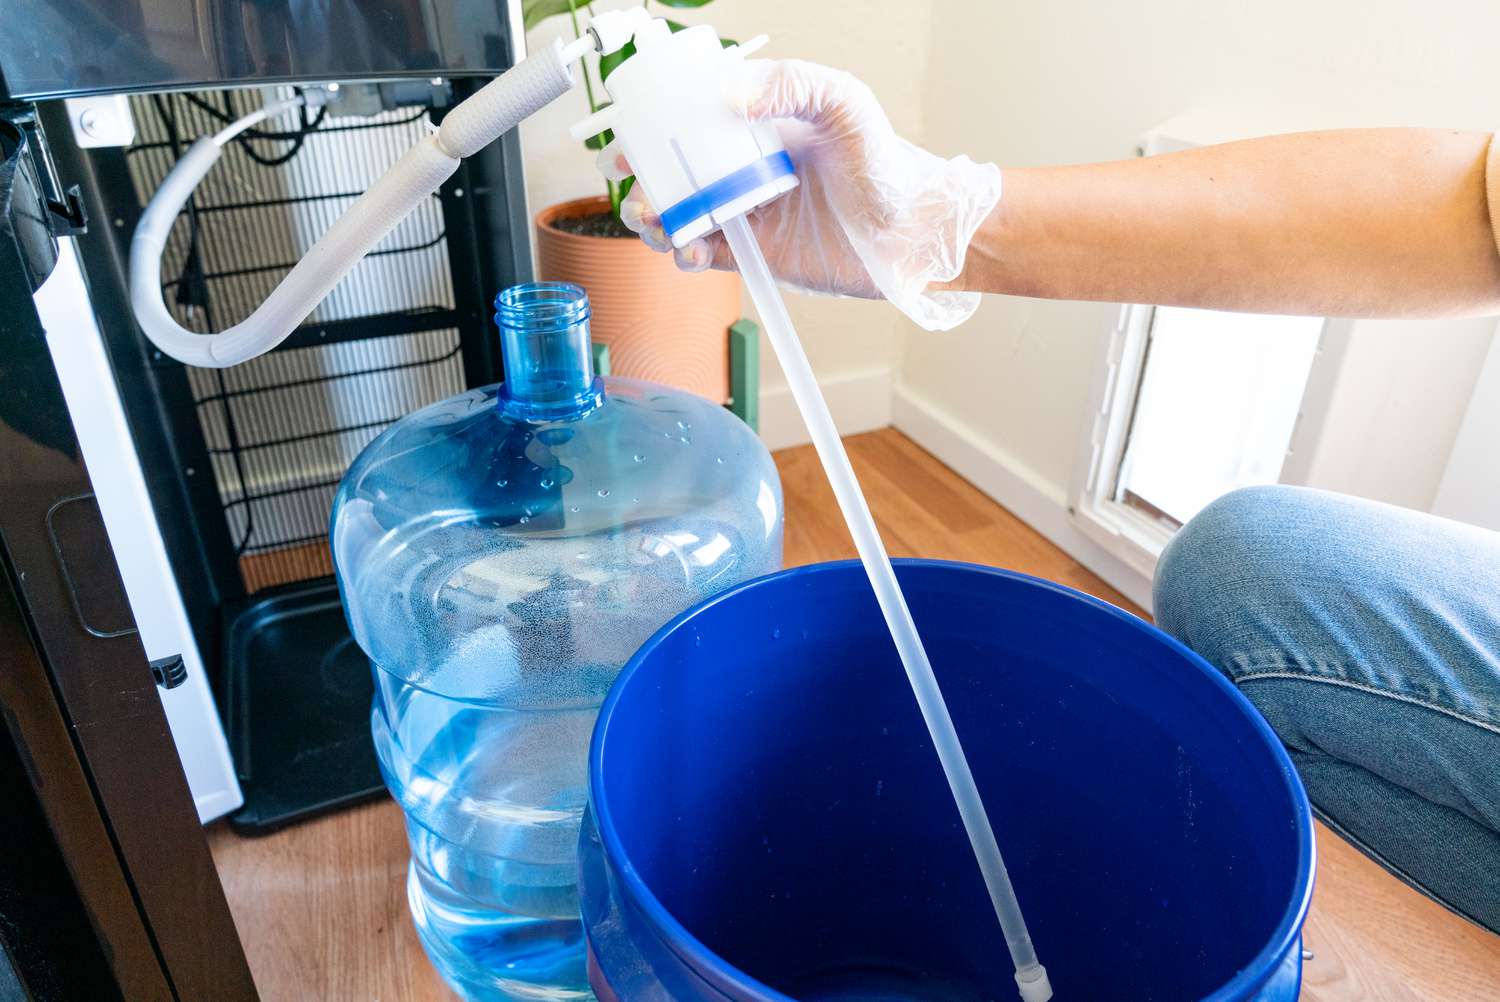
- To drain the water reservoir, place a container beneath the spout or faucet of the dispenser. Open the faucet to allow the remaining water to flow out. Depending on the model, you may need to press a button or turn a knob to release the water.
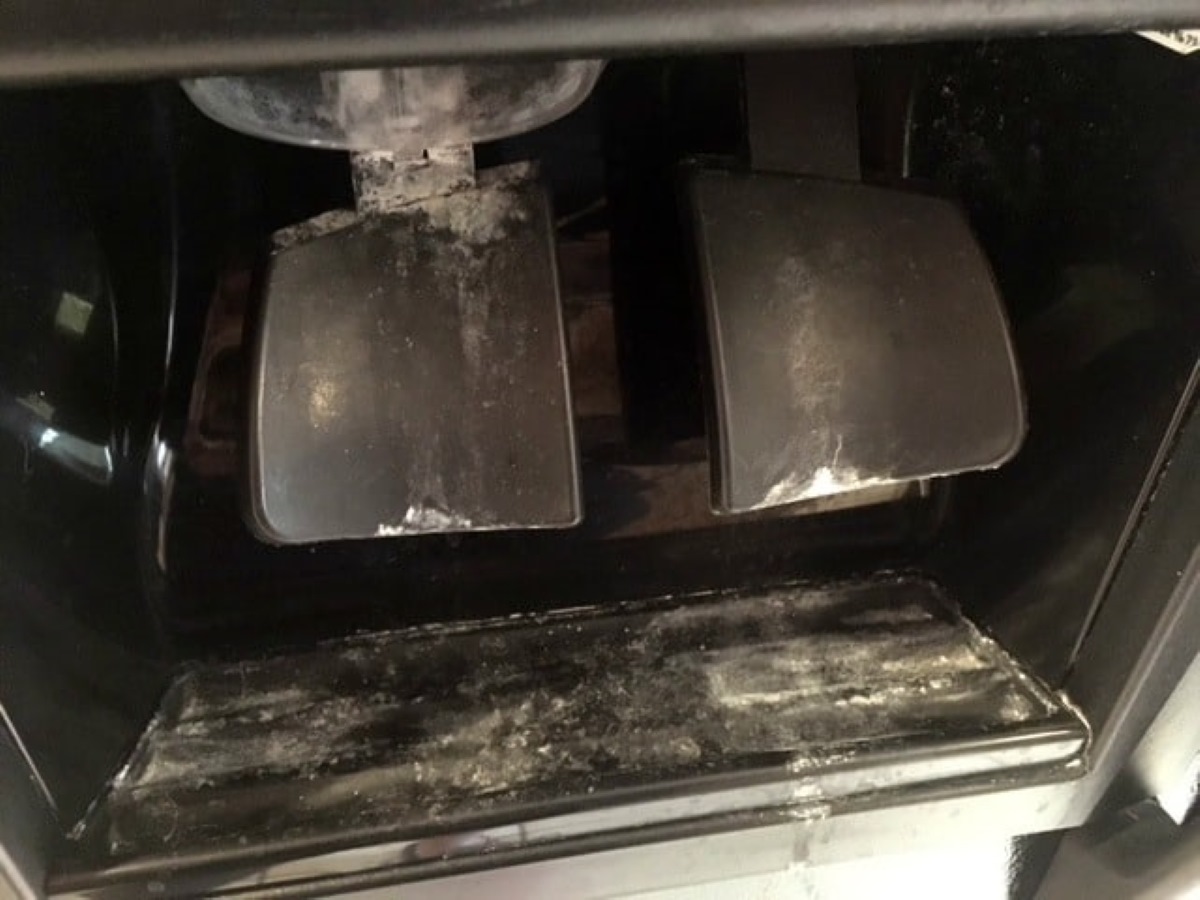
- After draining the water, detach the drip tray from the bottom of the dispenser. Empty and rinse it thoroughly to remove any dirt or debris.
By unplugging the water dispenser and emptying the water reservoir, you ensure that there is no power source connected and that the unit is free from any water that could potentially spill during the cleaning process.
Step 2: Disassemble and Remove Removable Parts
To effectively clean your Vitapur water dispenser, you need to disassemble and remove the removable parts. Follow these steps:
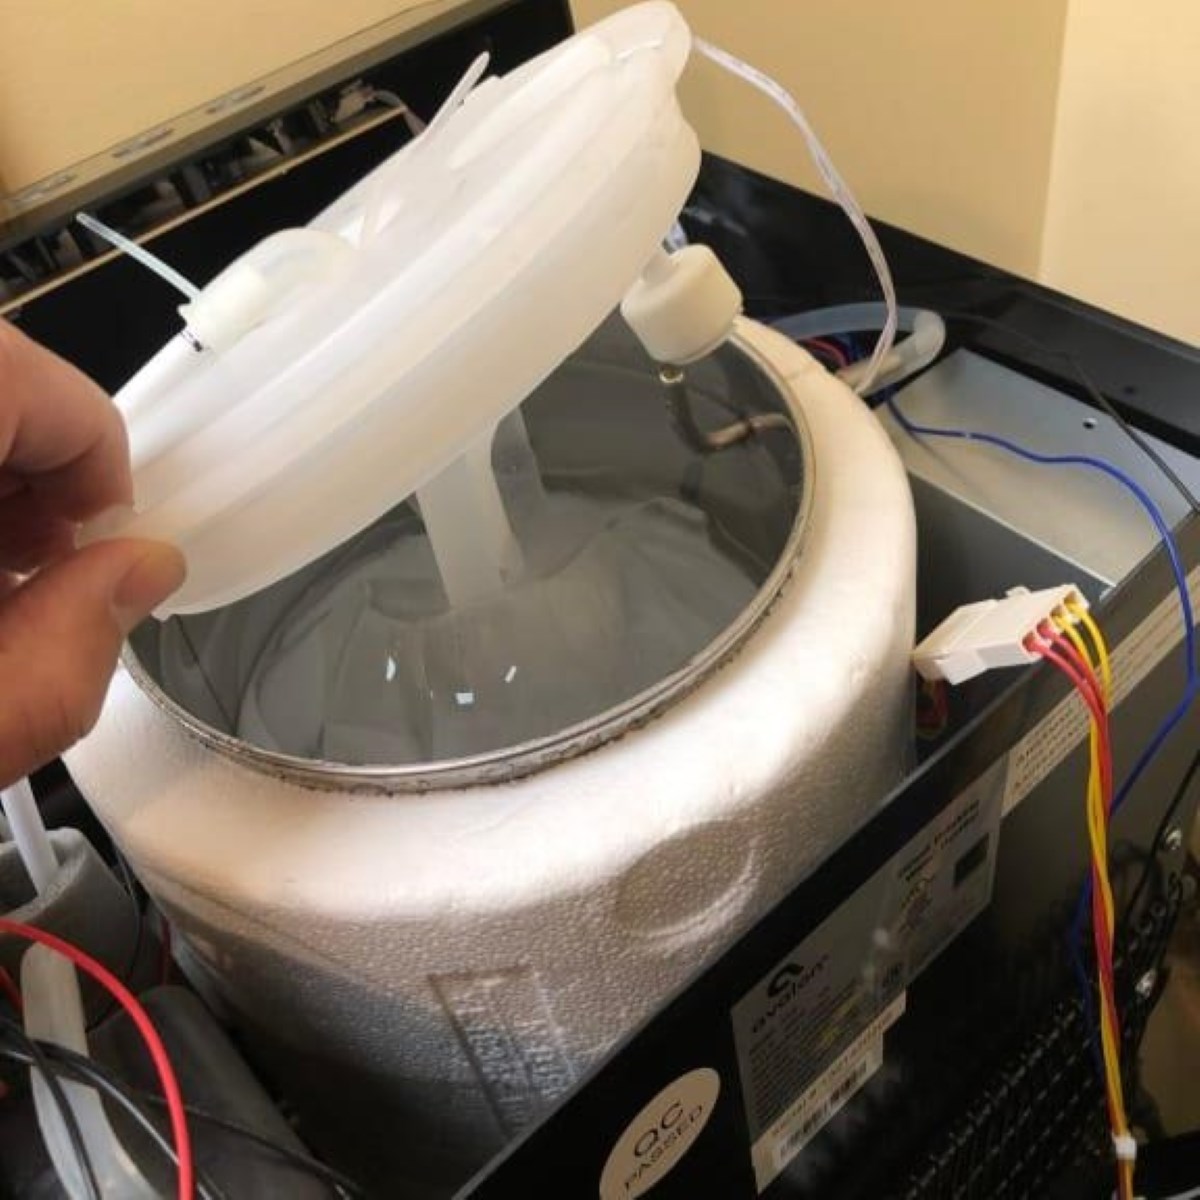
- Refer to the manufacturer’s instructions or examine the dispenser to identify the removable parts. Common removable parts may include the water reservoir, baffle, faucet, and filters.
- Gently detach the removable parts from the dispenser. Be cautious not to apply too much force or pressure, as it can damage the components.
- Place the removable parts in a sink or basin filled with warm water. If the parts have visible stains or mineral deposits, add a small amount of mild dish soap to the water.
- Allow the parts to soak for a few minutes to loosen any dirt or buildup. Use a soft brush or toothbrush to scrub away any residue gently.
- Rinse the parts thoroughly with clean water to remove any soap or cleaner residue.
By disassembling and removing the removable parts, you can clean them more thoroughly and ensure that no area of the water dispenser is neglected during the cleaning process. Cleaning these parts also helps in maintaining the quality and functionality of your dispenser.
Read more: How To Clean Samsung Water Dispenser
Step 3: Clean the Removable Parts
Once you have removed the removable parts from your Vitapur water dispenser, it’s time to clean them. Follow these steps to ensure a thorough cleaning:
- Using a soft brush or sponge, gently scrub the removable parts in the sink or basin. Pay close attention to any areas with visible dirt, stains, or mineral deposits.
- If there are stubborn stains or mineral buildup, you can create a cleaning solution by mixing equal parts of vinegar and water. Dip a cloth or sponge in the solution and scrub the affected areas.
- For parts like the faucet or baffle, use a toothbrush to reach small crevices and remove any dirt or residue.
- Rinse the removable parts thoroughly with clean water to remove any traces of soap or cleaning solution. Ensure that there is no residue left behind.
- Inspect the removable parts to make sure they are clean and free from any debris or buildup. If necessary, repeat the cleaning process.
After cleaning the removable parts, allow them to air dry completely before reassembling them back into the water dispenser. This will prevent the growth of mold or bacteria and ensure optimal performance.
Remember to follow the manufacturer’s instructions regarding cleaning specific parts, as some may require special care or maintenance. Properly cleaning the removable parts of your Vitapur water dispenser will contribute to the overall cleanliness and longevity of the appliance.
To clean a Vitapur water dispenser, mix a solution of 1 part vinegar to 3 parts water and run it through the system. Then, rinse with clean water to remove any vinegar residue.
Step 4: Clean the Inside of the Water Dispenser
Now that you have cleaned the removable parts, it’s time to focus on cleaning the inside of your Vitapur water dispenser. Follow these steps for a thorough cleaning:
- Fill a container with a mixture of warm water and a small amount of mild dish soap. The soap will help remove any dirt or residue inside the dispenser.
- Dip a soft cloth or sponge into the soapy water solution and gently wipe the interior surfaces of the water dispenser. Pay extra attention to areas where water is stored or flows, such as the reservoir and the area around the faucet.
- If there are stubborn stains or mineral deposits, you can create a cleaning solution using one part vinegar and three parts water. Dip the cloth or sponge into the vinegar solution and scrub the affected areas.
- For hard-to-reach areas or corners, use a toothbrush or a small brush to scrub away any buildup or debris gently.
- Rinse the inside of the dispenser thoroughly with clean water to remove any traces of soap or cleaning solution.
- Once you have rinsed the dispenser, use a clean cloth or paper towel to dry the interior surfaces completely. Ensure that there is no excess moisture left behind.
It’s important to clean the inside of your water dispenser regularly to remove any bacteria, mold, or mineral buildup that may accumulate over time. This will help ensure that the water you dispense remains clean, fresh, and free from any contaminants.
Step 5: Clean the Outside of the Water Dispenser
After cleaning the inside of your Vitapur water dispenser, it’s essential to give attention to the exterior surfaces as well. Follow these steps to effectively clean the outside of your water dispenser:
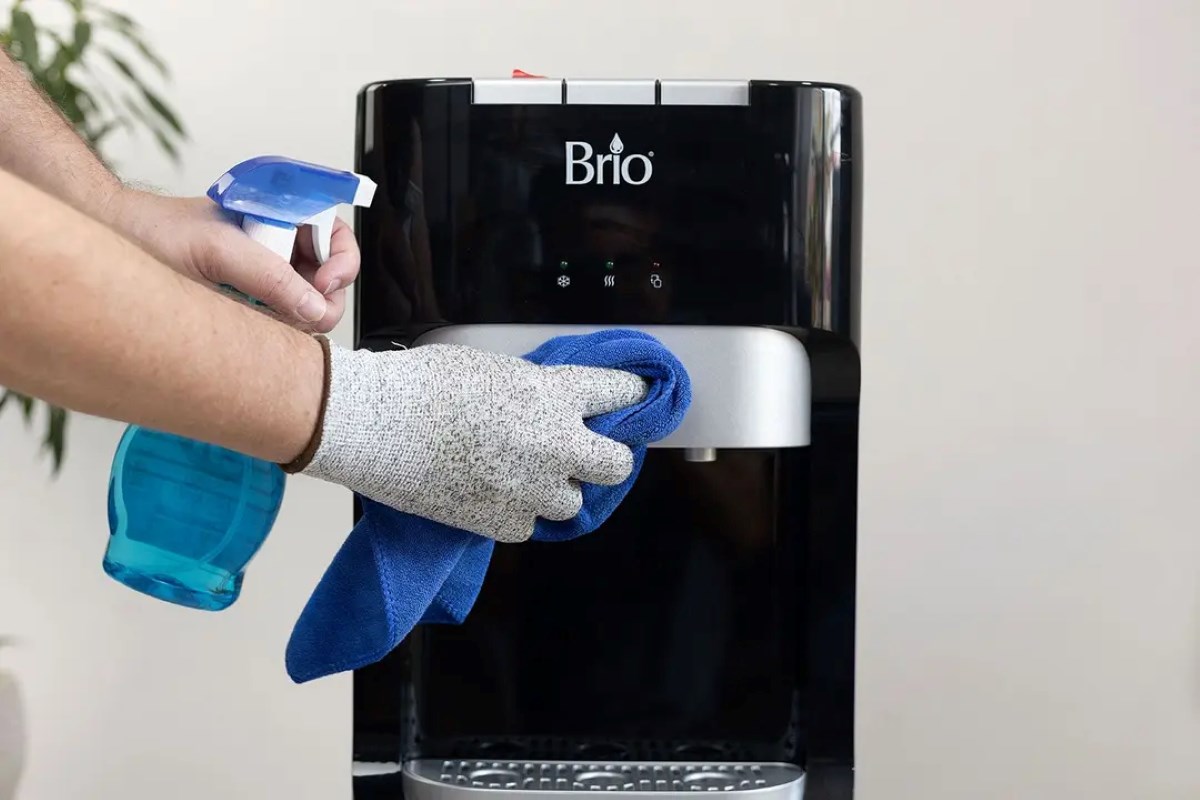
- Dampen a soft cloth or sponge with warm water and mild dish soap. Ensure the cloth is not dripping wet.
- Gently wipe down the exterior surfaces of the water dispenser, including the sides, top, and front panel. Pay attention to any areas that may have fingerprints, spills, or dirt.
- For stubborn stains or marks, make a paste by mixing baking soda with a small amount of water. Apply the paste to the stained area and gently scrub it with a soft cloth or sponge.
- Rinse the cloth or sponge with clean water and wipe away any soap or baking soda residue from the exterior surfaces.
- Dry the outside of the water dispenser with a clean cloth or paper towel to ensure no moisture is left behind.
By regularly cleaning the exterior surfaces, you can maintain the overall appearance and cleanliness of your water dispenser. This step also helps prevent the buildup of dirt or grime, keeping your dispenser looking fresh and presentable.
Note: Avoid using abrasive cleaners or harsh chemicals on the exterior surfaces, as they may damage the finish or discolor the dispenser. Stick to mild dish soap and baking soda for gentle yet effective cleaning.
Step 6: Reassemble the Water Dispenser
Now that you have completed the cleaning process, it’s time to reassemble your Vitapur water dispenser. Follow these steps to ensure proper reassembly:
- Begin by taking the cleaned and dried removable parts and align them with their respective positions in the water dispenser. Make sure each piece fits securely and snugly.
- Insert the water reservoir back into its designated area and ensure it is locked or secured firmly in place.
- If applicable, reattach the faucet and any other removable components that were taken off during the cleaning process. Make sure they are properly aligned and fastened.
- Replace the drip tray at the bottom of the dispenser, ensuring it is securely in place.
- If you removed the water bottle, position it back on top of the dispenser, ensuring it is properly seated and connected to the water dispenser’s mechanism.
Take your time to reassemble the water dispenser correctly to avoid any leaks or malfunctions. Make sure each part is securely in place and the dispenser is properly aligned and balanced.
It’s a good idea to refer to the manufacturer’s instructions or user manual for any specific reassembly guidelines or recommended steps. Following these guidelines will ensure that your Vitapur water dispenser is reassembled correctly and ready for use.
Read more: How To Clean A Brita Water Dispenser
Step 7: Refill and Plug In the Water Dispenser
After reassembling your Vitapur water dispenser, it’s time to refill it with clean water and plug it back in for operation. Follow these final steps:
- Ensure that the water dispenser is positioned on a stable and level surface. This will prevent any tipping or imbalance.
- Take a fresh bottle of clean, drinking water and remove any sealing caps or protective covers.
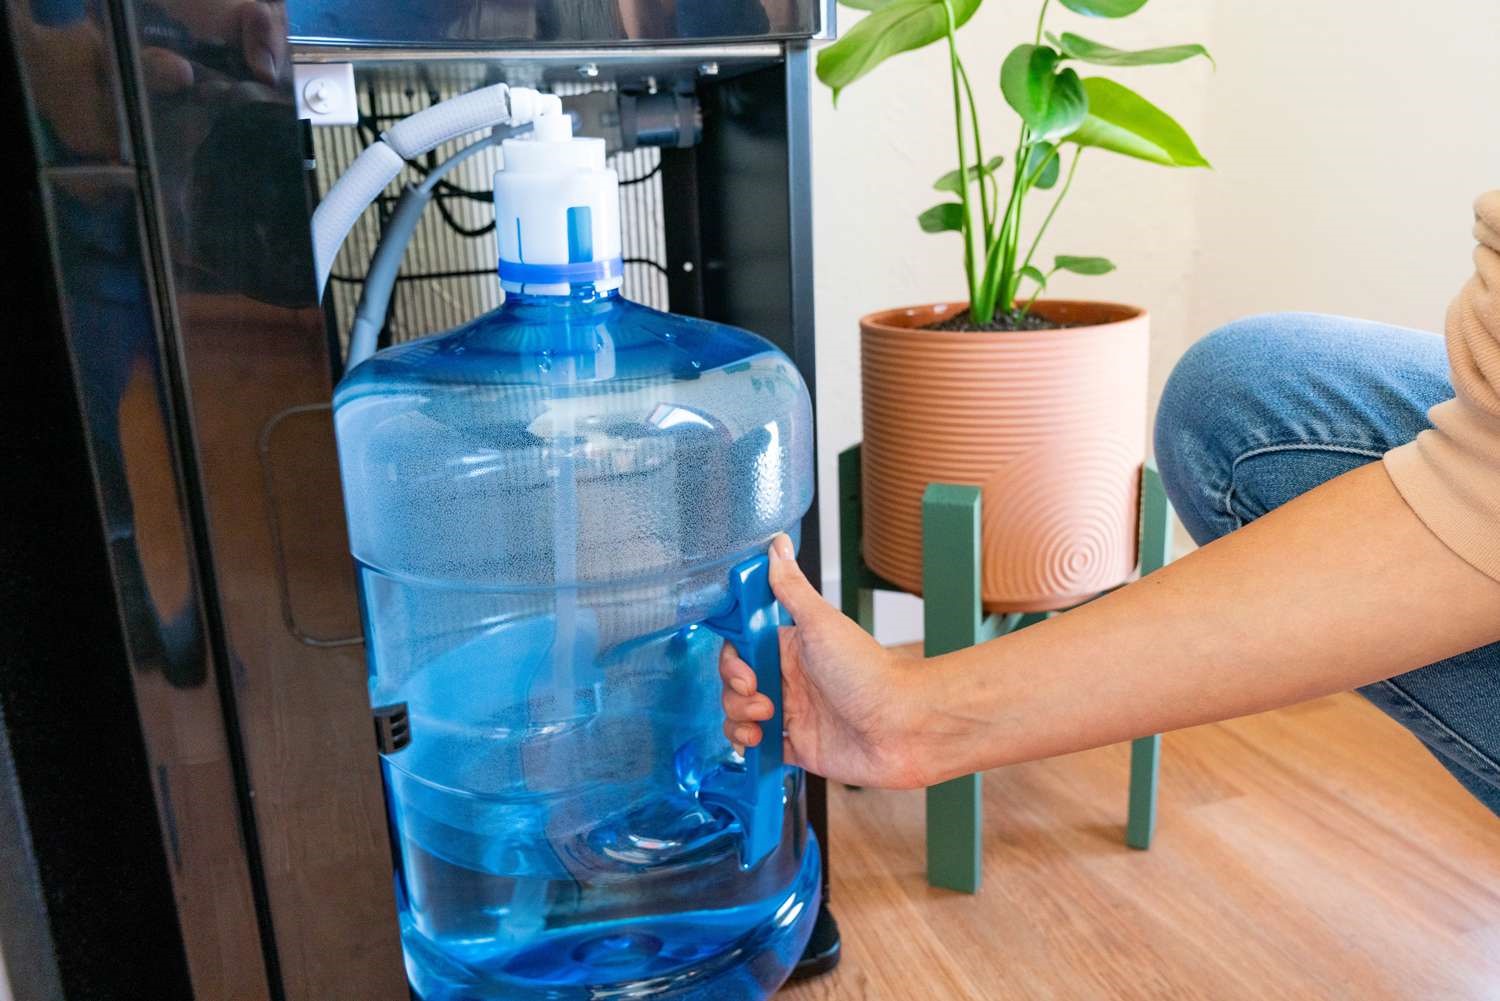
- Hold the water bottle securely and place it on top of the dispenser, aligning the bottle’s neck with the dispenser’s puncture or water intake mechanism.
- Press down firmly or twist the water bottle into place to ensure a tight seal. This will enable the water to flow properly.
- Plug the water dispenser back into the power outlet. Ensure that the power cord is securely connected and not bent or damaged.
- Allow the water dispenser a few minutes to cool and stabilize before using it. The cooling process may vary depending on the model.
After completing these steps, your Vitapur water dispenser is ready for use. Enjoy clean and refreshing water whenever you need it.
Remember to regularly check the water level in the bottle and refill it as needed. Additionally, follow the manufacturer’s guidelines regarding the regular maintenance and cleaning schedule for your specific model of water dispenser.
Additional Tips and Considerations
Here are some additional tips and considerations to keep in mind when cleaning and maintaining your Vitapur water dispenser:
- Follow a cleaning schedule: It’s important to establish a regular cleaning schedule for your water dispenser. This will help prevent the buildup of bacteria and maintain the quality of the water.
- Use filtered or purified water: Using filtered or purified water in your water dispenser can help reduce the frequency of cleaning and minimize the potential for mineral deposits or contaminants.
- Clean the water bottle: Remember to clean the water bottle regularly as well. Wash it with warm, soapy water, rinse thoroughly, and allow it to air dry before refilling it.
- Monitor the water quality: Keep an eye on the color, odor, and taste of the water dispensed. If you notice any unusual changes, it may be a sign that the dispenser or filter needs cleaning or replacement.
- Replace the filters as recommended: If your Vitapur water dispenser uses filters, make sure to replace them according to the manufacturer’s recommendations. This will help maintain the water quality and ensure optimal performance.
- Regularly clean the exterior surfaces: Wipe down the exterior surfaces of your water dispenser with a damp cloth regularly to prevent the buildup of dust, dirt, or fingerprints.
- Avoid using abrasive materials: When cleaning both the interior and exterior of your water dispenser, avoid using abrasive materials such as harsh scrub brushes or abrasive cleaners, as they can damage the surfaces.
- Inspect for leaks: Regularly check for any signs of leaks or drips in the water dispenser. If you notice any, address the issue promptly to prevent further damage.
By following these additional tips and considerations, you can ensure the longevity and optimal performance of your Vitapur water dispenser while enjoying safe and clean drinking water.
Conclusion
Maintaining a clean and properly functioning water dispenser is essential for ensuring the availability of clean and refreshing water in your home or office. By following the steps and tips outlined in this guide, you can effectively clean your Vitapur water dispenser and keep it in optimal condition.
Remember to prioritize safety by following the recommended safety precautions, wearing protective gloves, and working in a well-ventilated area. Gather the necessary supplies, including mild dish soap, vinegar, baking soda, and soft cleaning cloths or sponges, to ensure a thorough cleaning process.
Begin by unplugging and emptying the water dispenser, and carefully disassemble and remove the removable parts. Clean these parts using warm soapy water or a vinegar solution, and rinse them thoroughly before reassembling them. Use a gentle cleaning solution to clean the inside and outside of the dispenser, being mindful of any specific cleaning recommendations from the manufacturer.
Once the cleaning is complete, reassemble the water dispenser and refill it with clean water. Plug it back in, and allow it to stabilize before enjoying clean and refreshing water on demand.
Remember to maintain a regular cleaning schedule and monitor the water quality to ensure ongoing freshness. Replace filters as recommended and address any issues, such as leaks, promptly.
By following these guidelines, you can enjoy the benefits of a well-maintained Vitapur water dispenser, providing you with clean and refreshing water whenever you need it.
Frequently Asked Questions about How To Clean A Vitapur Water Dispenser
Was this page helpful?
At Storables.com, we guarantee accurate and reliable information. Our content, validated by Expert Board Contributors, is crafted following stringent Editorial Policies. We're committed to providing you with well-researched, expert-backed insights for all your informational needs.

0 thoughts on “How To Clean A Vitapur Water Dispenser”