Articles
How To Measure A Floor Vent
Modified: October 20, 2024
Learn how to properly measure a floor vent in this informative article. Gain valuable tips and insights to ensure a perfect fit for your home renovation or maintenance projects.
(Many of the links in this article redirect to a specific reviewed product. Your purchase of these products through affiliate links helps to generate commission for Storables.com, at no extra cost. Learn more)
Introduction
When it comes to home improvement or renovation projects, accurate measurements are a crucial part of the process. This holds true for every aspect of the project, including something as seemingly simple as measuring a floor vent. Whether you need to replace an old vent or install a new one, knowing the correct dimensions is essential to ensure a proper fit.
In this article, we will guide you through the step-by-step process of measuring a floor vent. We will cover everything from the tools and materials needed to the various measurements you need to take. By following these instructions, you can confidently and accurately measure your floor vent, making it easier to find a replacement or plan for a new installation.
So, grab your measuring tape and let’s get started on measuring your floor vent!
Key Takeaways:
- Accurate measurements of the vent opening, overall vent size, and depth are crucial for finding the right replacement or planning a new installation. Don’t forget to note down the measurements for future reference!
- Identifying the type of floor vent and documenting all measurements will streamline the process of selecting a suitable replacement or planning for a new vent installation. Remember, precision is key to a successful home improvement project!
Read more: How To Secure Floor Vents
Materials Needed
Before you begin measuring your floor vent, make sure you have the following materials on hand:
- Measuring tape: A reliable measuring tape is essential for obtaining accurate measurements.
- Notebook and pen: You’ll want to document all the measurements you take for future reference.
- Pencil or marker: This will come in handy for marking the measurements on the floor or the vent.
Having these materials ready will ensure a smooth and efficient measuring process.
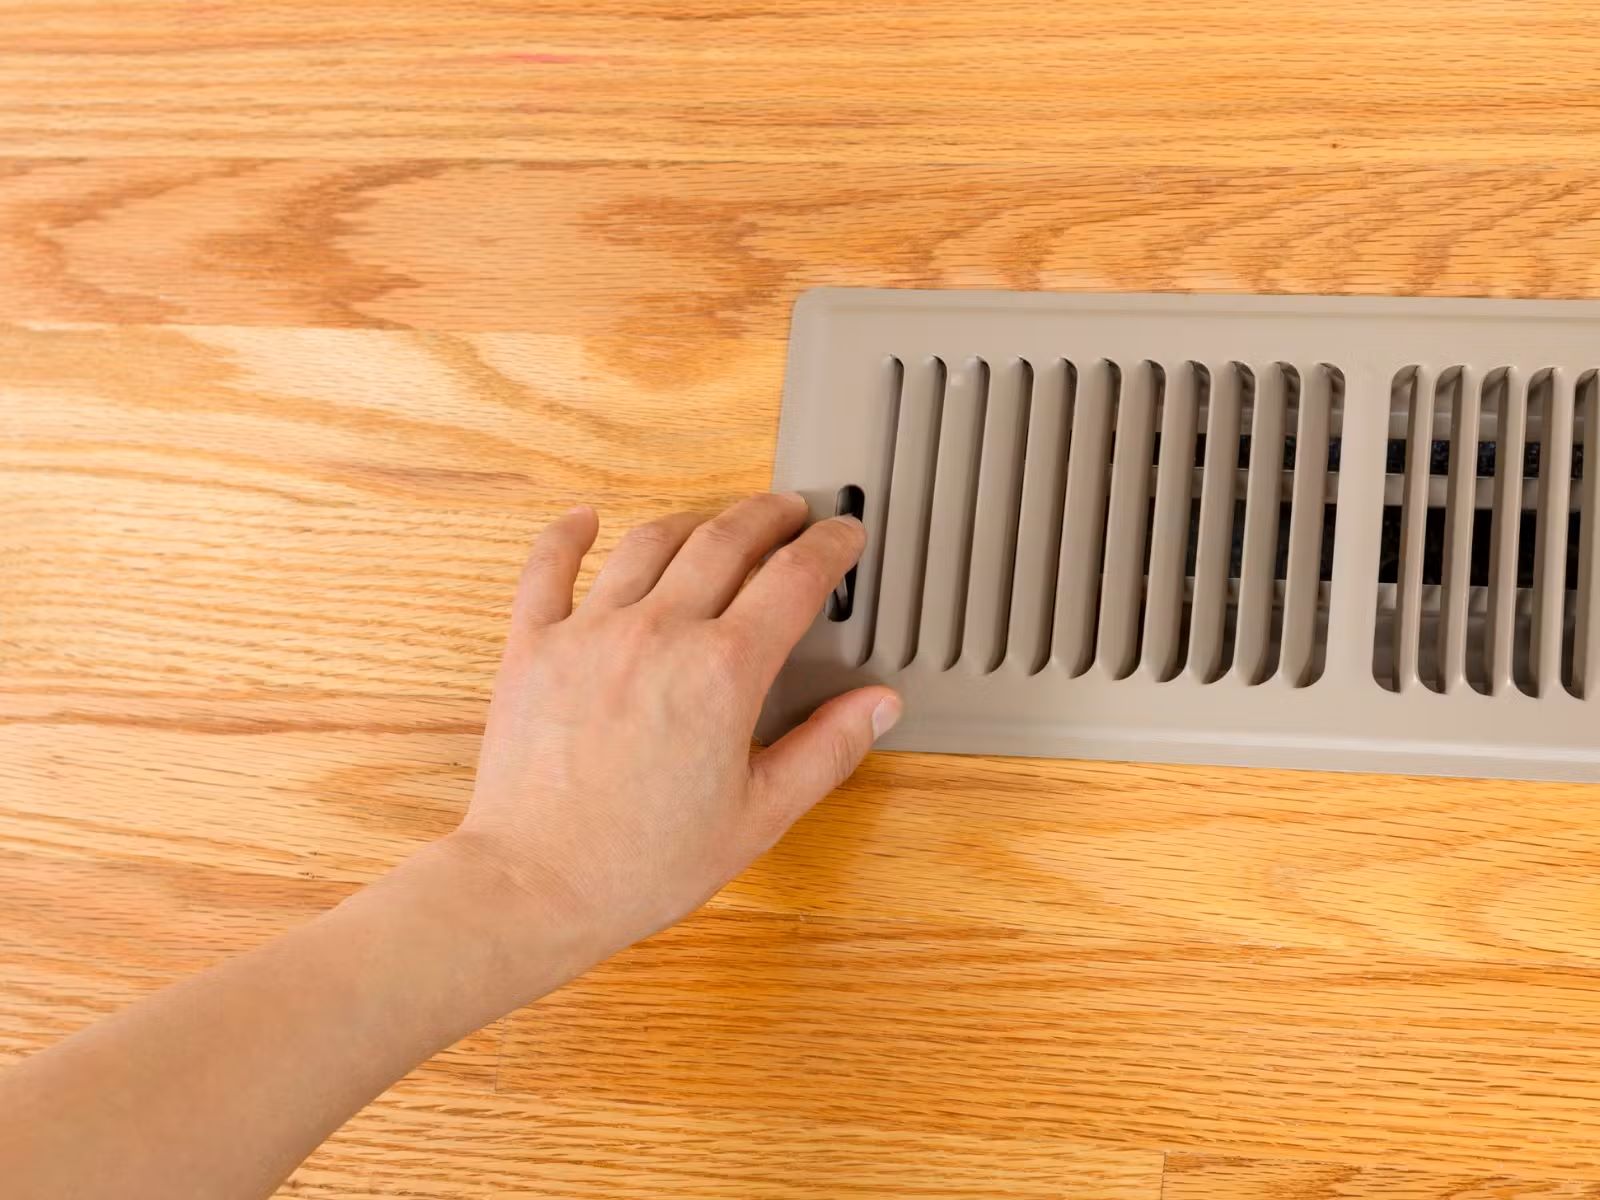
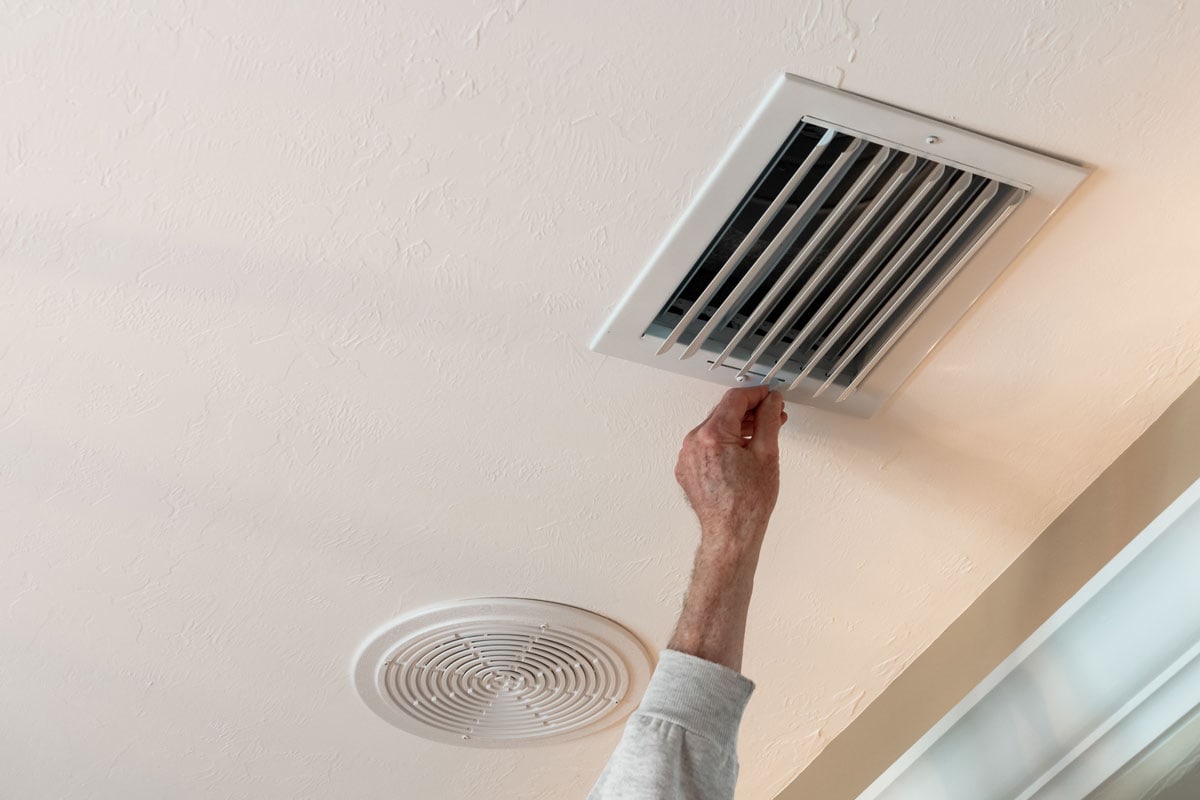
Step 1: Measure the Vent Opening
The first step in measuring a floor vent is to measure the opening of the vent itself. This is the visible portion of the vent that is exposed on the floor. To do this, follow these steps:
- Remove any existing covers or grilles that may be covering the vent opening.
- Take out your measuring tape and place it at one edge of the vent opening.
- Extend the measuring tape across the opening to the opposite edge, making sure to keep it straight and aligned.
- Note down the measurement in both inches and centimeters.
It’s important to measure the actual opening rather than the vent cover itself, as the cover may have slightly different dimensions.
By measuring the vent opening, you will have a better understanding of the size of the vent that will fit in that specific space.
Step 2: Measure the Overall Vent Size
In addition to measuring the vent opening, it’s important to measure the overall size of the vent. This will help you determine the appropriate vent replacement or the size needed for a new installation. To measure the overall vent size, follow these steps:
- Take your measuring tape and place it at one edge of the vent.
- Extend the measuring tape across the vent to the opposite edge, measuring the width of the vent.
- Repeat the same process to measure the length of the vent.
- Note down both measurements in inches and centimeters.
Measuring the overall vent size will ensure that you choose a replacement vent that fits perfectly within the space, or enable you to plan accordingly for a new vent installation.
Use a tape measure to measure the length and width of the floor vent opening. Take these measurements to ensure you purchase the correct size replacement vent cover.
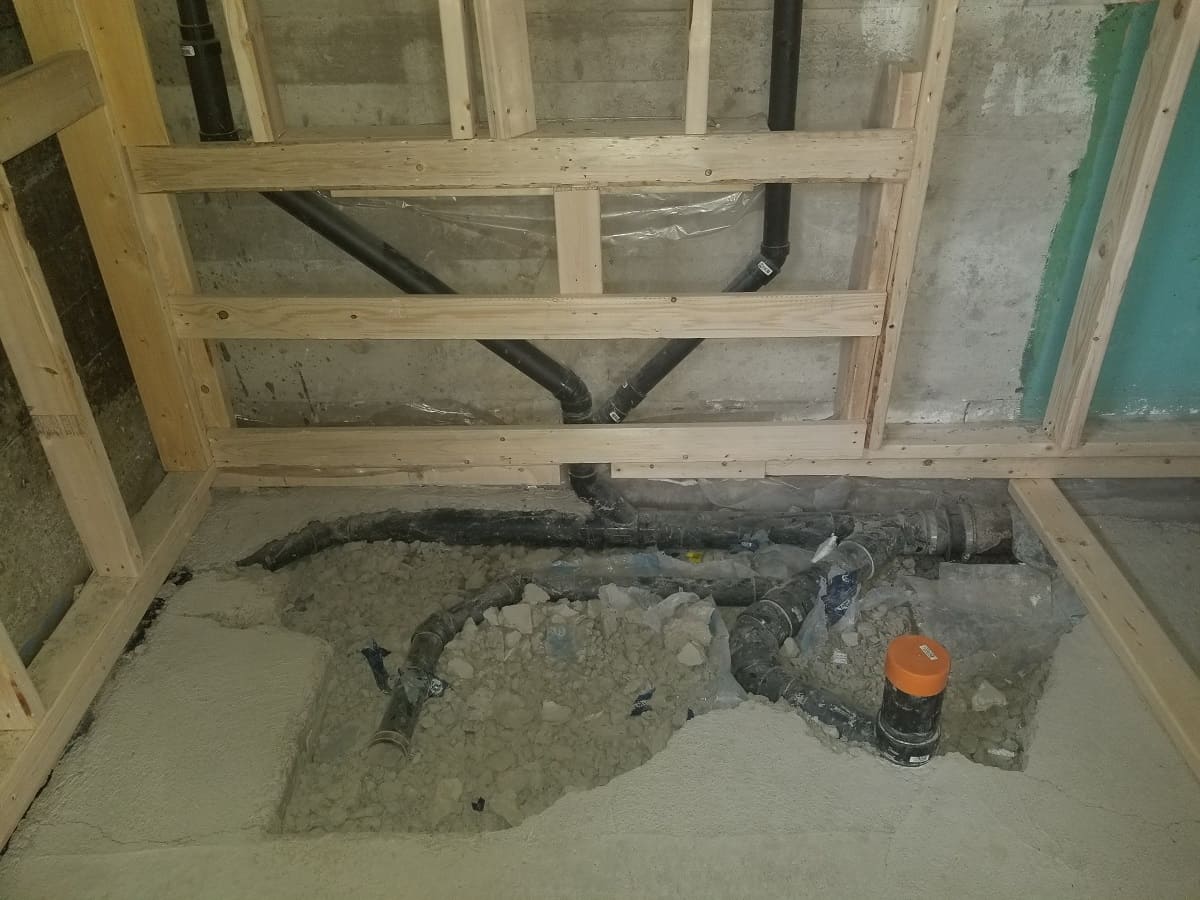
Step 3: Measure the Depth of the Vent
Another important measurement to take when measuring a floor vent is the depth or height of the vent. This measurement will help you determine the appropriate size of the vent’s collar, which connects it to the ductwork. To measure the depth of the vent, follow these steps:
- Using your measuring tape, place it at one edge of the vent.
- Extend the measuring tape vertically downward until it reaches the bottom of the vent.
- Read the measurement and note it down in both inches and centimeters.
It’s important to measure the depth accurately, as this will ensure a proper fit and functionality of the vent.
Once you have the depth measurement, you can choose a vent with a collar that matches the size and ensures a seamless connection to the ductwork.
Read more: How To Clean Floor Vents In Home
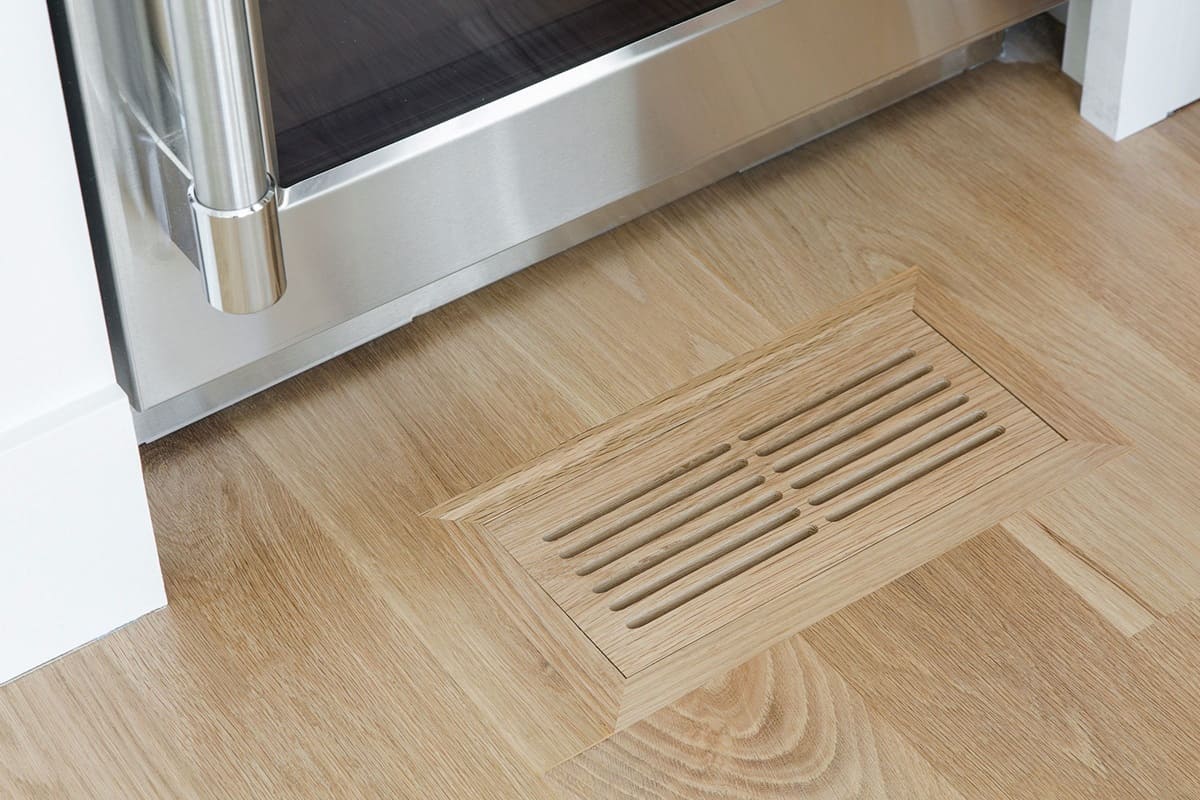
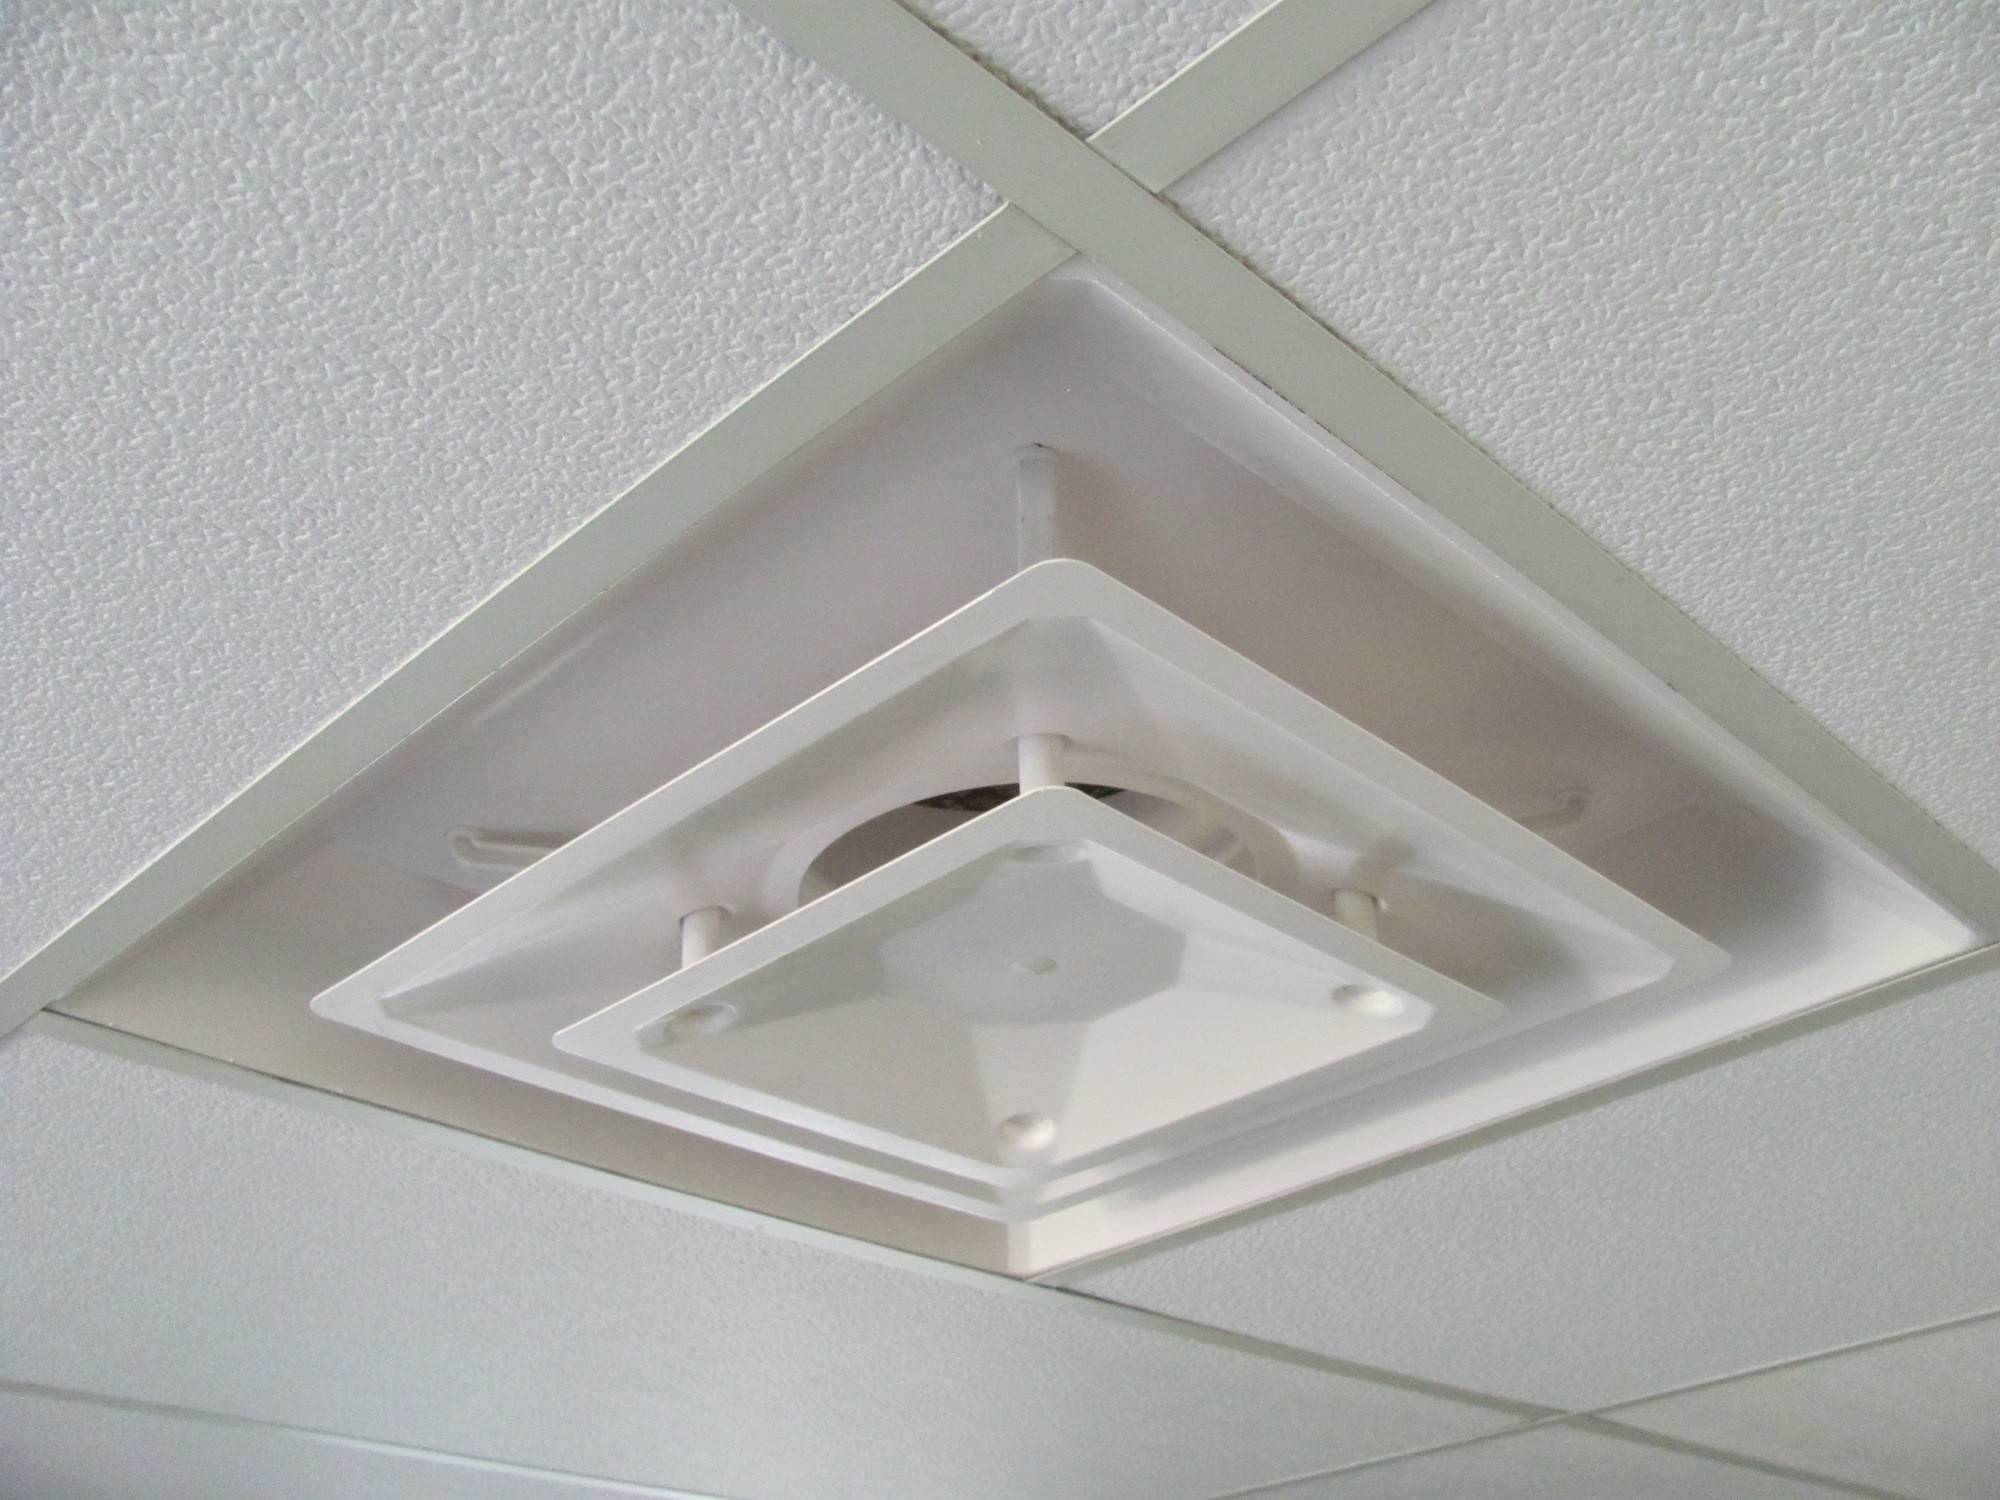
Step 4: Determine the Type of Floor Vent
Before proceeding further, it’s important to determine the type of floor vent you have. Floor vents come in various styles, including flush-mount, drop-in, or decorative grilles. Each type may require slightly different measurements or installation methods.
Pay attention to the design and construction of your floor vent to identify its type. If you’re unsure, consult any manufacturer labels or documentation that may provide more information.
Knowing the type of floor vent you have will guide you in making accurate measurements and selecting the appropriate replacement or new vent for installation.
Step 5: Note Down the Measurements
Now that you have measured the vent opening, the overall vent size, and the depth of the vent, it’s important to note down all the measurements for future reference. This will make it easier for you to find a suitable replacement or plan for a new vent installation in the future.
Take out your notebook and pen or use a digital device to record the measurements. Make sure to include the following information:
- The measurements of the vent opening (width and length) in both inches and centimeters.
- The measurements of the overall vent size (width and length) in both inches and centimeters.
- The measurement of the vent depth (height) in both inches and centimeters.
Having these measurements on hand will save you time and effort when it comes to selecting the right floor vent replacement or planning for a new installation. It’s always a good idea to keep this information easily accessible for future reference.
Conclusion
Measuring a floor vent accurately is an important step when it comes to replacing or installing vents in your home. By following the step-by-step process outlined in this article, you can ensure that you obtain the correct measurements for a proper fit.
Remember to measure both the vent opening and the overall vent size to determine the appropriate replacement or size for a new installation. Additionally, don’t forget to measure the depth of the vent to ensure proper functionality and connection to the ductwork.
By noting down the measurements, you can easily refer to them in the future when you need to find a replacement or plan for a new vent installation. This will save you time and effort in the long run.
Now that you have the knowledge and tools to measure a floor vent, you can confidently embark on your home improvement project. Whether you’re replacing an old vent or installing a new one, remember that accurate measurements are key to a successful outcome.
So, grab your measuring tape, note down your measurements, and get started on measuring your floor vent!
Frequently Asked Questions about How To Measure A Floor Vent
Was this page helpful?
At Storables.com, we guarantee accurate and reliable information. Our content, validated by Expert Board Contributors, is crafted following stringent Editorial Policies. We're committed to providing you with well-researched, expert-backed insights for all your informational needs.


0 thoughts on “How To Measure A Floor Vent”