
Articles
How To Cut Stairs Stringers
Modified: December 7, 2023
Learn how to cut stairs stringers with these informative articles. Step-by-step guides and useful tips to help you master the process.
(Many of the links in this article redirect to a specific reviewed product. Your purchase of these products through affiliate links helps to generate commission for Storables.com, at no extra cost. Learn more)
Introduction
Building a set of stairs can be a daunting task, but with the right guidance and tools, it can be a rewarding project that adds both functionality and aesthetic appeal to your space. One crucial aspect of stair construction is cutting the stringers, which are the angled supports that hold the steps in place. In this article, we will walk you through the process of cutting stairs stringers, providing you with step-by-step instructions and valuable tips along the way.
Whether you are building a staircase for a deck, porch, or interior space, the process of cutting and installing stringers remains relatively the same. By following the instructions outlined in this article, you can ensure that your stairs are structurally sound and safe to use.
Before we dive into the nitty-gritty details of cutting stairs stringers, let’s first go over the materials and tools you will need for this project.
Key Takeaways:
- Cutting stairs stringers requires accurate measurements, precise calculations, and careful cutting to ensure a structurally sound and safe staircase. Prioritize safety, take your time, and follow the step-by-step process for a successful outcome.
- Adding finishing touches such as filling nail holes, sanding, applying a protective finish, and installing handrails enhances the appearance and durability of the staircase. Attention to detail and safety are crucial for a visually appealing and functional result.
Read more: How To Calculate Stair Stringers
Materials and Tools Needed
Before you begin cutting stairs stringers, gather the following materials and tools:
- Lumber: Choose a high-quality, pressure-treated lumber that is suitable for outdoor use if you are building an exterior staircase. For interior staircases, select a hardwood or softwood that complements your design aesthetic.
- Tape Measure: A reliable tape measure is essential for taking accurate measurements.
- Pencil or Marker: These will be used to mark the measurements on the lumber.
- Square: A framing square or combination square will help you ensure that your angles are accurate.
- Circular Saw: This power tool is used to cut the stringers. Make sure you have a sharp blade suitable for cutting lumber.
- Jigsaw or Handsaw: You may need a jigsaw or handsaw to make small adjustments or cuts in the stringers.
- Drill: A drill is necessary for pre-drilling holes and attaching the stringers to the supporting structure.
- Screws or Nails: Depending on your preference and the type of lumber you are using, you will need screws or nails to secure the stringers.
- Level: A level will help you ensure that the stairs are even and properly aligned.
- Safety Gear: Wear safety glasses, work gloves, and hearing protection to protect yourself during the construction process.
Having these materials and tools on hand will make the process of cutting stairs stringers much smoother and efficient. Now that you are equipped with everything you need, let’s move on to the first step: taking measurements.
Step 1: Taking Measurements
Accurate measurements are crucial when cutting stairs stringers to ensure that your staircase fits perfectly in the designated space. The measurements you need to take include the total rise, total run, and tread depth. Let’s break down each measurement:
Total Rise: This refers to the total vertical height from the finished floor at the bottom of the stairs to the finished floor at the top of the stairs. Use a tape measure to measure this distance in inches or centimeters. Make sure to account for any flooring materials that will be added later.
Total Run: The total run is the total horizontal distance that the staircase will cover. Measure this by determining the distance from the front of the first step to the front of the last step. Again, use a tape measure to get an accurate measurement.
Tread Depth: The tread depth refers to the horizontal depth of each step. Typically, this measurement ranges from 9 to 11 inches (22.9 to 27.9 cm) for comfortable and safe stair use. Measure and decide on the tread depth that suits your needs and preferences.
Once you have these measurements, you can proceed to the next step: calculating the stringer layout.
Step 2: Calculating the Stringer Layout
Calculating the stringer layout is a crucial step in cutting stairs stringers accurately. It involves determining the number of stringers needed, the angle of the cuts, and the spacing between each stringer. Follow these steps to calculate the stringer layout:
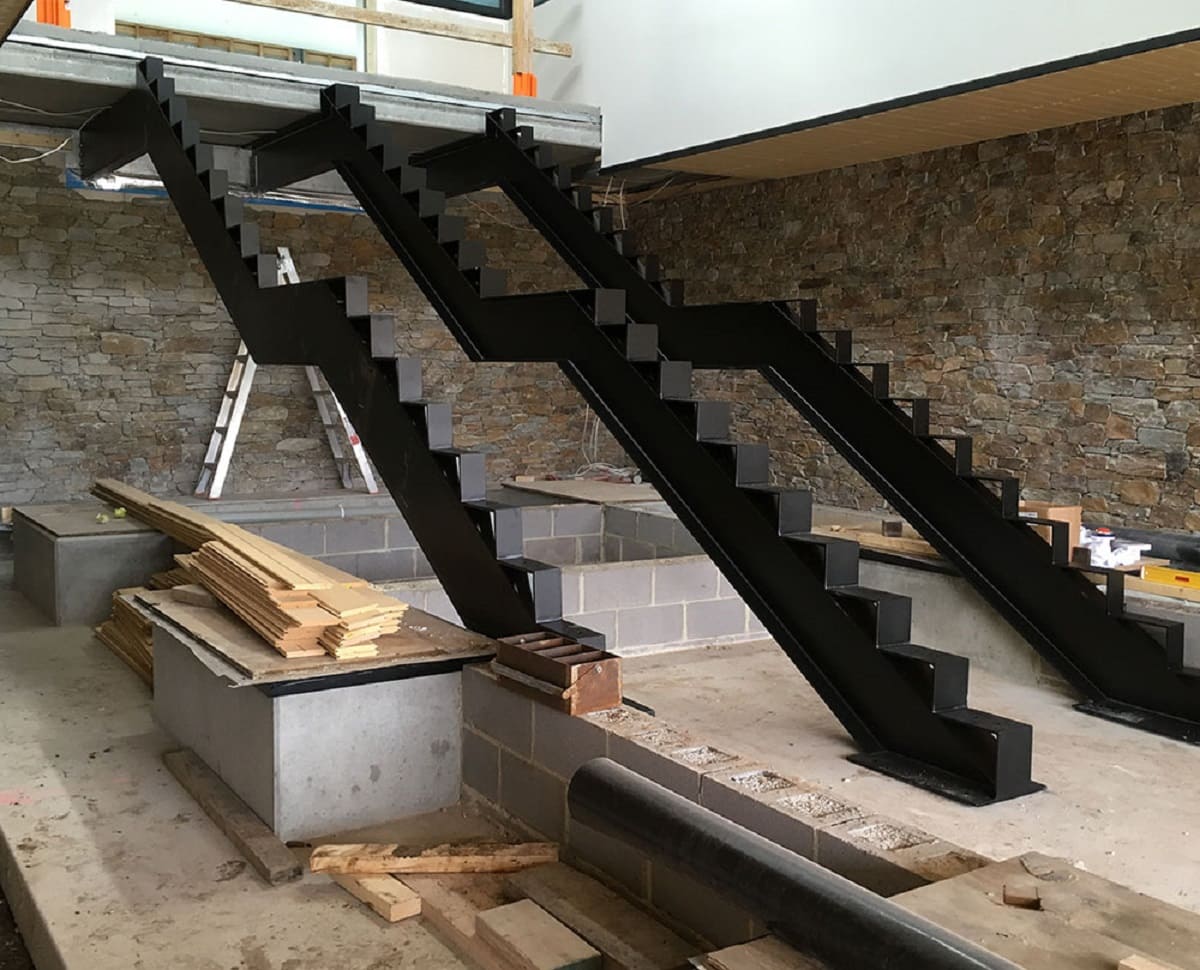
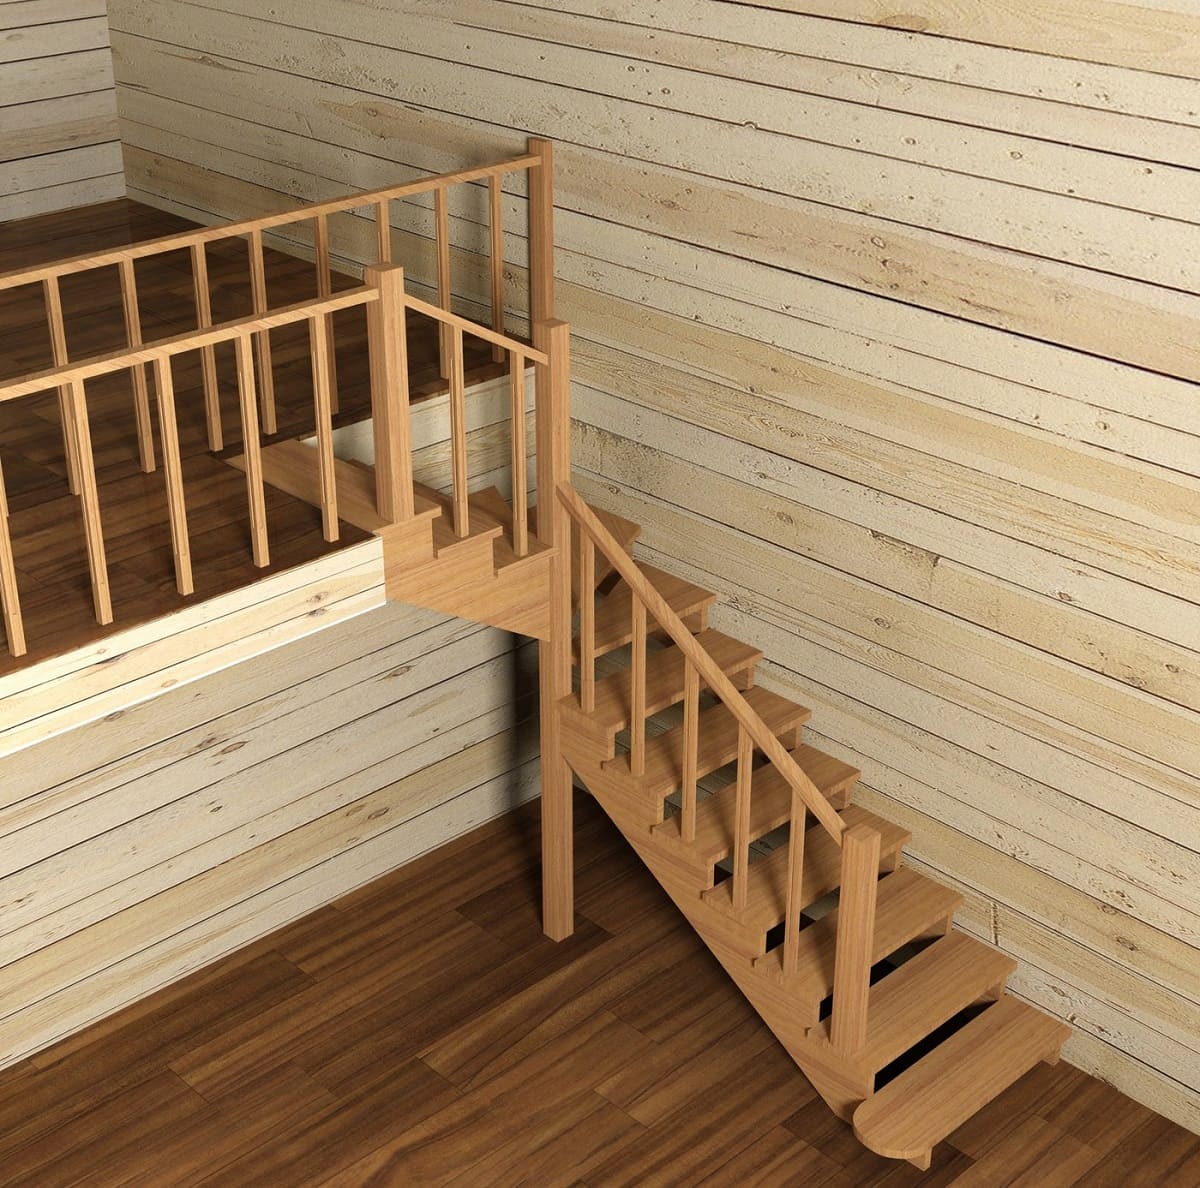
- Determine the Number of Stringers: The number of stringers needed depends on the width of the staircase and the code requirements in your area. In general, two stringers are sufficient for stairs that are up to 48 inches (121.9 cm) wide. For wider stairs, you may need to add additional stringers for proper support.
- Calculate the Angle of the Cuts: The angle of the cuts on the stringers will vary depending on the pitch of your stairs. Use a framing square or combination square to determine the angle. Measure the rise and run according to your measurements from Step 1, then align the square with those measurements to find the angle. Transfer this angle to your stringers.
- Determine the Spacing between Stringers: The spacing between stringers is determined by the tread depth and the code requirements in your area. It is typically around 16 inches (40.6 cm) for residential stairs. Divide the total run by the number of stringers you determined in step 1 to find the spacing between stringers.
Once you have calculated the stringer layout, mark the cuts and spacing on the lumber before moving on to the next step: marking and cutting the stringers.
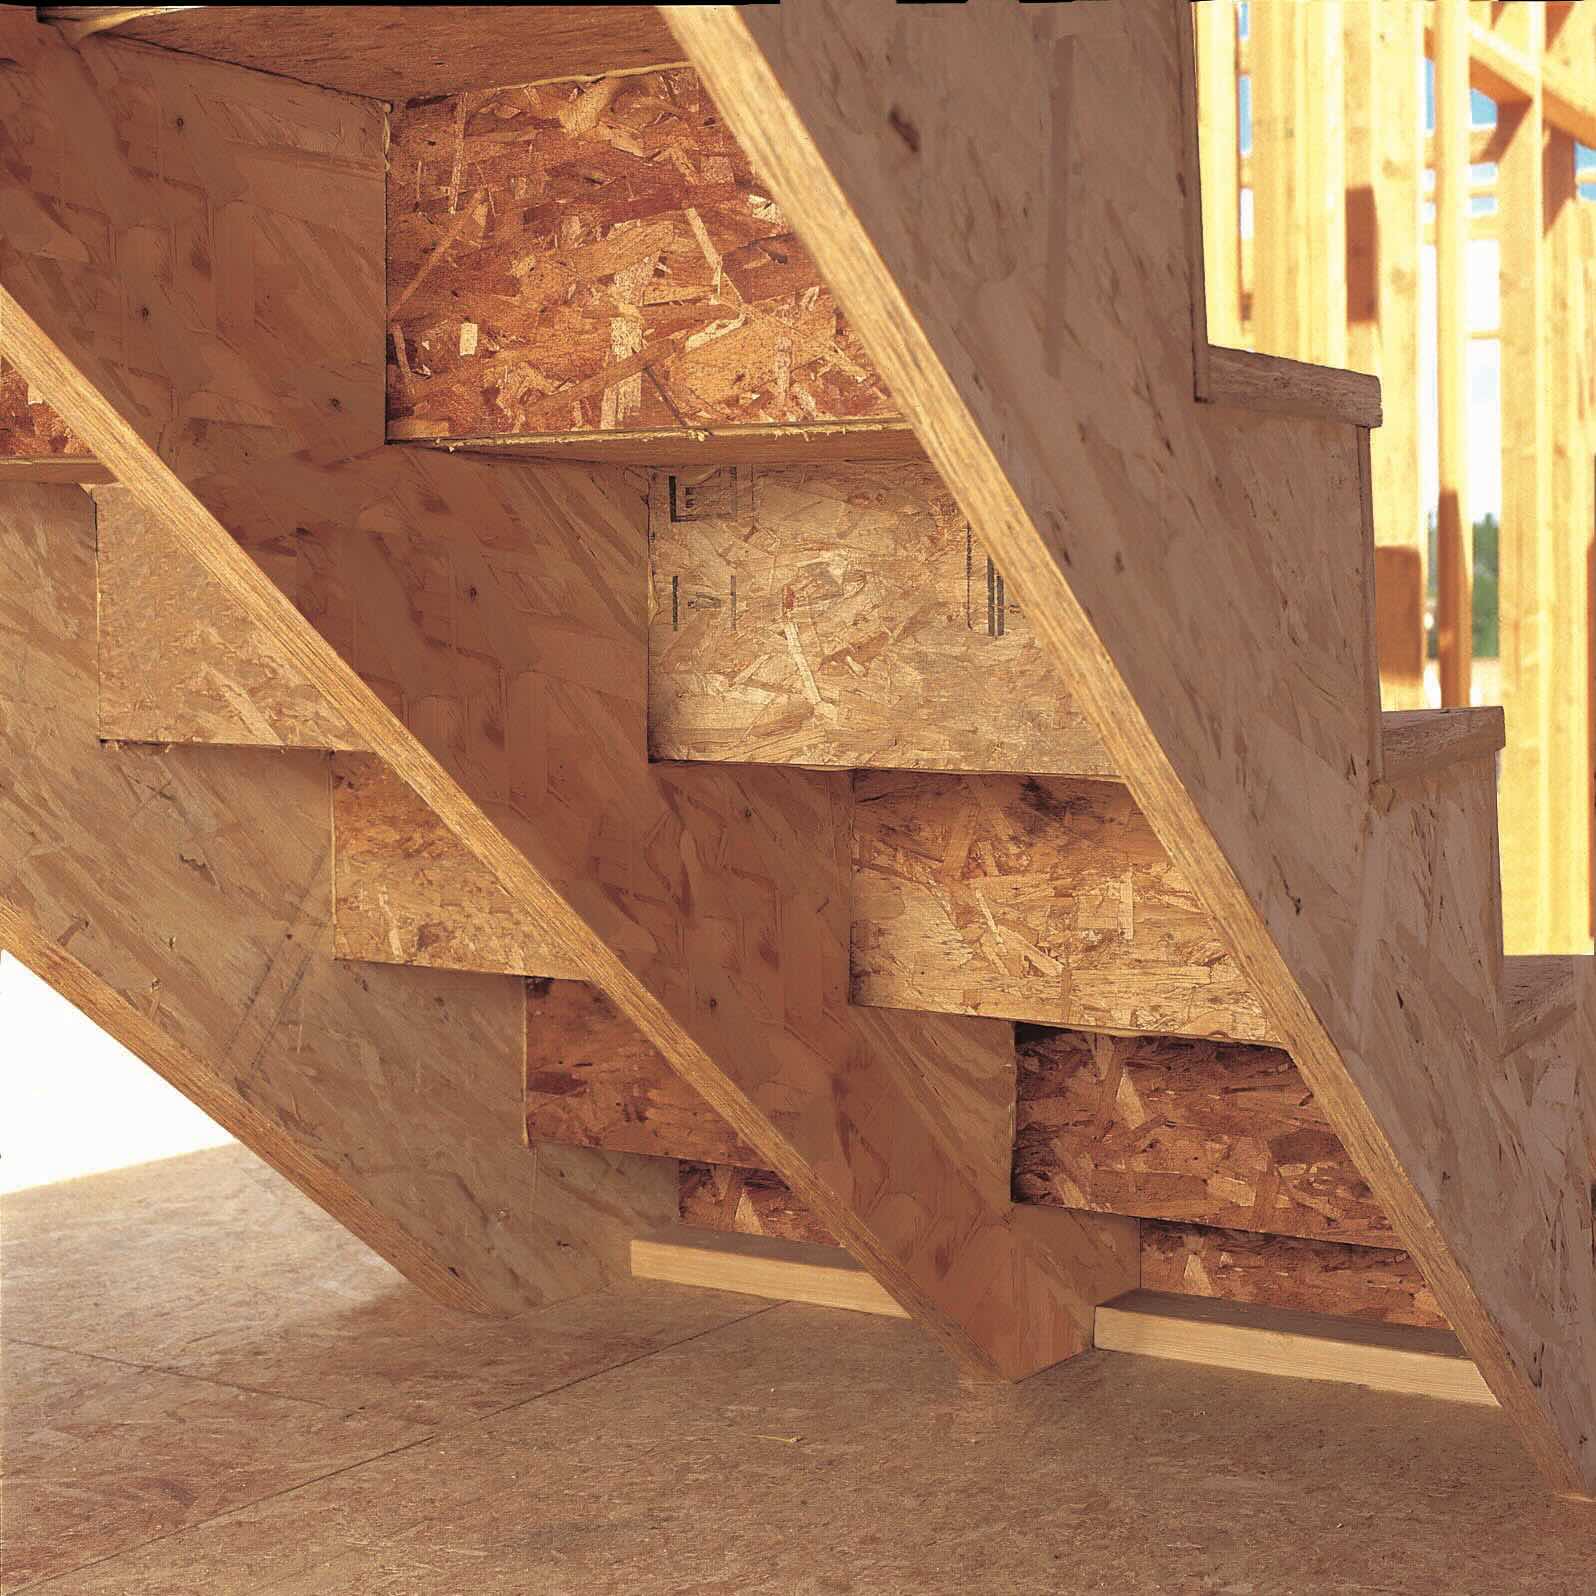
Step 3: Marking and Cutting the Stringers
Now that you have calculated the stringer layout, it’s time to mark and cut the stringers according to the measurements and angles you have determined. Follow these steps to ensure accurate and precise cuts:
- Mark your Stringers: Using a tape measure, pencil, and square, transfer the measurements and angle cuts you calculated in Step 2 onto the lumber. Mark the locations of the top and bottom cuts, as well as the spacing marks for the treads and risers.
- Cut the Stringers: With your marked measurements in place, it’s time to cut the stringers. Using a circular saw, carefully follow the marked lines to make the necessary cuts. Take your time and ensure smooth, even cuts. If needed, use a jigsaw or handsaw to make any smaller adjustments or cuts.
- Test Fit the Stringers: Once you have cut your stringers, do a test fit to ensure they align properly and fit securely. Make any adjustments if necessary.
Remember to always follow safety guidelines when using power tools and handling lumber. Wear protective gear such as safety glasses and work gloves to prevent injuries.
Now that you have your stringers cut, it’s time to move on to the next step: installing the stringers.
When cutting stair stringers, ensure that the rise and run measurements are accurate to create safe and even steps. Use a framing square to mark the cuts and double-check your measurements before cutting.
Read more: What Is Stringer On Stairs
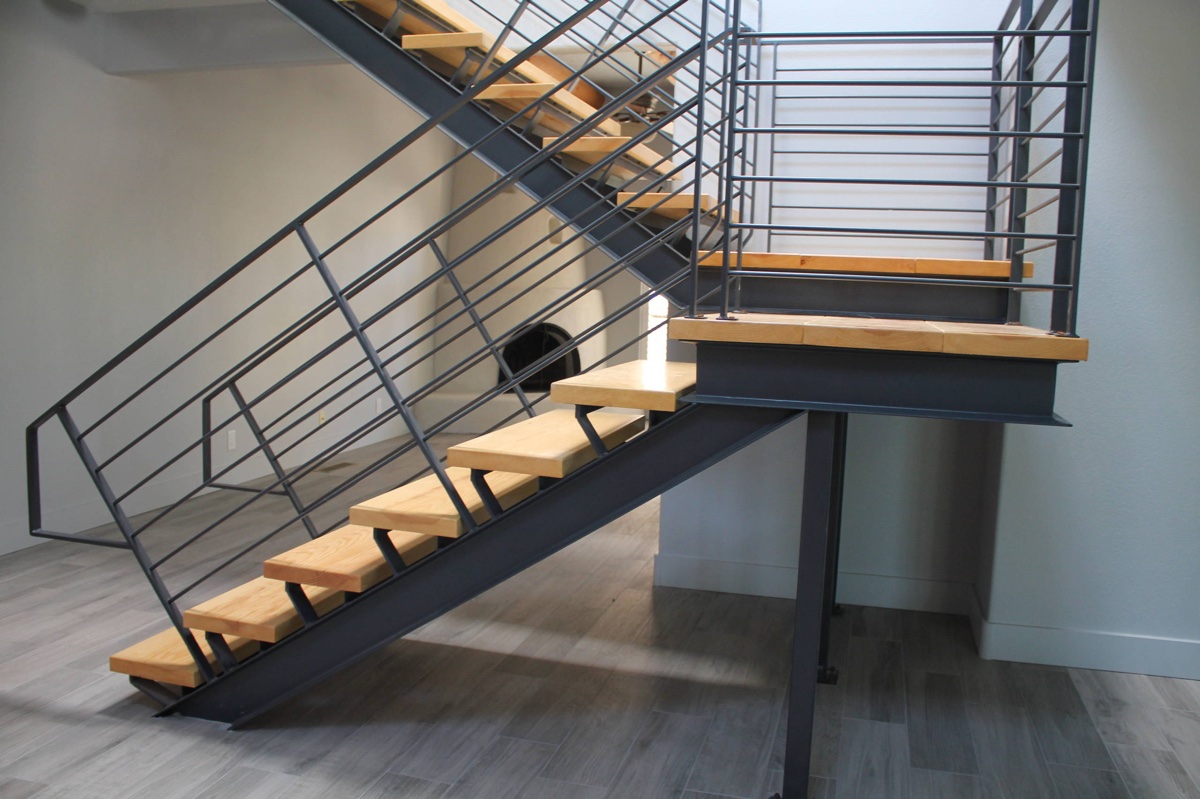
Step 4: Installing the Stringers
Now that you have the stringers cut and ready, it’s time to install them. Follow these steps to properly install the stringers:
- Position the Stringers: Position the stringers in the designated location, ensuring they are aligned with the top and bottom marks on the stringers.
- Attach the Stringers: Use a drill and screws or nails to attach the stringers to the supporting structure. Make sure to secure them firmly, as they will carry the weight of the stairs.
- Check for Level: Use a level to ensure that the stringers are level and plumb. Make any adjustments if necessary to ensure stability and safety.
- Install Blocking: If required by local building codes, install blocking between the stringers to provide additional support and prevent sagging.
Double-check that the stringers are securely fastened and properly aligned before moving on to the next step: attaching the treads and risers.
Installing stringers may require some assistance, especially if the stairs are large or heavy. Working with a partner can make the installation process safer and more efficient.
Now that the stringers are securely installed, it’s time to move on to the next step: attaching the treads and risers.
Step 5: Attaching the Treads and Risers
Attaching the treads and risers is the next crucial step in completing your staircase. Follow these steps to attach the treads and risers:
- Measure and Cut the Treads and Risers: Measure the depth and height of each step and cut the treads and risers to the appropriate size. Make sure the treads are level and the risers are plumb for an even and comfortable staircase.
- Attach the Treads: Starting from the bottom of the staircase, attach the treads to the stringers using screws or nails. Ensure they are firmly secured, providing a stable surface to walk on.
- Install the Risers: Install the risers between each tread, securing them to the back of the tread and the stringer. This will enclose the space between each step, creating a safer structure.
- Check for Level and Plumb: Use a level to ensure that the treads are level and the risers are plumb. Make any adjustments if required.
By properly attaching the treads and risers, you create a solid and safe staircase that is ready for use. Take your time during this step to ensure accuracy and stability.
Now that the treads and risers are securely attached, it’s time to move on to the final step: adding the finishing touches to your staircase.
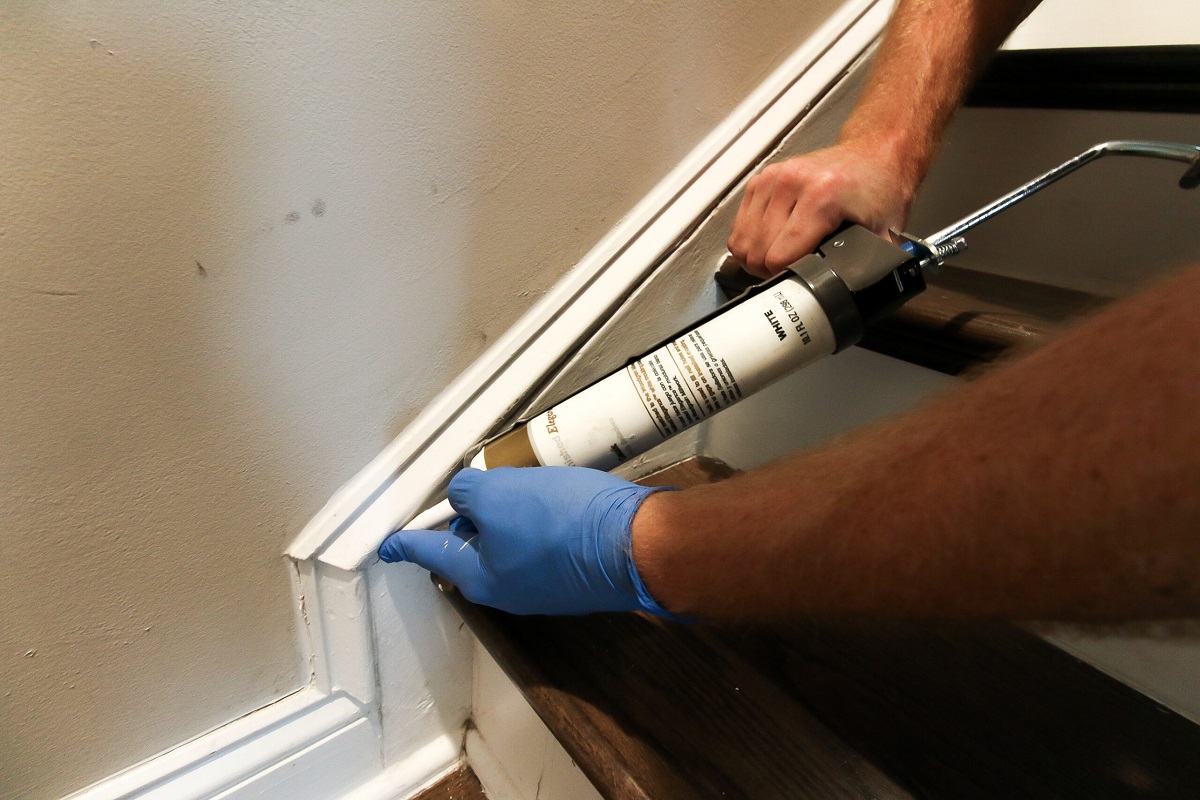
Step 6: Finishing Touches
Now that your staircase is structurally complete, it’s time to add the finishing touches to enhance its appearance and durability. Here are some steps to consider for the final touches:
- Fill Nail Holes: If you used nails to attach the stringers, treads, or risers, fill any visible nail holes with wood filler. This will create a smooth and seamless finish.
- Sand the Surface: Use sandpaper or a power sander to smooth down any rough edges or surfaces. This will create a polished look and prevent any potential splinters.
- Apply a Finish: Depending on the type of lumber used, consider applying a protective finish to the stairs. This could be a stain, paint, or sealant that enhances the appearance and protects the wood from moisture and wear.
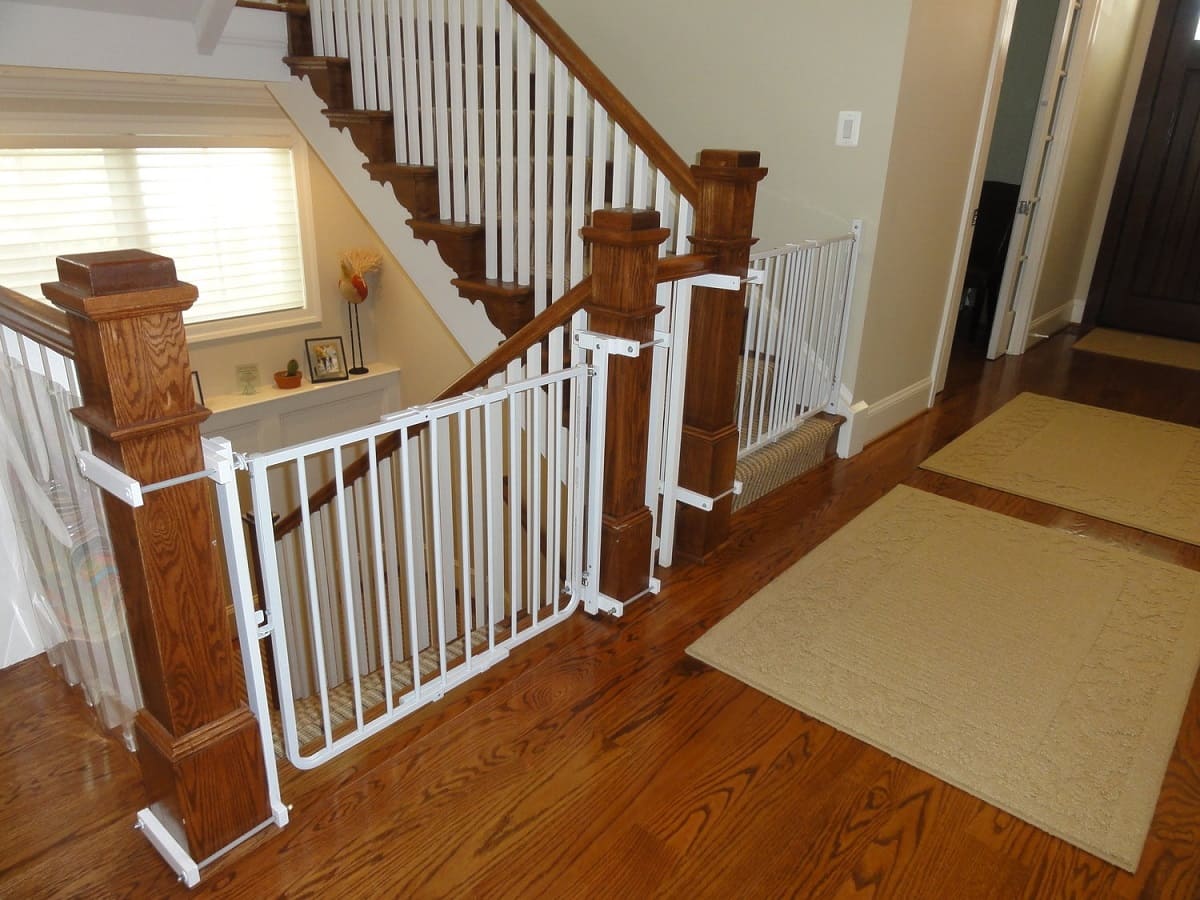
- Add Handrails and Balusters: If desired or required, install handrails and balusters to provide additional safety and support. Make sure they are securely fastened and meet local building codes.
- Final Inspection: Before considering your staircase complete, perform a thorough inspection to ensure that everything is secure, level, and safe for use. Check for any loose or protruding nails, uneven surfaces, or other potential hazards.
By adding these finishing touches, you can create a visually appealing and functional staircase that meets your needs and matches the overall design of your space.
Remember, always prioritize safety when working on stairs. If you are unsure about any step or aspect of the installation process, consult with a professional or local building codes for guidance.
Congratulations! You have now successfully cut and installed stairs stringers, completing your staircase. Enjoy your new functional and stylish addition to your home or outdoor space!
Conclusion
Building and cutting stairs stringers may seem like a challenging task, but with the right tools, measurements, and guidance, it is a project that can be accomplished by DIY enthusiasts. By following the step-by-step instructions provided in this article, you can confidently cut and install stairs stringers that are structurally sound and safe to use.
Remember, accuracy is key when measuring, marking, and cutting the stringers. Double-check your calculations and ensure that all cuts are precise to achieve a seamless final result. Take your time during each step to ensure the best possible outcome.
Additionally, always prioritize safety during the entire process. Wear proper protective gear, follow safety guidelines, and consult local building codes to ensure that your staircase meets the necessary requirements.
Once your stairs stringers are cut and installed, you can move on to adding the treads, risers, and other finishing touches to complete the staircase. Pay attention to details such as sanding, filling nail holes, and applying a protective finish to enhance the aesthetics and durability of your stairs.
Whether you are building stairs for a deck, porch, or interior space, the skills and knowledge gained from cutting stairs stringers can be applied to future projects. With practice, you will become more confident and proficient in handling similar construction tasks.
Now that you have a comprehensive understanding of how to cut stairs stringers, gather your materials and tools, take accurate measurements, and follow each step outlined in this article. With patience and attention to detail, you will have a beautifully constructed staircase that enhances your space and provides safe access.
Frequently Asked Questions about How To Cut Stairs Stringers
Was this page helpful?
At Storables.com, we guarantee accurate and reliable information. Our content, validated by Expert Board Contributors, is crafted following stringent Editorial Policies. We're committed to providing you with well-researched, expert-backed insights for all your informational needs.


0 thoughts on “How To Cut Stairs Stringers”