Articles
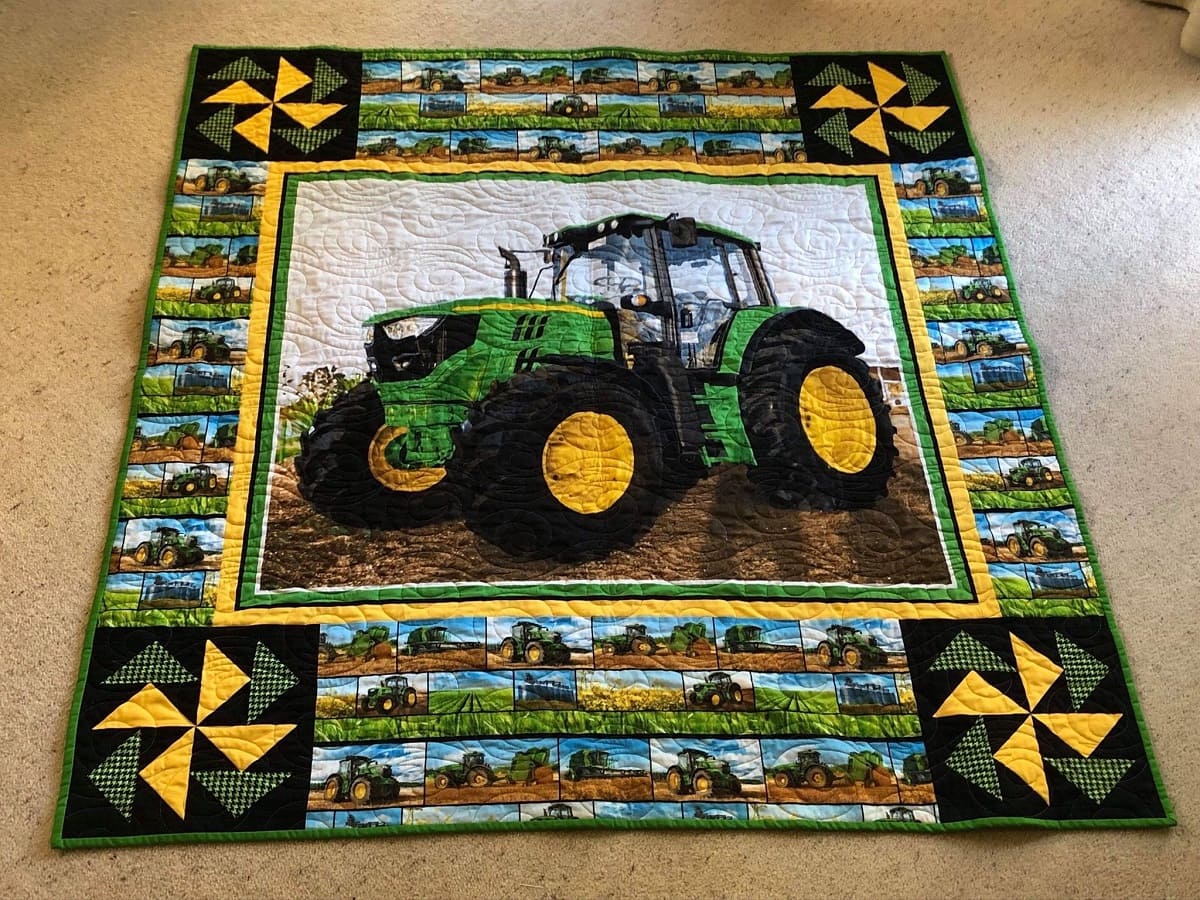
How To Repair A Quilt
Modified: August 16, 2024
Learn how to repair a quilt with these articles. Find step-by-step guides and helpful tips to mend your beloved quilt.
(Many of the links in this article redirect to a specific reviewed product. Your purchase of these products through affiliate links helps to generate commission for Storables.com, at no extra cost. Learn more)
Introduction
Quilts are not just a beautiful and functional addition to our homes; they often hold sentimental value as well. Whether it’s a family heirloom or a cherished handmade gift, a damaged quilt can be disheartening. However, with a little patience, care, and some basic supplies, you can repair and restore your beloved quilt to its former glory.
In this article, we will guide you through the process of repairing a quilt, addressing common issues such as small holes, tears, loose seams, and weak areas. Additionally, we will provide tips on patching large damaged areas and replacing missing quilt blocks. By following these steps, you can breathe new life into your quilt and ensure its longevity.
Before getting started, it’s essential to assess the extent of the damage and gather the necessary supplies. By doing this, you will have a clear plan of action and ensure that you have everything you need to complete the repairs. So, let’s begin by examining the quilt and determining the best course of action.
Key Takeaways:
- Repairing a quilt requires patience, care, and the right supplies. Assess the damage, gather your tools, and follow step-by-step instructions to mend small holes, patch large damaged areas, and restore your beloved quilt to its former glory.
- After completing the necessary repairs, give your quilt those final finishing touches. Properly press and clean the quilt to enhance its appearance, protect your hard work, and ensure its longevity.
Read more: How To Machine Quilt A Large Quilt
Assessing the Damage
Before embarking on any quilt repair project, it’s crucial to thoroughly assess the damage. This will help you understand the scope of the repairs needed and the techniques you should employ. Here are some key steps to follow when assessing the damage:
- Spread out the quilt on a flat surface, such as a table or clean floor, in a well-lit area.
- Examine the quilt carefully, looking for any signs of damage, such as holes, tears, loose threads, or missing quilt blocks.
- Take note of the size and location of each damaged area. This will help you prioritize and plan your repair approach.
- Inspect the quilt’s seams and edges, checking for any signs of fraying or unraveling.
- Look for weak areas where the fabric may be thin or worn out, as these may require reinforcement.
- Assess the overall condition of the quilt, considering factors such as fabric fading or discoloration.
By carefully evaluating the damage, you can determine which repair techniques to employ and the supplies you will need. For minor issues like small holes or loose threads, simple stitching or patching may suffice. However, for more extensive damage, such as large tears or missing quilt blocks, you may need to invest more time and effort into the repair process.
Remember, the purpose of assessing the damage is to create a roadmap for the repair project. By taking the time to evaluate the quilt thoroughly, you can proceed with confidence and ensure that you are using the most appropriate techniques for each repair.
Gathering Supplies
Once you have assessed the damage to your quilt, it’s time to gather the necessary supplies for the repair process. Having the right tools and materials on hand will make the job easier and ensure the best possible results. Here is a list of essential supplies you will need:
- Needles: A variety of needles in different sizes will come in handy for different repair tasks. Choose needles with sharp points and small eyes for easier stitching.
- Thread: Select thread that matches the color of your quilt fabric. Use a high-quality cotton thread that is strong and durable.
- Fabric Scissors: Sharp, fabric-specific scissors will help you cut through the quilt material precisely.
- Pins: Use fine sewing pins to hold fabric in place while stitching or patching.
- Fabric Marking Pen/Chalk: These tools will allow you to mark the areas that need repair or any guidelines for stitching.
- Thimble: A thimble will protect your finger while pushing the needle through thick layers of fabric.
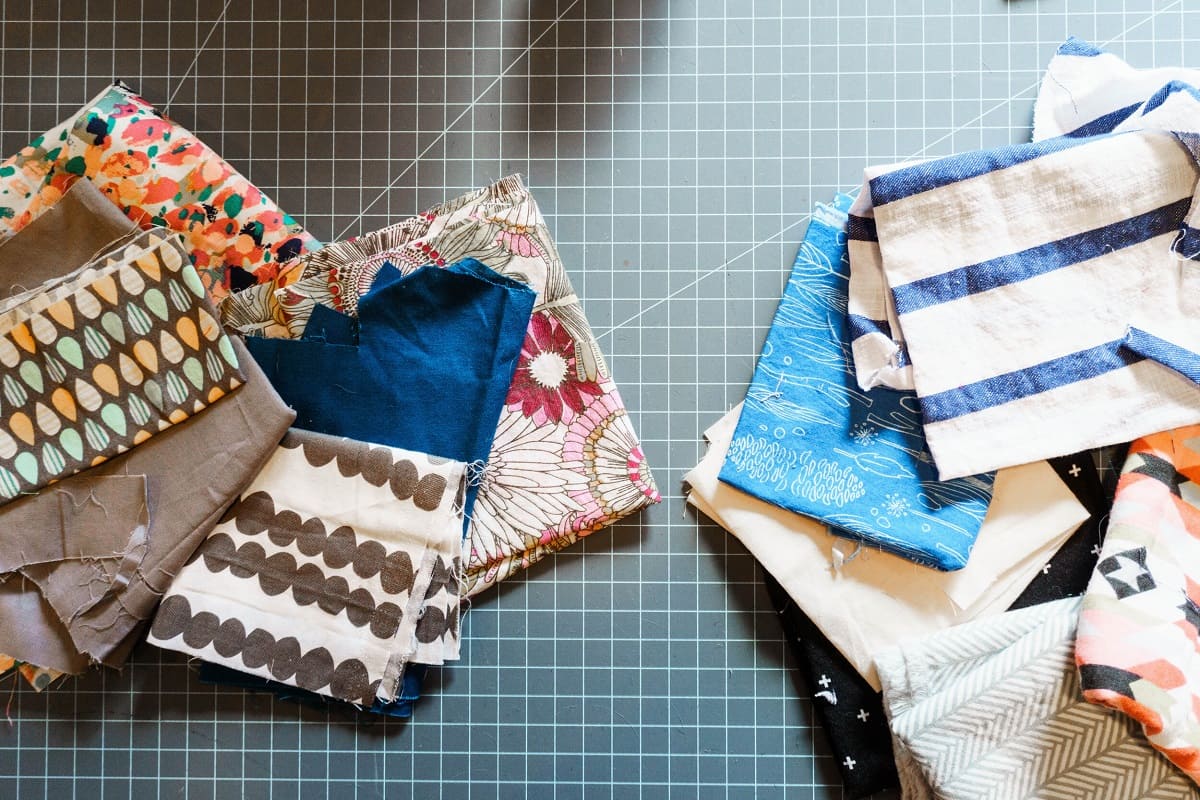
- Fabric for Patching: If you need to patch large damaged areas, choose fabric that closely matches the existing quilt fabric in terms of color, pattern, and texture.
- Fabric Glue: A fabric-safe adhesive can be useful for securing loose seams before stitching or for temporary fixes.
- Quilt Batting: If your quilt’s batting is damaged, you may need to replace it. Select batting of the same thickness and material as the original.
- Iron and Ironing Board: These will be crucial for pressing the quilt and ensuring smooth, flat repairs.
- Quilt Template or Pattern: If you need to replace missing quilt blocks, having a template or pattern to follow will be essential.
While this list covers the essential supplies for quilt repair, you may find that additional tools or materials are needed depending on the specific repairs required. It’s always a good idea to have a well-stocked sewing kit and extra fabric on hand for unexpected needs.
By gathering all the necessary supplies before starting the repair process, you can work more efficiently and minimize any interruptions or delays. So, gather your tools, stock up on fabrics and threads, and make sure you have everything you need to restore your quilt.
Preparing the Quilt
Once you have gathered all the necessary supplies, the next step is to prepare the quilt for repair. Proper preparation is crucial for ensuring that the repair process goes smoothly and the final results are satisfactory. Follow these steps to get your quilt ready for repairs:
- Remove the quilt from any decorative coverings, such as pillow shams or duvet covers, if applicable.
- Gently shake or lightly brush the quilt to remove any loose dirt or debris.
- If the quilt is old or fragile, consider placing a clean, white sheet or towel underneath it during the repair process. This will provide support and protect delicate areas.
- Lay the quilt on a flat and clean surface, ensuring that there is enough space to work comfortably.
- Smooth out any wrinkles or creases in the quilt by gently stretching it or using a fabric-safe iron on low heat.
- If there are any loose threads or dangling pieces of fabric, carefully trim them with fabric scissors.
- Take note of the areas that require repair, and if necessary, use a fabric marking pen or chalk to mark them for easier reference.
- If you are planning to wash or clean the quilt before repairs, consult the care instructions for the specific quilt material and follow them accordingly.
Preparing the quilt in this manner ensures that you have a clean and well-organized canvas for your repairs. It also allows you to identify and focus on the areas that require attention.
Remember, it’s important to handle the quilt with care during the preparation process to avoid causing any further damage. By being gentle and taking the necessary precautions, you can set the stage for a successful quilt repair project.
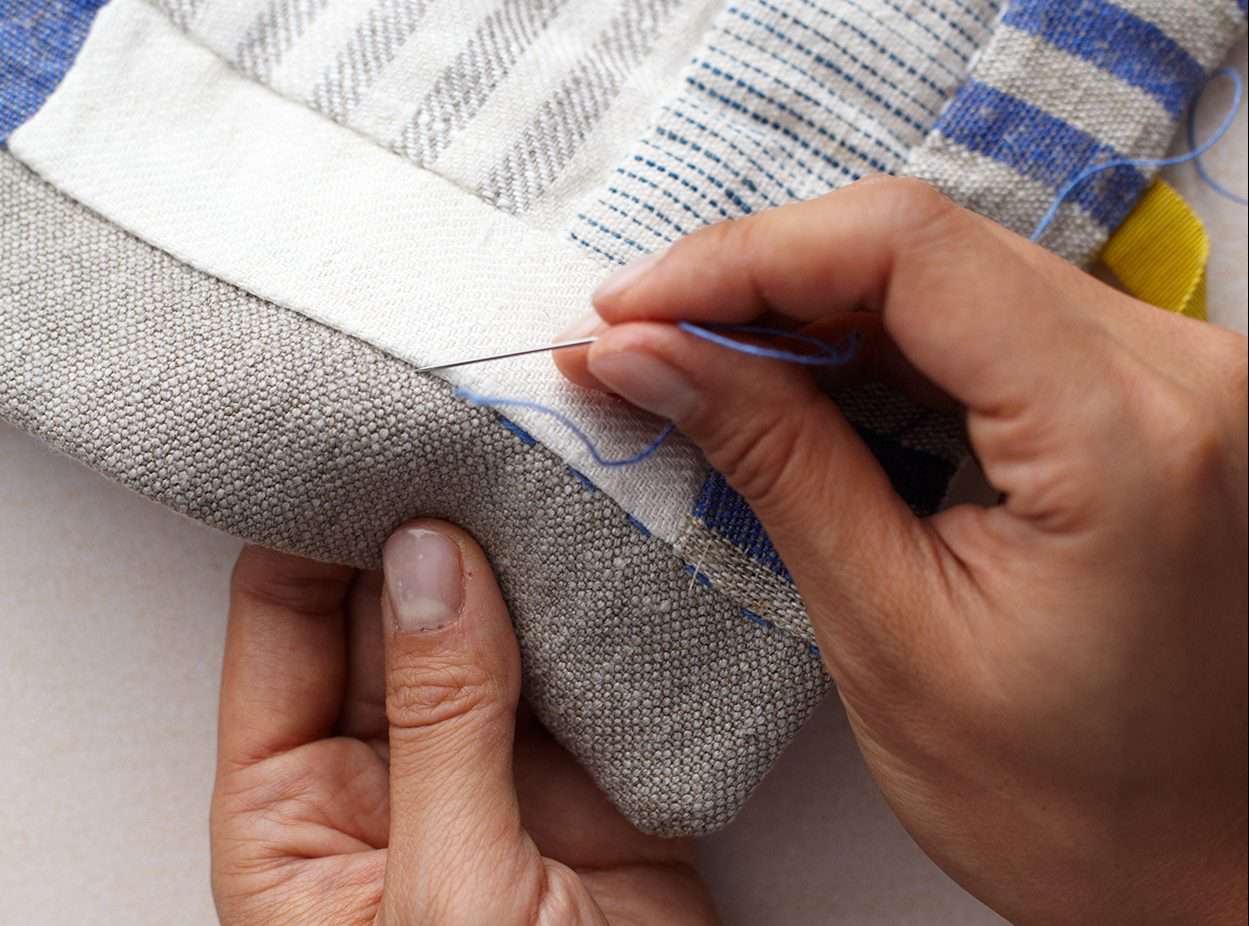
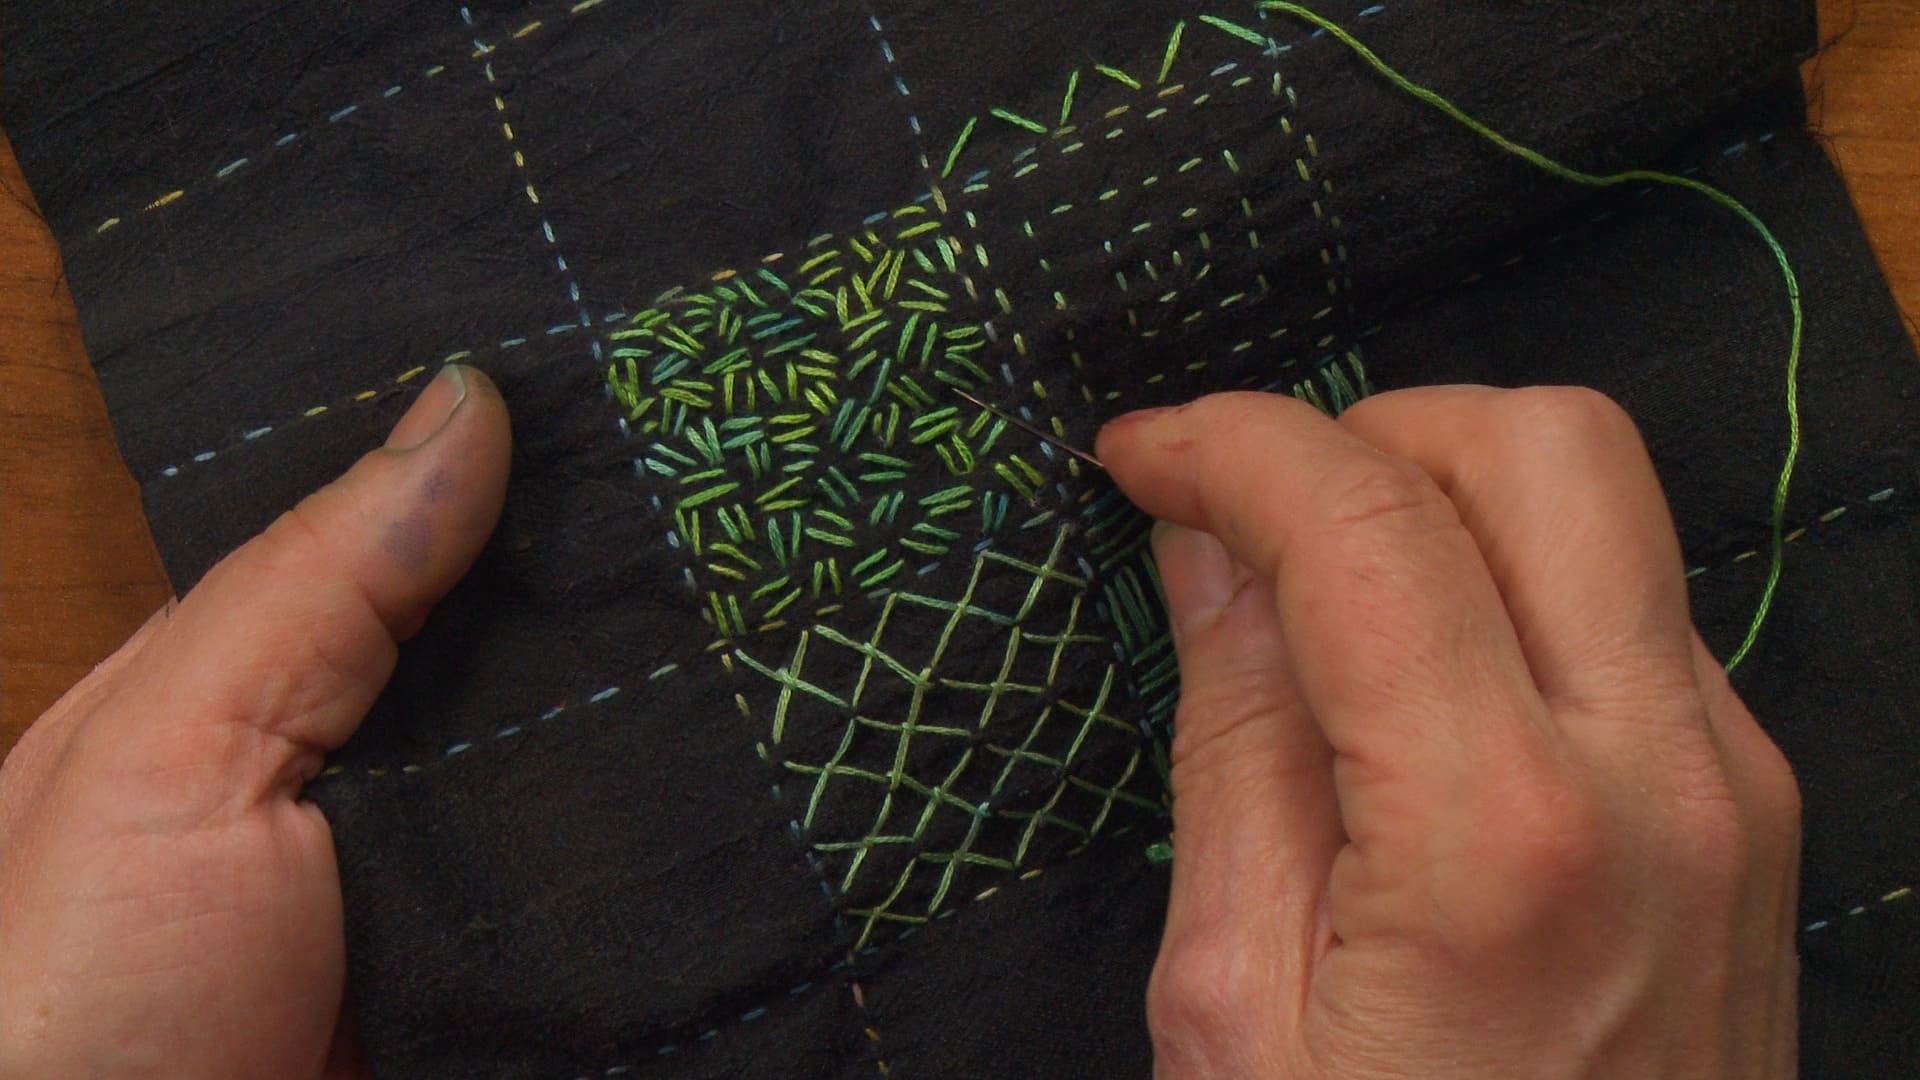
Repairing Small Holes and Tears
Small holes and tears in a quilt are common, especially with regular use and wear. Fortunately, repairing these minor damages is relatively straightforward. Follow these steps to repair small holes and tears in your quilt:
- Thread a needle with a matching thread color. Double-thread the needle for added strength.
- If the hole or tear is along a seam, start by securing the loose fabric by stitching along the existing seam line. This will prevent further unraveling.
- If the hole or tear is not along a seam, carefully align the edges of the fabric to bring them together.
- Using a small running stitch, sew along the edges of the hole or tear, making sure to catch both sides of the fabric. Keep your stitches close together for added stability.
- Continue stitching until you reach the other end of the hole or tear, and then make a few more stitches to secure the thread.
- Knot the thread on the backside of the quilt, close to the repaired area, and trim any excess thread.
- If the quilt fabric is fraying around the repaired area, apply a fabric adhesive or a small amount of clear nail polish to the frayed edges to prevent further unraveling.
If the small hole or tear is in an inconspicuous area of the quilt, you can repair it with an invisible mend or use a fabric patch on the backside for added strength.
Remember to work slowly and carefully when repairing small holes and tears to ensure that the stitches are secure and neat. Take breaks if needed to avoid eye strain or fatigue.
By following these simple steps, you can mend small holes and tears in your quilt, prolonging its lifespan and keeping it in beautiful condition.
Read more: How To Quilt A Jelly Roll Race Quilt
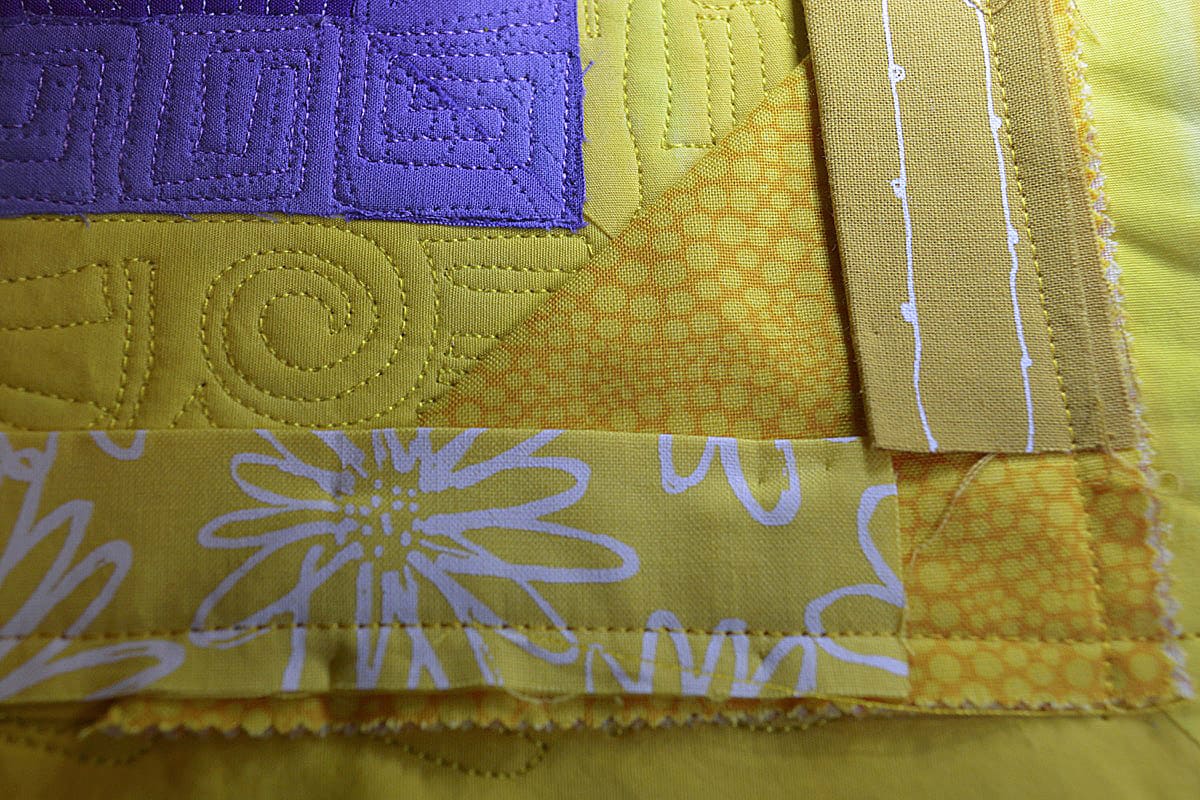
Patching Large Damaged Areas
When faced with large damaged areas on your quilt, such as significant tears or worn-out sections, patching becomes the ideal repair technique. Here’s a step-by-step guide to patching large damaged areas:
- Start by selecting a fabric patch that closely matches the color, pattern, and texture of the original quilt fabric. You can use a fabric scrap from the quilt itself or find a suitable match at a fabric store.
- Measure and cut the fabric patch, making sure it is slightly larger than the damaged area. This extra margin will allow you to secure the patch more effectively.
- If necessary, pin the patch to the backside of the quilt, aligning it with the damaged area on the front side. This will help hold the patch in place during the stitching process.
- Thread a needle with a color-matching thread and knot the end.
- Starting on one edge of the patch, sew along the perimeter using small, even stitches. Make sure to catch both the patch fabric and the quilt fabric.
- Continue stitching around the entire patch until you reach the starting point. Make a few additional stitches to secure the thread.
- If desired, you can add decorative stitching or embroidery to further secure the patch and blend it with the surrounding quilt design.
- Knot the thread on the backside of the quilt, close to the patch, and trim any excess thread.
- On the front side of the quilt, gently press the patch area with a warm iron on a low heat setting to flatten any wrinkles or creases.
Patching large damaged areas requires extra care and precision to ensure that the patch seamlessly blends with the rest of the quilt. Take your time to accurately align the patch, secure it with sturdy stitches, and press it to achieve a smooth and professional finish.
Remember to consider the overall design and pattern of your quilt when selecting and positioning the fabric patch. Ideally, the patch should be inconspicuous and complement the quilt’s aesthetic.
By following these steps, you can successfully patch large damaged areas on your quilt, revitalizing it and extending its lifespan.
When repairing a quilt, match the fabric and thread color as closely as possible to the original quilt to ensure a seamless repair. Use a small, tight stitch to secure the patch in place.
Reattaching Loose Seams
Over time, the seams of a quilt can become loose due to regular usage or improper handling. Reattaching loose seams is an essential step in maintaining the structural integrity of your quilt. Here’s a guide on how to reattach loose seams:
- Inspect the quilt and identify the loose seams. Look for any areas where the fabric is separating or the stitches are unraveling.
- If the seam is partially undone, gently pull the fabric back in place, aligning the edges together.
- Thread a needle with a matching thread and knot the end.
- Starting from one end of the loose seam, carefully insert the needle through both layers of fabric, making sure to catch the frayed edges of the seam.
- Bring the needle back up through the fabric, slightly offset from the initial stitch, and pull the thread gently to tighten the seam.
- Continue stitching along the length of the loose seam, using a basic running stitch or a backstitch for added strength.
- If needed, use sewing pins or fabric clips to hold the fabric in place as you stitch.
- When you reach the end of the seam, make a few extra stitches to secure the thread.
- On the backside of the quilt, knot the thread and trim any excess.
- For added reinforcement, you can sew a second line of stitching parallel to the loose seam.
- Press the reattached seam gently with a warm iron to flatten any wrinkles or creases.
When reattaching loose seams, it is important to use a thread that matches the color of the quilt fabric to ensure a seamless repair. Take your time and work carefully to ensure that the stitches are secure and even.
If the loose seam is in an area that is under tension, such as the edge of the quilt or a high-stress area, consider reinforcing it further by stitching along both sides of the seam.
By reattaching loose seams promptly, you can prevent further damage and preserve the structural integrity of your quilt for years to come.
Reinforcing Weak Areas
Over time, certain areas of a quilt may become weaker due to repeated use or the natural aging of the fabric. Reinforcing these weak areas is crucial to prevent further damage and ensure the longevity of your quilt. Here’s a step-by-step guide on how to reinforce weak areas:
- Identify the weak areas of the quilt by examining the fabric for signs of thinning, fraying, or wear.
- Cut a piece of fabric slightly larger than the weak area to use as a reinforcement patch. Choose a fabric that is similar in color, pattern, and weight to the original quilt fabric.
- Place the reinforcement patch on the backside of the weak area, aligning it with the damaged portion on the front.
- Thread a needle with a matching thread and knot the end.
- Starting at one edge of the weak area, stitch through both layers of fabric, securing the reinforcement patch in place. Use small, even stitches to ensure a strong hold.
- Continue stitching along the perimeter of the weak area, going around the entire patch.
- Make a few extra stitches at the end to secure the thread, and then knot and trim any excess.
- On the front side of the quilt, gently press the reinforced area with a warm iron on a low heat setting to flatten any creases.
Reinforcing weak areas helps distribute the stress and strain on the quilt, preventing further damage and ensuring its structural integrity. By adding a reinforcement patch, you provide an extra layer of support to the weakened fabric.
If multiple weak areas are present, repeat the above steps for each one, using a separate reinforcement patch for each area.
Remember, maintaining the balance between strength and aesthetics is crucial. Choose a reinforcement fabric that closely matches the original quilt fabric to blend seamlessly with the overall design.
By reinforcing weak areas, you can extend the lifespan of your quilt and enjoy its beauty and functionality for many more years to come.
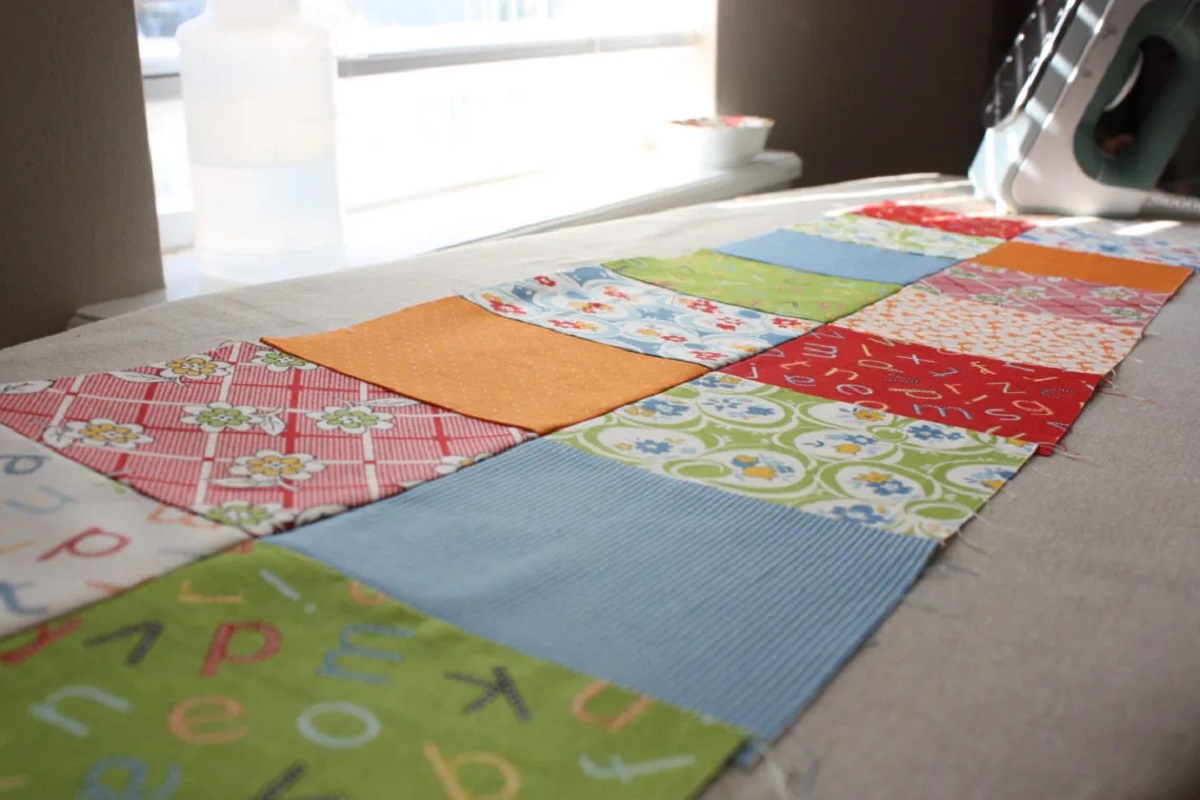
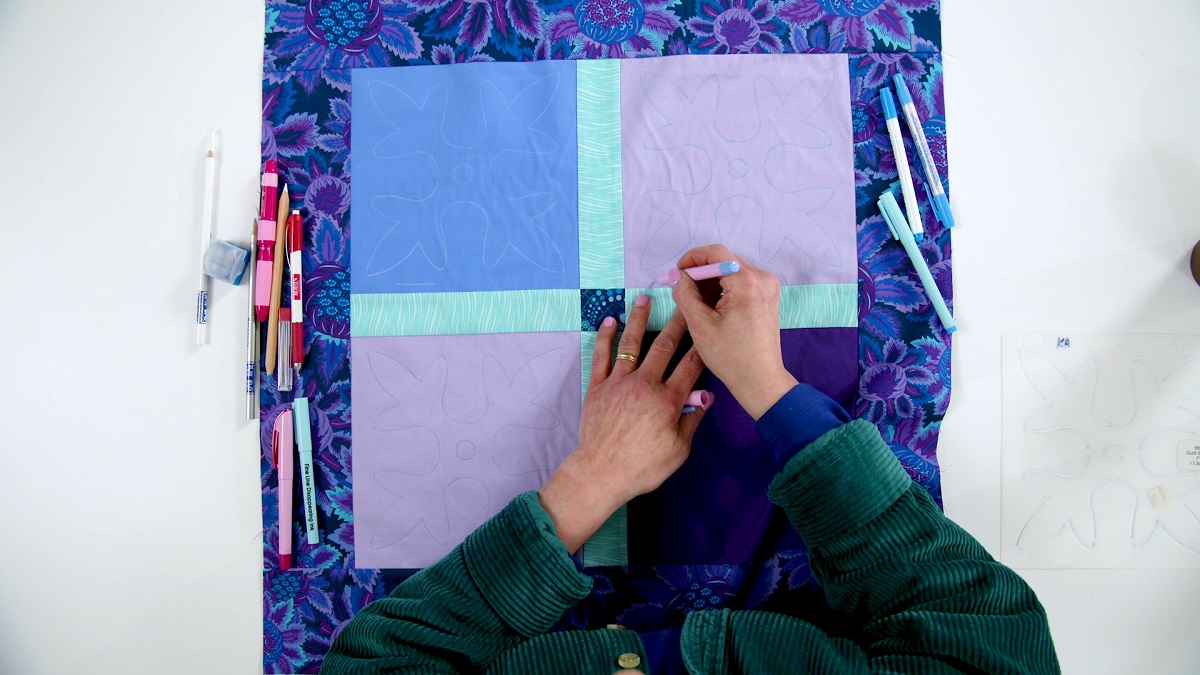
Replacing Missing Quilt Blocks
Discovering missing quilt blocks can be disheartening, but fear not! With a bit of creativity and careful craftsmanship, you can replace those missing blocks and restore the quilt to its original beauty. Here’s a step-by-step guide on how to replace missing quilt blocks:
- Assess the quilt to determine the size and design of the missing block. Take note of the colors, patterns, and fabrics used in the quilt.
- If you have spare fabric from the original quilt, check if you have enough to create a replacement block. Alternatively, find fabrics that closely match the original design at a fabric store.
- Measure the surrounding quilt blocks to ensure your replacement block will match in size.
- Sketch out the design of the missing block on paper, taking into account the quilt’s overall pattern and color scheme.
- Cut out fabric pieces according to your sketch, ensuring they match the size and shape of the missing block.
- Pin the fabric pieces together to form the replacement block, aligning the seams precisely.
- Using a sewing machine or hand stitching, sew the fabric pieces together to create the replacement block.
- Press the block with a warm iron to flatten any wrinkles or creases.
- Carefully place the replacement block in the quilt, aligning it with the surrounding blocks. Pin it in place to secure it temporarily.
- Stitch the replacement block to the quilt using a needle and thread, making sure to match the existing quilting pattern and seam allowances.
- Once the replacement block is securely attached, remove the pins and press the entire quilt to ensure a smooth and uniform appearance.
Replacing a missing quilt block requires attention to detail and creativity. By carefully selecting fabrics that match the original design and meticulously recreating the block, you can seamlessly integrate the replacement into the quilt.
If you are not confident in creating a replacement block yourself, consider seeking the assistance of a local quilt shop or a skilled quilter who can help you with the process.
By replacing missing quilt blocks, you can restore the quilt’s visual appeal and maintain its integrity as a cherished piece of craftsmanship.
Read more: How To Quilt Placemats
Finishing Touches: Pressing and Cleaning
After completing the necessary repairs and replacements on your quilt, it’s time to give it those final finishing touches. Pressing and cleaning the quilt will not only enhance its appearance but also ensure that it is fresh and ready for use or display. Here are the steps to take for the finishing touches:
- Set up your ironing board and plug in the iron, adjusting it to the appropriate setting for your quilt fabric.
- First, gently vacuum or brush off any loose dirt or debris from the quilt’s surface.
- Starting on one corner of the quilt, press the iron onto the fabric with light pressure for a few seconds, then lift and move to the next section.
- Continue pressing the entire surface of the quilt, working in small sections, until all wrinkles and creases are eliminated.
- Pay extra attention to the repaired areas, ensuring that they lie flat and blend seamlessly with the rest of the quilt.
- If your quilt is made of washable fabric, check the care instructions and follow them to clean the quilt. If it’s a delicate or antique quilt, consider consulting a professional quilt conservator for cleaning advice.
- If spot cleaning is necessary, use a gentle fabric cleaner and a soft cloth to gently dab the stained area, taking care not to rub or scrub aggressively.
- Allow the quilt to air dry or follow the recommended drying instructions in the quilt’s care guidelines.
- Once the quilt is completely dry, give it a final inspection to ensure that all repairs and replacements are secure and that the quilt is clean and wrinkle-free.
Proper pressing and cleaning give your quilt a fresh, polished look and protect your hard work in repairing and restoring it. Taking the time to ensure the quilt is clean and well-pressed will also help preserve its beauty and longevity.
Remember to always handle your quilt with clean hands and store it in a cool, dry place when not in use to prevent any further damage or deterioration.
By following these finishing touch steps, you can be proud of your repaired and clean quilt, ready to showcase its beauty and enjoy it for years to come.
Conclusion
Repairing a quilt may seem like a daunting task, but with patience, care, and the right techniques, you can breathe new life into your beloved quilt. Whether you’re addressing small holes, tears, loose seams, weak areas, or missing quilt blocks, the process of restoring your quilt requires a combination of skill and creativity.
By assessing the damage, gathering the necessary supplies, and preparing the quilt for repairs, you set yourself up for success. From there, you can follow step-by-step instructions to repair small holes and tears, patch large damaged areas, reattach loose seams, reinforce weak areas, and replace missing quilt blocks. Each repair serves to not only revive the quilt’s physical condition but also enhance its aesthetic value.
Finishing touches, such as pressing the quilt and ensuring it is clean, provide the final polish to your efforts. By taking these extra steps, you transform your repaired quilt into a pristine piece of art, ready to be cherished for generations.
Remember, the key to effectively repairing a quilt is to approach the process with patience, attention to detail, and a genuine love for the craft. As you mend and restore your quilt, you are not only preserving its history but also honoring the time, effort, and skill that went into creating it.
So, gather your supplies, assess the damage, and embark on the journey of repairing your quilt. With determination and a touch of creativity, you can breathe new life into your cherished quilt, ensuring that it continues to grace your home with its beauty and warmth for years to come.
Frequently Asked Questions about How To Repair A Quilt
Was this page helpful?
At Storables.com, we guarantee accurate and reliable information. Our content, validated by Expert Board Contributors, is crafted following stringent Editorial Policies. We're committed to providing you with well-researched, expert-backed insights for all your informational needs.


0 thoughts on “How To Repair A Quilt”