Articles
How To Build Hog Wire Fence
Modified: May 6, 2024
Discover the best articles on how to build a hog wire fence. Gain valuable insights and step-by-step instructions for constructing a sturdy and attractive hog wire fence for your property.
(Many of the links in this article redirect to a specific reviewed product. Your purchase of these products through affiliate links helps to generate commission for Storables.com, at no extra cost. Learn more)
Introduction
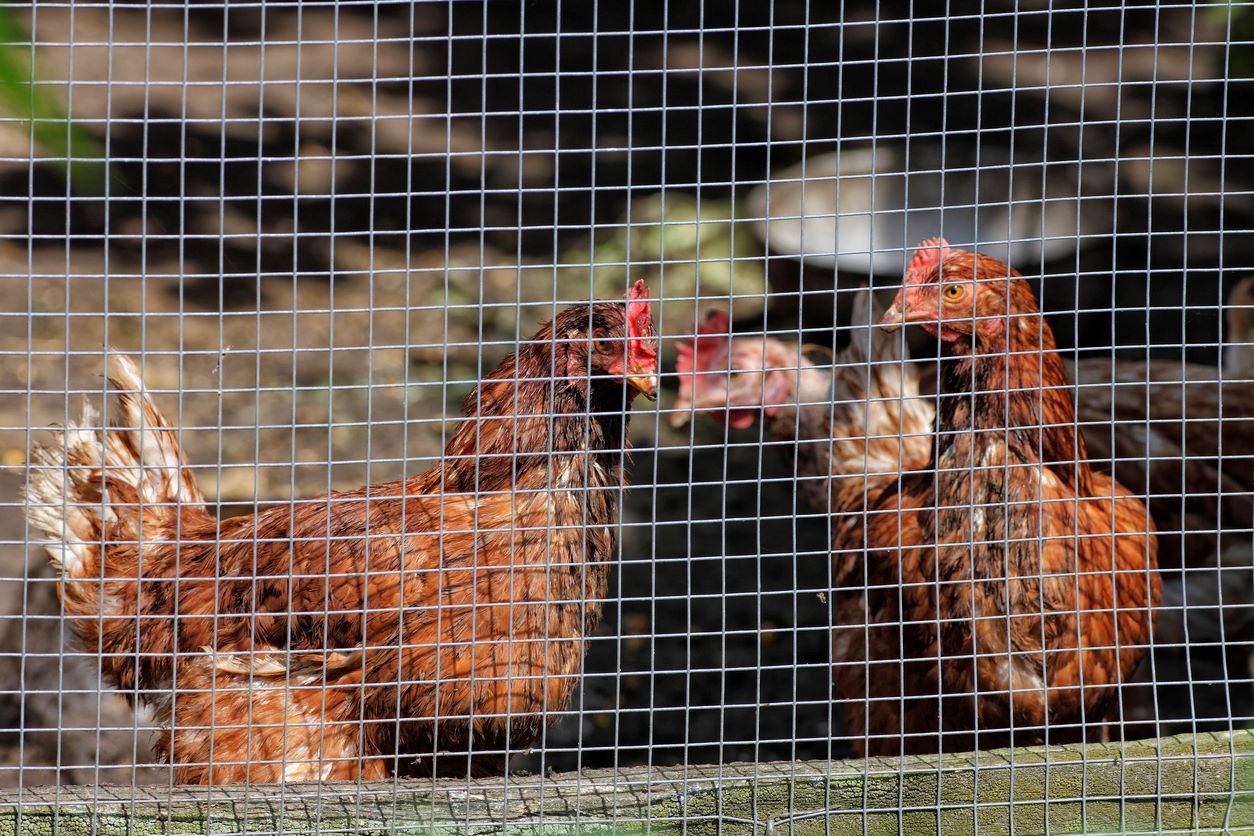
Building a hog wire fence is a versatile and practical solution for creating a secure enclosure for your property. Whether you’re looking to keep livestock contained, protect your garden from animals, or create a distinctive boundary for your backyard, a hog wire fence can be the perfect choice.
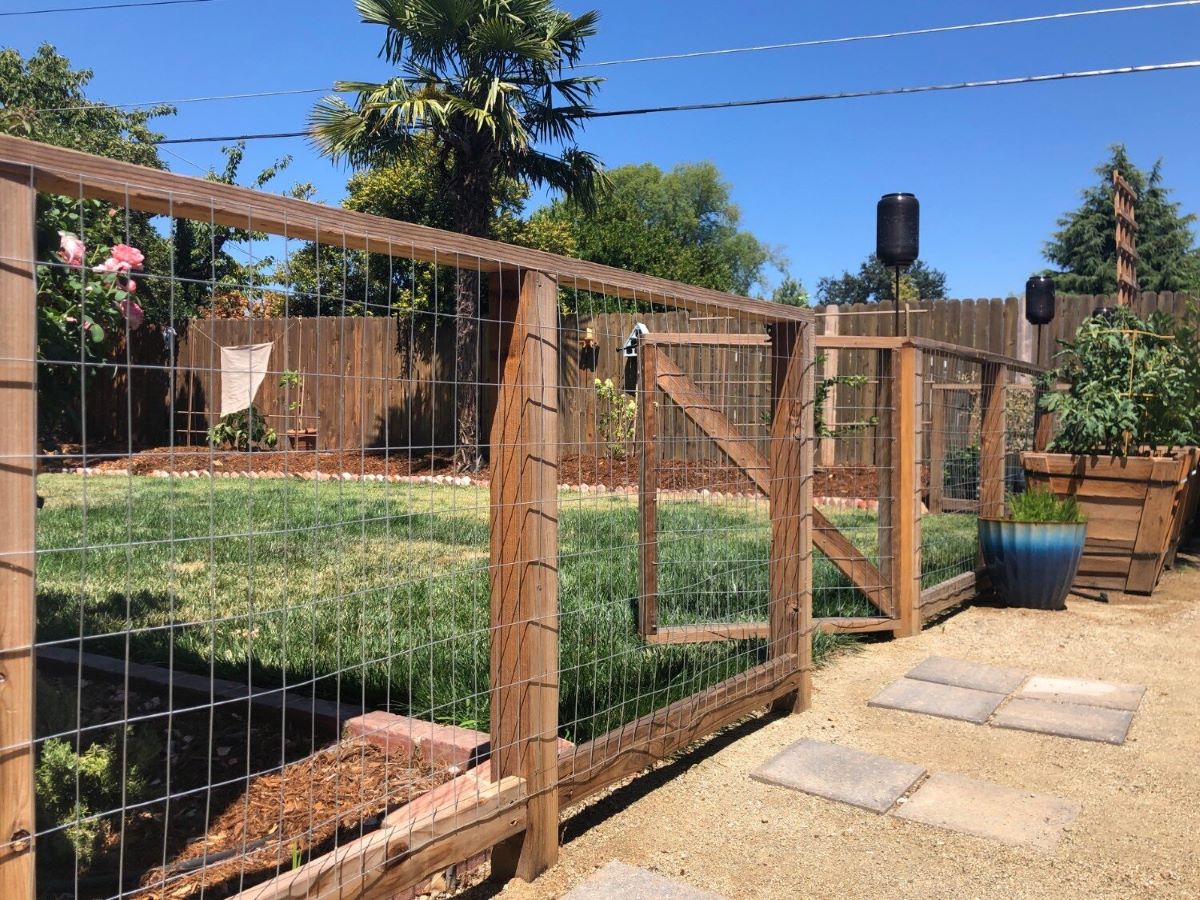
Hog wire fences, also known as livestock panels or cattle panels, are composed of sturdy wire mesh with square or rectangular openings. They provide a durable and attractive barrier that is both functional and aesthetically pleasing. Additionally, hog wire fences are relatively easy to install and can be a cost-effective option compared to traditional fencing materials.
In this article, we will guide you through the step-by-step process of building a hog wire fence. From selecting the right materials to adding gates and finishing touches, we’ll cover everything you need to know to successfully complete your project.
So, let’s dive in and discover how to build a hog wire fence that will not only meet your security needs but also enhance the overall look of your property.
Key Takeaways:
- Building a hog wire fence requires careful planning, quality materials, and precise installation. From selecting the right components to adding gates and finishing touches, this versatile fencing solution can enhance both security and aesthetics.
- A well-constructed hog wire fence not only serves its practical purpose but also adds charm and character to your property. By following the step-by-step guide, you can confidently create a durable and visually appealing enclosure that meets your specific needs.
Read more: How To Build Wire Fence
Choosing the Right Materials
Before you start building your hog wire fence, it’s crucial to choose the right materials to ensure durability and effectiveness. Here are the key components you’ll need:
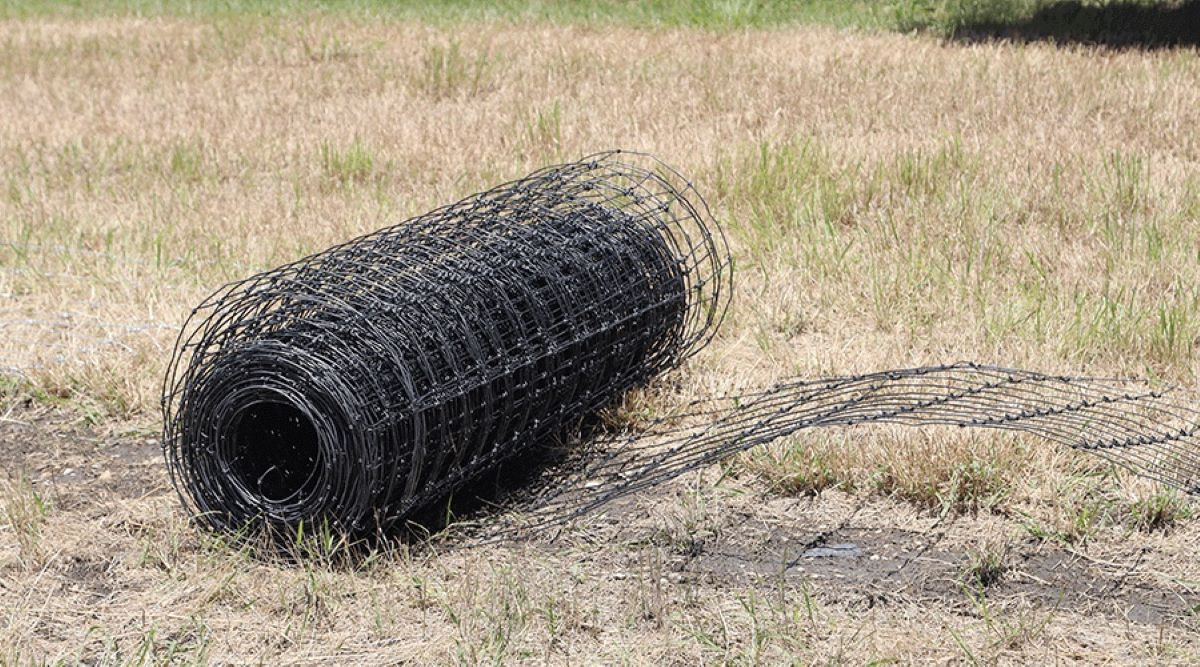
- Hog Wire Panels: The central element of a hog wire fence is the wire mesh panels. These panels come in various sizes and gauges, with the most common being 4-gauge or 6-gauge. Opt for galvanized steel panels as they are resistant to rust and corrosion, ensuring a long-lasting fence. Consider the height and length of your fence, as well as the size of the openings in the mesh, depending on the specific purpose of your fence.
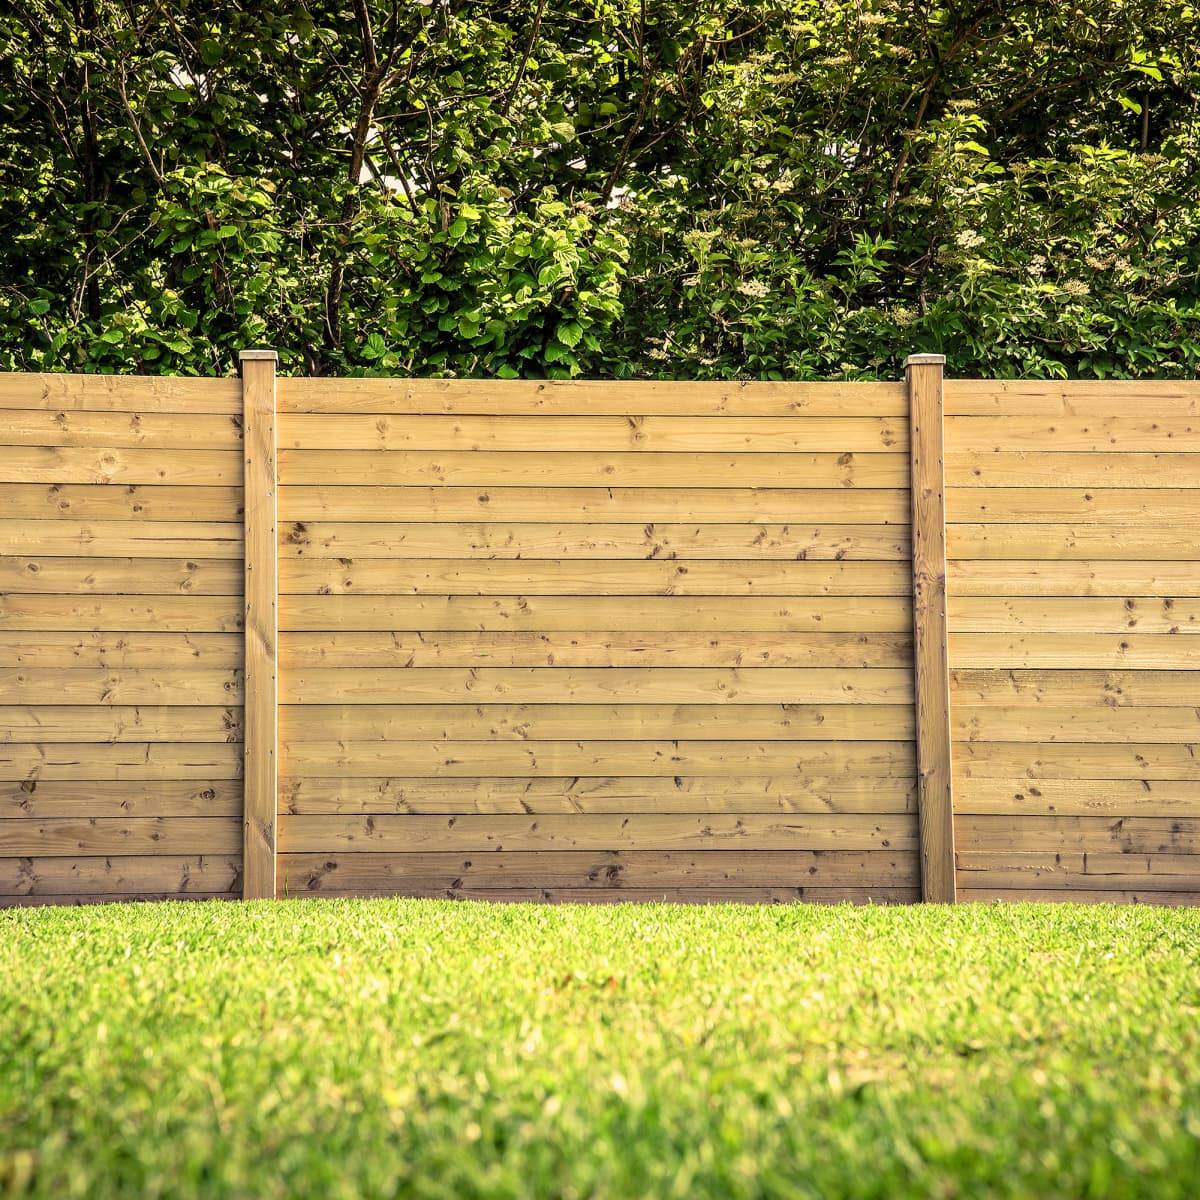
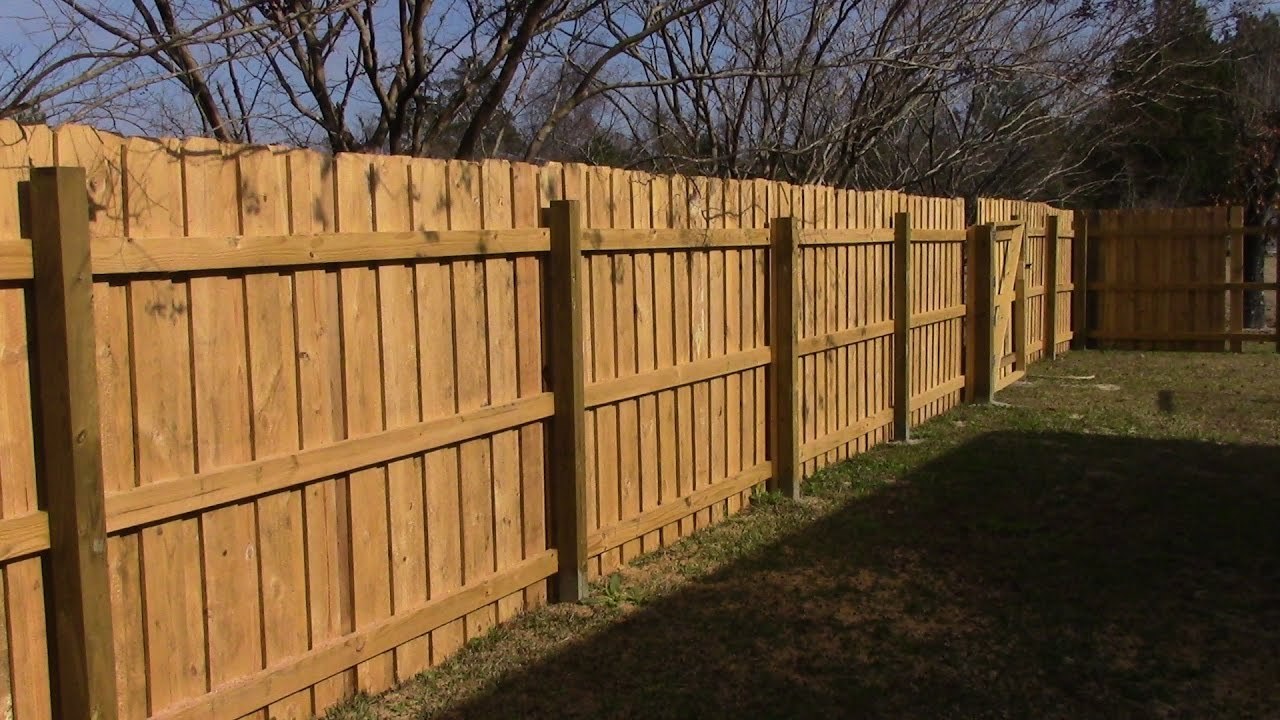
- Posts: The posts are essential for providing stability and support for your hog wire fence. You can choose between wooden or metal posts, based on your preference and the aesthetic you want to achieve. Make sure the posts are pressure-treated or galvanized to protect against rot and corrosion. Consider the spacing between the posts, which will depend on the length of the panels and the terrain of your property.
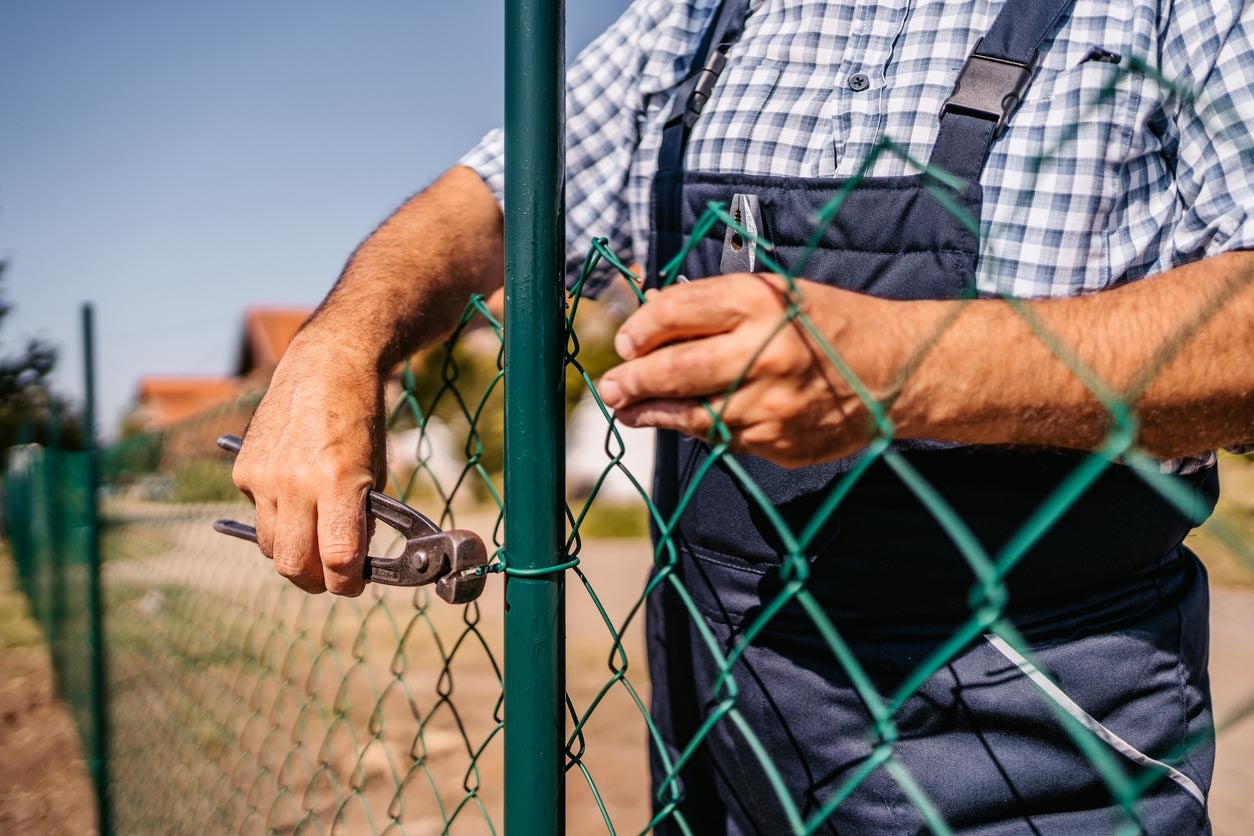
- Fasteners: To securely attach the hog wire panels to the posts, you will need appropriate fasteners. Stainless steel screws or hog rings work well for this purpose. Ensure the fasteners are rust-resistant to maintain the integrity of your fence over time.
- Gates: If you require access points in your hog wire fence, you’ll need to install gates. Choose sturdy gate materials that are compatible with your fence panels, such as metal or wood. Consider the size and style of the gate, ensuring it blends well with the overall look of your fence.
- Tools: To construct your hog wire fence, you’ll need a variety of tools, including a measuring tape, level, post hole digger or auger, wire cutters, and a drill or driver. Having these tools on hand will make the installation process smoother and more efficient.
It’s important to invest in quality materials that are suitable for the specific purpose of your hog wire fence. This will ensure that your fence not only looks great but also stands the test of time.
Measuring and Planning
Measuring and planning are essential steps in building a hog wire fence to ensure accurate installation and proper alignment. Follow these steps to get started:
- Mark the Perimeter: Begin by determining the layout and marking the perimeter where you want to install the hog wire fence. Use stakes and string to create a clear outline of the fence line.
- Measure the Length and Height: Measure the total length of the fence line to determine the number of panels and posts you’ll need. Consider the desired height of the fence, which will depend on its purpose. For example, if you’re building a livestock enclosure, taller panels may be needed.
- Space the Posts: Determine the spacing between the posts based on the width of the hog wire panels. Typically, posts are spaced 8-10 feet apart, but adjust according to the length of your panels and the contour of your land.
- Mark Post Locations: Mark the spots where the fence posts will be placed along the fence line. Use a measuring tape and ensure the spacing between the posts is consistent.
- Plan Gate Placement: If you’re including gates in your fence, plan their placement to ensure convenient access. Measure and mark the locations accordingly, keeping in mind the size of the gates.
- Consider the Terrain: Take into account the terrain of your property as you plan the placement of the hog wire fence. Adjust the height and alignment of the fence to accommodate slopes or uneven ground for a seamless and professional-looking installation.
Take the time to carefully measure and plan the layout of your hog wire fence before starting the installation process. This will help you streamline the construction and avoid costly mistakes or rework later on.
Setting the Fence Posts
The fence posts play a crucial role in providing stability and support to your hog wire fence. Follow these steps to properly set the fence posts:
- Mark Post Hole Locations: Using the previously marked post locations, mark the exact spots where the fence posts will be installed. Ensure that the markings are clear and easily visible.
- Dig Post Holes: With a post hole digger or auger, dig holes at each marked location. The depth of the holes should be approximately one-third the length of the fence post, with a diameter that accommodates the size of the post.
- Insert the Posts: Place the fence posts into the holes, ensuring they are upright and aligned with the string or fence line. Use a level to ensure they are plumb (vertical) and adjust as necessary.
- Secure the Posts: Fill the holes around the fence posts with concrete or gravel. This will provide stability and prevent the posts from shifting over time. Follow the manufacturer’s instructions for mixing and pouring the concrete. Use a level to ensure that the posts remain straight and plumb while the concrete is setting.
- Allow for Drying Time: Give the concrete ample time to dry and set, as specified by the manufacturer. This will ensure that the fence posts are firmly secured in place.
Setting the fence posts correctly is crucial for the overall stability and longevity of your hog wire fence. Take the necessary time and care to ensure that the posts are properly positioned and firmly anchored in the ground.
When building a hog wire fence, make sure to use sturdy corner and end posts to support the tension of the wire. This will help prevent sagging and ensure the fence remains secure.
Installing the Hog Wire Panels
Once the fence posts are set and secure, it’s time to install the hog wire panels. Follow these steps for a successful installation:
- Measure and Cut the Panels: Measure the distance between two adjacent fence posts horizontally, and cut the hog wire panels to fit. Use wire cutters to trim the panels to the appropriate size.
- Position the Panels: Place the first cut panel between the two end fence posts. Ensure that the bottom of the panel is flush with the ground, especially if you’re aiming to contain small animals or prevent them from digging underneath.
- Secure the Panels: Use stainless steel screws or hog rings to attach the hog wire panels to the fence posts. Start at one end and work your way down, making sure that the panel is well-aligned and taut as you secure it.
- Continue Installing Panels: Move along the fence line, installing the remaining hog wire panels one by one. Use a level to ensure they are installed horizontally, and make any necessary adjustments to maintain a straight and uniform appearance.
- Overlap the Panels: If your fence line requires multiple panels to cover the desired length, overlap the edges by a few inches. This will provide added strength and stability to the fence and create a seamless look.
- Trim Excess Wire: Once all the panels are securely attached, trim any excess wire that extends beyond the fence posts. This will give your fence a clean and polished appearance.
Take your time during the installation process to ensure that the hog wire panels are properly fitted and securely attached to the fence posts. Attention to detail at this stage will result in a sturdy and visually appealing fence.
Read more: How To Build Woven Wire Fence
Securing the Panels to the Posts
Securing the hog wire panels to the fence posts is essential to ensure the stability and integrity of your hog wire fence. Follow these steps to securely fasten the panels:
- Gather the Necessary Tools: Make sure you have the appropriate tools on hand, such as a drill or driver, stainless steel screws, or hog rings.
- Position the Panels: Start by positioning the first hog wire panel between the two end posts. Ensure that it is aligned properly and flush with the ground.
- Pre-Drill Holes: Depending on the fastening method you choose, pre-drill holes in the hog wire panels and fence posts to prevent the wood from splitting or the wire from bending.
- Attach the Panels: Use stainless steel screws or hog rings to attach the panels to the fence posts. If using screws, place them through the pre-drilled holes and into the wood securely. If using hog rings, use a hog ring plier to clamp the rings around the wire and the fence post.
- Secure the Panels at Regular Intervals: To ensure the panels are properly secured, place fasteners at regular intervals along the height of the fence. This will prevent the panels from sagging or coming loose over time.
- Check for Stability: After attaching each panel, check for stability by gently pushing or pulling on the wire mesh. If the panels are firmly fixed to the posts, there should be minimal movement.
Properly securing the hog wire panels to the fence posts is crucial for maintaining the overall strength and longevity of your fence. Take your time to ensure each panel is securely fastened at regular intervals, providing a solid and reliable enclosure for your property.
Adding Gates and Finishing Touches
Adding gates to your hog wire fence provides convenient access points while enhancing the functionality and aesthetics of your enclosure. Follow these steps to install gates and add finishing touches to your fence:
- Select Gate Materials: Choose gate materials that are compatible with your hog wire fence, such as metal or wood. Consider the style and design that best suits your fence and the overall look of your property.
- Measure and Cut Gate Materials: Measure the desired width for your gate, taking into account the clearance needed for opening and closing. Cut the gate materials to the appropriate size, ensuring they align properly with the fence panels.
- Install Gate Posts: Set additional fence posts specifically for the gate installation. Dig holes for the gate posts and secure them firmly in place with concrete or gravel, following the same process as for the other fence posts.
- Attach Hinges and Latches: Install hinges on one side of the gate and attach them to the gate posts. Make sure the hinges are sturdy and can support the weight of the gate. Additionally, install a latch or lock mechanism on the other side of the gate for secure closure.
- Hang the Gate: With the hinges and latch in place, hang the gate onto the hinges. Ensure it swings freely and aligns properly with the rest of the fence line.
- Add Finishing Touches: To enhance the appearance and safety of your hog wire fence, consider adding decorative elements or protective coatings. You can paint or stain the fence and gate materials to match your desired aesthetic. Additionally, applying a weather-resistant sealant or coating will help protect the fence from the elements and extend its lifespan.
Adding gates and finishing touches to your hog wire fence not only increases its functionality but also adds a polished and customized look to your property. Take care in selecting and installing the gates, ensuring they are securely attached and function smoothly.
With the gates in place and the finishing touches applied, your hog wire fence is now complete. Step back and admire your handiwork, knowing that you have created a durable and visually appealing enclosure that serves its purpose.
Conclusion
Building a hog wire fence is a rewarding project that can greatly enhance the security and aesthetics of your property. With the right materials, careful planning, and proper installation techniques, you can create a durable fence that meets your specific needs.
Choosing the right materials, such as galvanized steel panels and sturdy posts, ensures the longevity and strength of your hog wire fence. Accurate measurements and careful planning help to create a fence that is properly aligned and visually appealing. Setting the fence posts securely in the ground provides a solid foundation for the fence structure.
Installing the hog wire panels and securing them to the posts ensures the stability and effectiveness of the fence. Adding gates and finishing touches, such as decorative elements and protective coatings, adds a personalized touch to your fence and completes the overall look.
Throughout the process, it’s important to maintain a balance between functionality and aesthetics. A well-built hog wire fence not only serves its purpose of keeping livestock contained or protecting your garden but also adds charm and character to your property.
By following the step-by-step guide provided in this article, you’ll be able to confidently tackle the task of building a hog wire fence. Remember to take your time, pay attention to detail, and prioritize safety throughout the construction process.
Now that you have the knowledge and understanding of how to build a hog wire fence, it’s time to put your skills into action. Enjoy the satisfaction of creating a beautiful and functional enclosure that will serve you well for years to come.
Now that you've mastered building a hog wire fence, why not tackle more outdoor projects? Our guide on do-it-yourself ideas offers exciting opportunities for enhancing your outdoor space. From simple additions that transform gardens to full-scale building projects, this resource is packed with inspiration for all skill levels. Roll up your sleeves and let creativity bloom as you bring these fantastic ideas to life!
Frequently Asked Questions about How To Build Hog Wire Fence
Was this page helpful?
At Storables.com, we guarantee accurate and reliable information. Our content, validated by Expert Board Contributors, is crafted following stringent Editorial Policies. We're committed to providing you with well-researched, expert-backed insights for all your informational needs.


0 thoughts on “How To Build Hog Wire Fence”