
Articles
How To Fix HVAC Refrigerant Leak
Modified: December 7, 2023
Get expert advice on how to fix HVAC refrigerant leaks. Read our informative articles and learn the best practices for repairing refrigerant leaks in your HVAC system.
(Many of the links in this article redirect to a specific reviewed product. Your purchase of these products through affiliate links helps to generate commission for Storables.com, at no extra cost. Learn more)
Introduction
Having a well-functioning HVAC system is crucial for maintaining a comfortable and efficient indoor environment. However, one common issue that many homeowners face is a refrigerant leak in their HVAC system. A refrigerant leak not only reduces the cooling or heating efficiency of the system but can also lead to costly repairs if left unresolved.
In this article, we will explore the causes, signs, and symptoms of a refrigerant leak in your HVAC system. We will also provide you with a step-by-step guide on how to fix a refrigerant leak, ensuring that your HVAC system operates at its optimum capacity. So, let’s dive in and learn how to address this common issue and keep your home comfortable year-round.
Key Takeaways:
- Identifying and addressing HVAC refrigerant leaks promptly can prevent increased energy bills, system strain, and potential compressor damage, ensuring efficient and cost-effective operation.
- Equipping yourself with the right tools, following safety precautions, and seeking professional help when needed are essential for successfully fixing HVAC refrigerant leaks and maintaining system performance.
Understanding HVAC Refrigerant Leaks
Before we delve into how to fix an HVAC refrigerant leak, it’s important to understand what a refrigerant leak is and how it can affect your system. Refrigerant is a vital component in your HVAC system that helps facilitate the transfer of heat, enabling your system to cool or heat the air in your home.
An HVAC refrigerant leak occurs when there is a break or damage in the refrigerant lines, coils, or components, causing the refrigerant to escape from the system. This can happen over time due to wear and tear, corrosion, or even improper installation of the system.
When your HVAC system has a refrigerant leak, it puts a strain on the system and can lead to several issues. Firstly, a refrigerant leak reduces the amount of refrigerant available in the system, which in turn decreases its cooling or heating efficiency. This means that your HVAC system will have to work harder and longer to achieve the desired temperature, leading to increased energy consumption and higher utility bills.
Additionally, a refrigerant leak can cause your HVAC system to struggle in maintaining a consistent temperature throughout your home. As the refrigerant leaks out, certain areas may not receive adequate cooling or heating, resulting in hot or cold spots. This not only compromises your comfort but also puts excessive strain on the system, potentially leading to premature wear and tear.
Lastly, a refrigerant leak can cause damage to the compressor, which is a critical part of your HVAC system. The compressor is responsible for pressurizing the refrigerant and circulating it through the system. When the refrigerant levels are low due to a leak, the compressor can overwork and may even fail, requiring expensive repairs or replacement.
Now that we have an understanding of what an HVAC refrigerant leak is and its potential consequences, let’s explore the signs and symptoms that can help you identify if your system is experiencing a refrigerant leak.
Signs and Symptoms of a Refrigerant Leak
Recognizing the signs and symptoms of a refrigerant leak is crucial in identifying and addressing the issue before it escalates. Here are some common indicators that your HVAC system may be experiencing a refrigerant leak:
- Insufficient cooling or heating: If you notice that your HVAC system is struggling to cool or heat your home effectively, despite the thermostat being set correctly, it could be a sign of a refrigerant leak. The reduced refrigerant levels hinder the system’s ability to transfer heat efficiently, resulting in insufficient temperature control.
- Increased energy bills: A refrigerant leak forces your HVAC system to work harder and longer to achieve the desired temperature, leading to increased energy consumption. Keep an eye on your utility bills – if you notice a sudden spike in energy costs without any significant changes in your usage, it could be an indication of a refrigerant leak.
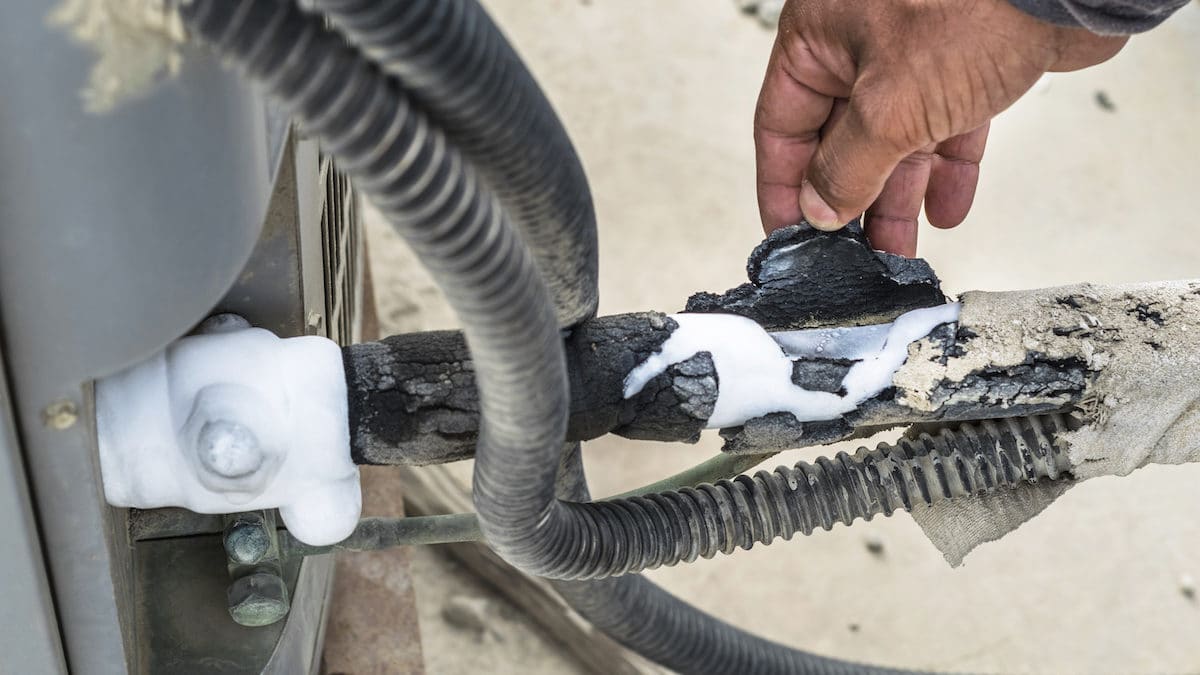
- Frozen evaporator coil: The evaporator coil is responsible for absorbing heat from the air in your home. When there’s a refrigerant leak, the reduced amount of refrigerant can cause the evaporator coil to freeze over. If you notice ice or frost accumulating on the coil, it’s a clear sign of a refrigerant leak.
- Audible hissing or bubbling sounds: A refrigerant leak can often result in the release of gas or liquid from the system, which may produce hissing or bubbling sounds. If you hear these noises coming from your HVAC unit or refrigerant lines, it’s important to investigate further to determine if a leak is present.
- Longer cooling or heating cycles: Another indication of a refrigerant leak is extended cooling or heating cycles. Since the system doesn’t have sufficient refrigerant to transfer heat effectively, it takes longer to achieve the desired temperature. If you notice that your HVAC system is running for unusually long periods, it’s worth checking for a refrigerant leak.
- Strong, unpleasant odors: In some cases, a refrigerant leak can emit a strong, pungent odor. If you detect any unusual smells, such as a chemical or sweet scent, near your HVAC unit or vents, it could be an indication of a refrigerant leak.
If you experience any of these signs or symptoms, it’s important to take action promptly to prevent further damage and address the refrigerant leak. In the next section, we will discuss the tools and materials you’ll need to fix an HVAC refrigerant leak.
Regularly check and maintain your HVAC system to catch refrigerant leaks early. Look for oil stains, hissing sounds, or decreased cooling efficiency as signs of a leak.
Tools and Materials Needed for Fixing a Refrigerant Leak
Fixing an HVAC refrigerant leak requires the right tools and materials to ensure a proper and effective repair. Here are the essential items you’ll need:
- Leak Detection Kit: A leak detection kit is crucial for identifying the location of the refrigerant leak. It typically includes a leak detector, dye, and UV light. The dye is added to the system, and the UV light helps detect any leaks by illuminating the dye.
- Refrigerant Leak Repair Kit: A refrigerant leak repair kit contains all the necessary materials to fix the leak. It usually includes a sealant or epoxy to repair small leaks, replacement O-rings or gaskets, and refrigerant recharge hoses.
- Safety Gloves and Goggles: It’s important to protect yourself while working with refrigerant. Safety gloves and goggles will safeguard your hands and eyes from any potential harm during the repair process.
- Wrenches or Spanners: Depending on the specific components you need to access, you may require adjustable wrenches or spanners to loosen and tighten connections securely.
- Refrigerant Recovery System: If the refrigerant levels in your HVAC system are low due to a leak, you may need a refrigerant recovery system to remove the existing refrigerant safely before making any repairs.
- Replacement Refrigerant: Once the leak is fixed, you’ll need to recharge your HVAC system with the appropriate type and amount of refrigerant. It’s crucial to consult the manufacturer’s guidelines or hire a professional to ensure you use the correct refrigerant and recharge the system properly.
- Repair Manual or Online Resources: It’s always helpful to have a repair manual specific to your HVAC system or access to reliable online resources that provide step-by-step instructions for fixing refrigerant leaks. These resources will offer guidance and ensure you follow the correct procedures and safety precautions.
Before proceeding with the repair, ensure that you have all the necessary tools and materials readily available. This will make the process more efficient and minimize any potential downtime of your HVAC system. Now that you’re equipped with the required tools, let’s move on to the step-by-step guide for fixing an HVAC refrigerant leak.
Step-by-Step Guide to Fixing an HVAC Refrigerant Leak
Fixing an HVAC refrigerant leak requires careful attention to detail and following specific steps to ensure a successful repair. Here is a step-by-step guide to help you fix a refrigerant leak in your HVAC system:
- Safety Precautions: Before starting any repair work, ensure that the power to the HVAC system is turned off. Also, wear safety gloves and goggles to protect yourself from potential hazards.
- Identify the Leak: Use a leak detection kit to identify the location of the refrigerant leak. Follow the instructions provided with the kit to add dye to the system and use the UV light to detect any leaks. Take note of the exact location of the leak for repair purposes.
- Recover Refrigerant (If Necessary): If the refrigerant levels in your HVAC system are low due to the leak, use a refrigerant recovery system to remove the existing refrigerant safely and store it for later reuse or proper disposal.
- Prepare the Repair Area: Clean the area around the leak to remove any debris or contaminants. This will ensure a clean and secure repair. Use a cloth or a suitable cleaning agent to wipe away any residue.
- Repair the Leak: Depending on the size and severity of the leak, you have a few options for repairing it. For small leaks, use a refrigerant leak repair kit that includes a sealant or epoxy. Apply the sealant or epoxy to the leak area, following the manufacturer’s instructions. For larger or more complex leaks, it’s best to consult with a qualified HVAC technician.
- Replace Seals or Gaskets: In some cases, the leak may be occurring due to faulty seals or gaskets. If this is the situation, use the replacement seals or gaskets from your refrigerant leak repair kit to ensure a proper seal. Follow the manufacturer’s guidelines for installation.
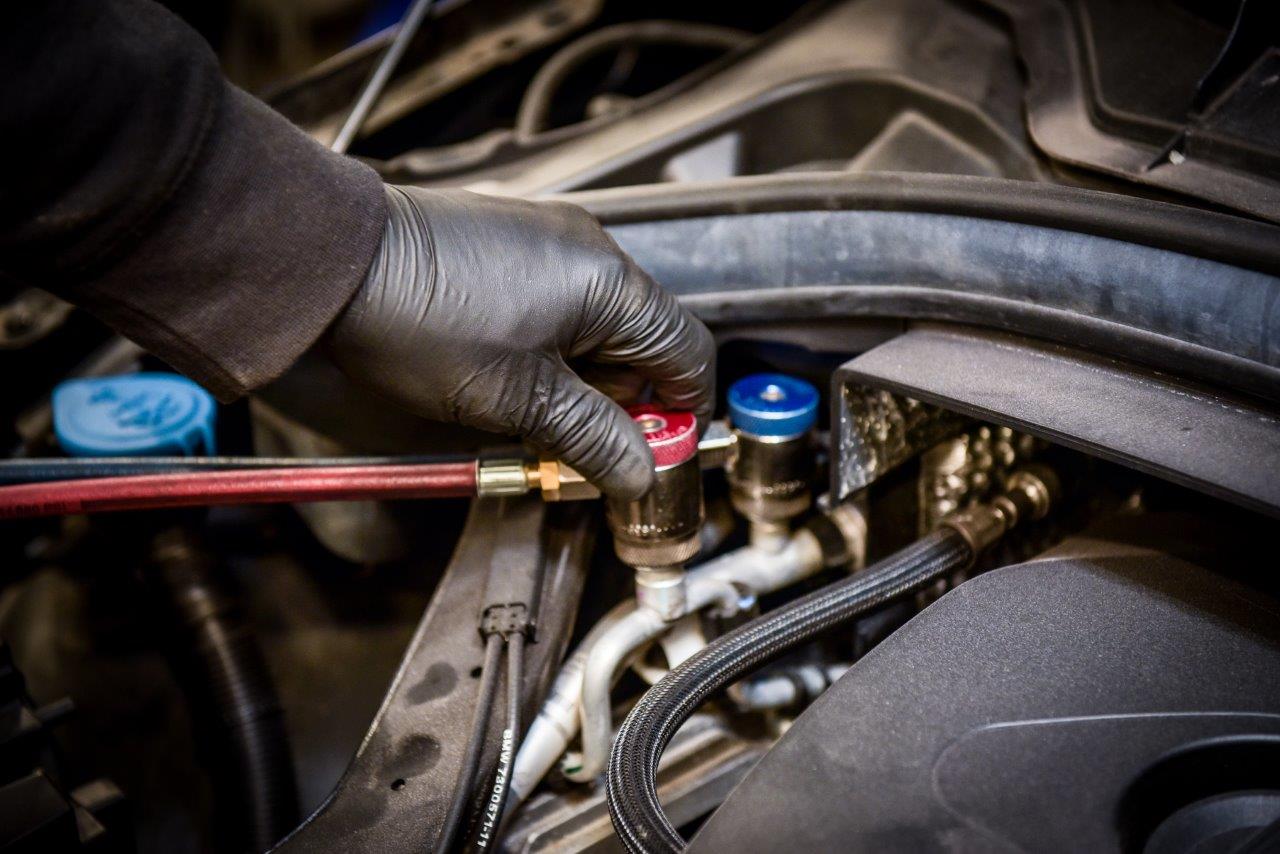
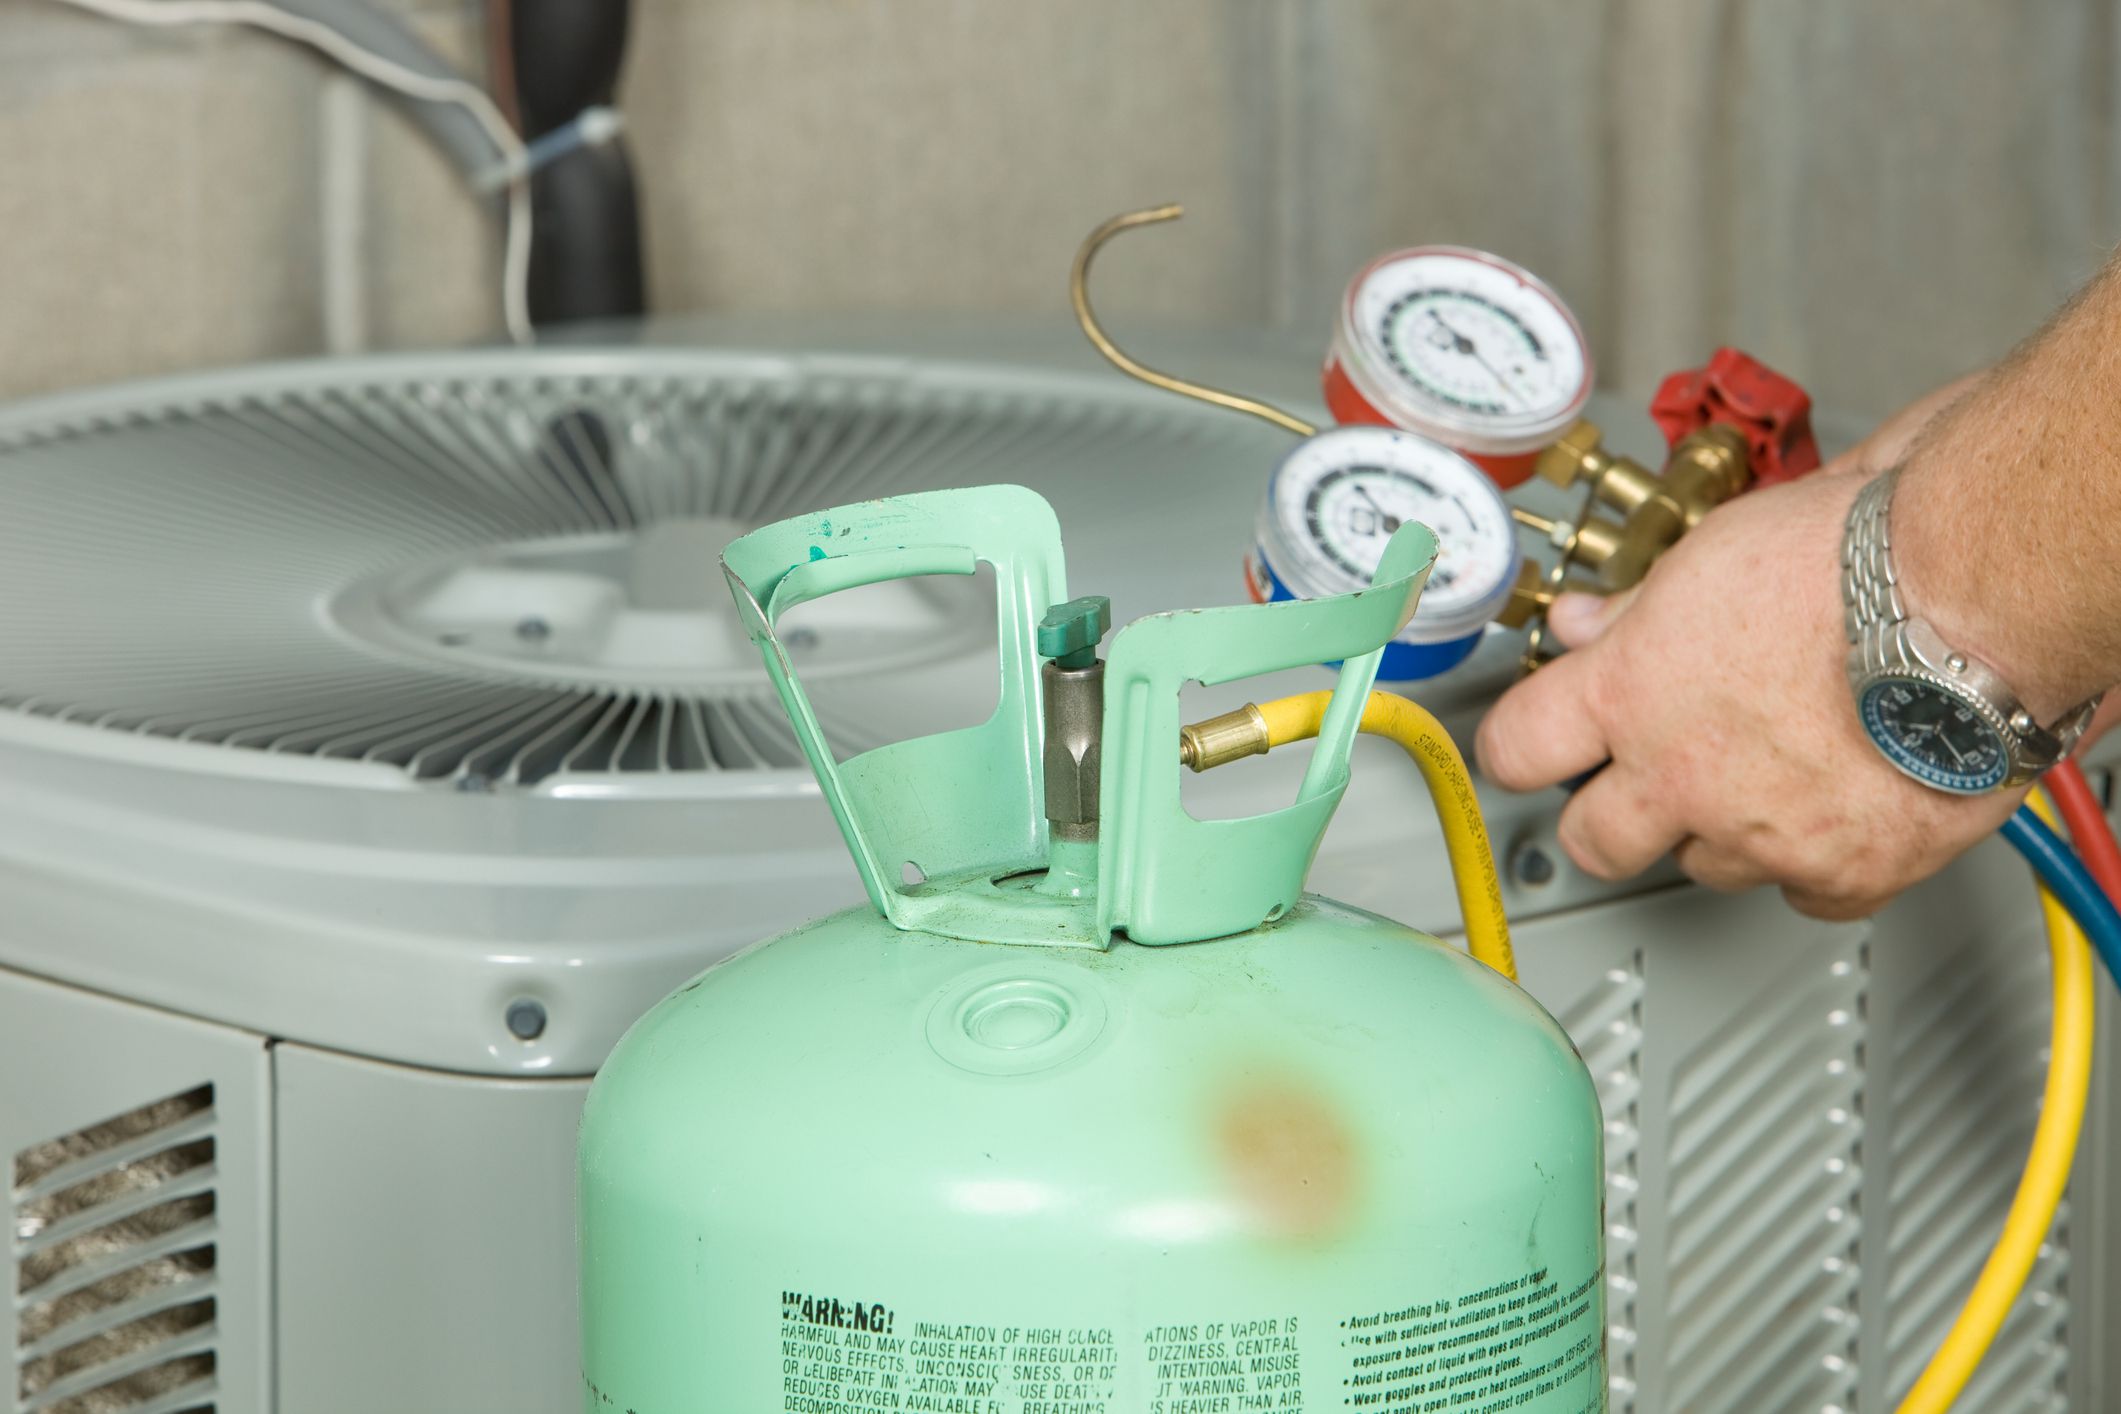
- Recharge the System: Once the leak is repaired, you will need to recharge the system with the appropriate refrigerant. Refer to the manufacturer’s guidelines or consult with an HVAC professional to determine the correct type and amount of refrigerant needed. Use the refrigerant recharge hoses to add the refrigerant to the system.
- Perform System Test: After recharging the system, turn the power back on and run the HVAC system to ensure it’s functioning properly. Check for any signs of leaks or abnormalities, and monitor the system to verify that it is cooling or heating effectively.
- Monitor and Maintain: Regularly monitor your HVAC system for any signs of refrigerant leaks or other issues. Conduct routine maintenance, such as cleaning coils, replacing filters, and scheduling professional inspections, to ensure the optimal functioning and longevity of your system.
Remember, if you’re not confident in your ability to fix a refrigerant leak or if the leak is significant, it’s recommended to seek the assistance of a qualified HVAC technician. They have the expertise and experience to handle complex repairs and ensure the best outcome for your HVAC system.
By following this step-by-step guide, you can effectively fix an HVAC refrigerant leak and restore the efficiency and performance of your system. Remember to prioritize safety, be thorough in your repair process, and consult professional help when needed. With proper maintenance and timely repairs, your HVAC system will continue to keep you comfortable all year round.
Read more: How To Fix Refrigerator Water Dispenser Leak
Conclusion
Dealing with an HVAC refrigerant leak can be challenging, but armed with the right knowledge and tools, you can successfully address the issue and restore your system’s efficiency. A refrigerant leak not only impacts the cooling or heating performance of your HVAC system, but it can also lead to higher energy bills and potential damage to critical components.
In this article, we explored the causes and consequences of a refrigerant leak and discussed the signs and symptoms that indicate a leak is present in your HVAC system. We also provided you with a step-by-step guide on how to fix an HVAC refrigerant leak, highlighting the tools and materials needed for the repair process.
Remember, safety is paramount when dealing with refrigerant and HVAC systems. Always follow the necessary precautions and consult professional help if you’re unsure about handling the repair yourself. A qualified HVAC technician has the expertise and experience to diagnose and repair refrigerant leaks efficiently and effectively.
Regular maintenance, including professional inspections and routine cleaning, can help detect and prevent refrigerant leaks before they become major issues. Keep an eye on your utility bills and be vigilant for any signs of a refrigerant leak, such as insufficient cooling or heating, frozen evaporator coils, and unusual noises or smells.
By taking swift action to address a refrigerant leak, you can save energy, reduce repair costs, and prolong the lifespan of your HVAC system. Remember to regularly monitor and maintain your system to ensure optimal performance and comfort in your home.
We hope this article has provided you with valuable insights and guidance on how to handle HVAC refrigerant leaks. By following the steps outlined and staying proactive in your system’s maintenance, you can keep your HVAC system running smoothly, ensuring a comfortable and enjoyable indoor environment all year round.
Frequently Asked Questions about How To Fix HVAC Refrigerant Leak
Was this page helpful?
At Storables.com, we guarantee accurate and reliable information. Our content, validated by Expert Board Contributors, is crafted following stringent Editorial Policies. We're committed to providing you with well-researched, expert-backed insights for all your informational needs.



0 thoughts on “How To Fix HVAC Refrigerant Leak”