
Articles
What Goes Under Peel And Stick Tile
Modified: May 6, 2024
Discover the best articles about what goes under peel and stick tile. Explore tips, recommendations, and step-by-step guides for a successful installation.
(Many of the links in this article redirect to a specific reviewed product. Your purchase of these products through affiliate links helps to generate commission for Storables.com, at no extra cost. Learn more)
Introduction
Welcome to the world of peel and stick tiles! If you’re looking to upgrade your floors without the hassle and cost of traditional tile installation, peel and stick tiles are the perfect solution. These self-adhesive tiles are easy to install, affordable, and can instantly transform the look of any room.
But before you start peeling and sticking, it’s important to understand that a successful installation of these tiles relies on a solid foundation. That’s where the underlayment comes into play.
In this article, we will explore the importance of using underlayment with peel and stick tiles. We’ll delve into the process of preparing the subfloor, choosing the right underlayment, and installing it under your tiles. We’ll also discuss the benefits of using underlayment and offer some troubleshooting tips to help you tackle common issues that may arise during the installation process.
So, if you’re ready to dive into the world of peel and stick tiles and create a beautiful and durable flooring surface, let’s get started!
Key Takeaways:
- Proper underlayment is crucial for successful peel and stick tile installation. It provides a stable foundation, enhances durability, and offers benefits like noise reduction and thermal insulation.
- Understanding subfloor preparation and selecting the right underlayment are essential for a flawless peel and stick tile project. Attention to detail and troubleshooting common issues ensure a professional and long-lasting flooring finish.
Read more: What Is Peel And Stick Tile
Understanding Peel and Stick Tiles
Peel and stick tiles, also known as self-adhesive tiles, are a type of flooring material that come with a pre-applied adhesive backing. These tiles are designed to be easy to install, as they require no additional adhesives or tools. They are often made from vinyl or vinyl composite materials and are available in a wide range of colors, patterns, and styles.
One of the main advantages of peel and stick tiles is their versatility. They can be used in various applications, including kitchens, bathrooms, laundry rooms, and even as a temporary flooring solution in rental spaces. They are also a great option for DIY enthusiasts looking to complete a quick and budget-friendly flooring project.
When it comes to durability, peel and stick tiles are designed to withstand daily wear and tear. They are resistant to moisture, stains, and scratches, making them a practical choice for high-traffic areas. Additionally, these tiles often have a protective top layer that adds extra durability and makes them easy to clean.
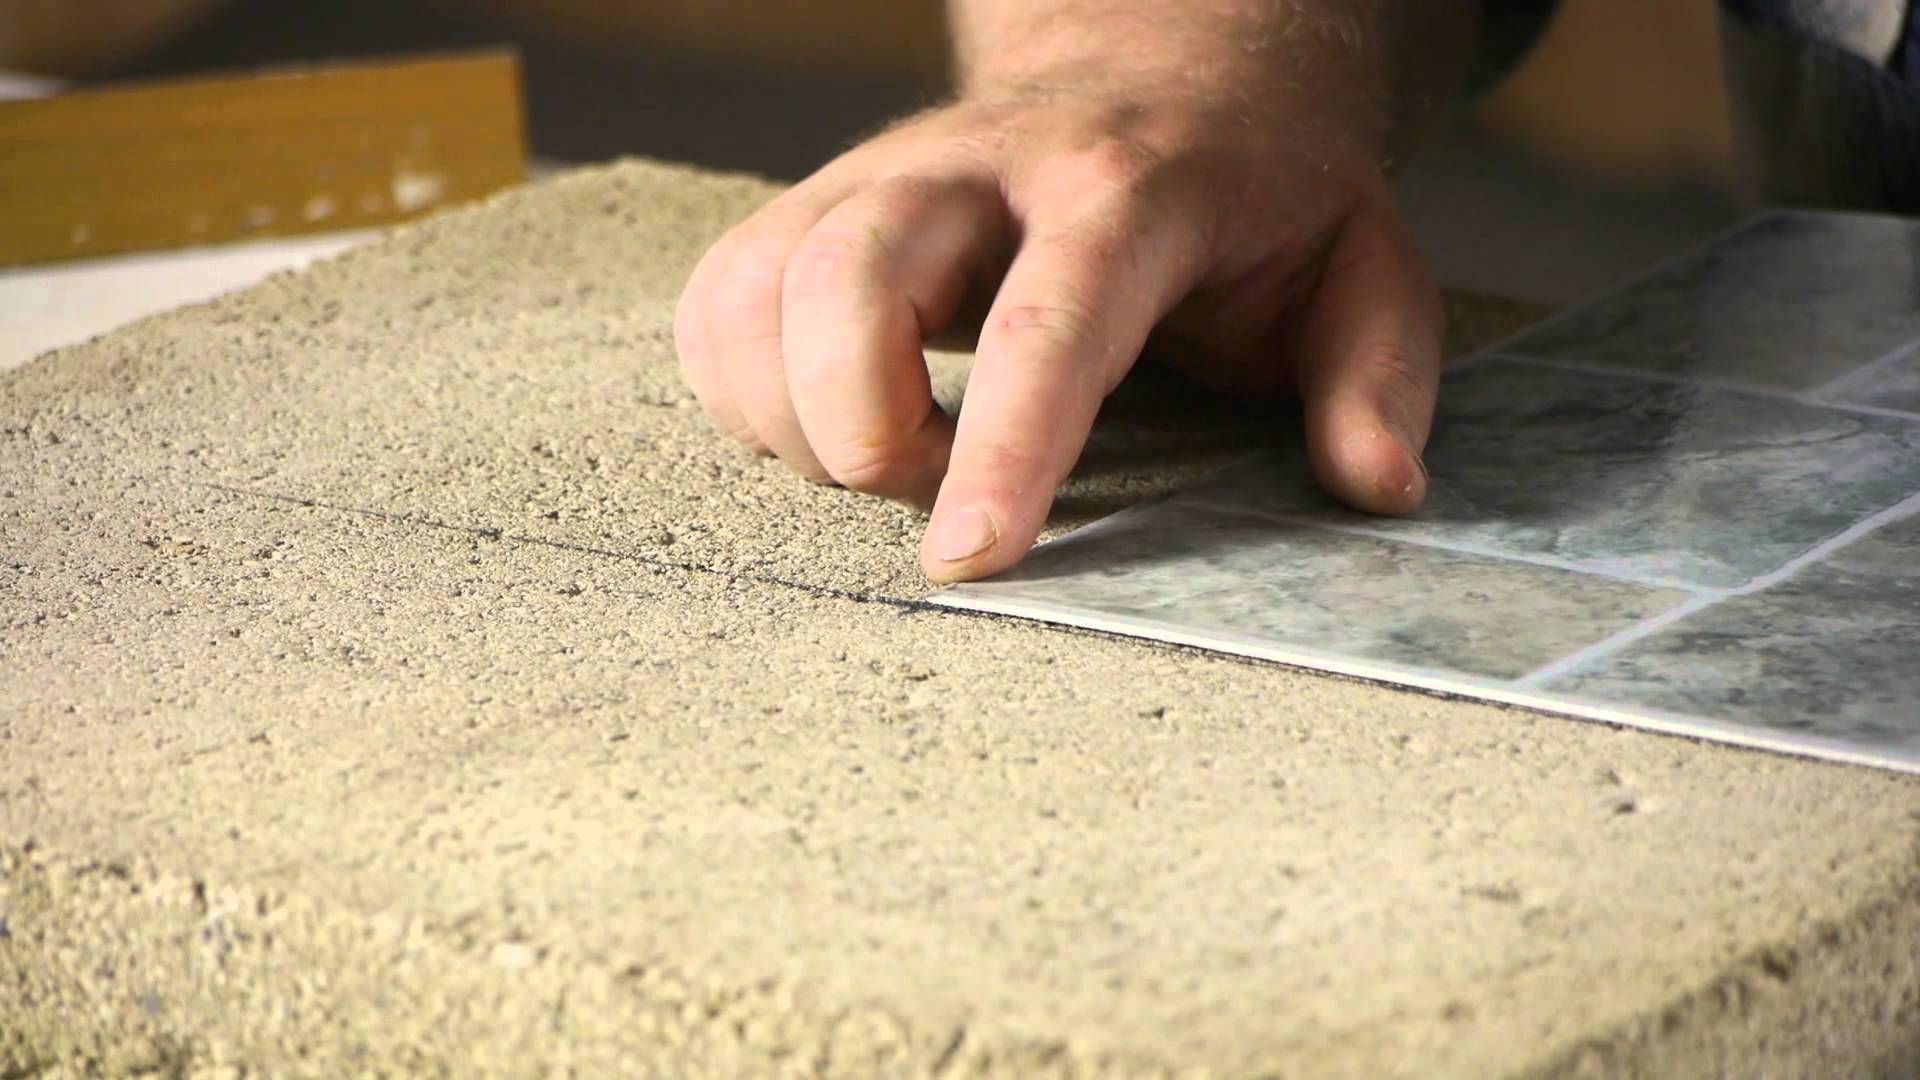
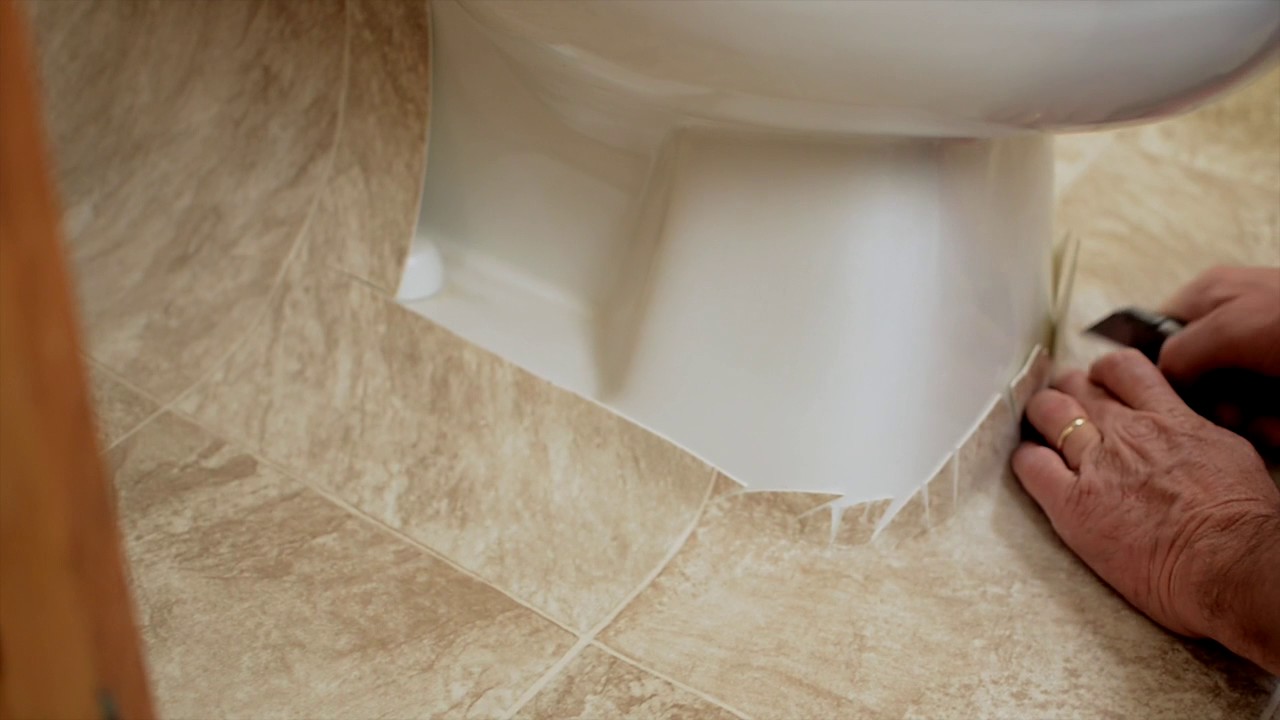
Installing peel and stick tiles is a straightforward process. Simply peel off the backing and stick the tile onto the prepared surface. The adhesive on the back of the tile creates a strong bond with the subfloor, ensuring that the tiles stay in place for years to come. Some tiles may have a grout line printed on them, giving the appearance of a traditional tiled floor without the need for actual grout.
However, it’s important to note that while peel and stick tiles are relatively easy to install, proper preparation and attention to detail are crucial for a successful installation. This is where the underlayment plays a significant role.
Next, let’s explore the importance of preparing the subfloor before installing peel and stick tiles, and why using underlayment is a vital step in achieving a long-lasting and professional-looking flooring finish.
Preparing the Subfloor
Before you start installing peel and stick tiles, it’s important to ensure that your subfloor is clean, smooth, and free from any imperfections. Taking the time to properly prepare the subfloor will help you achieve a flawless and long-lasting installation.
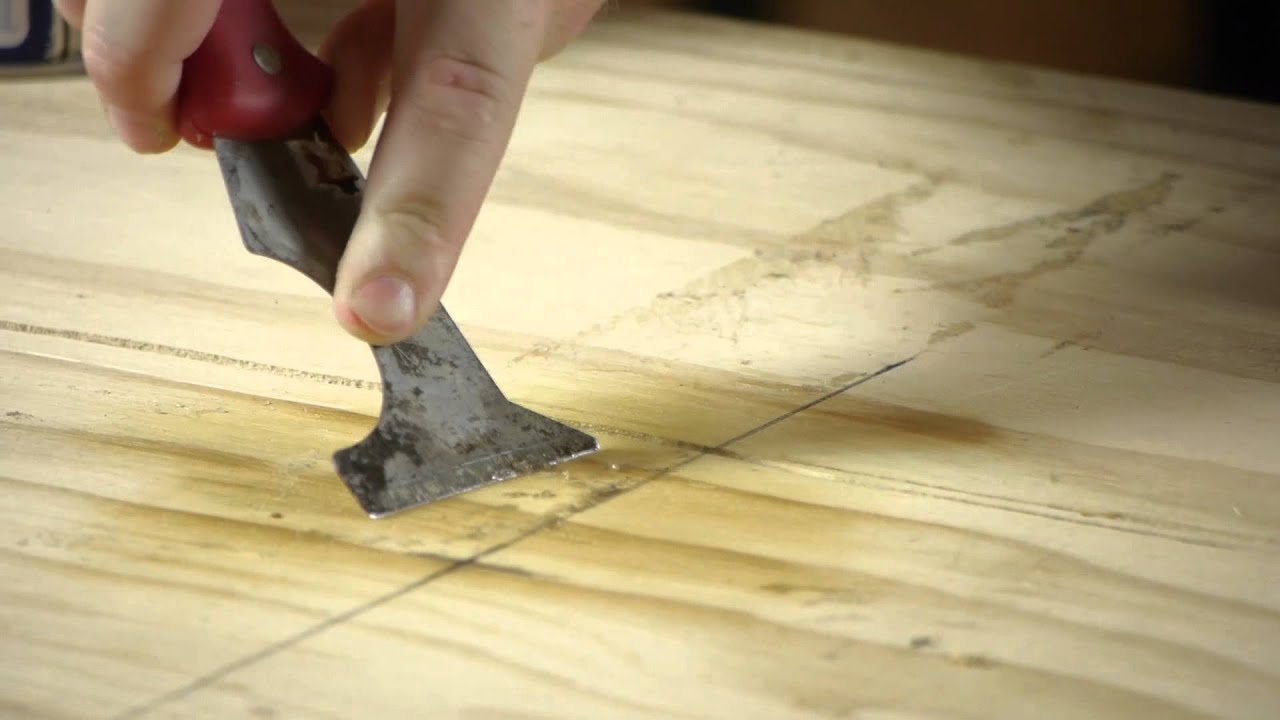
The first step in preparing the subfloor is to remove any existing flooring. If you have carpet, laminate, or vinyl flooring, it needs to be completely removed to expose the bare subfloor. Use a pry bar, scraper, or any other appropriate tool to carefully lift and detach the old flooring materials.
Once the existing flooring is removed, thoroughly clean the subfloor to remove any dust, debris, or adhesive residue. Sweep or vacuum the area and then mop it with a mild detergent to ensure a clean surface. Allow the subfloor to dry completely before proceeding.
Inspect the subfloor for any unevenness, cracks, or bumps. It’s important to have a smooth and level surface to ensure proper adhesion of the peel and stick tiles. If you come across any imperfections, you may need to use a floor leveler or patching compound to fill in the gaps and create a smooth surface.
In addition to addressing any imperfections, it is advisable to check the moisture levels of the subfloor. High moisture levels can affect the adhesive bond and cause the tiles to lift or warp over time. Use a moisture meter to test the subfloor, following the manufacturer’s instructions. If the moisture levels are too high, you may need to install a moisture barrier to prevent any potential issues.
Finally, it’s essential to acclimate the peel and stick tiles to the room temperature and humidity level. Lay out the tiles in the installation area for at least 48 hours before installation. This allows the tiles to adjust to the environment and reduces the risk of expansion or contraction after installation.
Once the subfloor is clean, smooth, and free from any imperfections, you can move on to the next crucial step: choosing the right underlayment for your peel and stick tile installation.
Choosing the Right Underlayment
The underlayment is a critical component of a successful peel and stick tile installation. It acts as a barrier between the subfloor and the tiles, providing several benefits such as noise reduction, improved thermal insulation, and added cushioning underfoot.
When it comes to selecting the right underlayment for your peel and stick tile project, there are a few factors to consider:
- Subfloor Type: The type of subfloor you have will dictate the type of underlayment you need. For concrete subfloors, a moisture barrier underlayment is essential to prevent moisture from seeping through and causing damage to the tiles. For wooden subfloors, you may need a plywood underlayment to provide a smooth and stable surface.
- Noise Reduction: If you are looking to reduce noise transmission, especially in multi-story buildings or apartments, consider an underlayment with sound insulation properties. Look for underlayments with materials like cork or rubber, which help absorb impact sound and minimize noise.
- Thermal Insulation: If you want to improve the thermal insulation of your floor, especially in colder climates, consider underlayments with added thermal properties. Look for materials like foam or cork, as they provide excellent insulation and help keep your floors warm.
- Cushioning and Comfort: If comfort underfoot is important to you, look for underlayments with added cushioning. Materials like foam or rubber provide a soft and comfortable surface to walk on, enhancing the overall comfort of your flooring.
It’s also crucial to check the manufacturer’s recommendations for the specific peel and stick tile product you are using. Some tile manufacturers may have specific underlayment requirements or recommendations to ensure optimal performance and warranty coverage.
When purchasing underlayment, make sure to calculate the correct amount needed based on the square footage of the installation area. It’s better to buy slightly more than you need to account for any mistakes or adjustments during installation.
By considering the specific needs of your project, such as subfloor type, noise reduction, thermal insulation, and comfort, you can select the right underlayment that will enhance the performance and longevity of your peel and stick tile installation.
In the next section, we will discuss the process of installing the underlayment, which is crucial for a successful and durable flooring finish.
Make sure the surface is clean and smooth before applying peel and stick tiles. Use a primer if necessary to ensure proper adhesion.
Installing the Underlayment
Proper installation of the underlayment is essential to ensure a smooth, level surface for your peel and stick tiles. Follow these steps to install the underlayment correctly:
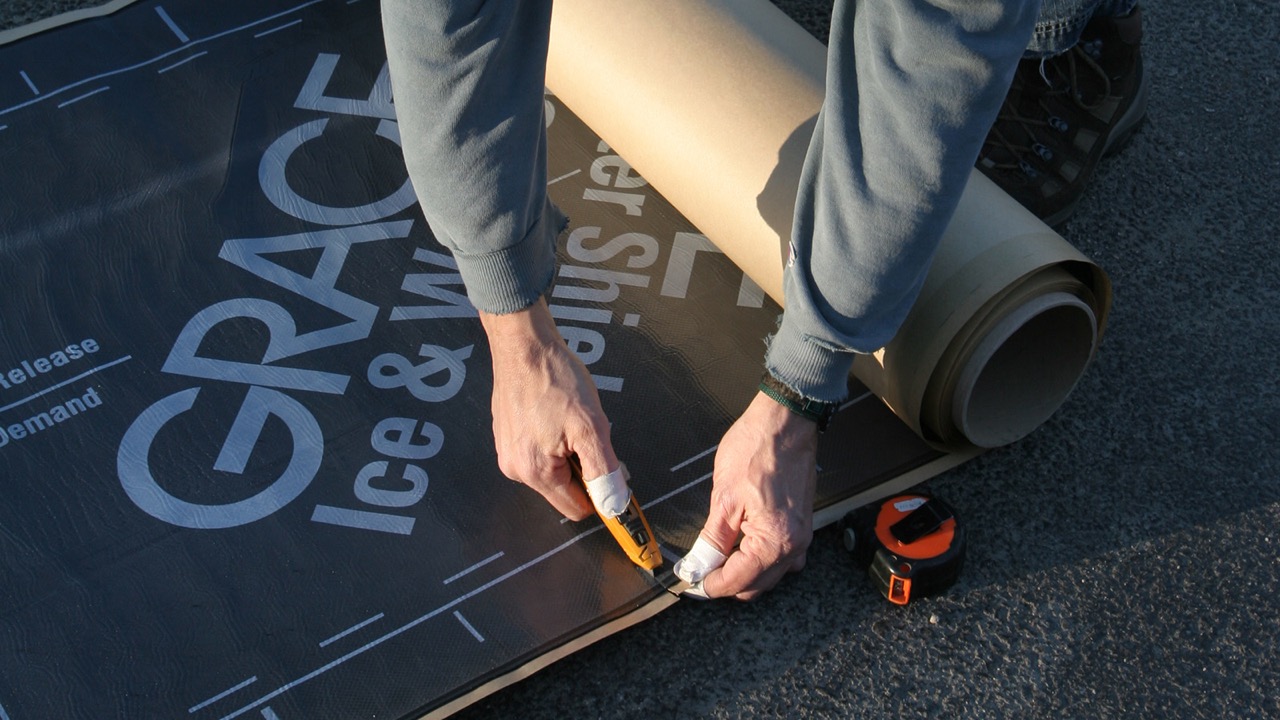
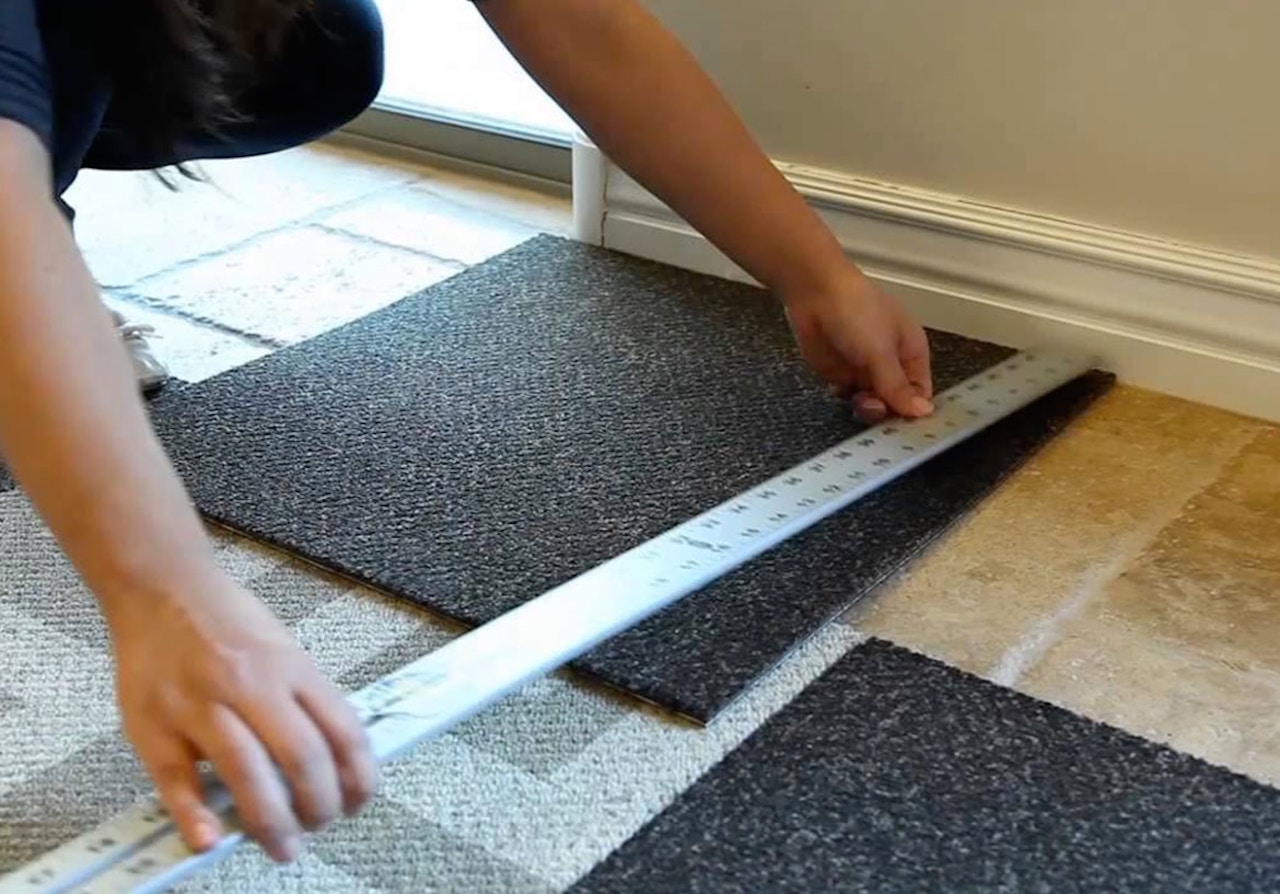
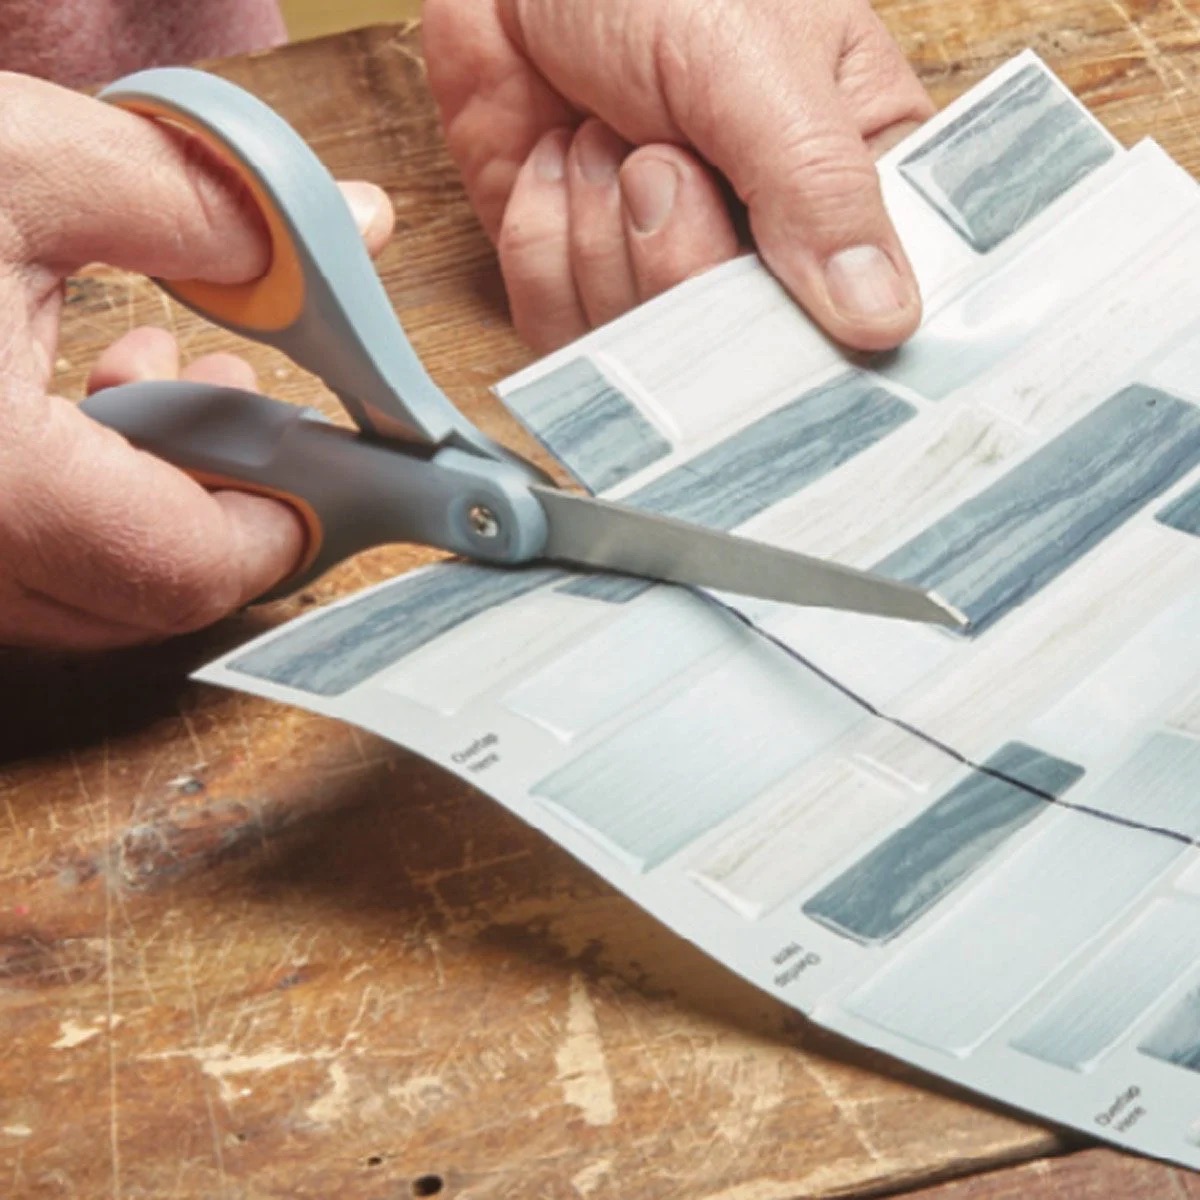
- Cut the Underlayment: Start by measuring the dimensions of the installation area and use a utility knife or scissors to cut the underlayment sheets to fit. Make sure to leave a small gap around the edges to allow for expansion.
- Position the Underlayment: Lay the underlayment sheets on the clean and dry subfloor, ensuring they are aligned and fit snugly together. Avoid overlapping the edges, as this can create lumps or unevenness in the flooring.
- Secure the Underlayment: Once the underlayment is properly positioned, use a staple gun or adhesive to secure it to the subfloor. If using adhesive, follow the manufacturer’s instructions for the proper application method and drying time.
- Tape the Seams: To create a seamless surface, use underlayment tape to seal the seams between the underlayment sheets. This will prevent any moisture or dust from seeping through and ensure a smooth base for the peel and stick tiles.
- Inspect and Prepare: After securing the underlayment and taping the seams, carefully inspect the surface for any imperfections or bumps. If needed, use a floor leveler or sandpaper to create a smooth and even surface before proceeding with the peel and stick tile installation.
Always refer to the manufacturer’s instructions for the specific underlayment material you have chosen. They may provide additional guidance on the installation process and any specific requirements or recommendations.
Installing the underlayment properly will not only provide a stable foundation for your peel and stick tiles but also enhance their performance and longevity. It will help prevent any movement, ensure proper adhesion, and minimize the risk of tiles lifting or warping over time.
Once the underlayment is installed, you are now ready to move on to the exciting part – installing the peel and stick tiles on top of the underlayment.
In the next section, we will explore the numerous benefits of using underlayment with peel and stick tiles.
Read more: How To Waterproof Peel And Stick Tiles
Benefits of Using Underlayment
Using underlayment with peel and stick tiles offers several significant benefits that contribute to the overall performance and longevity of your flooring. Here are some key advantages of using underlayment:
- Improved Durability: Underlayment provides an extra layer of protection between the subfloor and the tiles. It helps to absorb impact, reducing the risk of cracks or damage to the tiles. This added durability ensures that your peel and stick tiles last longer and maintain their appearance over time.
- Noise Reduction: Underlayment materials with sound insulation properties can help minimize impact noise, such as footsteps or dropped objects, especially in multi-story buildings or apartments. This greatly improves the acoustics of the room and reduces sound transmission to the floors below.
- Enhanced Comfort: Underlayment with cushioning properties adds a layer of comfort underfoot. It provides a softer surface to walk on, reducing fatigue and providing a more pleasant experience when walking or standing for extended periods.
- Improved Thermal Insulation: Certain underlayment materials, particularly those with added thermal properties, can enhance the thermal insulation of the floor. This helps to keep the room warmer and more comfortable, especially in colder climates.
- Moisture Protection: Underlayment with a built-in moisture barrier or vapor barrier helps to protect the peel and stick tiles from moisture that may seep up from the subfloor. This is especially important for concrete subfloors where moisture can be a significant concern.
- Easier Installation: Underlayment provides a smooth and level surface for the peel and stick tiles, making the installation process easier and more efficient. It helps to eliminate any imperfections in the subfloor and ensures better adherence of the tiles, resulting in a professional-looking finish.
By using underlayment, you not only improve the overall performance and durability of your peel and stick tile installation but also enhance the comfort and sound insulation of the room. It provides an additional layer of protection and ensures a more enjoyable and long-lasting flooring experience.
Now that we have covered the benefits of using underlayment, let’s address some common issues that may arise during the installation process and provide some troubleshooting tips.
Common Issues and Troubleshooting
While installing peel and stick tiles with underlayment is generally a straightforward process, there are a few common issues that may arise. Here are some potential problems and troubleshooting tips to help you overcome them:
1. Adhesion Issues: If you notice that the peel and stick tiles are not adhering properly to the underlayment or if they start peeling up after installation, the cause may be insufficient pressure or improper surface preparation. Make sure to apply firm and even pressure when installing the tiles, using a roller or other appropriate tool. Additionally, ensure that the underlayment is clean, smooth, and free from any debris or dust.
2. Uneven Surface: If you encounter an uneven surface after installing the underlayment, it may cause the tiles to sit unevenly or create visible gaps. In this case, you may need to address the underlying subfloor, using a floor leveler or sandpaper to create a smooth and level surface before proceeding with the tile installation.
3. Moisture-related Issues: Excessive moisture can cause the peel and stick tiles to lift or warp over time. If you notice any signs of moisture damage, such as bubbling or warping tiles, it’s essential to identify and address the source of moisture. This may involve installing a moisture barrier or taking steps to improve the ventilation and moisture control in the room.
4. Seams Visibility: If the seams between the underlayment sheets are visible after installing the tiles, it may detract from the overall appearance of the flooring. To mitigate this issue, make sure to tape the seams of the underlayment properly before installing the tiles. Additionally, consider using a grout marker or a color-matched caulk to camouflage any visible seams after the tile installation is complete.
5. Compatibility Issues: It’s crucial to ensure that the underlayment you choose is compatible with the peel and stick tiles you are using. Some underlayment materials may not provide optimal adhesion or may interfere with the performance of certain types of peel and stick tiles. Always check the manufacturer’s recommendations and guidelines for the specific products you are using.
Remember, if you encounter any issues or are unsure about how to address a particular problem, it’s best to consult with a professional or seek guidance from the manufacturer. They can provide specific recommendations and assistance tailored to your unique situation.
Despite these potential issues, with proper preparation, installation, and troubleshooting, you can achieve a beautiful and long-lasting peel and stick tile floor that enhances the aesthetic appeal and functionality of your space.
Now that we’ve covered common issues and troubleshooting tips, let’s wrap up our discussion.
Conclusion
Peel and stick tiles offer a convenient and cost-effective way to upgrade your floors, and using underlayment with these tiles can significantly enhance the overall performance and durability of your installation.
By understanding the importance of preparing the subfloor and choosing the right underlayment, you can ensure a solid foundation for your peel and stick tile project. Properly installing the underlayment provides a smooth and level surface, improves adhesion, and offers additional benefits such as noise reduction, thermal insulation, and enhanced comfort.
Throughout the installation process, it’s important to stay attentive to common issues that may arise, such as adhesion problems, uneven surfaces, moisture-related concerns, and visible seams. By troubleshooting these issues and following the manufacturer’s recommendations, you can achieve a professional-looking and long-lasting flooring finish.
Remember to consider the specific needs of your project, such as subfloor type, noise reduction, thermal insulation, and comfort, when selecting the right underlayment. Taking the time to research and choose the appropriate underlayment will contribute to the success and longevity of your peel and stick tile installation.
Whether you’re looking to refresh the look of your kitchen, bathroom, or any other room in your home, peel and stick tiles with proper underlayment can be a game-changer. They offer the perfect combination of ease, affordability, and style.
So, get ready to transform your space with the versatility and beauty of peel and stick tiles, supported by the stability and protection of underlayment. With careful preparation, attention to detail, and troubleshooting when needed, you can create a stunning and durable flooring surface that will be the envy of all who enter your home.
Now, it’s time to unleash your creativity and embark on your peel and stick tile journey. Enjoy the process and the transformation that awaits!
Ready to tackle more home projects on your own? If you're keen on upgrading your space without calling in the pros, our guide on how to DIY home improvement is just what you need. Packed with practical advice, this resource empowers you to enhance every corner of your home confidently. From simple repairs to more ambitious renovations, find out how to execute projects with finesse. Don't miss out—dive into our DIY guide and start transforming your living space today!
Frequently Asked Questions about What Goes Under Peel And Stick Tile
Was this page helpful?
At Storables.com, we guarantee accurate and reliable information. Our content, validated by Expert Board Contributors, is crafted following stringent Editorial Policies. We're committed to providing you with well-researched, expert-backed insights for all your informational needs.


0 thoughts on “What Goes Under Peel And Stick Tile”