
Articles
How To Install Bathtub Plumbing
Modified: October 19, 2024
Learn all about installing bathtub plumbing in this comprehensive guide. Our articles cover everything you need to know, from materials and tools to step-by-step instructions.
(Many of the links in this article redirect to a specific reviewed product. Your purchase of these products through affiliate links helps to generate commission for Storables.com, at no extra cost. Learn more)
Introduction
Installing bathtub plumbing may seem like a daunting task, but with the right tools and materials, it can be accomplished by even novice DIY enthusiasts. Whether you’re replacing old plumbing or starting from scratch in a bathroom remodel, this guide will walk you through the step-by-step process of installing bathtub plumbing.
Before you begin, it’s essential to gather all the necessary tools and materials for the job. This ensures a smooth installation process and minimizes the chances of running into unexpected issues along the way. So, let’s start by going through the tools and materials you’ll need.
Key Takeaways:
- Gathering the right tools and materials is crucial for a successful bathtub plumbing installation. Accurate measurements, precise cutting, and thorough testing ensure a functional and leak-free system.
- Assessing plumbing needs, connecting water supply lines, and making necessary adjustments are key steps in achieving a professional and rewarding bathtub plumbing installation. Always prioritize safety and compliance with regulations.
Read more: How To Plumb A Freestanding Bathtub
Tools and Materials Needed
Before you start installing bathtub plumbing, make sure you have the following tools and materials:
- Adjustable wrench
- Hacksaw or pipe cutter
- Teflon tape
- Pipe wrench
- Plumber’s putty
- Screwdriver
- Measuring tape
- Level
- PVC pipes and fittings
- Drainpipe assembly
- Water supply lines
- Plumbing fittings
- Plumbing adhesive
Now that you have all the necessary tools and materials, let’s move on to the step-by-step process of installing bathtub plumbing.
Key Takeaways:
- Gathering the right tools and materials is crucial for a successful bathtub plumbing installation. Accurate measurements, precise cutting, and thorough testing ensure a functional and leak-free system.
- Assessing plumbing needs, connecting water supply lines, and making necessary adjustments are key steps in achieving a professional and rewarding bathtub plumbing installation. Always prioritize safety and compliance with regulations.
Read more: How To Plumb A Freestanding Bathtub
Tools and Materials Needed
Before you start installing bathtub plumbing, it’s essential to gather all the necessary tools and materials. Having everything at hand will ensure a smooth installation process and minimize the chances of running into unexpected issues along the way. So, let’s go through the tools and materials you’ll need for this project.
Tools:
1. Adjustable Wrench: This versatile tool will be used to tighten and loosen various plumbing connections.
2. Hacksaw or Pipe Cutter: You’ll need a hacksaw or pipe cutter to accurately cut the pipes to the desired length.
3. Teflon Tape: This thin, white tape is used to create a watertight seal on threaded plumbing connections.
4. Pipe Wrench: A pipe wrench is necessary for tightening and loosening large plumbing fittings and pipes.
5. Plumber’s Putty: Plumber’s putty is a soft, pliable substance used to create a watertight seal around drains and faucets.
6. Screwdriver: Make sure you have a variety of screwdrivers on hand to accommodate different types of screws used in plumbing fixtures.
7. Measuring Tape: Accurate measurements are crucial for proper pipe fitting and alignment. A measuring tape will be your best friend during this process.
8. Level: To ensure that your bathtub plumbing is level and properly aligned, a level tool is essential.
Materials:
1. PVC Pipes and Fittings: PVC (Polyvinyl Chloride) pipes and fittings are commonly used for bathtub plumbing. Make sure you have the necessary sizes and fittings, including elbows, tees, and couplings, to create your desired plumbing configuration.
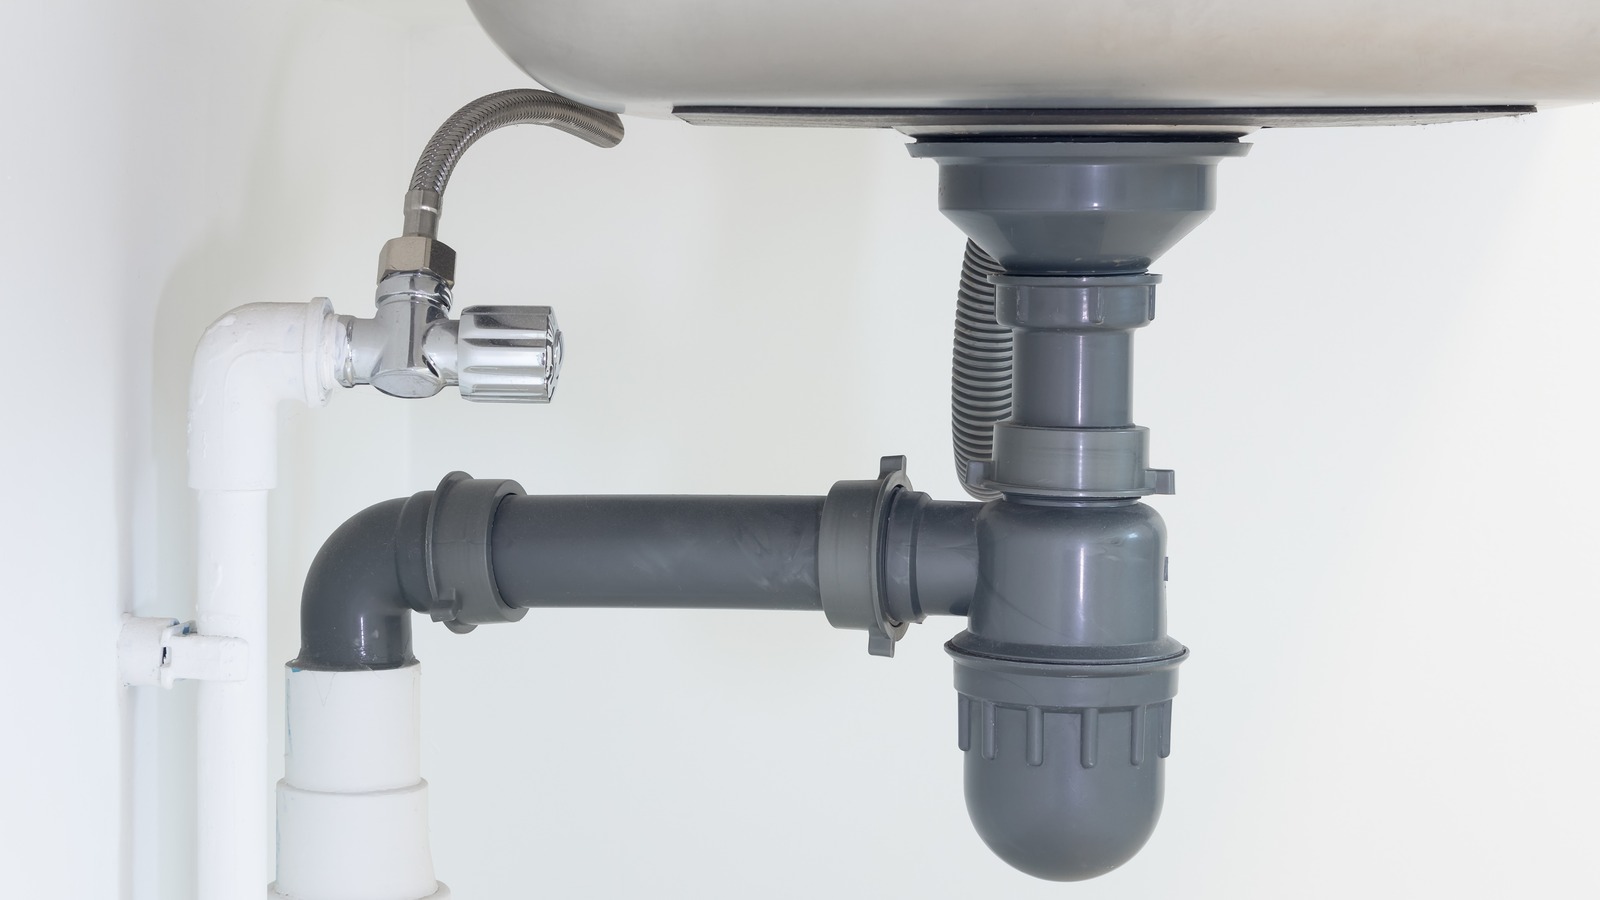
2. Drainpipe Assembly: The drainpipe assembly consists of the drainpipe, trap, and overflow pipe. It’s essential to have these components ready for installation.
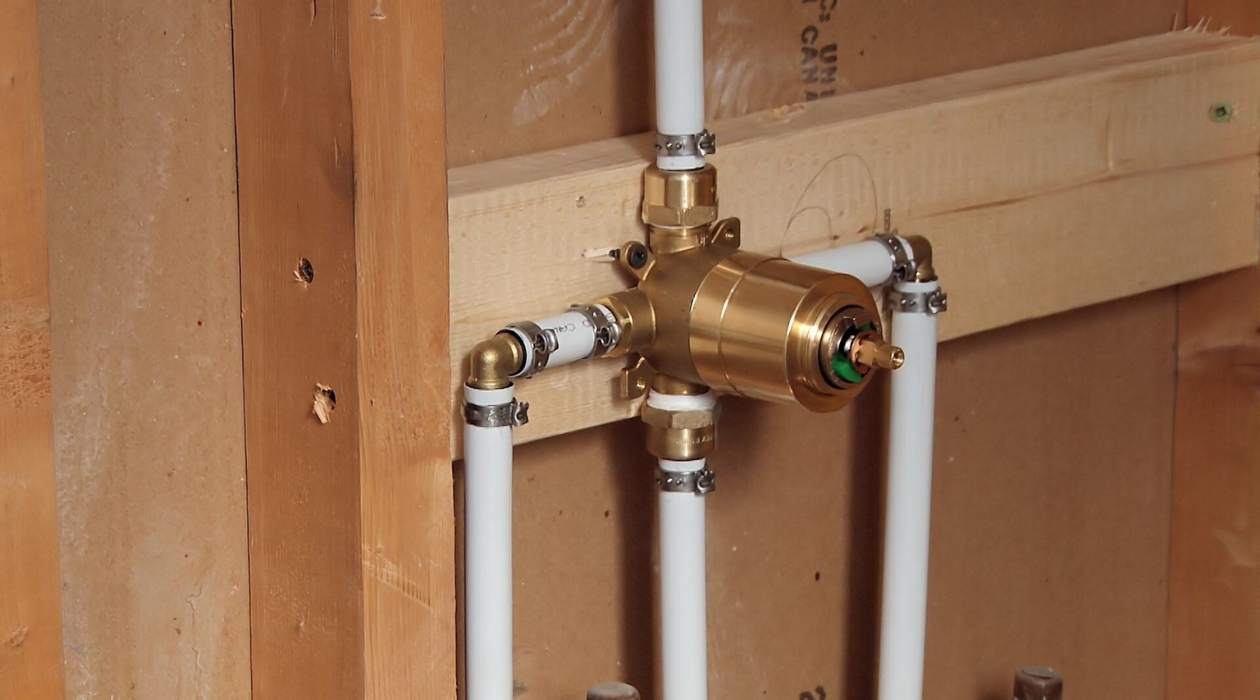
3. Water Supply Lines: You’ll need water supply lines to connect the bathtub to the water source. These lines can be made of copper or flexible materials, such as PEX or braided stainless steel.
4. Plumbing Fittings: Depending on your specific plumbing setup, you may need additional fittings, such as reducers, adapters, or unions, to connect different pipes and fixtures.
5. Plumbing Adhesive: Plumbing adhesive, such as PVC cement, is used to secure the PVC pipes and fittings together for a leak-free connection.
Make sure you have all the necessary tools and materials before you start the installation process. Gather them in one place, so they’re easily accessible throughout the project.
Step 1: Assessing the Plumbing Needs
Before diving into the installation process, it’s important to assess your plumbing needs. This step involves understanding the layout of your bathroom, determining the placement of the bathtub, and evaluating the existing plumbing infrastructure.
Start by examining the area where the bathtub will be installed. Consider factors such as the proximity to existing water supply lines, drainage, and ventilation.
Next, check the condition of the existing plumbing and assess whether it needs to be upgraded or replaced. Look for signs of leaks, corrosion, or damage. If any issues are detected, it’s best to address them before proceeding with the installation.
Measure the space where the bathtub will be positioned and record the dimensions. This will help you determine the length of the pipes and the amount of material required for the installation.
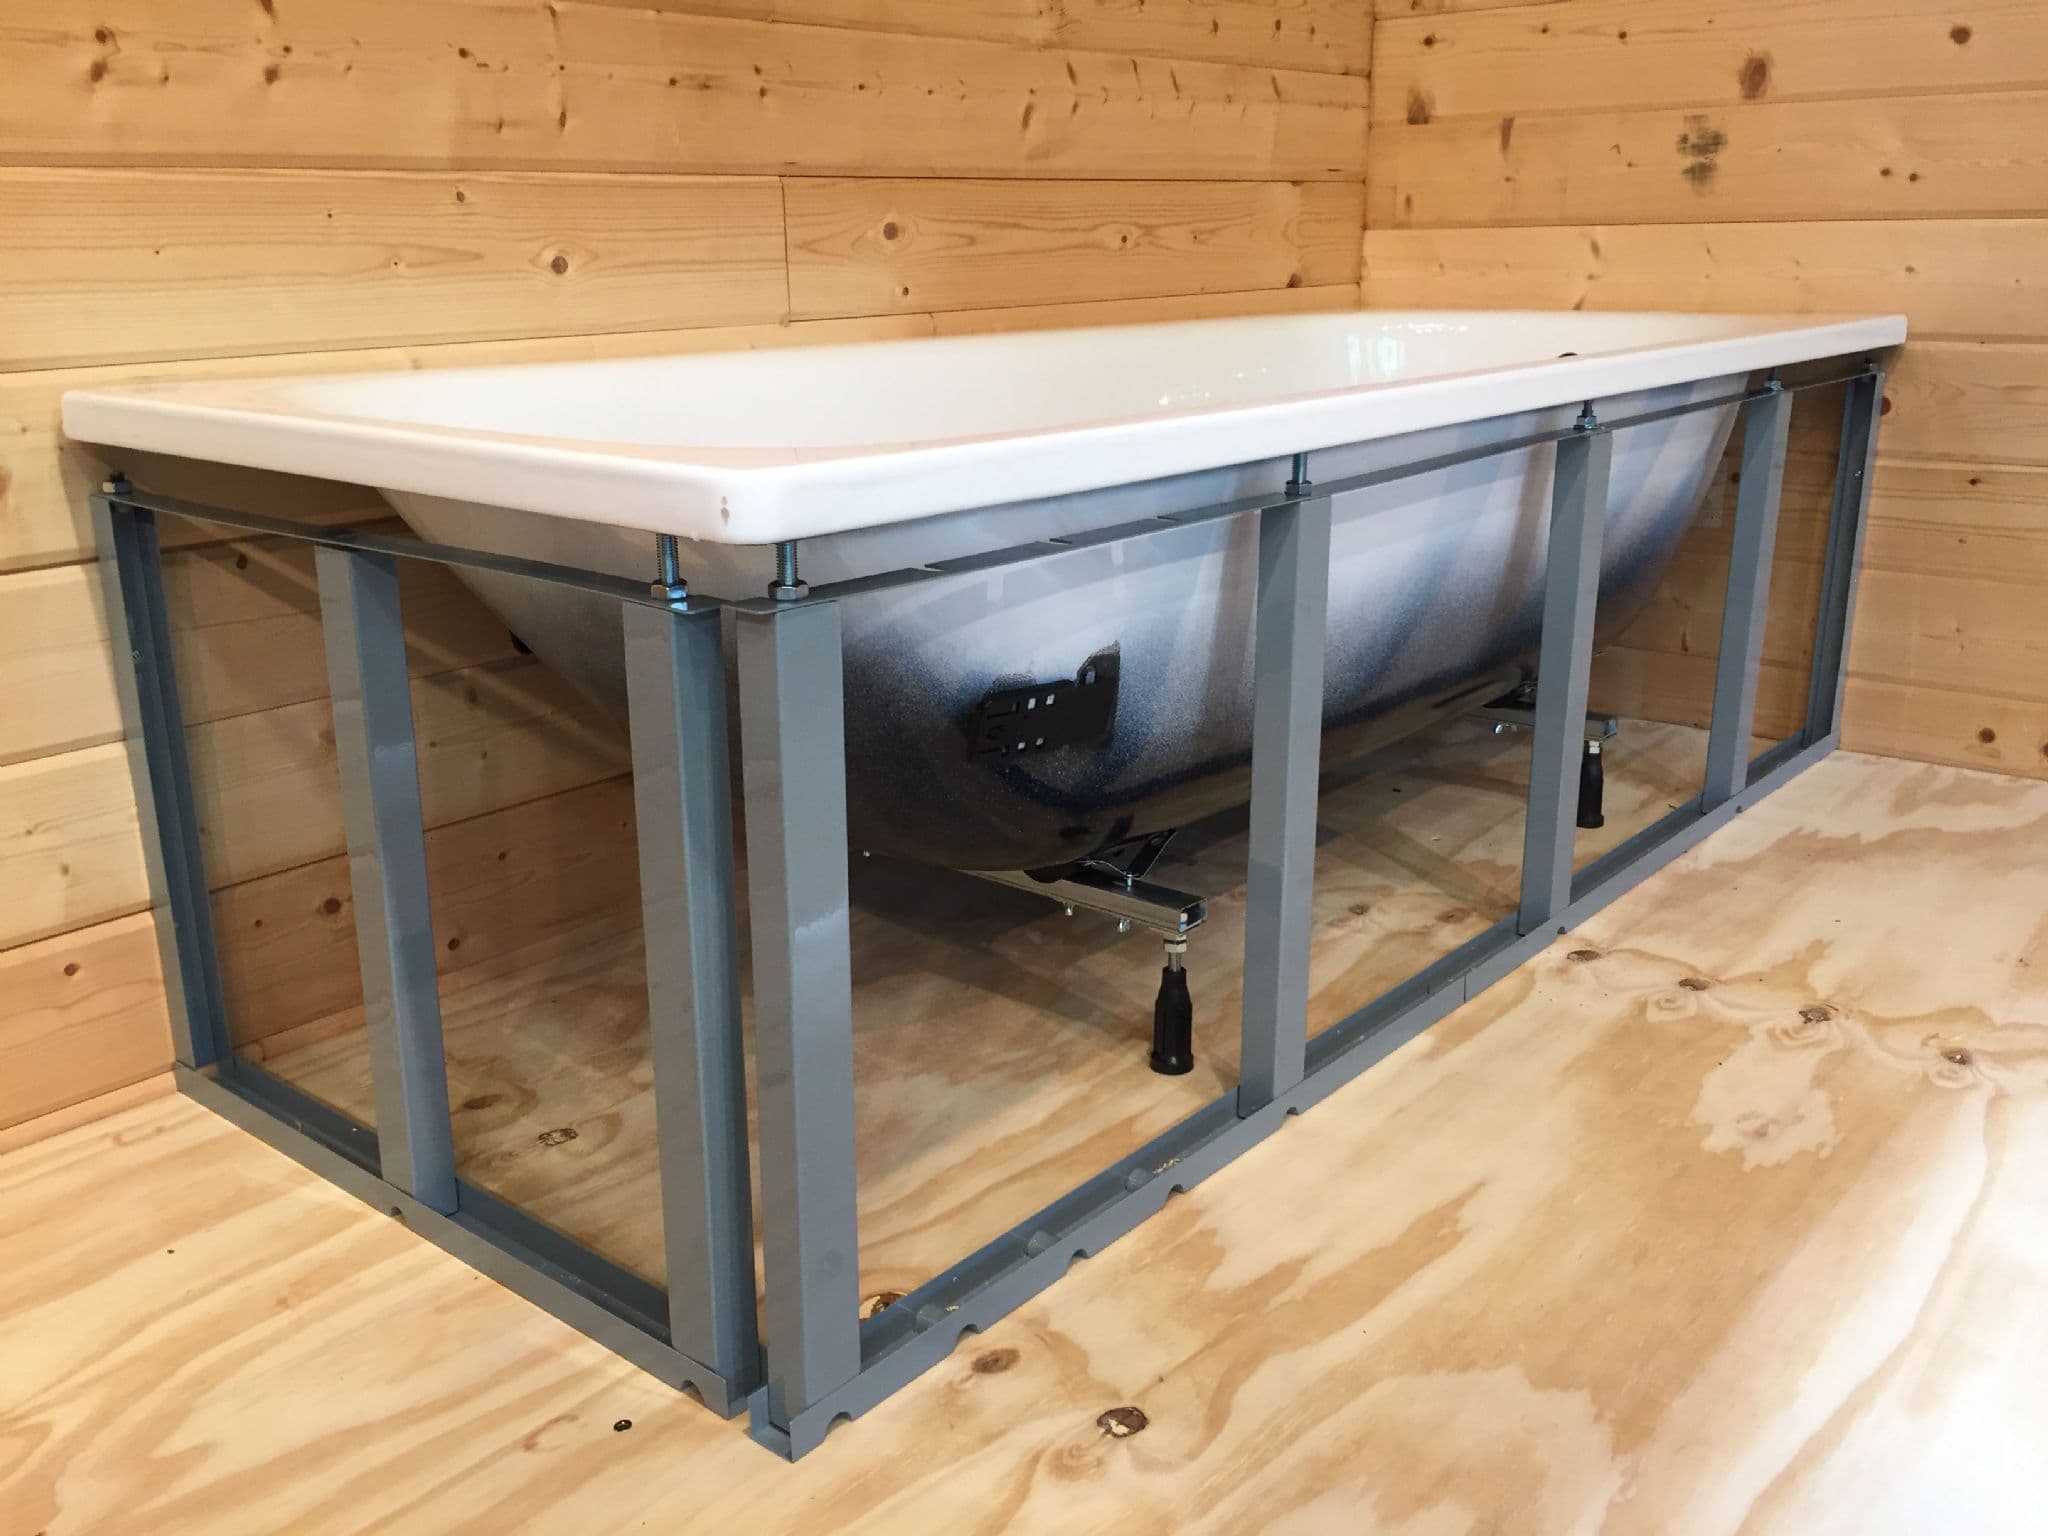
Consider the type of bathtub you have or plan to install. Different types, such as freestanding, alcove, or corner bathtubs, may require different plumbing configurations. Take note of any special requirements specific to your bathtub style.
Evaluate the water pressure in your home. If the water pressure is low, you may need to install a pressure booster pump or consider alternative solutions to ensure adequate water flow in the bathtub.
Lastly, check local building codes and regulations. Familiarize yourself with any specific plumbing requirements or permits you may need to comply with. It’s important to ensure that your installation meets all safety and legal standards.
By assessing your plumbing needs in advance, you’ll have a clearer understanding of the requirements for your bathtub installation. This evaluation will help you plan and prepare for the subsequent steps of the process.
Remember, if you are unsure or uncomfortable with any aspect of the assessment, it’s always a good idea to consult a professional plumber for expert guidance.
Step 2: Measuring and Marking for Installation
After assessing your plumbing needs, the next step in installing bathtub plumbing is to measure and mark the necessary positions for the pipes and fixtures. Accurate measurements and markings are crucial to ensure a seamless and precise installation.
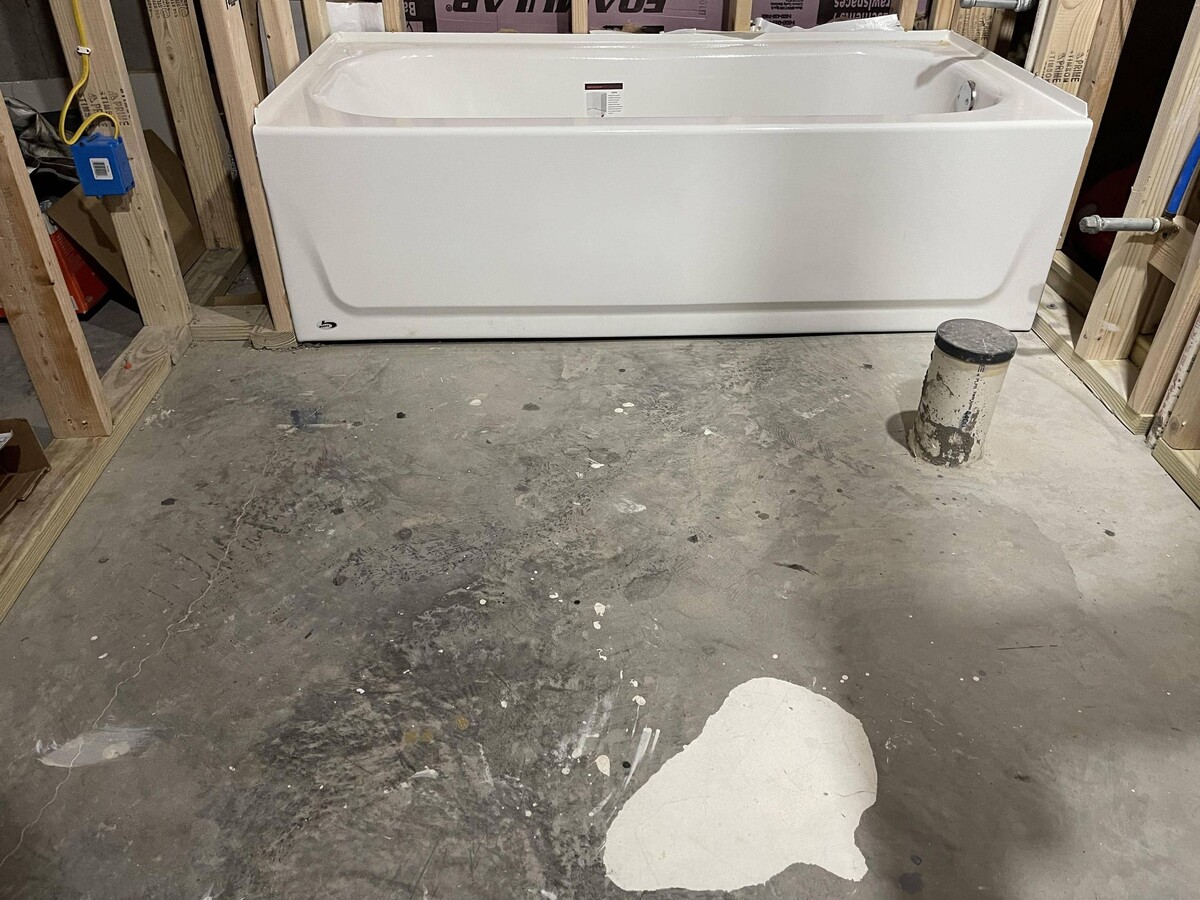
Start by measuring and marking the location of the bathtub drain. This will determine the position of the drainpipe and trap. Use a measuring tape to find the centerline of the bathtub and mark it on the floor. Measure the distance from the centerline to the wall, as this will be the location of the drainpipe.
Next, measure and mark the position of the water supply lines. Depending on the placement of the bathtub and the location of the existing water supply lines, you might need to install new lines or extend the existing ones. Measure the distance from the water supply lines to the bathtub and mark it on the wall or floor.
Measure and mark the necessary height for the bathtub faucets and any other fixtures you plan to install. This will ensure that the fixtures are within easy reach and at a comfortable height when using the bathtub.
Consider the space required for access panels. Access panels are essential for future maintenance and repairs. Measure and mark the areas where access panels will be installed, ensuring they are easily reachable and inconspicuously placed.
Use a level to ensure that all your markings are straight and aligned. This will help in achieving a professional and visually appealing installation.
Once you have measured and marked all the necessary positions, take a step back and assess the overall layout. Make any adjustments or corrections as needed before moving on to the next step.
Remember, accurate measurements and markings are crucial for a successful installation. Take your time during this step to ensure that everything is precisely marked and aligned. This will save you time and frustration during the actual installation process.
In the next step, we will discuss cutting the pipes to the correct length in preparation for installation.
Read more: Plumbing Installations & Repairs
Step 3: Cutting the Pipes
With the measurements and markings in place, it’s time to move on to cutting the pipes for your bathtub plumbing installation. Accurate cuts are essential to ensure proper fit and functionality of the pipes and fittings. Follow these steps to cut the pipes:
1. Gather the necessary tools: You will need a hacksaw or pipe cutter, a measuring tape, and a deburring tool. Make sure the blade of your saw or cutter is sharp for clean cuts.
2. Measure and mark the cutting points: Using your measuring tape, measure the lengths of the pipes needed based on your earlier markings and layout. Use a marker or pencil to mark the cutting points on the pipes.
3. Secure the pipes: If the pipes are made of PVC, place them in a vise or hold them securely to prevent movement while cutting. For copper pipes, use a pipe cutter or pipe holding tool to ensure stability.
4. Cut the pipes: Using a hacksaw or pipe cutter, carefully cut the pipes at the marked cutting points. Apply gentle and consistent pressure to maintain control and prevent damage to the pipes. Cut straight across the pipe to achieve clean, perpendicular cuts.
5. Deburr the cut edges: After cutting, use a deburring tool to remove any rough or sharp edges from the cut pipes. This ensures a smooth and secure connection between the pipes and fittings.
6. Check the cut edges: Inspect the cut edges of the pipes to ensure they are clean and free of any irregularities. Smooth out any rough spots or burrs with the deburring tool if necessary.
7. Repeat for all necessary pipes: Cut all the pipes required for your bathtub plumbing installation following the same process. Take your time to ensure accurate cuts for each pipe.
Remember to wear protective gear, such as safety goggles and gloves, while cutting the pipes to prevent injury. Use caution and take your time to achieve precise cuts.
Once all the pipes have been cut, you are now ready to proceed to the next step: attaching the drainpipe. This critical step will connect the bathtub to the main drainage system.
When installing bathtub plumbing, make sure to properly measure and cut the pipes to ensure a secure and leak-free connection. Use Teflon tape or pipe joint compound on threaded connections to prevent leaks.
Step 4: Attaching the Drainpipe
Attaching the drainpipe is a crucial step in installing bathtub plumbing. This is where you connect the drainpipe from the bathtub to the main drainage system. Follow these steps to ensure a proper and secure installation:
1. Gather the necessary materials: You will need the drainpipe assembly, which typically includes the drainpipe, trap, and overflow pipe. Ensure you have the correct fittings and components for your specific bathtub model.
2. Apply plumber’s putty: Take a small amount of plumber’s putty and roll it into a thin rope. Apply the putty around the bottom of the bathtub drain flange. This creates a watertight seal once the drainpipe is connected.
3. Insert the drainpipe: Insert the drainpipe into the bathtub drain hole, pushing it through until it is flush with the bottom of the bathtub. Make sure the drainpipe is centered and aligned properly.
4. Connect the trap: Attach the trap to the drainpipe using the appropriate fittings. Ensure a tight connection by hand-tightening and then using a pipe wrench to securely tighten the fittings. Be careful not to overtighten, as this can damage the fittings.
5. Attach the overflow pipe: Connect the overflow pipe to the overflow opening on the side of the bathtub. Use the provided fittings and tighten them securely. Make sure the overflow pipe is properly aligned and secured.
6. Test for leaks: Once all the connections are made, run water into the bathtub to check for any leaks. Pay attention to the drainpipe, trap, and overflow connections. If you notice any leaks, tighten the fittings further or use plumber’s tape to create a tighter seal.
7. Adjust as needed: If the drainpipe assembly is not aligned properly, you may need to make adjustments. Use a level and ensure that the drainpipe is sloping downward toward the main drainage system to allow for proper drainage.
By following these steps, you can successfully attach the drainpipe for your bathtub plumbing. This ensures proper water drainage and prevents leaks or any potential damage to your bathroom.
In the next step, we will discuss connecting the water supply lines, which will bring water to your bathtub fixtures.
Step 5: Connecting the Water Supply Lines
Connecting the water supply lines is an essential step in installing bathtub plumbing. This is where you bring water to your bathtub fixtures, such as the faucets and showerhead. Follow these steps to ensure a proper and secure connection:
1. Gather the necessary materials: You will need water supply lines, which can be made of copper or flexible materials like PEX or braided stainless steel. Ensure you have the correct length and type of supply lines for your specific bathtub configuration.
2. Shut off the main water supply: Before connecting the supply lines, it’s essential to shut off the main water supply to your home. Locate the main shutoff valve and turn it clockwise to stop the water flow.
3. Prepare the supply lines: If using copper supply lines, cut the lines to the appropriate length using a pipe cutter. Ensure the cut edges are clean and smooth. If using flexible supply lines, ensure they are the correct length and properly sized for your fixtures.
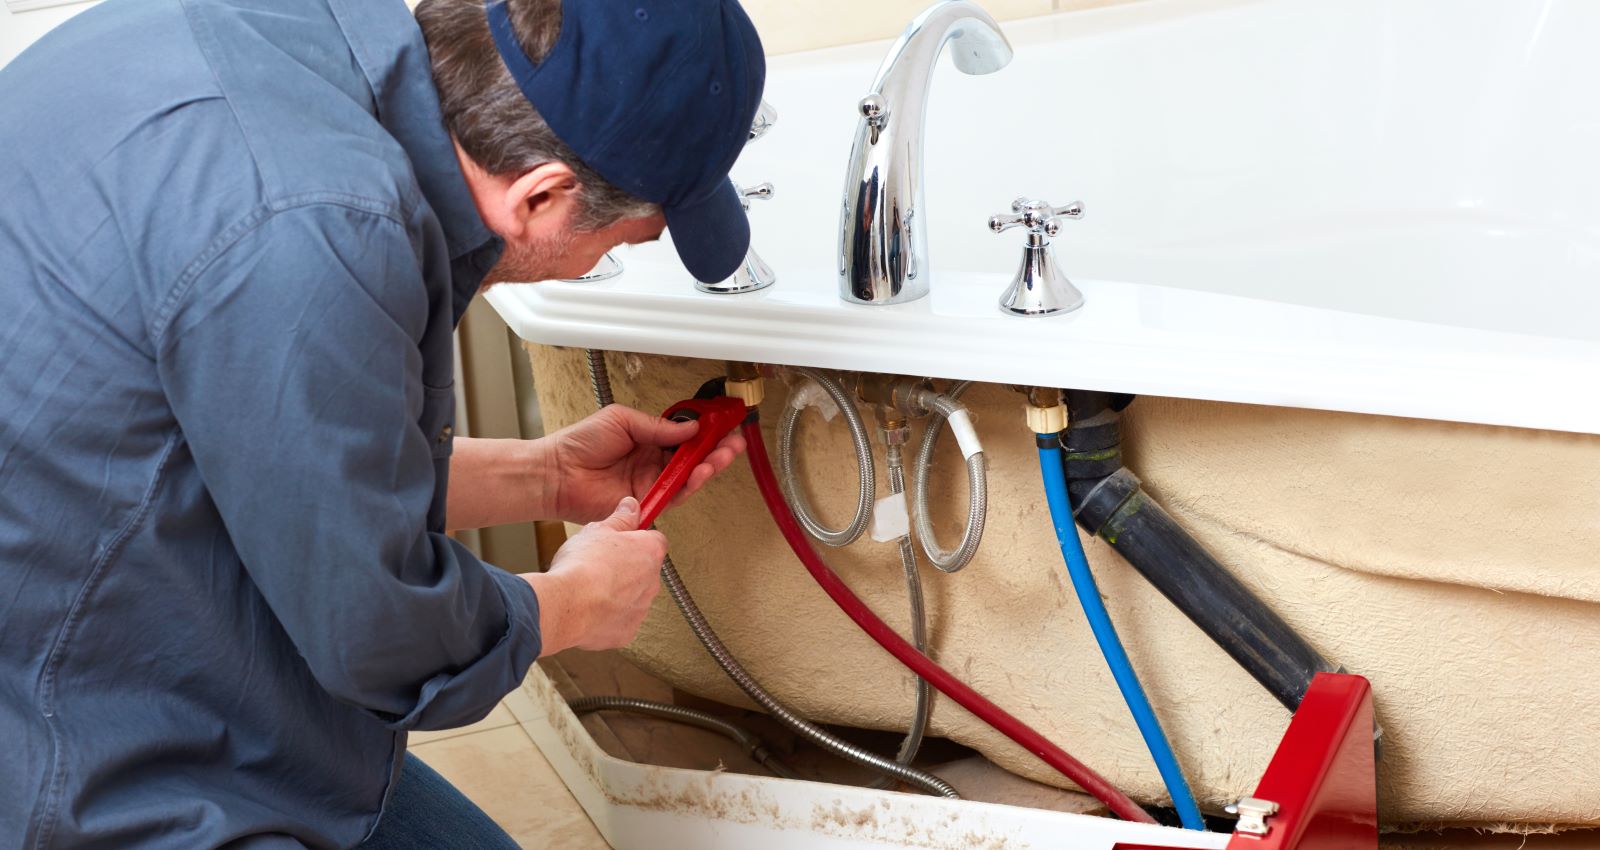
4. Connect the supply lines to the fixtures: Attach one end of the supply lines to the faucets and showerhead fittings. Use the appropriate fittings and ensure a tight connection. Tighten the fittings with an adjustable wrench, being careful not to overtighten.
5. Connect the other end to the water supply: Connect the other end of the supply lines to the existing water supply valves. Use the appropriate fittings for the type of supply lines you are using. Hand-tighten the fittings and then use an adjustable wrench to securely tighten them.
6. Test for leaks: Once the connections are made, turn on the main water supply and check for any leaks. Inspect the connections at the faucets, showerhead, and water supply valves. If you notice any leaks, tighten the fittings further or use plumber’s tape to create a tighter seal.
7. Flush the water lines: After testing for leaks, let the water run for a few minutes to flush out any debris or air bubbles in the water lines. This ensures that your bathtub plumbing is clean and ready for use.
By following these steps, you can successfully connect the water supply lines for your bathtub plumbing. This brings water to your fixtures and allows for a proper flow of water when using the bathtub.
In the next step, we will discuss testing the plumbing connections to ensure everything is working correctly before finalizing the installation.
Step 6: Testing the Plumbing Connections
Testing the plumbing connections is a crucial step before finalizing the installation of your bathtub plumbing. This ensures that all the connections are secure, leak-free, and functioning properly. Follow these steps to test your plumbing connections:
1. Turn on the water supply: Turn on the main water supply and allow water to flow through the newly installed plumbing. Make sure all faucets, showerheads, and bathtub fixtures are turned off initially.
2. Inspect for leaks: Check all the connections, including the drainpipe, trap, overflow pipe, and water supply lines. Look for any signs of leakage, such as dripping water or dampness around the connections. If any leaks are detected, tighten the fittings or use plumber’s tape to create a tighter seal.
3. Fill the bathtub: Fill the bathtub with water and let it sit for a while. Observe the water level and verify that there are no leaks or unusual drainage issues. This will ensure that the drainpipe and trap are functioning correctly.
4. Test the faucet and showerhead: Turn on the bathtub faucet and showerhead to check for proper water flow and pressure. Make sure both hot and cold water flows smoothly without any disruptions. Adjust the water temperature using the faucet handles or valves to ensure they function correctly.
5. Check for proper drainage: Once you have tested the water flow, allow the water to drain completely from the bathtub. Monitor the drainage process to ensure that the water is draining efficiently without any blockages or slow draining.
6. Inspect for any additional issues: While testing the plumbing connections, keep an eye out for any other issues that may arise, such as unusual sounds or vibrations. Address any concerns promptly to avoid further complications.
7. Make necessary adjustments: If you notice any leaks, drainage problems, or other issues during the testing process, make the necessary adjustments. This may involve tightening fittings, applying sealant, or consulting a professional plumber if the problem persists.
By thoroughly testing the plumbing connections, you can identify and resolve any issues before finalizing the installation. This ensures that your bathtub plumbing is in optimal working condition and ready to be used.
In the final step, we will discuss making any necessary adjustments and finalizing the installation of your bathtub plumbing.
Read more: How To Install A Bathtub Faucet
Step 7: Making Adjustments and Finalizing the Installation
In the final step of installing bathtub plumbing, it’s time to make any necessary adjustments and finalize the installation. This ensures that everything is in proper working order and ready for regular use. Follow these steps to complete the installation:
1. Address any issues: If you encountered any problems or identified areas that need improvement during the testing phase, now is the time to address them. Tighten any loose fittings, apply additional sealant or plumber’s tape to prevent leaks, or make any necessary repairs.
2. Secure loose pipes and fixtures: Check for any loose or unstable pipes, fittings, or fixtures. Use pipe straps or brackets to secure them in place. This helps prevent unnecessary movement or vibrations that could lead to future issues.
3. Install access panels: If you haven’t already done so, install access panels in strategic locations. This will allow easy access to the plumbing system for future maintenance or repairs. Ensure the panels are secure and easily removable when needed.
4. Test the plumbing once again: After making adjustments and securing everything, repeat the testing process to ensure that all issues have been resolved. Check for leaks, water flow, drainage, and proper functionality of faucets and fixtures. Make sure everything is working as expected.
5. Clean up and check for cosmetic issues: Clean up any debris or leftover materials from the installation process. Check for any cosmetic issues, such as scratches or scuffs, and address them accordingly. This will give your installation a polished and finished look.
6. Verify compliance with local regulations: Double-check that your bathtub plumbing installation complies with local building codes and regulations. This ensures that your installation is up to standard and avoids any potential issues in the future.
Congratulations! You have successfully completed the installation of your bathtub plumbing. By following these steps and ensuring everything is in order, you can enjoy a fully functional and leak-free plumbing system for your bathtub.
Remember, if you ever encounter any issues or require maintenance in the future, consult a professional plumber for expert assistance. They can provide guidance, repairs, or replacements if needed.
Enjoy your newly installed bathtub plumbing and the comfort it brings to your bathroom!
Conclusion
Installing bathtub plumbing may seem like a complex task, but with proper planning and execution, it can be accomplished by anyone with basic DIY skills. By following the steps outlined in this guide, you can install bathtub plumbing with confidence, ensuring a functional and leak-free system for your bathroom.
Throughout the installation process, we discussed various important steps, such as assessing your plumbing needs, measuring and marking for installation, cutting the pipes, attaching the drainpipe, connecting the water supply lines, testing the plumbing connections, making adjustments, and finalizing the installation.
By assessing your plumbing needs at the beginning, you ensured that your installation plans aligned with your bathroom layout and existing plumbing infrastructure. Accurate measurements and markings guided you in preparing the necessary positions for the pipes and fixtures. Cutting the pipes with precision allowed for proper fits and connections.
Attaching the drainpipe and connecting the water supply lines were critical steps in bringing water to the bathtub fixtures. Testing the plumbing connections was crucial to ensure everything was working as intended, with no leaks or drainage issues. Making adjustments and finalizing the installation addressed any concerns or improvements needed.
Throughout this process, it’s important to prioritize safety and compliance with local regulations. Always exercise caution while working with tools and materials, shut off the main water supply when necessary, and verify that your installation meets all building codes and requirements.
Remember, if you ever feel uncertain or encounter difficulties during the installation process, it’s recommended to consult a professional plumber. They can provide expert guidance and assistance to ensure the success of your project.
Installing bathtub plumbing is a rewarding endeavor that adds both functionality and value to your bathroom. With the knowledge and skills gained from this guide, you are well-equipped to tackle this project and enjoy the benefits of a well-designed and professionally installed bathtub plumbing system.
So, roll up your sleeves, gather your tools, and get ready to embark on this DIY journey. And soon enough, you’ll be able to relax and indulge in some well-deserved moments of blissful bathing in your newly installed bathtub.
Frequently Asked Questions about How To Install Bathtub Plumbing
Was this page helpful?
At Storables.com, we guarantee accurate and reliable information. Our content, validated by Expert Board Contributors, is crafted following stringent Editorial Policies. We're committed to providing you with well-researched, expert-backed insights for all your informational needs.


0 thoughts on “How To Install Bathtub Plumbing”