Home>Gardening & Outdoor>Landscaping Ideas>How To Install Artificial Grass On Tiles
Landscaping Ideas
How To Install Artificial Grass On Tiles
Modified: August 18, 2024
Transform your outdoor space with our expert landscaping ideas. Learn how to easily install artificial grass on tiles for a stunning, low-maintenance garden.
(Many of the links in this article redirect to a specific reviewed product. Your purchase of these products through affiliate links helps to generate commission for Storables.com, at no extra cost. Learn more)
Introduction
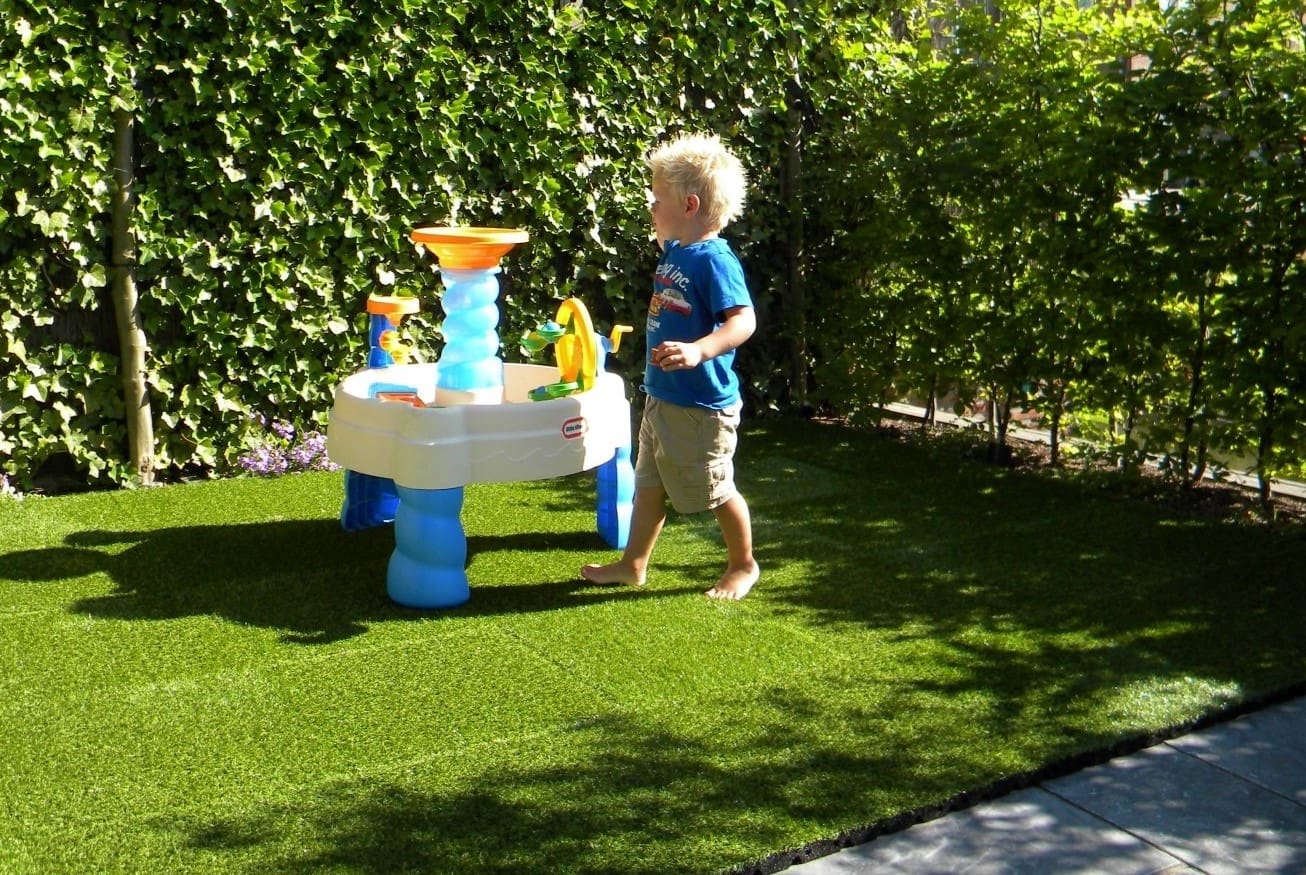
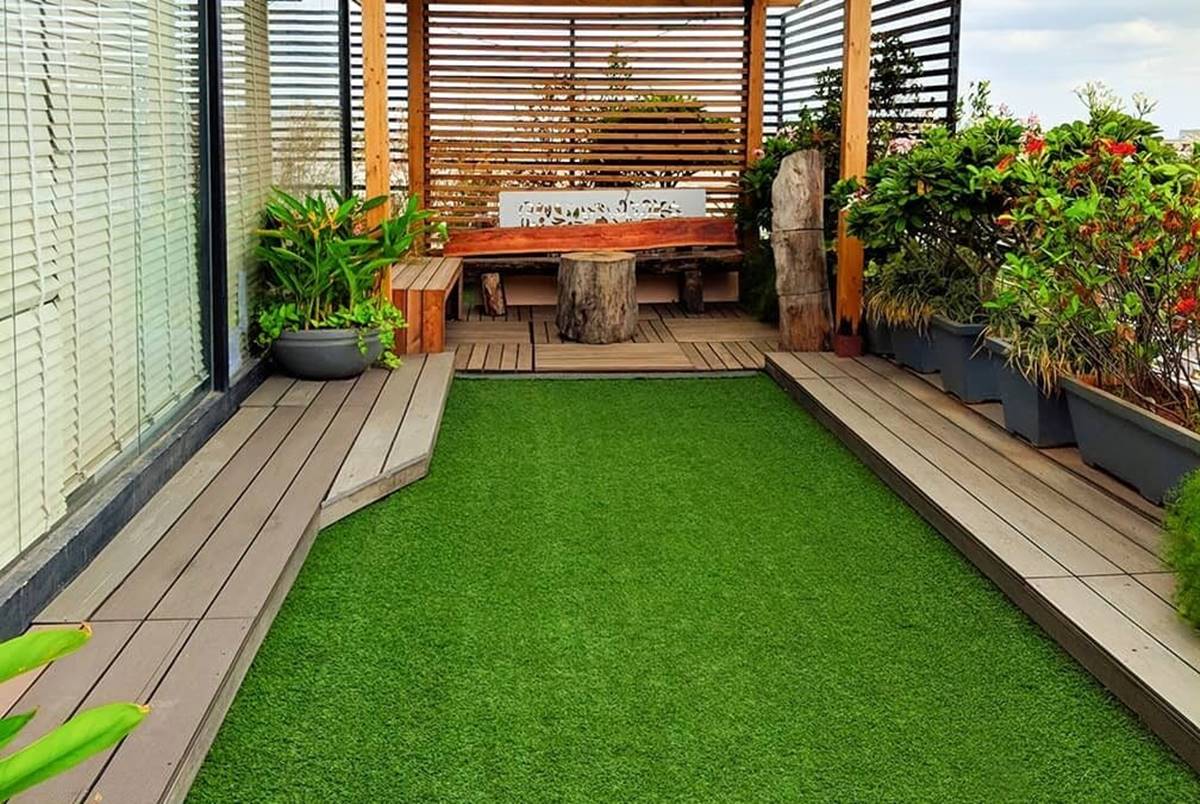
Transforming a tiled area into a lush green space can breathe new life into your outdoor environment. Whether you’re revamping a balcony, terrace, or any other tiled surface, installing artificial grass can create a vibrant and low-maintenance outdoor retreat. This comprehensive guide will walk you through the steps to install artificial grass on tiles, allowing you to enjoy a beautiful, green space without the hassle of traditional lawn maintenance.
By following these steps and using the right materials, you can achieve a stunning result that enhances the aesthetics and functionality of your outdoor space. Let’s dive into the details of this exciting landscaping project.
Key Takeaways:
- Transform your tiled outdoor space into a lush green retreat with artificial grass. Follow the steps to prepare, install, and maintain for a vibrant and low-maintenance outdoor oasis.
- By securing the edges and attending to final touches, you can enjoy a professional and durable artificial grass installation that enhances your outdoor space. Regular maintenance ensures a vibrant and inviting green space for years to come.
Read more: How To Install Exterior Patio Tile
Materials Needed
Before you begin the installation process, it’s essential to gather all the necessary materials. Here’s a list of items you’ll need:
- Artificial grass – Measure the area to determine the amount needed.
- Shock-absorbent underlay – Provides cushioning and support for the artificial grass.
- Adhesive or double-sided tape – Secures the artificial grass and underlay to the tiles.
- Utility knife – Used for cutting the artificial grass and underlay to fit the space.
- Broom or brush – For clearing and leveling the tiled surface.
- Measuring tape – Essential for accurately measuring the area and the artificial grass.
- Stiff bristle brush – Helps to fluff up the artificial grass fibers during installation.
- Seaming tape and adhesive (if joining multiple pieces of artificial grass)
- Protective gloves – Ensure safety during the installation process.
- Rolling tamper – A tool for compacting the base layer.
- Optional: Weed membrane – Prevents weed growth under the artificial grass.
Having these materials on hand will streamline the installation process and ensure that you have everything you need to complete the project efficiently.
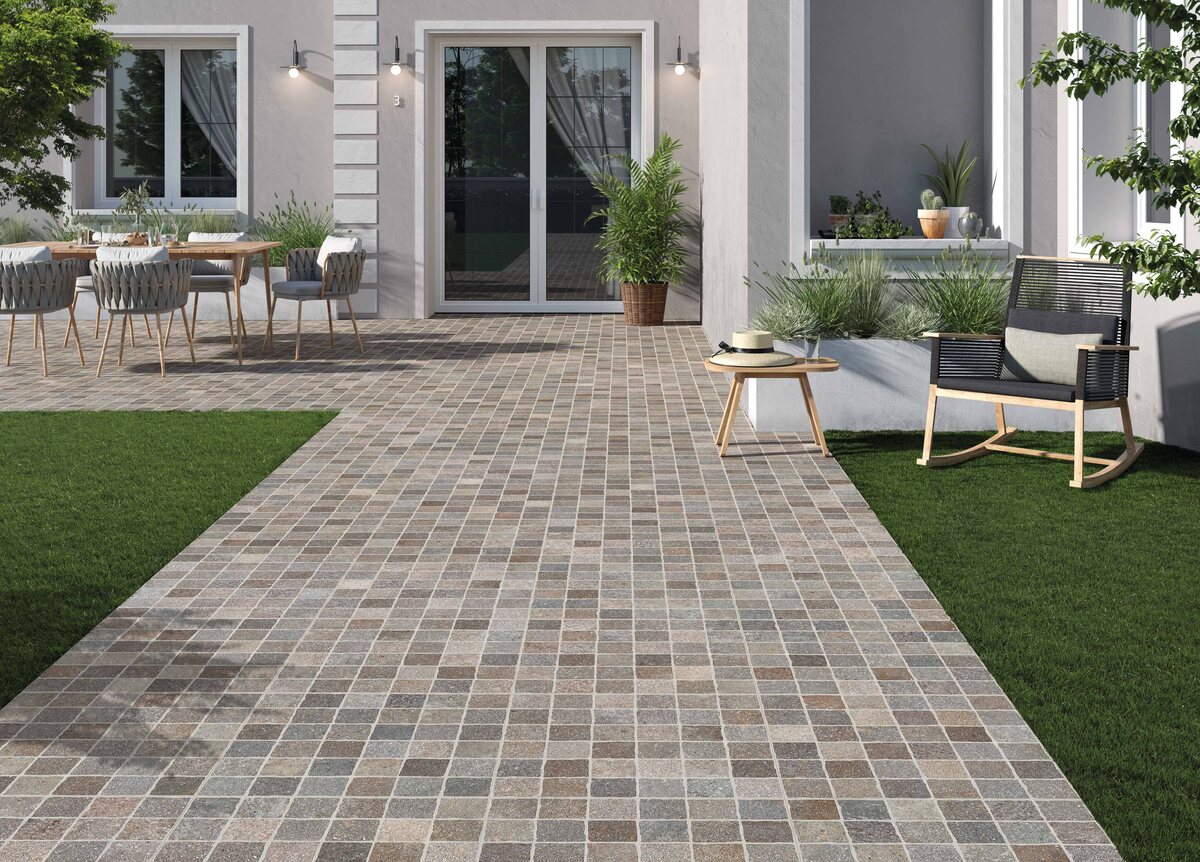
Preparing the Tiles
Before you can begin the installation of artificial grass, it’s crucial to prepare the tiled surface to ensure optimal results. Follow these steps to prepare the tiles:
- Clean the Surface: Start by thoroughly cleaning the tiles to remove any dirt, debris, or existing vegetation. Use a broom, brush, or vacuum to clear the surface, ensuring that it’s free from any obstructions that could affect the installation.
- Inspect for Damage: Check the tiles for any damage or uneven areas. Repair or replace any damaged tiles, and address any uneven surfaces to create a smooth and level base for the artificial grass.
- Apply an Underlay (Optional): Depending on the condition of the tiles and the desired cushioning for the artificial grass, you may choose to apply a shock-absorbent underlay. This underlay can provide additional support and comfort under the artificial grass, especially for areas where people will be walking or lounging.
- Allow for Drainage: If the tiled area is outdoors and exposed to the elements, ensure that there is adequate drainage. This may involve creating small drainage channels or ensuring that the existing drainage system is functioning properly to prevent water from pooling under the artificial grass.
By taking the time to prepare the tiles properly, you can create a stable and clean foundation for the artificial grass installation. This proactive approach sets the stage for a successful and long-lasting transformation of your outdoor space.
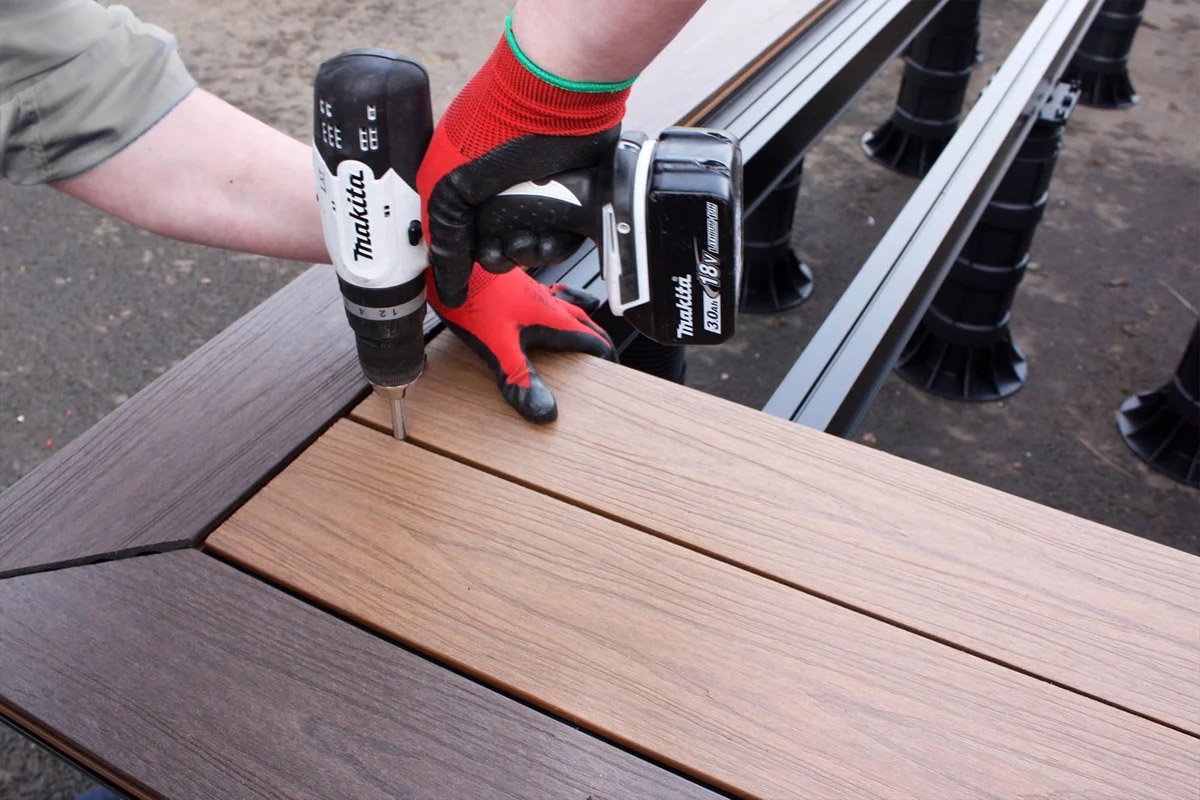
Installing the Base Layer
Creating a solid base layer is essential for the longevity and performance of the artificial grass. Follow these steps to install the base layer:
- Measure and Cut the Underlay: If you’re using a shock-absorbent underlay, measure the area and cut the underlay to fit the dimensions of the tiled space. Ensure that the underlay fits snugly without overlapping.
- Secure the Underlay: Use adhesive or double-sided tape to secure the underlay to the cleaned and prepared tiles. This step is crucial for preventing the underlay from shifting or bunching up once the artificial grass is laid on top.
- Flatten and Smooth: After securing the underlay, use a rolling tamper to flatten and smooth out the underlay, removing any air pockets or uneven areas. This creates a uniform surface for the artificial grass to rest upon.
- Trim Excess Underlay: If there is any excess underlay extending beyond the edges of the tiled area, carefully trim it using a utility knife to ensure a neat and precise fit.
By meticulously installing the base layer, you’re setting the stage for a professional and durable artificial grass installation. The underlay provides crucial support and cushioning, enhancing the overall comfort and performance of the artificial grass.
Before installing artificial grass on tiles, make sure the surface is clean and level. Use a self-leveling compound if needed. Apply a layer of adhesive specifically designed for outdoor use, then lay the artificial grass on top and secure the edges.
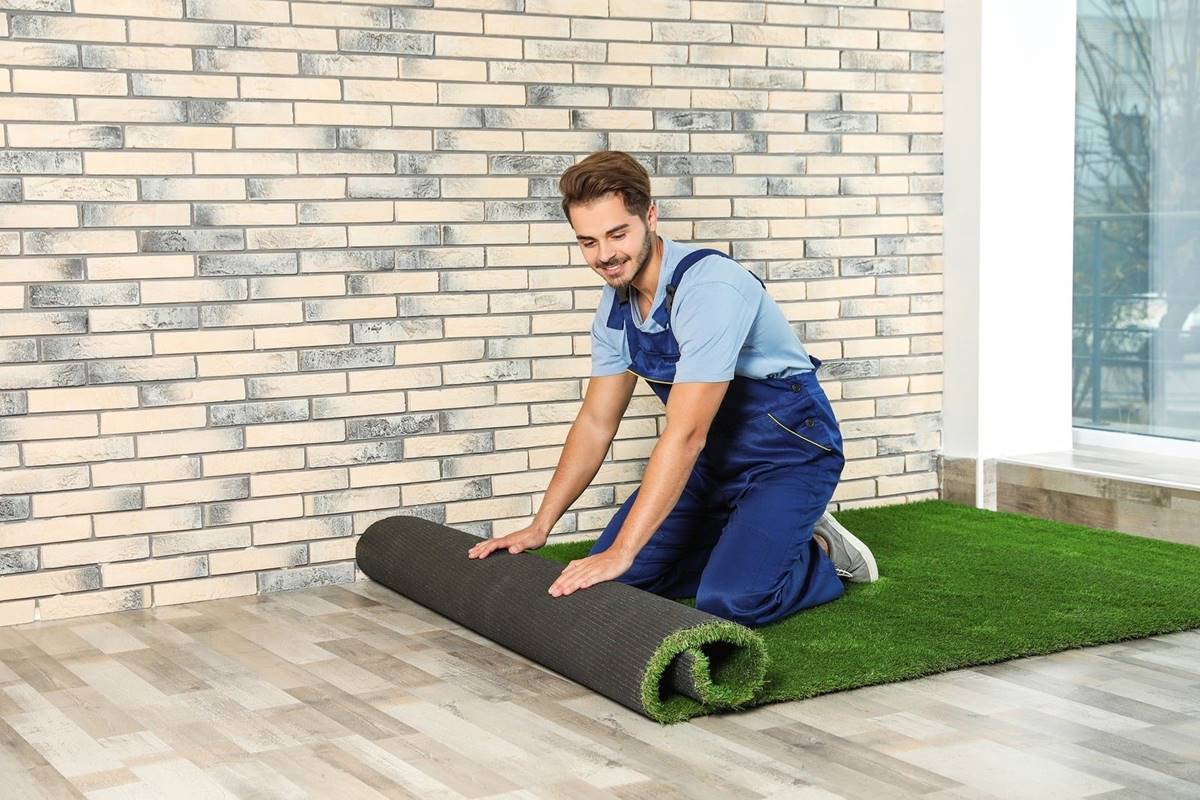
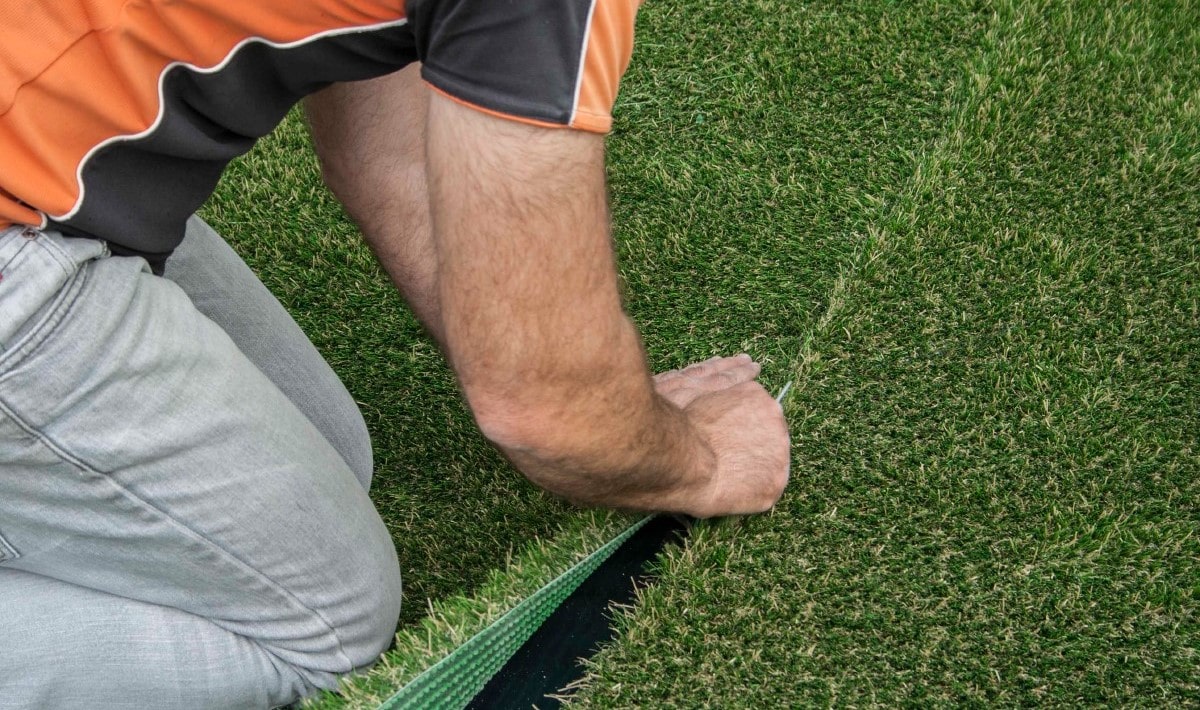
Laying the Artificial Grass
Now comes the exciting step of laying down the artificial grass to transform your tiled area into a vibrant green space. Follow these steps for a successful installation:
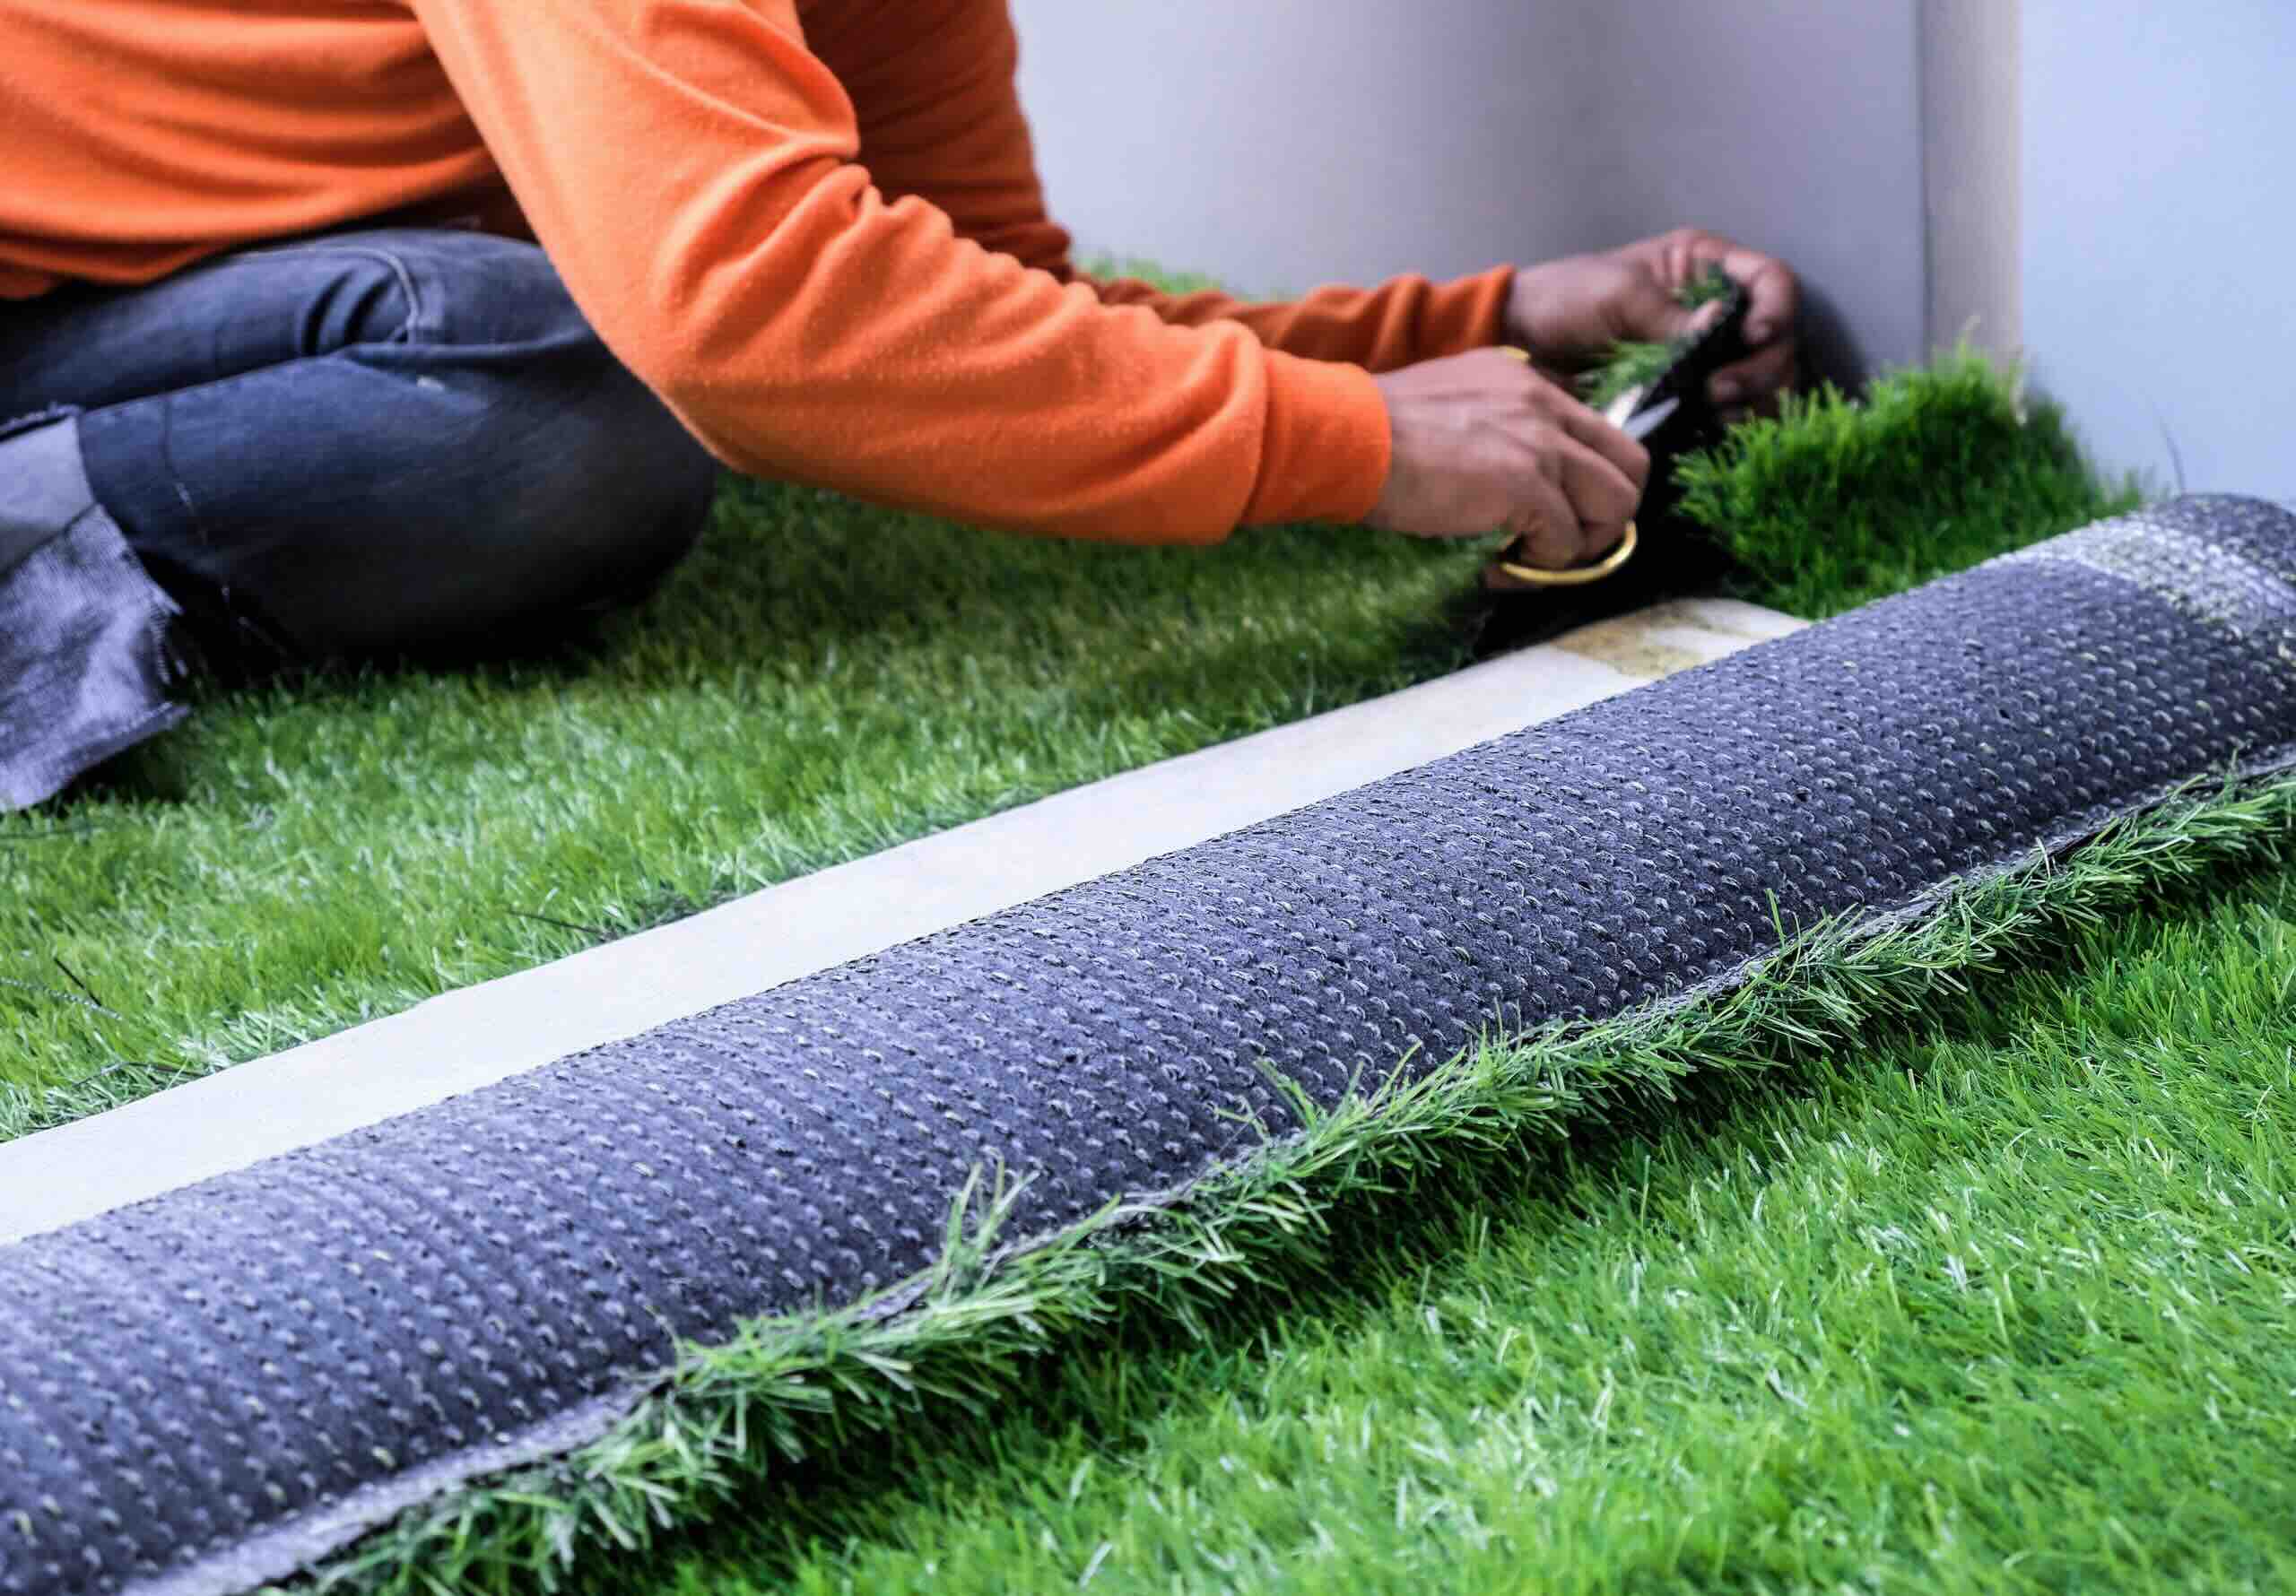
- Measure and Cut the Artificial Grass: Carefully measure the dimensions of the tiled area and the artificial grass, leaving a small excess to trim later. Use a utility knife to cut the artificial grass to fit the space, ensuring a precise and snug fit.
- Position the Artificial Grass: Gently position the cut artificial grass onto the prepared and underlaid tiles, ensuring that it aligns correctly with the edges and any features in the area, such as steps or borders.
- Flatten and Adjust: Once the artificial grass is in position, use a stiff bristle brush to fluff up the fibers and adjust any slight misalignments. This step helps the artificial grass settle evenly and appear natural.
- Joining Multiple Pieces (If Applicable): If you’re installing artificial grass in a larger area that requires multiple pieces, use seaming tape and adhesive to securely join the sections. Follow the manufacturer’s guidelines for seamless and durable joins.
By carefully laying the artificial grass, you’re bringing your outdoor space to life with a vibrant and low-maintenance green surface. This step sets the stage for a visually appealing and functional transformation of your tiled area.
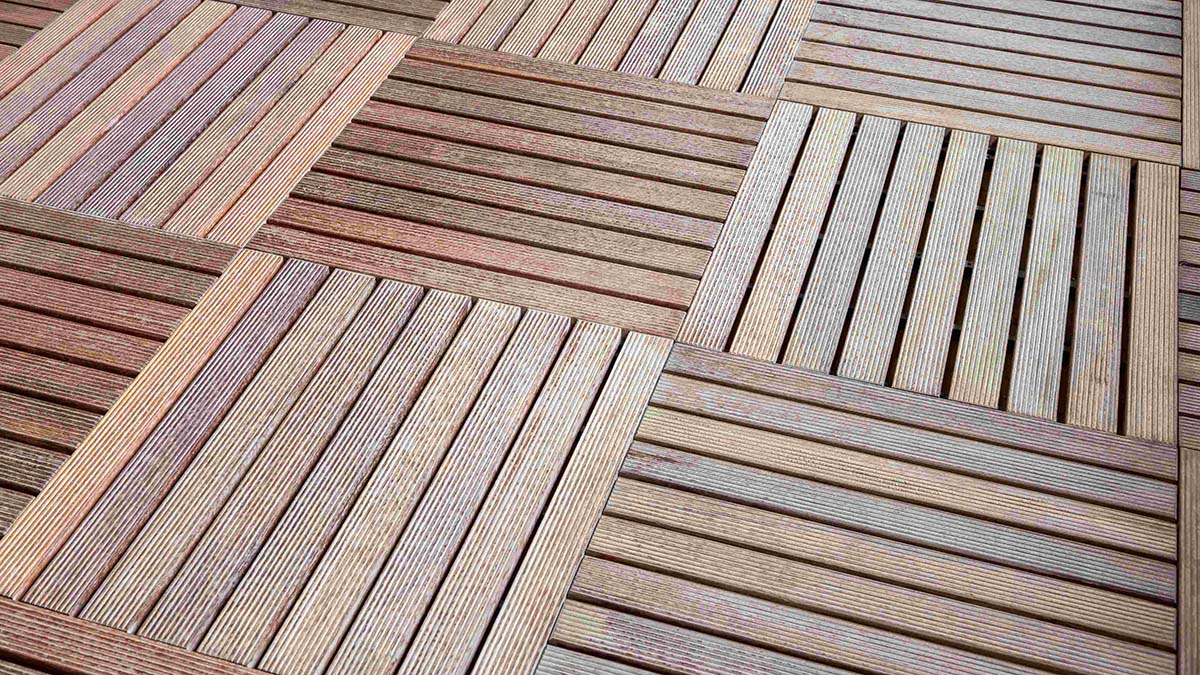
Read more: How To Install Wood Patio Tiles
Securing the Edges
Securing the edges of the artificial grass is crucial for a professional and long-lasting installation. Follow these steps to ensure that the edges are firmly in place:
- Apply Adhesive: Use adhesive or double-sided tape along the edges of the artificial grass to secure it to the surrounding surfaces, such as walls, steps, or borders. This step prevents the edges from lifting and creates a seamless and polished look.
- Smooth and Press: After applying the adhesive, carefully smooth and press the edges of the artificial grass to ensure a strong bond with the surrounding surfaces. Take your time to create a neat and secure finish.
- Trim Excess Material: If there is any excess artificial grass extending beyond the edges, use a utility knife to trim it neatly, creating a clean and precise edge that seamlessly integrates with the surrounding features.
By securing the edges of the artificial grass, you’re ensuring a professional and polished finish that enhances the overall aesthetic appeal and durability of the installation. This step plays a crucial role in creating a seamless transition between the artificial grass and the surrounding elements of your outdoor space.
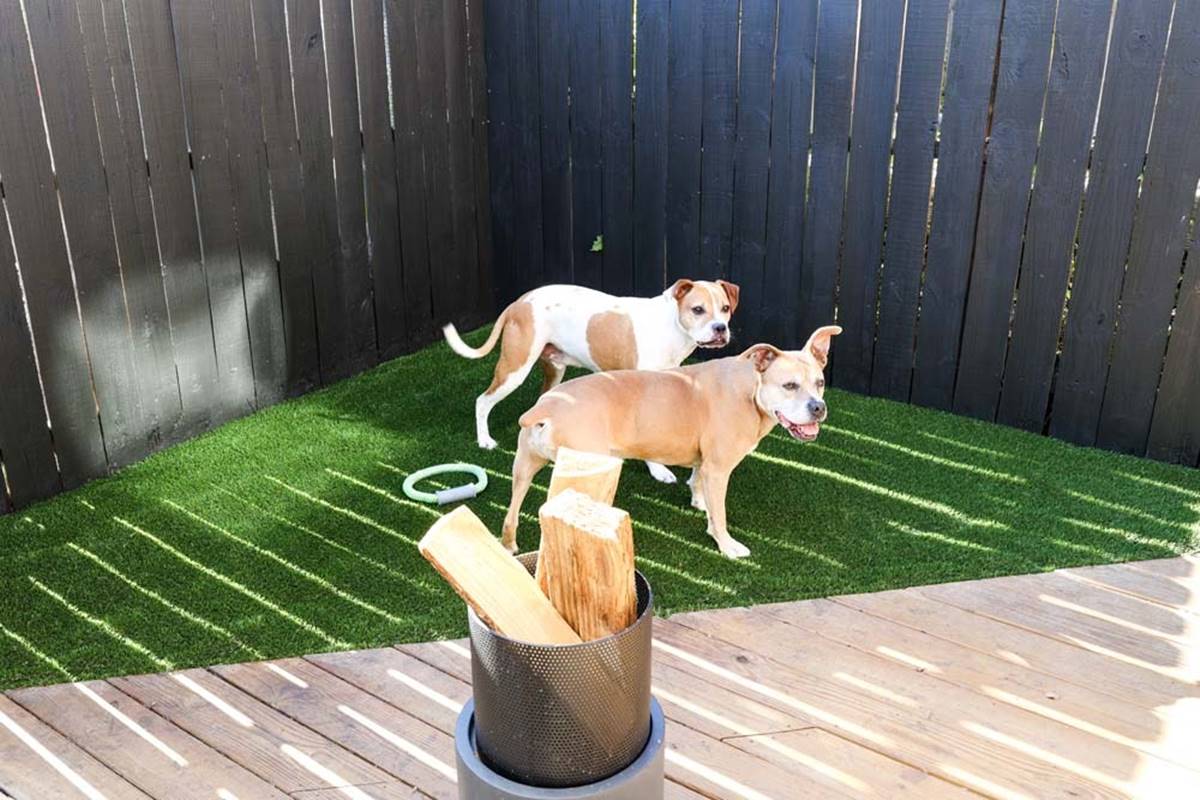
Final Touches and Maintenance
Completing the installation of artificial grass on tiles involves final touches to refine the appearance and ongoing maintenance to ensure its longevity. Here are the essential final touches and maintenance steps:
- Brush and Fluff: Once the artificial grass is in place, use a stiff bristle brush to fluff up the fibers, creating a lush and natural appearance. This step also helps to distribute infill material evenly, if applicable, for added support and stability.
- Inspect and Adjust: Take a moment to inspect the entire installation, ensuring that the artificial grass is securely in place, the edges are neatly trimmed, and any joins are seamless. Make any necessary adjustments for a flawless finish.
- Apply Infill (If Applicable): Depending on the type of artificial grass used, applying infill material can enhance its resilience and provide a more natural feel. Follow the manufacturer’s recommendations for the appropriate infill material and application method.
- Regular Maintenance: To keep your artificial grass looking its best, establish a regular maintenance routine. This may include brushing to remove debris, rinsing with water to remove dust and pet waste, and occasional grooming to maintain the fibers’ appearance.
- Addressing Stains or Spills: In the event of stains or spills, promptly clean the affected area using mild soap and water. Avoid using harsh chemicals or solvents that could damage the artificial grass fibers.
By attending to these final touches and implementing a proactive maintenance plan, you can enjoy a vibrant and low-maintenance green space for years to come. Artificial grass on tiles offers a versatile and durable solution for creating an inviting outdoor environment without the hassle of traditional lawn care.
Frequently Asked Questions about How To Install Artificial Grass On Tiles
Was this page helpful?
At Storables.com, we guarantee accurate and reliable information. Our content, validated by Expert Board Contributors, is crafted following stringent Editorial Policies. We're committed to providing you with well-researched, expert-backed insights for all your informational needs.
0 thoughts on “How To Install Artificial Grass On Tiles”