Articles
How To Install Outside Light On Vinyl Siding
Modified: October 20, 2024
Learn how to easily install an outside light on vinyl siding with step-by-step instructions and helpful tips. Check out our articles for expert guidance and a seamless installation process.
(Many of the links in this article redirect to a specific reviewed product. Your purchase of these products through affiliate links helps to generate commission for Storables.com, at no extra cost. Learn more)
Introduction
When it comes to enhancing the appearance and functionality of your outdoor space, installing an outside light on your vinyl siding can make a significant difference. Not only does it provide added safety and security during the dark hours, but it also adds a touch of elegance to your home exterior.
While the process of installing an outside light on vinyl siding may seem daunting at first, with the right tools, materials, and steps, it can be a straightforward and rewarding DIY project. This comprehensive guide will walk you through the process, ensuring a successful installation.
Before diving right into the installation, it’s important to gather the necessary tools and materials. You’ll need:
- A drill
- A jigsaw or keyhole saw
- A level
- A measuring tape
- A screwdriver
- A wire stripper
- An electrical tester
- A mounting block
- Vinyl siding mounting kits
- An outside light fixture
- Electrical wire
- Wire connectors
- Outdoor caulking
- And, of course, safety gear such as gloves and safety glasses
Additionally, make sure to choose an outside light that complements the style of your home and meets your specific lighting needs. Whether you opt for a wall-mounted lantern, a floodlight, or a motion sensor light, select a fixture that enhances the aesthetics of your home and provides the desired level of brightness.
Key Takeaways:
- Installing an outside light on vinyl siding is a rewarding DIY project that enhances safety and aesthetics. Prioritize safety, prepare the siding, and follow each step meticulously for a successful installation.
- Choosing the right location, securing the light fixture, and testing its functionality are crucial steps in the installation process. Enjoy the newfound illumination and ambiance it brings to your outdoor space!
Read more: How To Install Awning On Vinyl Siding
Step 1: Gather the Necessary Tools and Materials
Before you begin the installation process, it’s essential to gather all the tools and materials you’ll need. Having everything ready beforehand will save you time and ensure a smooth installation.
Here’s a list of the tools and materials you’ll require:
- A drill: You’ll need a drill with appropriate drill bits to create holes in the vinyl siding and mount the light fixture.
- A jigsaw or keyhole saw: This tool will be necessary to cut through the vinyl siding and create an opening for the mounting block.
- A level: Make sure to have a level on hand to ensure that your light fixture is installed straight and level.
- A measuring tape: Accurate measurements are crucial for placing the mounting block and aligning the light fixture correctly.
- A screwdriver: You’ll need a screwdriver to secure the mounting block and attach the light fixture.
- A wire stripper: If you’re dealing with electrical wiring, a wire stripper is necessary to remove the insulation from the wires.
- An electrical tester: An electrical tester will help you ensure that the power is off before working with the wiring.
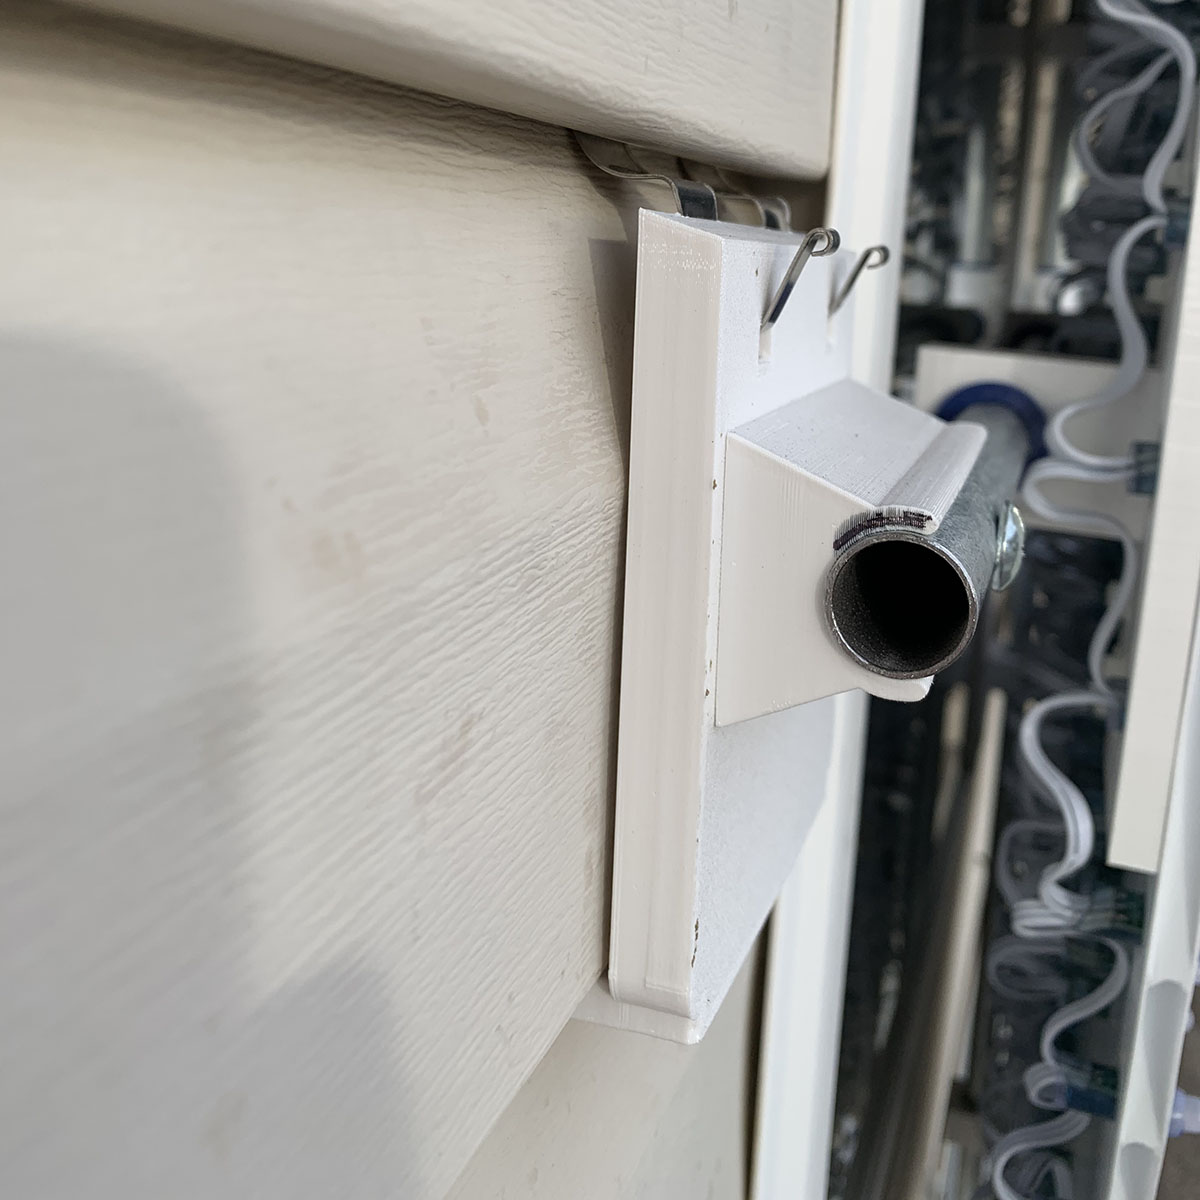
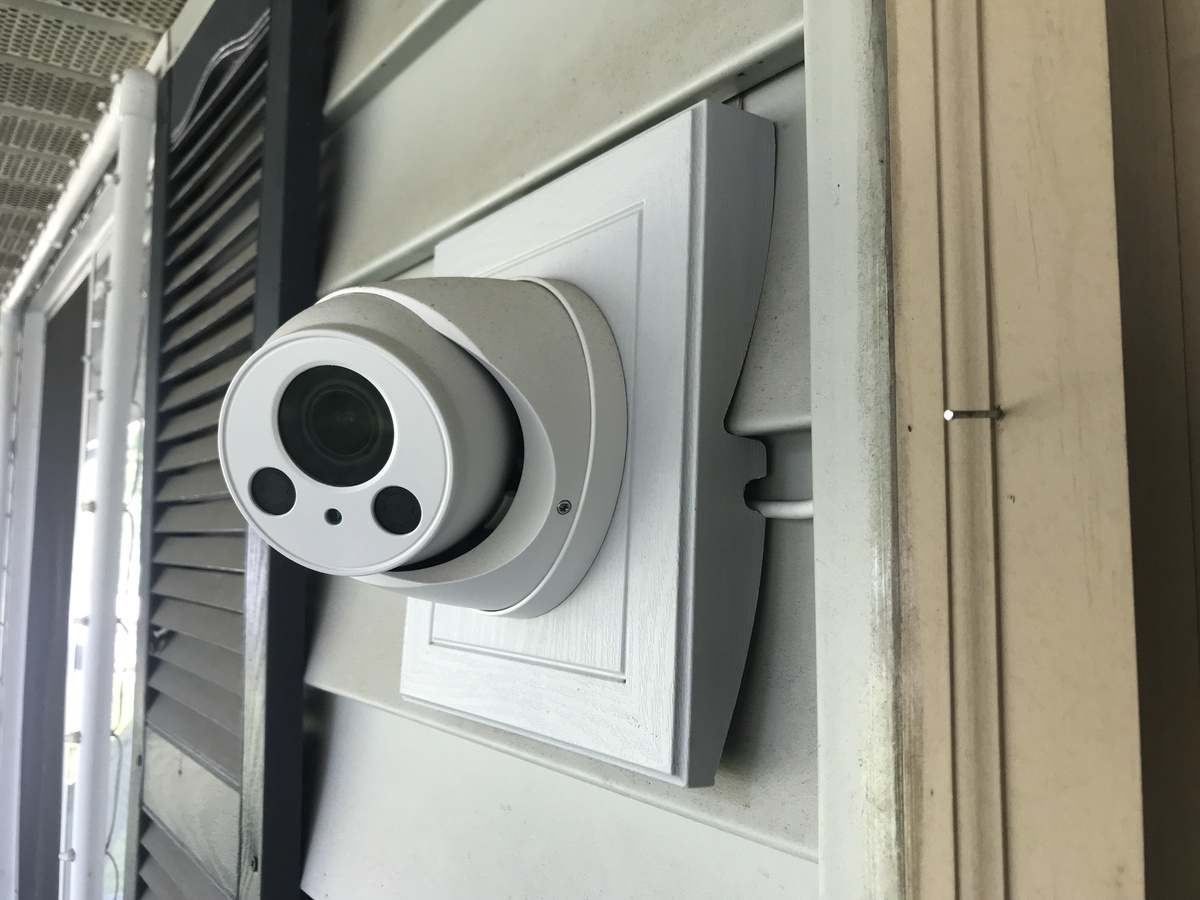
- A mounting block: This is a crucial component for installing an outside light on vinyl siding. The mounting block provides a secure surface to attach the light fixture to the siding.
- Vinyl siding mounting kits: These kits often include fasteners and brackets specifically designed for securing objects to vinyl siding without damaging it.
- An outside light fixture: Choose a light fixture that suits your style and lighting needs.
- Electrical wire: If you’re installing a wired light fixture, you’ll need electrical wire to connect it to your home’s electrical system.
- Wire connectors: Wire connectors are necessary for joining and securing the electrical connections.
- Outdoor caulking: Outdoor caulking will help seal any gaps and protect against moisture infiltration.
- Safety gear: Don’t forget to prioritize your safety by wearing gloves and safety glasses.
By ensuring that you have all the necessary tools and materials before you start, you’ll be able to proceed with confidence and complete the installation smoothly.
Step 2: Choose the Right Location
Choosing the right location for your outside light is crucial as it determines the functionality and visual impact of the fixture. Here are some factors to consider when selecting the location:
- Accessibility: Make sure the location is easily accessible so that you can easily reach the light for maintenance and bulb replacement.
- Lighting Needs: Consider the purpose of the light. Are you looking for a fixture that will illuminate a pathway, accentuate a specific area, or provide general outdoor lighting?
- Home Aesthetics: Take into account the architectural style of your home and choose a location that complements its overall design. The light fixture should enhance the aesthetics of your home’s exterior rather than clash with it.
- Proximity to Electrical Source: If you’re installing a wired light fixture, ensure that the chosen location is close to an existing electrical source. This will make the wiring process easier.
- Safety and Security: Consider the safety and security aspects when determining the location. Install the light in areas where it can effectively illuminate dark spots and enhance the security of your property.
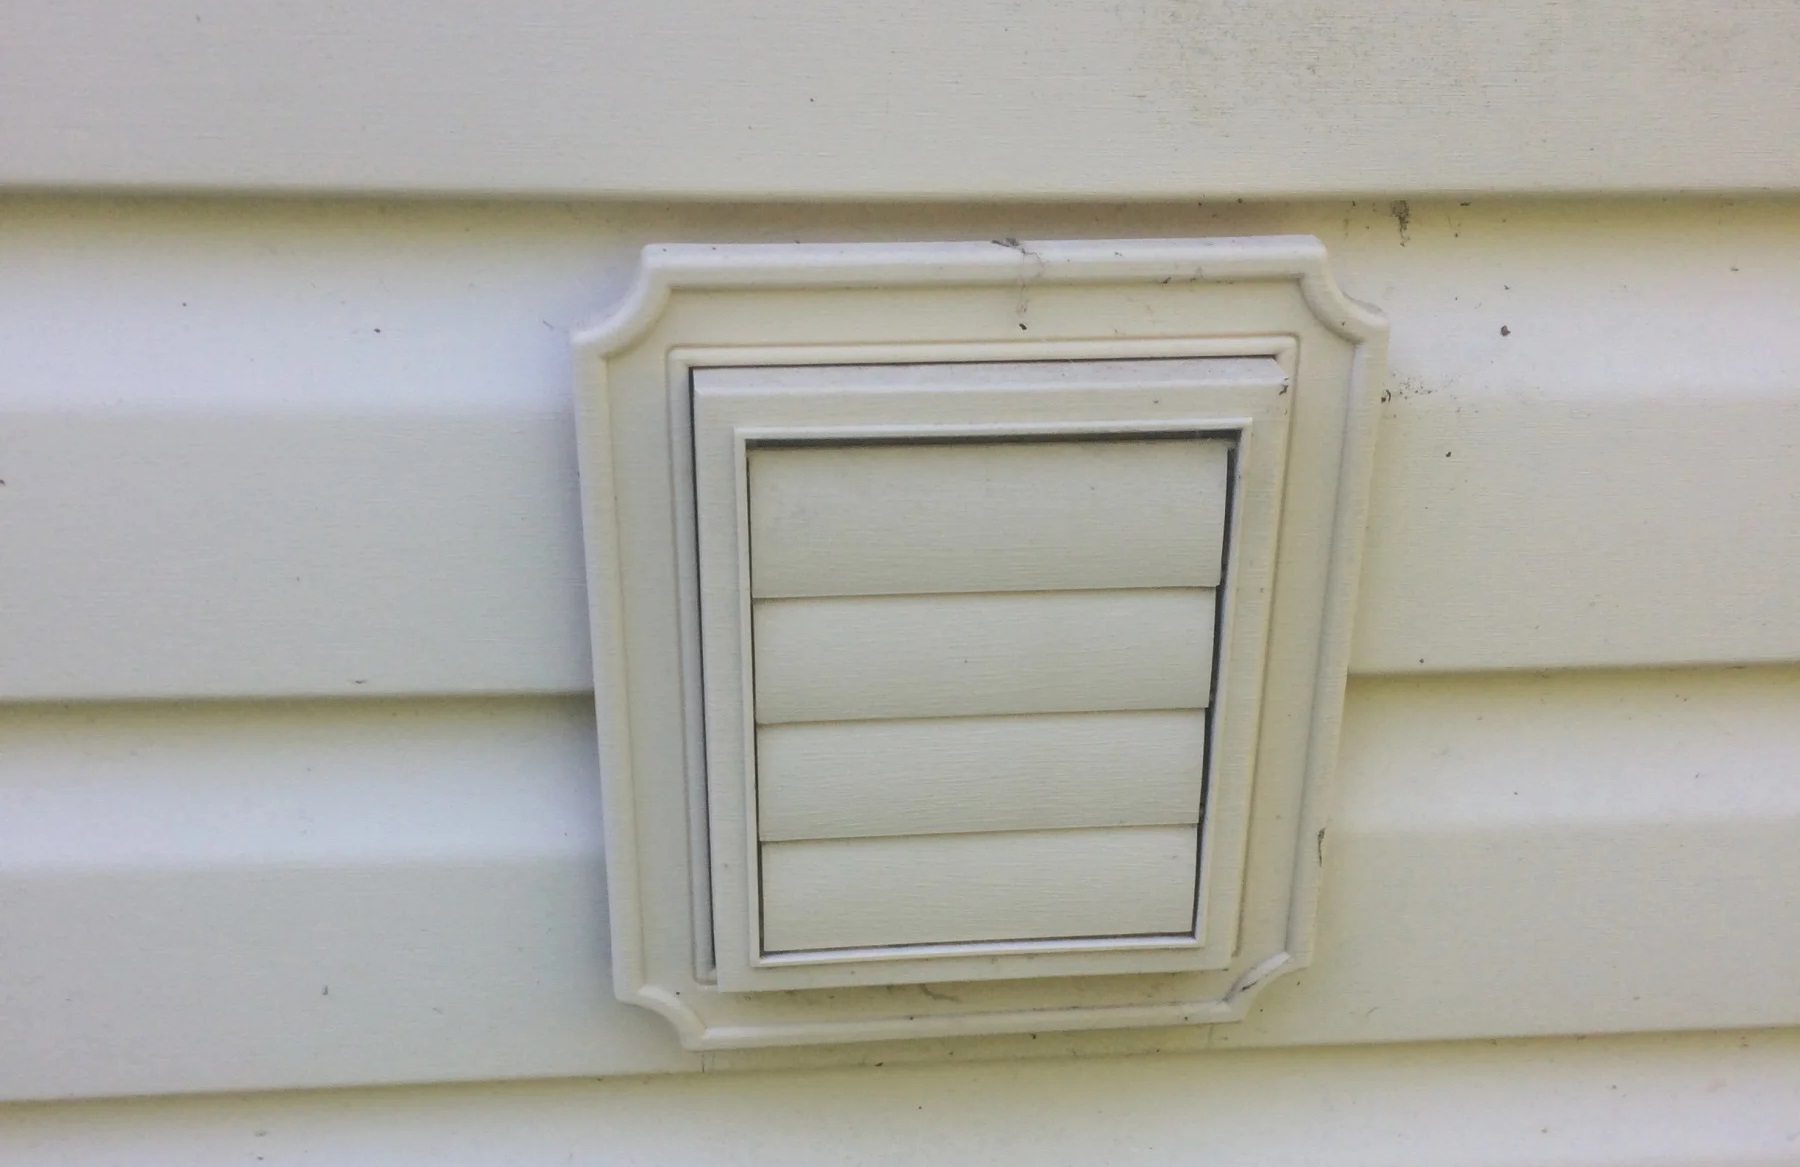
- Vinyl Siding Structure: It’s important to take your vinyl siding’s structure into account when choosing the location. Look for areas where there are no obstructions such as corner trim or vents. Also, check for any obstacles behind the siding that may interfere with the installation process.
Once you have considered these factors, take a walk around the exterior of your home and identify potential locations that meet your criteria. Keep in mind that the location should also provide a suitable surface for mounting the light fixture securely.
Remember, the aim is to find a balance between functionality, aesthetics, and practicality. By carefully choosing the right location, you’ll ensure that your outside light not only serves its purpose but also enhances the overall look of your home’s exterior.
Step 3: Prepare the Vinyl Siding
Before you can install the mounting block and the outside light, it’s essential to prepare the vinyl siding correctly. This step ensures a secure, level, and aesthetically pleasing installation. Here’s how to prepare the vinyl siding:
- Clean the siding: Start by cleaning the area where you plan to install the light. Use a mild detergent and a soft brush or cloth to remove any dirt, debris, or grime from the surface. This will help create a clean and smooth surface for mounting the light fixture.
- Inspect the siding: Take a close look at the vinyl siding to check for any signs of damage, such as cracks, chips, or warping. It’s crucial to address any issues before proceeding with the installation. Repair or replace any damaged sections of the siding to ensure a stable mounting surface.
- Measure and mark the placement: Use a measuring tape to determine the desired height and position of the light fixture. Mark the exact location on the siding, ensuring it aligns with your previous considerations for accessibility, aesthetics, and functionality.
- Ensure proper clearance: Prior to installing the mounting block, make sure there is enough clearance around the location to accommodate the size of the block and the light fixture. This will allow for easy installation and wiring.
- Remove the vinyl siding: Before cutting an opening for the mounting block, you’ll need to remove the vinyl siding in that area. Carefully detach the bottom edge of the siding panel using a siding removal tool or a flat pry bar. Gently pull the panel away from the wall, exposing the sheathing underneath.
- Resize the siding panel: Measure the height and width of the mounting block and use these measurements to resize the siding panel accordingly. Transfer the measurements onto the panel using a pencil or marker. Cut the panel to size using a jigsaw or keyhole saw, following the marked lines.
- Reinstall the siding panel: Slide the resized siding panel back into place, ensuring it fits securely. Re-engage the bottom edge of the panel with the upper panel, locking it back into position. Use a rubber mallet or a block of wood to tap the panel gently and secure it firmly against the wall.
By preparing the vinyl siding properly, you’ll create a clean, level, and smooth surface for installing the mounting block and the outside light fixture. Take your time during this step to ensure a professional and seamless outcome.
Step 4: Mark the Mounting Holes
Once you have prepared the vinyl siding, the next step is to mark the location for the mounting holes. These holes will secure the mounting block to the siding and provide a stable foundation for the outside light fixture. Here’s how to mark the mounting holes:
- Place the mounting block: Position the mounting block over the cutout area on the vinyl siding, aligning it with the previously marked location. Ensure that the block is level and straight using a level. Adjust its position as needed to achieve a proper alignment.
- Mark the hole locations: Using a pencil or a marker, trace the outline of the mounting block onto the siding. This will serve as a guide for marking the locations of the mounting holes.
- Measure hole spacing: Refer to the manufacturer’s instructions for the specific mounting block you are using to determine the recommended hole spacing. Measure and mark the hole locations accordingly, ensuring they are evenly spaced and aligned with the outline of the mounting block.
- Double-check measurements: Before proceeding to drill the holes, double-check the measurements and hole locations to ensure accuracy. Use a measuring tape and a level to verify that everything is correctly aligned. Making adjustments at this stage will prevent any issues during the actual installation.
When marking the mounting holes, it’s important to be precise and accurate. Taking the time to measure and mark carefully will ensure that the mounting block and the outside light fixture are properly aligned and securely attached to the vinyl siding.
Once you have marked the hole locations, you’re ready to move on to the next step: drilling the mounting holes.
Step 5: Drill the Mounting Holes
Now that you have marked the locations for the mounting holes, it’s time to drill the holes. This step is essential for securing the mounting block to the vinyl siding and ensuring a stable installation for the outside light fixture. Here’s how to drill the mounting holes:
- Choose the appropriate drill bit: Select a drill bit that matches the size of the mounting screws or anchors recommended by the manufacturer for your specific mounting block. It’s important to use the correct size to ensure a snug fit and proper stability.
- Attach the drill bit: Insert the chosen drill bit into your drill and securely tighten it in place. Make sure it is firmly attached to avoid any accidents during the drilling process.
- Start drilling: Position the drill bit over the first marked mounting hole. Apply gentle pressure and begin drilling into the marked spot. Use a steady hand and let the drill do the work, gradually increasing the pressure as needed. Keep the drill perpendicular to the vinyl siding to ensure straight and accurate holes.
- Continue drilling: Once the first hole is drilled, move on to the remaining marked holes, following the same procedure. Take your time and be patient to avoid any mistakes or damage to the siding.
- Clear debris: After drilling each hole, remove the drill bit from the hole and clear away any debris or vinyl shavings. This will prevent interference and ensure a proper fit when securing the mounting block.
Drilling the mounting holes requires careful attention and precision. Take your time and be mindful of the size and depth of the holes to ensure a secure attachment. Remember to follow all safety guidelines, including wearing safety glasses and securing the workpiece to prevent any accidents or injuries.
Once you have successfully drilled the mounting holes, you are ready to proceed to the next step: installing the mounting block onto the vinyl siding.
When installing an outside light on vinyl siding, make sure to use a mounting block designed for vinyl siding to ensure a secure and weatherproof installation. This will also prevent damage to the siding.
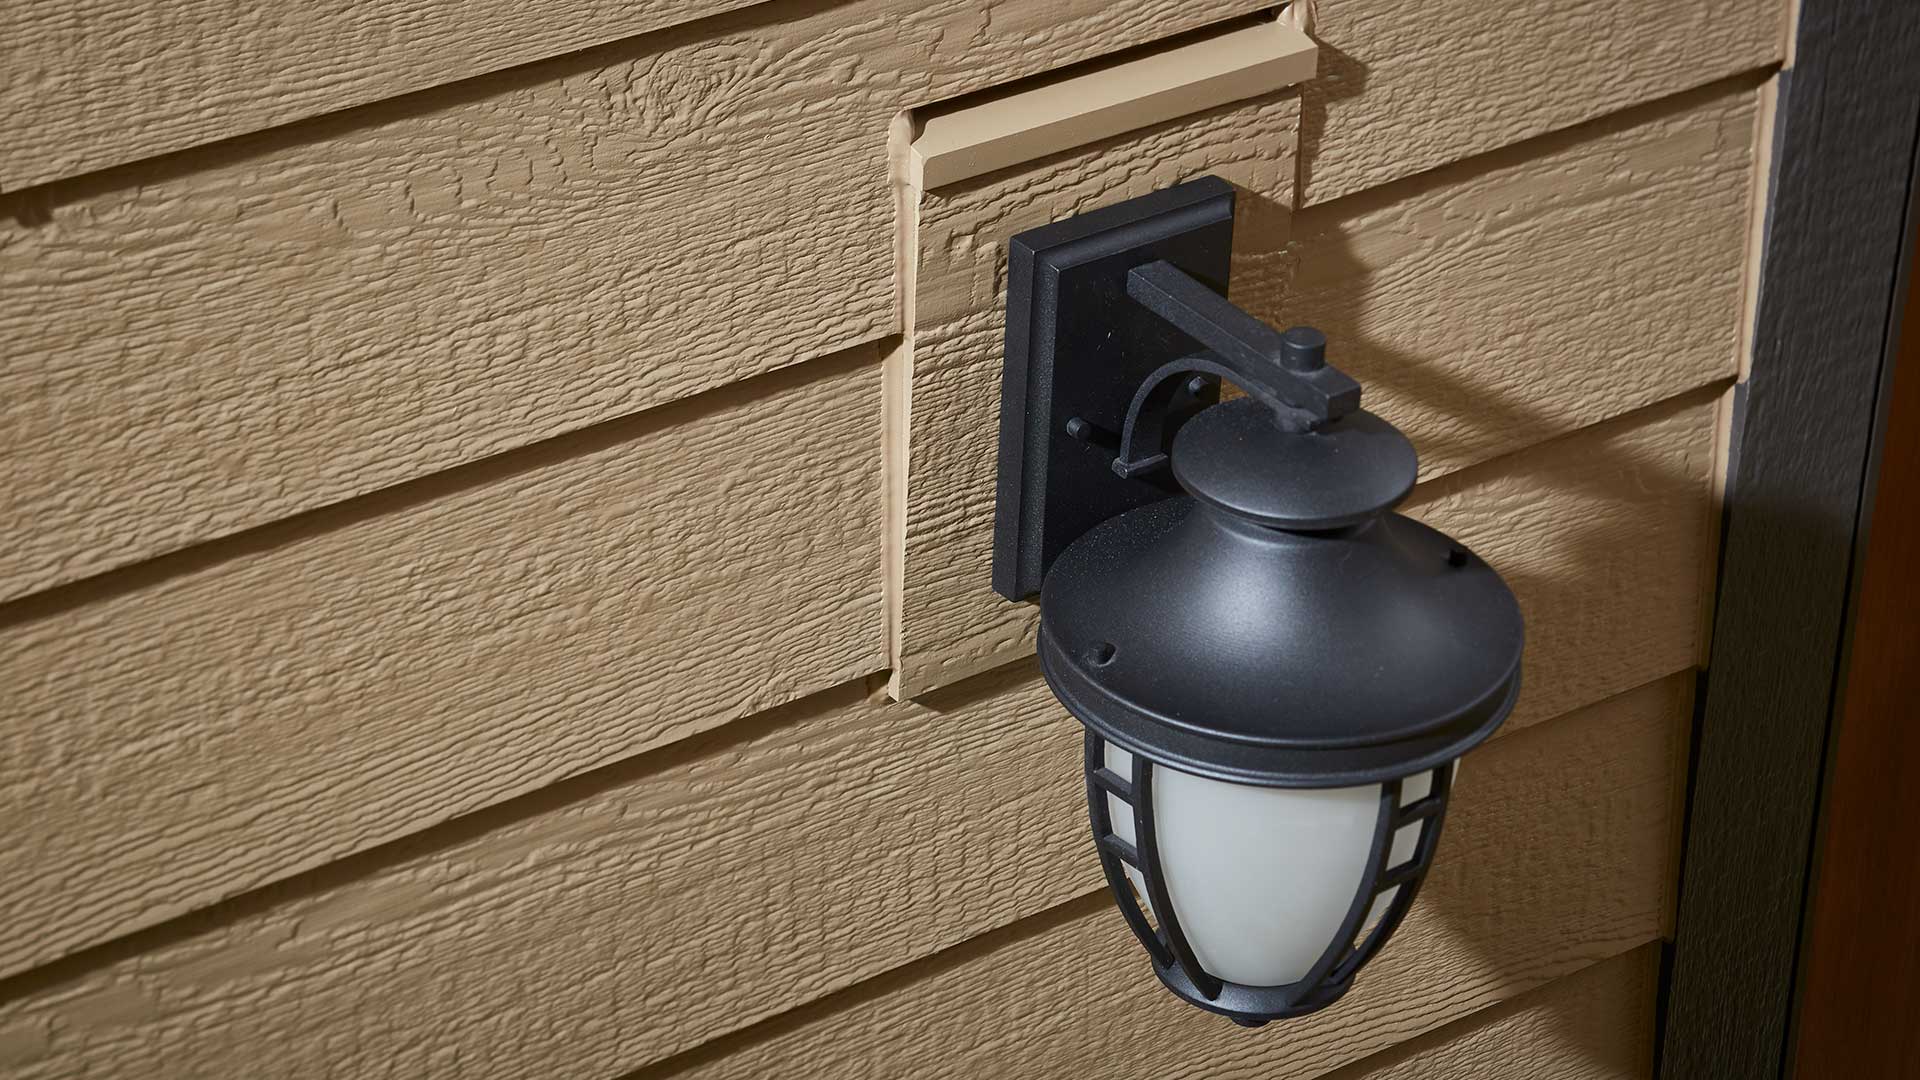
Step 6: Install the Mounting Block
After drilling the mounting holes on the vinyl siding, you can now proceed to install the mounting block. The mounting block serves as a secure base for attaching the outside light fixture. Follow these steps to install the mounting block:
- Position the mounting block: Align the mounting block with the drilled holes on the vinyl siding. Ensure that the block is centered over the holes and level using a level. Adjust the position if necessary to achieve proper alignment.
- Insert the screws or anchors: Depending on the type of mounting block you have, insert the appropriate screws or anchors through the mounting holes into the drilled holes on the vinyl siding. Start with one screw or anchor and partially tighten it. This will hold the mounting block in place temporarily.
- Align and insert remaining screws or anchors: Once the first screw or anchor is partially tightened, align the remaining screws or anchors with their respective holes. Insert them, but do not fully tighten them yet. This will allow for adjustments if needed.
- Check alignment: Before fully tightening the screws or anchors, double-check the alignment of the mounting block. Use a level to ensure that it is straight and level. Make any minor adjustments as necessary to achieve the desired position.
- Tighten all screws or anchors: Once the mounting block is properly aligned, proceed to fully tighten all the screws or anchors. Use a screwdriver or appropriate tool to securely fasten them. Be careful not to overtighten, as it may damage the vinyl siding.
- Verify stability: After tightening all the screws or anchors, gently push and pull on the mounting block to confirm its stability. It should feel secure and firmly attached to the vinyl siding.
Properly installing the mounting block ensures a sturdy foundation for the outside light fixture. Take your time during this step to achieve accurate alignment and secure attachment. Double-check the stability of the mounting block before proceeding to the next step.
Now that the mounting block is in place, you’re ready to move on to the exciting part: mounting the outside light fixture.
Step 7: Mount the Outside Light
With the mounting block securely installed, it’s time to mount the outside light fixture. Follow these steps to successfully mount the light:
- Prepare the light fixture: Before mounting the light, ensure that it is ready for installation. Remove any packaging, protective film, or covers from the fixture. Familiarize yourself with the wiring connections and mounting hardware included with the light.
- Position the light fixture: Hold the light fixture up to the mounting block, aligning it with the pre-drilled holes on the mounting plate. Ensure that the fixture is level and centered, making any necessary adjustments.
- Insert the mounting screws: Once aligned, insert the mounting screws through the holes on the light fixture and into the corresponding holes on the mounting block. Start by partially tightening the screws to hold the fixture in place.
- Check alignment: Before fully tightening the mounting screws, double-check the alignment of the light fixture. Use a level to ensure that it is straight and level. Make any minor adjustments as needed.
- Secure the light fixture: Once the alignment is confirmed, fully tighten the mounting screws using a screwdriver or the appropriate tool. Ensure that the fixture is securely mounted and does not wobble or move.
- Verify stability: After tightening the screws, gently give the light fixture a gentle shake to confirm its stability. It should feel secure and firmly attached to the mounting block.
- Inspect the installation: Take a step back and inspect the installed light fixture. Double-check that it is level, properly aligned, and securely mounted. Make any final adjustments if necessary.
Mounting the outside light fixture is a crucial step that adds the finishing touch to your installation. Take your time during this step to ensure that the fixture is level and securely mounted. Double-check the stability and alignment before moving on to the next step of the installation process.
Now that the light fixture is successfully mounted, you’re ready to move on to the next step: connecting the wiring.
Step 8: Connect the Wiring
After mounting the outside light fixture, it’s time to connect the wiring. This step involves safely connecting the light fixture to the electrical system of your home. Follow these steps to connect the wiring:
- Turn off the power: Before working with any electrical wiring, it’s crucial to turn off the power at the main electrical panel. Locate the circuit breaker that controls the power supply to the area where you’re installing the light fixture and switch it off.
- Prepare the wires: Strip approximately 1/2 inch of insulation from the end of each wire – the wire from the light fixture and the corresponding wires from the electrical system. Use a wire stripper to carefully strip the insulation, exposing the bare wire.
- Connect the wires: Connect the matching wires together using wire connectors. Twist the exposed ends of the wires together, making sure they are securely joined. Insert the twisted wires into a wire connector and twist the connector clockwise until it is tight and secure.
- Secure the connections: Once the wires are connected, secure the wire connectors with electrical tape. This will provide added protection and ensure that the connections remain secure.
- Tuck and conceal the wires: Carefully tuck the connected wires into the electrical box or behind the mounting block, ensuring that they are neatly arranged and not exposed. Avoid any sharp edges or movement that could damage the wires.
- Verify the connections: Double-check the connections to ensure that they are properly made and tightly secured. Ensure that there are no loose wires and that all the connections are insulated and protected.
- Turn on the power: After confirming that all the connections are secure, switch the power back on at the main electrical panel. Test the light switch to ensure that the light fixture is working properly.
It is essential to handle electrical wiring with caution and follow all safety protocols. If you are uncertain or uncomfortable working with electrical wiring, it’s recommended to seek the assistance of a professional electrician.
By properly connecting the wiring, you are one step closer to enjoying your new outside light fixture. Proceed to the next step, which involves testing the light.
Step 9: Test the Light
After connecting the wiring, it’s important to test the light to ensure it is functioning properly. Follow these steps to test the light:
- Turn on the light switch: Go to the electrical switch that controls the light fixture and flip it to the “ON” position. This will supply power to the light.
- Observe the light fixture: Take a moment to observe the light fixture. Check if the light turns on and if it illuminates the desired area as intended.
- Test different functions (if applicable): If the light fixture has different functions, such as a motion sensor or dimming options, test them to ensure they are working correctly. Walk in front of the sensor or adjust the dimming settings to see if the light responds accordingly.
- Monitor for any issues: Pay attention to any abnormal behavior or issues, such as flickering, dimming, or a malfunctioning sensor. If you notice any problems, consult the manufacturer’s instructions or consider seeking the assistance of a professional.
- Turn off the light switch: After testing the light, turn off the light switch to avoid any potential hazards during the remaining installation process.
Testing the light is crucial to ensure it operates as expected and to identify any potential issues before completing the installation. Being proactive in testing will save you time and allow you to address any problems early on.
If the light functions properly during testing, you’re ready to move on to the final step: securing and sealing the light.
Step 10: Secure and Seal the Light
Once you have tested the light and confirmed its functionality, the final step is to secure and seal the light fixture. This step ensures that the light is firmly in place and protected against the elements. Follow these steps to secure and seal the light:
- Tighten the mounting screws: Check the tightness of the mounting screws that hold the light fixture to the mounting block. Use a screwdriver to ensure they are securely fastened. This will prevent any movement of the fixture.
- Inspect the gaps: Carefully examine the area between the light fixture and the vinyl siding. Look for any gaps or spaces where moisture or pests could enter. If you notice any gaps, use outdoor caulking to seal them. Apply a thin line of caulking around the edges of the light fixture, filling in any spaces.
- Clean and polish: Wipe down the light fixture with a soft cloth to remove any dirt or fingerprints. Polish any glass or reflective surfaces to enhance the appearance of the light fixture.
- Step back and admire: Stand back and admire your newly installed and secured outside light. Take a moment to appreciate the improved functionality and enhanced aesthetic it brings to your home’s exterior.
By securing and sealing the light fixture, you ensure its stability and protect it against external elements. This step will help to prolong the lifespan of the light and maintain its appearance over time.
With the light fixture securely installed and sealed, you have successfully completed the process of installing an outside light on vinyl siding. Enjoy the newfound illumination and ambiance that it brings to your outdoor space!
Remember, if you encounter any difficulties during the installation process or if you are unsure about any step, do not hesitate to seek the assistance of a professional electrician or handyman. Safety should always be a priority when working with electrical components.
Conclusion
Installing an outside light on vinyl siding can significantly enhance the functionality, safety, and aesthetic appeal of your home’s exterior. By following the step-by-step guide provided in this article, you have learned how to successfully install an outside light fixture on vinyl siding, from gathering the necessary tools and materials to securing and sealing the light.
Throughout the installation process, it is crucial to prioritize safety by wearing the appropriate protective gear and turning off the power when working with electrical wiring. Additionally, take the time to carefully prepare the vinyl siding, mark and drill the mounting holes, and align and secure the mounting block to ensure a stable foundation for the light fixture.
Once the mounting block is in place, you can confidently proceed with mounting the outside light fixture, connecting the wiring, testing the light, and finally securing and sealing the fixture to protect it against the elements. Each step contributes to a successful installation that will not only illuminate your outdoor space but also enhance its overall appearance.
Remember, if you ever feel unsure or uncomfortable during any stage of the installation process, it is always recommended to seek the assistance of a professional electrician or handyman. They have the experience and expertise to ensure a safe and professional installation.
Now that you have completed the installation of your outside light on vinyl siding, take a step back and admire the added ambiance, safety, and functionality it brings to your home. Whether you use it to illuminate pathways, accentuate landscaping, or enhance security, your new outside light is sure to make a positive impact on your outdoor living space.
Enjoy the beauty and practicality of your newly installed outside light fixture!
Now that you've mastered installing an outside light, why not brighten up your patio further with some creative outdoor lighting ideas? If you're feeling handy, there's plenty more to learn about DIY home improvement projects that can transform your space. For those looking to extend their skills even further, understanding how to properly handle electrical wiring when running lines to structures like a garage is invaluable. Dive into these articles for more handy tips and tricks that will illuminate your home improvement journey!
Frequently Asked Questions about How To Install Outside Light On Vinyl Siding
Was this page helpful?
At Storables.com, we guarantee accurate and reliable information. Our content, validated by Expert Board Contributors, is crafted following stringent Editorial Policies. We're committed to providing you with well-researched, expert-backed insights for all your informational needs.


0 thoughts on “How To Install Outside Light On Vinyl Siding”