
Articles
How To Install Range Hood Backdraft Damper
Modified: August 31, 2024
Learn how to install a range hood backdraft damper with step-by-step instructions and helpful tips in this informative article. Improve ventilation in your kitchen with ease!
(Many of the links in this article redirect to a specific reviewed product. Your purchase of these products through affiliate links helps to generate commission for Storables.com, at no extra cost. Learn more)
Introduction
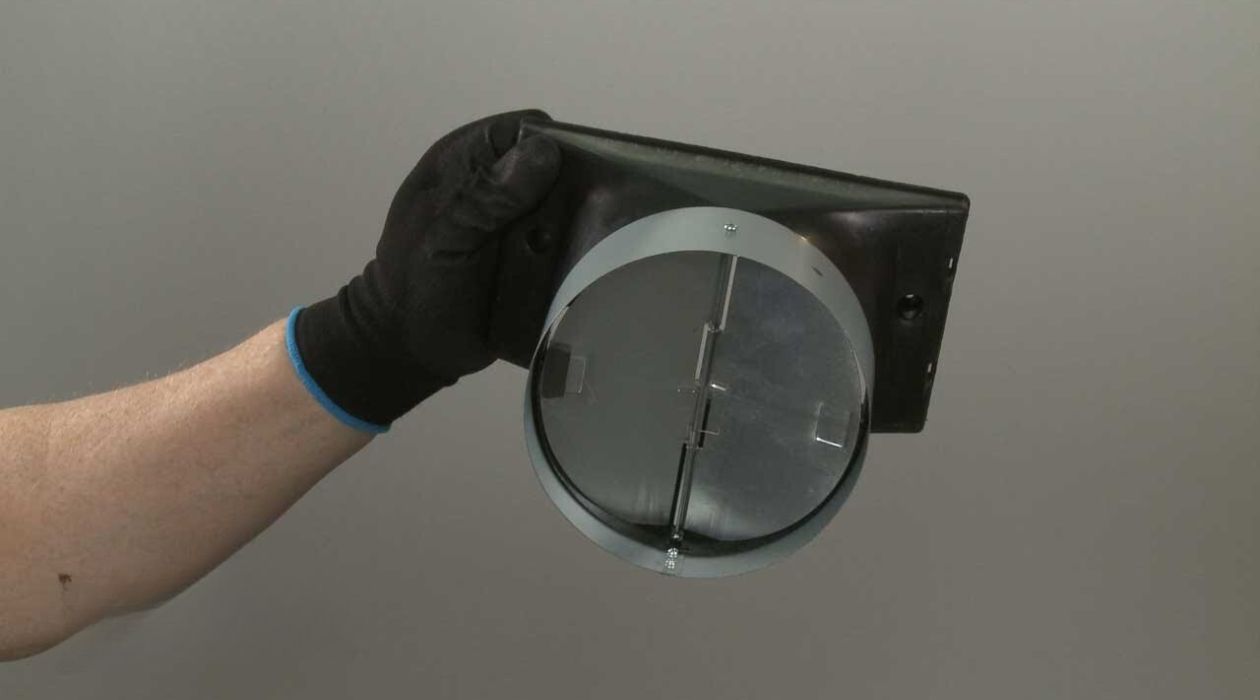
Welcome to our guide on how to install a range hood backdraft damper. A backdraft damper is an essential component that helps to prevent unwanted air flow in your kitchen ventilation system. It ensures that the air only flows in one direction, from the range hood to the outside, while preventing any backdrafts or air leaks.
Installing a backdraft damper is a relatively simple process, and with the right tools and materials, you can easily do it yourself. In this guide, we will take you through each step of the installation process, providing you with clear instructions to ensure a successful installation.
Before we begin, it’s important to note that different range hoods may have different installation requirements. Therefore, it’s essential to refer to the manufacturer’s instructions specific to your range hood model. Additionally, ensure that you have turned off the power to the range hood before starting any work and take necessary safety precautions.
Now, let’s dive into the step-by-step process of installing a range hood backdraft damper.
Key Takeaways:
- Ensure proper ventilation by installing a range hood backdraft damper. Follow manufacturer’s instructions, prioritize safety, and test for optimal operation to enjoy improved air quality in your kitchen.
- Regular maintenance, compatibility, and professional installation are key considerations for a successful range hood backdraft damper installation. Check local codes, prioritize safety, and consider additional features for efficient ventilation.
Read also: 13 Best Range Hood Damper For 2025
Step 1: Gather the Necessary Tools and Materials
Before you begin the installation process, it’s important to gather all the necessary tools and materials. Having everything prepared beforehand will ensure a smooth and efficient installation. Here are the tools and materials you will need:
- Backdraft damper kit (make sure it is compatible with your range hood model)
- Screwdriver (either a flathead or a Phillips-head depending on the screws used)
- Drill (if necessary for making pilot holes)
- Measuring tape or ruler
- Pencil or marker
- Level
- Protective goggles and gloves
- Safety ladder or step stool
Once you have gathered all the necessary tools and materials, you can proceed to the next step of the installation process.
Step 2: Locate the Position for the Backdraft Damper
Now that you have all the tools and materials ready, it’s time to locate the ideal position for the backdraft damper. Here’s how you can do it:
- Start by turning off the power to the range hood to ensure safety.
- Measure the distance from the range hood to the nearest exterior wall. This will help determine the length of ductwork needed.
- Take into consideration any obstructions or obstacles that may affect the positioning of the damper. Make sure there is enough space between the range hood and any cabinets or other fixtures.
- Use a pencil or marker to mark the area where the damper will be installed.
- Align the damper horizontally and vertically using a level to ensure it is straight.
- Double-check the positioning before proceeding to the next step. Adjust if necessary.
Once you have located the ideal position for the backdraft damper and ensured its alignment, you can move on to preparing the installation area.
Step 3: Prepare the Installation Area
Now that you have identified the position for the backdraft damper, it’s time to prepare the installation area. Follow these steps to ensure a proper installation:
- Clear any obstacles or debris from the area where the damper will be installed.
- If necessary, use a drill to create pilot holes for the screws that will secure the damper in place. Make sure the diameter of the pilot holes matches the diameter of the screws.
- Put on protective goggles and gloves to ensure your safety during the installation process.
- If your damper kit includes a mounting bracket, attach it to the designated area on the wall or range hood according to the manufacturer’s instructions.
- Ensure that the mounting bracket or area is level using a level tool.
- If the backdraft damper requires ductwork, make sure the duct is connected securely to the damper and is properly aligned. Use any provided clamps or connectors to secure the connection.
By preparing the installation area correctly, you will create a stable foundation for the backdraft damper and ensure its proper functioning. Once the installation area is prepared, you can proceed to the next step of actually installing the damper in place.
Step 4: Install the Backdraft Damper
With the installation area prepared, it’s time to install the backdraft damper. Follow these steps to ensure a successful installation:
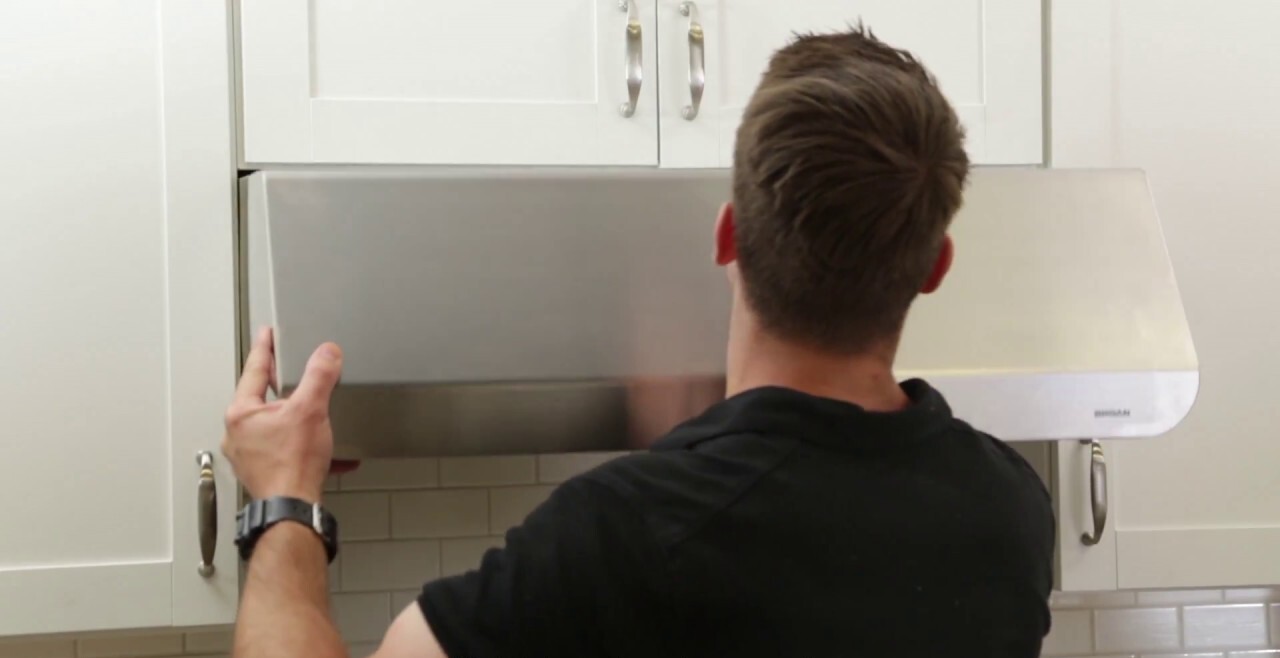
- Take the backdraft damper and position it onto the mounting bracket or designated area on the wall or range hood.
- Ensure that the damper is aligned properly and sits securely in place.
- Using a screwdriver, insert the screws provided with the damper kit through the pre-drilled holes or the holes you created in the previous step.
- Tighten the screws firmly to secure the damper in place, but be careful not to overtighten and damage the damper or the mounting surface.
- If your backdraft damper has flaps or louvers, ensure they are able to move freely and aren’t obstructed in any way.
- Double-check the installation to ensure that the damper is securely fastened and in the correct position.
Once you have successfully installed the backdraft damper, you can move on to the next step of connecting the range hood to the damper.
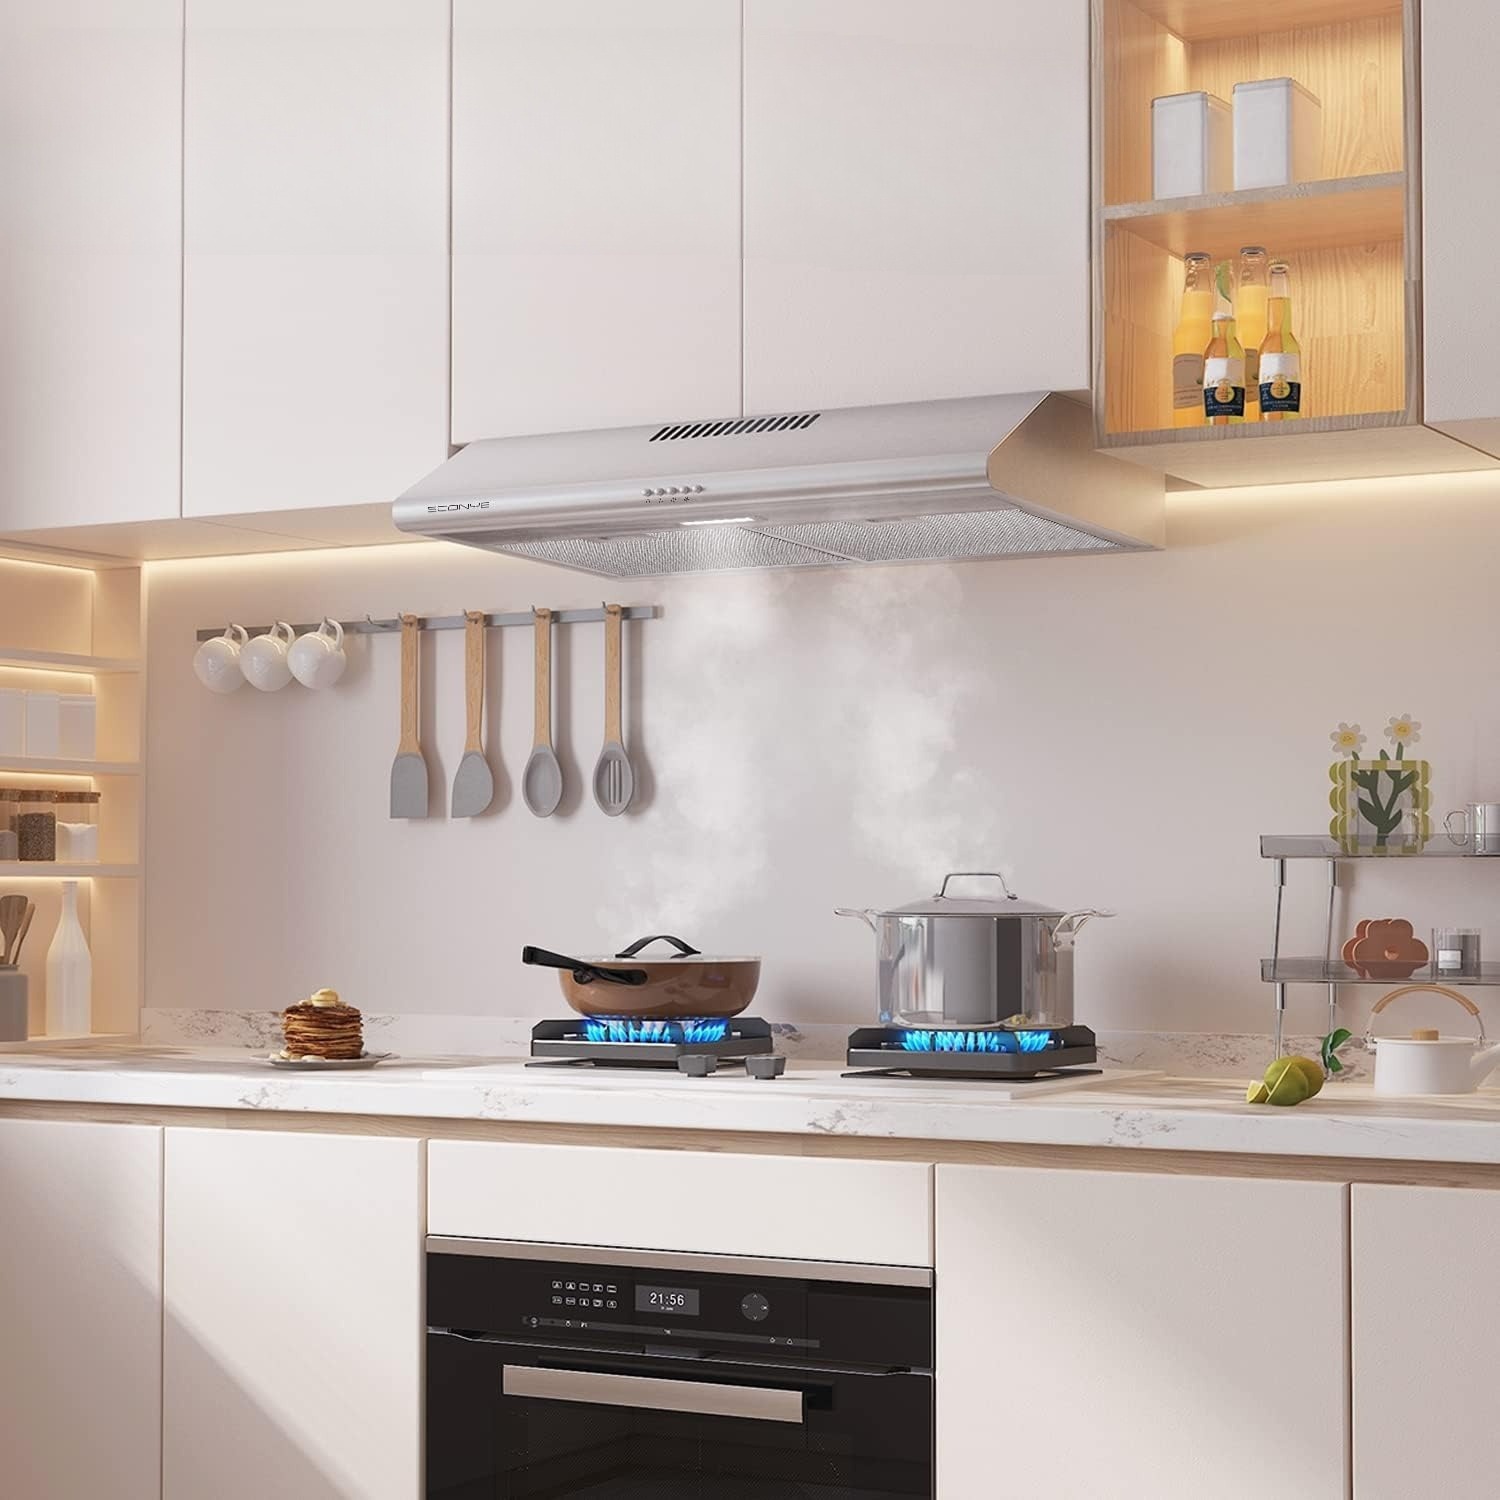
When installing a range hood backdraft damper, make sure to position it in the ductwork to prevent air from flowing back into the kitchen. It should be installed securely and in the correct orientation to ensure proper function.
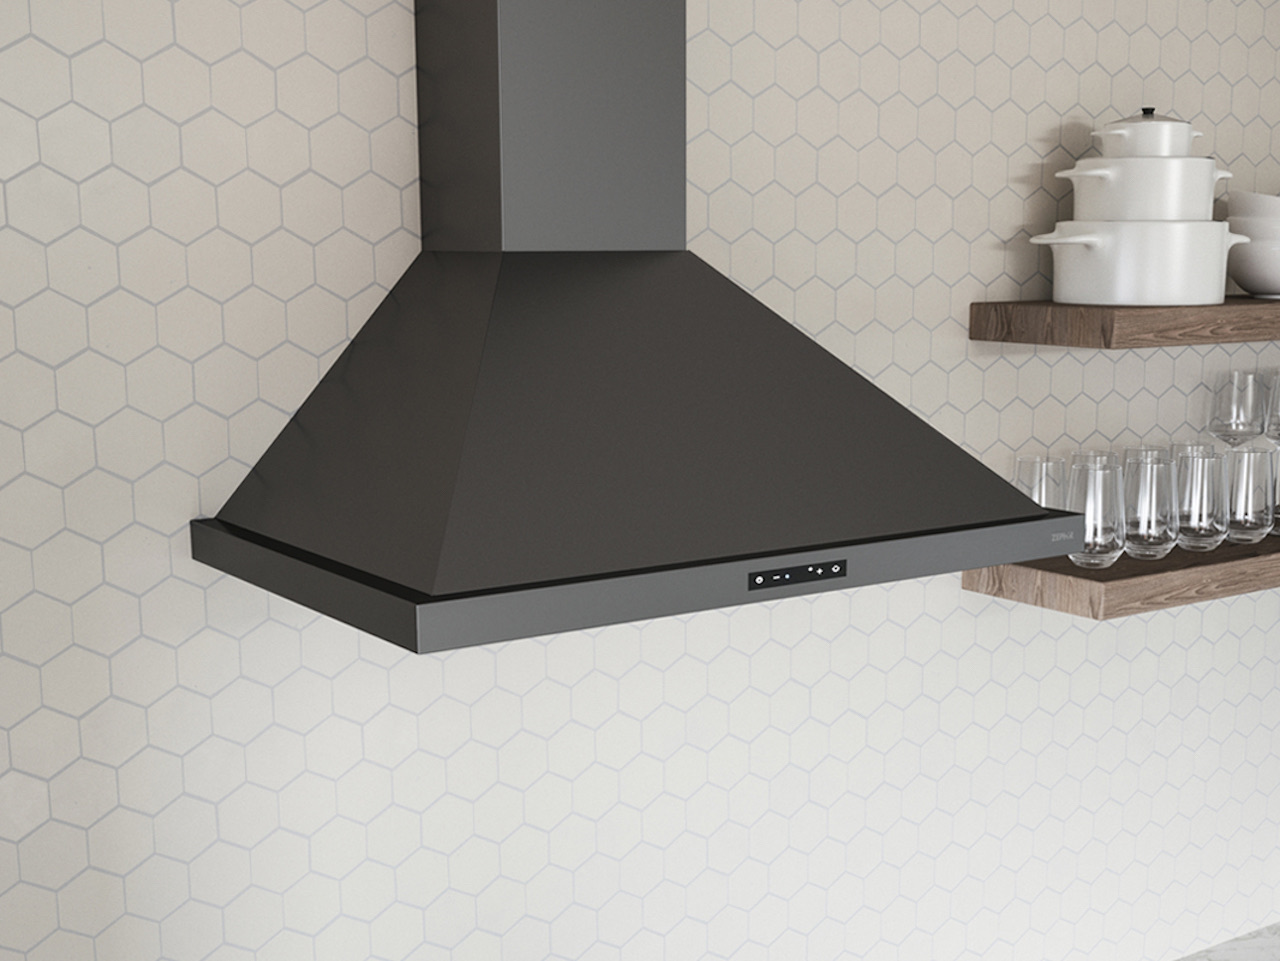
Read more: How To Install ZLINE Range Hood
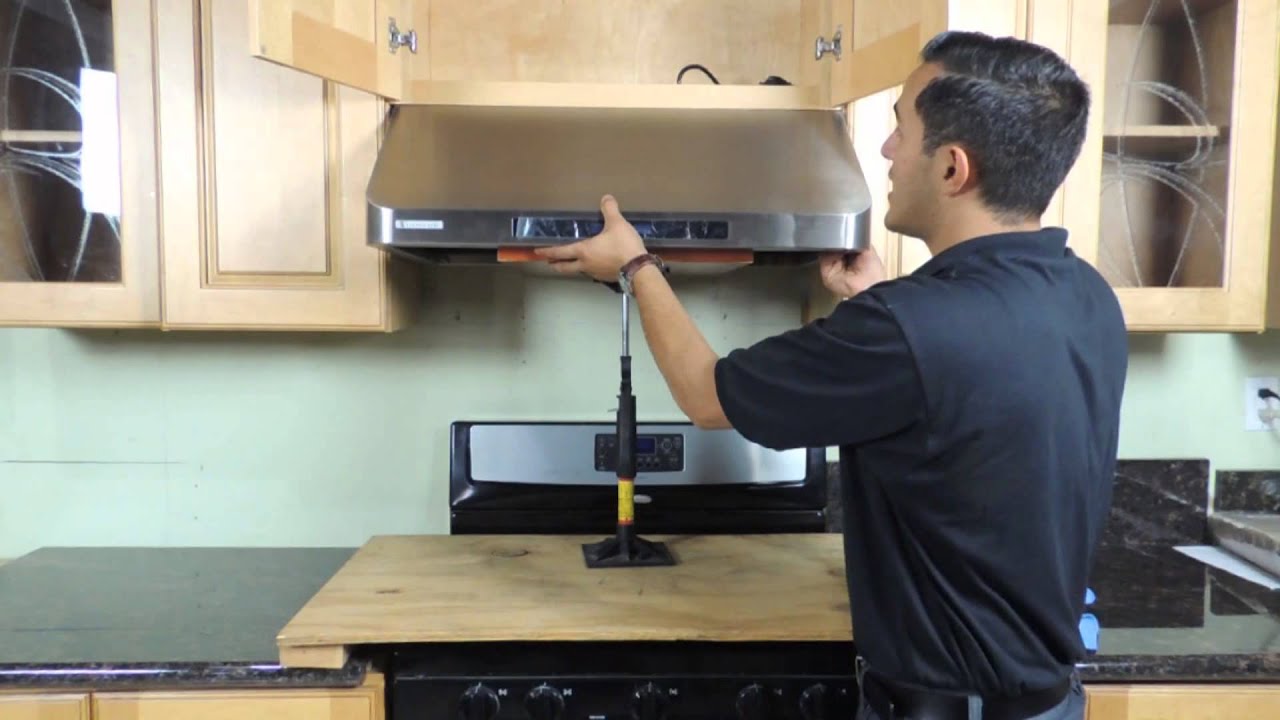
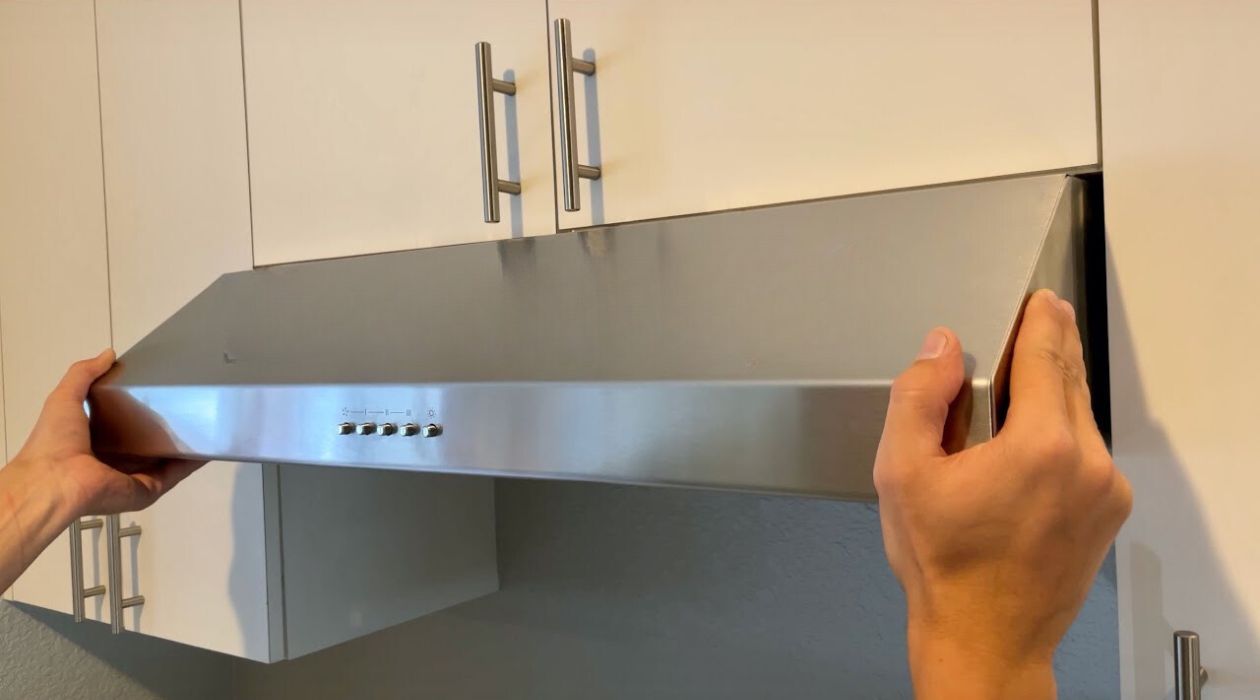
Step 5: Connect the Range Hood to the Damper
After installing the backdraft damper, the next step is to connect your range hood to the damper. Follow these steps for a proper connection:
- Locate the ductwork outlet on the range hood. This is the area where the air will be expelled.
- If necessary, attach any duct extensions or connectors to ensure a proper fit between the range hood and the damper.
- Connect the ductwork from the range hood to the damper, ensuring a secure and tight fit. Use any clamps or connectors provided with your damper kit.
- Check for any leaks or gaps along the connection. If you notice any, make the necessary adjustments and re-tighten the connections.
- Ensure that the ductwork is properly aligned, allowing for smooth and unrestricted airflow.
- Double-check the connection between the range hood and the damper to ensure that it is secure and properly attached.
By following these steps, you will ensure a proper connection between your range hood and the backdraft damper. This connection is crucial for the efficient operation of the ventilation system.
With the range hood successfully connected to the damper, it’s time to move on to the final step of testing the damper for proper operation.
Step 6: Test the Damper for Proper Operation
Now that you have installed the backdraft damper and connected the range hood, it’s important to test the damper to ensure that it is functioning properly. Follow these steps to test the damper:
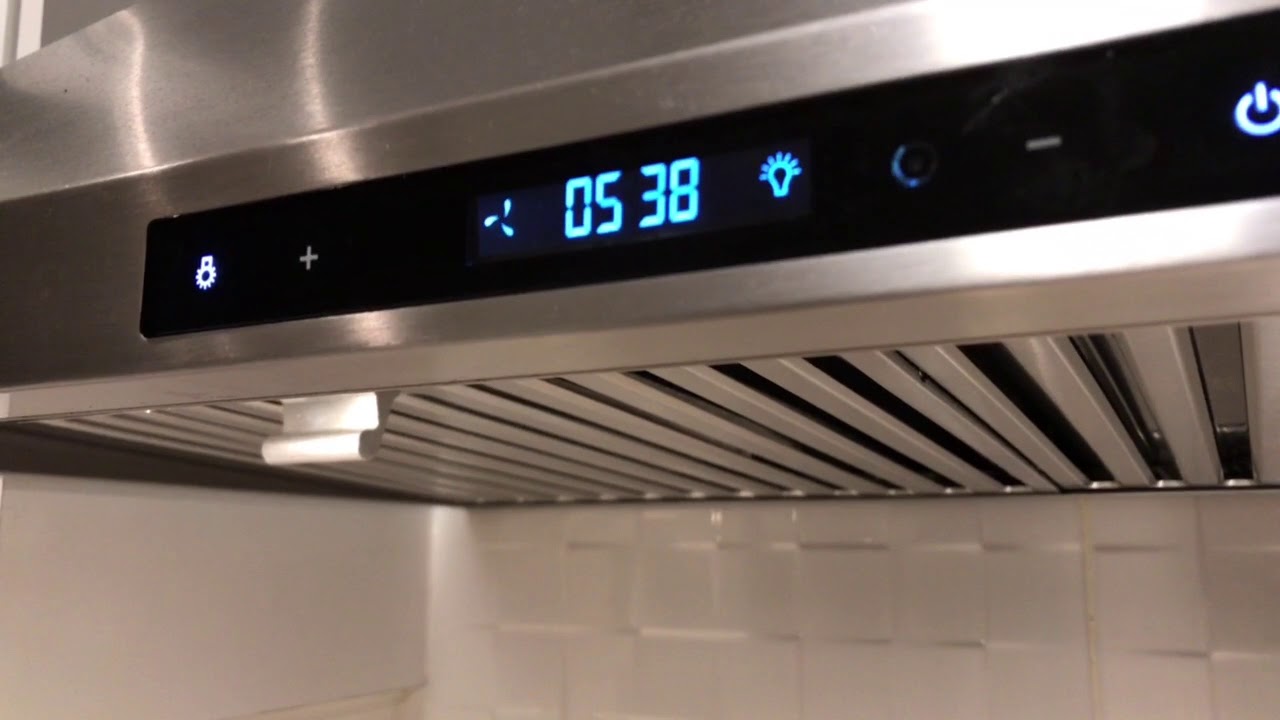
- Turn on the power to the range hood.
- Activate the range hood fan to its highest setting.
- Observe the operation of the backdraft damper. It should open and allow air to flow freely from the range hood to the outside.
- Check for any unusual noises or vibrations during operation. If you notice anything unusual, turn off the power to the range hood and inspect the damper for any obstructions or defects.
- Verify that the damper closes properly when the range hood is turned off, preventing any air from flowing back into the kitchen.
- Repeat the test a few times to ensure consistent and reliable operation of the damper.
If you encounter any issues during the testing process, refer to the manufacturer’s instructions or seek professional assistance to troubleshoot and resolve the problem.
Once you have confirmed that the damper is operating correctly, you can feel confident that it is effectively preventing backdrafts and ensuring proper ventilation in your kitchen.
Final Thoughts and Tips
Installing a range hood backdraft damper is a relatively straightforward process that can greatly enhance the efficiency and effectiveness of your kitchen ventilation system. By following the steps outlined in this guide and referring to the manufacturer’s instructions specific to your range hood and damper, you can complete the installation with ease.
Remember to always prioritize safety during the installation process. Turn off the power to the range hood and use the necessary protective gear to avoid any accidents or injuries.
If you are unsure about any aspect of the installation or encounter any difficulties, it is advisable to seek professional assistance. They can provide guidance and ensure that the damper is installed correctly.
With your range hood backdraft damper successfully installed and tested, you can now enjoy improved air quality and efficient ventilation in your kitchen.
Final Thoughts and Tips
Installing a range hood backdraft damper is an important step in ensuring proper ventilation in your kitchen. Here are some final thoughts and tips to consider:
1. Regular Maintenance: It’s important to periodically inspect and clean the backdraft damper to ensure optimal performance. Remove any debris or buildup that may restrict airflow.
2. Check Local Codes: Before installing a backdraft damper, check your local building codes and regulations. There may be specific requirements regarding the type and installation of dampers in your area.
3. Compatibility: Make sure the backdraft damper you choose is compatible with your range hood model. Refer to the manufacturer’s specifications and instructions to ensure a proper fit.
4. Noise Reduction: If noise from the damper is a concern, consider choosing a damper that is specifically designed for noise reduction. These dampers are equipped with features that minimize airflow noise.
5. Professional Installation: If you are unsure about your installation skills or have a complex setup, it is always best to consult with a professional. They can ensure that the damper is installed correctly and meets all safety requirements.
6. Regular Testing: Periodically test the backdraft damper to ensure it is functioning properly. Pay attention to any unusual noises, vibrations, or airflow issues, and address them promptly to maintain the efficiency of your ventilation system.
7. Consider Additional Features: Some backdraft dampers come with additional features such as insect screens or automatic shutters. Evaluate your needs and preferences to determine if these features are worth considering.
Remember, proper ventilation is crucial in maintaining a clean and healthy kitchen environment. Installing a backdraft damper is an important step in achieving this goal. By following the steps outlined in this guide and considering these final thoughts and tips, you will be well on your way to a successful installation and improved ventilation in your kitchen.
Frequently Asked Questions about How To Install Range Hood Backdraft Damper
Was this page helpful?
At Storables.com, we guarantee accurate and reliable information. Our content, validated by Expert Board Contributors, is crafted following stringent Editorial Policies. We're committed to providing you with well-researched, expert-backed insights for all your informational needs.

0 thoughts on “How To Install Range Hood Backdraft Damper”