Articles
How To Make A Turning Twenty Quilt Block
Modified: August 22, 2024
Learn how to make a beautiful Turning Twenty quilt block with our informative articles. Discover tips, tricks, and step-by-step instructions to create your own stunning quilt.
(Many of the links in this article redirect to a specific reviewed product. Your purchase of these products through affiliate links helps to generate commission for Storables.com, at no extra cost. Learn more)
Introduction
Welcome to the world of quilting! If you’re looking to create a beautiful and unique quilt, then you’ve come to the right place. In this article, we’ll be diving into the process of making a Turning Twenty quilt block.
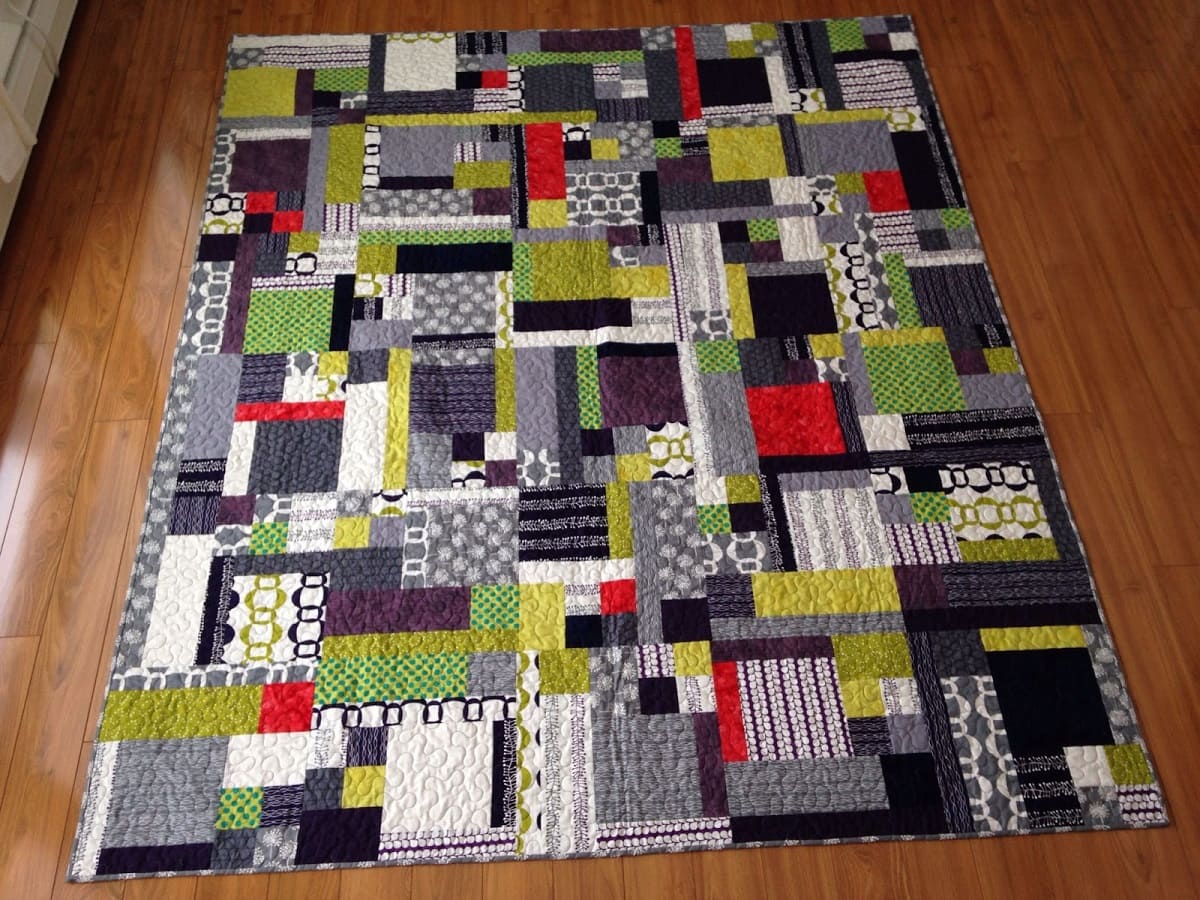
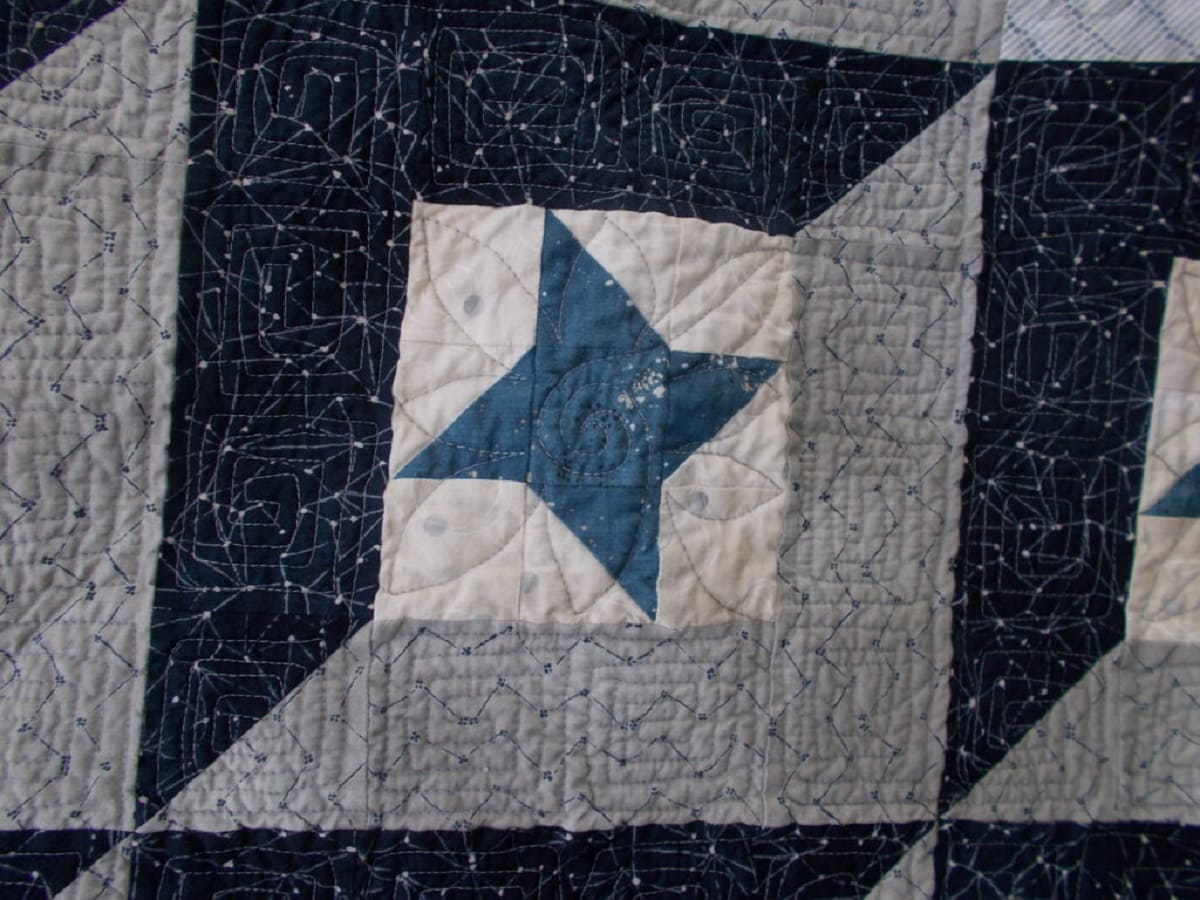
The Turning Twenty quilt block is a versatile and popular choice among quilters. It is a simple yet stunning design that is perfect for both beginners and experienced quilters. With its geometric patterns and clean lines, the Turning Twenty quilt block can be easily customized to match any aesthetic or theme.
Before we delve into the step-by-step instructions, let’s take a moment to gather the materials needed for this project.
Key Takeaways:
- Embrace your creativity and personal style while making a Turning Twenty quilt block. Experiment with fabric, colors, and patterns to create a stunning and unique piece of functional art that reflects your artistic vision.
- Quilting is a rewarding and fulfilling experience that brings a sense of accomplishment and satisfaction. Enjoy the meditative process of cutting, sewing, and quilting as you piece together a Turning Twenty quilt that provides warmth and comfort.
Read more: How To Make A Block Quilt
Materials Needed
Before you get started on your Turning Twenty quilt block, you will need to gather the following materials:
- Fabric: Choose a variety of fabrics in different colors and patterns to create a visually appealing quilt. Make sure to have enough fabric to cut into squares for the block.
- Cutting tools: You will need a rotary cutter, cutting mat, and quilting ruler to accurately cut your fabric into the desired dimensions.
- Pins: These will be used to hold the fabric pieces together during the sewing process.
- Sewing machine: A sewing machine will be essential for stitching the blocks together.
- Thread: Choose a thread color that complements your fabric choices.
- Iron and ironing board: These will be used to press the fabric and seams, ensuring crisp and flat blocks.
- Quilting supplies: Depending on your desired finishing method, you may need batting, backing fabric, and binding to complete the quilt.
Once you have gathered all the necessary materials, you’re ready to begin creating your Turning Twenty quilt block. Let’s jump into the cutting process!
Step 1: Cutting the Fabric
Now that you have all the materials ready, it’s time to start cutting the fabric for your Turning Twenty quilt block.
1. Measure and cut your fabric into squares: Decide on the desired size of your quilt blocks, and then cut your fabric into squares accordingly. For example, if you want 6-inch quilt blocks, cut your fabric into 6×6-inch squares.
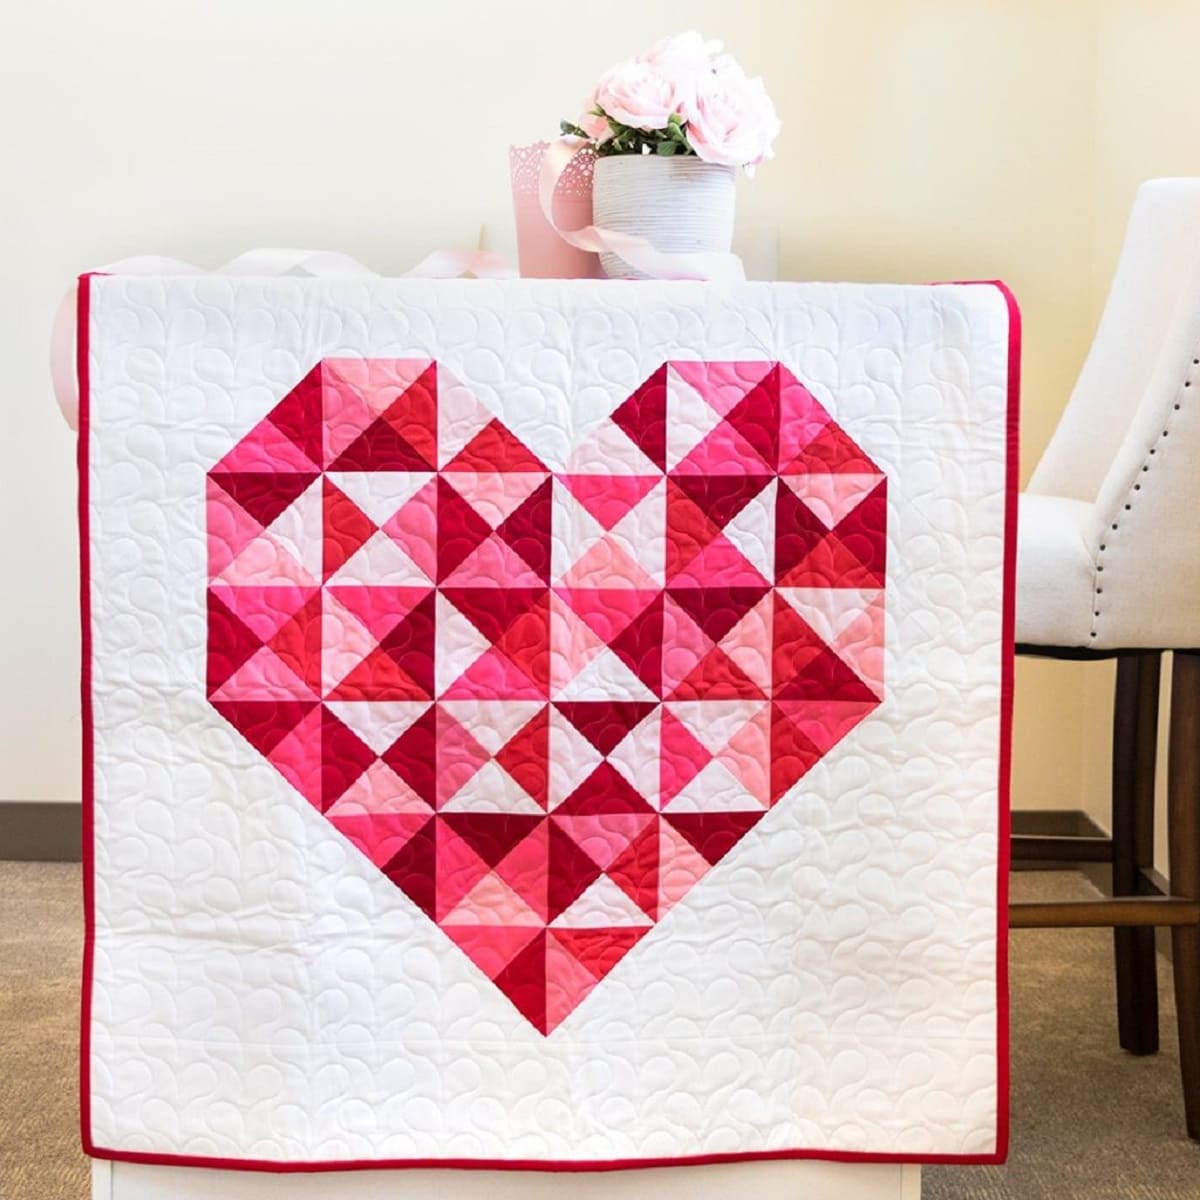
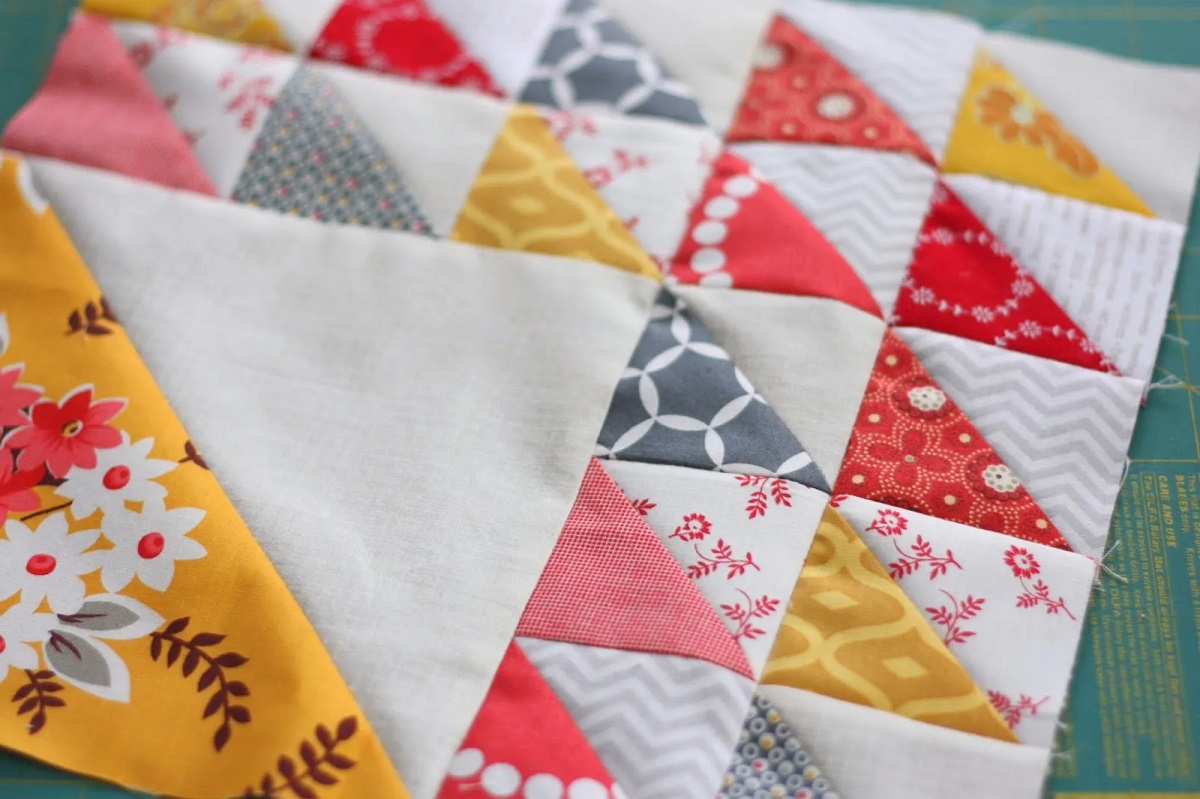
2. Mix and match fabrics: The beauty of the Turning Twenty quilt block is in its variety. Experiment with different fabrics, colors, and patterns to create an interesting and visually appealing combination. You can use solid colors or incorporate prints, florals, or geometric designs. Let your creativity flow!
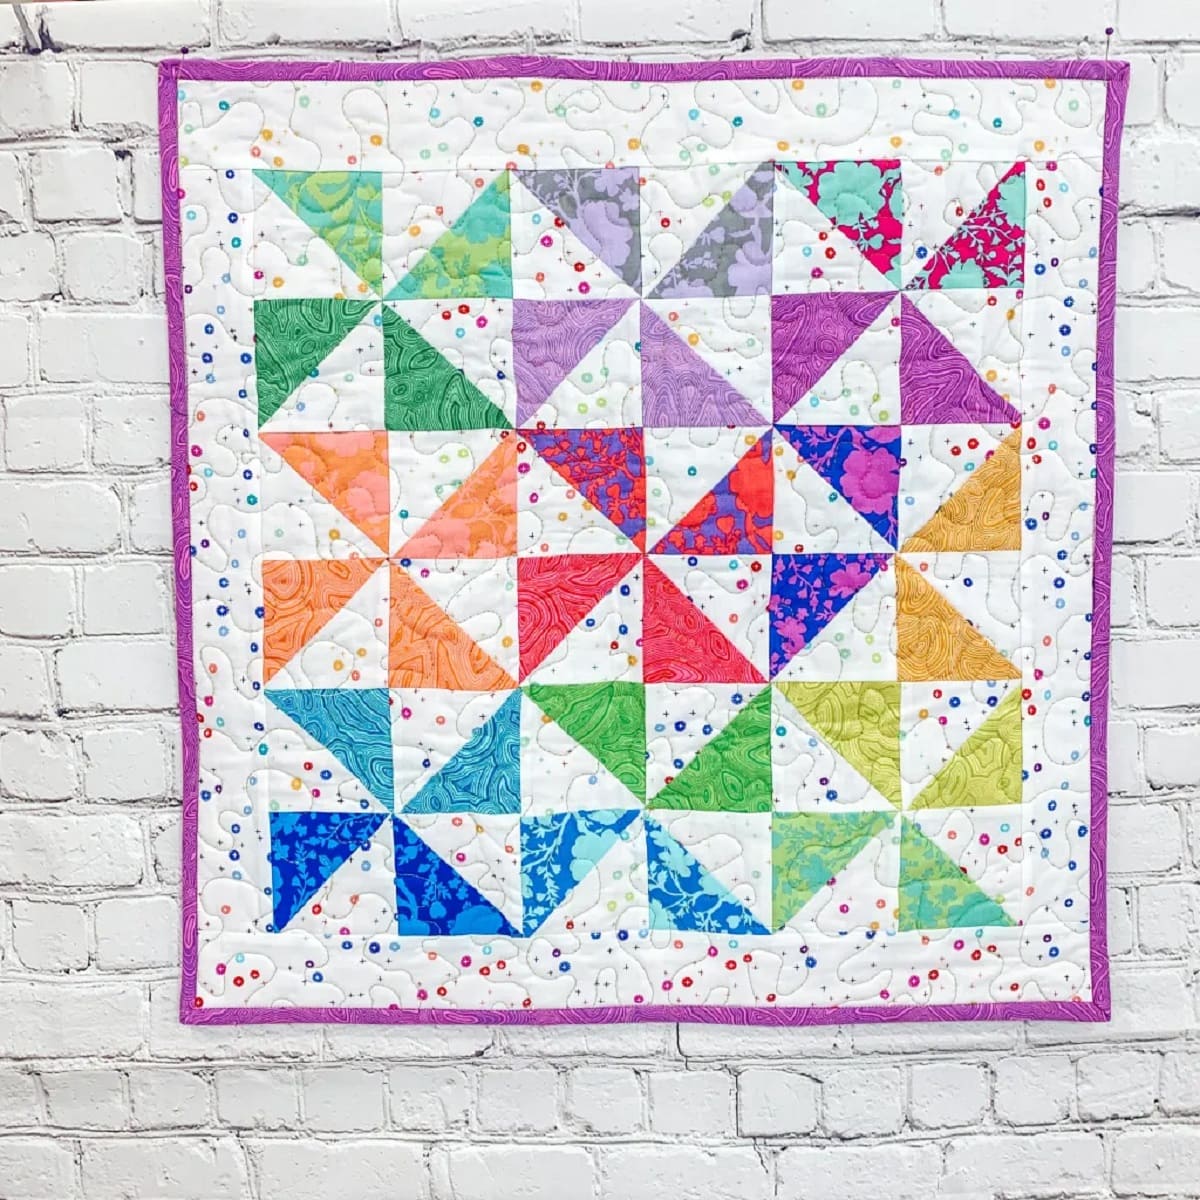
3. Arrange the fabric squares: Lay out your fabric squares in the desired pattern, ensuring that the colors and prints are evenly distributed. You can create a random arrangement or follow a specific color scheme, depending on your preference.
4. Trim and square up the edges: Once you have arranged your fabric squares, check if the edges align properly. If needed, trim the edges to ensure that they are straight and squared up. This will make it easier to sew the blocks together later on.
Now that you have cut and arranged your fabric squares, it’s time to start sewing the blocks! Let’s move on to the next step.
Step 2: Sewing the Blocks
With your fabric squares cut and arranged, it’s time to sew the blocks of your Turning Twenty quilt together.
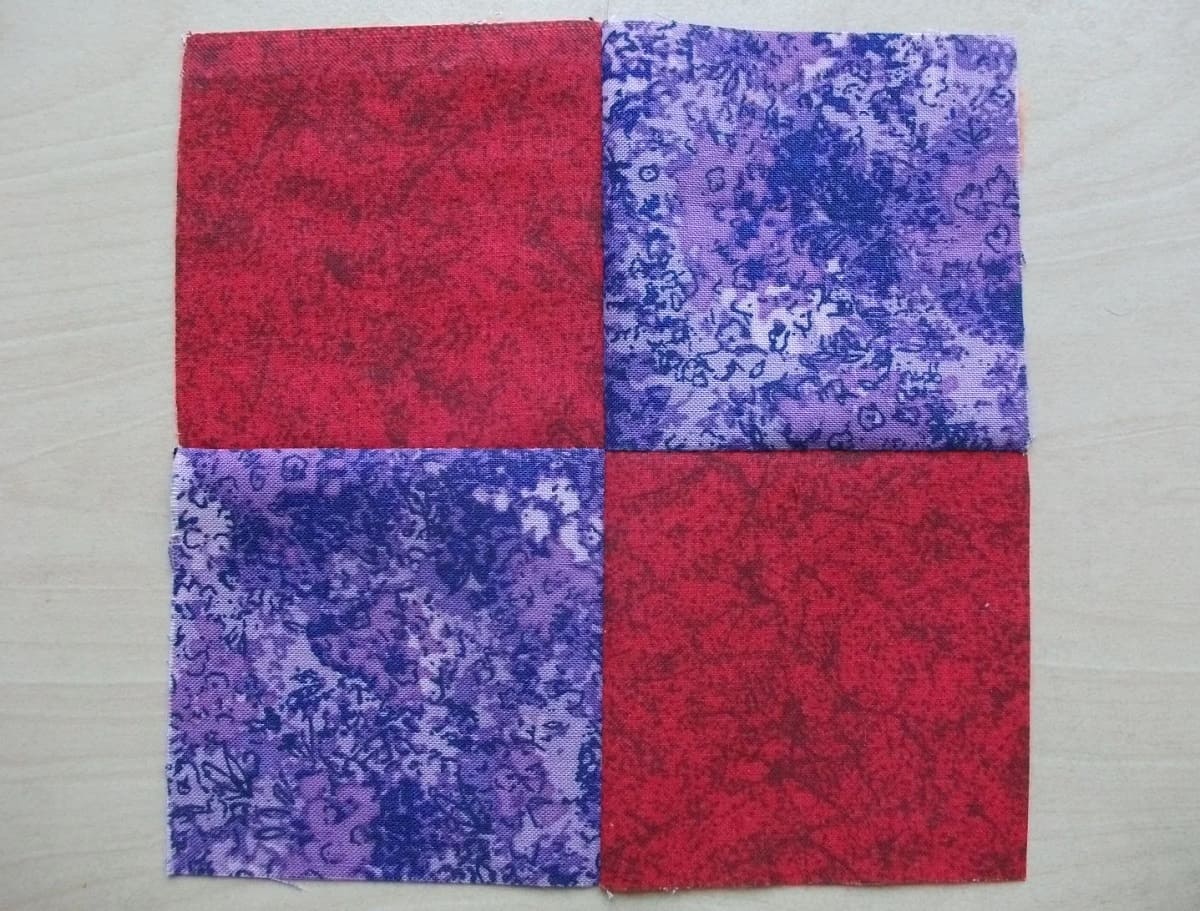
1. Start with two fabric squares: Take two fabric squares from your arranged layout and place them right sides together, aligning the edges.
2. Sew a quarter-inch seam: Using a sewing machine, stitch along one side of the fabric squares, sewing a quarter-inch seam. Be sure to backstitch at the beginning and end to secure the seam.
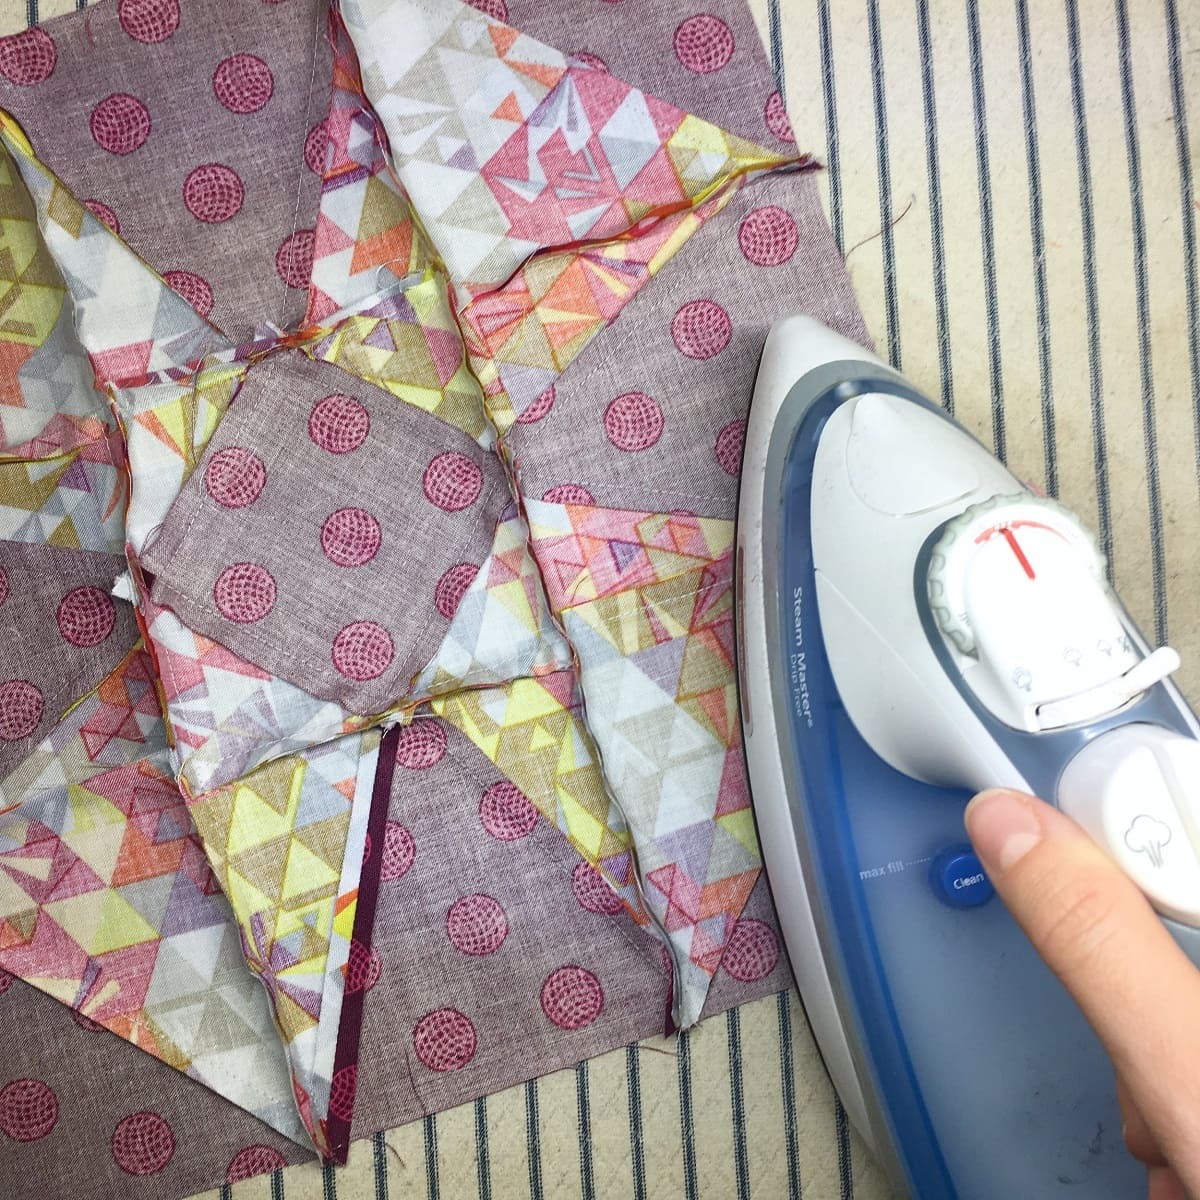
3. Press the seam: Open the fabric squares and press the seam allowance to one side. This will help create a smooth and flat block.
4. Continue sewing the remaining blocks: Repeat the process to sew the remaining fabric squares together. As you sew each pair of squares, press the seam allowance to one side and trim any excess fabric if necessary.
5. Arrange the blocks: Once all the blocks are sewn together, arrange them in the desired pattern. You can create a repetitive pattern or mix and match the blocks for a more eclectic look.
6. Sew the rows together: Start sewing the blocks into rows by matching the edges and aligning the seams. Sew each row together by stitching a quarter-inch seam. Press the seam allowances in opposite directions to allow for easier nesting when joining the rows later on.
7. Join the rows: Finally, join the rows together by matching the seams and edges. Sew the rows together, using a quarter-inch seam allowance. Press the seam allowances in one direction for a neat finish.
Congratulations! You have successfully sewn together the blocks for your Turning Twenty quilt. Now, let’s move on to the next step: assembling the quilt top.
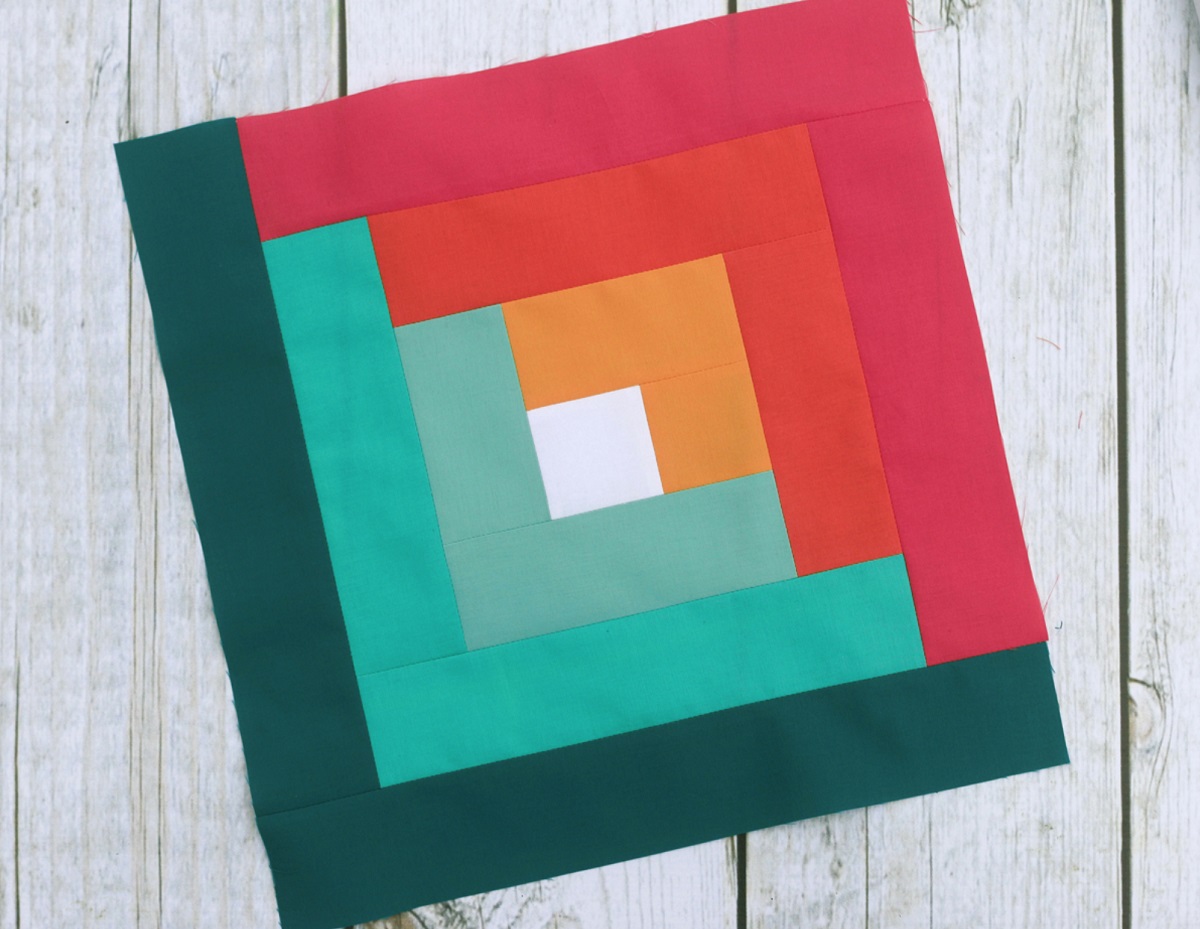
When making a Turning Twenty quilt block, be sure to accurately cut and sew your pieces to ensure precise alignment and a clean finished block.
Step 3: Assembling the Quilt Top
Now that you have sewn the blocks together, it’s time to assemble the quilt top for your Turning Twenty quilt.
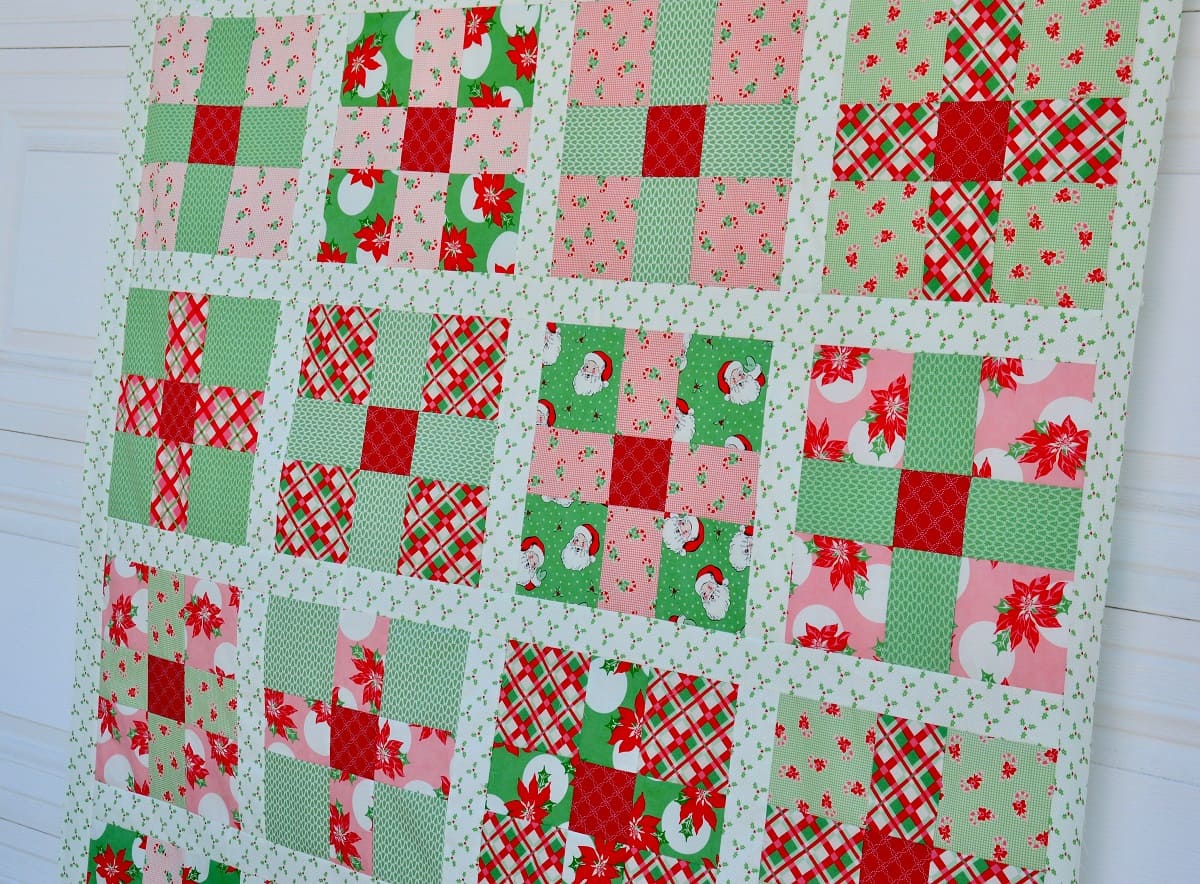
1. Lay out the blocks: Start by laying out your sewn blocks in the desired pattern. Take your time to arrange them in a way that you find visually appealing. You can try different arrangements until you find the perfect layout.
2. Join the blocks: Once you’re happy with the layout, it’s time to join the blocks together. Take the first two blocks and place them right sides together, aligning the edges. Sew a quarter-inch seam along one side to join them. Repeat this process to join all the blocks in each row.
3. Sew the rows together: After sewing all the blocks in each row, lay the rows out again on your work surface. Match the seams and edges, and pin them together to keep them aligned. Then, sew the rows together using a quarter-inch seam allowance.
4. Press the seams: Once the quilt top is assembled, press the seams in the desired direction. Most quilters prefer pressing them open for a flatter finish, but you can also press them to one side if you prefer.
5. Trim the edges: After pressing the seams, it’s a good idea to trim the edges of the quilt top to ensure it’s straight and even. Use a ruler and rotary cutter to trim any excess fabric.
Congratulations! The quilt top for your Turning Twenty quilt is now assembled. In the next step, we will add borders to give it a finished look. Let’s move on!
Read more: How To Make Snowball Quilt Block
Step 4: Adding Borders
Adding borders to your Turning Twenty quilt can enhance its overall design and give it a polished look. Follow these steps to add borders to your quilt top:
1. Measure the quilt top: Start by measuring the length and width of your quilt top. This will help you determine the appropriate size for the borders.
2. Choose the border fabric: Select a fabric for your borders that complements the colors and patterns of your quilt top. Consider the overall aesthetic you want to achieve and choose accordingly.
3. Cut the border fabric: Once you have chosen the fabric, measure and cut strips of fabric for the borders. The width of the strips can vary depending on your preferences, but a common width is 2.5 to 4 inches.
4. Attach the border strips: Start by sewing the border strips to the shorter sides of the quilt top. Take a border strip and align its raw edge with the quilt top edge. Sew a quarter-inch seam to attach the border strip. Repeat this process for the other side of the quilt top.
5. Measure and cut the border strips for the longer sides: Measure the length of the quilt top, including the borders that were added to the shorter sides. Cut the border strips accordingly.
6. Sew the border strips to the longer sides: Align the raw edge of the border strip with the quilt top edge of the longer side. Sew a quarter-inch seam to attach the border strip. Repeat this process for the other longer side of the quilt top.
7. Press the borders: After sewing the border strips, press them away from the quilt top. This will help create crisp, flat borders.
Congratulations! You have successfully added borders to your Turning Twenty quilt top. Now, it’s time to move on to the final step: quilting and finishing the quilt.
Step 5: Quilting and Finishing the Quilt
Now that your Turning Twenty quilt top is complete with borders, it’s time to quilt and finish your quilt. Follow these steps to bring your quilt to life:
1. Prepare the quilt sandwich: Lay your quilt top on a flat surface, right side up. Place a layer of batting on top of it, followed by the backing fabric, right side down. Smooth out any wrinkles or creases to create a flat quilt sandwich.
2. Baste the layers: Starting from the center, use safety pins or basting spray to secure the layers together. Make sure the layers are taut and smooth to prevent any puckering or shifting during quilting.
3. Choose a quilting design: Decide on the quilting design you want to use for your Turning Twenty quilt. You can opt for hand quilting, machine quilting, or a combination of both. Consider the overall aesthetic of your quilt and choose a quilting design that complements it.
4. Quilt the layers: Using your chosen quilting method, start quilting the layers together. Follow the design you selected, quilting along the blocks and borders. Take your time and work methodically to create even stitches and consistent quilting.
5. Trim and square up the quilt: Once the quilting is complete, trim any excess batting and backing fabric, making sure all the edges are straight and even. Square up the quilt by trimming the sides to ensure a uniform shape and size.
6. Bind the quilt: To finish your Turning Twenty quilt, you’ll need to bind the edges. Cut binding strips from your desired fabric, typically around 2.5 inches wide. Attach the binding to the quilt using a binding tutorial or your preferred method, ensuring that the corners are neatly folded and mitered.
7. Finishing touches: After binding, give your quilt a final press to smooth out any wrinkles or creases. Trim any loose threads, and inspect your quilt for any needed touch-ups or repairs.
Congratulations on completing your Turning Twenty quilt! By following these steps, you have created a beautiful and functional piece of art. Display it proudly or give it as a cherished gift to a loved one.
Remember, quilting is an art form that allows for creativity and personal expression. Feel free to experiment with different fabrics, colors, and quilting techniques to make your Turning Twenty quilt truly unique and reflective of your style. Enjoy the process and happy quilting!
Conclusion
Creating a Turning Twenty quilt block is a wonderful way to explore the world of quilting and unleash your creativity. This simple yet stunning design offers endless possibilities for customization, allowing you to showcase your personal style and preferences.
Throughout this article, we have covered the step-by-step process of making a Turning Twenty quilt block, from cutting the fabric to quilting and finishing the quilt. By following these instructions, you can create a beautiful quilt that will be cherished for years to come.
Remember, quilting is not just about following directions – it’s about embracing your own artistic vision. Don’t be afraid to experiment with different colors, patterns, and techniques to make your Turning Twenty quilt truly unique. Let your imagination soar and have fun with the process.
Whether you’re a beginner or an experienced quilter, the Turning Twenty quilt block is a versatile and enjoyable project. It allows you to hone your sewing skills while creating a stunning piece of functional art.
So gather your materials, set up your sewing machine, and embark on your quilting adventure. Enjoy the meditative and therapeutic process of cutting, sewing, and quilting, and watch as your Turning Twenty quilt comes together, one block at a time.
Quilting is not only a creative craft, but it also brings a sense of accomplishment and satisfaction. As you stitch each block and see your quilt come to life, you’ll feel a sense of pride in your work. And when you snuggle up under the finished quilt, you’ll appreciate the warmth and comfort it provides.
I hope this article has inspired you to embark on your Turning Twenty quilt journey. Whether you make it for yourself, as a gift for a loved one, or to add a touch of beauty to your home, the process of creating a quilt is a rewarding and fulfilling experience.
So go ahead, gather your materials, and dive into the world of quilting. Let your imagination guide you as you piece together a Turning Twenty quilt that reflects your unique style and personality. Happy quilting!
Frequently Asked Questions about How To Make A Turning Twenty Quilt Block
Was this page helpful?
At Storables.com, we guarantee accurate and reliable information. Our content, validated by Expert Board Contributors, is crafted following stringent Editorial Policies. We're committed to providing you with well-researched, expert-backed insights for all your informational needs.


0 thoughts on “How To Make A Turning Twenty Quilt Block”