Articles
How To Make A Walkway In Backyard
Modified: October 18, 2024
Learn how to create a beautiful walkway in your backyard with our informative articles. Discover tips, techniques, and inspiration for designing the perfect outdoor pathway.
(Many of the links in this article redirect to a specific reviewed product. Your purchase of these products through affiliate links helps to generate commission for Storables.com, at no extra cost. Learn more)
Introduction
Welcome to the ultimate guide on how to make a walkway in your backyard. Creating a walkway not only enhances the aesthetic appeal of your outdoor space but also provides a practical pathway for you and your guests to navigate through your garden. Whether you want to connect different areas of your backyard or create a path to your favorite relaxation spot, this step-by-step guide will walk you through the process.
Building a walkway may seem like a daunting task, but with the right planning, materials, and tools, you’ll be able to create a beautiful and functional pathway that will withstand the test of time.
In this article, we will cover everything you need to know, from the initial planning and design phase to the finishing touches. So, roll up your sleeves and let’s dive into the exciting world of walkway construction!
Key Takeaways:
- Plan carefully, choose the right materials, and follow the step-by-step process to create a durable and beautiful walkway that complements your backyard’s style and enhances its functionality.
- Incorporate decorative edging, accent lighting, and proper maintenance to add charm and longevity to your walkway, creating a welcoming and enjoyable outdoor space for years to come.
Read more: How To Make A Mosaic Walkway
Step 1: Planning and Design
The first step in creating a walkway in your backyard is to carefully plan and design the layout. Here are some key considerations to keep in mind:
- Path and Destination: Determine the purpose of the walkway and where it will lead. Consider the natural flow of your backyard and identify the desired destination, whether it’s a patio, a garden bed, or a seating area.
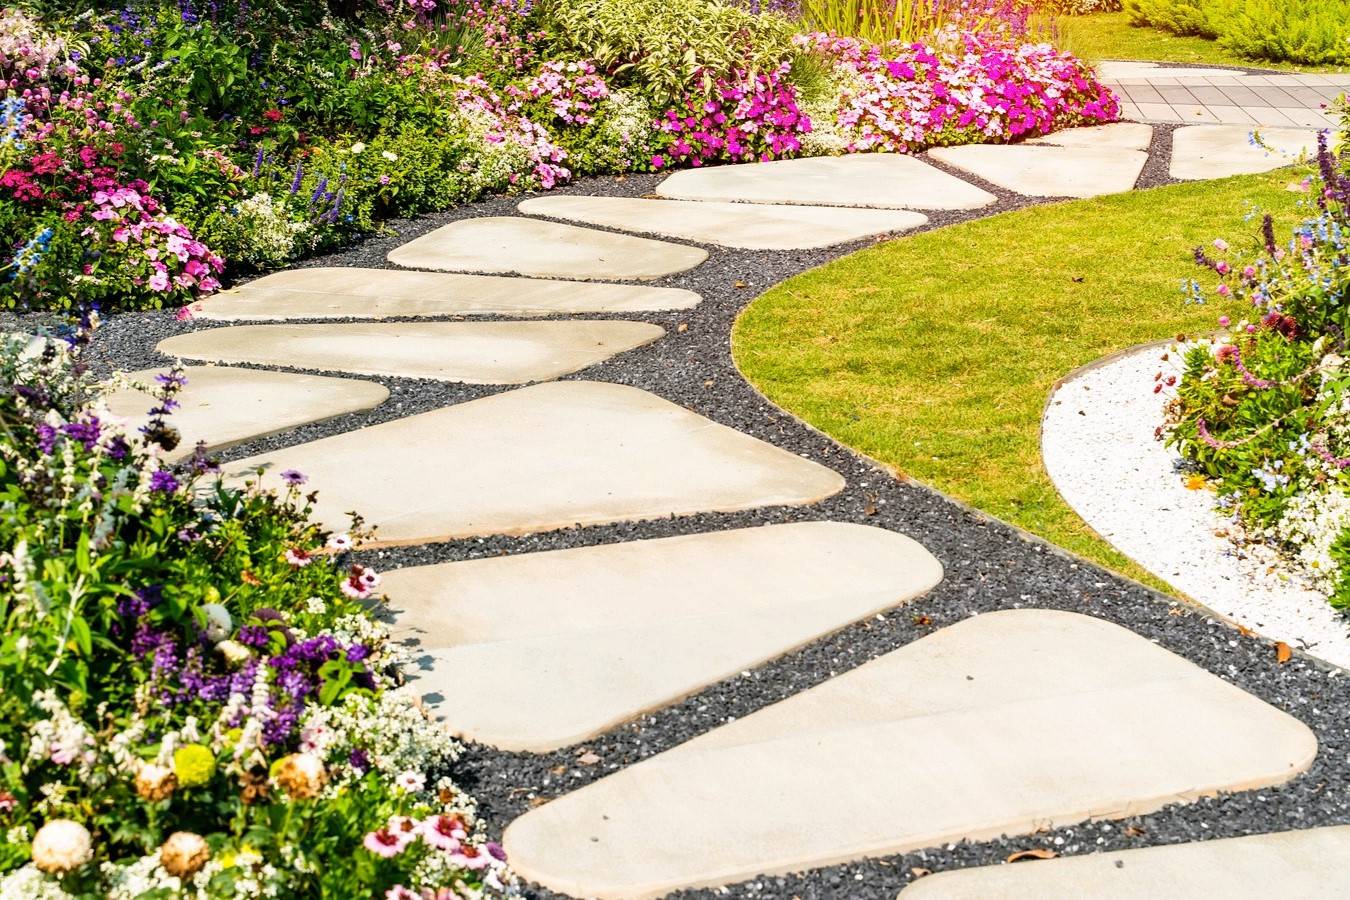
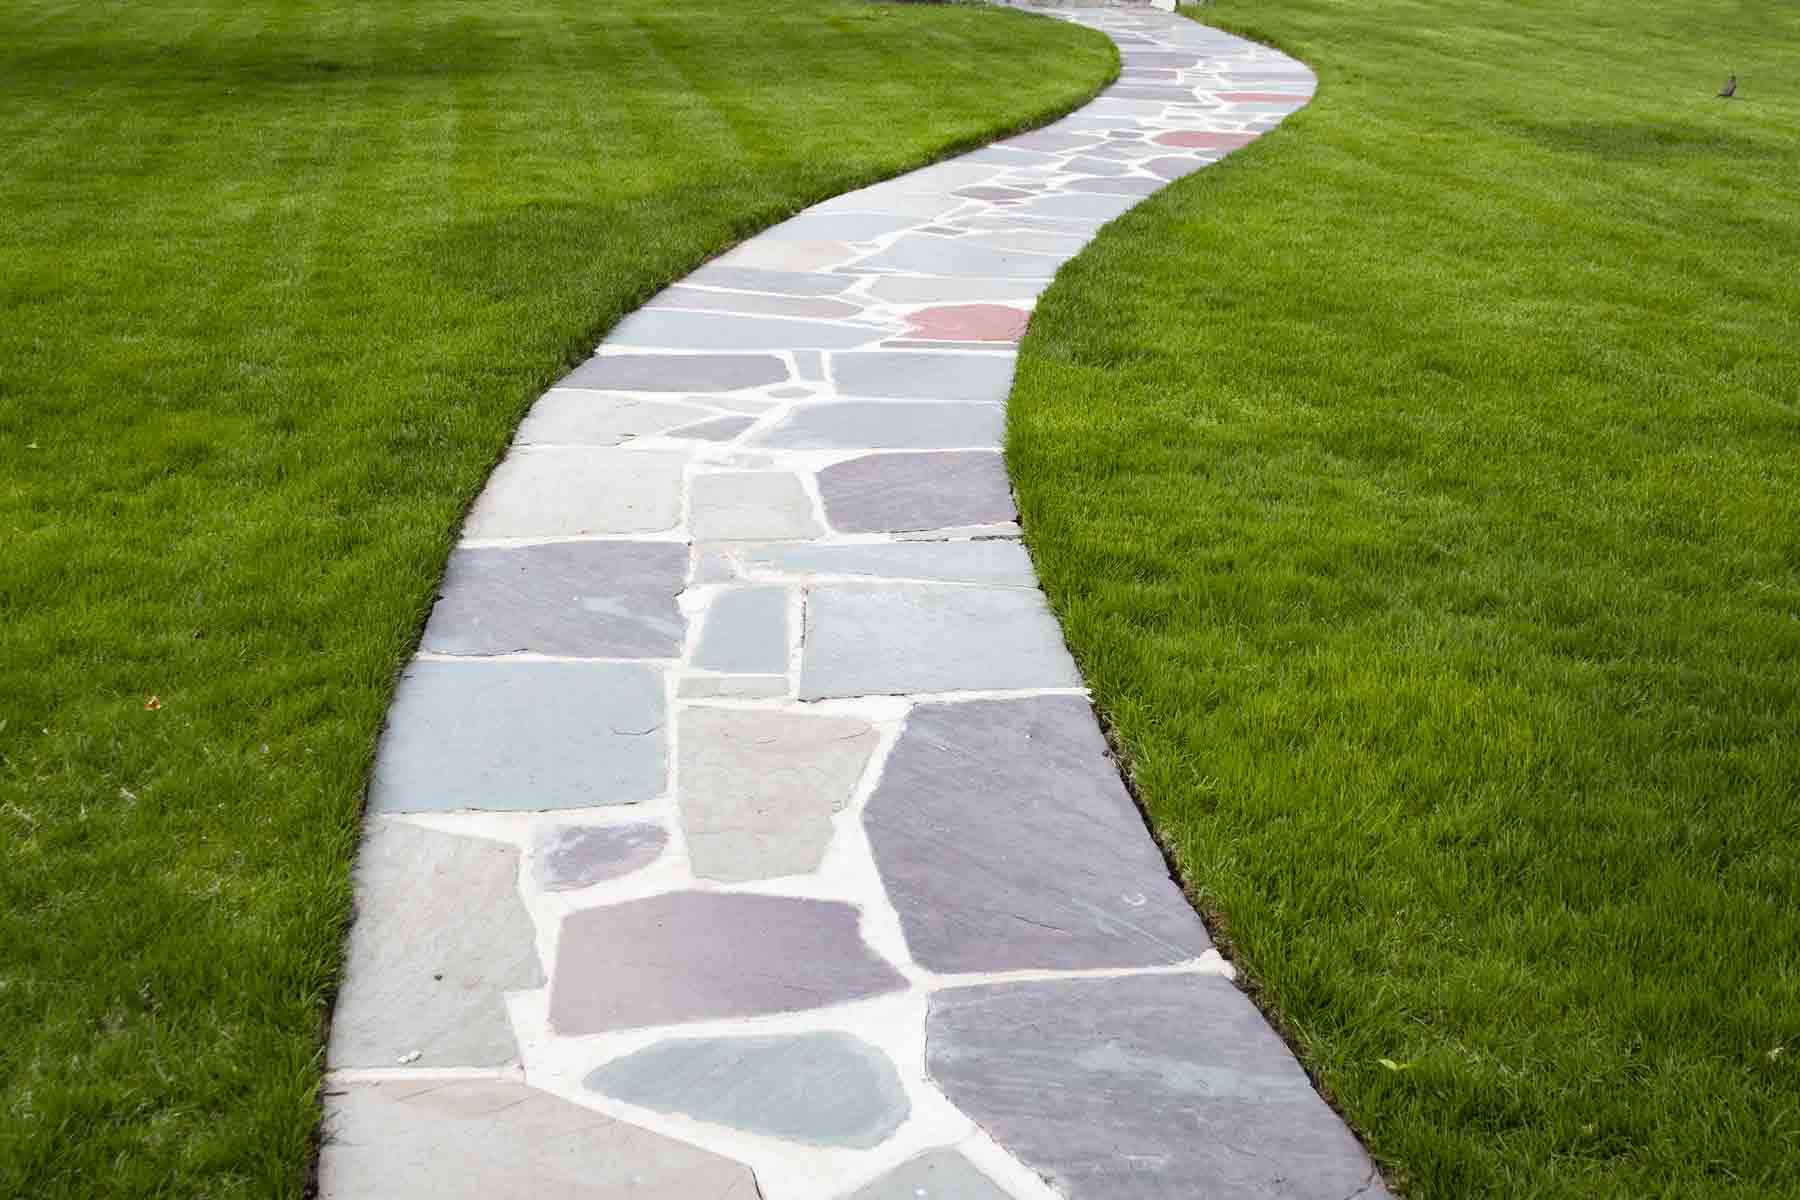
- Shape and Width: Decide on the shape and width of your walkway. Straight paths provide a formal look, while curved paths create a more organic and relaxed feel. Consider the width based on the anticipated foot traffic and accessibility needs.
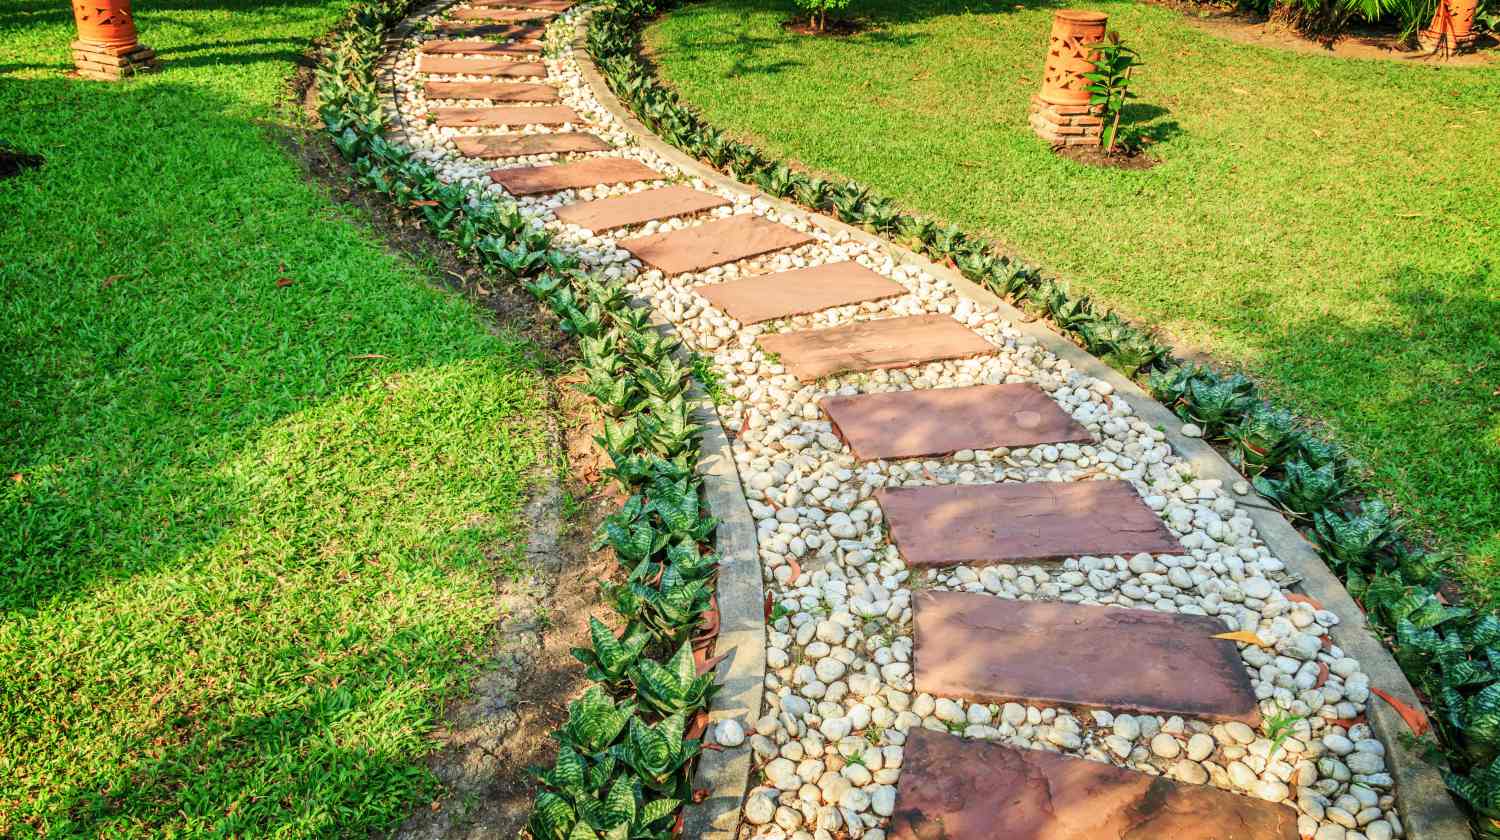
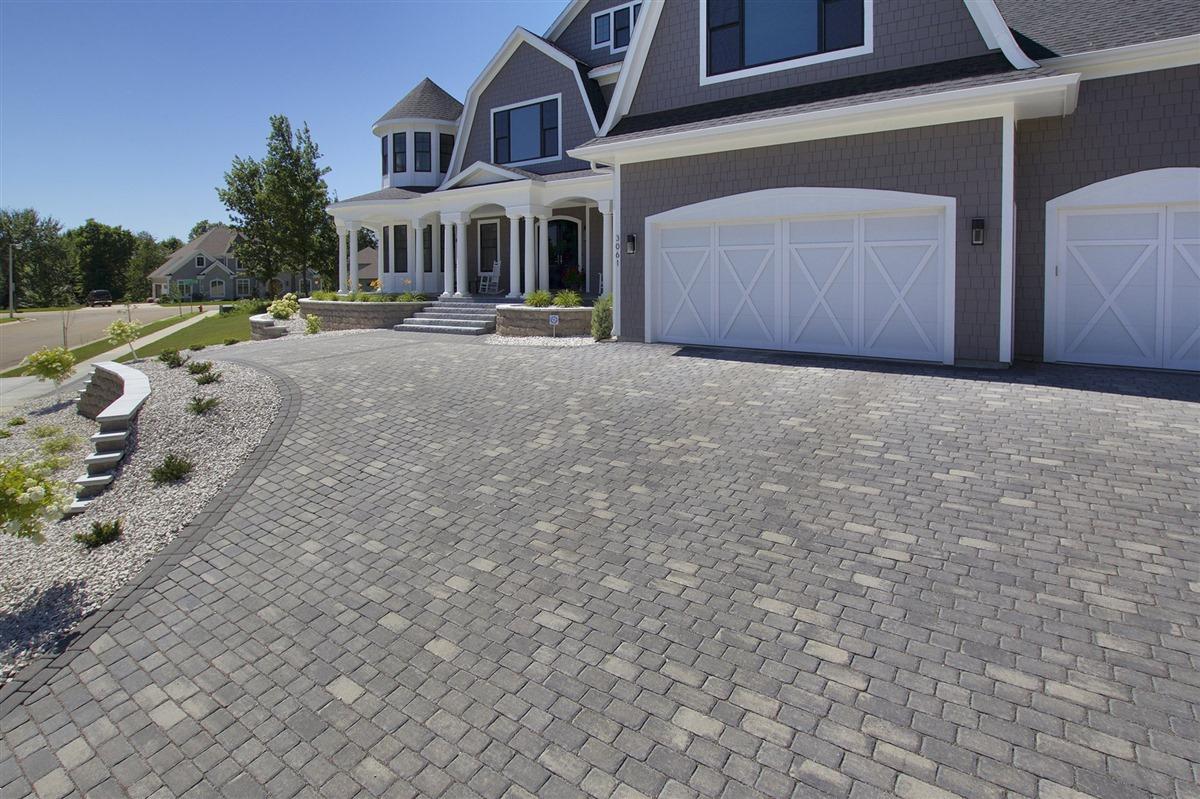
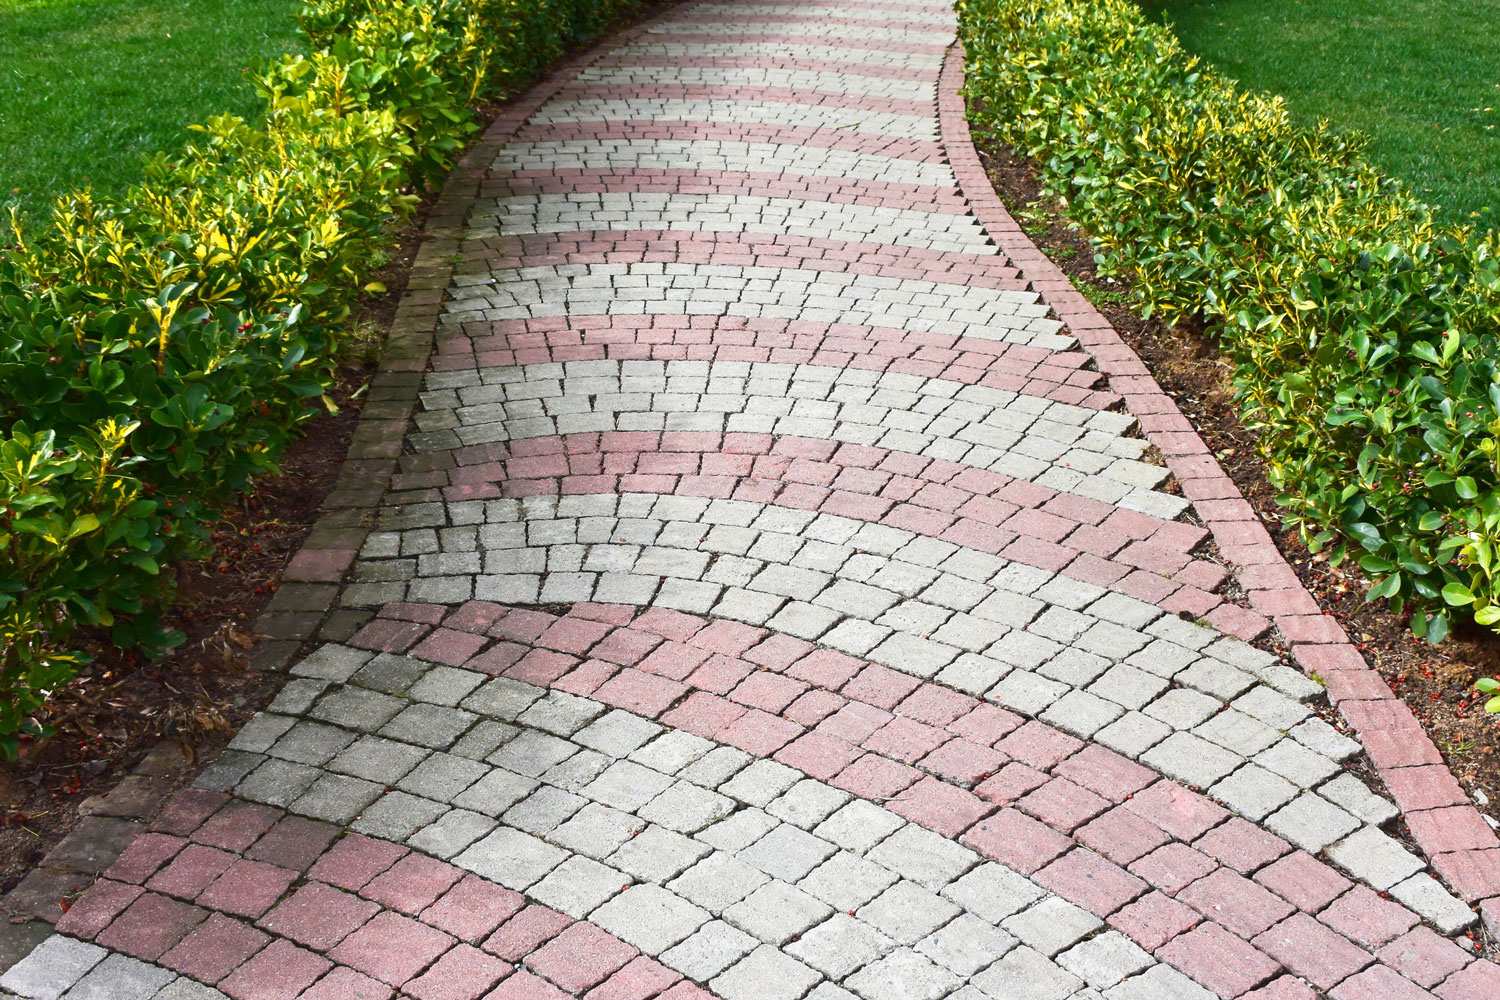
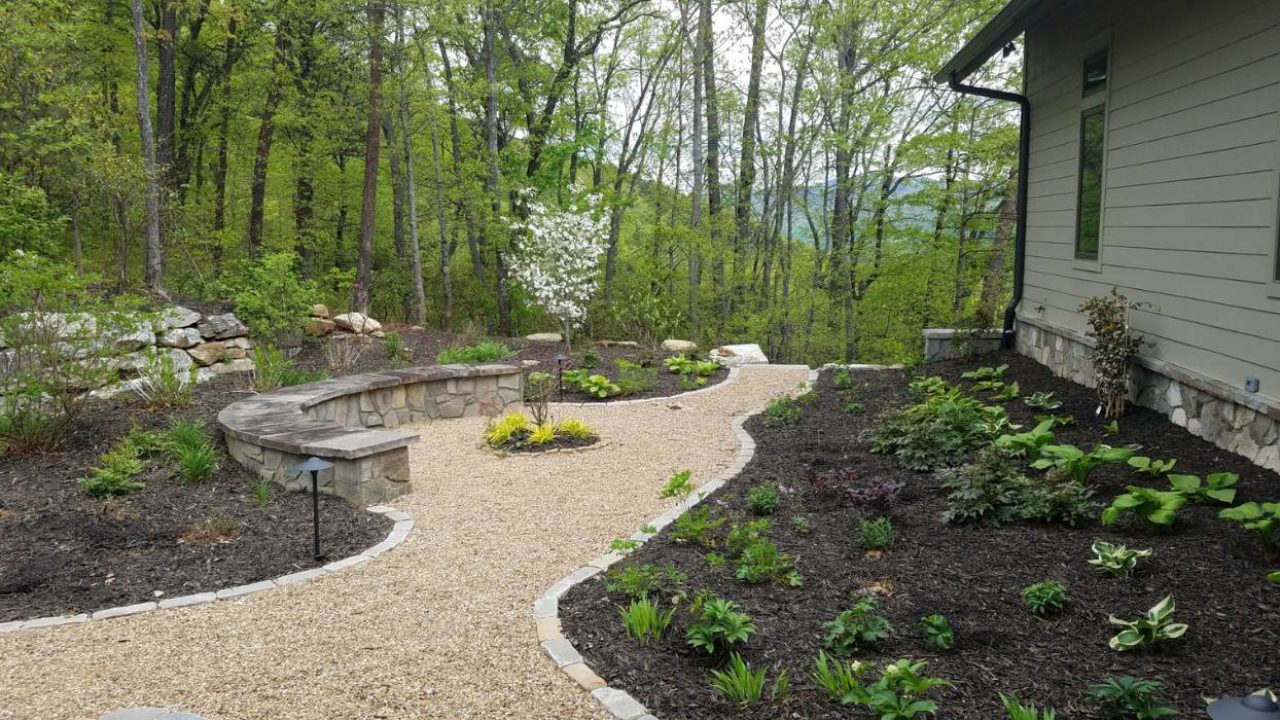
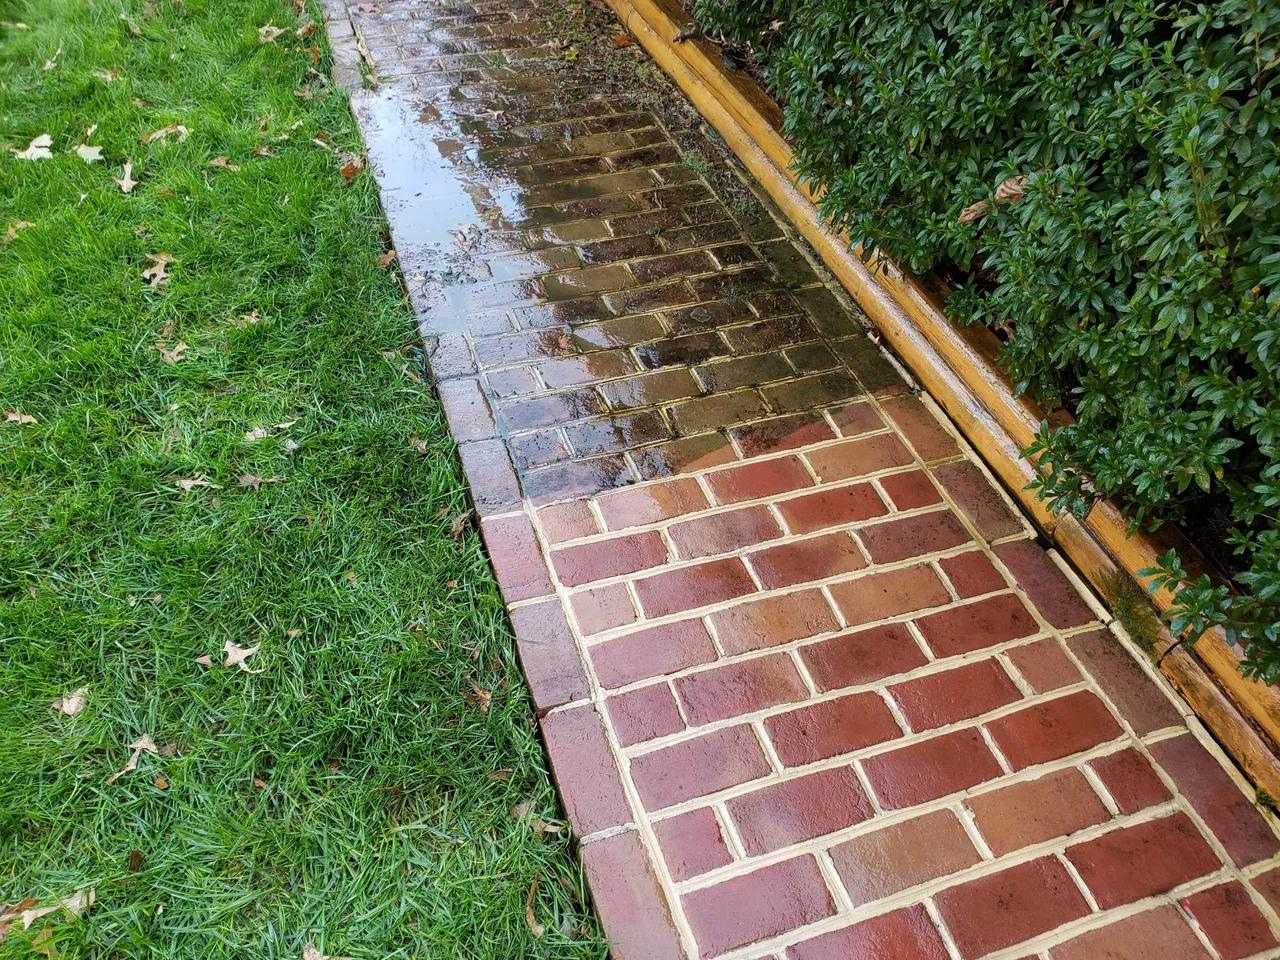
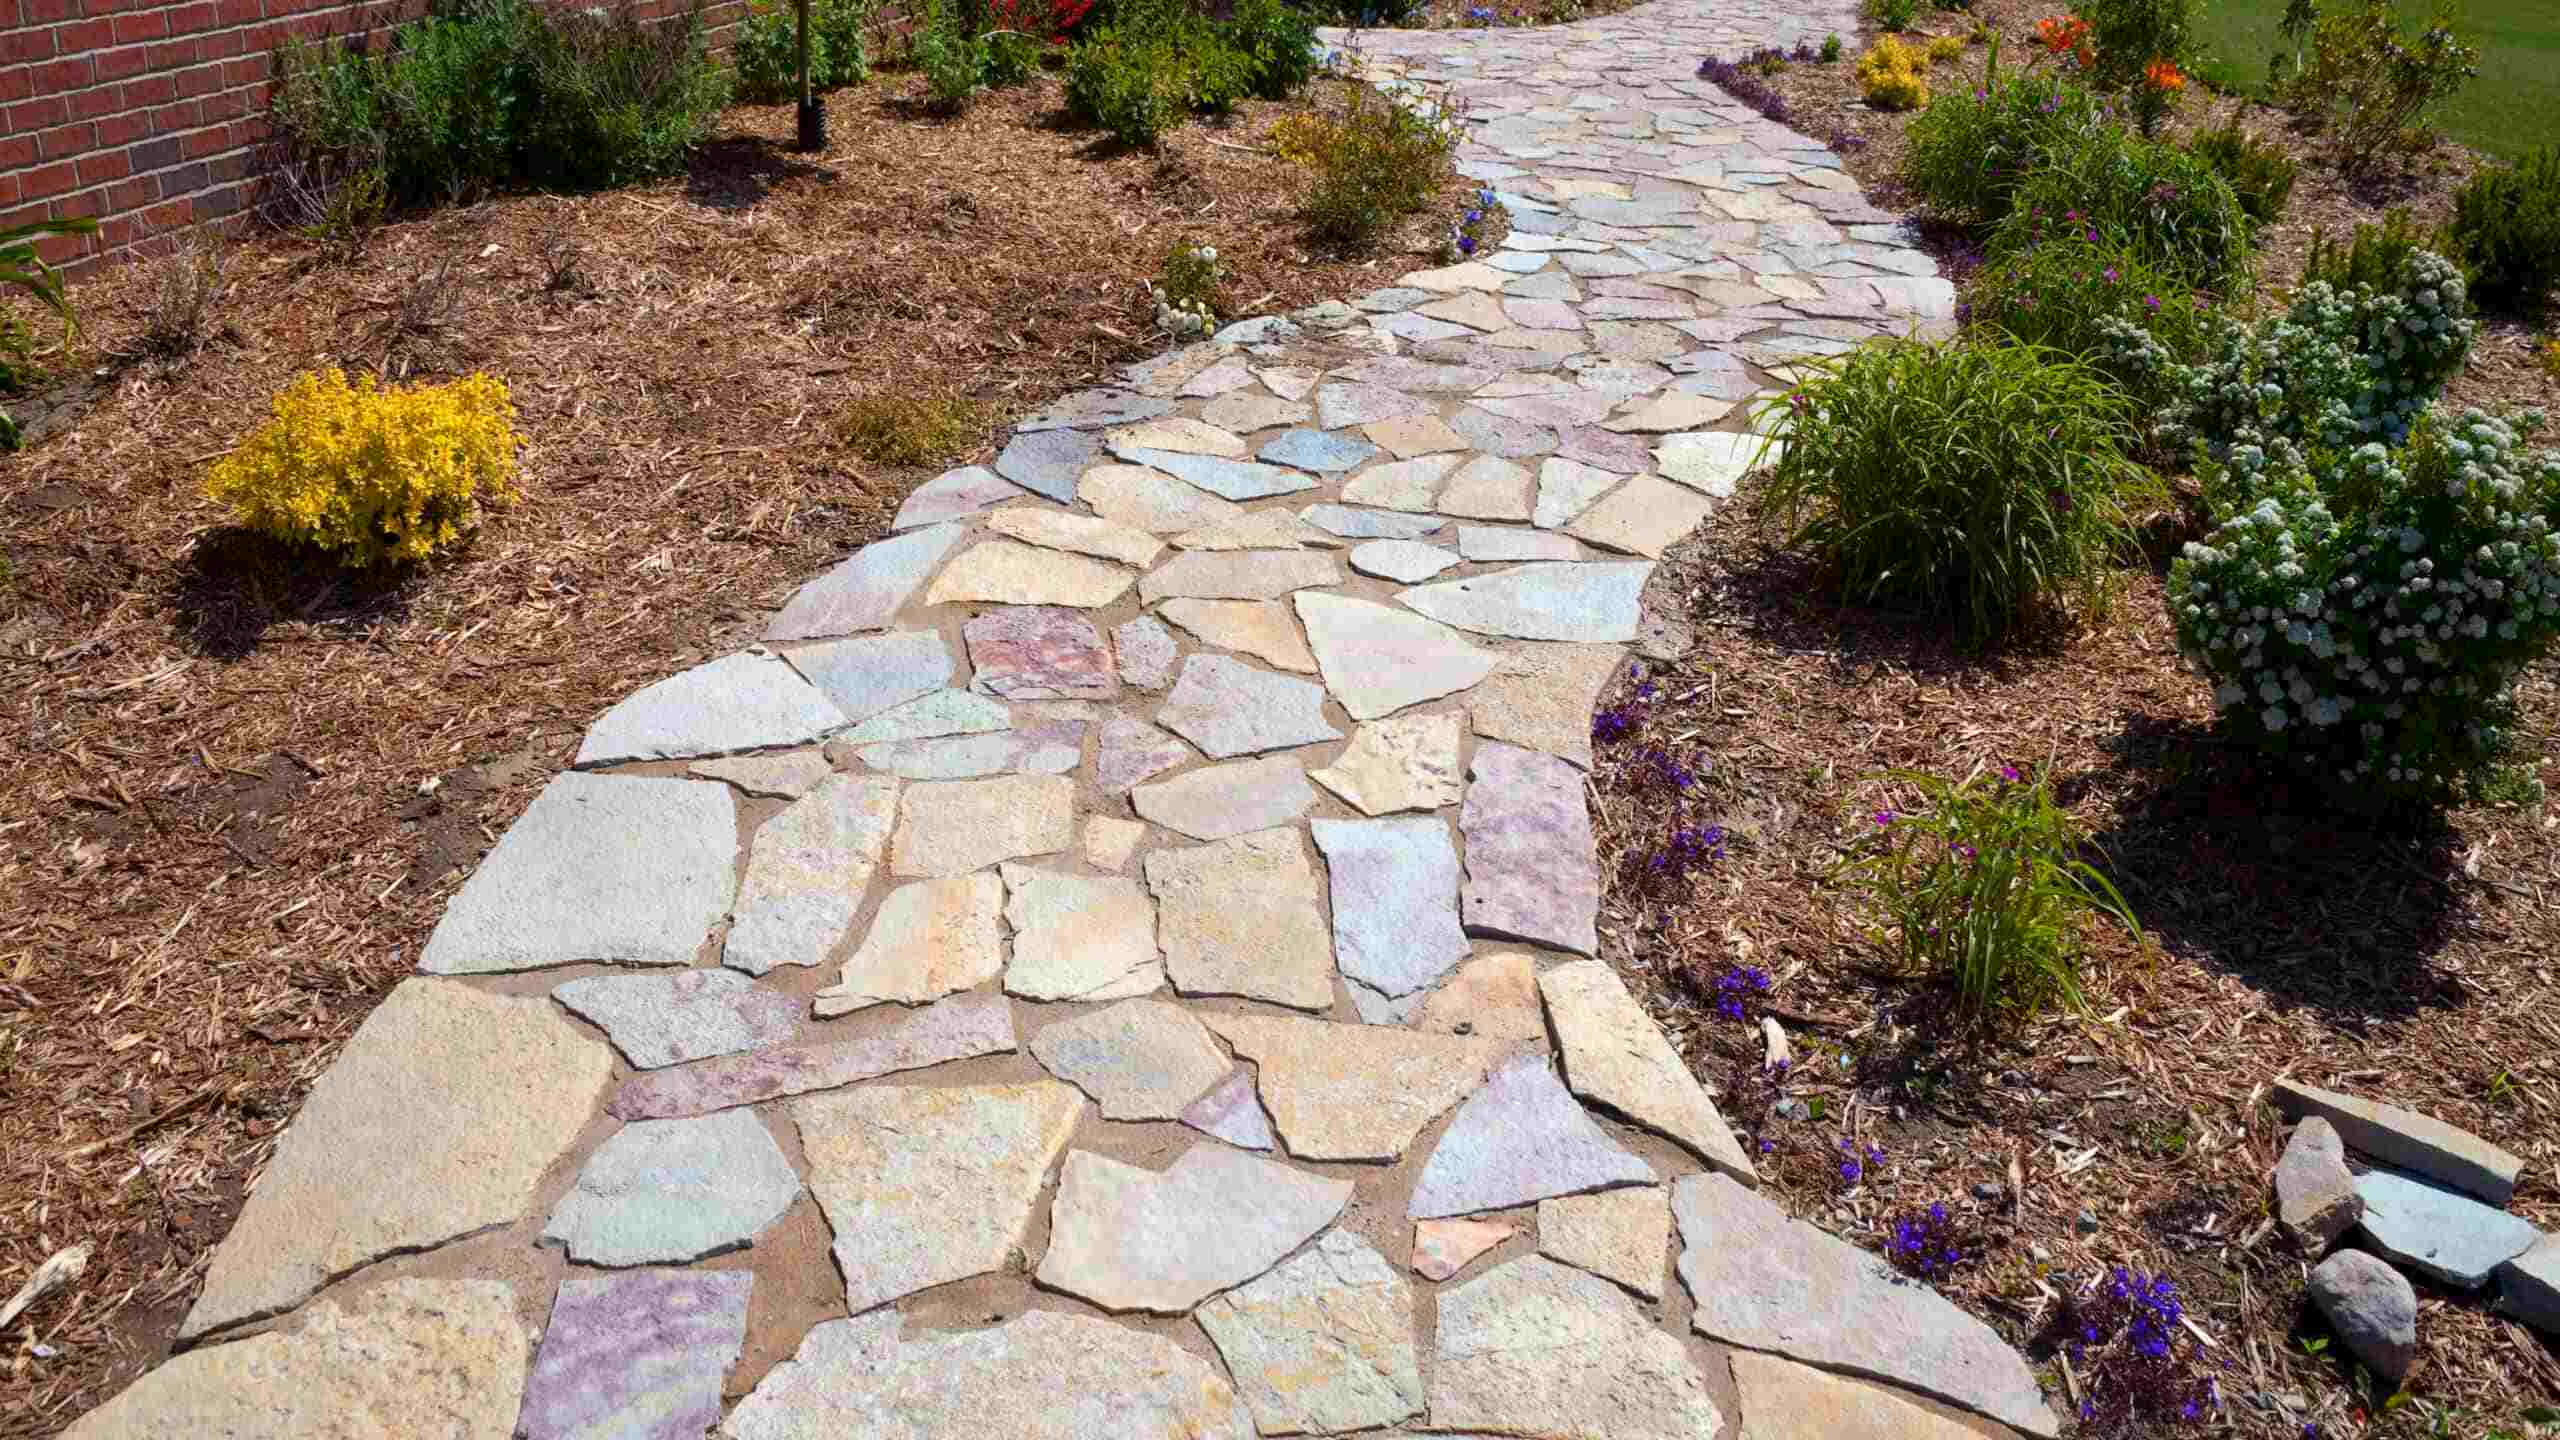
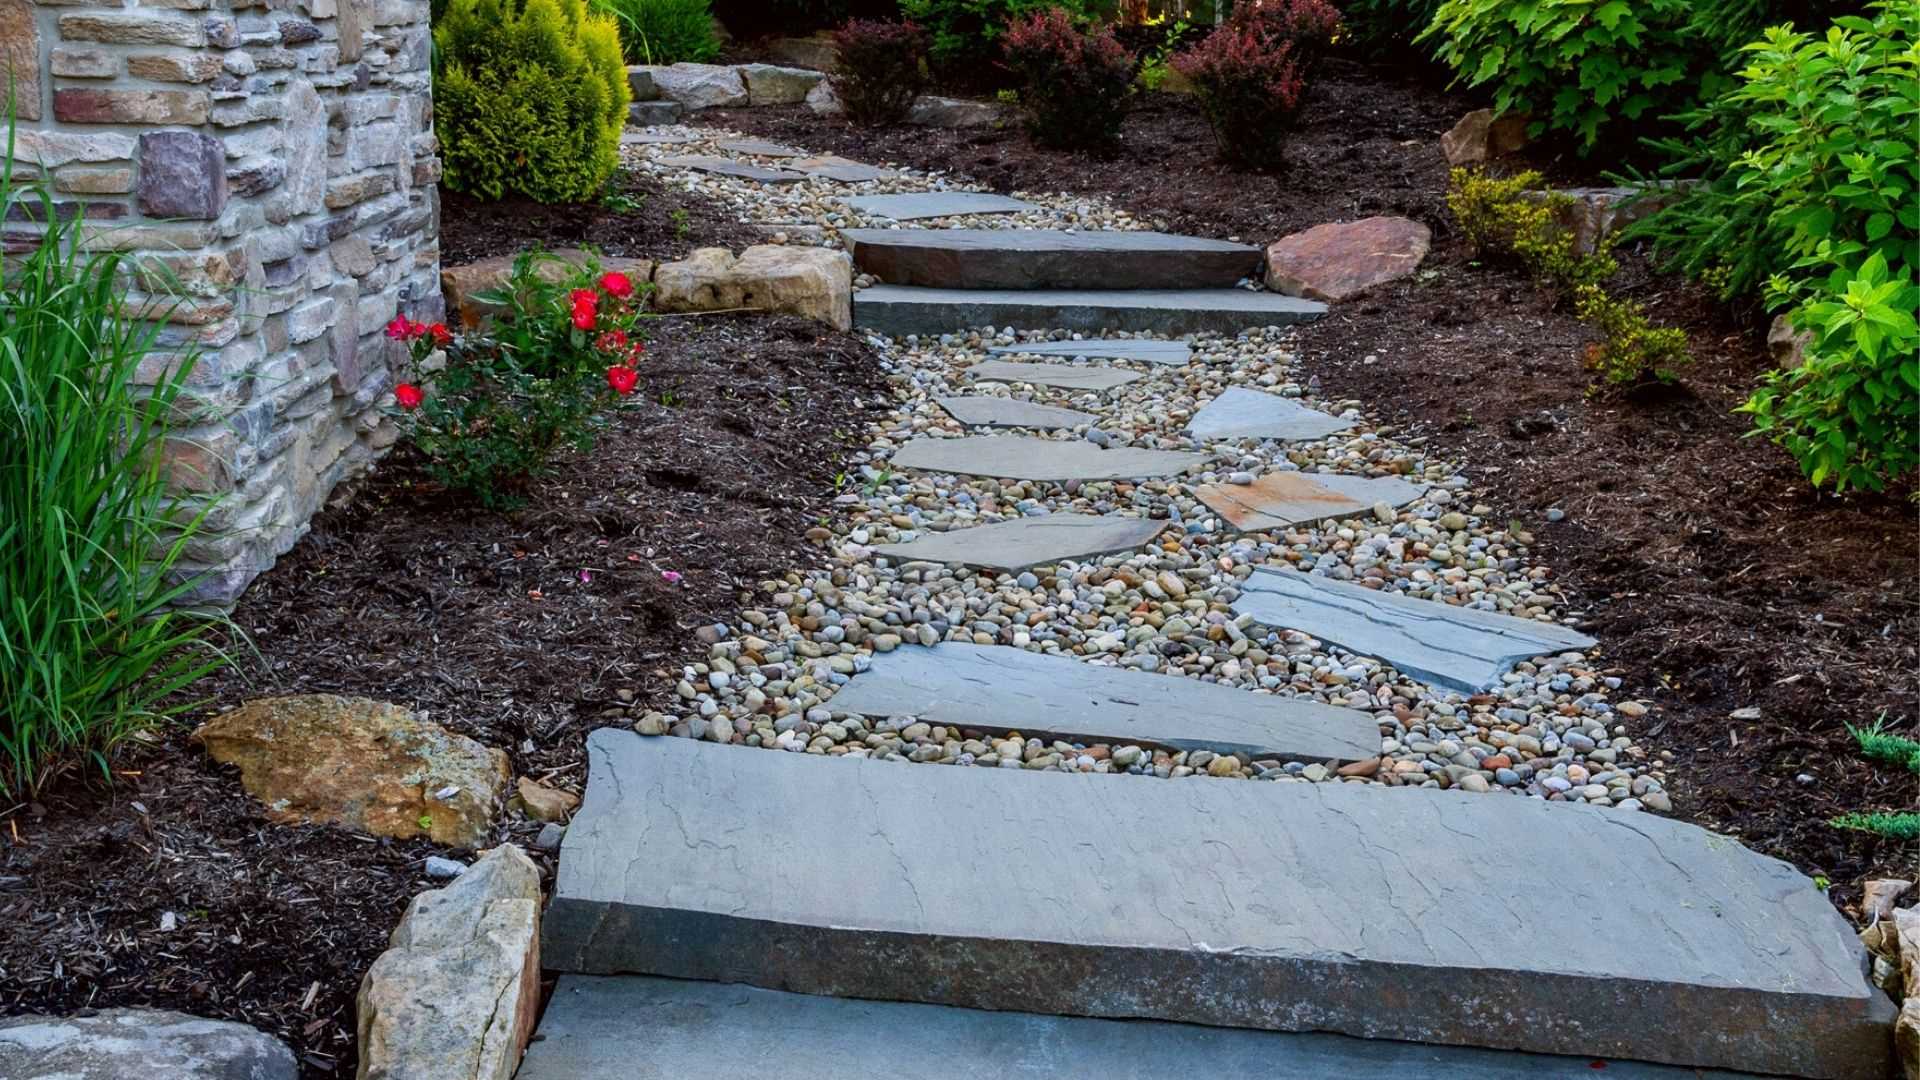
- Materials: Choose the materials for your walkway. Popular options include pavers, concrete, gravel, natural stone, and wood. Consider the durability, maintenance requirements, and aesthetic appeal of each material.
- Style and Theme: Consider the overall style and theme of your backyard. Choose materials and design elements that complement your existing landscape and architecture. Whether you prefer a modern, rustic, or traditional look, make sure the walkway aligns with your preferred aesthetic.
- Drainage: Take into account the slope and drainage patterns of your backyard. To prevent water accumulation, ensure that your walkway has proper grading and drainage channels.
- Lighting: Think about incorporating outdoor lighting along the walkway for safety and ambiance. Whether it’s solar-powered lights, lanterns, or LED strips, lighting adds a magical touch to your backyard during night-time strolls.
Once you have a clear vision of your walkway design, it’s helpful to sketch it out on paper or use design software to visualize the layout. This will assist you in estimating the required materials and understanding how the walkway will fit into your backyard surroundings.
Remember to check with local building codes or homeowners’ association guidelines for any specific regulations or permits required for constructing a walkway. Now that you have your plan in place, let’s move on to the next step: gathering the necessary materials and tools.
Step 2: Gathering Materials and Tools
Now that you have your walkway design finalized, it’s time to gather the materials and tools needed for the construction process. Here’s a list of commonly used items:
Materials:
- Pavers, concrete, gravel, natural stone, or wood (depending on your chosen walkway material)
- Edging materials (such as plastic, metal, or stone) for defining the shape and preventing shifting of the walkway
- Sand, gravel, or crushed stone for the foundation (if required)
- Landscape fabric to prevent weed growth
- Base material for stability and drainage (if required)
- Sealant or polymeric sand (if using pavers)
Tools:
- Shovel and spade for excavation and leveling
- Rake for smoothing the surface
- Wheelbarrow for transporting materials
- Tape measure and string for marking out the walkway
- Level for ensuring proper alignment
- Carpenter’s square or angle iron for precise angles
- Hammer and nails or adhesive for securing edging materials
- Cutting tools (such as a chisel or saw) for trimming materials to fit
- Broom for sweeping the surface
Before purchasing the materials, measure the length and width of the walkway to determine the quantity needed. It’s always a good idea to add a little extra to account for any mistakes or future repairs.
If you’re unsure about the specific materials and tools required for your chosen walkway design, consult with a professional at your local home improvement store or seek advice from a landscaping expert.
Once you have gathered all the necessary items, you’re ready to move on to the next step: preparing the area for construction. Stay tuned!
Read more: How To Make A Wooden Walkway
Step 3: Preparing the Area
With your materials and tools in hand, it’s time to prepare the area where your walkway will be constructed. Proper preparation is essential for a stable and long-lasting walkway. Follow these steps:
- Clear the space: Begin by removing any existing vegetation, plants, or debris from the designated area. This will provide a clean slate to work with.
- Mark the walkway: Use string or stakes to outline the path of your walkway. Ensure the width and shape align with your planned design.
- Excavation: Use a shovel and spade to dig out the marked area. Remove the topsoil to a depth that accommodates the desired thickness of your walkway material, the base material (if required), and the edging material. Aim for a depth of around 4-6 inches for most walkways.
- Level the area: Use a rake or shovel to level the excavated area. Ensure it has a slight slope away from your home or other structures to allow for proper drainage.
- Compact the soil: Use a tamper or plate compactor to compact the soil in the excavated area. This will provide a solid foundation for your walkway.
- Add a base (if necessary): Depending on your walkway material and soil conditions, you may need to add a base material, such as crushed stone or gravel, to enhance stability and drainage. Consult with your local supplier or landscaping expert for recommendations.
- Install landscape fabric: Lay a layer of landscape fabric over the excavated area to prevent weed growth. Trim the fabric to fit within the walkway boundaries.
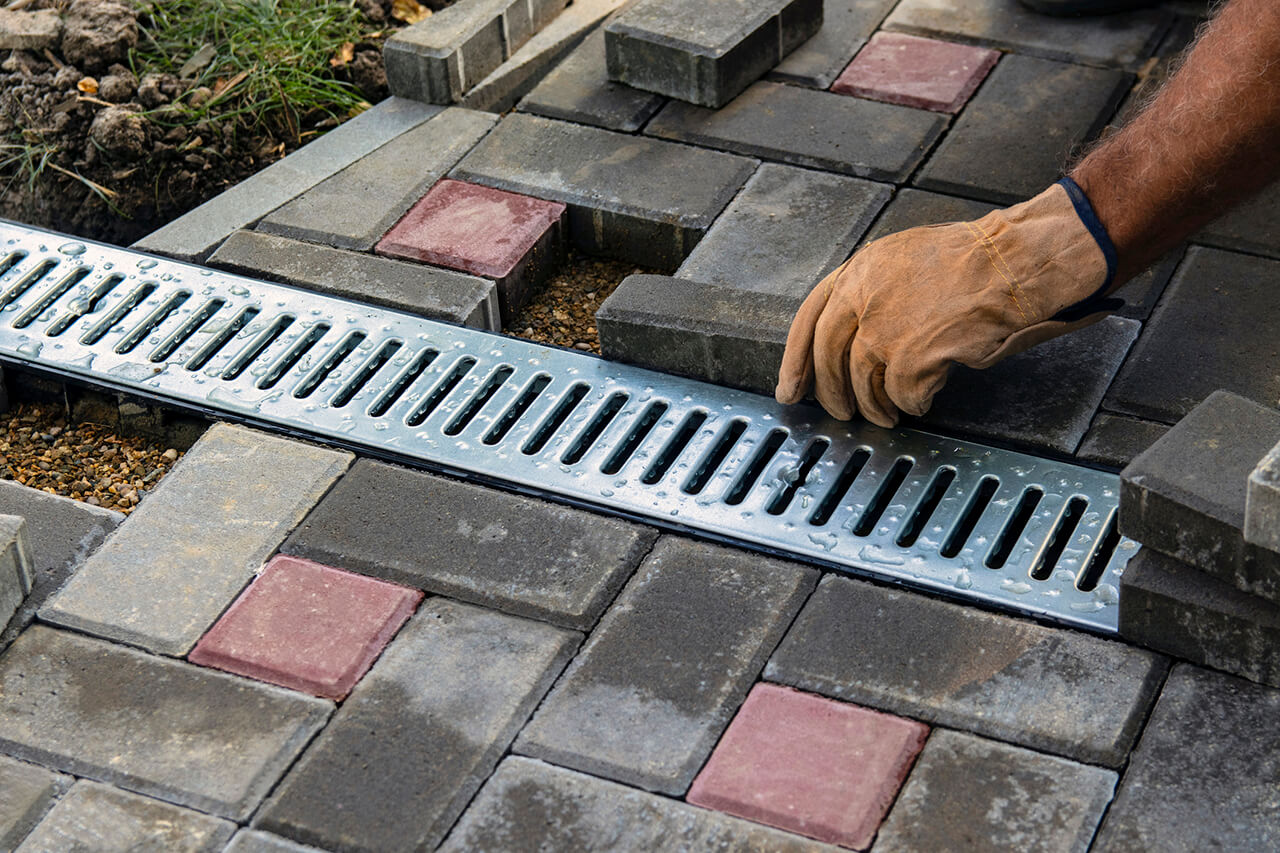
- Install edging: Place your chosen edging material along the sides of the walkway to define its shape and prevent shifting. Secure the edging with nails, screws, or adhesive as per the manufacturer’s instructions.
Once these preparation steps are complete, your walkway area is now ready for the next phase: laying the foundation. Join me in the next step to learn more!
Step 4: Laying the Foundation
Now that the area is prepared, it’s time to lay the foundation for your walkway. The foundation provides stability and helps ensure that your walkway withstands the test of time. Follow these steps to create a solid foundation:
- Add a layer of base material: If your walkway design requires a base material, such as crushed stone or gravel, spread it evenly over the excavated area. Use a rake to level and smooth the base material.
- Compact the base: Use a plate compactor or hand tamper to compact the base material. This will help create a solid and even surface for your walkway.
- Check for proper slope: Using a level, check that the foundation slopes slightly away from your home or other structures for proper drainage. Aim for a slope of about 1/4 inch per foot.
- Add bedding material (if using pavers): If you’re using pavers for your walkway, add a layer of bedding material, such as sand or crushed stone, over the compacted base. This will provide a stable surface for the pavers and allow for minor adjustments and leveling.
- Level and smooth the bedding material: Use a rake or screed board to level and smooth the bedding material. Make sure it is consistent and provides a uniform surface for the pavers.
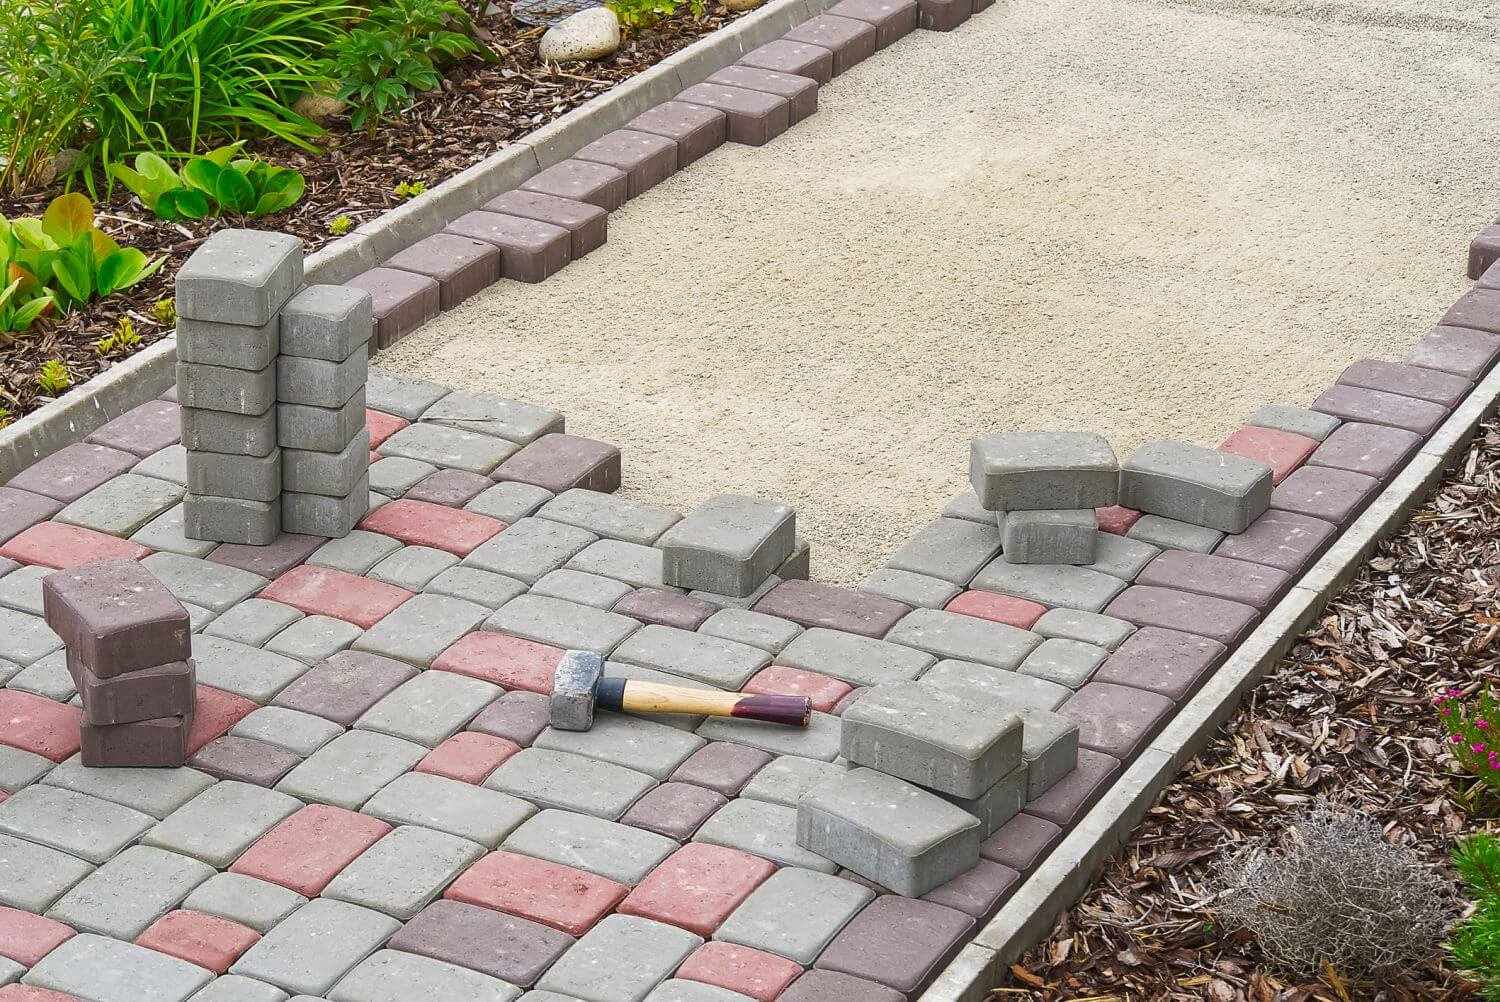
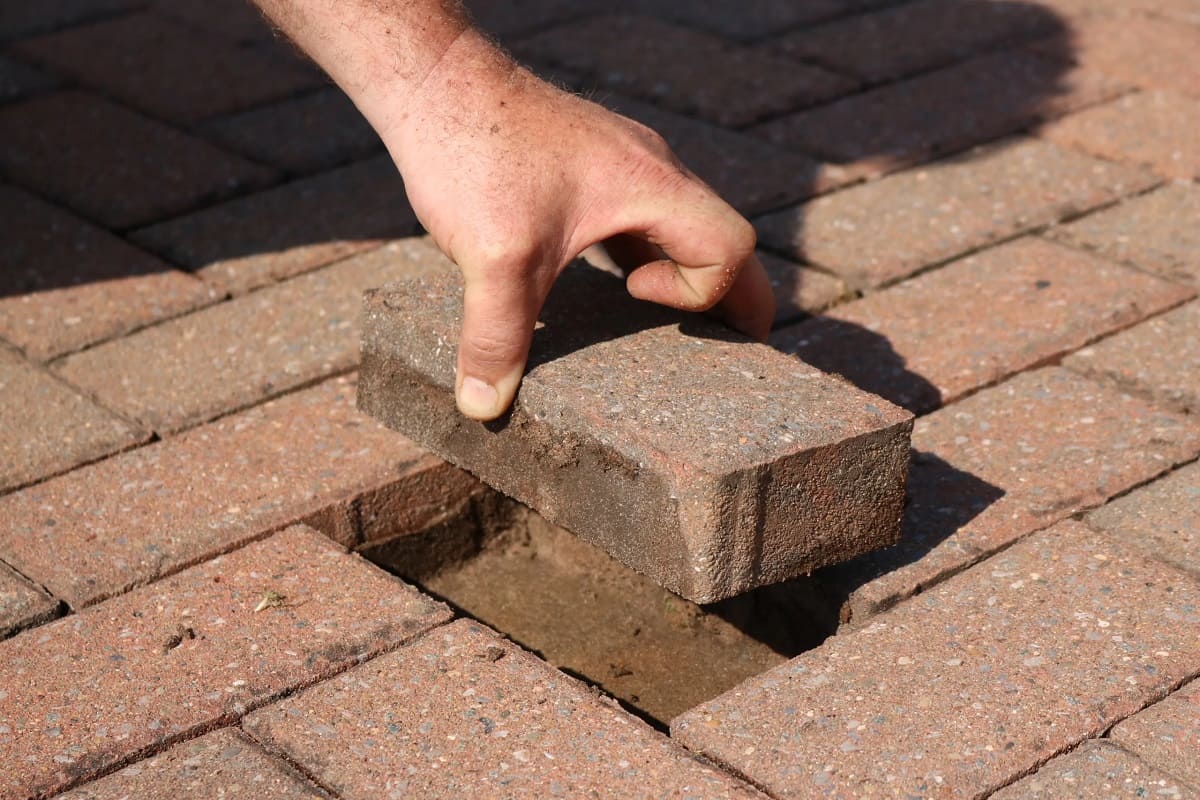
- Set the pavers (if using): Carefully place the pavers on the bedding material, following your planned design. Start at one end and work your way to the other, ensuring proper spacing and alignment.
- Tap the pavers: Use a rubber mallet or a piece of wood to tap each paver gently into place. This helps ensure they are seated securely on the bedding material.
- Check for level: Regularly check for levelness and adjust the pavers as needed. A bubble level or a straight edge can assist in achieving a uniformly level surface.
If you’re using a different walkway material, such as concrete, gravel, natural stone, or wood, follow the manufacturer’s instructions or best practices for laying the foundation and installing the materials. Always refer to the specific guidelines and recommendations provided for your chosen walkway material.
Once the foundation is in place, you’re ready for the exciting step of installing the walkway material itself. Let’s move on to the next step to bring your walkway to life!
Consider using materials like gravel, pavers, or stepping stones to create a walkway in your backyard. Plan the layout carefully and ensure the path is level for safe and easy walking.
Step 5: Installing the Walkway Material
With the foundation set, it’s time to move on to the exciting step of installing the walkway material. Whether you’re using pavers, concrete, gravel, natural stone, or wood, follow these general steps for a successful installation:
- Start at one end: Begin at one end of the walkway and work your way towards the other end. This ensures a smooth installation process without stepping on newly placed material.
- Follow your design: Lay the walkway material according to your planned design. If you’re using pavers or stones, place them closely together for a tight fit. For gravel or wood, ensure consistent coverage throughout the walkway.
- Check for spacing: If you’re using pavers or stones, make sure to maintain consistent spacing between each piece. A spacer tool or even a small piece of wood can help ensure even spacing.
- Level the material: Depending on the material, use a level or a straight edge to check for evenness. Adjust as necessary to create a level surface for walking.
- Secure the material: For pavers or stones, apply a sealant or polymeric sand to fill the gaps between the pieces. This helps stabilize the walkway and prevents shifting or weed growth. If using wood, secure the boards in place with screws or nails.
- Clean the surface: Once the walkway material is installed and secured, use a broom or brush to remove any debris or excess material from the surface. This will give it a clean and finished look.
Remember to consult specific guidelines and recommendations for your chosen walkway material. Follow any specific instructions provided by the manufacturer to ensure proper installation.
Now that your walkway material is in place, you’re almost done! The final step involves adding those finishing touches to make your walkway shine. Let’s explore that in the next step!
Step 6: Adding Finishing Touches
Congratulations! You’re in the final step of creating your walkway. Now it’s time to add those finishing touches to enhance the beauty and functionality of your new pathway. Consider the following options:
- Edging: Consider adding decorative edging alongside the walkway to create a clean and polished look. There are various options available, such as stone, metal, or plastic edging, that can complement your chosen walkway material.
- Plants and Landscaping: Incorporate plants and landscaping elements along the walkway to add color, texture, and visual interest. Choose plants that thrive in your local climate and consider the amount of sunlight and water they require.
- Accent Lighting: Install outdoor lighting fixtures to illuminate your walkway during the evening hours. Solar-powered lights, LED strips, or lanterns can create a warm and inviting atmosphere and improve safety.
- Sealing (if applicable): If you’re using materials like natural stone or wood, applying a sealant can protect them from moisture and enhance their durability. Follow the manufacturer’s instructions for the proper sealing process.
- Maintenance: Regularly sweep or hose down your walkway to keep it clean. Remove any weeds or moss that may appear between pavers or stones. Depending on the material, you may need to apply a fresh coat of sealant or stain periodically to maintain its appearance.
These finishing touches will not only elevate the overall look of your walkway but also add functionality and charm to your outdoor space. Experiment with different ideas to personalize your walkway and make it truly unique to your style and preferences.
Once you’ve completed these finishing touches, take a moment to admire your beautiful new walkway. It’s now ready for you and your guests to enjoy as you navigate through your backyard with ease.
Remember, regular maintenance and care will help extend the lifespan of your walkway and keep it looking its best for years to come.
That concludes our step-by-step guide on how to make a walkway in your backyard. We hope you found this information helpful and feel inspired to create a stunning walkway that adds value and enjoyment to your outdoor space. Happy walking!
Read more: How To Make A Concrete Walkway
Conclusion
Creating a walkway in your backyard not only adds beauty and functionality to your outdoor space but also provides a sense of direction and purpose. Following the step-by-step guide outlined in this article, you now have the knowledge and tools needed to build a walkway that will withstand the test of time.
From the initial planning and design phase to the installation of the walkway material and adding those finishing touches, each step is crucial in creating a successful walkway. Remember to consider the purpose, shape, materials, and style when planning your walkway. Take the time to gather the right materials and tools, prepare the area properly, and lay a solid foundation for optimal results.
Whether you choose pavers, concrete, gravel, natural stone, or wood, follow the specific instructions provided by the manufacturer for installation. Take pride in your work and pay attention to every detail to ensure a smooth and level walkway.
Lastly, don’t forget about those finishing touches that can elevate your walkway even further. Add decorative edging, incorporate plants and landscaping, consider accent lighting, and take the time to properly maintain your walkway to keep it looking its best for years to come.
Now it’s time to put your knowledge into practice and bring your dream walkway to life. Enjoy the process, embrace your creativity, and create a walkway that not only adds value to your backyard but also brings joy and tranquility to your outdoor living experience.
Happy walking!
Now that you've mastered crafting a walkway in your backyard, why not consider sprucing up your front yard too? Our article on front yard walkway ideas offers creative ways to make your entrance inviting and stylish. From simple enhancements to more elaborate designs, you'll find plenty of inspiration to transform your space. Don't miss out on these valuable insights that can significantly boost your home's curb appeal.
Frequently Asked Questions about How To Make A Walkway In Backyard
Was this page helpful?
At Storables.com, we guarantee accurate and reliable information. Our content, validated by Expert Board Contributors, is crafted following stringent Editorial Policies. We're committed to providing you with well-researched, expert-backed insights for all your informational needs.
0 thoughts on “How To Make A Walkway In Backyard”