Home>Home Appliances>Lighting Appliances>How To Change A Flat Ceiling Light

Lighting Appliances
How To Change A Flat Ceiling Light
Modified: October 18, 2024
Learn how to change a flat ceiling light with our step-by-step guide. Upgrade your lighting appliances easily and efficiently. Perfect for DIY enthusiasts!
(Many of the links in this article redirect to a specific reviewed product. Your purchase of these products through affiliate links helps to generate commission for Storables.com, at no extra cost. Learn more)
Introduction
Changing a flat ceiling light can instantly transform the ambiance of a room, adding a touch of elegance and functionality. Whether you're upgrading to a more energy-efficient fixture or simply seeking to refresh the aesthetic appeal of your space, this step-by-step guide will walk you through the process with ease and confidence. By following these instructions, you'll be able to replace your old ceiling light fixture with a new one, illuminating your room with renewed radiance.
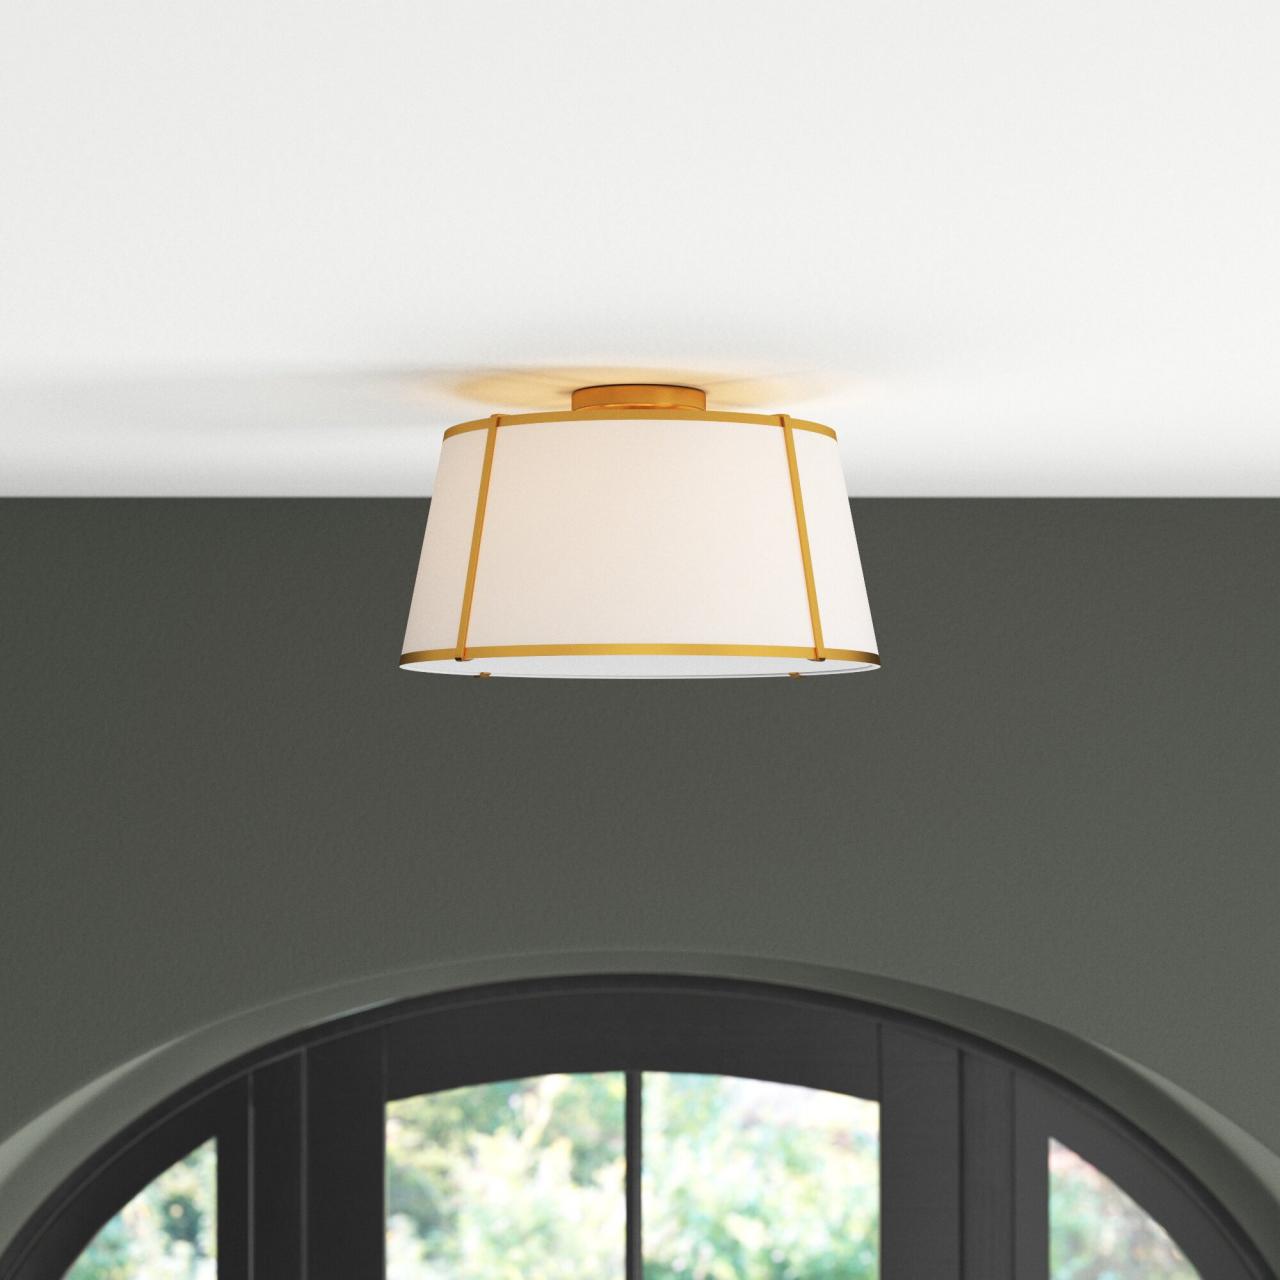
A flat ceiling light, also known as a flush mount or surface-mounted light, is a popular choice for various settings, including bedrooms, kitchens, and hallways. Its sleek design and space-saving nature make it a versatile lighting option for both residential and commercial spaces. With the right tools and a clear understanding of the process, you can effortlessly upgrade your ceiling light fixture, enhancing the overall look and functionality of the room.
In the following steps, you'll learn how to safely and effectively change a flat ceiling light. From gathering the necessary tools and materials to installing the new fixture and restoring power, each stage is crucial in ensuring a successful and visually appealing outcome. Whether you're a seasoned DIY enthusiast or a novice looking to embark on your first home improvement project, this guide is designed to empower you with the knowledge and confidence to tackle the task at hand.
As you embark on this journey, remember that safety is paramount. Always turn off the power to the existing light fixture before beginning any work, and exercise caution when handling electrical components. By taking the time to understand the process and following each step diligently, you'll be well on your way to enjoying the radiant glow of your new flat ceiling light.
Now, let's gather the necessary tools and materials to kickstart this exciting home improvement project.
Key Takeaways:
- Transform your space
Changing a flat ceiling light can instantly elevate the ambiance of a room, adding elegance and functionality. With the right tools and steps, you can seamlessly install a new fixture and illuminate your space with renewed radiance. - Safety first, always
Prioritize safety when changing a flat ceiling light. Always turn off the power, handle electrical components with caution, and follow each step diligently to ensure a secure and visually appealing installation.
Step 1: Gather necessary tools and materials
Before embarking on the process of changing a flat ceiling light, it's essential to gather the required tools and materials to ensure a smooth and efficient transition. By having everything at your disposal, you can streamline the installation process and minimize interruptions. Here's a comprehensive list of the essential items you'll need:
Tools:
- Screwdriver: A Phillips or flat-head screwdriver will be necessary for removing the screws that secure the old light fixture in place.
- Wire Stripper: This tool will come in handy for safely stripping the insulation from the electrical wires, facilitating the connection of the new light fixture.
- Voltage Tester: Before handling any electrical components, it's crucial to verify that the power is indeed turned off. A voltage tester will help ensure a safe working environment.
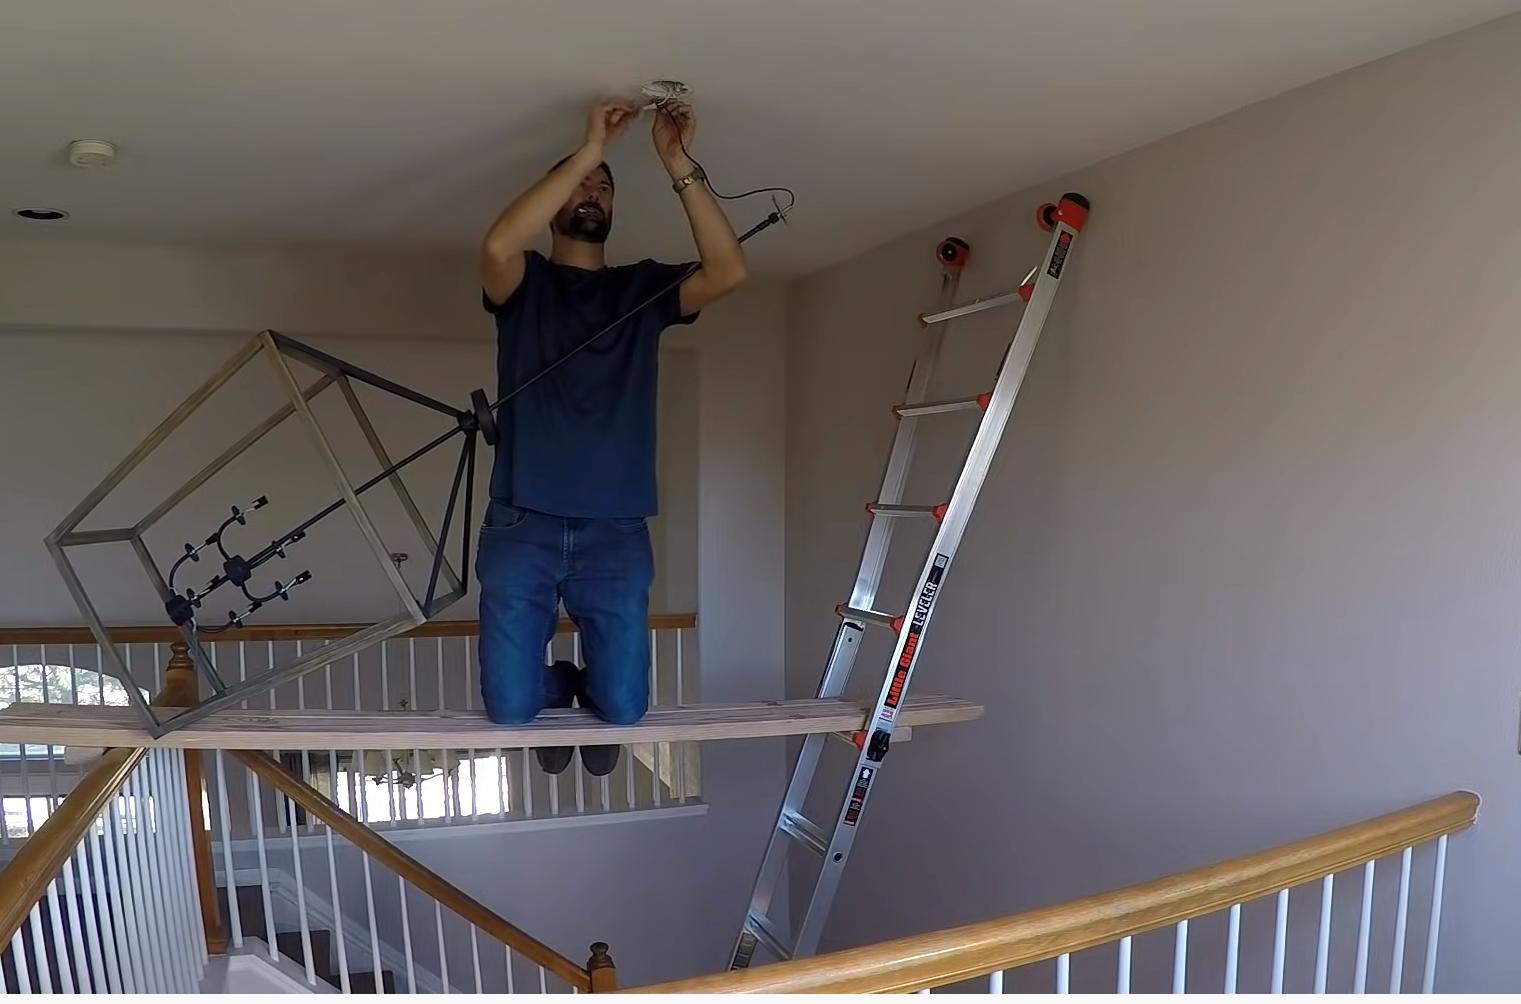
- Ladder or Step Stool: Depending on the height of the ceiling, a stable and secure platform will be required to access the light fixture.
- Pliers: These may be needed for bending and shaping wires during the installation process.
Materials:
- New Flat Ceiling Light Fixture: Select a fixture that complements the aesthetic of the room and meets your lighting requirements. Ensure that it is suitable for the existing wiring and ceiling structure.
- Wire Nuts: These small, insulated connectors are essential for securely joining the electrical wires of the new light fixture to the existing house wiring.
- Electrical Tape: Use electrical tape to insulate and secure wire connections, providing an added layer of safety.
- Optional: Painters Tape or Masking Tape: If you're concerned about marking or scuffing the ceiling during the installation, these tapes can be used to protect the surrounding area.
- Instruction Manual: While not a physical tool or material, the instruction manual that comes with the new light fixture is invaluable for understanding the specific installation requirements and wiring configurations.
By ensuring that you have all the necessary tools and materials on hand, you can approach the task of changing a flat ceiling light with confidence and preparedness. This proactive approach will help streamline the process and minimize the risk of interruptions, allowing you to focus on achieving a seamless and visually appealing installation. With these items at your disposal, you're ready to proceed to the next step: turning off the power.
Step 2: Turn off the power
Before proceeding with any electrical work, it is crucial to ensure that the power to the existing ceiling light fixture is completely turned off. This step is paramount for your safety and the integrity of the electrical components involved in the installation process. By following these guidelines, you can confidently navigate the process of de-energizing the circuit and proceed with the subsequent steps without any risk.
Read more: How To Change An LED Ceiling Light
Safety First
Turning off the power at the electrical panel is a fundamental safety measure that cannot be overlooked. It is essential to protect yourself from potential electrical hazards and ensure a secure working environment. Here's a detailed breakdown of the steps to safely turn off the power:
Locate the Electrical Panel
Begin by identifying the location of the electrical panel in your home. The panel is typically situated in a utility room, basement, garage, or an accessible area designated for housing the circuit breakers or fuses.
Identify the Correct Circuit
Once you have located the electrical panel, identify the circuit breaker or fuse that controls the power supply to the existing ceiling light fixture. This can usually be determined by referring to the circuit labeling inside the electrical panel. Look for a label that corresponds to the specific area or room where the light fixture is installed.
Switch Off the Circuit Breaker
Using caution and wearing appropriate personal protective equipment, such as insulated gloves, switch off the circuit breaker associated with the ceiling light fixture. This action will effectively cut off the power supply to the fixture, rendering it safe to proceed with the subsequent steps of the installation process.
Read more: How To Change A Ceiling Light Fixture
Verify the Power Supply
After turning off the circuit breaker, it is essential to verify that the power supply to the light fixture has been successfully disconnected. You can do this by using a voltage tester to check for the presence of electrical current at the fixture. If the tester indicates no voltage, you can proceed with confidence, knowing that the power has been safely turned off.
Proceed with Caution
Even after turning off the power, it is crucial to handle electrical components with care and attention. Always assume that wires may still be live until proven otherwise. By adhering to these safety protocols, you can create a secure environment for the subsequent steps of removing the old light fixture and installing the new one.
By diligently following these steps to turn off the power, you can ensure a safe and controlled environment for the remainder of the installation process. This proactive approach sets the stage for a successful transition to the next phase: removing the old light fixture.
Step 3: Remove the old light fixture
With the power safely turned off, you are now ready to remove the old flat ceiling light fixture. This step involves carefully detaching the existing fixture from the ceiling, disconnecting the electrical wiring, and preparing the space for the installation of the new light. By following these detailed instructions, you can effectively and methodically remove the old fixture, setting the stage for a seamless transition to the new one.
1. Remove the Cover and Bulbs
Begin by removing any cover or decorative elements that may be concealing the mounting screws or fasteners. In most cases, flat ceiling light fixtures feature a cover that can be easily unscrewed or detached, providing access to the internal components. Once the cover is removed, carefully unscrew and remove any light bulbs that are still in place.
Read more: How To Change Light Bulb In The Ceiling
2. Unscrew the Mounting Screws
Using a suitable screwdriver, carefully unscrew the mounting screws or fasteners that secure the old fixture to the ceiling. These screws are typically located at the base of the fixture, attaching it to the electrical box or mounting bracket. As you loosen the screws, be sure to support the weight of the fixture to prevent it from falling.
3. Disconnect the Wiring
With the mounting screws removed, gently lower the old fixture to expose the electrical wiring. Take note of the wire connections and how they are configured. Using a voltage tester, double-check that the wires are indeed not live. Once confirmed, carefully disconnect the wires by unscrewing the wire nuts and separating the connections. It's essential to handle the wires with care and avoid damaging the insulation.
4. Remove the Fixture
After the wiring is disconnected, carefully lift the old fixture away from the ceiling, ensuring that all wires are free from entanglement. Set the old fixture aside in a safe location, as you may need to refer to it during the installation of the new light.
5. Inspect the Electrical Box
With the old fixture removed, take a moment to inspect the electrical box or mounting bracket that the fixture was attached to. Ensure that it is secure and in good condition, free from any damage or signs of wear. This is also an opportune time to clean the area and remove any accumulated dust or debris.
By meticulously following these steps, you can successfully remove the old flat ceiling light fixture, preparing the space for the installation of the new one. With the old fixture safely removed, you are now poised to proceed to the next phase: installing the new light fixture.
Read more: How To Change A Ceiling Light Bulb
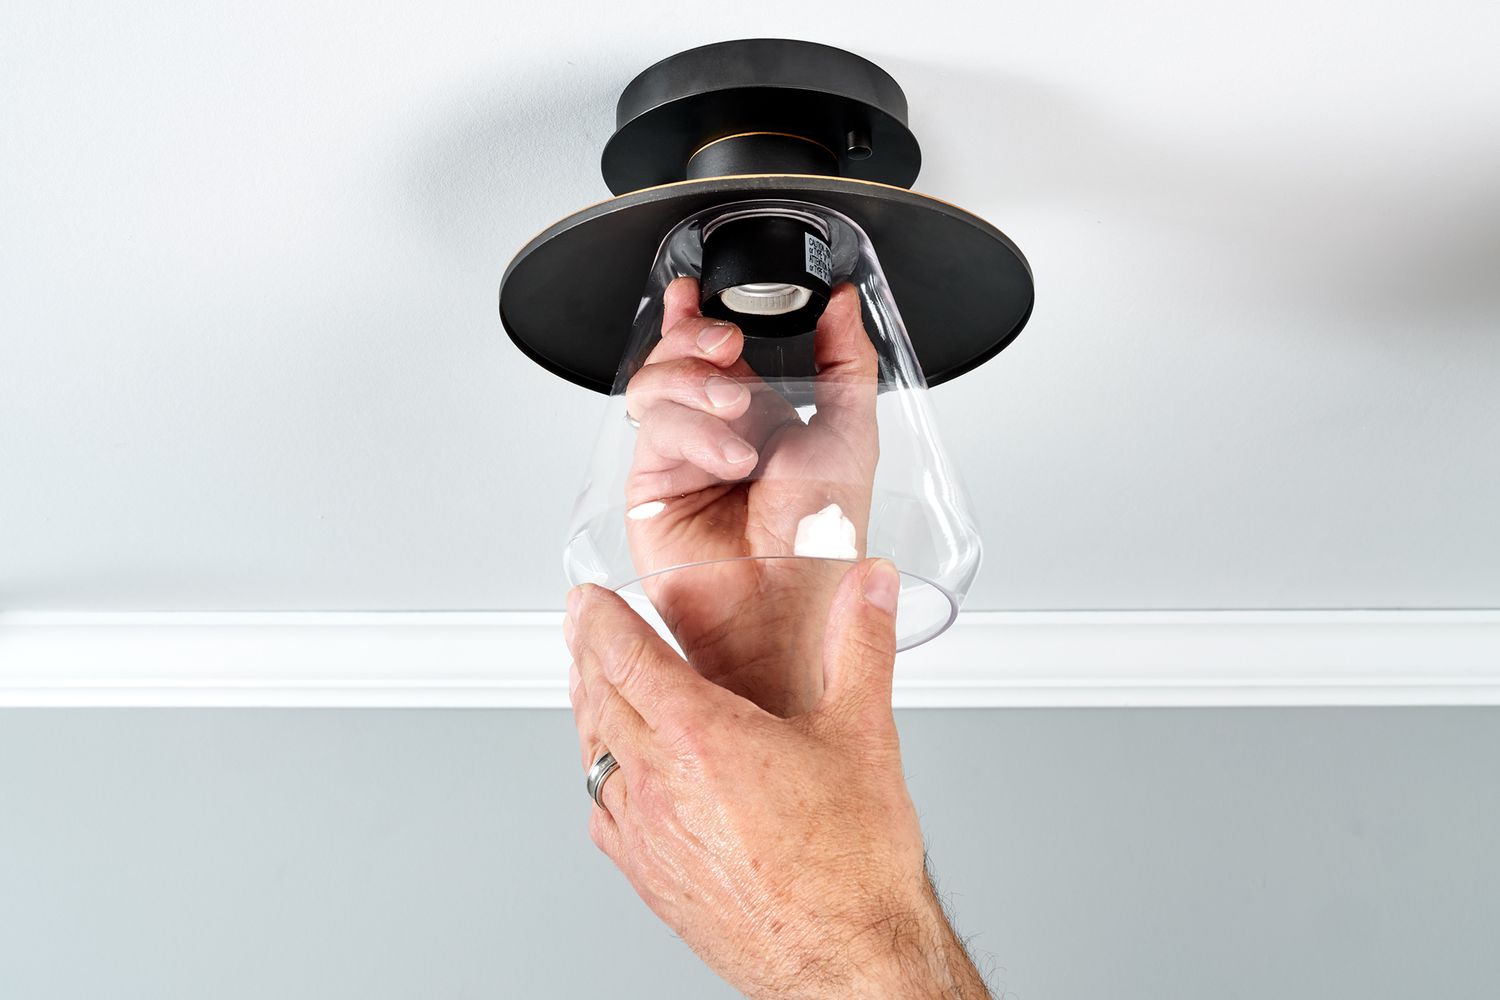
Step 4: Install the new light fixture
With the old flat ceiling light fixture removed, it's time to embark on the exciting phase of installing the new light. This transformative step involves carefully mounting the new fixture, connecting the electrical wiring, and ensuring a secure and visually appealing installation. By following these detailed instructions, you can seamlessly integrate the new light fixture into your space, illuminating it with renewed radiance and style.
-
Assess the Mounting Bracket
Before proceeding with the installation, assess the existing mounting bracket or electrical box to ensure it is compatible with the new light fixture. Verify that the bracket is securely fastened to the ceiling and can adequately support the weight of the new fixture. If necessary, make any adjustments or enhancements to the mounting bracket to accommodate the new installation. -
Connect the Electrical Wires
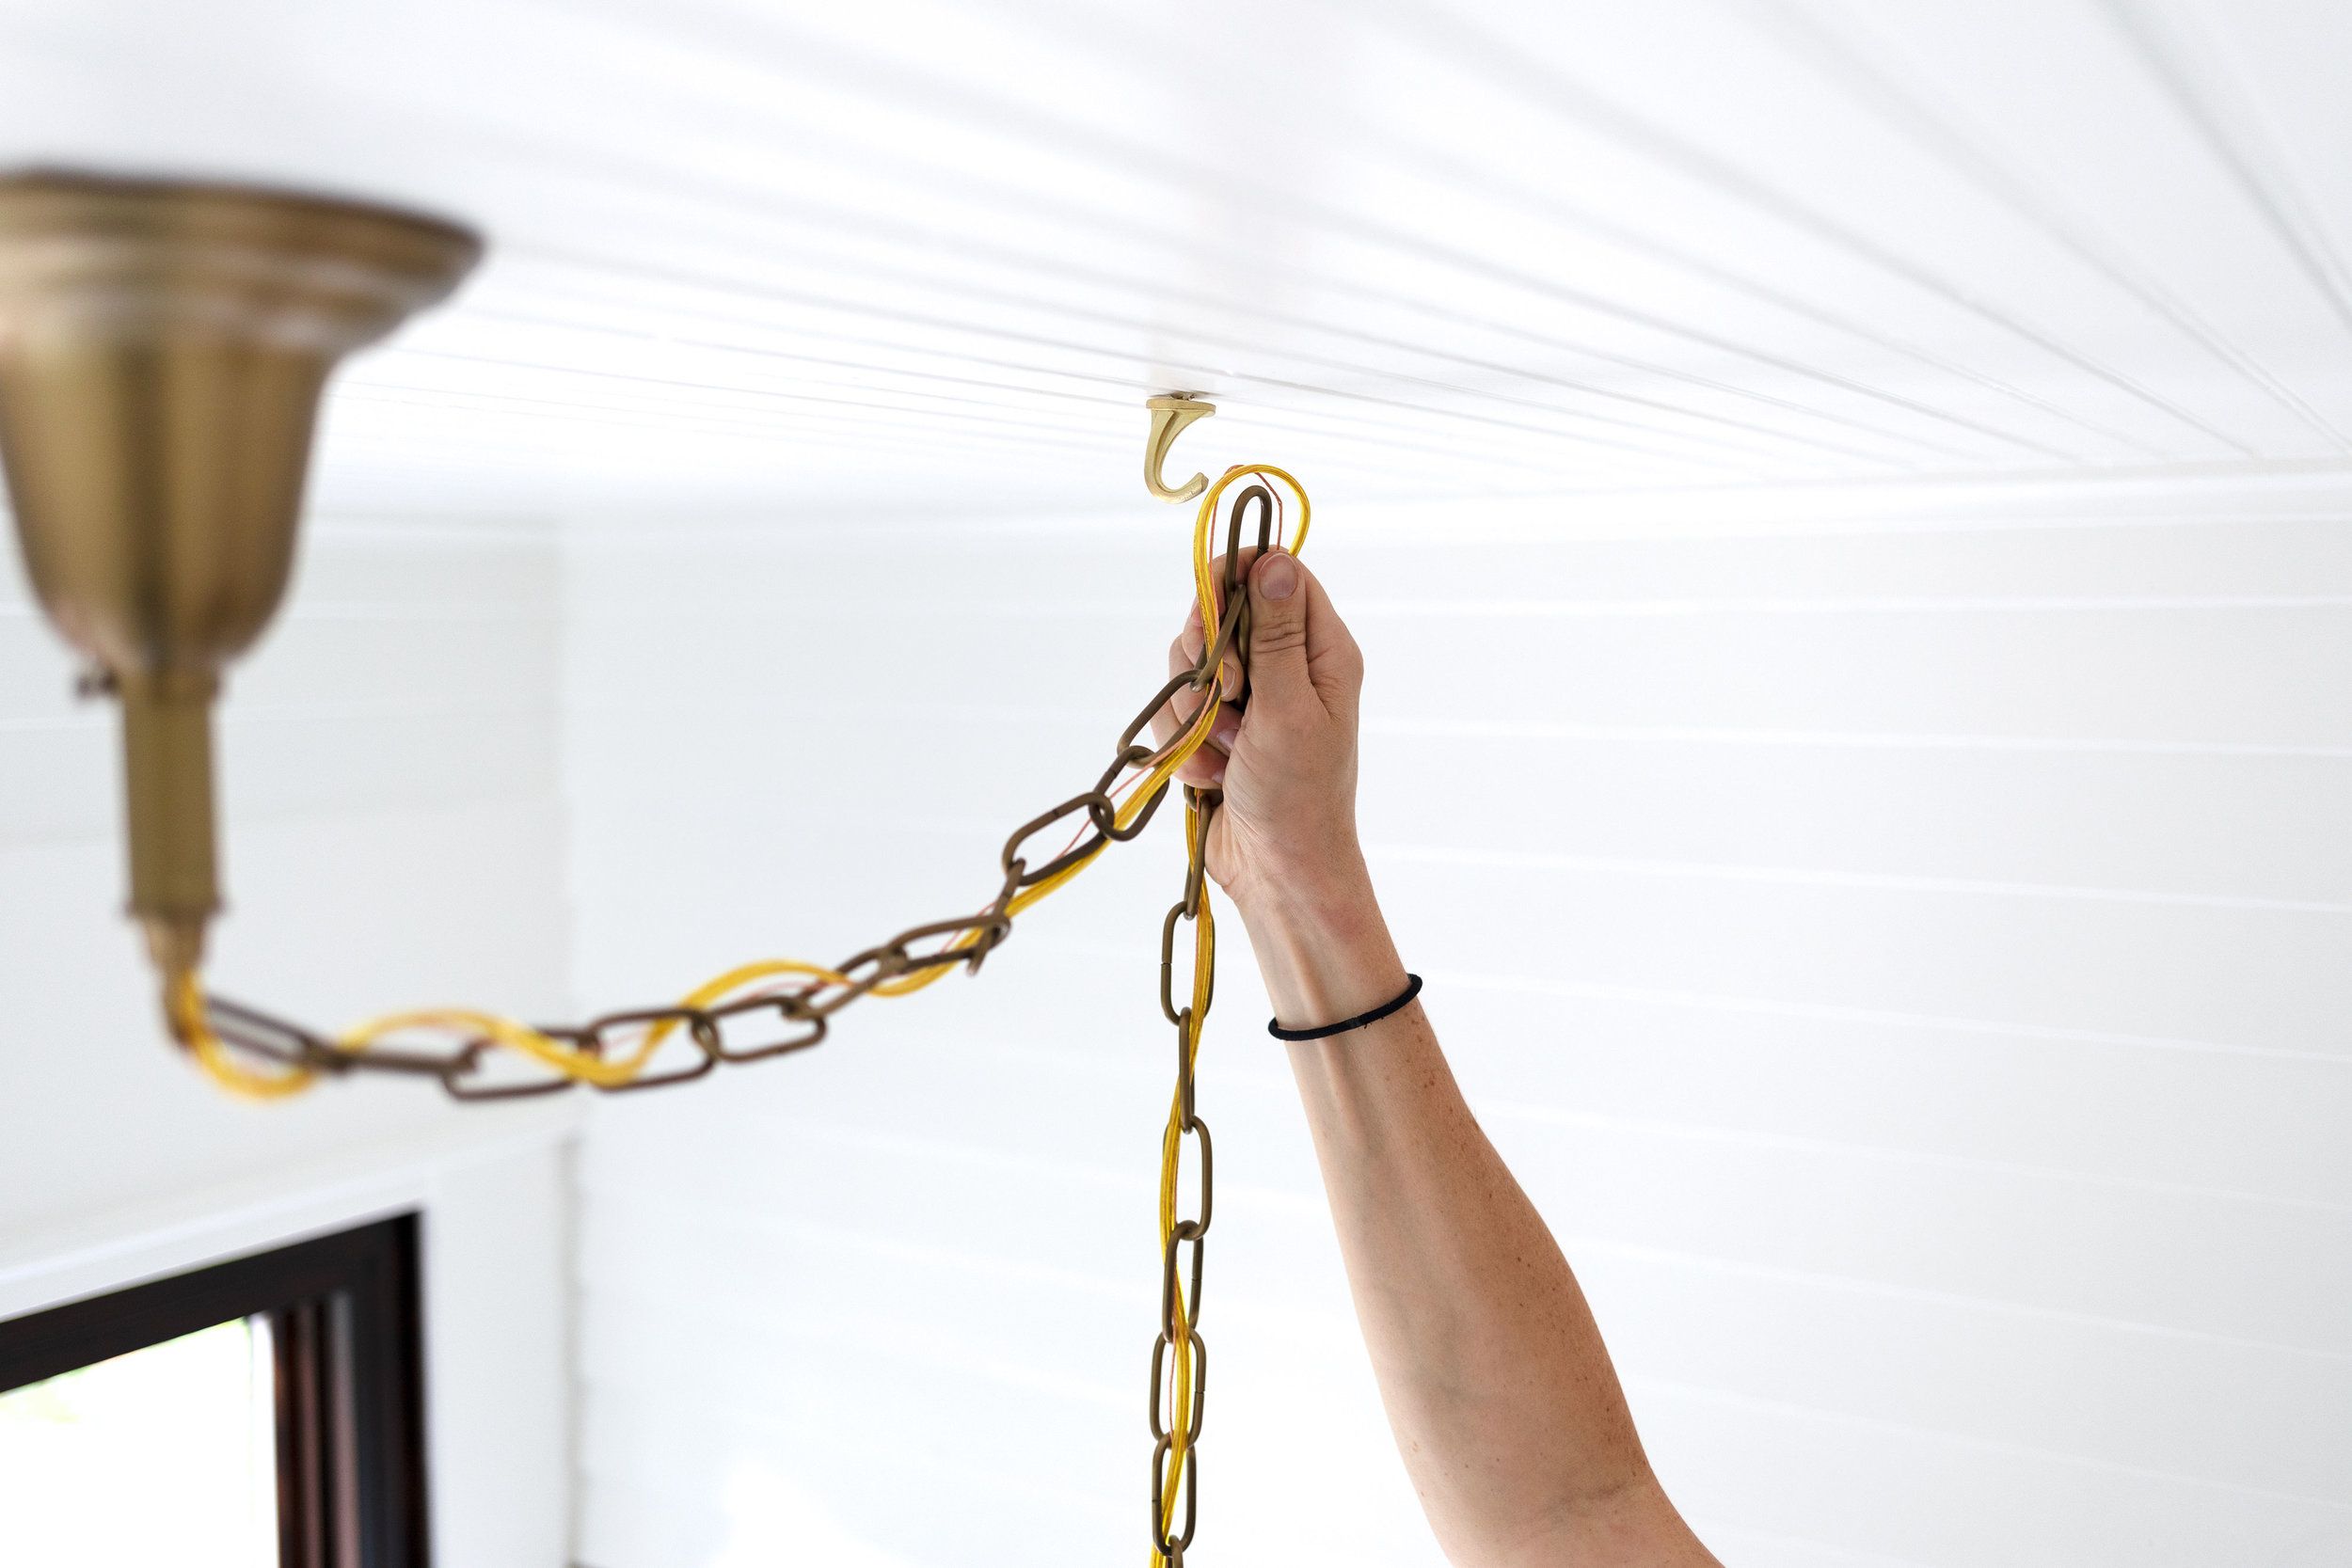
Begin by carefully threading the electrical wires of the new fixture through the center of the mounting bracket. Once the wires are positioned, proceed to connect them to the corresponding house wiring. Match the wires based on color-coding or as per the manufacturer's instructions, ensuring a secure and snug connection. Use wire nuts to join the wires, twisting them clockwise and applying electrical tape to insulate and secure the connections. -
Secure the Fixture to the Ceiling
With the wiring in place, carefully lift the new light fixture and align it with the mounting bracket. Once positioned, secure the fixture to the bracket using the provided screws or fasteners. Ensure that the fixture is level and flush against the ceiling, making any necessary adjustments to achieve a seamless and professional installation. -
Install Light Bulbs and Cover
After the fixture is securely mounted, insert the appropriate light bulbs as specified by the manufacturer. Ensure that the bulbs are compatible with the fixture and are securely seated in their respective sockets. Once the bulbs are in place, attach the cover or decorative elements, following the manufacturer's guidelines for securing and aligning the components. -
Test the Fixture
Before completing the installation, it's essential to conduct a thorough test of the new light fixture. Turn the power back on at the electrical panel and switch on the light to verify that it functions as intended. Check for proper illumination, ensure that all components are securely in place, and assess the overall aesthetic impact of the new fixture.
By meticulously following these steps, you can successfully install the new flat ceiling light fixture, infusing your space with renewed luminance and style. With the new fixture seamlessly integrated, you are now poised to proceed to the final phase: turning the power back on and basking in the radiant glow of your newly installed ceiling light.
Step 5: Turn the power back on
With the new flat ceiling light fixture securely installed and tested, the final step in the process is to restore power at the electrical panel. This pivotal action will activate the new light, allowing it to illuminate your space with its radiant glow. However, it is essential to approach this step with caution and attention to detail to ensure a seamless transition from installation to activation.
Before proceeding to turn the power back on, take a moment to conduct a final inspection of the newly installed light fixture. Ensure that all components are securely in place, the wiring connections are properly insulated, and the fixture is level and flush against the ceiling. This proactive assessment will help identify any potential issues before restoring power, allowing for timely adjustments if necessary.
Once you have confirmed the integrity of the installation, proceed to the electrical panel to turn the power back on. Locate the circuit breaker that controls the newly installed ceiling light fixture and switch it to the "on" position. As the power is restored, observe the fixture to ensure that it illuminates as expected, casting a warm and inviting glow across the room.
As the light springs to life, take a moment to appreciate the visual impact of your newly installed fixture. Observe how it enhances the ambiance of the space, adding a touch of elegance and functionality to the room. This transformative moment marks the culmination of your efforts, as the space is now illuminated with renewed radiance, courtesy of the carefully installed flat ceiling light.
In addition to the visual impact, the successful activation of the new light fixture signifies the completion of a meticulous and rewarding home improvement project. By following the step-by-step instructions and exercising diligence throughout the process, you have not only enhanced the aesthetic appeal of your space but also gained valuable experience in handling electrical installations.
As the room basks in the glow of the new ceiling light, take a moment to reflect on the journey from removing the old fixture to seamlessly integrating the new one. Your attention to detail, commitment to safety, and dedication to achieving a visually appealing installation have culminated in a space that is now illuminated with renewed radiance and style.
With the power restored and the new flat ceiling light fixture aglow, you can now revel in the transformative impact of your efforts, enjoying the enhanced ambiance and functionality that the new light brings to your space. This successful installation serves as a testament to your capability and resourcefulness, setting the stage for future home improvement endeavors with confidence and enthusiasm.
Conclusion
In conclusion, the process of changing a flat ceiling light is a transformative endeavor that not only enhances the visual appeal of a space but also empowers individuals to engage in hands-on home improvement projects with confidence and proficiency. By following the comprehensive steps outlined in this guide, you have gained valuable insights into the intricacies of replacing a ceiling light fixture, from gathering the necessary tools and materials to safely turning off the power, removing the old fixture, installing the new one, and restoring power. Each stage of the process was meticulously designed to ensure a seamless and successful transition from the old to the new, culminating in a space illuminated with renewed radiance and style.
Throughout this journey, safety remained a paramount consideration, underscoring the importance of prioritizing well-being and caution when working with electrical components. By diligently adhering to safety protocols and exercising care at every step, you have not only achieved a visually appealing installation but also cultivated a mindset of responsibility and attentiveness when handling electrical tasks.
The successful installation of the new flat ceiling light fixture stands as a testament to your capability and resourcefulness, showcasing your ability to navigate a home improvement project with precision and dedication. As the new light fixture illuminates the space, casting a warm and inviting glow, it serves as a tangible representation of your commitment to enhancing the ambiance and functionality of your environment.
Moreover, this experience has equipped you with valuable knowledge and practical skills that extend beyond the realm of lighting installations. The attention to detail, meticulous approach to wiring connections, and the ability to assess and modify the mounting bracket underscore your capacity to engage in diverse DIY endeavors with confidence and proficiency.
As you bask in the radiant glow of your newly installed flat ceiling light, take pride in the journey you have undertaken and the transformative impact you have achieved. This successful endeavor not only elevates the aesthetic appeal of your space but also instills a sense of accomplishment and empowerment, setting the stage for future home improvement projects with enthusiasm and assurance.
In essence, the process of changing a flat ceiling light transcends the mere act of installation; it embodies a journey of empowerment, skill-building, and the creation of a space that reflects your vision and resourcefulness. With the new light fixture seamlessly integrated into your environment, you have not only illuminated the room but also illuminated your path as a capable and adept home improver.
Frequently Asked Questions about How To Change A Flat Ceiling Light
Was this page helpful?
At Storables.com, we guarantee accurate and reliable information. Our content, validated by Expert Board Contributors, is crafted following stringent Editorial Policies. We're committed to providing you with well-researched, expert-backed insights for all your informational needs.


0 thoughts on “How To Change A Flat Ceiling Light”