Articles
How To Make Ice Cream In A Mixer
Modified: October 20, 2024
Learn how to make delicious ice cream at home using a mixer with these informative articles. Discover new recipes and techniques to create creamy treats.
(Many of the links in this article redirect to a specific reviewed product. Your purchase of these products through affiliate links helps to generate commission for Storables.com, at no extra cost. Learn more)
Introduction
Ice cream is a delightful treat enjoyed by people of all ages. Whether you prefer classic vanilla, creamy chocolate, or exotic flavors like mango or mint, there’s something about the smooth and cool texture that satisfies your taste buds and brings a smile to your face. While store-bought ice cream is readily available, making your own ice cream at home can be a fulfilling and rewarding experience.
In this article, we will guide you through the process of making delicious homemade ice cream using a mixer. This method is quick, easy, and does not require any specialized equipment like an ice cream maker. With just a few simple ingredients and a trusty mixer, you’ll be able to create your own custom flavors and enjoy the taste of homemade goodness.
Before we dive into the steps of making ice cream in a mixer, let’s take a look at the key ingredients you’ll need.
Key Takeaways:
- Create your own creamy, flavorful ice cream at home using just a mixer and a few simple ingredients. Experiment with custom flavors and mix-ins for a delightful, personalized treat that rivals store-bought brands.
- Chilling the ice cream base, setting up the mixer, and adding mix-ins are crucial steps in achieving the perfect homemade ice cream. Unleash your creativity and enjoy the satisfaction of making your own frozen delights!
Read more: How To Make Ice Cream In A Stand Mixer
Ingredients
To make ice cream in a mixer, you’ll need the following ingredients:
- 2 cups of heavy cream
- 1 cup of whole milk
- 3/4 cup of granulated sugar
- 1 tablespoon of pure vanilla extract
- A pinch of salt
- Ice cubes
- Rock salt or coarse kosher salt
- Flavorings and mix-ins of your choice (optional)
The heavy cream and whole milk provide the creamy base for the ice cream, while the sugar adds sweetness. The vanilla extract enhances the flavor, and the salt helps to balance the sweetness and bring out the flavors even more. The ice cubes and rock salt will be used to create the freezing environment inside the mixer.
As for the flavorings and mix-ins, the possibilities are endless. You can add in chopped fruits, nuts, chocolate chips, cookie dough, or anything else that excites your taste buds. Get creative and experiment with different combinations to create your own unique ice cream flavors.
Now that we have all the ingredients ready, let’s dive into the step-by-step process of making ice cream in a mixer.
Step 1: Prep the Ice Cream Base
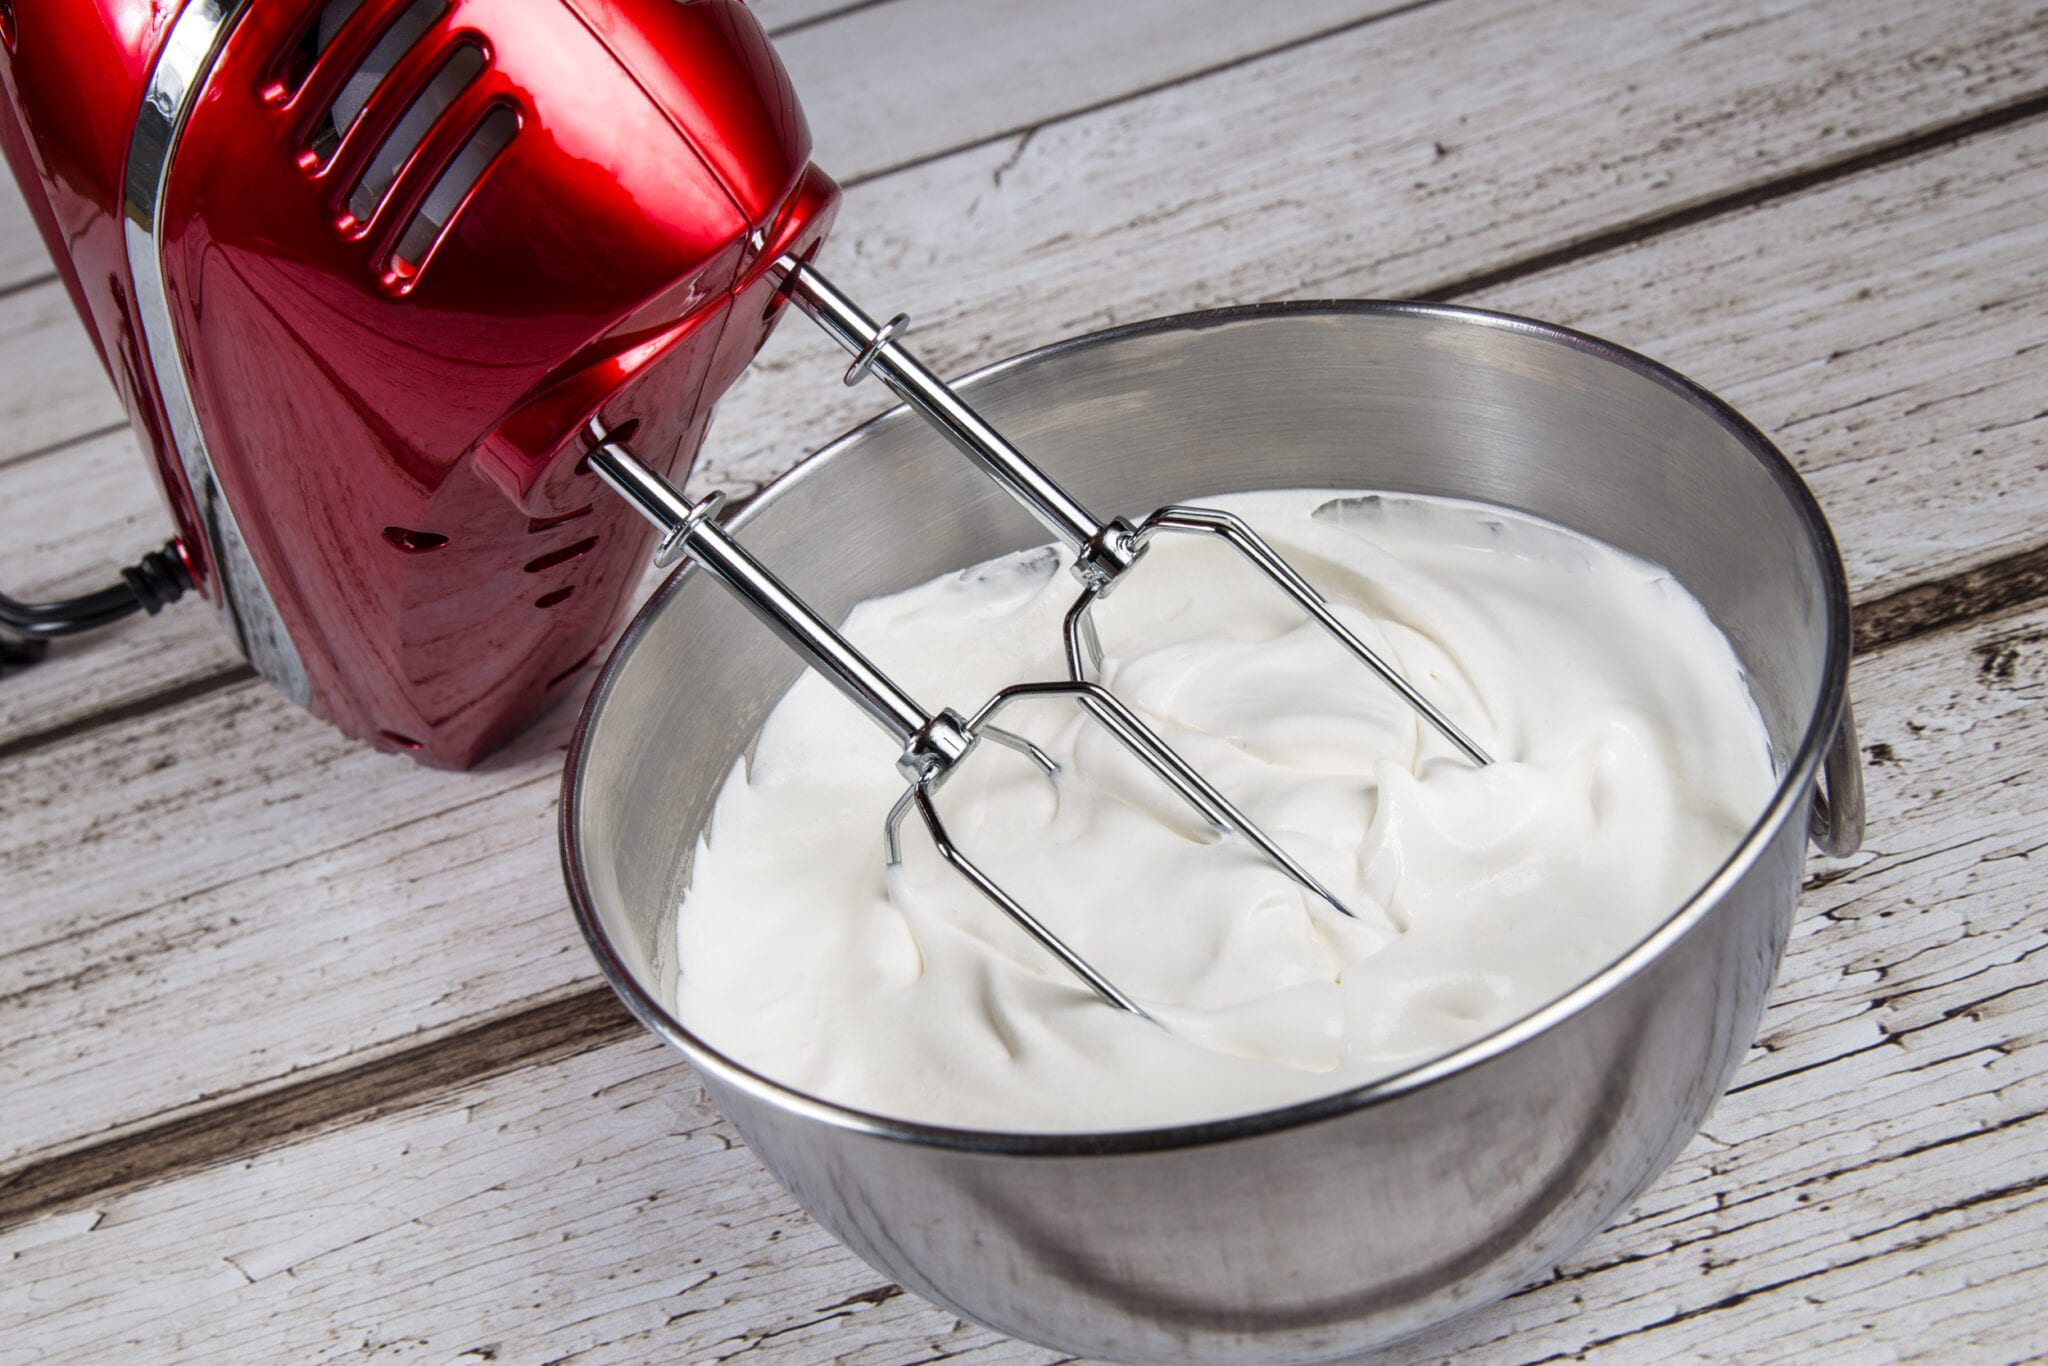
The first step in making ice cream in a mixer is to prepare the base mixture. In a mixing bowl, combine the heavy cream, whole milk, granulated sugar, vanilla extract, and a pinch of salt.
Using a whisk or a spatula, gently stir the mixture until the sugar is fully dissolved and all the ingredients are well combined. Take your time to ensure that everything is evenly incorporated.
If you’re looking to add any additional flavorings or mix-ins, such as cocoa powder, fruit puree, or crushed cookies, this is the time to do it. Simply mix in your desired additions into the base mixture, making sure they are evenly distributed.
Once your ice cream base is ready, you’re ready to move on to the next step.
Step 2: Chilling the Base
After preparing the ice cream base, it’s essential to chill it thoroughly before moving on to the next step. Chilling the base not only helps to develop flavors but also ensures a smoother and creamier texture in the final ice cream.
To chill the base, transfer it to a clean and airtight container. Place the container in the refrigerator and let it chill for at least 2 hours, or ideally overnight. This step is crucial as it allows the flavors to meld together and the mixture to become cold throughout.
Chilling the base for an extended period also helps to stabilize the mixture, making it easier to mix and freeze later on. So, exercise patience and resist the temptation to skip this step!
Once the ice cream base is thoroughly chilled, it’s time to set up your mixer and get ready to churn the ice cream.
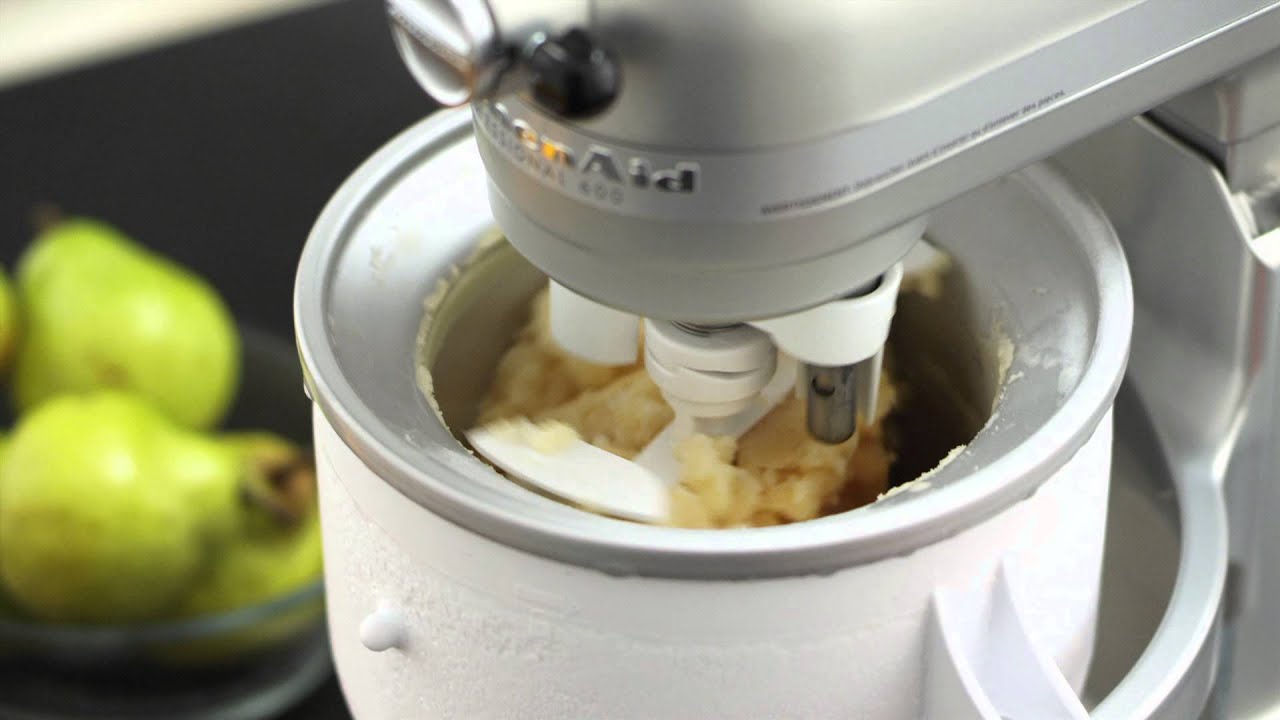
Step 3: Setting up the Mixer
Now that your ice cream base is chilled and ready to go, it’s time to set up your mixer for the churning process. Here’s what you need to do:
- Ensure that your mixer bowl is clean and dry.
- Place the bowl in the freezer for about 15-30 minutes before starting. This will help keep the mixture cold during the churning process.
- Attach the whisk or paddle attachment to your mixer. The attachment depends on the consistency you desire – use the whisk attachment for a lighter, fluffier ice cream, and the paddle attachment for a denser, creamier texture.
Once you’ve completed these steps, your mixer will be ready to churn the ice cream and transform the chilled base into a luscious frozen treat.
Remember, it’s important to ensure that all components are properly chilled to achieve the best results. A cold mixer bowl and attachment will help the ice cream freeze more effectively and prevent it from melting too quickly.
Now that your mixer is set up, let’s move on to the exciting part – mixing the ice cream!
To prevent the ice cream mixture from freezing too quickly and becoming icy, chill the mixing bowl and beaters in the freezer for at least 15 minutes before starting the process.
Read more: How To Make Ice Cream In A Kitchenaid Mixer
Step 4: Mixing the Ice Cream
With your mixer set up and ready, it’s time to start churning the ice cream base. Follow these steps to achieve the perfect consistency:
- Take the chilled ice cream base out of the refrigerator and give it a good stir to ensure everything is well mixed.
- Remove the mixer bowl from the freezer and place it on the mixer.
- Pour the ice cream base into the chilled mixer bowl.
- Turn on the mixer to a medium-low speed. This will depend on the power of your mixer, so start at a low speed and gradually increase it if needed. The goal is to incorporate air into the mixture while slowly freezing it.
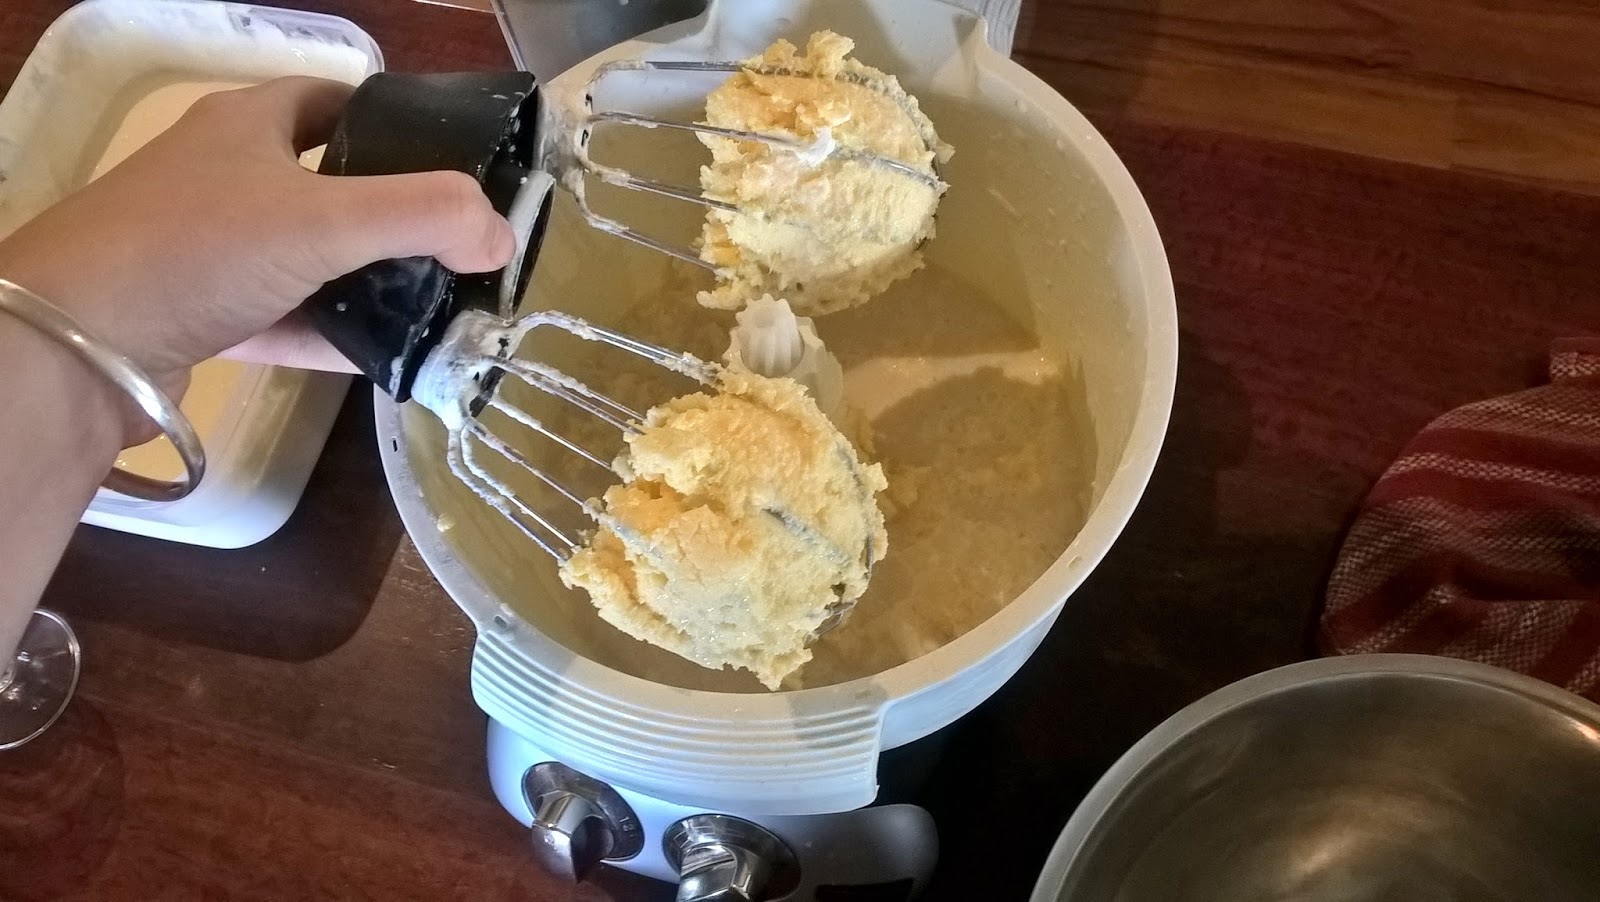
- Let the mixer run for about 15-20 minutes, or until the ice cream reaches a thick and creamy consistency. During this time, the mixture will increase in volume and become more solid as it freezes.
- Keep an eye on the consistency and texture of the ice cream. It should be smooth and creamy, without any ice crystals. If you notice any lumps or unevenness, stop the mixer and give the mixture a gentle stir to smooth it out. Then resume mixing.
Remember, the mixing time can vary depending on the type and power of your mixer, as well as the temperature of the base. So, keep an eye on the ice cream as it churns and adjust the timing accordingly.
Once you’ve achieved the desired consistency, it’s time to move on to the next step – adding mix-ins if you desire.
Step 5: Adding Mix-Ins (Optional)
Adding mix-ins to your homemade ice cream can take it to the next level by adding extra flavors, textures, and surprises. Here’s how you can incorporate mix-ins into your ice cream:
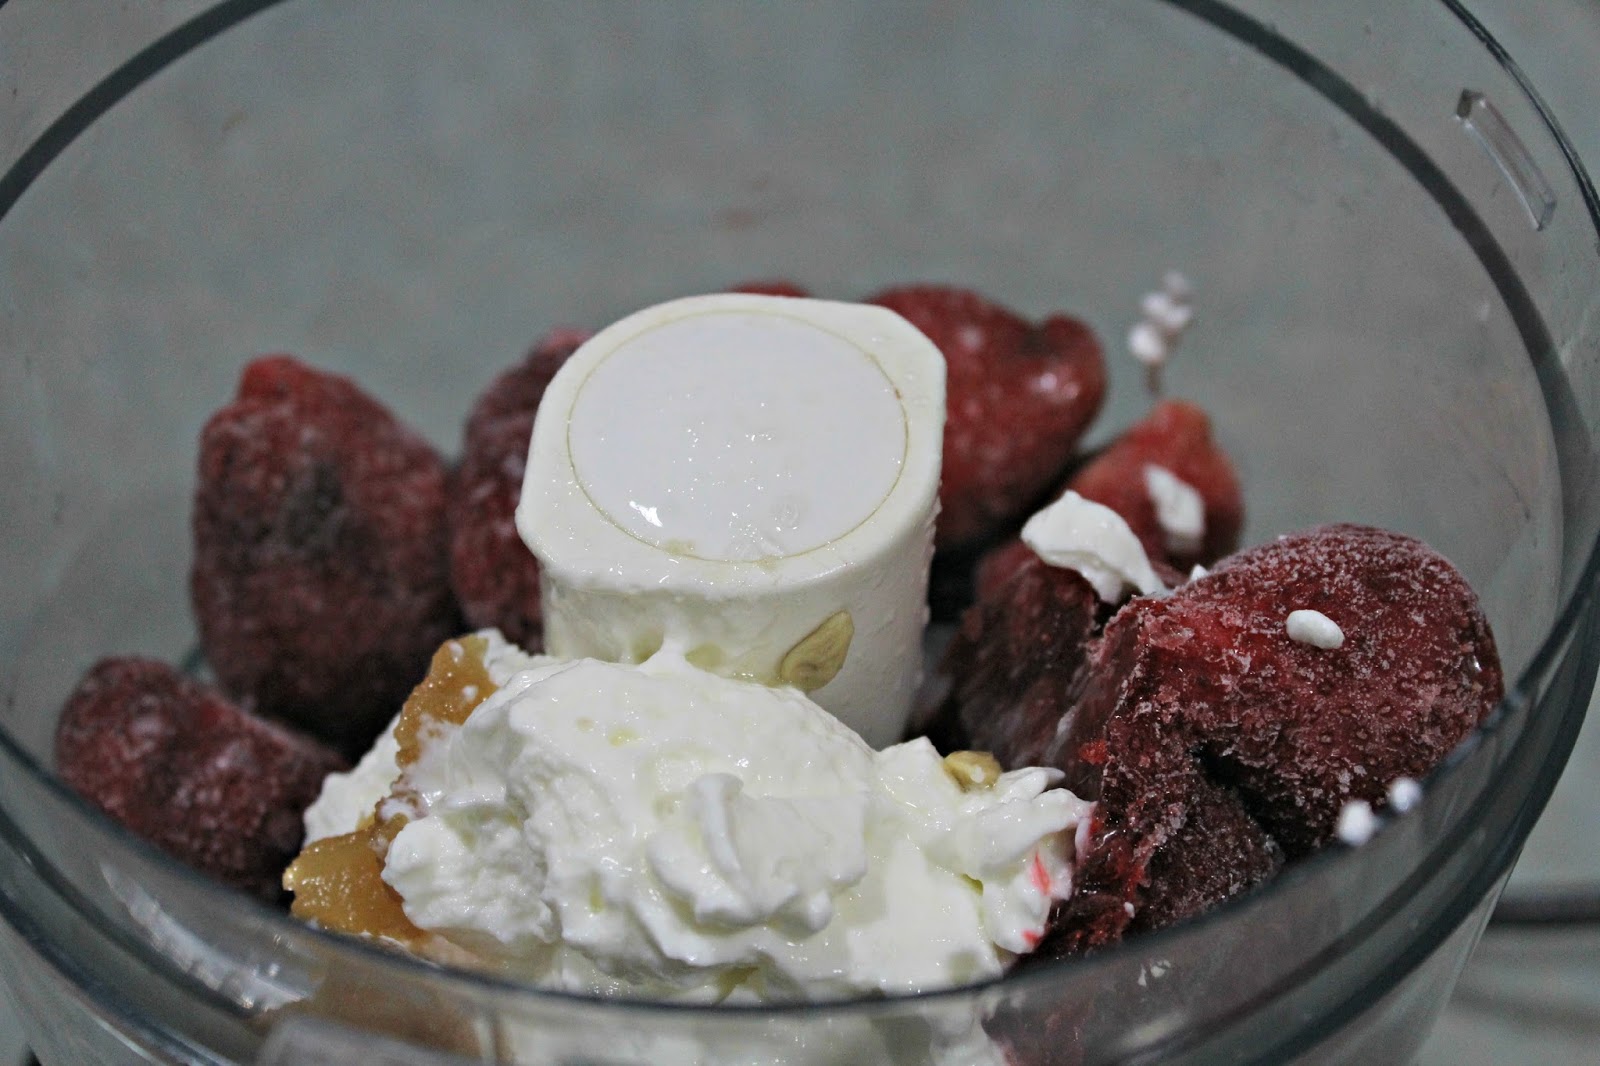
- Prepare your desired mix-ins. This could be anything from chocolate chips and crushed cookies to fresh fruit or nuts.
- Stop the mixer and remove the ice cream from the mixer bowl.
- Gently fold in the mix-ins using a spatula or wooden spoon. Be careful not to overmix, as you want to distribute the mix-ins evenly without deflating the ice cream.
- If you want larger chunks, like whole cookies or fruit pieces, you can add them in layers. Simply pour a layer of ice cream into a storage container, sprinkle your mix-ins, and repeat the process until all the ice cream and mix-ins are used.
- Once you’ve added the mix-ins, cover the container tightly and place it in the freezer to allow the ice cream to firm up and set. This will usually take a few hours, but for the best results, overnight freezing is recommended.
Remember that the addition of mix-ins can affect the texture and freezing time of the ice cream. Ingredients such as chocolate or hard candies may become solid and slightly crunchy when frozen, while fruits or nuts may add a pleasant chewiness or crunch. Experiment with different mix-ins to find your favorite combinations!
Now that you’ve added the mix-ins, let’s move on to the final step of finishing and storing your homemade ice cream.
Step 6: Finishing and Storing the Ice Cream
After the mixing and optional addition of mix-ins, your homemade ice cream is almost ready to be enjoyed. Follow these final steps to finish and store your delicious creation:
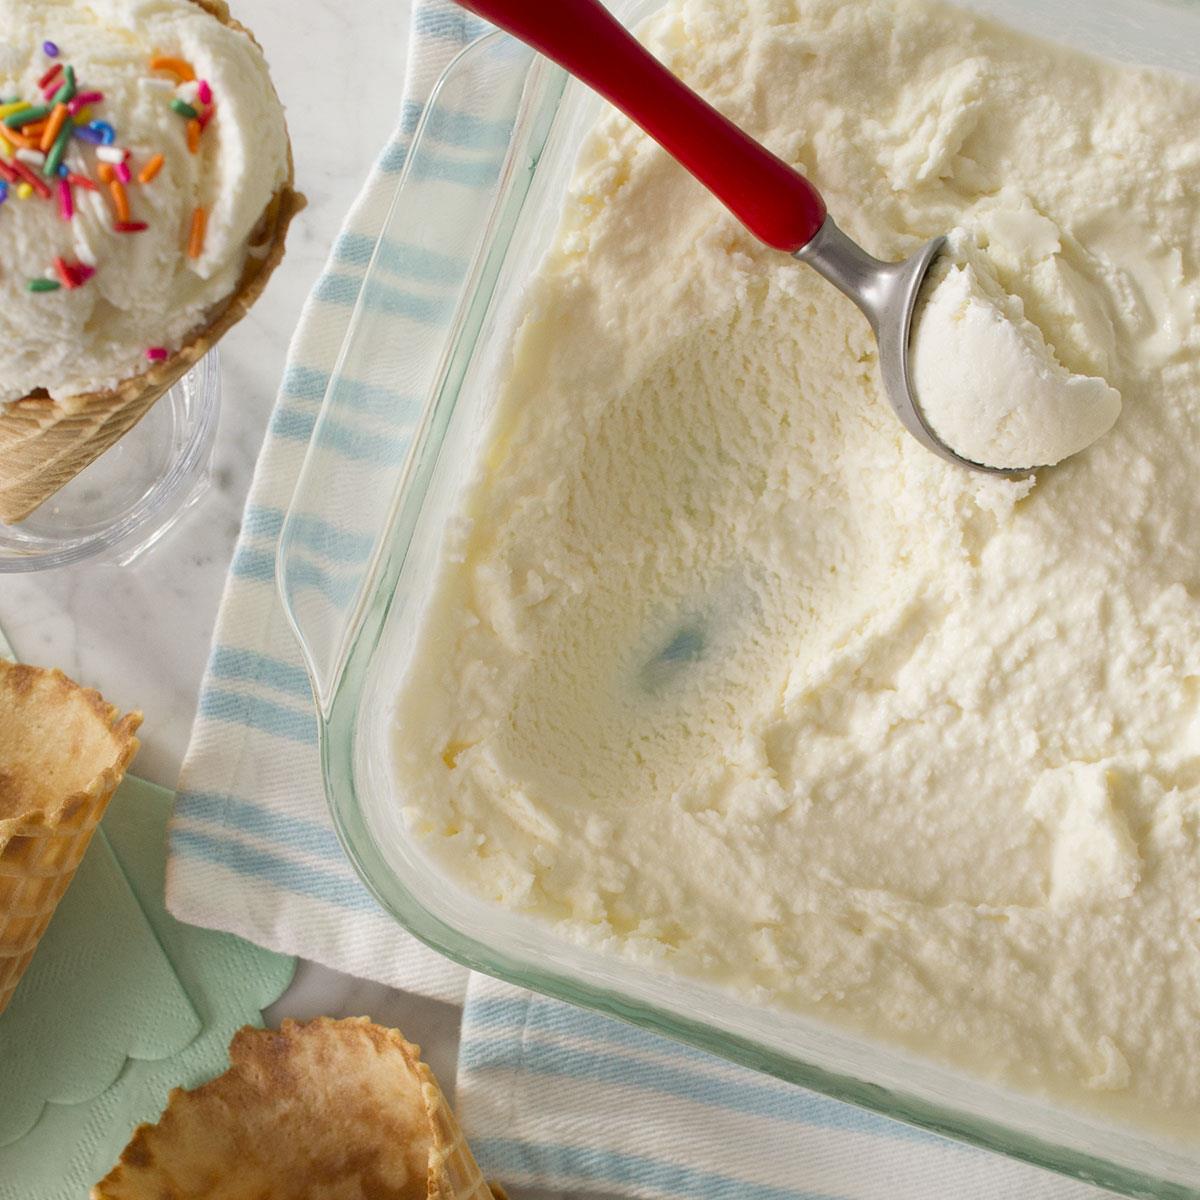
- Transfer the mixed ice cream into a suitable storage container with an airtight lid. This can be a lidded container or a loaf pan lined with plastic wrap.
- Smooth out the surface of the ice cream with a spatula or the back of a spoon to create an even layer.
- Place the lid securely on the container, ensuring that it is tightly sealed.
- Label the container with the flavor and date for easy identification.
- Place the ice cream container in the freezer to allow it to fully freeze and firm up. This usually takes about 4-6 hours, but for the best results, overnight freezing is recommended.
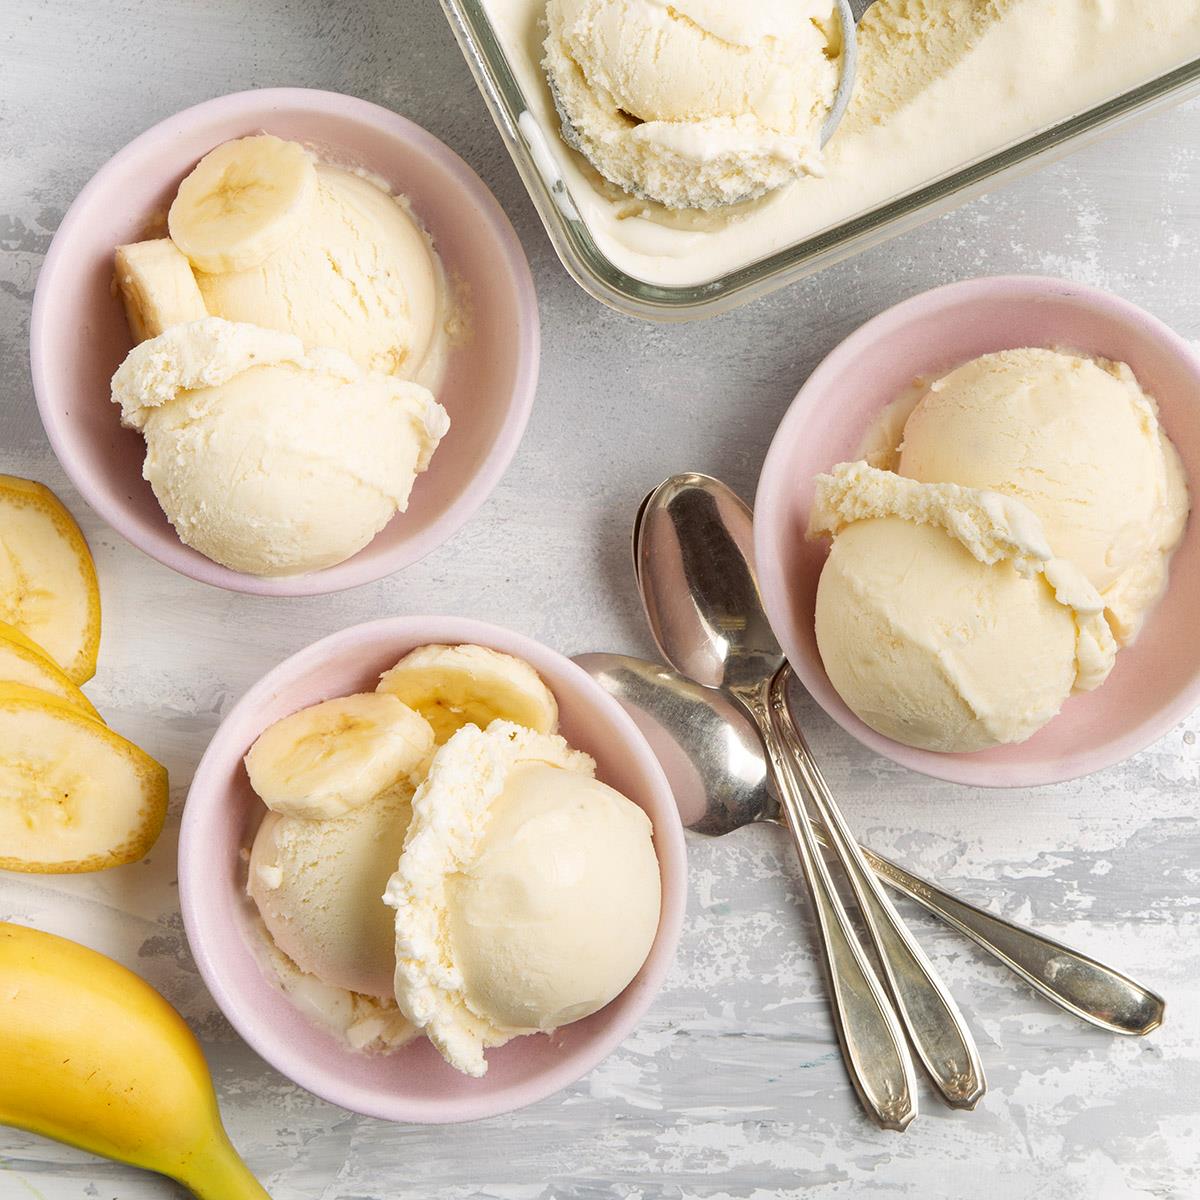
Once the ice cream has fully frozen and set, it is ready to be scooped and enjoyed! Serve it in bowls, cones, or use it as a base for delicious desserts like ice cream sundaes or milkshakes.
Remember that homemade ice cream tends to be softer and melt faster than store-bought varieties. So, it’s best to consume it within a few weeks to enjoy its optimal flavor and texture. However, it’s unlikely it will last that long with its irresistible taste!
Now that you know how to make ice cream in a mixer, you can experiment with different flavor combinations and enjoy the satisfaction of creating your own frozen treats. So grab your mixer, gather your ingredients, and get ready to indulge in the creamy delights of homemade ice cream!
Happy churning!
Conclusion
Making ice cream in a mixer is a fun and easy way to create your own delicious frozen treats at home. With just a few simple ingredients and a trusty mixer, you can whip up creamy, flavorful ice cream that rivals your favorite store-bought brands.
Throughout this article, we’ve guided you through the step-by-step process of making ice cream in a mixer, from prepping the base to adding mix-ins and storing the final product. Each step plays a crucial role in achieving the perfect texture and flavor.
Remember to chill your ice cream base before mixing, set up your mixer properly, and monitor the churning process to ensure the desired consistency. Adding mix-ins is a great way to personalize your ice cream and add extra excitement to every bite.
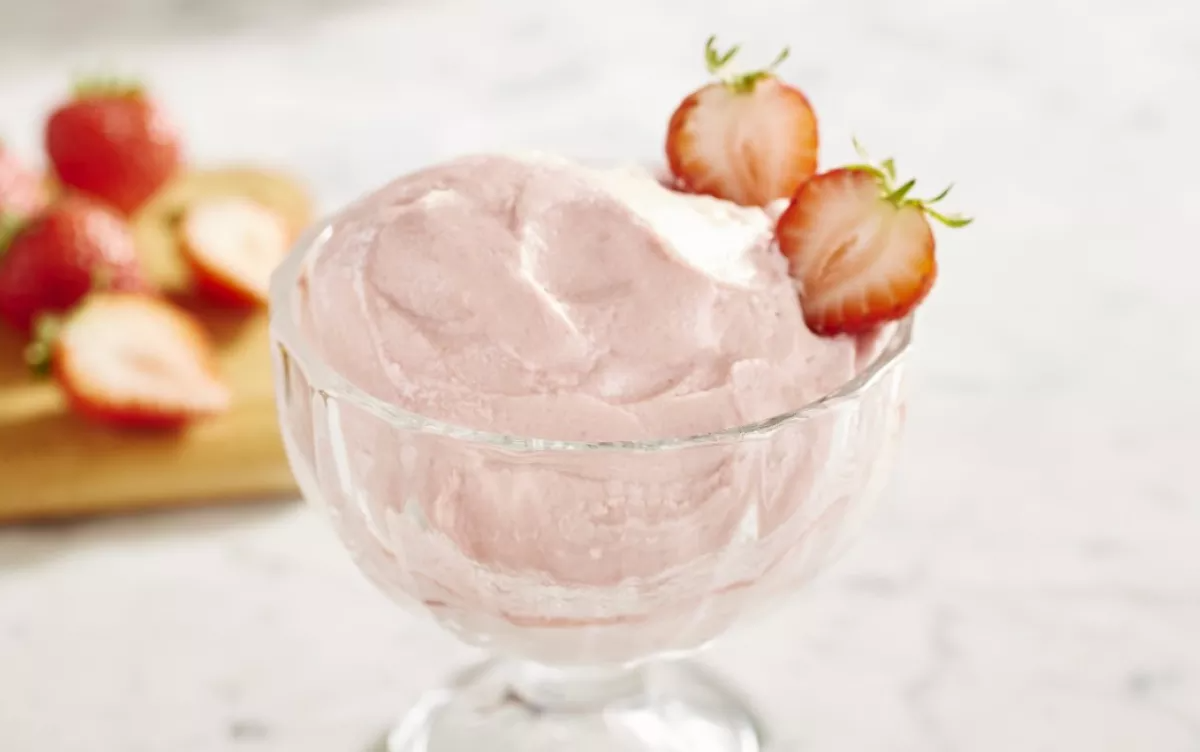
By making homemade ice cream, you have the freedom to experiment with different flavors, textures, and mix-ins, allowing your creativity to shine through. Feel free to customize your recipes and explore unique combinations to create signature ice creams that will impress friends and family.
Homemade ice cream is not only a delicious treat but also a source of pride and accomplishment. So gather your ingredients, dust off your mixer, and embark on the sweet adventure of making your own ice cream in a mixer. Whether you enjoy it on a hot summer day or as a comforting dessert year-round, the joy and satisfaction that comes from indulging in your homemade creation are unmatched.
So go ahead, unleash your inner ice cream chef, and savor every delightful spoonful of your homemade masterpiece. Happy mixing and enjoy your homemade ice cream!
Frequently Asked Questions about How To Make Ice Cream In A Mixer
Was this page helpful?
At Storables.com, we guarantee accurate and reliable information. Our content, validated by Expert Board Contributors, is crafted following stringent Editorial Policies. We're committed to providing you with well-researched, expert-backed insights for all your informational needs.


0 thoughts on “How To Make Ice Cream In A Mixer”