
Articles
How To Miter Cut Tile With Hand Tools
Modified: January 7, 2024
Learn how to miter tile using only hand tools with our informative articles. Master the art of precise tile cutting and achieve professional results.
(Many of the links in this article redirect to a specific reviewed product. Your purchase of these products through affiliate links helps to generate commission for Storables.com, at no extra cost. Learn more)
Introduction
When it comes to tiling projects, achieving clean and seamless corners is essential for a professional finish. One popular technique used to achieve this is called mitering. Mitering involves cutting the tiles to create precise 45-degree angles at the corners, resulting in a clean and polished look.
In this article, we will explore how to miter tile using basic hand tools. Whether you are a DIY enthusiast or a professional, follow along as we guide you through the step-by-step process to create perfect miters for your next tile project.
Before we dive into the process, let’s go over the tools and materials you will need:
- Tile cutter or wet saw
- Measuring tape
- Pencil
- Miter box or miter saw with tile blade
- Sandpaper or tile file
- Tile adhesive
- Grout
- Sponge
Key Takeaways:
- Achieve professional-looking mitered corners by following step-by-step instructions using basic hand tools for a flawless tile installation.
- Prioritize safety, accuracy, and attention to detail to master the art of mitering tiles with hand tools for visually appealing and cohesive tile installations.
Read more: How To Cut Miters With Hand Tools
Tools and Materials Needed
Before getting started with mitering tiles, it’s important to gather all the necessary tools and materials. Here is a list of what you will need:
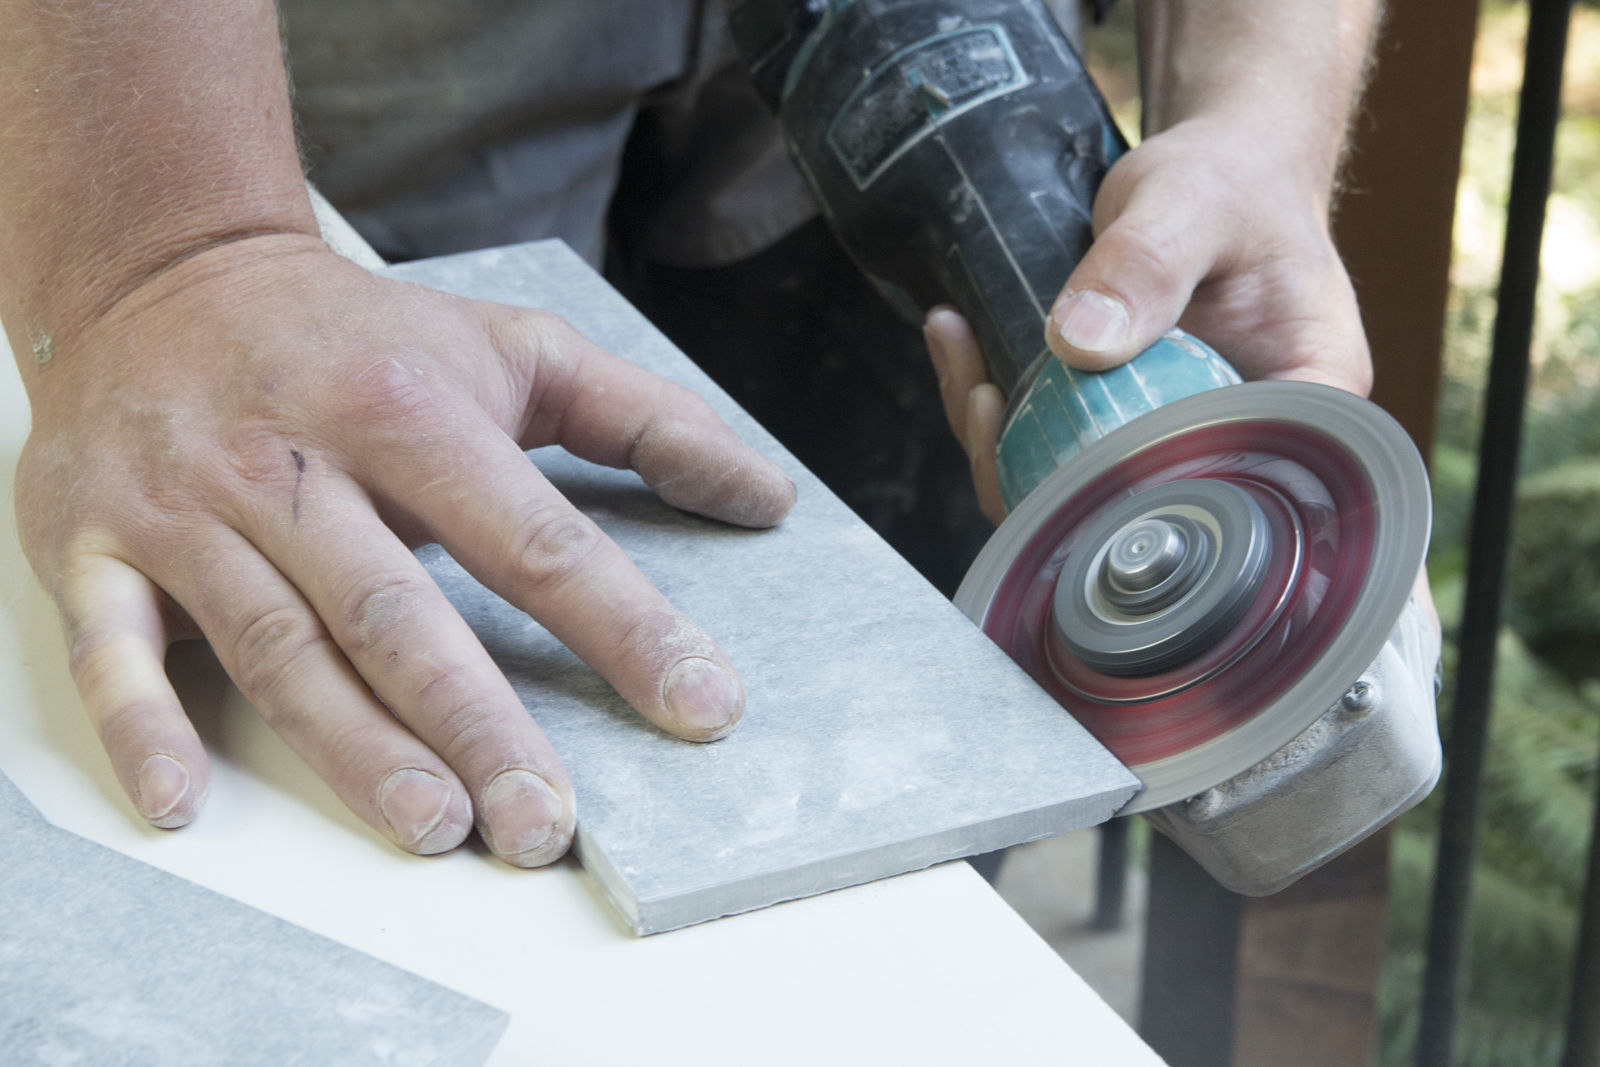
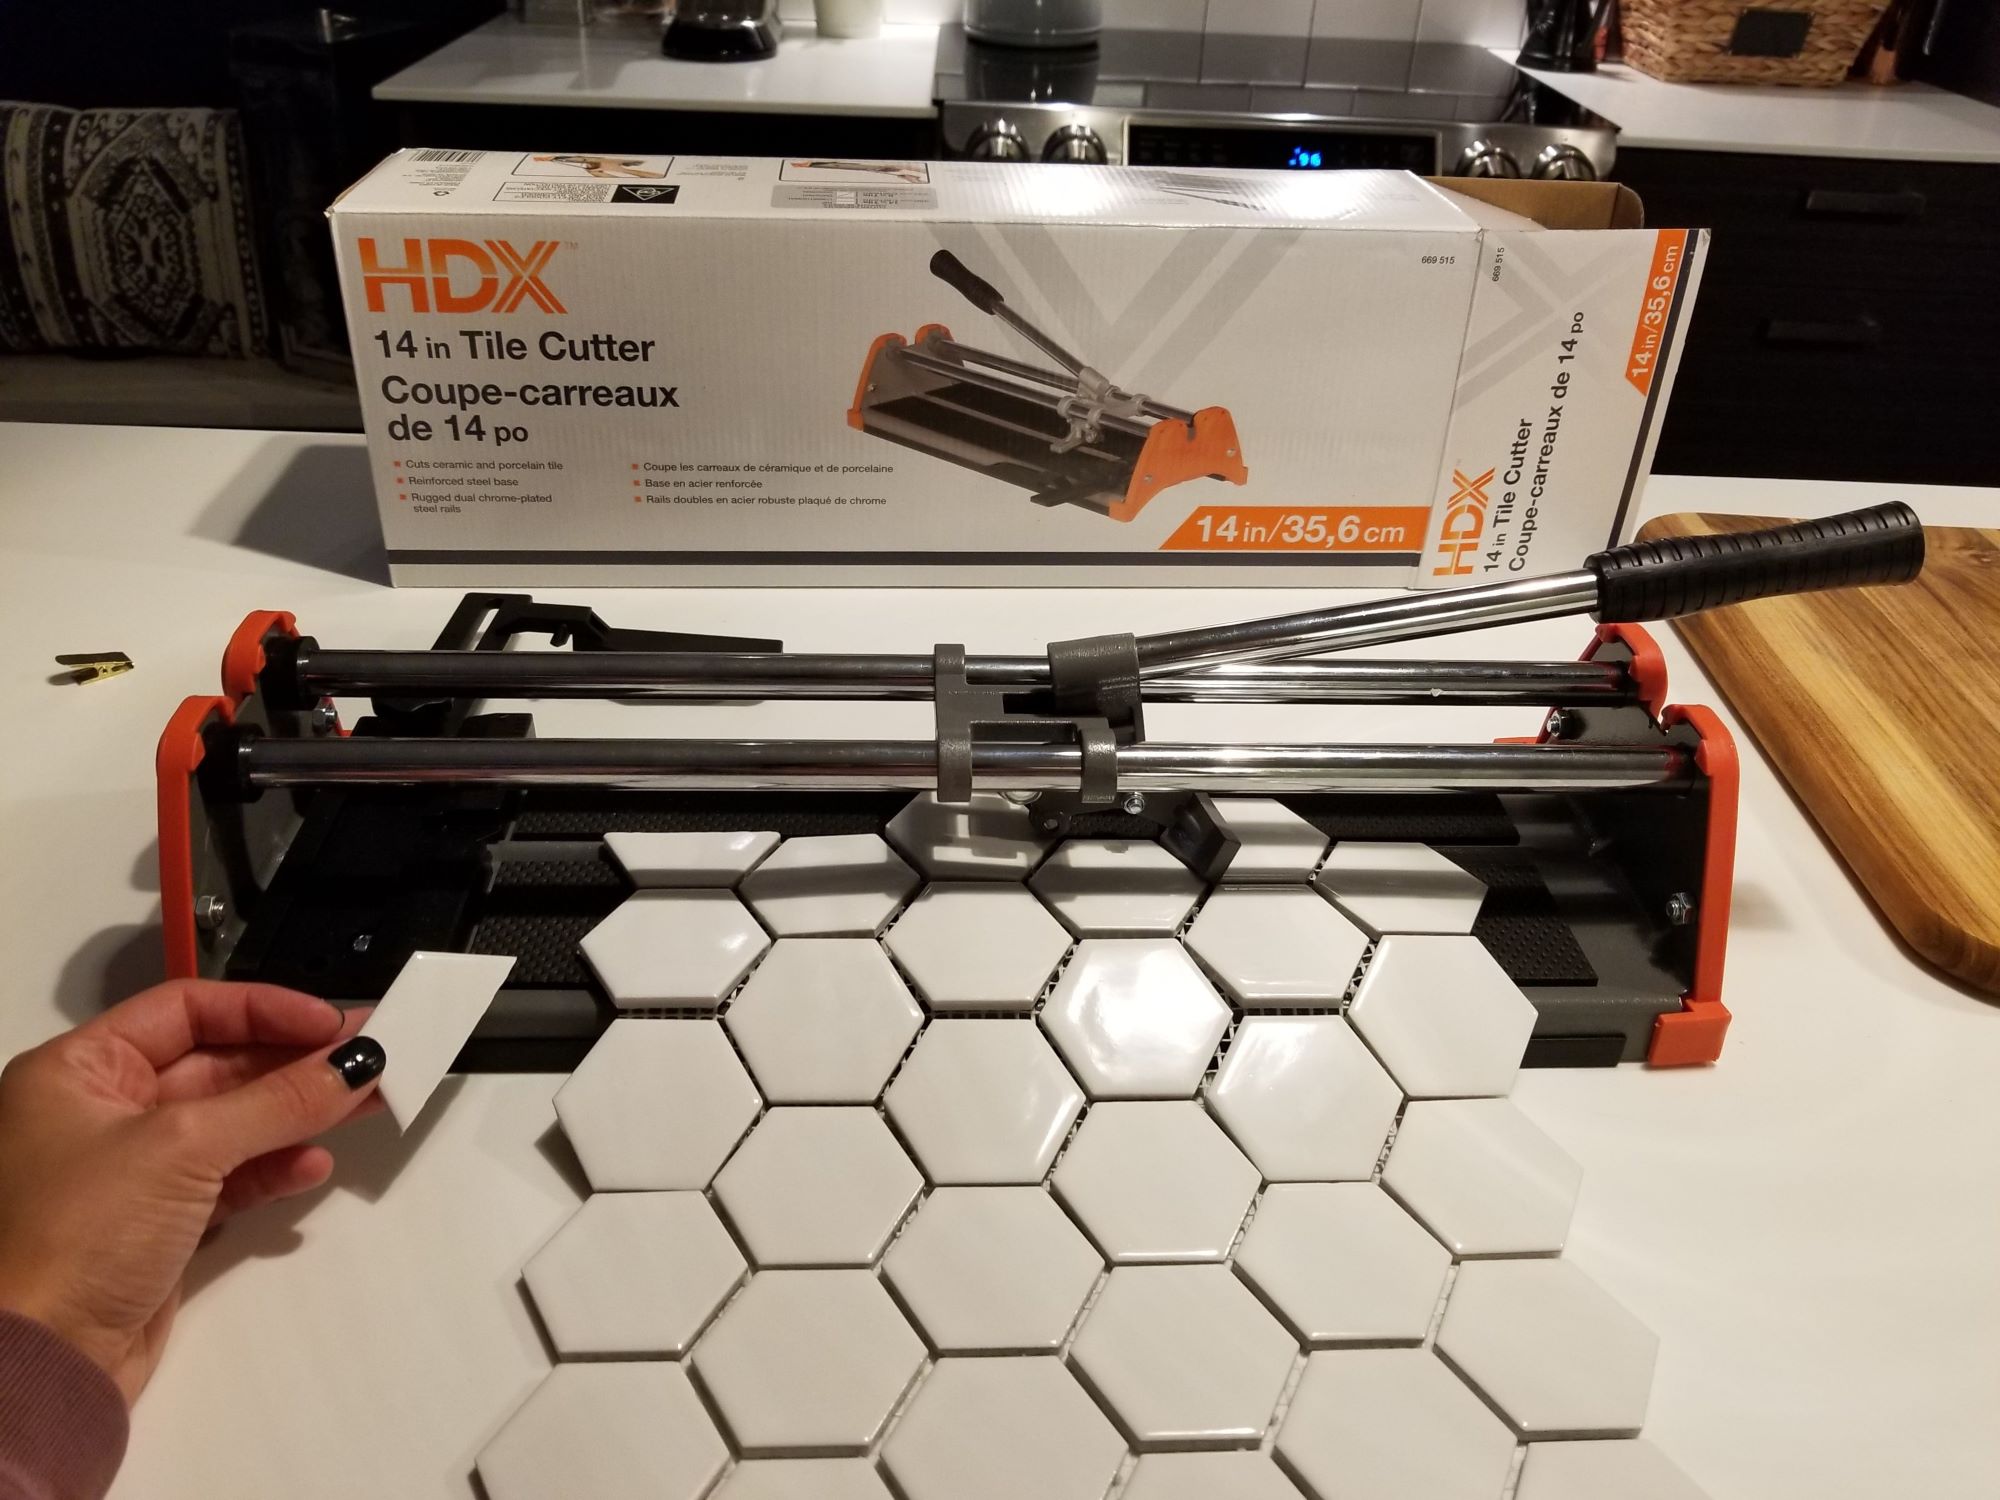
1. Tile cutter or wet saw: This tool will be used to cut the tile to the desired size and shape. A tile cutter is suitable for ceramic and porcelain tiles, while a wet saw is recommended for harder materials like stone or glass.
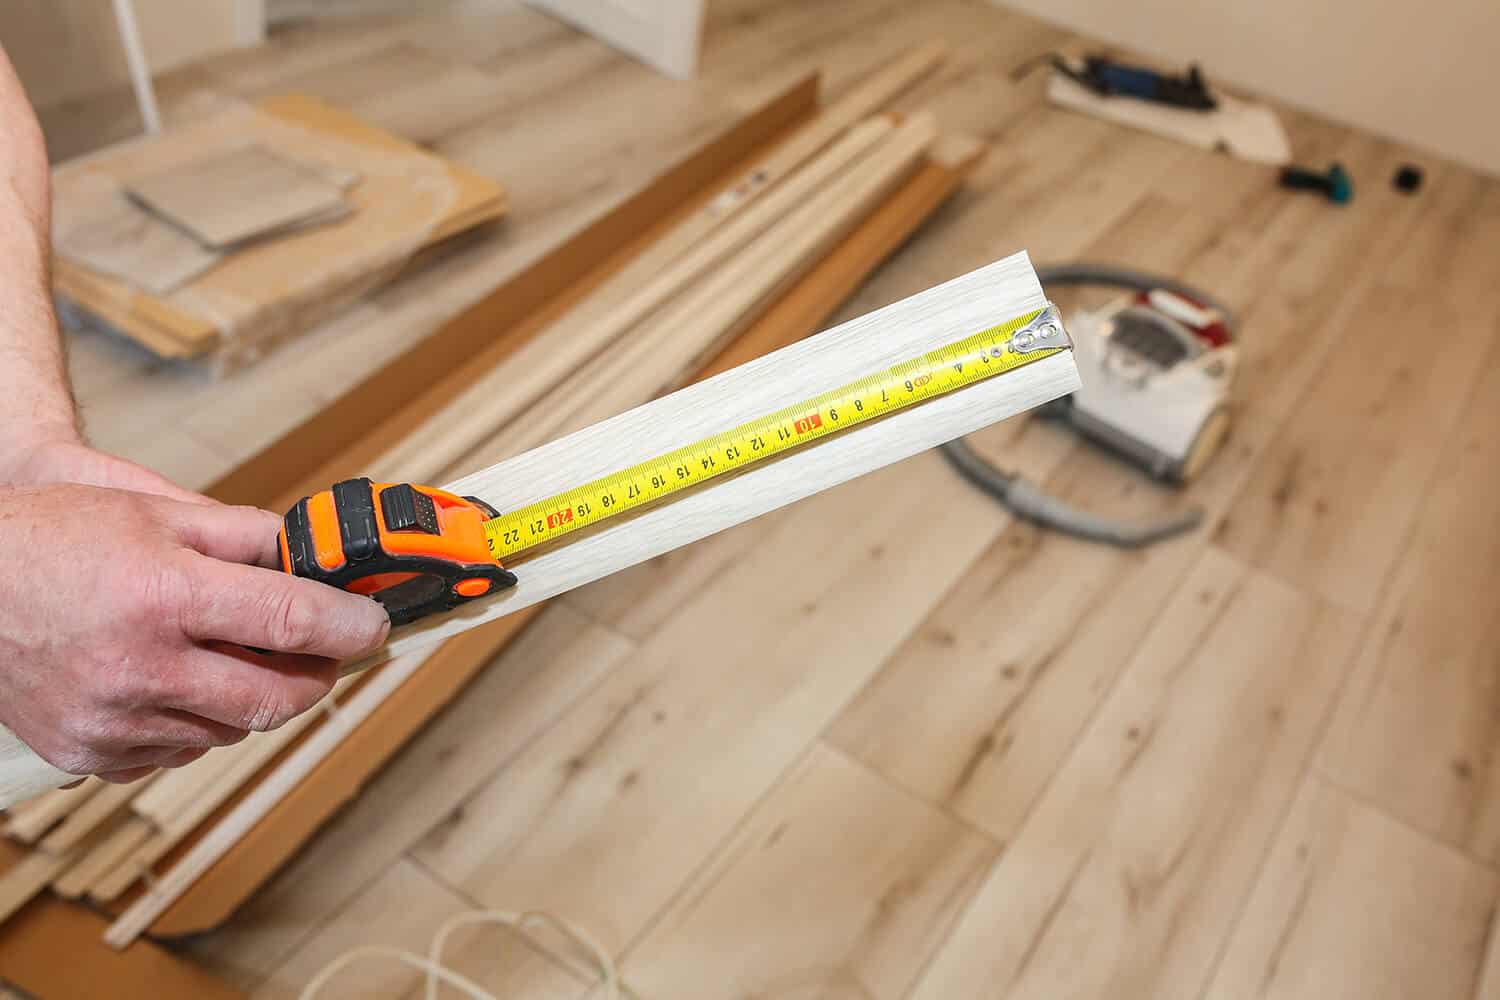
2. Measuring tape: Accurate measurements are crucial when mitering tiles. A measuring tape will help you measure the length and width of the tile, ensuring precise cuts.
3. Pencil: Use a pencil to mark the cutting lines on the tile. Make sure to use a soft lead pencil that can be easily erased.
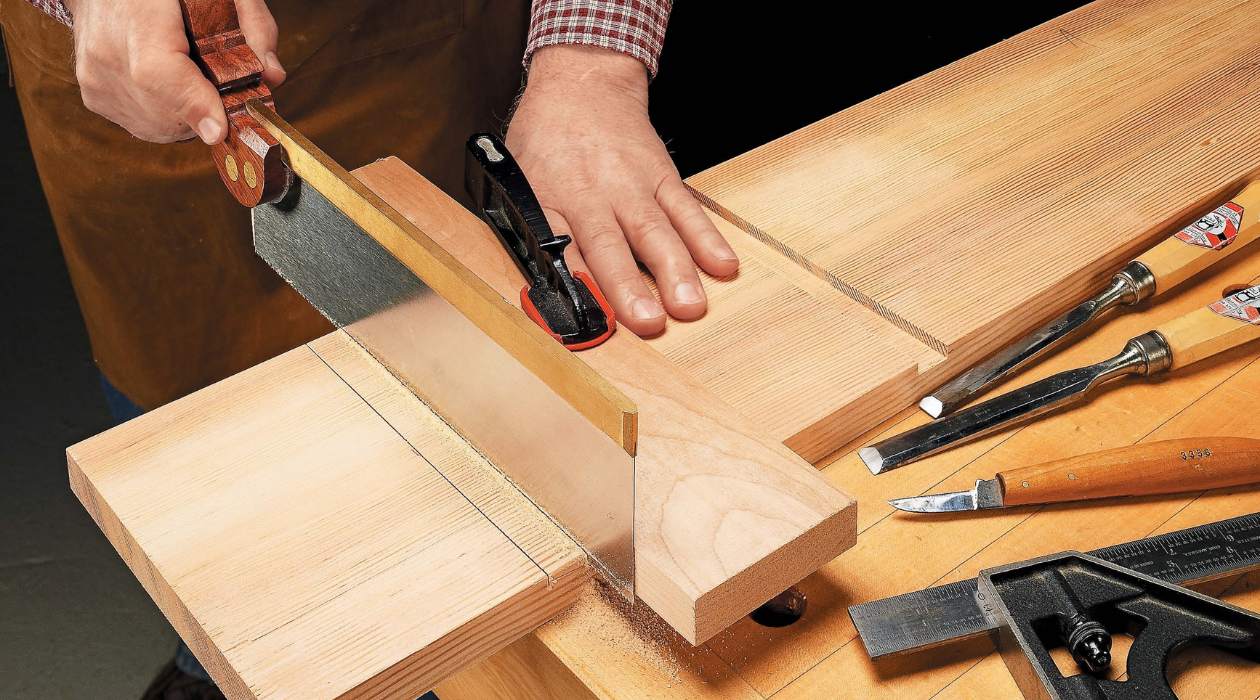
4. Miter box or miter saw with tile blade: A miter box is a handy tool that helps you make precise 45-degree angle cuts. Alternatively, you can use a miter saw with a tile blade for larger or more complex tile cuts.
5. Sandpaper or tile file: Sandpaper or a tile file will be used to smooth the edges of the cut tiles, ensuring a clean and professional look.
6. Tile adhesive: This adhesive is essential for securing the tiles to the surface. Choose a high-quality adhesive that is suitable for your specific tile material.
7. Grout: Grout is used to fill the gaps between the tiles and create a finished look. Select a grout color that complements your tile choice.
8. Sponge: A sponge will be used to clean the tiles and remove excess grout during the installation process.
With these tools and materials on hand, you are ready to start mitering tiles for your next tiling project. Let’s move on to the next steps, where we will prepare the tile for cutting.
Preparing the Tile
Before you can start mitering the tile, it’s important to properly prepare it for cutting. Follow these steps to ensure a smooth and successful mitering process:
1. Clean the tile: Begin by cleaning the tile surface thoroughly. Remove any dirt, dust, or debris that could affect the accuracy of your measurements and the quality of your cuts.
2. Measure and mark: Use a measuring tape to determine the desired length and width for the tile. Make accurate measurements and mark the cutting lines using a pencil. It is recommended to make your marks on the backside of the tile to prevent any visible marks on the finished surface.
3. Secure the tile: Place the tile on a stable surface or secure it using clamps to prevent any movement during the cutting process. This will ensure precise and accurate cuts.
4. Safety first: Remember to wear appropriate safety gear, such as safety glasses and gloves, to protect yourself from any potential injuries while handling the tile and cutting tools.
Once you have prepared the tile, you are ready to move on to the next step – measuring and marking the cutting angles. Following these steps will help you achieve accurate and professional-looking mitered corners for your tile project.
Measuring and Marking
Accurate measurements and precise marking are crucial when mitering tiles. Follow these steps to measure and mark the cutting angles properly:
1. Determine the corner: Start by identifying the corner where the two tiles will meet. This will be the corner where the miter cut needs to be made.
2. Measure the length: Use a measuring tape to measure the length of the side of the tile that will be adjacent to the corner. Subtract the width of the grout joint from this measurement to get the final length of the tile.
3. Divide the length: Divide the final length measurement by the square root of 2 (approximately 1.414) to calculate the length of each mitered cut. This will ensure that the mitered edges of the tiles fit together at a 45-degree angle.
4. Mark the cuts: Use a pencil to mark the measurements on the tile, starting from the corner where the miter cut will be made. Draw a cutting line at a 45-degree angle, ensuring it intersects with the edge of the tile.
5. Repeat for the other tile: Repeat the measuring and marking process for the other tile that will join at the corner. Remember to measure and mark from the opposite corner to ensure a perfect fit.
6. Double-check the marks: Before proceeding to cut the tiles, double-check the marks to ensure accuracy. Adjust them if needed, and make sure they align perfectly for a seamless mitered corner.
Once you have measured and marked the cutting angles on both tiles, you are ready to move on to the next step – cutting the first miter.
Cutting the First Miter
Now that you have measured and marked the tiles, it’s time to make the first miter cut. Follow these steps to achieve a precise and clean cut:
1. Set up the miter box or miter saw: If you are using a miter box, secure it to a stable surface. Ensure that the cutting slot is aligned with the marked cutting line. If you are using a miter saw, adjust the blade angle to 45 degrees.
2. Position the tile: Place the first tile in the miter box or position it on the miter saw table, aligning the marked cutting line with the cutting slot or blade.
3. Make the cut: Hold the tile securely and slowly lower the blade or saw to make the cut. Apply gentle and steady pressure to avoid damaging the tile. Ensure that the cut is clean and precise.
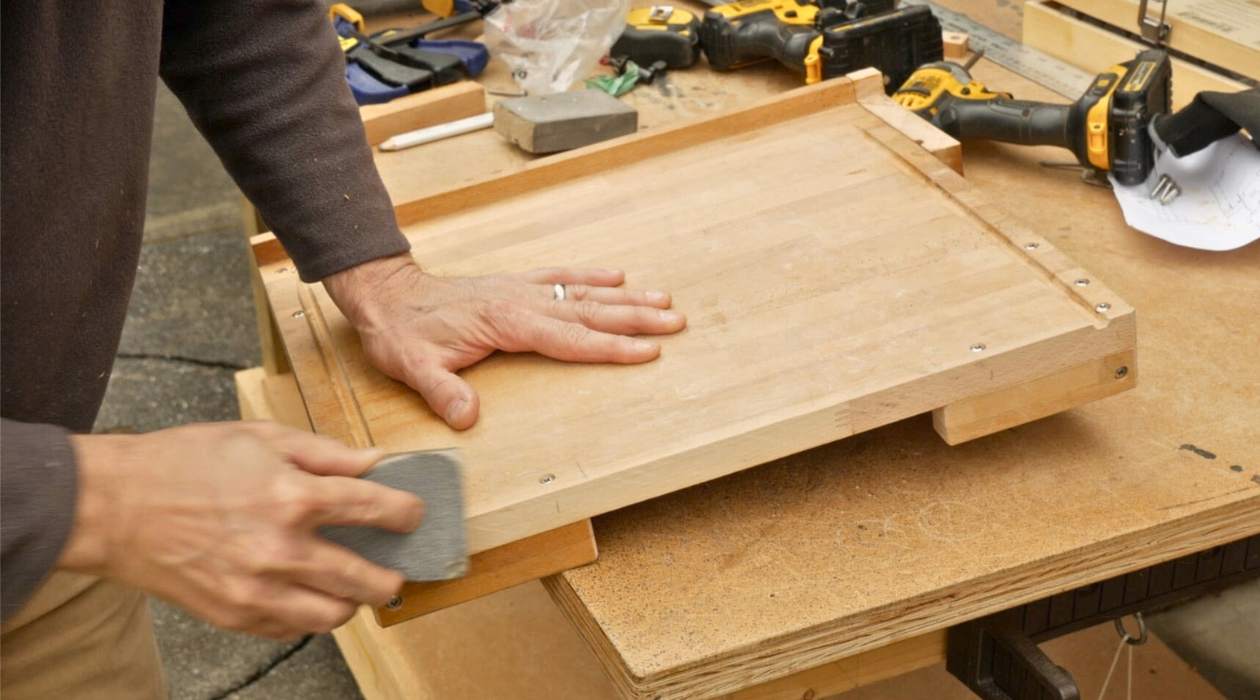
4. Smooth the edges: After making the cut, use sandpaper or a tile file to smooth the edges of the mitered cut. This will ensure a clean and professional finish.
5. Check the fit: Once the first miter cut is complete, test the fit by placing the tile alongside the second tile that will join at the corner. Check if the mitered edges align perfectly and make any necessary adjustments if they do not.
6. Repeat for the other tile: Repeat the cutting process for the other tile, following the same steps. Make sure the mitered edges align perfectly with the first cut.
By following these steps, you will be able to create accurate and clean miter cuts on your tiles. Now, it’s time to move on to cutting the second miter for a seamless corner fit.
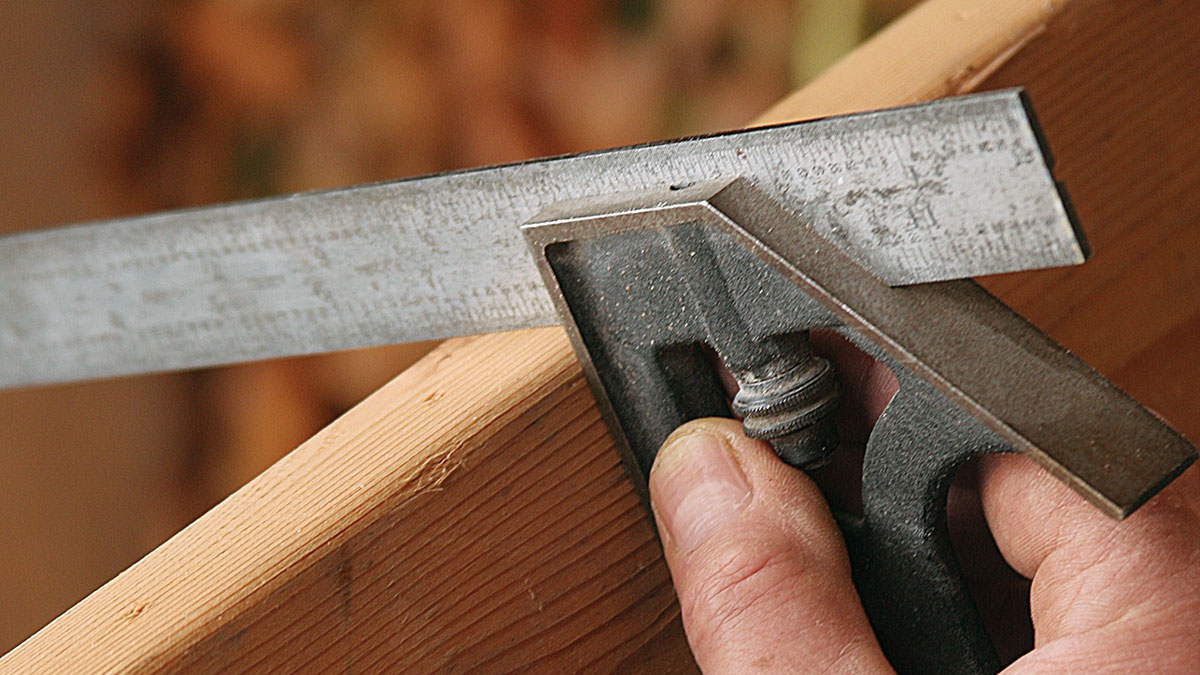
When mitering tile with hand tools, always use a square to ensure precise 45-degree cuts. Measure twice and cut once to avoid mistakes.
Read more: How To Cut Asphalt With Hand Tools
Cutting the Second Miter
With the first miter cut complete, it’s time to tackle the second miter cut. This is the final step in achieving a seamless and professional-looking corner. Follow these steps to ensure accurate and clean cuts:
1. Set up the miter box or miter saw: If you are using a miter box, ensure it is still securely in place. Align the cutting slot with the marked cutting line for the second miter cut. If you are using a miter saw, make sure the blade angle is still set at 45 degrees.
2. Position the tile: Place the second tile in the miter box or on the miter saw table, aligning the marked cutting line with the cutting slot or blade.
3. Make the cut: Hold the tile securely and slowly lower the blade or saw to make the second miter cut. Apply gentle and steady pressure to achieve a clean and precise cut.
4. Smooth the edges: After making the cut, use sandpaper or a tile file to smooth the edges of the mitered cut. This will ensure a clean and professional finish.
5. Check the fit: Once the second miter cut is complete, test the fit of the two tiles at the corner. Verify that the mitered edges align perfectly and make any necessary adjustments if needed.
6. Double-check the corner angle: Measure the corner angle using a protractor or an angle finder tool. It should read 90 degrees if the miter cuts were made accurately. If necessary, make slight adjustments to achieve the desired angle.
By following these steps, you will successfully cut the second miter and achieve a seamless corner fit. Now, let’s move on to the next step – checking the fit of the tiles.
Checking the Fit
After making both miter cuts, it’s important to check the fit of the tiles at the corner. This step ensures that the mitered edges align perfectly and create a seamless and professional look. Follow these steps to check the fit:
1. Align the tiles: Place the two mitered tiles together at the corner, lining up the adjacent edges. Make sure the mitered cuts align perfectly without any visible gaps.
2. Check the joint: Examine the joint between the two tiles. It should be tight and flush, with no visible difference in height or width. Run your fingers along the joint to ensure a smooth transition.
3. Inspect the corner: Step back and take a close look at the corner from different angles. It should appear seamless and visually appealing. Any obvious gaps or misalignment may require adjustments.
4. Make adjustments if necessary: If the fit isn’t perfect, you may need to make slight adjustments. This can be done by carefully trimming the edges of the tiles or re-cutting the mitered corners if needed. Take your time to ensure a precise and seamless fit.
5. Measure the angle: Use a protractor or an angle finder tool to measure the angle of the corner. It should read 90 degrees for a square corner. If the angle is off, you may need to make additional adjustments to achieve the desired angle.
By checking the fit of the mitered tiles at the corner, you can ensure a professional and seamless look for your tile project. Once you are satisfied with the fit, it’s time to move on to the next step – applying adhesive and installing the tiles.
Applying Adhesive and Installing the Tile
Now that the mitered corners fit perfectly, it’s time to install the tiles. Follow these steps to apply adhesive and securely install the tiles:
1. Prepare the adhesive: Follow the manufacturer’s instructions to mix the tile adhesive. Use a trowel to ensure a consistent and even texture.
2. Apply adhesive: Use the notched side of the trowel to apply a layer of adhesive to the surface where the tiles will be installed. Ensure that the adhesive layer is evenly distributed, using the notches of the trowel to create ridges for better grip.
3. Install the tiles: Carefully place the mitered tiles on the adhesive, aligning the edges with the adjacent tiles. Press down firmly to ensure good adhesive contact. Use plastic spacers to maintain consistent grout joints between the tiles.
4. Check for level and alignment: Use a level and a straightedge to check that the tiles are level and aligned properly. Make any adjustments as needed by gently tapping the tiles with a rubber mallet.
5. Remove excess adhesive: While the adhesive is still wet, use a damp sponge to clean off any excess adhesive on the surface of the tiles. This will prevent it from drying and hardening on the tile surface.
6. Let the adhesive dry: Allow the adhesive to dry according to the manufacturer’s instructions. This typically takes 24 to 48 hours, but the drying time may vary depending on the type of adhesive and environmental conditions.
Once the adhesive is fully dry, you can proceed to grouting the tiles. Carefully remove the plastic spacers, and follow the grout manufacturer’s instructions for mixing and applying the grout. After grouting, clean off any excess grout using a damp sponge and allow it to cure as per the manufacturer’s instructions.
By following these steps, you will successfully apply adhesive and install the mitered tiles. The next step is adding the finishing touches to complete your tile project.
Finishing Touches
With the tiles installed and grouted, it’s time to add the finishing touches to complete your tile project. Follow these steps to ensure a polished and professional end result:
1. Clean the tiles: Use a clean, damp sponge to wipe down the surface of the tiles and remove any grout residue or smudges. Pay attention to the corners and edges to ensure a clean and uniform appearance.
2. Inspect for any imperfections: Take a close look at the tiles for any chips, cracks, or uneven edges. If you notice any imperfections, consider replacing the affected tiles for a seamless finish.
3. Seal the grout: Depending on the type of grout used, you may need to apply a sealant to protect it from stains and water damage. Follow the manufacturer’s instructions for the appropriate sealant and application technique.
4. Remove excess sealant: After applying the grout sealant, use a clean cloth or sponge to wipe away any excess sealant from the tile surface. This will prevent it from leaving streaks or discoloration on the tiles.
5. Apply caulking (if needed): If there are any visible gaps between the tiles and adjacent surfaces, such as walls or countertops, consider applying a bead of caulk to seal the gap. This will enhance the appearance and provide added protection against moisture.
6. Conduct a final inspection: Once you have completed all the finishing touches, step back and inspect the entire tiled area. Look for any remaining issues or areas that may need touch-ups. Make any necessary adjustments to ensure a flawless finish.
With these finishing touches, your mitered tile project is complete. Take a moment to appreciate the clean and polished look you have achieved with the mitered corners. Your attention to detail and thoroughness in the installation process will result in a beautifully finished tile project that you can be proud of.
Remember to follow the manufacturer’s instructions for any specific cleaning, maintenance, and care requirements for your chosen tile and grout. Proper upkeep will help preserve the beauty and longevity of your tiled surfaces.
Congratulations on a job well done!
Read more: How To Cut Plexiglass With Hand Tools
Conclusion
Mitering tile with hand tools is a skill that can elevate the look of any tiling project. By following these step-by-step instructions, you can achieve precise and clean mitered corners for a professional and polished finish.
Throughout the process, we discussed the tools and materials needed, the importance of preparing the tile, measuring and marking accurately, cutting the miters, checking the fit, applying adhesive, and installing the tile. We also covered the finishing touches, including cleaning, inspecting, sealing the grout, and applying caulking if necessary.
Remember, taking your time to measure accurately, make clean cuts, and ensure a perfect fit at the corners is crucial to achieving a flawless end result. It’s important to prioritize safety by wearing appropriate protective gear, such as safety glasses and gloves, while working with cutting tools.
Whether you’re tackling a DIY tiling project or working as a professional, practicing these mitering techniques will help you create visually appealing and cohesive tile installations in any room of your home or commercial space.
As with any project, it’s important to consult manufacturer instructions for specific guidance related to the tools, materials, adhesives, and grouts you are using. Following best practices will ensure the longevity and beauty of your tiled surfaces.
So, the next time you have a tiling project that requires clean and seamless corners, remember the techniques and tips shared in this article. With patience, practice, and attention to detail, you’ll be able to master the art of mitering tile with hand tools.
Happy tiling!
Frequently Asked Questions about How To Miter Cut Tile With Hand Tools
Was this page helpful?
At Storables.com, we guarantee accurate and reliable information. Our content, validated by Expert Board Contributors, is crafted following stringent Editorial Policies. We're committed to providing you with well-researched, expert-backed insights for all your informational needs.

0 thoughts on “How To Miter Cut Tile With Hand Tools”