
Articles
How To Quilt Triangles
Modified: February 24, 2024
Learn how to quilt triangles with our informative articles. Discover helpful tips and techniques to create beautiful triangle patterns.
(Many of the links in this article redirect to a specific reviewed product. Your purchase of these products through affiliate links helps to generate commission for Storables.com, at no extra cost. Learn more)
Introduction
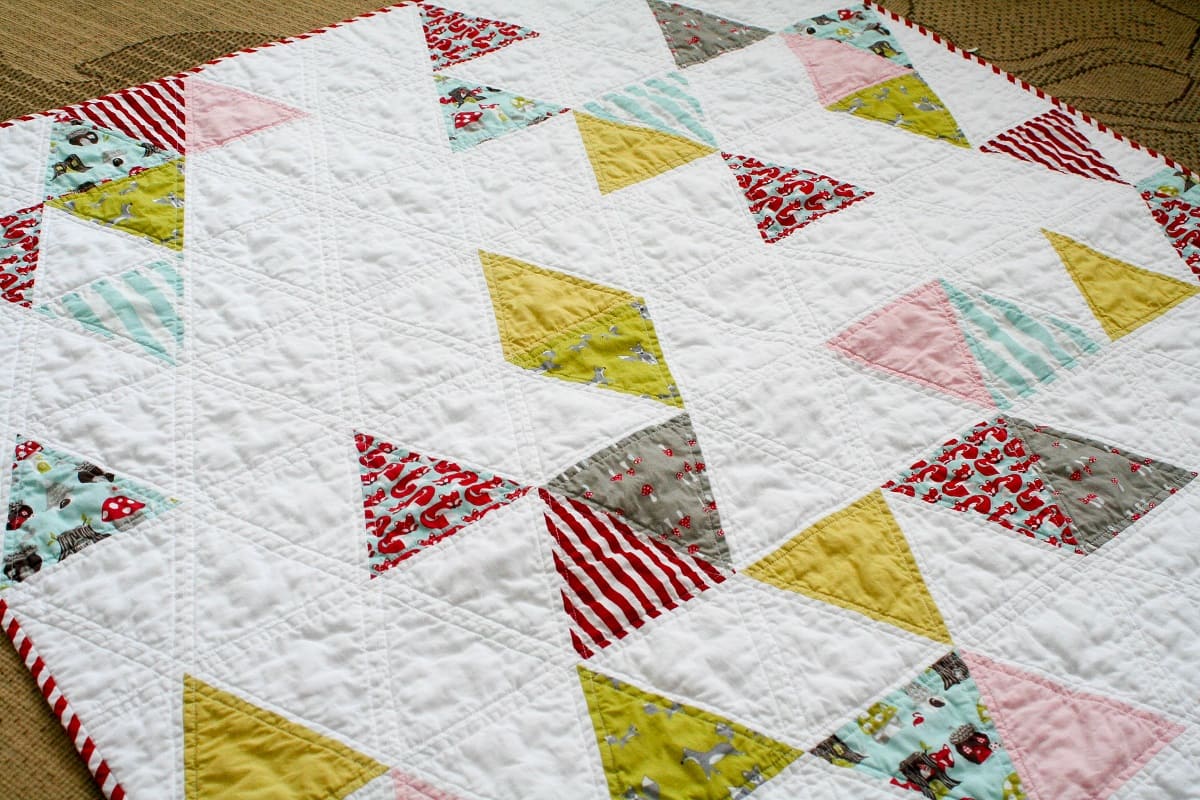
Welcome to the wonderful world of quilting! Quilting is a centuries-old craft that brings both beauty and functionality to fabric. One of the fundamental quilt block shapes is the triangle, and quilting with triangles can add an element of interest and complexity to your projects. Whether you’re a beginner or an experienced quilter, this article will guide you through the process of quilting with triangles.
Quilting with triangles offers endless possibilities for creating unique and visually striking designs. From simple patterns to intricate arrangements, triangles can be combined in various ways to achieve different effects. However, working with triangles can be a bit intimidating for beginners. The key is to approach it with patience and a willingness to learn.
You will need a few essential materials to get started. These include fabric, a rotary cutter, ruler, cutting mat, sewing machine, quilting pins, and thread. Having the right tools at hand will make the process much smoother and more enjoyable.
Before diving into the quilting process, it is important to understand how to cut fabric accurately. This ensures precise and uniform triangles, resulting in a well-constructed quilt. Using a rotary cutter, ruler, and cutting mat, measure and cut your fabric into triangle shapes. There are various methods for cutting triangles, such as using templates or special rulers, so choose the method that works best for you.
Once you have your triangles cut, it’s time to sew them together. This is where the magic happens as you start to see your quilt block come to life. There are different sewing techniques you can use, such as sewing individual triangles together or sewing strips of triangles and then cutting them into block units. Experiment with different methods to find the one that works best for your design.
As you sew the triangles together, it’s essential to press the seams to ensure flat and even blocks. Pressing the seams allows for better alignment and reduces bulk. Use an iron to press the seams either open or to one side, depending on your preference and the quilt pattern you are working with.
Once you have a collection of triangle blocks, you can arrange them to create your desired quilt design. Play with different layouts and color combinations to achieve the look you want. You can create symmetrical or asymmetrical arrangements or even use sashing and borders to add more visual interest.
Key Takeaways:
- Embrace the creativity and endless possibilities of quilting with triangles, from precise cutting to arranging and sewing, to create visually striking and unique quilt designs that reflect your personal style.
- Enjoy the journey of quilting with triangles, from selecting materials to adding the finishing touches. With patience and practice, you can create beautiful, handmade quilts that bring joy and warmth to your life and others.
Read more: How To Cut Triangles For A Quilt
Materials Needed
Quilting with triangles requires a few essential materials to ensure a successful and enjoyable quilting experience. Here is a list of the materials you will need:
- Fabric: Choose a variety of cotton fabrics in different colors and patterns to create visually interesting triangle blocks. It’s always helpful to have some contrast between the fabrics to make the individual triangles stand out.
- Rotary cutter: A rotary cutter is a must-have tool for accurately cutting fabric into triangle shapes. It allows for clean and precise cuts, saving you time and effort.
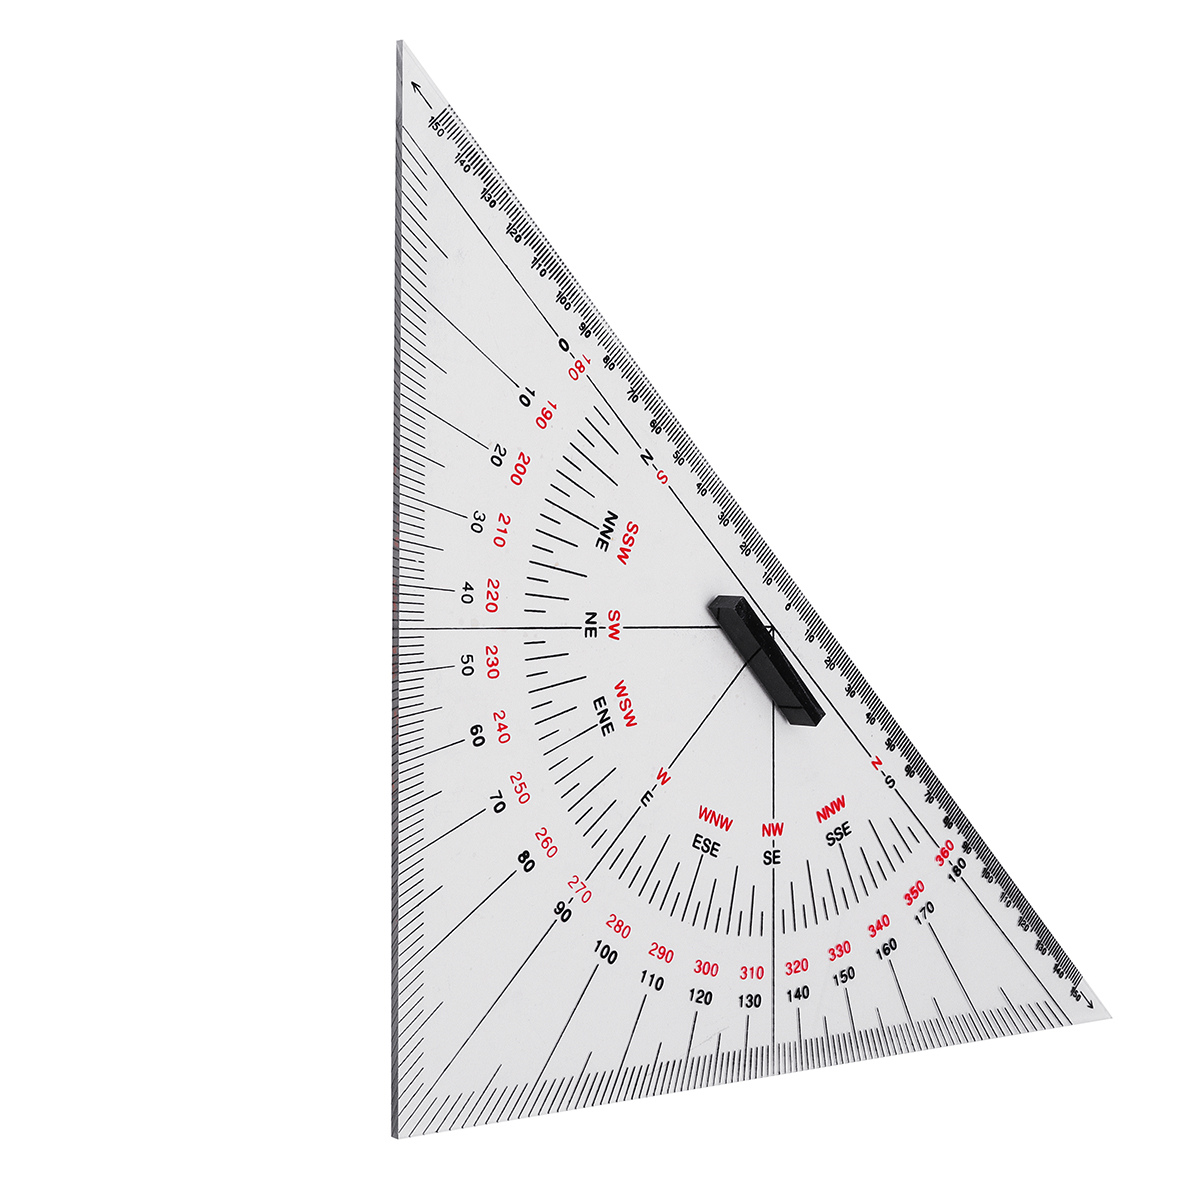
- Ruler: A clear acrylic ruler with angle markings is essential for measuring and cutting triangles. Look for a ruler specifically designed for quilting to ensure accurate measurements.
- Cutting mat: A self-healing cutting mat is necessary to protect your work surface and provide a stable cutting surface for your fabric. Make sure to choose a mat that is large enough for cutting your desired size of triangles.
- Sewing machine: A reliable sewing machine with a straight stitch function is needed for assembling the triangle blocks. Ensure that your machine is in good working condition and that you have the appropriate needles and thread for quilting.
- Quilting pins: These pins are longer and sturdier than regular sewing pins, making them ideal for holding fabric layers together during the quilting process.
- Thread: Choose a high-quality cotton thread that coordinates with your fabric colors. This ensures a sturdy and durable quilt that can withstand regular use and washing.
- Iron and ironing board: Pressing the seams is a crucial step in quilting with triangles. An iron and ironing board are necessary for flattening and setting the seams to achieve tidy blocks.
- Quilting ruler or template: Depending on the pattern you choose, you may need a quilting ruler or template for precise measurements and cutting. These tools help maintain consistency and accuracy in your quilt blocks.
- Batting: Batting is the middle layer of the quilt sandwich that provides insulation and adds thickness. Choose a batting that suits your desired level of warmth and loft.
- Backing fabric: The backing fabric is the fabric that forms the back of the quilt. Select a fabric that complements the colors and patterns of your quilt top.
- Binding fabric: Binding fabric is used to finish the edges of the quilt. Choose a fabric that complements the overall design and provides a nice frame for your quilt.
Gathering these materials before starting your quilting project ensures that you have everything you need within reach. This way, you can focus on the creative process and enjoy quilting with triangles to its fullest!
Cutting the Fabric
Before diving into the quilting process, it’s important to start with accurate and precise measurements when cutting your fabric. This will ensure that your triangle blocks fit together smoothly. Follow these steps to cut fabric for your quilt:
- Preparation: Begin by washing and ironing your fabric to remove any wrinkles or sizing. This will help ensure that your fabric doesn’t shrink or distort after the quilt is complete.
- Choose a cutting method: There are various methods for cutting fabric into triangles. One common method is to use a quilting ruler with angle markings and a rotary cutter. Another method is to use a template specifically designed for cutting triangles. Decide which method works best for your project.
- Measure and mark: Start by measuring and marking the desired size of your triangles on the fabric. Use a fabric pencil or marking tool to make clear and visible marks. Make sure to account for seam allowances when measuring.
- Align the fabric: Place your fabric on a cutting mat and align one edge of the fabric with the horizontal lines on the mat. This will ensure that your cuts are straight and accurate.
- Use the ruler: If you’re using a quilting ruler, align one edge of the ruler with the marked line on the fabric. Hold the ruler firmly in place to prevent it from slipping as you cut with the rotary cutter.
- Cut the fabric: With the ruler securely in place, carefully and smoothly cut along the edge of the ruler using a rotary cutter. Apply gentle pressure as you cut to maintain control and achieve clean and even cuts.
- Repeat the process: Continue measuring, marking, and cutting your fabric until you have the desired number of triangles. Take your time and double-check your measurements to ensure accuracy.
When cutting fabric for quilting with triangles, precision is key. Even the slightest deviation in your cuts can affect the overall look and fit of your quilt blocks. Take the time to measure and cut carefully, and don’t rush through this step. Remember, accurate cutting will save you time and frustration when it comes to sewing the triangles together.
Now that you have your fabric cut into triangles, you’re ready to move on to the next step of quilting with triangles – sewing them together!
Sewing the Triangles
Now that you have your fabric cut into triangles, it’s time to start sewing them together to create your quilt blocks. This step requires precision and attention to detail to ensure that the triangles align properly and create clean lines. Here’s a step-by-step guide on sewing the triangles:
- Arrange the triangles: Before sewing, arrange your triangles in the desired pattern or layout. This will help you visualize how the finished block will look and ensure that you sew the triangles together in the correct order.
- Place the first two triangles right sides together: Take the first two triangles from your arrangement and place them with their right sides together, aligning the edges that need to be sewn.
- Sew with a ¼-inch seam allowance: Using a ¼-inch seam allowance, sew the two triangles together along the edge that you aligned. Backstitch at the beginning and end of the seam to secure it.
- Press the seam open or to the side: Once sewn, press the seam open or to one side. Pressing the seam helps it lay flat and reduces bulk, ensuring that your blocks lay smoothly.
- Repeat the process: Continue sewing the triangles together, one pair at a time, following your arrangement layout. As you sew each seam, press them open or to the side before moving on to the next seam.
- Check the accuracy: After each seam, double-check that the triangles are lining up accurately and that your points match. Adjust your stitching as needed to ensure precise alignment.
- Trim excess fabric: Once you have sewn all the triangles together to form a block, trim any excess fabric or uneven edges to create a uniform block size. Use a ruler to guide your cutting and ensure straight edges.
As you sew the triangles together, it’s important to maintain an accurate ¼-inch seam allowance and consistent stitching. This will ensure that your blocks and quilt top come together smoothly and align properly when you assemble your quilt.
Remember, practice makes perfect. If you’re new to quilting with triangles, take your time and be patient with yourself. It may take a few tries to get the hang of aligning the triangles and achieving consistent seam allowances. Don’t be discouraged – with practice and experience, your sewing skills will improve, and you’ll be creating beautiful triangle blocks in no time.
Now that you have your blocks sewn together, it’s time to press the seams to set them and prepare for the next step – arranging the triangles!
Pressing the Seams
Pressing the seams is a crucial step in quilting with triangles. Properly pressed seams not only improve the overall appearance of your quilt blocks but also help with alignment and reduce bulkiness. Here’s a step-by-step guide on pressing the seams:
- Prepare your iron and ironing board: Make sure your iron and ironing board are clean and in proper working condition. Adjust the heat setting of your iron according to the fabric you’re working with.
- Press as you go: Throughout the sewing process, press each seam as you sew it. This will set the seam and allow it to lay flat, making it easier to sew the next pieces together.
- Press the seam flat: After sewing each seam, press the seam flat with your iron. Start by pressing the seam as it was sewn, then open it up and press it from the front of the block.
- Set the seam: Before opening up the seam, press it again with a bit of steam. This helps set the stitching and creates a crisp and flat seam.
- Choose the direction: Decide whether to press the seam open or to one side. The choice depends on personal preference and the pattern you’re working with. Pressing the seam open reduces bulk, while pressing to one side can create a nesting effect that allows for easier matching of seams in your quilt top.
- Press open: If you choose to press the seam open, gently open the fabric and press the seam flat. Take care not to stretch or distort the fabric as you press.
- Press to one side: If you choose to press the seam to one side, determine the direction in which you want to press the seam. Use your iron and steam to press the seam in that direction, ensuring it is flat and smooth.
- Repeat for each seam: As you sew your triangle blocks together, repeat the pressing process for each seam. Take your time to ensure that all the seams are pressed neatly and accurately.
Properly pressed seams contribute to the overall look and accuracy of your quilt top. They help your blocks lay flat and align properly, making it easier to sew the rows together. Taking a little extra time to press your seams will greatly improve the quality and appearance of your finished quilt.
Now that your triangle blocks are sewn together and the seams are pressed, it’s time to move on to the exciting part – arranging the triangles into a beautiful quilt design!
Arranging the Triangles
Arranging the triangles is a creative and fun part of quilting with triangles. This step allows you to play with different layouts and color combinations to create a visually pleasing quilt design. Here are some tips and steps to help you arrange your triangles:
- Layout options: Consider the different layout options for your triangles. You can create symmetrical designs, such as star or pinwheel patterns, or opt for asymmetrical layouts for a more modern and improvisational look.
- Color placement: Pay attention to the placement of colors and patterns within the quilt design. Experiment with different combinations to create contrast, balance, and visual interest.
- Design wall or flat surface: Use a design wall or lay a flat surface, such as a table or floor, to help you visualize the arrangement of your triangles. This gives you the flexibility to move and rearrange them until you find the perfect layout.
- Take a step back: Step away from your arrangement occasionally to get a fresh perspective. This allows you to see the overall design and make adjustments as needed.
- Capture photos: Take photos of your different arrangements to help you compare and decide on your favorite. Sometimes, a photo can reveal things that may not be as evident when looking directly at the layout.
- Consider the overall balance: Aim for a balanced distribution of colors, shapes, and patterns throughout the quilt top. This helps create a cohesive and visually appealing design.
- Experiment with sashing and borders: If desired, you can incorporate sashing strips or borders between your triangle blocks to add another element of design and structure to your quilt top.
- Finalize your arrangement: Once you are satisfied with the layout and design of your triangle blocks, take note of the placement or take a photo for reference before moving on to the next step of sewing the rows together.
Arranging your triangle blocks requires creativity and a willingness to explore different possibilities. Don’t be afraid to play around with different layouts and experiment with color combinations. Remember, quilting is a journey of self-expression, and the arrangement of your triangles is a reflection of your own unique style and vision.
Now that your triangles are arranged, it’s time to sew the rows together to bring your quilt top to life. The next step in the quilting process is exciting, so get ready to see your design take shape!
When quilting triangles, be sure to use a 1/4 inch seam allowance to ensure accurate piecing. Press seams open to reduce bulk and use a walking foot to prevent stretching.
Sewing the Rows Together
Now that you have arranged your triangle blocks into a stunning design, it’s time to sew the rows together to create your quilt top. Sewing the rows together requires precision to ensure that your blocks align properly and form a cohesive pattern. Follow these steps to sew the rows together:
- Prepare your sewing machine: Set up your sewing machine with a fresh needle and thread that matches your fabric colors. Ensure that your machine is in good working condition and ready to sew.
- Organize your blocks: Arrange your triangle blocks into rows, following the layout you decided on during the arranging step. Keep the blocks in order, either by placing them on a design wall or by stacking them carefully next to your sewing machine.
- Take the first two blocks from the first row: Select the first two triangle blocks from the first row. Place them right sides together, aligning the edges that need to be sewn.
- Use a ¼-inch seam allowance: Sew the two blocks together using a ¼-inch seam allowance. Backstitch at the beginning and end of the seam to secure it.
- Press the seam: Press the seam flat either to one side or open, depending on your preference and the pattern instructions. Take note of the pressing direction for the subsequent rows to ensure that the seams nest properly.
- Continue sewing the remaining blocks: Slide the next block in the first row against the previous block, right sides together. Sew them together, press the seam, and repeat this process until you have sewn all the blocks in the first row together.
- Repeat for the remaining rows: Once the first row is complete, move on to the second row. Take the first two blocks from the second row, sew them together, and press the seam. Repeat this process for each row until all the rows are sewn together.
- Check alignment: As you sew the rows together, double-check that the seams align properly and that your points match up. Make any necessary adjustments as you go to maintain a consistent pattern.
- Trim excess fabric: Once all the rows are sewn together, trim any excess fabric or uneven edges to ensure that your quilt top has straight and even sides. Use a ruler to guide your cutting and maintain the desired quilt size.
Sewing the rows together requires careful attention to detail, especially when aligning the blocks and pressing the seams. Take your time, be patient, and adjust as needed to achieve a beautifully constructed quilt top.
With the rows sewn together, your quilt top is really starting to take shape! The next step is to add borders to complete the design and prepare for the quilting process.
Adding Borders
Adding borders to your quilt top not only enhances its visual appeal but also provides a finished look and helps maintain the structural integrity of the quilt. Borders can frame the design, create a contrast, or increase the overall size of your quilt. Here are some steps to guide you on adding borders:
- Measure your quilt top: Take accurate measurements of the length and width of your quilt top. This will help determine the size of your borders and how many strips you’ll need.
- Select border fabric: Choose a fabric that complements the colors and patterns of your quilt top. Consider using a fabric that contrasts or complements the main colors to create visual interest.
- Cut the border fabric: Calculate the width of your borders based on your design preference. Cut strips of fabric according to the measurement for the length and width of your quilt top, adding extra length for seam allowances.
- Attach the border strips: Begin by pinning the border strip to one side of your quilt top, right sides together. Sew with a ¼-inch seam allowance, securing the border strip to the quilt top. Repeat this process for each side of the quilt.
- Press the border seams: After sewing each border strip, press the seams either towards the border fabric or open. Pressing the seams ensures that the borders lay flat and the quilt top remains square.
- Mitred corners (optional): If desired, you can create mitered corners for a clean and professional finish. This involves cutting the border fabric at a 45-degree angle and folding it to create a neat corner. There are many tutorials available online that provide detailed instructions on creating mitered corners.
- Measure and trim excess fabric: Once the borders are attached, measure the length and width of your quilt top again. Trim any excess border fabric so that the quilt top remains a uniform and square shape.
- Press the entire quilt top: After adding the borders and trimming any excess fabric, press the entire quilt top to set the seams and create a smooth, professional look.
Adding borders to your quilt top brings the design together and prepares it for the next step – quilting the layers. Take your time when selecting and attaching the borders to ensure that they complement your design and enhance the overall aesthetic of your quilt.
With the borders in place, it’s time to move on to the exciting stage of quilting the layers together. This is where your quilt truly comes to life!
Quilting the Layers
Quilting the layers is the process of stitching through the quilt top, batting, and backing to secure them together. This step not only adds visual interest and texture to your quilt but also provides stability and durability. There are several methods you can choose from to quilt your layers together. Here are some common techniques:
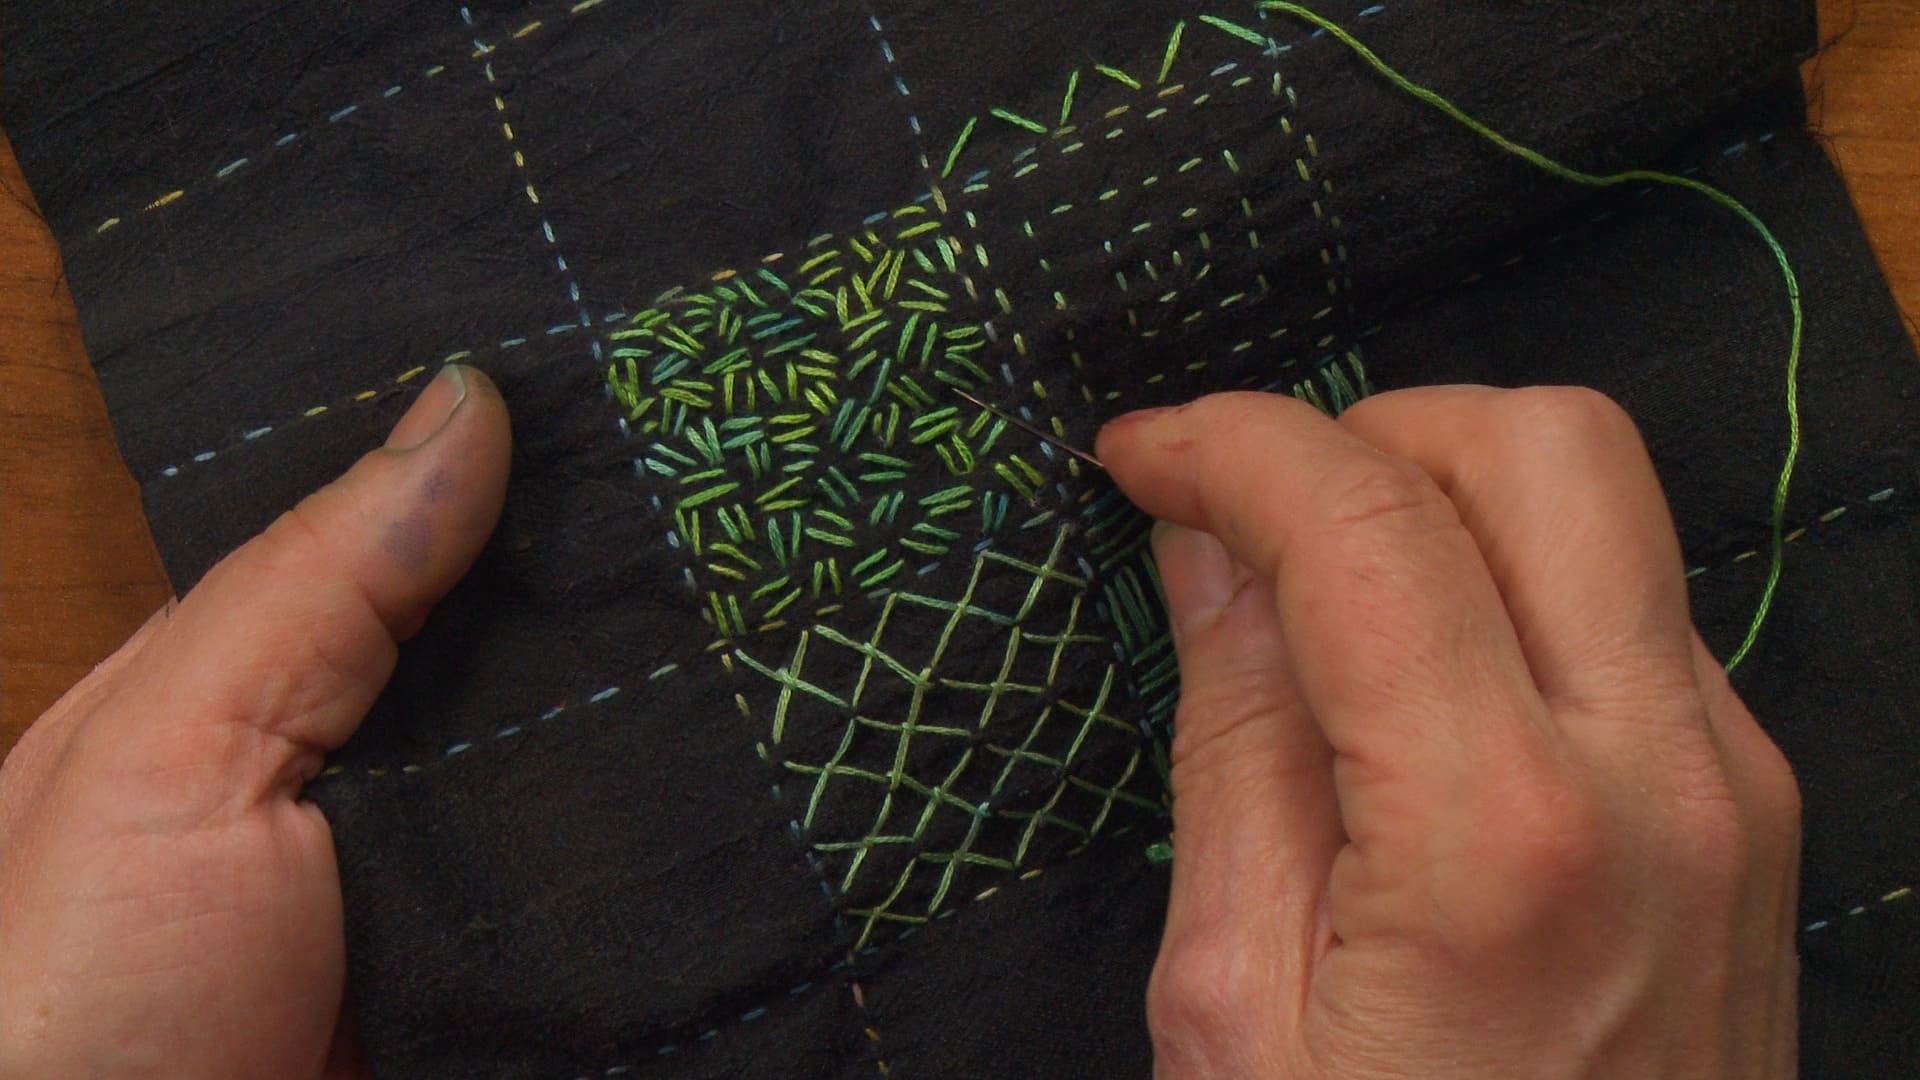
- Hand quilting: Hand quilting involves stitching the layers together by hand using a needle and thread. This method provides a traditional and decorative look, with intricate designs created by hand. Hand quilting can be time-consuming but offers a personal touch.
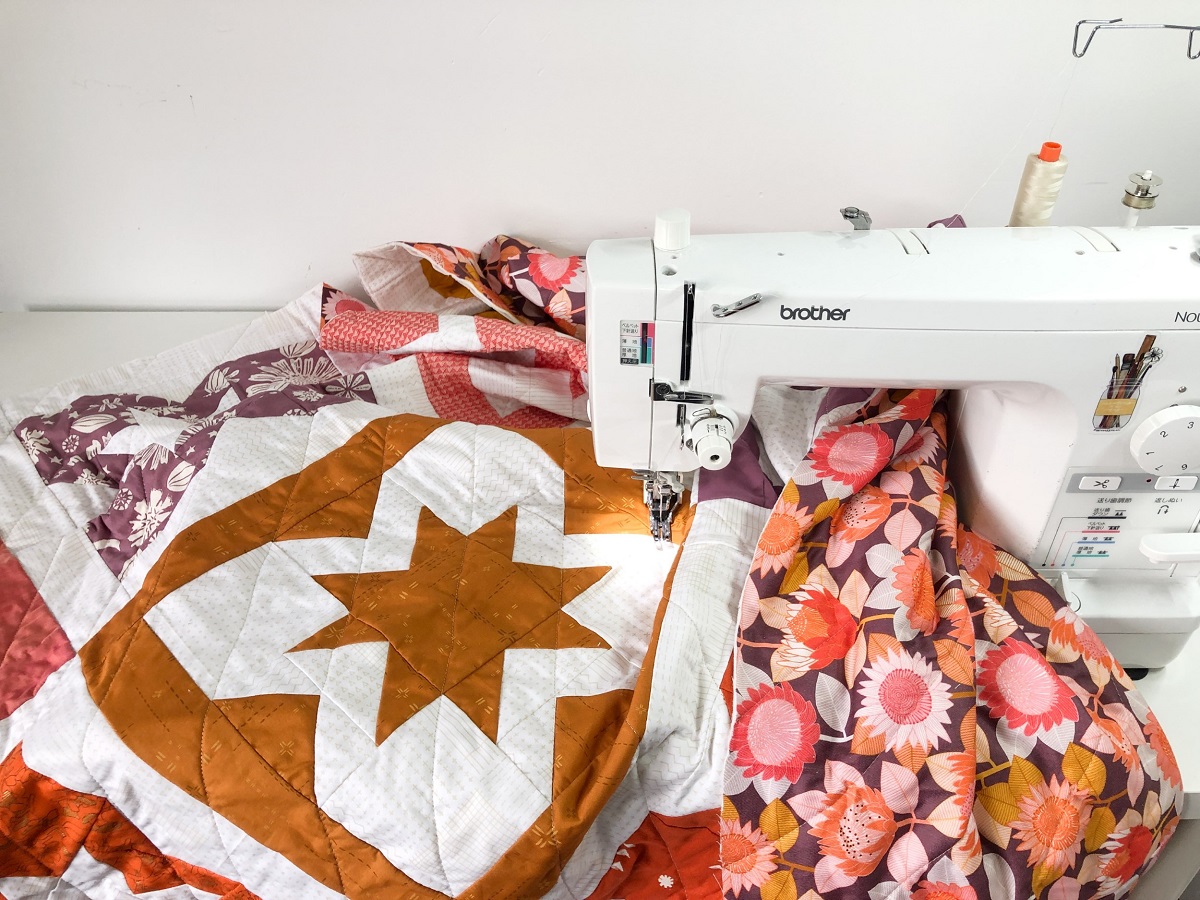
- Machine quilting: Machine quilting involves using a sewing machine to stitch the layers together. This method is faster than hand quilting and allows for a wide variety of quilting designs, including straight lines, free-motion quilting, or using quilt patterns on your sewing machine.
- Long-arm quilting: Long-arm quilting is done using a specialized long-arm quilting machine. This method is ideal for large quilts or for those who prefer to outsource the quilting process. Long-arm quilters have the ability to create intricate and detailed designs using a long-arm machine.
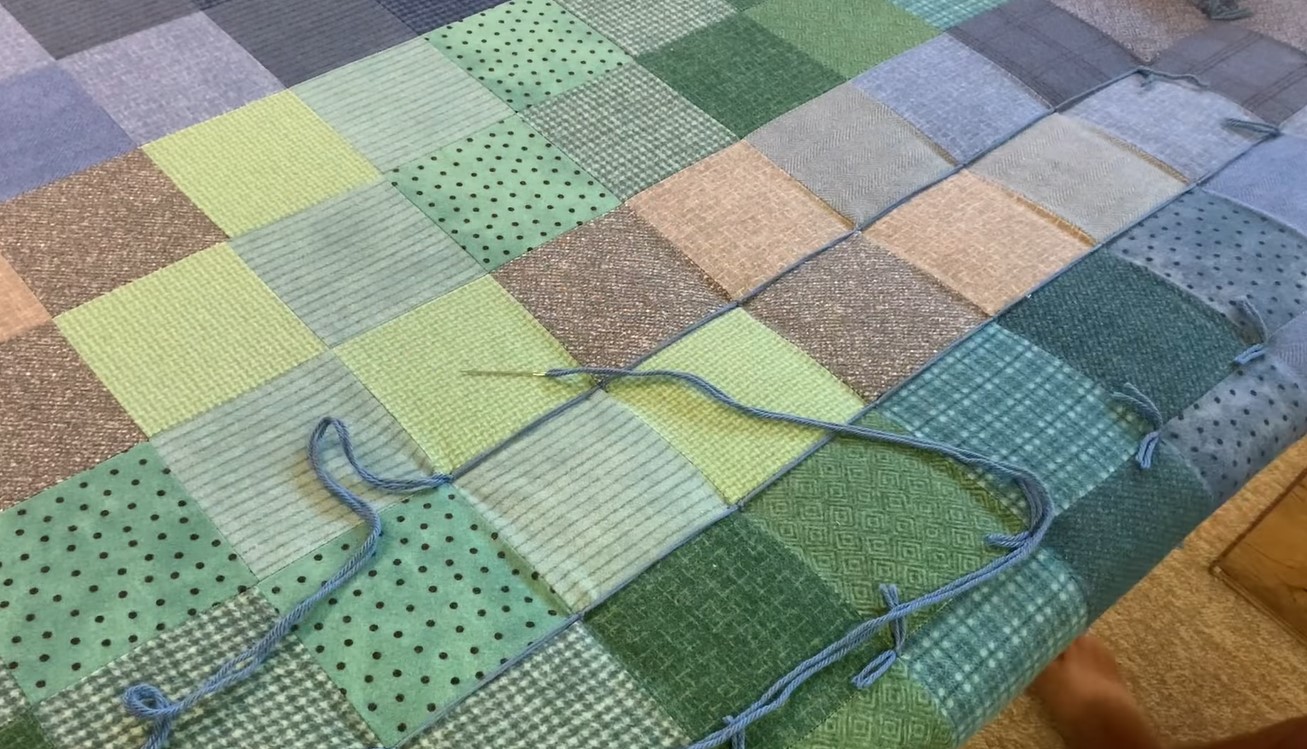
- Tie quilting: Tie quilting is a simple and beginner-friendly method. It involves tying knots at regular intervals to secure the layers together. This technique creates a cozy and quilted look while requiring minimal equipment.
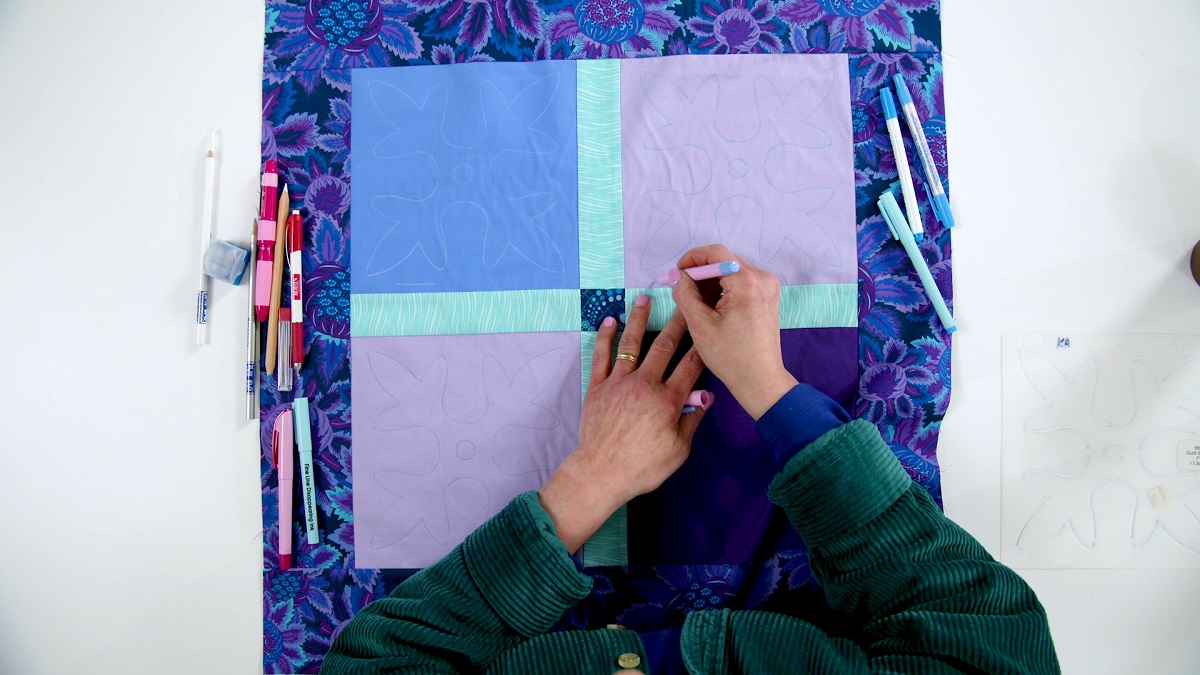
When quilting the layers, it’s important to consider the design and purpose of your quilt. Take into account factors such as the quilt size, quilting style, and the level of quilted detail you desire. Remember to start with planning and marking your quilting design before you begin stitching.
For machine quilting, ensure that you have a walking foot or a quilting foot installed on your sewing machine. These feet help to evenly feed the layers through the machine, reducing the risk of puckering or bunching.
Whether you choose to hand quilt, machine quilt, or use another method, take it step by step and work at a steady pace. Quilting the layers is a labor of love, and the process can be relaxing and enjoyable. Your quilt will truly come to life as you quilt the layers together.
After quilting the layers, the final step is to add the binding to finish off your quilt. Binding not only provides a clean and polished look but also secures the edges and adds durability.
Read more: How To Fold A Napkin Into A Triangle
Binding the Quilt
Binding is the final step in completing your quilt, providing a finished edge and securing all the layers together. It not only adds a decorative touch but also ensures the durability and longevity of your quilt. Here’s a step-by-step guide to binding your quilt:
- Prepare your binding fabric: Cut strips of fabric that are 2.5 to 3 inches wide and long enough to cover the perimeter of your quilt, plus a few extra inches for overlap and seam allowances. You can use a single fabric for the binding or create a scrappy look by sewing together different fabric strips.
- Prepare the binding: Sew the binding strips together at a 45-degree angle, aligning them diagonally and sewing from corner to corner. Trim the seam allowance to ¼ inch and press the seams open or to one side.
- Attach the binding: Starting in the middle of one side of your quilt, place the raw edges of the binding against the raw edges of the quilt top, aligning them. Leave a few inches of binding unstitched at the beginning.
- Sew the binding: Using a ¼-inch seam allowance, sew the binding to the quilt top with a straight stitch. Continue sewing all the way around the quilt, mitering the corners by folding the binding at a 45-degree angle and then folding it back down to continue sewing the next side.
- Join the ends: As you approach the starting point, stop sewing a few inches before reaching it. Trim the excess binding, leaving a few inches of overlap. Fold the tail end of the binding back and fold the beginning end over it to create a clean and secure join. Pin or clip in place, then sew the ends together.
- Finish sewing the binding: Complete sewing the binding around the entire quilt, overlapping a few inches to ensure a secure finish. Trim any excess binding and press the binding away from the quilt top.
- Wrap the binding: Fold the binding over the raw edges of the quilt to the back, then press it in place. You can use clips to hold the binding in place or pin it if desired.
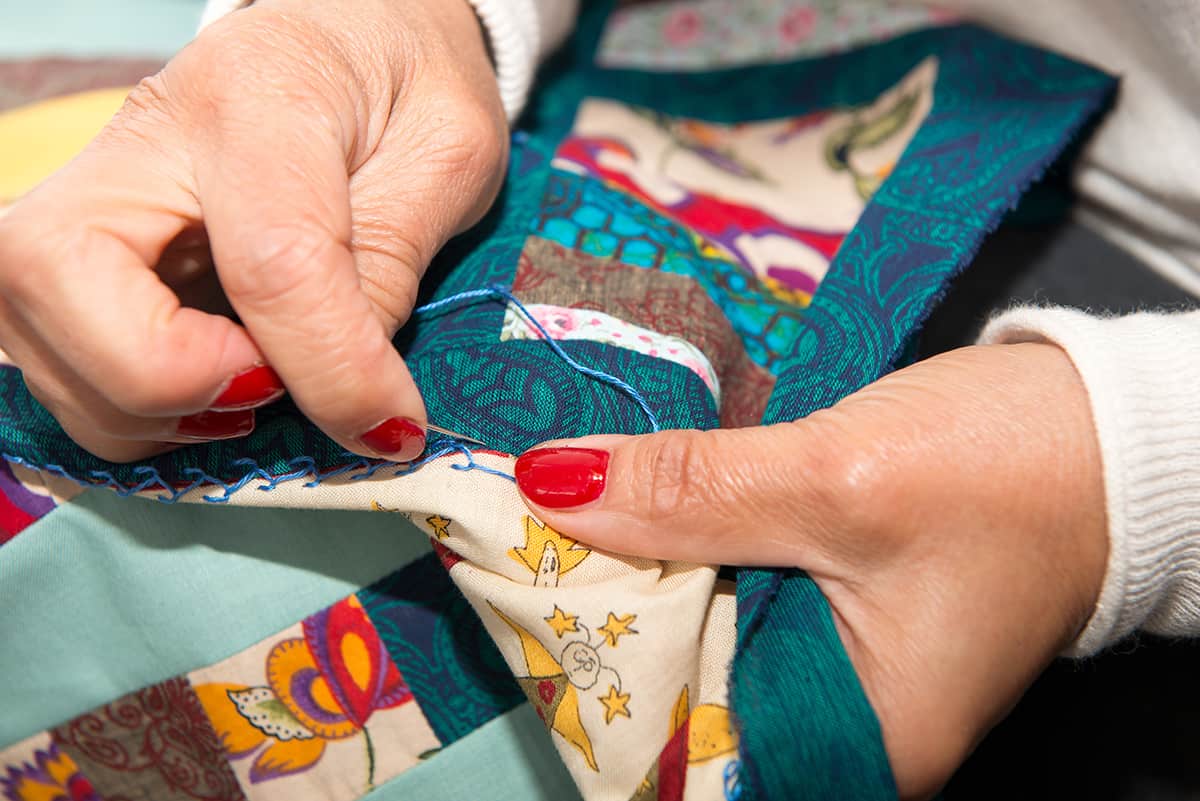
- Hand-stitch the binding: Carefully hand-stitch the folded binding to the back of the quilt using a blind stitch or slip stitch. Take small, even stitches to keep the binding secure and ensure a clean finish.
- Finishing touches: Once the binding is fully hand-stitched, give the quilt a final press to smooth out any wrinkles or creases. Trim any loose threads, and your quilt is now complete!
Binding can be a time-consuming process, but it adds the finishing touch to your quilt and is well worth the effort. Whether you choose to hand-stitch the binding or use a machine binding method, take your time and enjoy the satisfaction of completing your quilt.
With the binding securely attached, your quilt is now ready to be enjoyed, whether as a beautiful piece of home decor or as a cozy companion. Take pride in your finished quilt and appreciate the time and effort you invested in creating a unique and handmade masterpiece.
Congratulations on completing your quilting project!
Conclusion
Quilting with triangles opens up a world of creativity and allows you to create stunning and unique quilt designs. Throughout this article, we’ve explored the step-by-step process of quilting with triangles, from cutting the fabric to adding the finishing touches. By following these guidelines and techniques, you can create beautiful triangle blocks that come together to form a captivating quilt top.
Working with triangles may seem daunting at first, but with practice and patience, you’ll develop the skills and confidence to tackle more complex designs. Remember to take your time and enjoy the process of quilting. It’s a craft that allows you to express your creativity, relax, and create something truly special.
As you embark on your quilting journey, remember to select the right tools and materials for the job. Accurate cutting with a rotary cutter and ruler is essential for precise triangle shapes. Choose fabric colors and patterns that inspire you and create the desired visual impact in your quilt top.
Throughout your quilting project, pay attention to the details, such as pressing the seams, arranging the triangles, and sewing the rows together. These steps contribute to the overall quality and appearance of your quilt top. Experiment with different layouts and color combinations to create unique designs that reflect your personal style.
Once your quilt top is complete, the quilting process brings all the layers together. Choose a quilting technique that suits your design, from hand quilting and machine quilting to long-arm quilting or tie quilting. Each method offers its own unique characteristics and can add depth and texture to your quilt.
Finally, binding your quilt provides a polished and finished look. Take the time to attach the binding securely and neatly for a professional outcome. Hand-stitching the binding to the back of the quilt adds a touch of craftsmanship and attention to detail.
Quilting with triangles is not only a fulfilling and creative endeavor, but it also allows you to create one-of-a-kind pieces that can be cherished for generations. As you continue your quilting journey, don’t be afraid to explore new techniques, patterns, and designs. With each project, you’ll hone your skills and discover your unique quilting style.
So let your creativity soar, immerse yourself in the world of quilting with triangles, and enjoy the process of creating beautiful and meaningful quilts that will bring joy and warmth to your life and those you share them with.
Frequently Asked Questions about How To Quilt Triangles
Was this page helpful?
At Storables.com, we guarantee accurate and reliable information. Our content, validated by Expert Board Contributors, is crafted following stringent Editorial Policies. We're committed to providing you with well-researched, expert-backed insights for all your informational needs.

0 thoughts on “How To Quilt Triangles”